Memento Mori has the distinction of being one of the first megaWADs released for
Doom II, period, seeing its first publication back in 1995. It's also one of the first community megaWADs, at one time racing neck and neck with
H2H-Xmas and
TNT: Evilution, at least until id bought up the latter for their own nefarious schemes.
Memento Mori has its origins with The Innocent Crew - Thomas and Denis Moeller - authors of two episodes for OG
Doom and the partial conversion,
Obituary. From what I can tell, they helped form the Memento Mori Crew, gathering up 19 other authors, and pushed their megaWAD out in a little more than five months.
The framing story is easy to miss, as it's included in the bitchin'
infopack (heretics can run it in DosBox) but it's a pretty cool little setup from Alden Bates, author of MAP10, "The Mansion". It basically takes place after the events of
Doom II, with Doomguy helping to rebuild civilization after the demon invasion. The returners lose contact with one of the cities and scouts send back footage of demons, on Earth, again. It looks like someone missed a teleporter so you're sent in to put an end to the bullshit once and for all. The infopack is totally worth checking out; it's an illustrated text file with info on maps, authors, and the whole lead-in story, set to one of Mark Klem's excellent tracks.
Memento Mori is a full 32 levels of
Doom II, almost all of them high quality for their era, with a handful of brand new textures to boot. There are no new weapons or monsters, just good ol' vanilla gameplay (with a few twists). It's also somewhat optimized for co-op play, with varied maps featuring four different paths for the player(s) to run through, in some ways echoing MAP07 of
Obituary. The scope of many of these offerings feels like an ancient
Community Chest in that they feel like magnum opuses, though not just in size. Older Doomers may remember that a few of these maps were actually available before their inclusion in
Memento Mori.
Some of these levels are easy. Some of them are HARD. They're almost always fun to play, though. I think each mapper has their own particular style you can discern, especially when some of them have two or three maps in the WAD. Many of these authors would go on to contribute to
Memento Mori II and, later
Requiem; the Casali brothers figured heavily in
Final Doom, having some maps in
TNT Evilution and making the entirety of
The Plutonia Experiment. Tom Mustaine contributed to the former and also developed
Perdition's Gate with assistance from Avatar, who made
Hell to Pay with Jimmy Sieben. That's quite a lineage.
Memento Mori is pretty raw compared to the levels made nowadays and doesn't even compare favorably to its sequel, which has more polish in just about every category. It's got some levels you should absolutely play, though, and unless you have some kind of 1995 PWAD phobia, there's no reason not to play everything in between. Just make sure to bring a friend or you'll probably miss a few things from co-op.


MEMENTO MORI
by the Memento Mori Crew
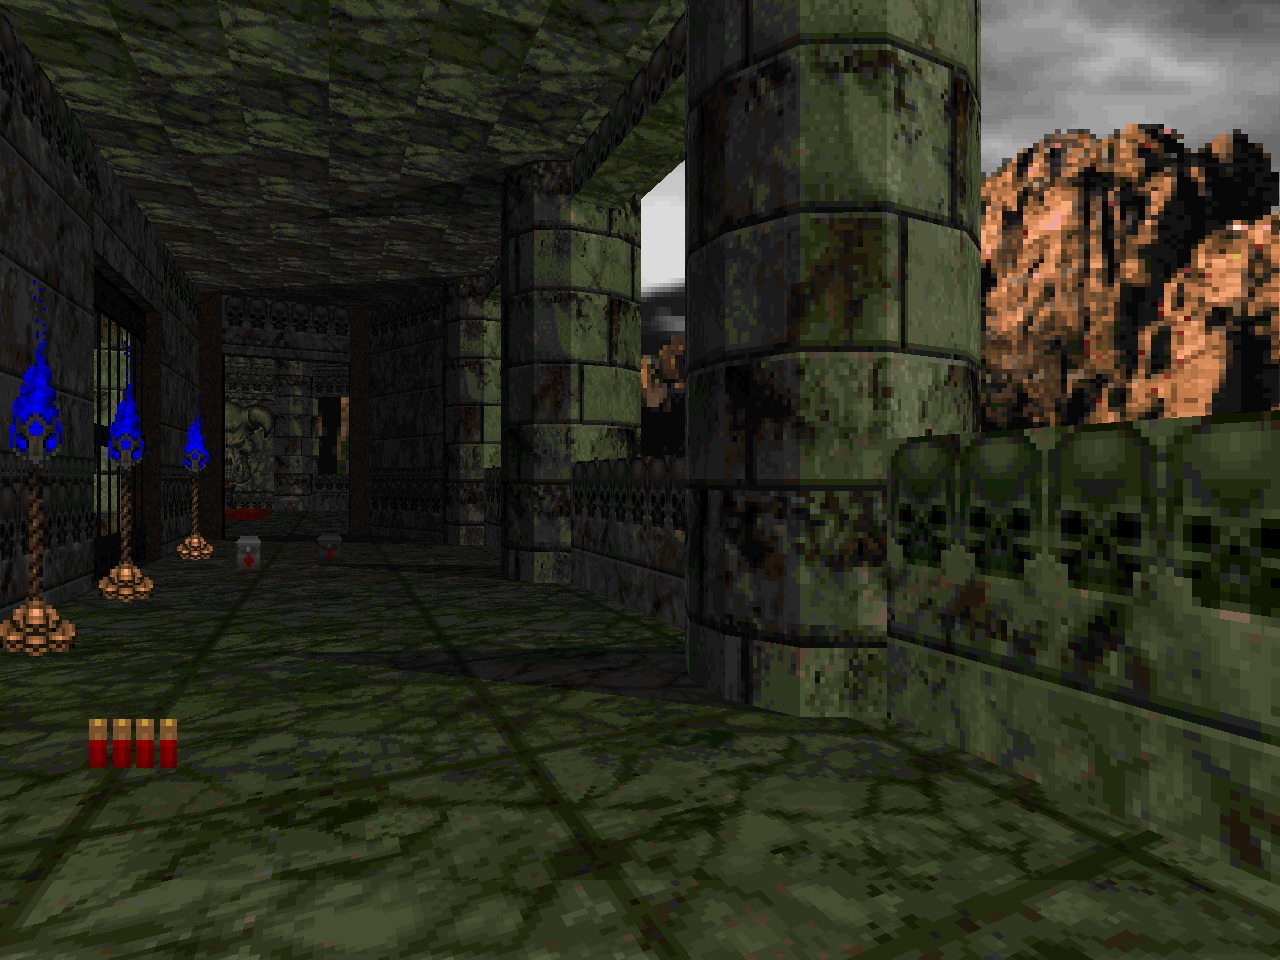
| The Teleporter | MAP01 |
|---|
| by Dennis Moeller and Michael Rutting |
|---|
| Small techbase level with a tough layout. Lots of shotgun guys so you need to be fast and use cover. There's an Imp ambush about halfway through and the final encounter features shootout over a nice, large courtyard. It's pretty light on health. The three demons in the exit room don't work very well, though. | 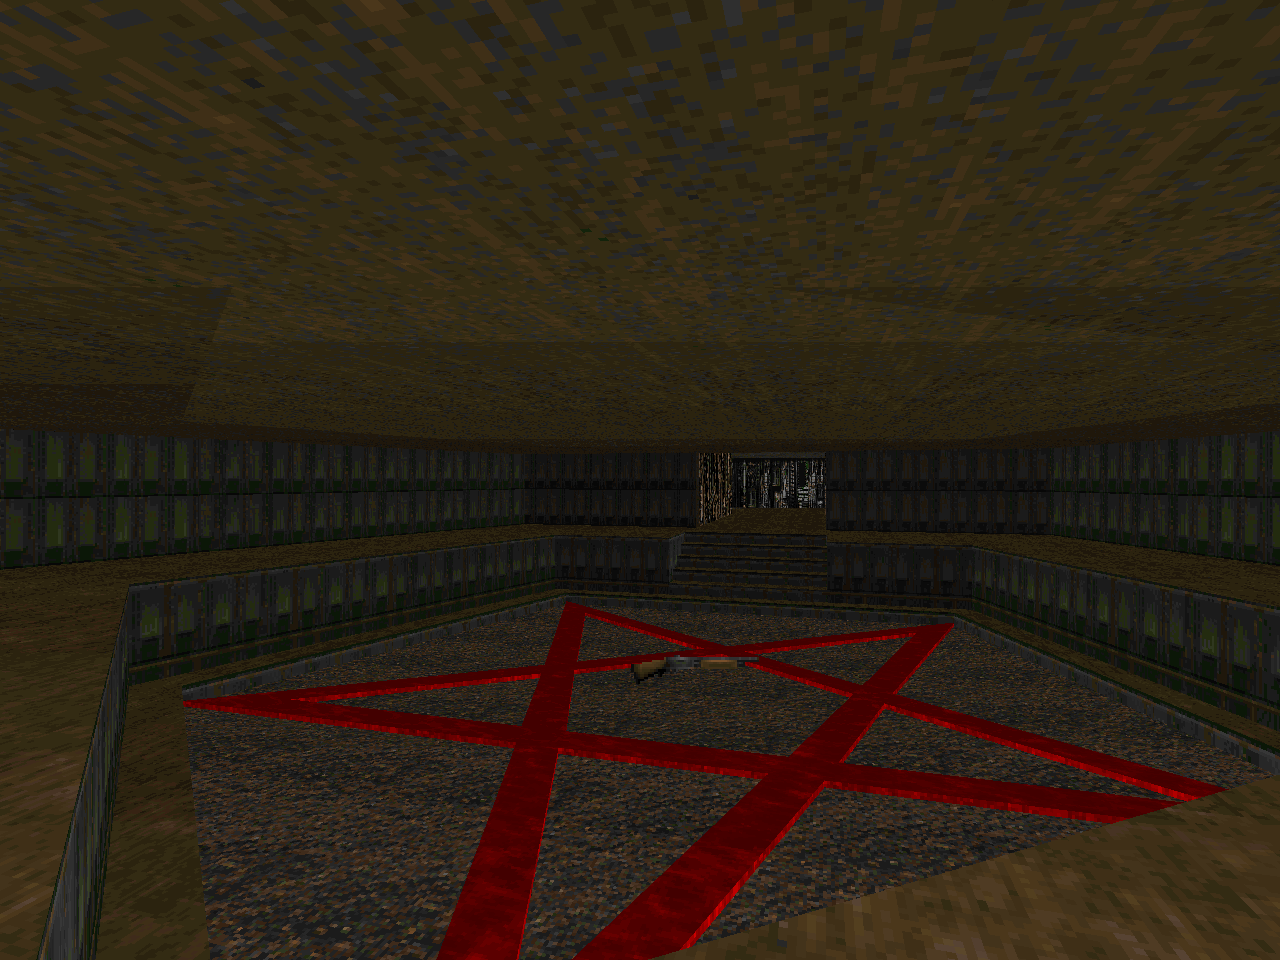 |
| MAP02 | The Bridge |
|---|
| by David Davidson |
|---|
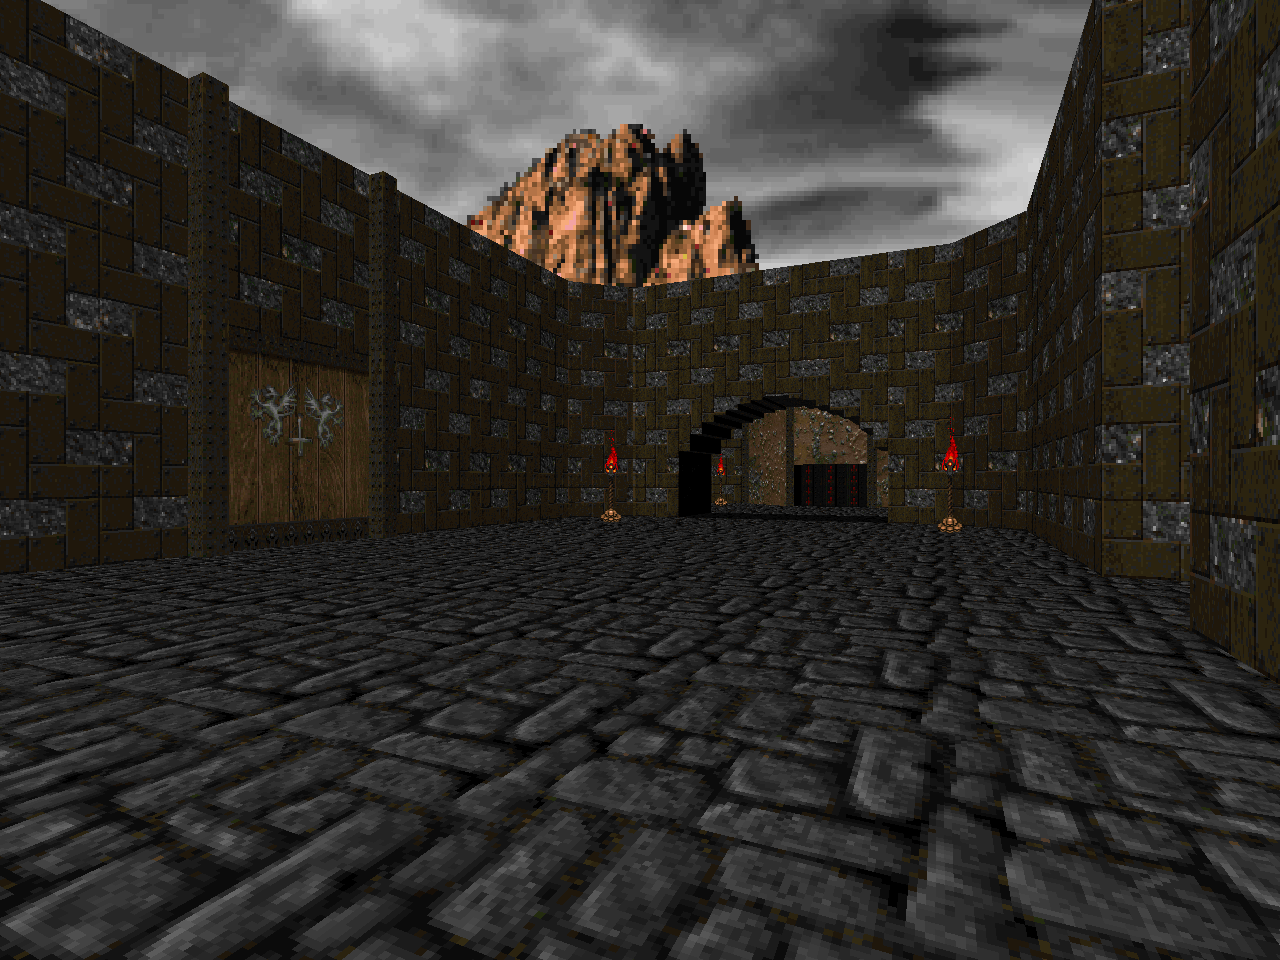 | Nice relaxed medieval layout with some nasty monster-closet traps. The demon pincer-attack in particular caught me off-guard, though the red key trap wasn't much better. I like the use of textures here, in what I can only assume will carry throughout the rest of the WAD. The cross motif strikes yet again. |
| Interlock | MAP03 |
|---|
| by Tom Mustaine |
|---|
| Tom Mustaine knocks out a very simple, very fast techbase map, which really feels like his signature. The layout really helps speed things along. The demons coming out from under the stairs is a very nice touch, my standout moment. Also liked the lowering of the wall by the yellow key, circumventing the backtracking, while adding one final encounter. |  |
| MAP04 | The Stand |
|---|
| by Jens Nielsen |
|---|
 | Very complex brick and mortar style level with a blood lake partway through. The map isn't hard, and I like how even with a hojillion switches, as you work around it it gradually opens up to become fairly transparent. Even so, some of the switch puzzles feel a bit arcane. Lots of cool traps following the red switch door. I wasn't quite expecting to be locked inside. |
| Hell's Kitchen | MAP05 |
|---|
| by Orin Flaharty |
|---|
| Flaharty has a very nice style pinned down, raised walkways over toxic stuff a la "The Living End". This is a fun map with a heart pounding beginning. Nice use of walkways to control action, and side stuff to award player action. And do I detect a hint of MAP11 in the ending sequence? The opening section stands out as the most memorable encounter here, though the arachnotron room rimmed by shotgunners is a close second. | 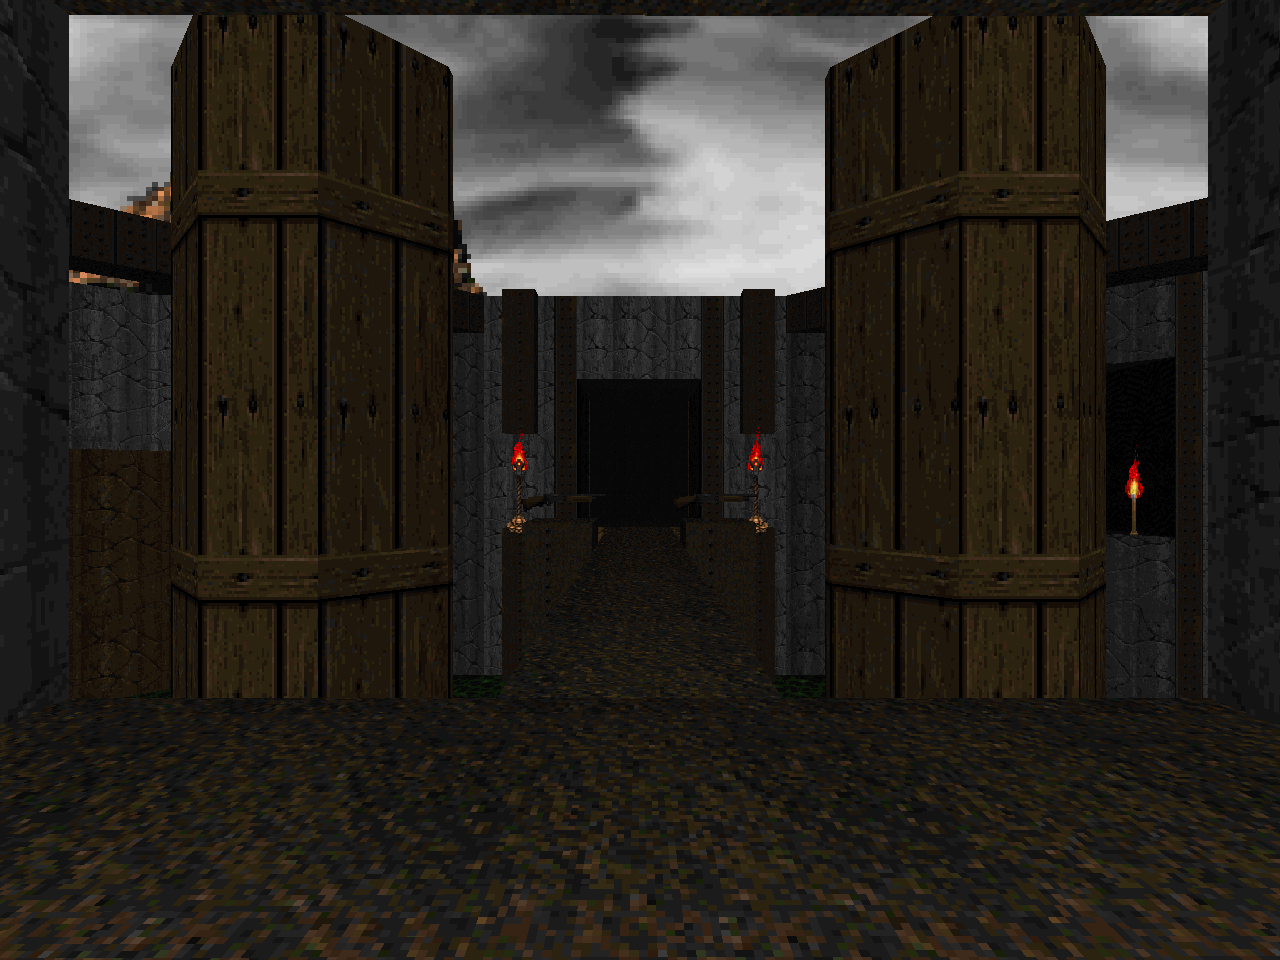 |
| MAP06 | The Powerstation |
|---|
| by Eric Sargent, ed. Mark Klem |
|---|
 | A mix of wood / house with some tech sections. It's a nice level. It starts out pretty tight with a definite lack of ammo and then proceeds into a cool romp with a bunch of hitscanners and hell knights popping out of the ground. Nothing is particularly difficult and there's hordes of health, armor, and ammo. My most memorable moment would probably be the second time through the crate room or the pitch black segment at the red key. |
| Not So Simple | MAP07 |
|---|
| by Jens Nielsen |
|---|
| A more abstract fortress style level from Nielsen. I immediately thought of MAP04 when I started this up and I was correct in my assumption. More switches! The level's pretty compact so it's never that hard to find out what X did, but it can be a bugaboo at times. The arch-vile screwed me the first time because I didn't realize Jens put in an escape switch. The level is otherwise a lot of close-quarters shooting, SSG preferred, with a particularly memorable minotaur maze. There are hell knights and barons, and you find four switches which remove the maze portions. When all four lower, the corners descend, revealing four mancubuses, who must be killed to get the red key. "Not So Simple" indeed. I must stress that I do like Jens' switch crazy style, as it feels a little more cerebral. |  |
| MAP08 | And the Dead Shall Rise |
|---|
| by Orin Flaharty |
|---|
 | Pretty fun underground expanse level. It's not tough at all but it has its moments, especially with a couple of knock-down drag-out fights with barons. The warping barons in particular is the standout encounter of this map. All else told there's not a lot of monsters, though there's a cage in an unreachable location that's probably flummoxed its share of Doomers trying to 100% this. I like the use of gargoyle heads to mark the impassable pillars; it feels slightly engaging. |
| Hightech Grave | MAP09 |
|---|
| by Thomas Moeller |
|---|
| Very fun, very intense techbase level with some sewer sections. I enjoy the use of the blue/yellow key wings and while the encounters in the blue key wing may be a little lackluster the yellow key wing stands out in my mind as some top-notch challenges, including the mancubus fight which opens it, as well as the rather shocking demon swarm around the yellow key. I also love how there's a multitude of secrets, little ammo-caches and other things. | 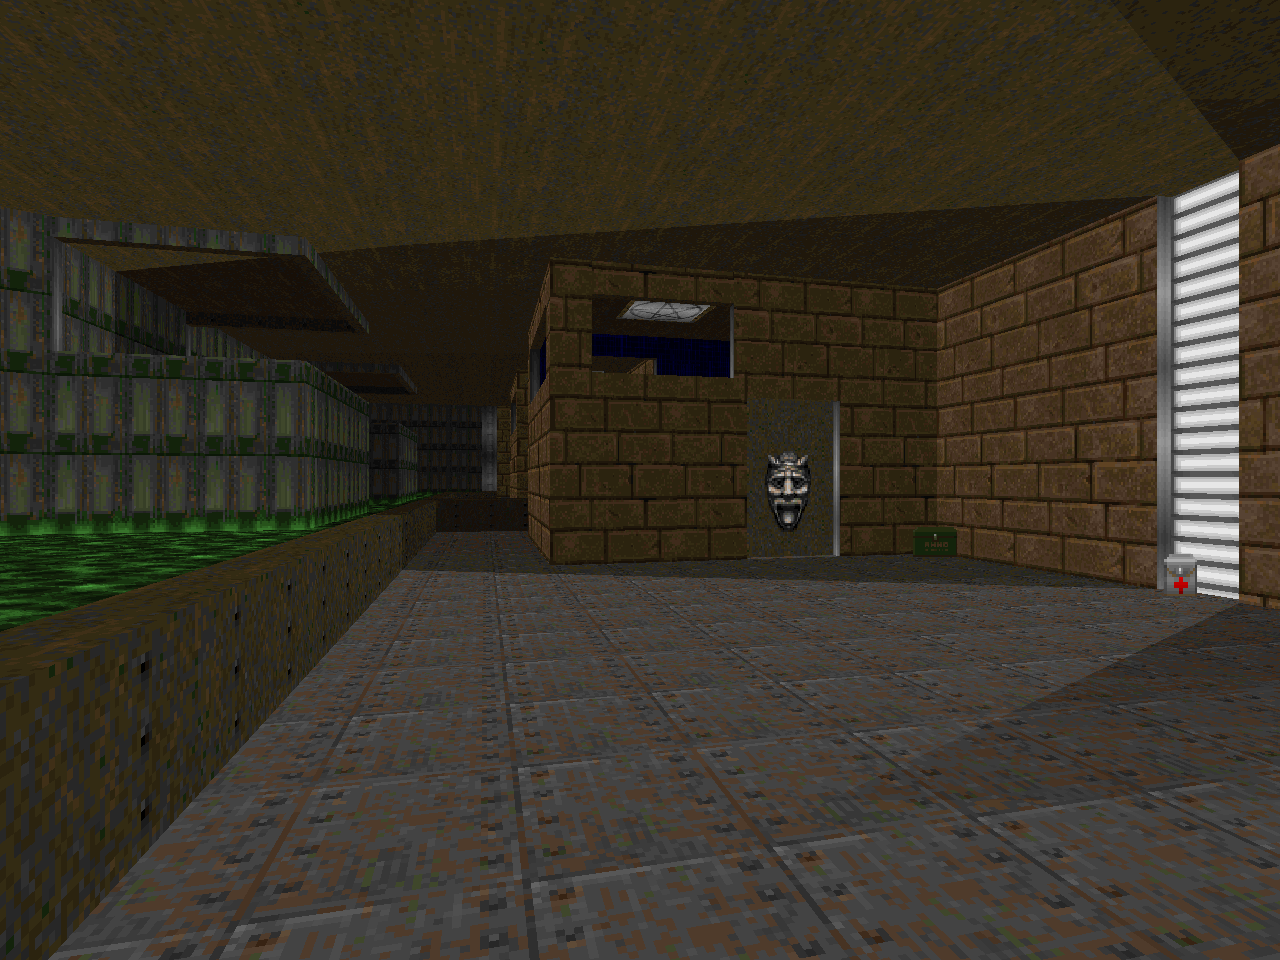 |
| MAP10 | The Mansion |
|---|
| by Alden Bates |
|---|
 | A fairly lackluster follow-up in a brick and mortar style. The "mansion" is fairly expansive but devoid of many recognizable features. I mean, there's a chandelier, bookcases, and a bed, but except for the courtyard mancubus fight, it's pretty rote stuff, even more so if you grabbed the SSG. I will give props for the side path sealing off at the level's beginning, suggesting a narrative. |
| Halls of Insanity | MAP11 |
|---|
| by Eric Reuter and Dennis Moeller |
|---|
| A fairly confusing non-linear level with tons of crannies and stuff. There's two blue keys, one of which is needed to get to the other blue key (?). None of the encounters really stand out though the bizarre Imp cage has some interesting pathing / architecture and most of the level is exposed via a series of teleporters, making backtracking simple and quick. | 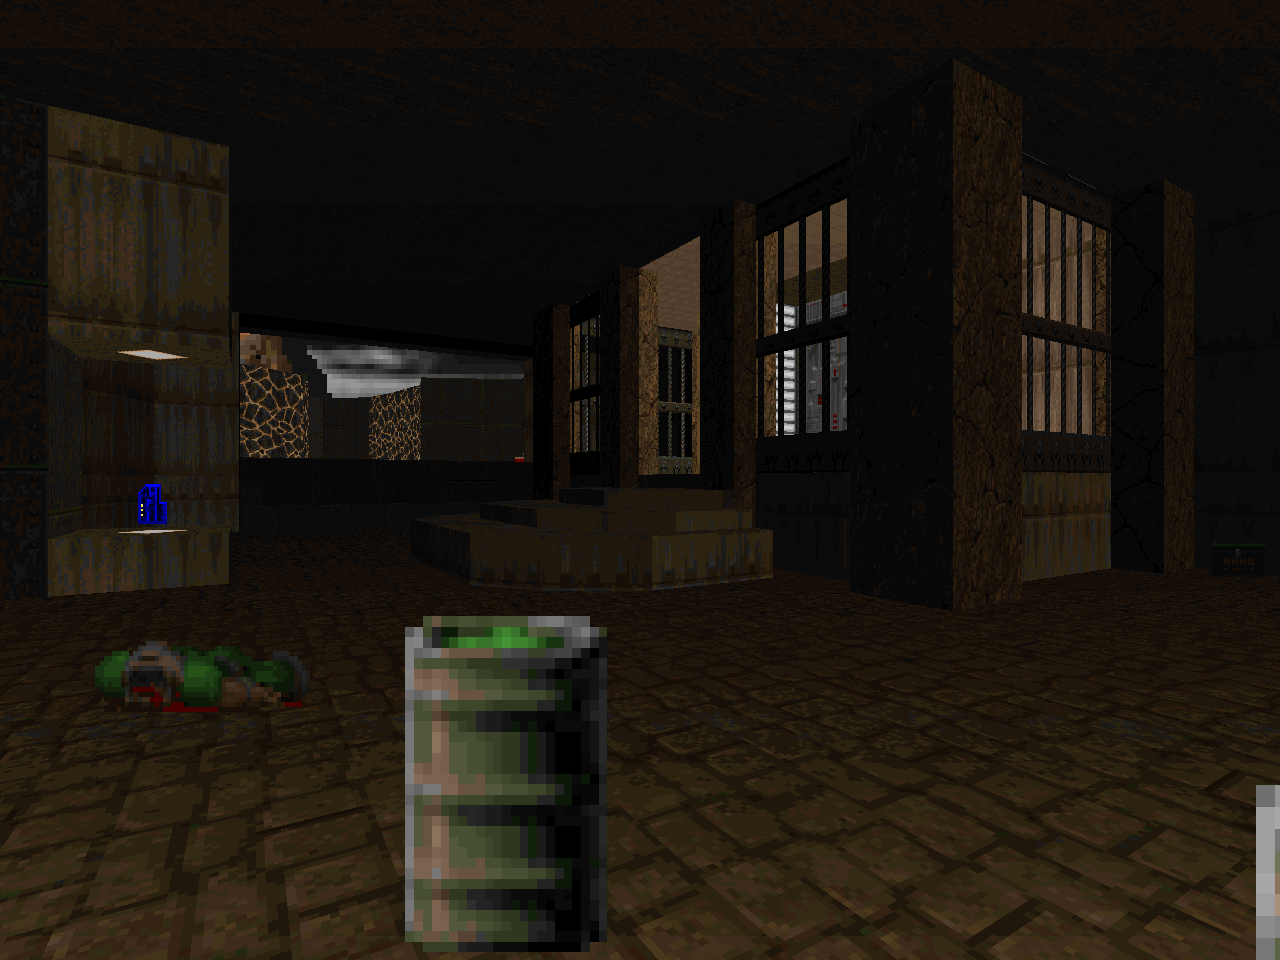 |
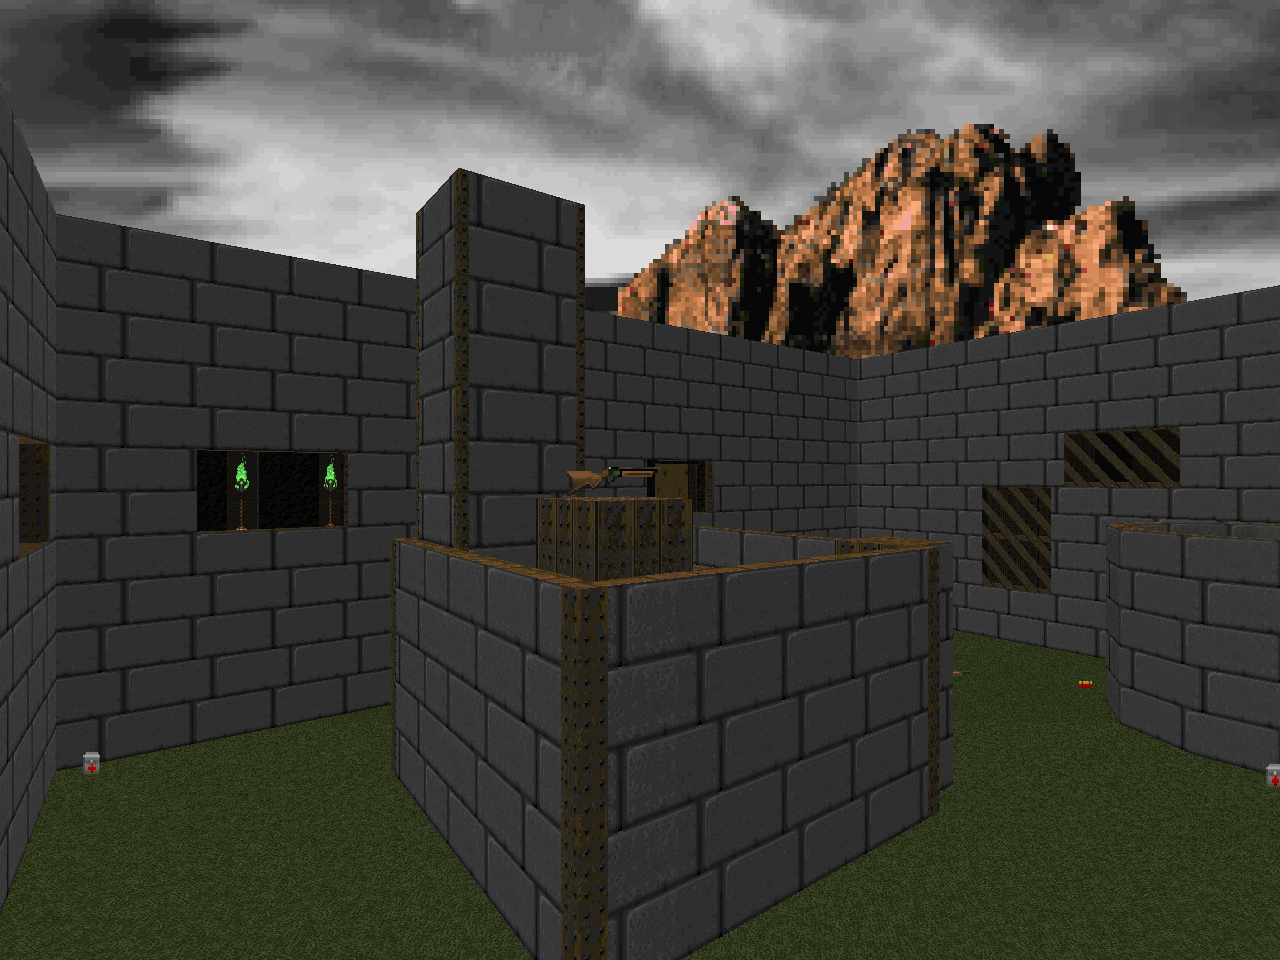
| MAP12 | Kinetics |
|---|
| by Avatar |
|---|
 | An abstract series of challenges in a solid green marble theme. It reminds me of, say, "Tricks and Traps", where every encounter is deliberately designed to surprise the player, except these surprises are far deadlier without being quite as ostentatious. Combine with tight ammo and close-quarters making your rockets a dicey proposition and you have one heart-pounding level. The blue key trap stands out as my most memorable encounter, just by the desperation involved, though that slow descent at the opening serves as a nice introduction. Actually, I'll also mention the demon-chute, i.e. the OTHER way of getting to the red door. It's a very creepy moment, especially when you come from the other side and realize what the intent of the layout is. |
| The Inmost Dens II | MAP13 |
|---|
| by Dennis Moeller |
|---|
| Really fun infested town-style level with a couple of cool fights and mapping tricks. The one-sided switch in the baron chapel surprised me, as did the demon trap, which caused me to forget about the switch in the floor. I also enjoyed the demon swarm in the yellow door building, but the highlight (to me) is how the entire exit room suddenly appears. I mean, I didn't think it would be that easy, and props to Dennis for an awesome reveal. |  |
| MAP14 | Aquaduct |
|---|
| by Tom Mustaine |
|---|
 | A very nice, coherent layout in an earth and brick theme, where the main area is dominated by a glut of water. The fighting is a little cramped but nothing horrible and the portal traps are hardly threatening. You can play pretty fast and pretty loose and the final challenges fall under the ease of a handy plasma rifle, with loads of ammo scattered around the place. I like the fights in both key rooms, they stand out more than anything else. |
| Karmacoma | MAP15 |
|---|
| by Florian Helmberger |
|---|
| Very fun town-style level with a number of buildings to conquer. My only real complaint besides the secret exit bug is that the level's exterior areas remain fairly empty and dull except for the huge slug-fest for the red key, which was all told very fun. Other highlights include the "thick of it" opening of the map and the lost soul swarm triggered at the first building. I think the northeastern section of the map with its mini-mazes bogs the level down considerably but lucky me, I accidentally skipped it the first time, figuring that jumping onto the yellow key porch was the preferred method of ingress. | 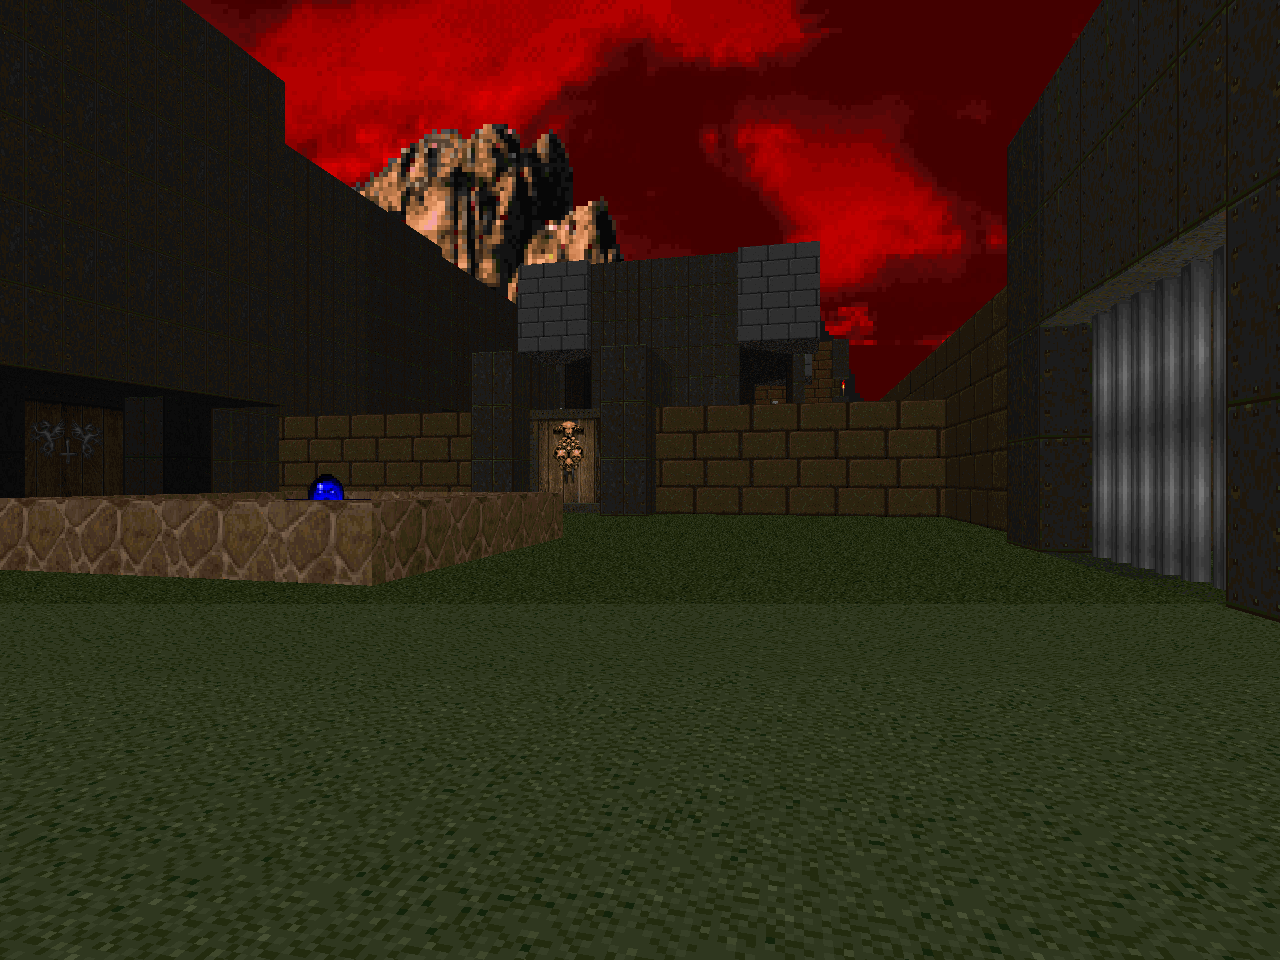 |
| MAP31 | Technology Base |
|---|
| by Dennis Moeller |
|---|
 | Interesting techbase map. I imagine this is really fun in coop. On single player, it's interesting scamming your way into the other side and working your way through a level wing in media res. There's a lot of hitscanners, which is where most of the difficulty comes from, but plenty of health laying around and a fairly early SSG, essential for light speed room clearing. The only encounter that really sticks out in my mind is the post-meetup berserker brawl with the demon horde which is pretty intense, lacking most room-clearing weaponry. |
| The Hidden Slime Factory | MAP32 |
|---|
| by Mark Klem |
|---|
| This is a fun, pretty fast level for being so large. A lot of nice staircase switch reveals and some cool lighting, especially in the sewer section. I'm not really sure what the author was going for with the southern slime tunnels and there's maybe a few more spheres than necessary at UV, but I enjoyed both the corridor fighting and the open battles. The only place I felt disadvantaged was jumping down in the beginning courtyard to take down the chaingunners and hell knights, but after you've seen it, you know what's there. I think the northern section of the map holds up better architecture wise while the southern one just wows me with all the erupting stairs. | 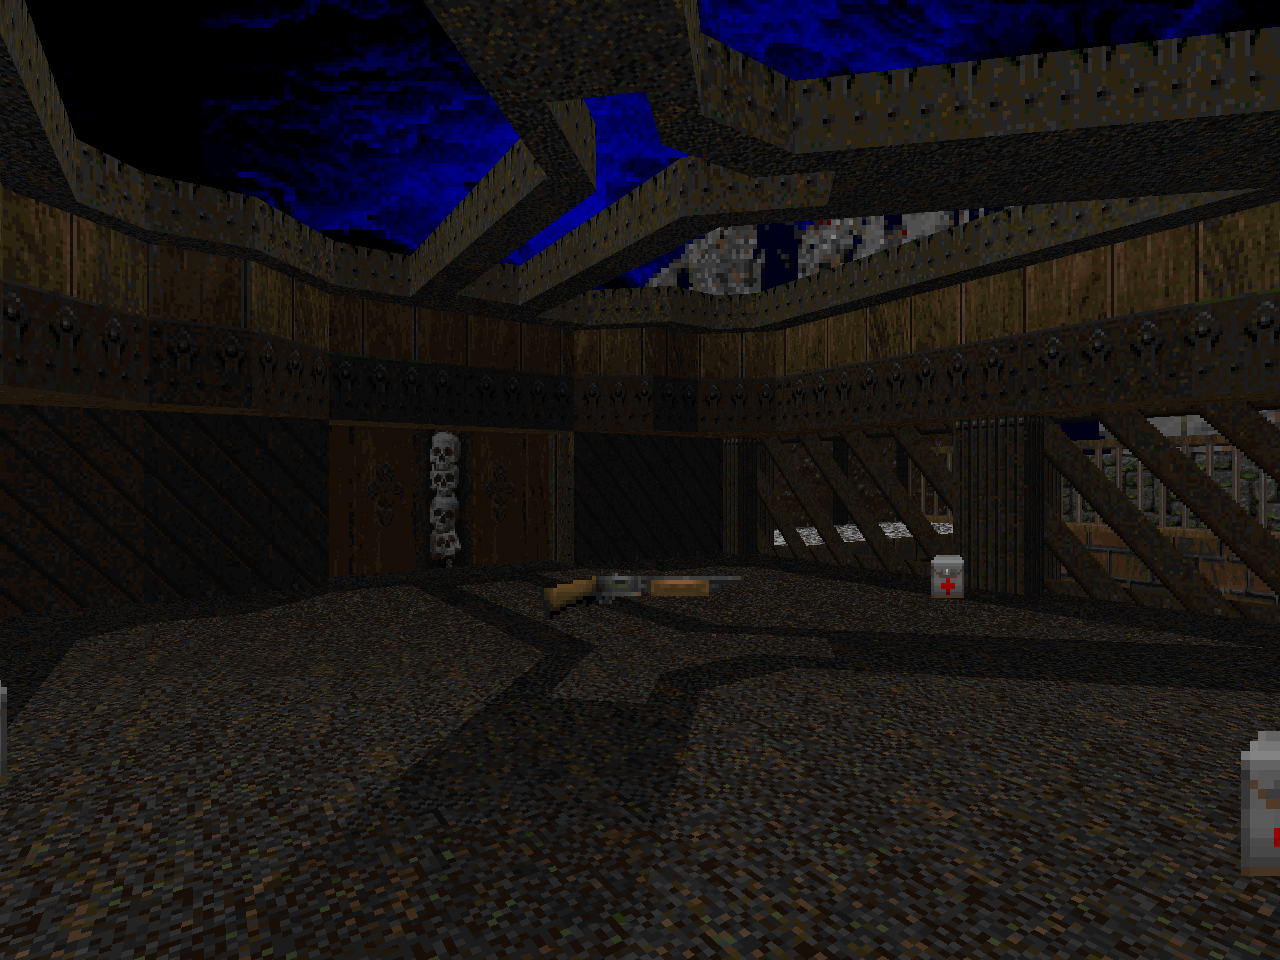 |
| MAP16 | Stoned |
|---|
| by Kurt Schmid |
|---|
 | A fun expansive level in a beige brick theme with some nasty firefights. There's a lot of empty space in some areas, like the waterway, but the encounters on the way more than make up for it, like the battle for the first megasphere or the hi-jinx around the yellow key building. A long slog through toxic waste with ample rad suits rounds out the adventure, complete with a diced-up Icon of Sin. I'm not sure I like the flow that leads to the two arch-viles out back, but that fight – replete with chaingunners – is perhaps one of the few truly threatening moments in the map. |
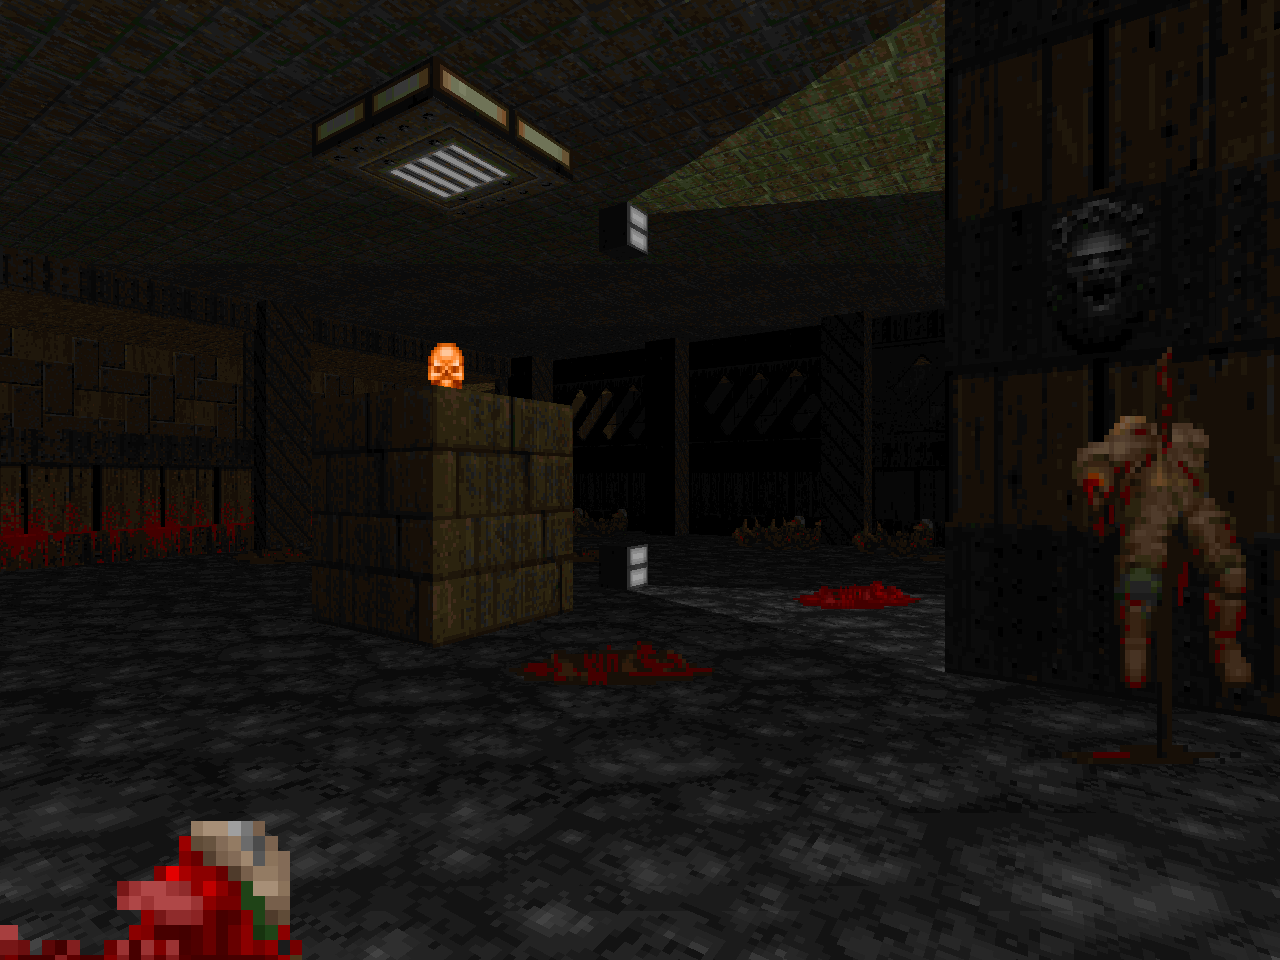
| House of Thorn | MAP17 |
|---|
| by Eric Sambach |
|---|
| Proving once again that Doom beat Duke to putting monsters on toilets. There are some very nice secrets in this house map, a few of which are almost necessary for progression. The beginning is a rather bland house clearing with some standard hell knight corridor fights, but there's a nasty surprise waiting in the very center of the house, and a veritable gauntlet of encounters in the map's corners, with the meat of the action taking place in the graveyard, which contains a very cool co-op puzzle leading to two megaspheres, perhaps the map's standout moment, though really the whole graveyard sequence is a nice adventure. |  |
| MAP18 | A Dead Man's Town |
|---|
| by Henrik Rathje |
|---|
 | HARD town-ish level but by no means impossible. The trouble areas come when initially cleaning out the large outdoor areas while dodging bullets. There's a sneaky arch-vile in the first one who you can easily trivialize, but in the latter area, you'll have to deal with no less than four, who will snipe at you from behind trees across the other side of the map. Of course, the real difficulty of the final area is in securing some breathing room, as there are plenty of beasties ready to sneak up on you while you merrily plug away at something at the other end of the alley. The buildings themselves are pretty fun challenges but by far my favorite sequence of the map is the baron fight right after the red key door. |
| Maltraitor | MAP19 |
|---|
| by Michael Rapp |
|---|
| A more abstract level in a predominantly green marble theme. I can kind of see why Doomers often find symmetrical layout maps a little beyond the pale, but given that this is a co-op WAD, I can imagine what the intent of the designers was. I think the way monsters trickle into some parts of the map is pretty snazzy, but as such, none of the fights are all that memorable, except for the large slug-fest leading up to the blue key, and that's mostly a body count issue. Well, the bridge fight is pretty nice, but handily disarmed with a few rockets. I like the green marble corridors and also think that the "secret" sequence in that same area is fairly clever. | 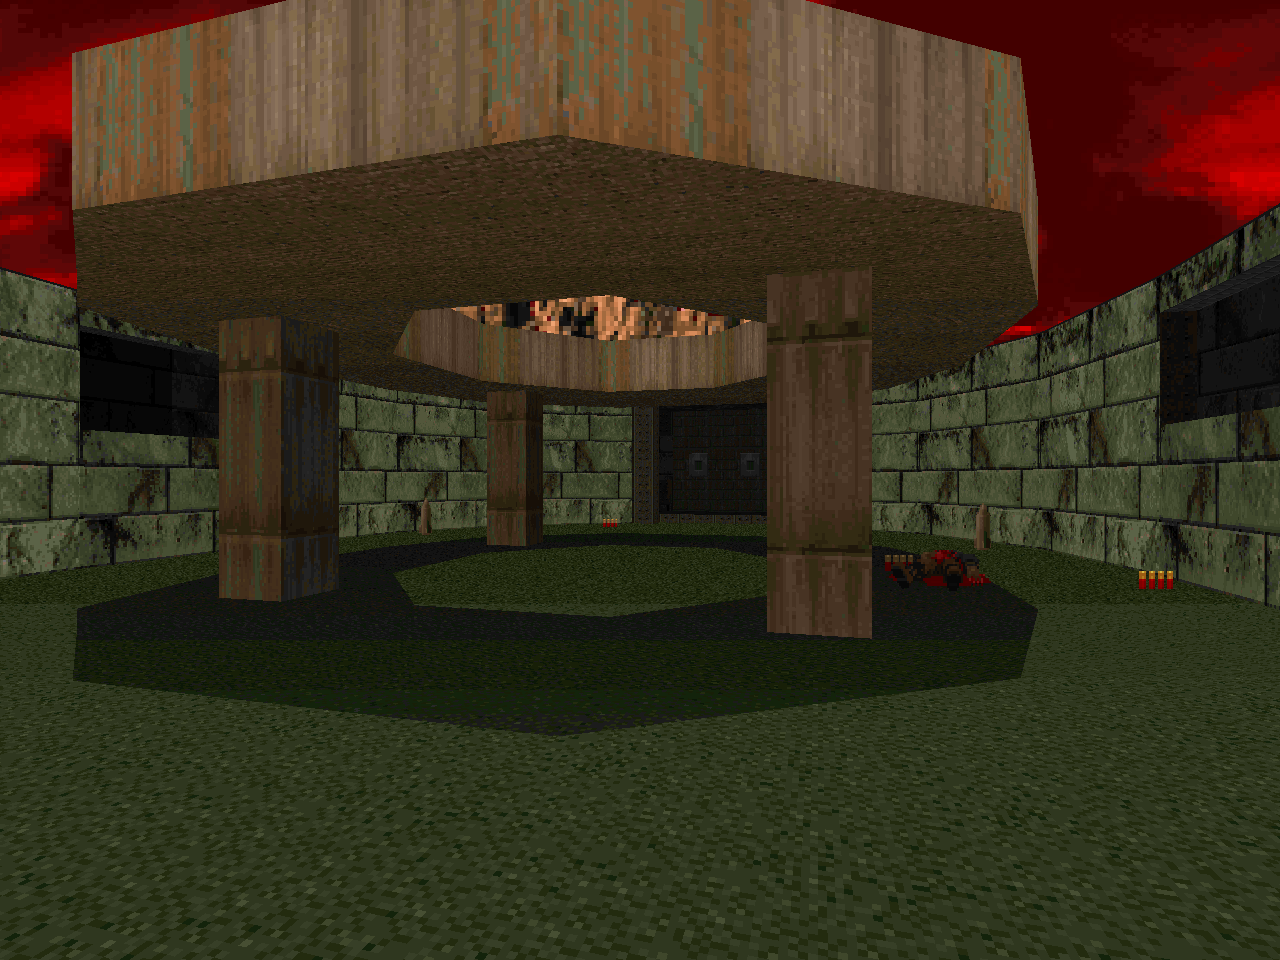 |
| MAP20 | Mountain Depot |
|---|
| by Scott Lampert |
|---|
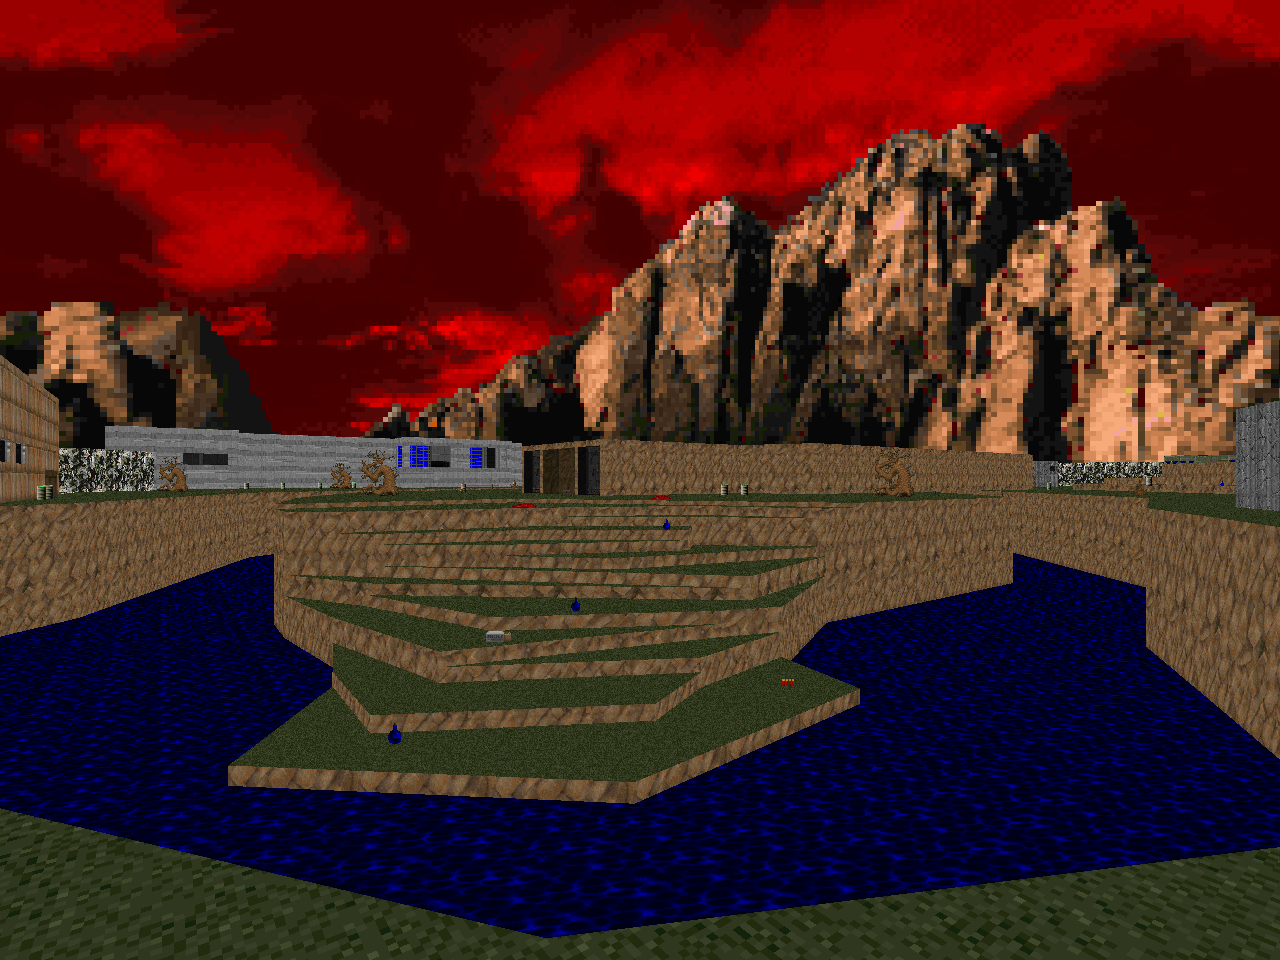 | Very large outdoor map and a river runs through it. A little boring, to be honest. I like the fighting inside the central structure but once you move out into the open you're mostly covering to avoid hitscanners. The biggest thing this map has to offer is a duel with a Cyberdemon which given the random obstructions outside can prove to be slightly difficult. Otherwise, like I said, it's a little boring. |
| Twilight Lab | MAP21 |
|---|
| by Andy Badorek |
|---|
| Let's go exploring! I honestly like this very large gray techbase. It's not very difficult at all but there's plenty of monsters to kill and while I can't say any of the encounters really come to mind after playing it I know I had a blast hunting through this map. It's honestly more of a puzzle map than anything, slowly opening up and linking back on itself. Stylistically the map isn't very consistent but I like the signs pointing out to various wings so that you can kind of imagine what Andy was going for. | 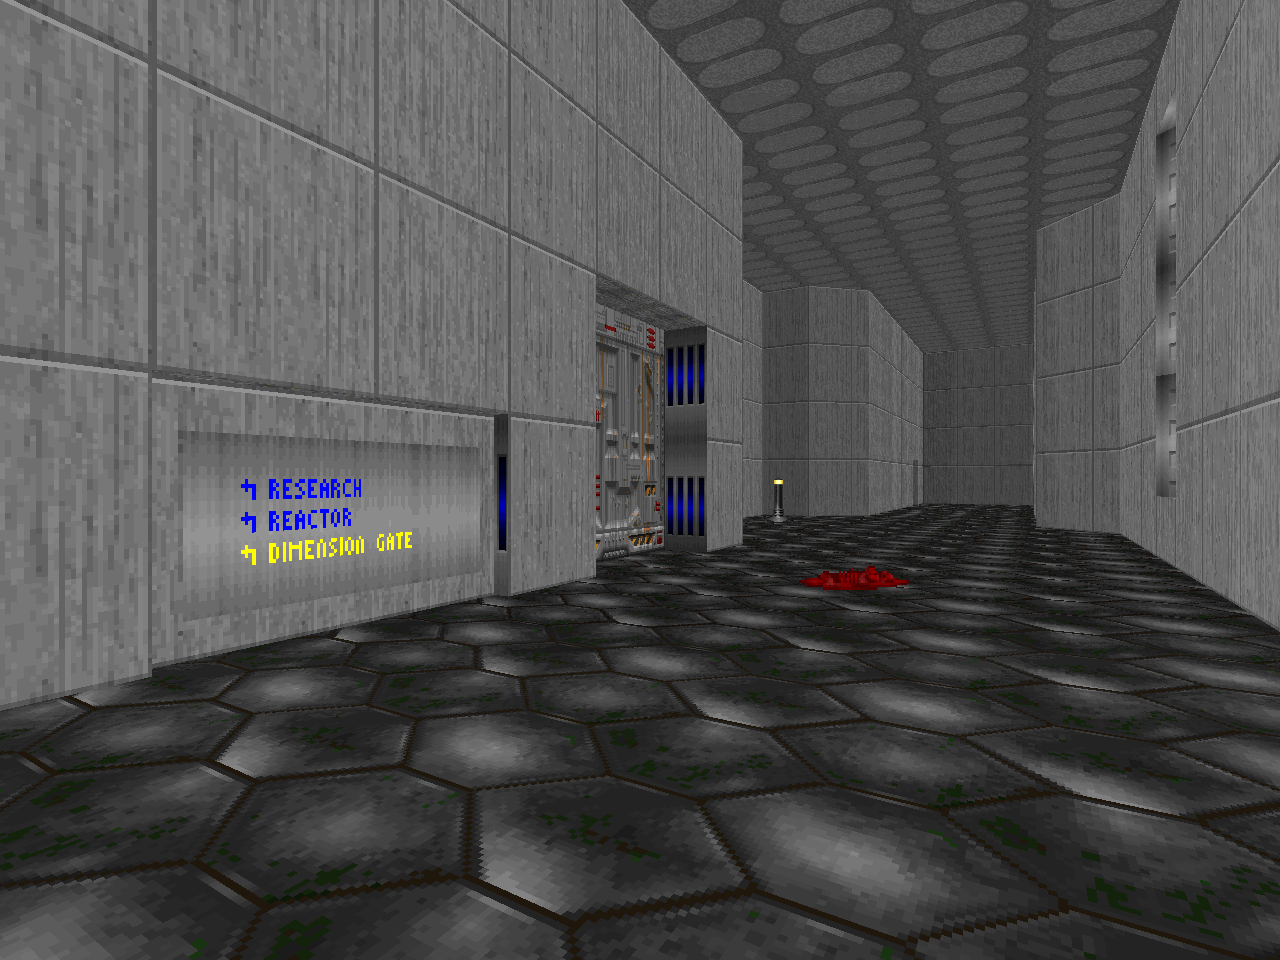 |
| MAP22 | The Escape |
|---|
| by Dennis Moeller |
|---|
 | Somewhat difficult level with a wooden Hell theme. I initially thought it was much tougher until I realized one particularly nasty bottleneck could be solved by getting its individual components to infight. Most of the encounters are good. I don't care for the chaingunner room or a particularly nasty switch-opened trap just beyond the yellow door, and the four almost identical passages leading to the blue key room are likely fine in co-op, but annoying to deal with in SP. That said, they go by fast, and the rest of the map has some great firefights, like the demon maze near the beginning, and I like how the outer shell just zips away. Also like the abstract layout of the final room. |
| Showdown | MAP23 |
|---|
| by Milo Casali |
|---|
| A Casali slaughterfest in brown brick with caged sniper points on every wall. It's actually pretty easy, all things considered. The standout encounter would have to be the yellow/blue key room, which leaves you twisting in the wind. There's all kinds of crazy waves of revenants, mancubuses, and arachnotrons. You control the stages, though, so it's your own fault if you get overwhelmed, and there's more than enough room (in most places) to dodge the shit that gets sent your way. Very fun and highly recommended. | 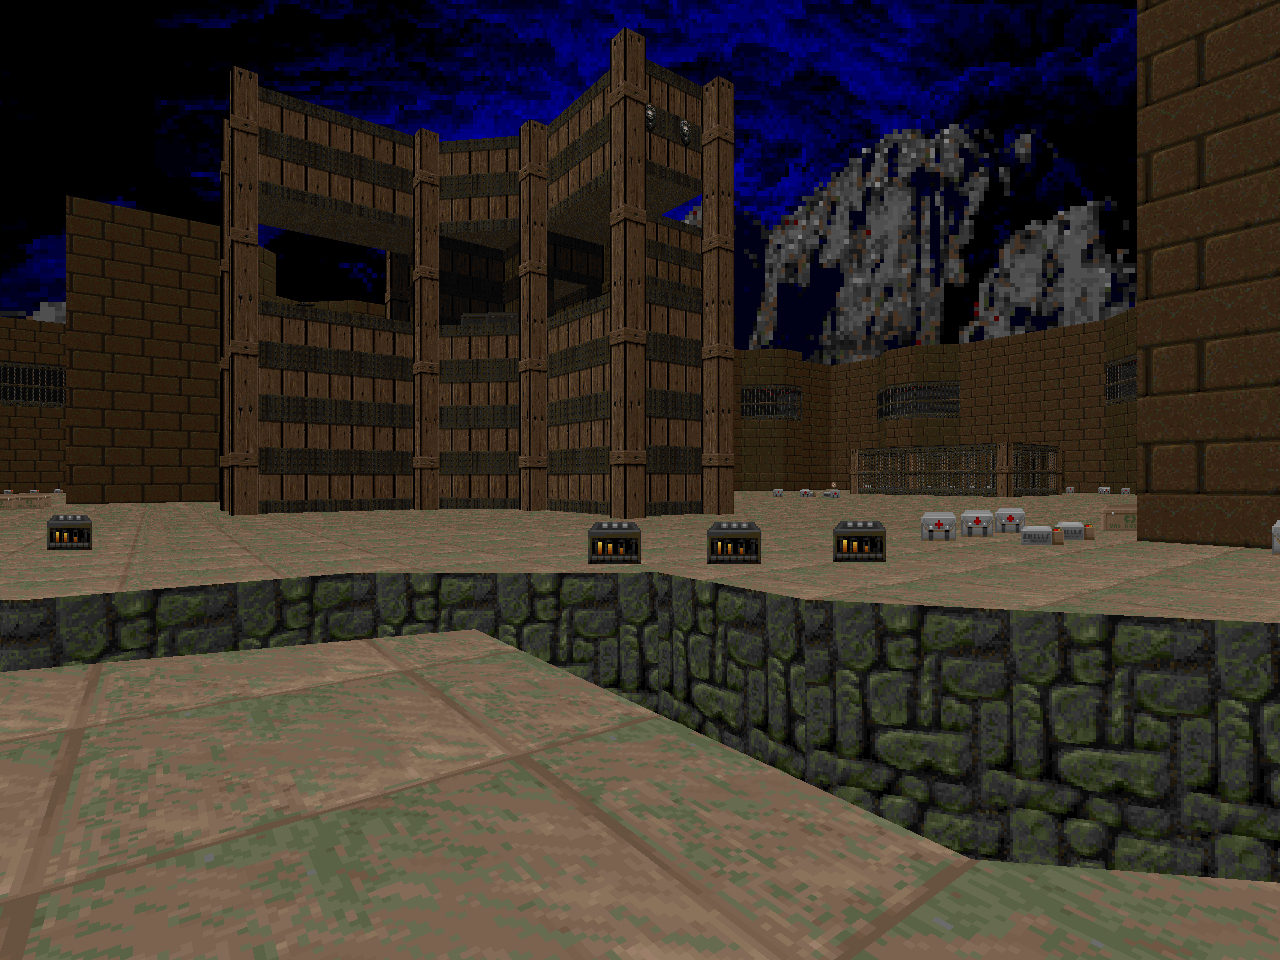 |
| MAP24 | Diehard |
|---|
| by Dario Casali |
|---|
 | Expansive elevated underground area in the style of "The Living End". Tons of ammo, tons of snipers. These maps always make me nervous, especially when they unleash hordes of cacodemons and pain elementals, 'cause with all the teleporting and whatnot you never quite know exactly where they are after you take cover. No real standout moments, except for when that first pillar opens up, revealing a horde of flying beasties. Actually, the penultimate room (you'll know it when you see it) stands as my favorite encounter of the map. |
| Cesspool | MAP25 |
|---|
| by William Sullivan |
|---|
| A bit of techbase with a heavy sewer theme. When you know the practically mandatory secrets, this map is actually incredibly easy. That said, most secrets are cleverly hidden, and getting the beginning powerups is a race against time. Otherwise, thanks to the way the way the deep water effect works in Doom, nothing outside of water can hit you while you're inside, and nothing inside water will hit you when you're outside, so you can really game the map to your heart's content. Standout moment is probably the arch-vile teleporting in at the end of the map. Granted, at that moment if all's well you could bail, but I hate having to run away from arch-viles, as long as I can't go back and kill them. |  |
| MAP26 | Between Scattered Corpses |
|---|
| by Thomas and Dennis Moeller |
|---|
 | Pretty rude level that covers a variety of themes, the main emphasis on large, memorable battles. Lots of knock-down drag-out fights, but none of them are even that tough. The worst part is the last arch-vile trap, especially if you wake him up. You get to watch helplessly as he resurrects an entire army of demons, the perfect meatshield between your weaponry and him. The best move is to not touch the lost soul, wait til you can open the cage, and then hose him with your rifle. Other than that, the architecture is pretty simple but memorable and lends itself to the firefights the Moellers have populated the map with. Standout moment, yeah, probably the arch-vile trap. |
| Fort Hades | MAP27 |
|---|
| by Scott Lampert |
|---|
| This is a pretty fun mountain base level with tons to explore. Not very pretty, but it handles like a champ. Like many other levels in this mapset, as you acquire keys, it becomes increasingly transparent. There's a few viles running around but they're never actually threatening. The most threatening encounter here is the megasphere "secret", which if you're ill-prepared for can give you quite a start. The rocket launcher secret is another nice scare. Standout moment, I'm not sure. Probably the megasphere secret. |  |
| MAP28 | City of the Unavenged |
|---|
| by Jens Nielsen |
|---|
 | A long, intense slog of a level in a city theme. You rarely have a moment where you're not getting harried by something and there are no less than three Cyberdemons to contend with, none of which can be destroyed by any fancy tricks, and must be fought in areas not conducive to circle-strafing. There's plenty of switch puzzles, plenty of arch-viles, and tons of ammo and health. It's a good feeling, though, when you're finally ready to hop out the exit. A number of squat, square buildings compose the architecture, almost all of which have upper windows for sniping. They're mostly brown, with wooden walls for fencing and numerous alleyways, giving beasties plenty of time to sneak up on you. It's not very beautiful, but it works splendidly. |
| Island of Death | MAP29 |
|---|
| by Thomas Moeller |
|---|
| This is a pretty fiendishly laid-out outdoor level; I just know I'm missing about 1/4 of it, and half of what I HAVE played doesn't even seem necessary to finish. But it's fun exploring, as well as slaughtering mancubuses in close quarters. Really, the worst bit here is the teleport trap at the end, but if you discovered the plasma rifle or BFG, you should be fine. There's a nice outside area you can periodically see, complete with a boat for escape. The island itself makes heavy use of the vined base, and has a pretty snazzy elevator sequence where you complete three different tiers of rooms, though only the bottom one is involved. Pretty fun stuff. |  |
| MAP30 | Viper |
|---|
| by Milo Casali |
|---|
 | Hahhahahaha, I recall hearing about this IOS before. About a bajillion rockets later, level complete. In coop this must be tons of fun, you can basically have three people running around slaying demons while the guy on the pillar slowly and stoically chips away at Romero's meatshield. I like the layout of the base, with the megaspheres and ammo stashed everywhere, but as an IOS level it doesn't really lend itself to much beyond mass slaughter. And how! I do enjoy the "spin" on what's ordinarily a pretty ho-hum affair. |
MEMENTO MORI
Remember that you will die.
A lot.
map21's name is THE TWILIGHT, not its creator name :D
ReplyDeleteThanks! Though I must point out that MAP21's true name is in fact Twilight Lab. Fixed!
DeleteI've always seen MM1, and Icarus, as the unofficial Final Doom episodes.
ReplyDeleteThat's probably helped by the fact that they both share some people with Final Doom, and were both made around the same time as Final Doom.
DeleteMAP28 is bruuuutal in this megawad.
ReplyDeleteMost levels are excellent, but some others are not very enjoyable, in my case I couldn't enjoy level 12, it has many unfair monster placements and a few deadly "traps". But overall it's a 7,5/10 for me
ReplyDeletememento mori is much more '94-'95 than its sequel. it's pretty indicative of the changing standards of the community with regard to level polishing and design between then and 1996.
DeleteThe first Doom 2 WAD I have played outside the official ID releases, and I found it to be quite fun. Map 4 is quite a pain though.
ReplyDeleteI just finished this map set. A lot of fun. The difficulty level is pretty inconsistent. I found the final level very easy. I guess easier than all original Doom/II boss levels except E1M8. You can stay on your little island and kill all the cacodemons, arch viles and imps in the tower before setting off. The only remotely dangerous part was when you get teleported back into the room with revenants on pillars. But you can run out the door right away and fight on your terms. It's also very easy to just run back outside and BFG the cyberdemon down. So maybe it's easier than E1M8.
ReplyDelete