Doomworld Forum superstar Matt "cannonball" Powell made an E1-style episode as a speedmapping exercise back in 2012 -
CBSPEED. He then went on to add two more episodes for E2 and E3 and revising the first, formative episode in the process. In the end, in 2013, we get
ConC.E.R.Ned, another of those elusive beasts - a
Doom megaWAD. You won't be able to play it back in vanilla
Doom, at least not all of it. Limit-removing ports only need apply. Powell's framing story is a bit more mundane, but still involving a demonic invasion. It seems that in 2150, Switzerland's Hadron Collider tears a hole through time and space, and the Hellspawn on the other side pour through. You're the only survivor, locked outside following the automatic execution of containment protocols, but they won't hold forever. It's all up to you - again.
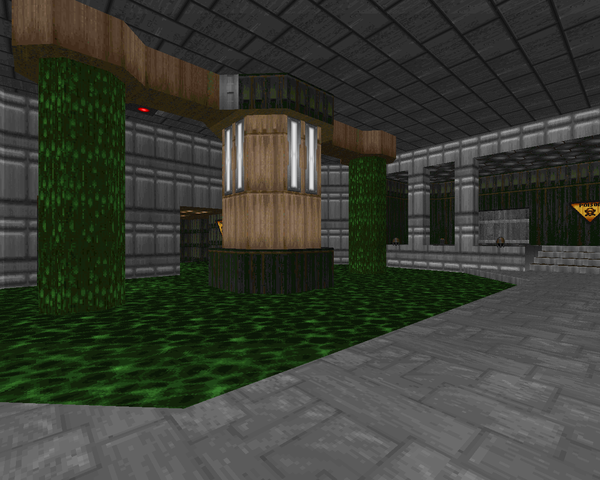
CONCERN is an odd duck. The entire megaWAD steadily points toward mounting difficulty until the finale of the third episode, a full-on slaughtermap for the original Doom. And when I say slaughtermap, I don't mean turkey shoot. There are a lot of arena fights throughout the mapset, unfortunately not as vibrant as Doom II's due to the restricted bestiary, but they work. You'll be chewing through more demons than you can shake a combat shotgun at. Powell does a good job of shaking you up when you're in transit with monster closets galore. Some people despise them, but they're usually stocked with some goodies, too, and it's a great way to keep players on their toes, especially when they're paired with teleport traps to force you to confront the evil head on rather than hug your precious corners. Speaking of goodies, I loved all the secrets, most of which were easy to find my first playthrough. I'm a professional secret sniffer, though, so less apt players may wish to use carryovers, though it may ruin the tone of a few maps.
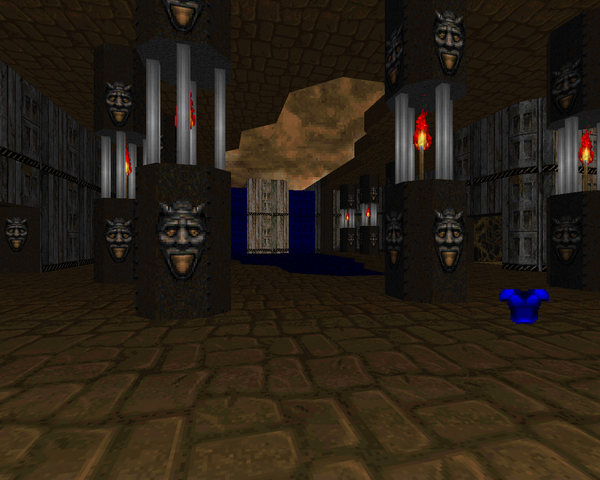
Another strange, but understandable, thing. The CBSPEED episode is pretty boring compared to the stuff Powell does later, though it gets better. They're just fairly flat compared to some of the madhouse stuff you see in E2 and E3. Generally I feel that there's a lot of wasted space, like the two huge nukage tiers in E1M3, or the sheer scale of E1M7. The latter two episodes pull the architecture in closer for more claustrophobic gameplay, one of the few ways to make the Doom monsters threatening besides throwing them at you in mobs, and that happens and will happen throughout the megaWAD. cannonball gets pretty good at making sure you're not just shooting down a hallway without any duress, though. Sometimes it's slamming a door behind you and others it's some sneaky enemy reveals. The only thing that sucks that I saw a lot - too much baron on shotgun action. Maybe speed runners have better routes for coming back and killing the damn things, but if you play Concerned straight, prepare for the long haul.
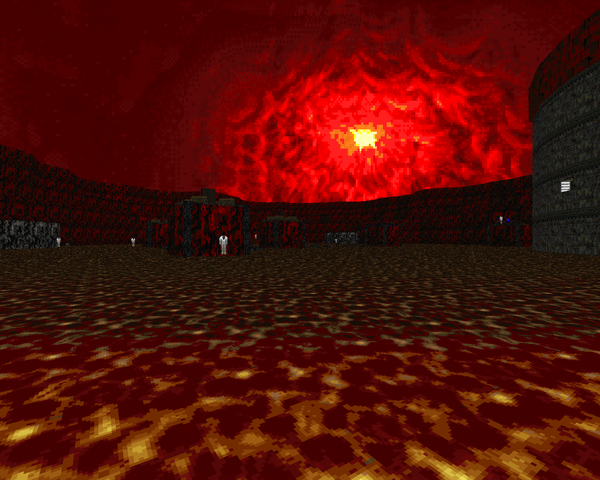
CONCERN has its fair share of idiosyncratic levels. A few of them start out with Tyson gameplay if working from a pistol start; sometimes they're too resource-starved at the beginning for them to be any fun for me. Then you get "Blackout", where you can hardly see in front of you at a gamma setting of 1.0. My favorite is "Cyberslayer", a loveletter to
Cyberdreams excepting the fact that you'll be shooting up a bunch of non-Cyberdemon monsters and will have to kill a ton of them with the BFG all the same. Then, of course, there's the slaughteriffic "Fortress of Tyrants", where the monsters themselves are the puzzles and upon victory you're informed that you've been trolled by the demons after unloading your weaponry into some mong. Oddly appropriate.
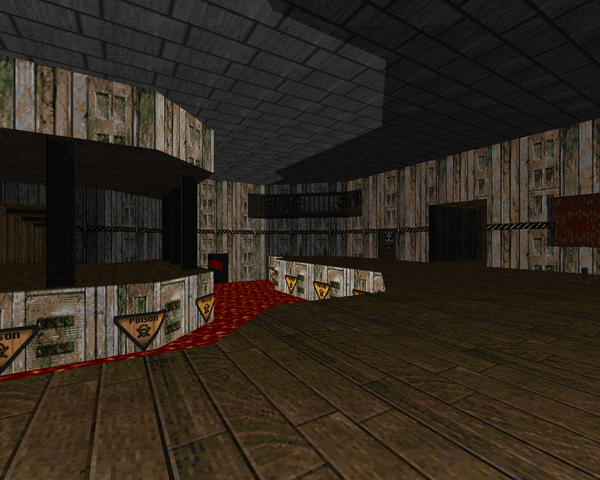
I liked
Concerned. It was pretty challenging and I haven't seen this kind of slaughtery gameplay in an ancient
Doom format excepting some of the crazier moments in Khorus's
Base Ganymede, another
Doom megaWAD you should also check out.
Concerned is comparatively uneven, and not as pretty, but if you're willing to meet cannonball's army of Cyberdemons on the battlefield, slug your way through a fairly banal E1, and suffer through some survival style levels, you'll find some neat maps to explore and plenty of combat-oriented brain teasers.


CONC.E.R.NED
by Matt "cannonball" Powell
EPISODE ONE
DEAD COLLIDING
| Toxic Touchdown | E1M1 |
|---|
| Pretty flat and easy level, though it goes so far as to throw imps and demons at you fairly early for E1M1. It's got a nice clean design and at least one bridge over nukage if not any stairs besides the ones leading down to the chainsaw secret. Some decent setpieces, like the nukage pipes. | 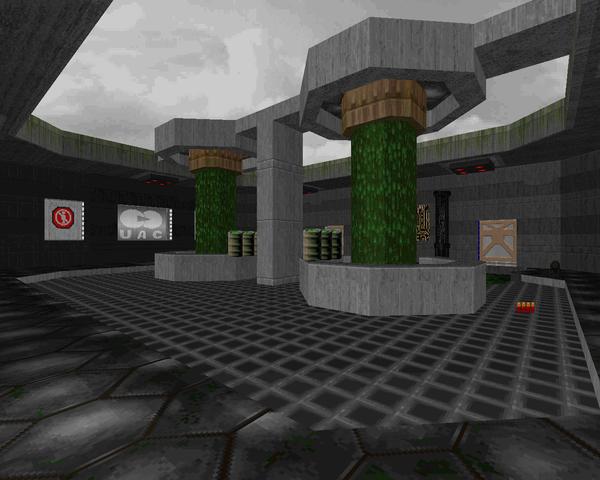 |
| E1M2 | Mutagenic Quarantine |
|---|
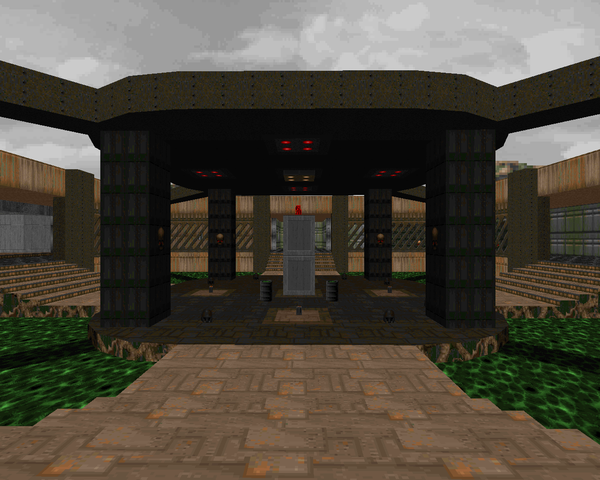 | A big open techbase that turns into a Doom slaughter level as Cannonball pours on the monsters. The two big packs are at the very beginning, where you wake up pretty much every monster in the big central room, and the ending, which tosses five or so cacos at you with some other trash running around. It's not especially threatening except for the potential lack of ammo at the start if you don't find the shaded computer area secret off the starting hallway, which actually has a neat twist in putting monsters in upper caged areas that will probably catch you off-guard the first time you get hit by them. |
| The Cleanser | E1M3 |
|---|
| Big nukage area with two big tiers of poison in the opening room. Feels like a missed opportunity; could be some hectic action here, but instead it's running from a few imps and demons if you don't find the secret chaingun. The introduction of lost souls and more cacodemons makes the action here a little more pressing, though the fights are still fairly lightweight. I guess the red key ambush was a nice, if completely predictable, shock. | 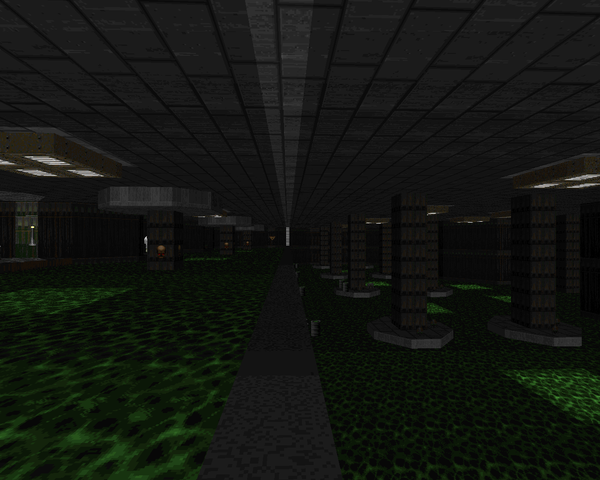 |
| E1M9 | Atomsmasher |
|---|
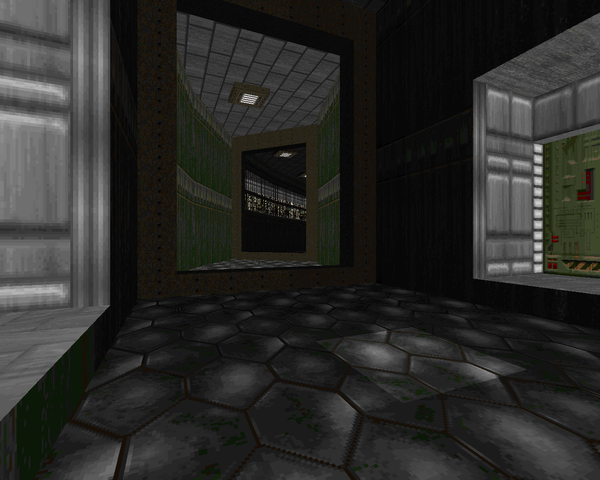 | A very fast play that is unfortunately still kind of a bore to clear. The majority of the playing area consists of mirrored encounters, whether in the giant supercollider hallway or the large chamber inside of it. Admittedly, the central chamber is basically one giant encounter, so it doesn't matter so much, and basically devolves into a big cacodemon kite as you whittle down the hordes. The side chambers are where the best hooks are, with the western area housing my favorite encounter, the south serving as rocket fodder. The plasma rifle fight was pretty nice, though. |
| Withering Gardens | E1M4 |
|---|
| This largely outdoor level has a bunch of bunkers with open windows that expose you to total hitscanner Hell, not to mention a bunch of strategically placed shotgun snipers, particularly the four around the yellow key bunker that regenerate up to three times each. Trying to kill everything while not getting shot up yourself is the main challenge, though focusing on zombies is liable to get you chewed by one of the Hellspawn out wandering around. The only real ding I have on it is that the playing area is almost uniformly flat. Favorite encounter - the conference room to the south east. | 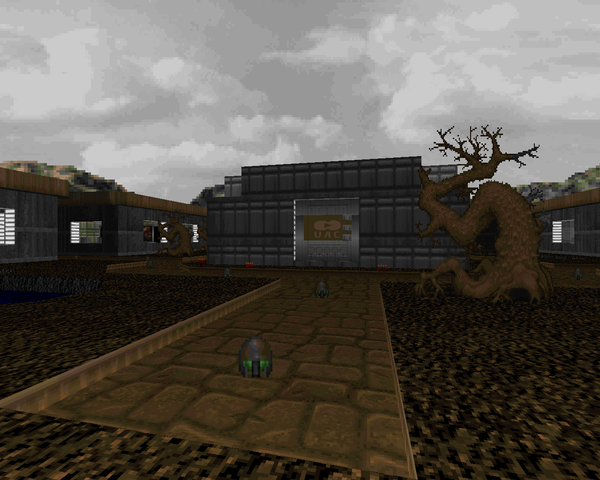 |
| E1M5 | Administration |
|---|
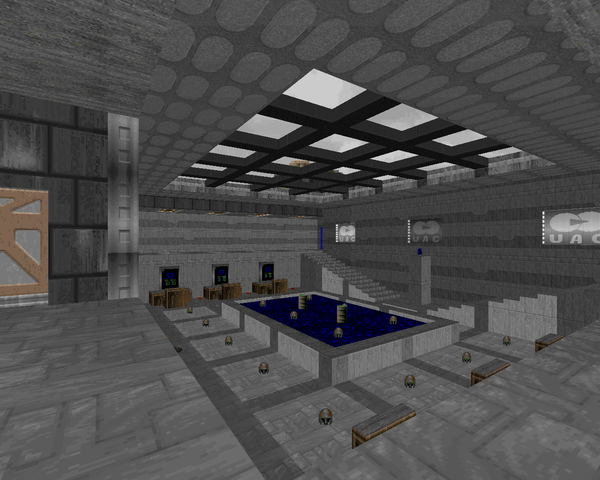 | The core of the level resembles E1M9 in that you've got a large outer ring (or near square, as it were) surrounding another large room with spokes coming off the main hallway. It plays a bit better, though, as the rooms coming off the looping path are more fun to navigate, plus Cannonball remembers to throw more monsters at you when you reenter the hallway after completing some major objective. The enemies tend to come at you in droves, as usual. There aren't many fights I'd call staged, except maybe the underwhelming shotgun ambush on that southeastern ledge or the cacodemon sandwich on entering the western leg of the level. |
| Laboratory | E1M6 |
|---|
| Powell picks up the pace with this devilish level. It's super flat once you descend that opening staircase but things seem designed to have you poke your head in and get it bit off by more and more monsters as you fumble around in the chambers to the northwest and northeast. The northeast is a fair bit nastier, loaded with monsters and having a very nasty yellow key trap, though if you know about it beforehand you can fight your way to the rocket bunker and then just shell the demons into oblivion. The southwest and southeast areas look similar but the dual Cyberdemon arenas have their own peculiarities that require slightly different approaches. All to late, I found the western secret chain, which granted me a BFG I no longer had any use for. Pretty fun. | 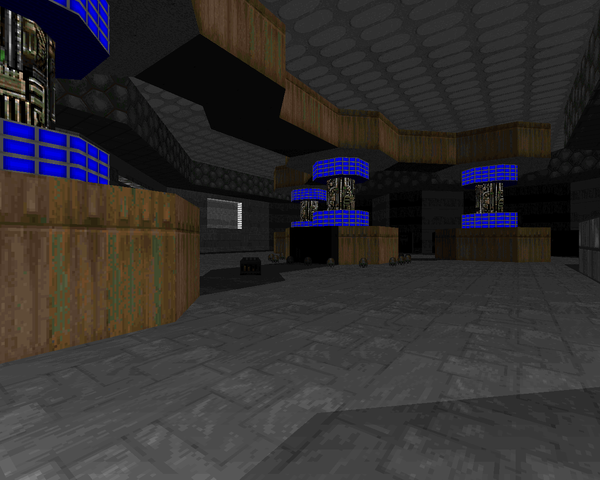 |
| E1M7 | Reactor |
|---|
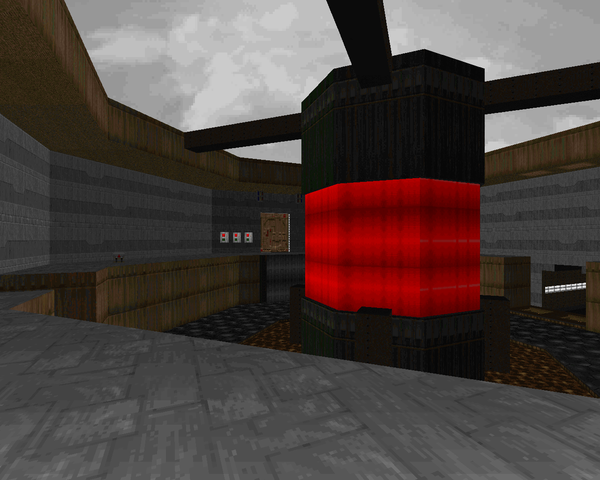 | There are some nice visuals here and a couple of good fights but Powell fails to use most of the space he's made. The only encounters that thrilled me were the Cyberdemon fight in the control room near the center of the level and the ambush in the westernmost area, which also unleashes a horde of enemies that begin to prowl the sewer colonnade. That latter portion basically devolves into RL spam if you leg it around the pack, though. That other Cyberdemon battle might excite if you trigger the shotgun guy teleporters, and you might if you need the ammo around the key. |
| Particle Accelerator | E1M8 |
|---|
| Rather than be content to chuck a bunch of barons at you, Powell's finale involves a crossfire with two Cybers and a Mastermind. If you're gutsy, you can get some infighting started and then move on to the barons while mommy and daddy fight it out and then mop up the survivors with your boatload of plasma cells. After that, it's an underwhelming key fight and a psyche-out ending. The meat of the map is a nice ending. | 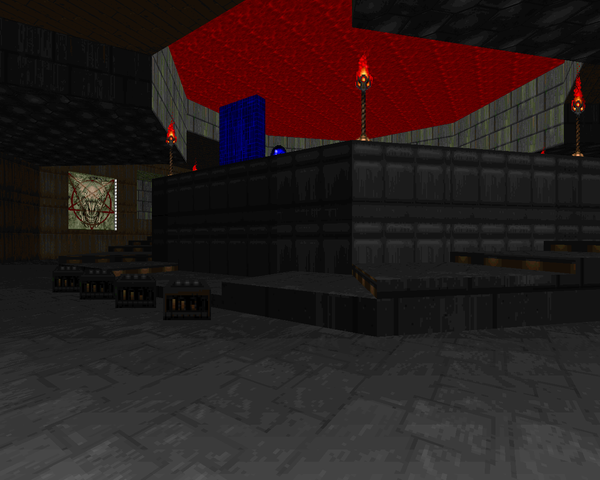 |
EPISODE TWO
PARALLEL WORLD
| E2M1 | Collider Anomaly |
|---|
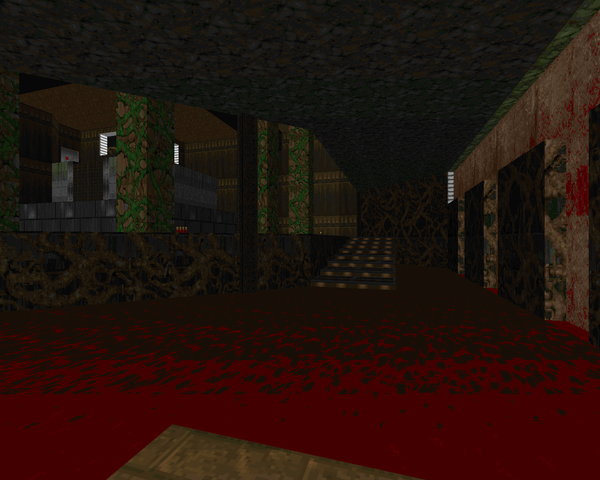 | Well, this is certainly different, if in the Deimos style. Powell sets a tone of desperation in E2's opening level; "Anomaly" is low on ammo and health, requiring a lot of chainsaw work to just get by. The architecture is a bit more interesting, too, mainly thinking of that tiered blood room to the southwest. The eastern area has a darkened sewer / spectre crawl that's a little tricky. A nice change from E1. |
| Logistics | E2M2 |
|---|
| Of course, you expected some crates in homage to "Containment Area". It's a bit different, though, as Powell continues his multi-pronged assault with monster closets paired with teleporters and fights like the finale, which teleport cacodemons directly next to you and some weaker monsters further away where you don't immediately notice them, a dangerous combination. The only fight I thought was potentially unfair was the blue key teleport trap, which may have you mobbed as you emerge from the compound's elevator. I would have liked a few more beasties in the outdoor segment, too. Still, pretty fun. | 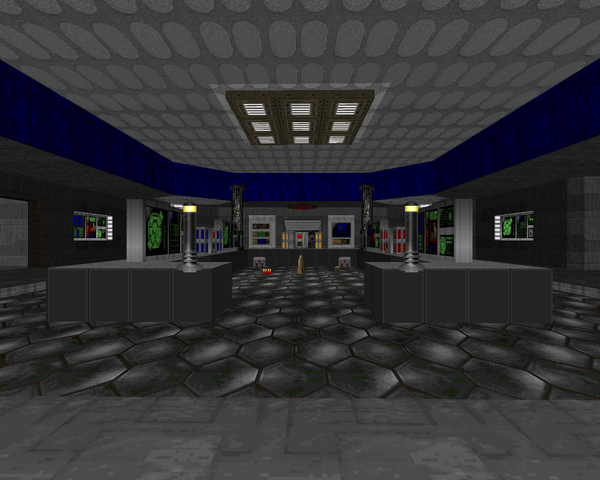 |
| E2M3 | Hydroponic Facility |
|---|
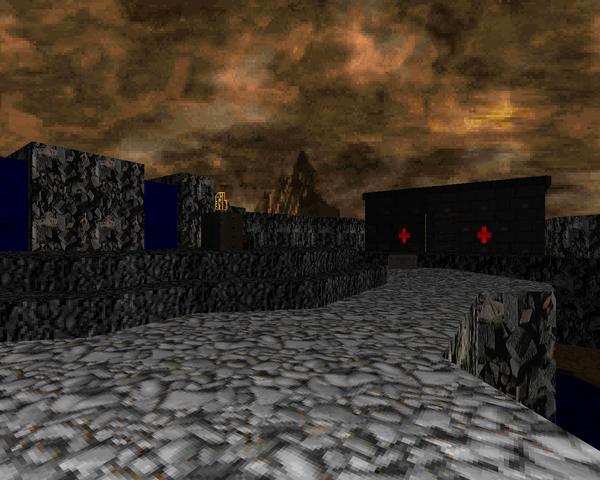 | Pretty cool viny level with a lot of water as well, understandable for its title. You have two directions to start off in and the windows into the side chambers ensures that as you press on you send more upstarts toward your direction. The western area is the sight of two major battles, but taking on the cacodemons plus others is more fun than a single spiderdemon. I like the eastern section, with its granite mesa and monsters all around. It's also the site of a teleport slaughter, led by an invulnerability if you sniff out the appropriate secret. |
| Infirmary | E2M4 |
|---|
| Taking things in a bit of a different direction... A Tyson direction. If you're not comfortable punching imps, demons and maybe a baron or two, you might want to give this a pass unless you're carrying a loadout from previous maps. You won't really be comfortable until you exit the basement and grab the blue key, after which you'll be sitting comfortably enough ammo-wise to take on the rest of the level, which feels more typical of the rest of the mapset. Cool moment - coming back up from the cellar and seeing lost souls on the dead bodies in the beds. | 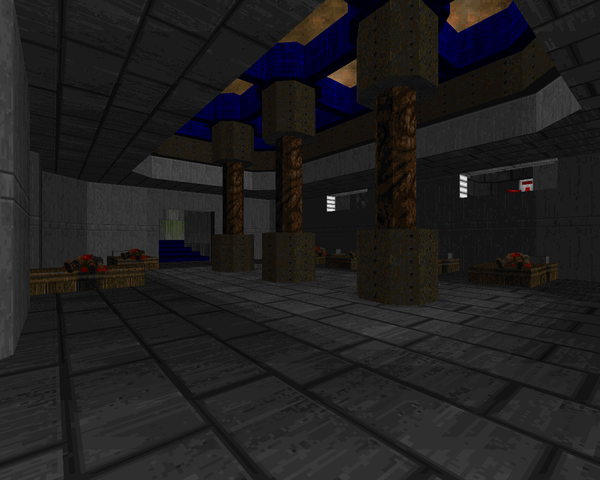 |
| E2M5 | Tactical Command |
|---|
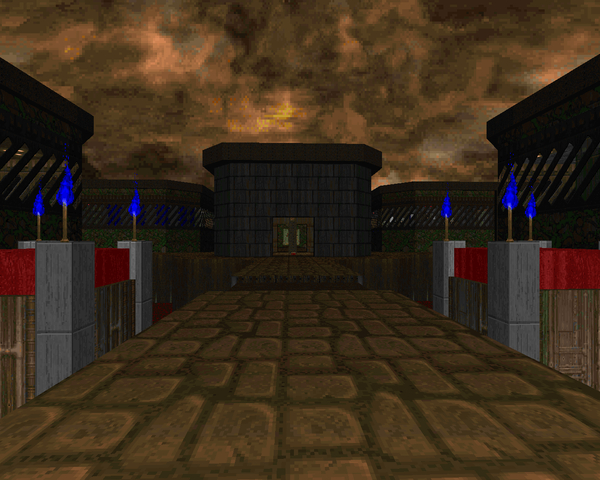 | An enormous offering with two mini-maps inside, one straight out of Phobos and the other from Hell. Both are accessed via a cool scrolling portal thing and you'll need to clear both in the search for all three keys... And the four secret switches. The main outdoor crossroads is a hectic crossfire, with enemies in cages, enemies airbound, and enemies lurking in closets and teleports. The E1 base is fairly understated and probably the first place you want to spend any time in. The Hell area has both a Spiderdemon and Cyberdemon encounter lined up, plus some areas that are tricky to break into. It's more challenge-oriented. Altogether, a few forays. |
| Blackout | E2M9 |
|---|
| A level whose gimmick is immediately obvious. "Blackout" cranks the light levels to pitch black, and most of the challenge comes from the fact that you can't see but a few feet in front of you as long as it isn't a projectile or attacking monster, except for the scant few lighted areas. That's pretty much all there is to this abandoned / corrupted UAC mine thing, so crank the gamma up if you don't like the eye strain. There are a couple of freaky teleport ambushes but the biggest fight can be solved by lobbing rockets down a hallway, provided a spectre doesn't run all the way up to you. | 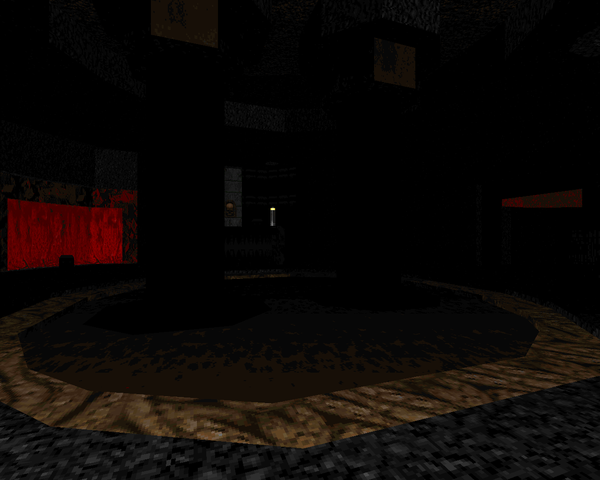 |
| E2M6 | Haunted Cellars |
|---|
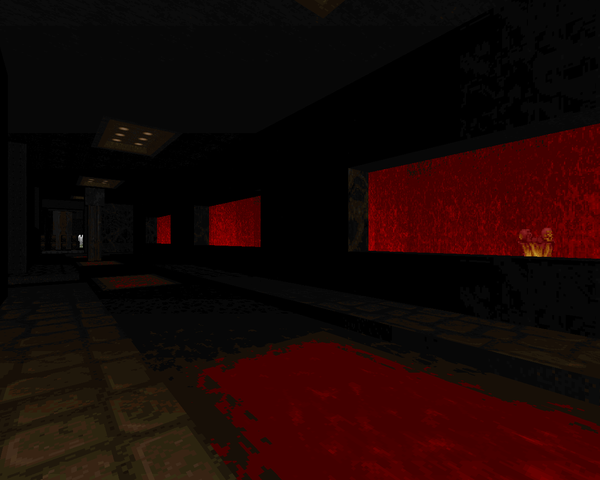 | These poisonous blood-sewers are a drag to play. You're ammo starved for most of the level, at one point forced to use a series of ornate crushers to kill a pack of barons (and possibly some secret cacodemons). The upshot is, when you finally wake up the obligatory Cyberdemon, you can just keep moving on and eventually set up a sweet telefrag. That's a long way to go for some levity, though, even if the end of level Spiderdemon is a relatively easy kill. |
| The Core | E2M7 |
|---|
| A massive, non-linear Deimos base with tons of height variation and plenty of monsters to fight through. The downside is, if you don't find your way to a plasma rifle or rocket launcher quick, you're gonna spend a lot of time killing barons with the plain ol' shotgun, which turns what could be pretty exciting into a snooze-fest. Otherwise, you start things off staring down a Spiderdemon and will have no less than five Cyberdemons to your name by the time you exit, supposing you kill them all. I like the cinematics of the northwest fight the best, where the base begins to fall apart, but I'm also partial to the slaughter madness of the south and the east. | 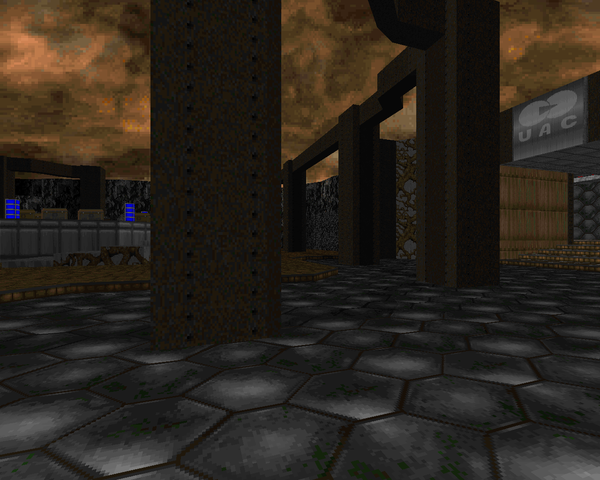 |
| E2M8 | Gates to Hell |
|---|
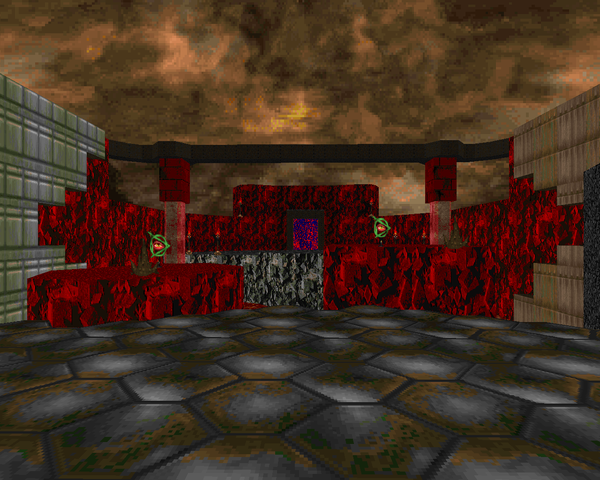 | You emerge from a coffin and then rip through some monsters with a chainsaw before the big Cyberdemon showdown. It's less intricate than E1M8's finale, with you lobbing rockets across a chasm at the big bad, just lightly sidestepping his return volleys, though you will have to kill all of his associates or risk getting chipped to death by something other than blast damage. Just hope Cybie cooperates or you might end up missing with more rockets than you can afford. |
EPISODE THREE
HELLISH EXTERMINATION
| Passover | E3M1 |
|---|
| A little bit of Cyberdreams and a lot of Tyson action in this Hellish opener. You dodge rockets while flipping switches and then grab a berserk pack after some pistol whipping action to help you through the rest of the map, which will have a little bit of shotgun action. The only real hard part is punching a baron to death, but Tyson vets should be unfazed. | 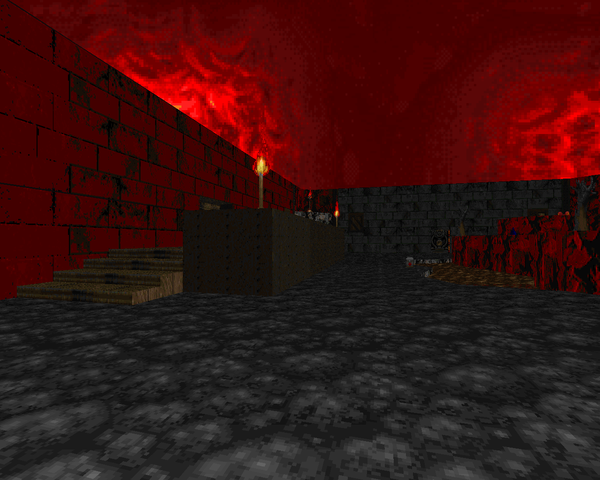 |
| E3M2 | Fire Temple |
|---|
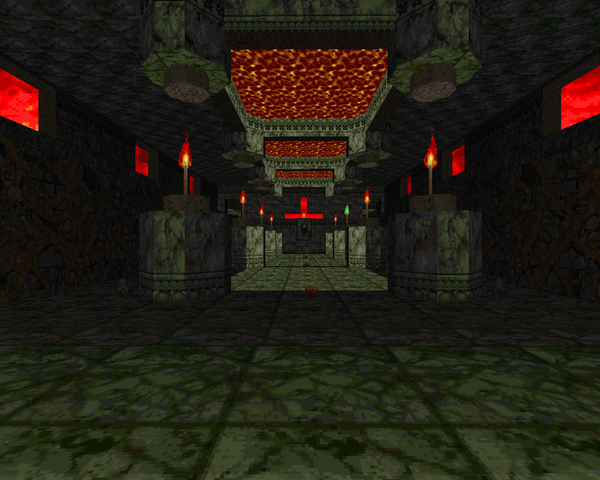 | There are some neat visual hooks but "Fire Temple"'s layout is pretty banal. At the very least, you don't have to spend time shotgunning barons at the beginning; you can just dance past them and come back with the rocket launcher when you have the time. You'll have to do it eventually, though - there isn't enough ammo to send every baron on a speedy death flight. Combat is for the most part claustrophobic except for the big teleport ambush, its space being a bit larger. Oh, and don't miss the obvious secret that opens up the plasma rifle. |
| Infernal Catacombs | E3M3 |
|---|
| More survival-style gameplay in these fiery tunnels. Tyson fisting isn't strictly necessary but it'll help clear out the demons and spectres and save some ammo for those wily barons that crop up everywhere. Each step toward progression seems to wake up more enemies, and in cramped conditions, cacodemons seem to dominate. That imp / demon horde is a nice trap with normally trash monsters that can spell Doom for the player and I like that pillar-jumping finale with the peanut gallery throwing fireballs at you. | 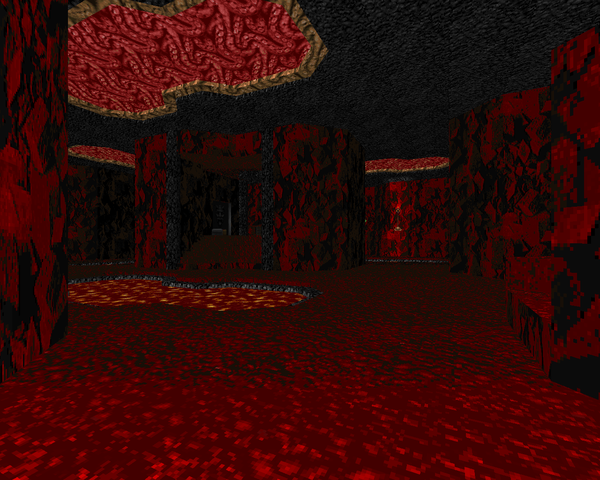 |
| E3M4 | Demonizer |
|---|
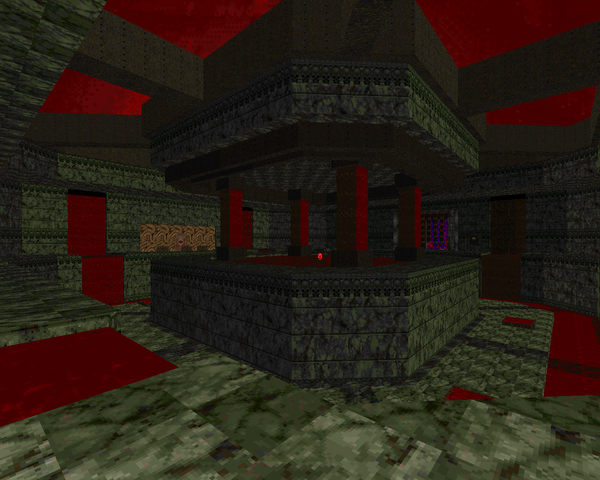 | Back to fun times with weapons, or at least the time spent desperately hunting for stuff is at a minimum. It's a faster-paced level that's a nice play, feeling a little tight on health at times but time spent slow-balling bigger monsters is at a minimum if you dodge into the first side path. The finale is a bit tricky crossfire with a Spiderdemon in the center and a bunch of uglies around in a ring. Getting Spidey to infight with a baron makes taking it out with a plasma rifle a lot easier, after which you can mop up the survivors at your leisure. You might be able to telefrag it, though... |
| Complex Trauma | E3M5 |
|---|
| Another big, exploratory base level, a la E2M7 but mostly Hell-themed and a bit more forgiving. There's only one Cyberdemon fight, for instance, and the "Pandemonium"-esque hallways are loaded with mostly incidental fights like imps and demons and zombies. You'll fight the occasional mixed pack of Doom monsters, though, usually associated with a key ambush. It's a lot of fun to explore with enough staged fights to keep you on your toes while you sniff out all the secrets. | 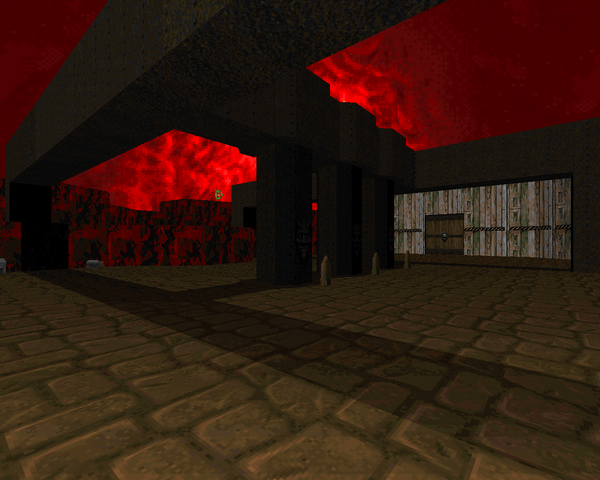 |
| E3M6 | Devils Crucible |
|---|
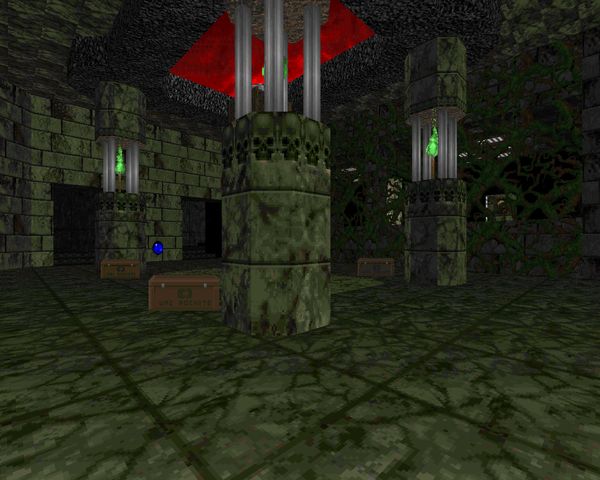 | A big ol' challenge-based level, in that you can divide it between three areas which are essentially staged firefights. Infighting will remove the worst parts of the east and west sections; the last you should hopefully have the BFG for, and maybe the red key, which will save you some time if you haven't taken care of the spoiler Cyber at the top of the pillar. The adjoining hallways feel perfunctory in comparison to the boss arenas, but that just emphasizes how inessential they are to the action. |
| Cyberslayer | E3M9 |
|---|
| "Cyberslayer" starts off with "Passover"'s opening and then steers its fakeout into full Cyberdreams territory, except the finale requires some Cybie vs. BFG action if you want to get 100% kills. Expect crushers, chain telefrags, and luring monsters onto portals to subsequently telefrag them. Waxing the horde at the end with the BFG was the worst part for me, but not unappreciated. I like me some Cyber-killing; this was a nice surprise. | 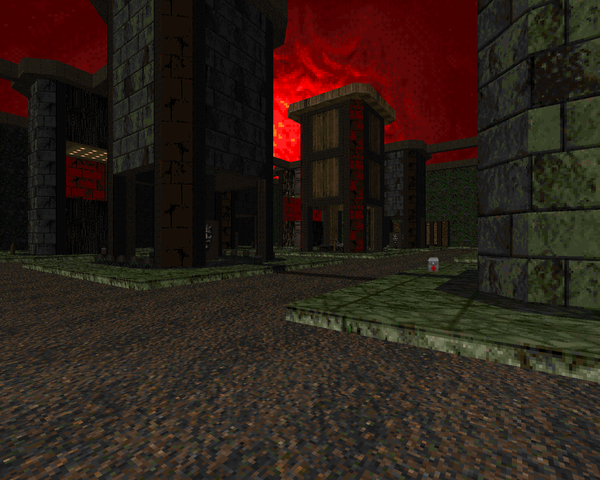 |
| E3M7 | Back to System Central |
|---|
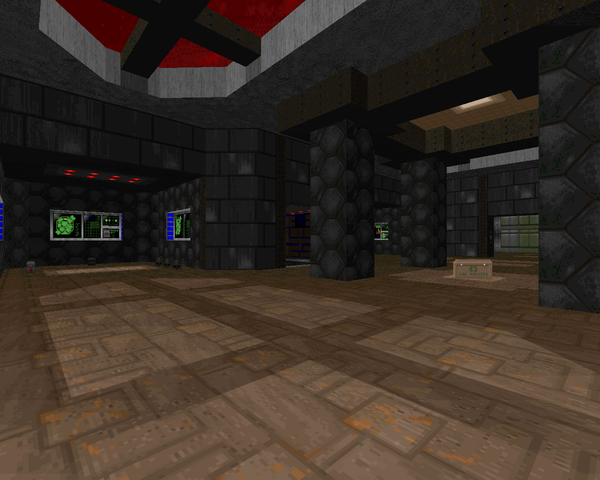 | This time revisiting E2 with a fusion of E1 and E3 as you traverse "System Central", which is in the throes of demonic possession. It's a very large map with a similarly large monster count, though a quarter of them are fought at the level's finale in a teleport crossfire with a handful of Cyberdemons mixed in. As far as progression goes, it's not free-form, and it's not particularly rough unless you fail to sniff out the secrets, which aren't hard (for me at least) and will get you a good way toward easy victories. Especially that invulnerability sphere just prior to the end. A very cool map, one of my favorites. |
| Fortress of Tyrants | E3M8 |
|---|
| An enormous, impressive marble keep that fields more than 600 monsters for a Doom slaughter. It's too much for me, though the mapset has definitely been slouching toward this. The Cyberdemons guarding the keys don't set the tone; that imp slaughter in the western marble corridor does, if you even wander that way first. If you head east, it's tricking two Spiderdemons into offing each other, followed by that ridiculous cacodemon / lost soul staircase. Nothing really compares to the lake of fire, though, with demons running around and cacos boiling out from over the mountains and getting caught in a crossfire with four Cybers and having to do a bunch of pillar runs. Powell is nice enough to give you some elevators at each waystation, though. The finale is just desperate BFG spam in tight quarters at my level of skill. Also, thanks to alfonzo and Tarnsman, presumably for that invul in the door maze. That made tackling the two northwest rooms a lot simpler. Overwhelming... But fun in how it picks your brain. | 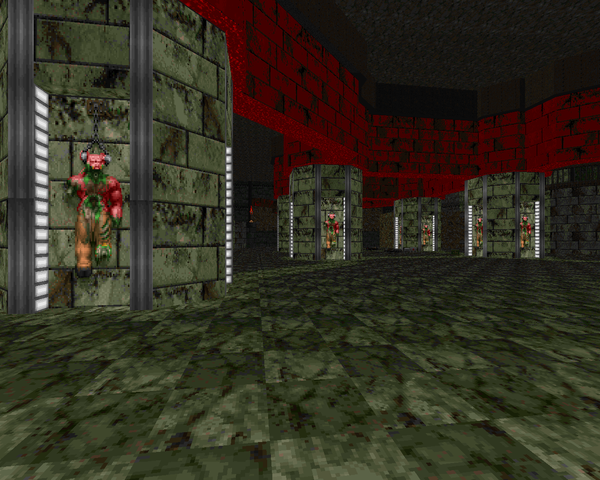 |
DON'T WORRY
BE TRAPPY





Cheers for the review, I have mixed feelings about this myself in the end. I guess in a way it was a learning curve of sorts. Hopefully I will make some more polished efforts in the future. But I am glad you enjoyed some of this :)
ReplyDeleteI think you made some great maps. My favorites E2M5 E2M7 E3M7 E3M8. Some other good ones as well. Liked the concept of the last two secret levels. Hope The Flesh Draft Excluder is still in progress and will be even better. :)
DeleteAs you can tell, I loved the sandbox bases and even some of the gimmick stuff. Keep on' chooglin'!
DeleteOh I forgot, E3M5 would be my 5th favorite map (not necessarily in order) personally, now that you mention sandbox. And I agree, want to see more from CB, definitely! :)
DeleteThe massive levels cannonball put in E2 and E3 definitely seems to be the standouts here (M5 and M7 of both episodes, and E3M8). There are other nice levels too though.
ReplyDeleteYeah, I love the Polygon Base-style levels the most, they're fun to explore and fight through IF you can get a Baron-killing weapon ASAP.
DeleteMost of the time it's just some trial and error/looking around. Or you could avoid pistol starts.
DeleteNot all of them are quite as nonlinear as Polygon Base though (or Fuel Devourer from this year), in particular E3M7 you pretty much have a set path
trial and error > avoiding pistol starts, nothing makes a normal map easier than walking in with a full kit and ammo
DeleteThe big maps of E2 and E3 are generally the ones really worth it. E1M7is the best of E1. E3M7 is inspired by the same level in 2002 A Doom Odyssey, hence 'Back To'.
ReplyDeleteyeah e2 and e3 are definitely the stronger eps
Delete