Lots of
Doom authors set out to craft a megaWAD. Many never make it to replacing all 32 levels and the half-finished works oftentimes languish in obscurity, something to be worked on a rainy day. The author occasionally sees fit to put the finishing touches on it and shove it out the door, grateful to be clean of it. The audience may despair of the squandered potential (as was the case with
Vanguard) but they at least have something to play. Released in 2016, Jay Trent's
Nex Credo follows in that grand tradition. It's an 11-level episode for
Doom II and he apparently intended to pattern the final product after its starbase / city / Hell themes, just sketched by Jay's hand.
The story was to be your standard Doom marine vs. Hell fare though it sort of tapers off with a downbeat ending since Jay didn't outline the marine's journey to Hell. This particular incident appears to occur on Mars proper. Some interesting assumptions are made about the zombies; the first intermission text portrays the undead as a faction separate from the demons themselves. The second suggests that the player is contemplating surrendering his soul on Mars as an ethereal Trojan horse, dealing with Hell in person - so to speak - once he arrives. The screen is where it ends, though, so the marine's fate is left to your imagination.
It's nice to dip my toes back in vanilla after so much Boom magic and limit-removing wizardry. Nex Credo's levels are generally short to mid-length but the sheer difficulty - in pistol starts - skew things toward a slightly longer experience. Jay isn't content to just ape Doom II's gameplay, though. Each level comes with some sort of gimmick to tie things together. I feel it the strongest in MAP10 ("Silence") where the slightest peep will wake up the six installed Cyberdemons that serve as the level's main obstacles. Others like MAP03 ("Inversion Duality") are more subtle and invert an earlier encounter's dynamics, putting one party at the other's mercy.
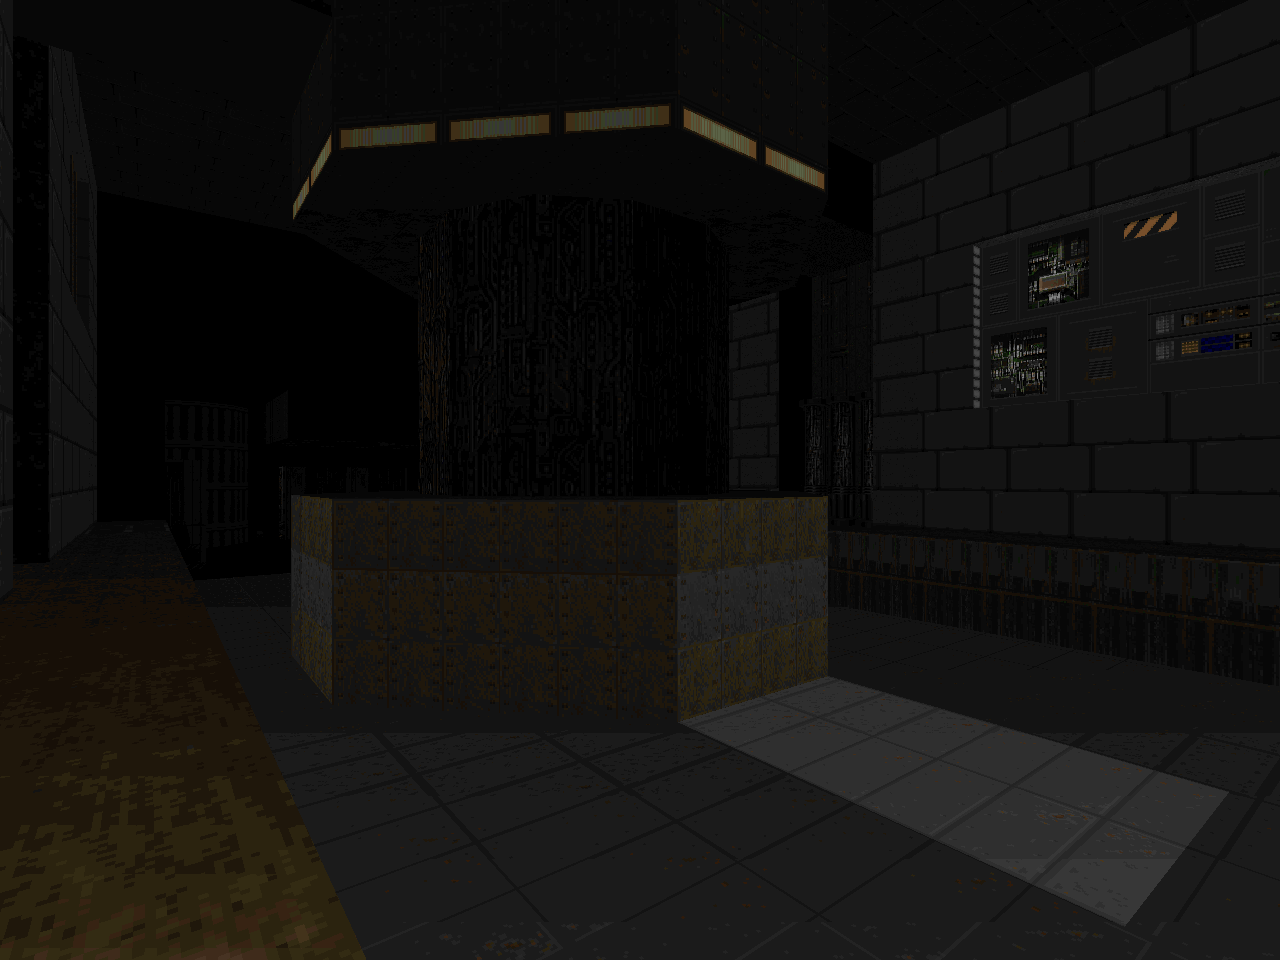
The themes are... heavily weighted toward clean techbase stuff with intermittent outdoor sections. Most of Jay's work was spent on the "starbase" episode, making up MAP01 through MAP09. MAP10 and MAP11 form the first two levels of the "city" segment, not that MAP10 makes any more sense as part of an urban environment. MAP11's stone buildings come as a welcome change but it's over all too soon. The layouts feature a lot of open air. The main exceptions are MAP06 ("The Nexus"), which is essentially a bunch of hallways strung together around the level's namesake, and the purposefully cramped "Silence".
UV difficulty is pretty highly tuned, especially when arch-viles are involved. I wouldn't expect to roll through these levels on your first try unless you're also rolling your munitions over, though even then you won't have a combat shotgun until a secret in MAP06. Ammo is at something of a premium and the extra time spent using the regular shotgun on bigger monsters gives you a broader period in which to make a mistake. I'm not sure whether any single definition really encapsulates Nex Credo's playstyle. Slow-going, maybe? At least, whenever you're not toting the rocket launcher. That tends to be the tipping point.
Nex Credo is a hard-edged Doom II episode that makes for an interesting adventure with its ever-changing gimmicks and offers difficulty in its slower pace and exacting ammo balance. If you've been hankering for a short stroll through starbase stuff then it may be just what the doctor ordered. Per the author, this project is pretty far from Jay's current design sensibilities. Regardless, I eagerly await any new stuff that materializes. Thank you for keeping this one from the recycle bin!


NEX CREDO
by Jay "Jayextee" Trent
| The Approach | MAP01 |
|---|
| A short, "Entryway" style level with a few coiling paths to lead you to a small bunker. It's got a slight survivalist bent given that you spend a lot of time using your pistol, only grabbing the shotgun once Jay starts throwing the heavy stuff - like lost souls - at you. The revenant as a sort of mini-boss encounter is a nice touch. For a MAP01 it's sure to keep you moving, especially if you race through until the secret Berserk opens up for you. I dig the small bits of intruding red rock. | 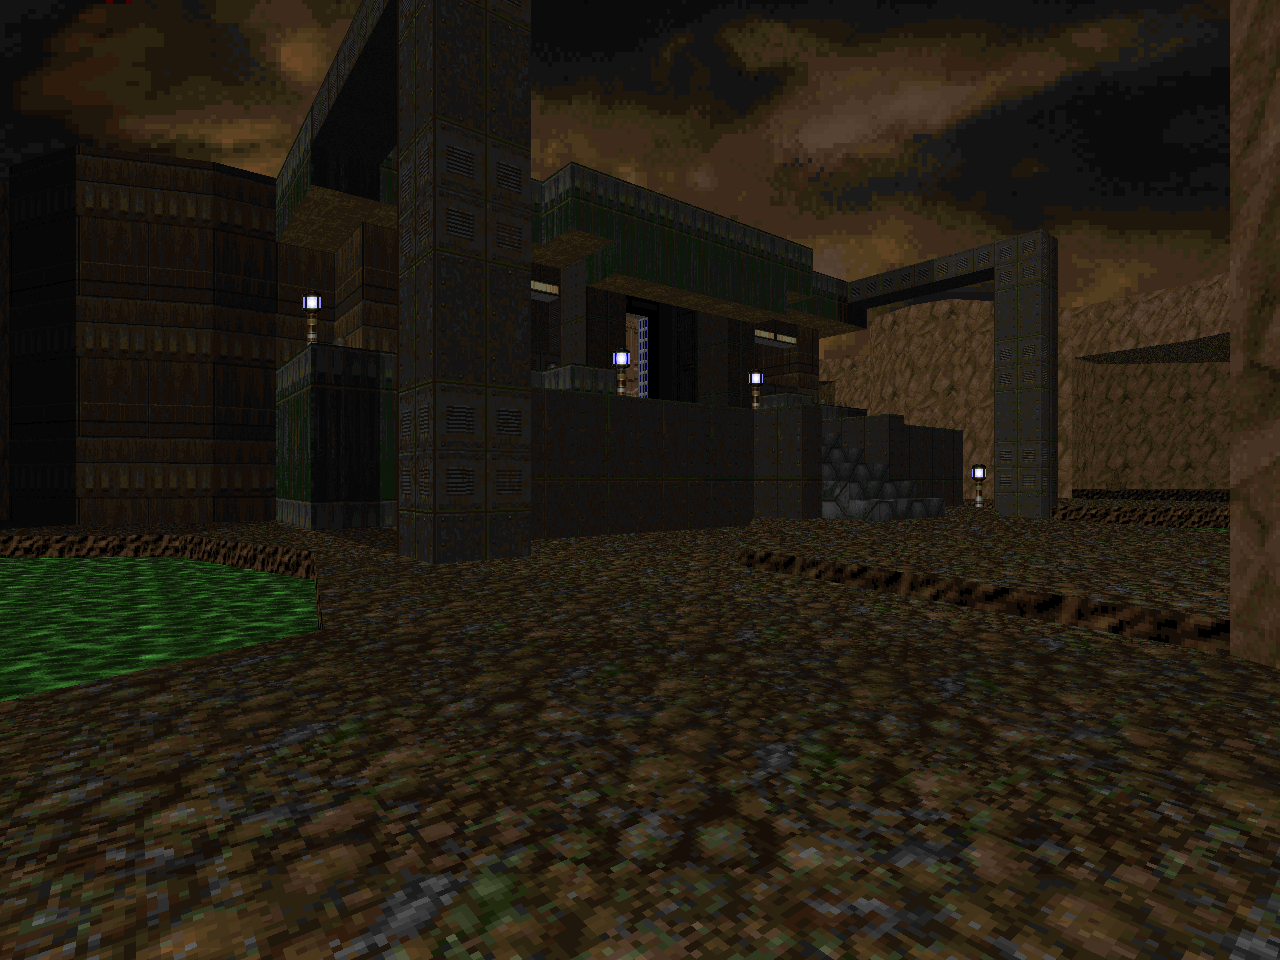 |
| MAP02 | Waste Conduit |
|---|
 | It's tangentially related to "Underhalls" but "Waste" has a lot more height variation going for it. When taken alongside the shotgun guy shooting galleries the map leaves the impression of a much more dynamic outing, sans the mid-level influx of hitscanners. Here it turns out to be a minor horde of imps. The exit is guarded by multiple revenants but the ring of barrels and the Berserk plus the shotgun shells ought to give you all the margin you need. Fast and fun. |
| Inversion Duality | MAP03 |
|---|
| A curious tech outpost with a fairly benign outdoor section to the south and some really cool stuff happening in the penultimate area to the north. Once more you take on the legions of Hell with your trusty shotgun. The sudden increase in enemies makes for a slower, more measured journey, especially when you're shooting imps in a barrel (the red key room). Jay turns it back on you for the yellow key, though, where YOU'RE the one in the middle, bunkering down against the fireball tossers from four potential portholes. I like the true finale with its demons and revenants plus some time-release lost souls as great spoilers. | 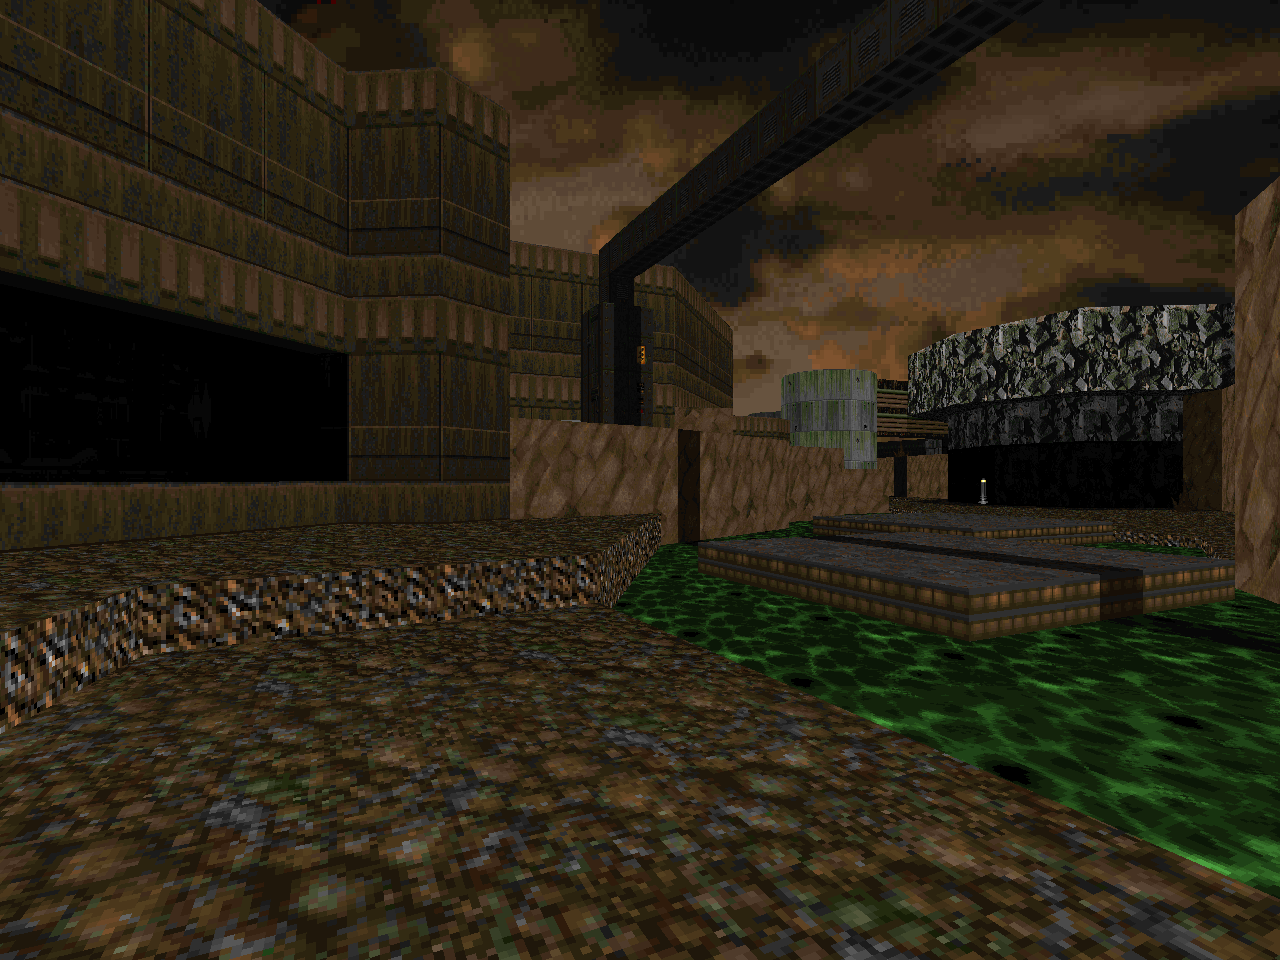 |
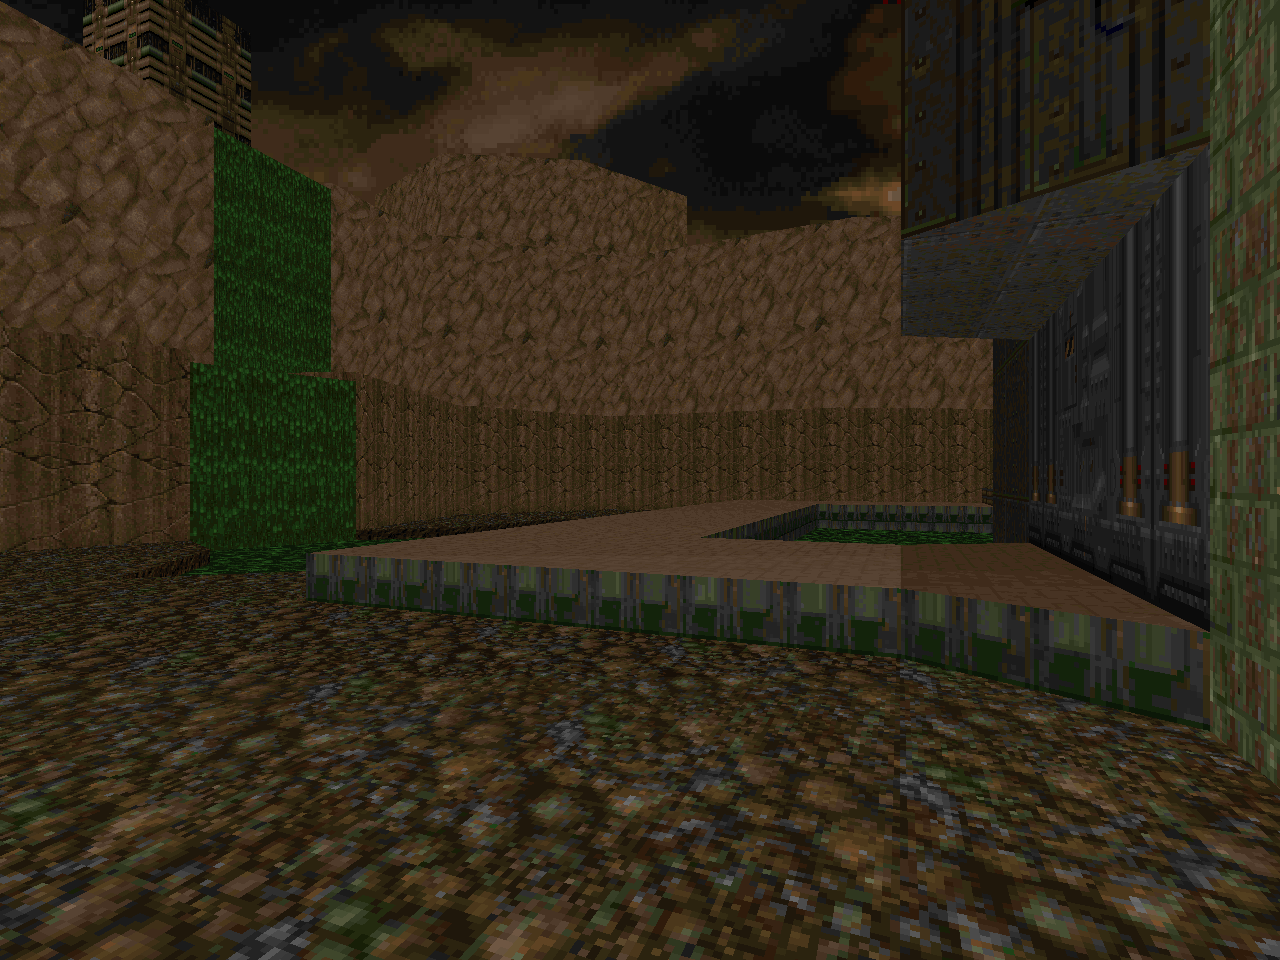
| MAP04 | Jade Tumult |
|---|
 | "The Healer Stalks" comes a bit too soon for another sewer-based map but Jay changes things up with the welcome debut of the chaingun as well as the commando and - in a very tight spot - arachnotron. The new beasties make up my only real memorable encounter (due to the sheer surprise and the commando shooting gallery that follows) besides the way the outcrop of green stone makes the imps move in the eastern outdoor area. Some fun, light action. |
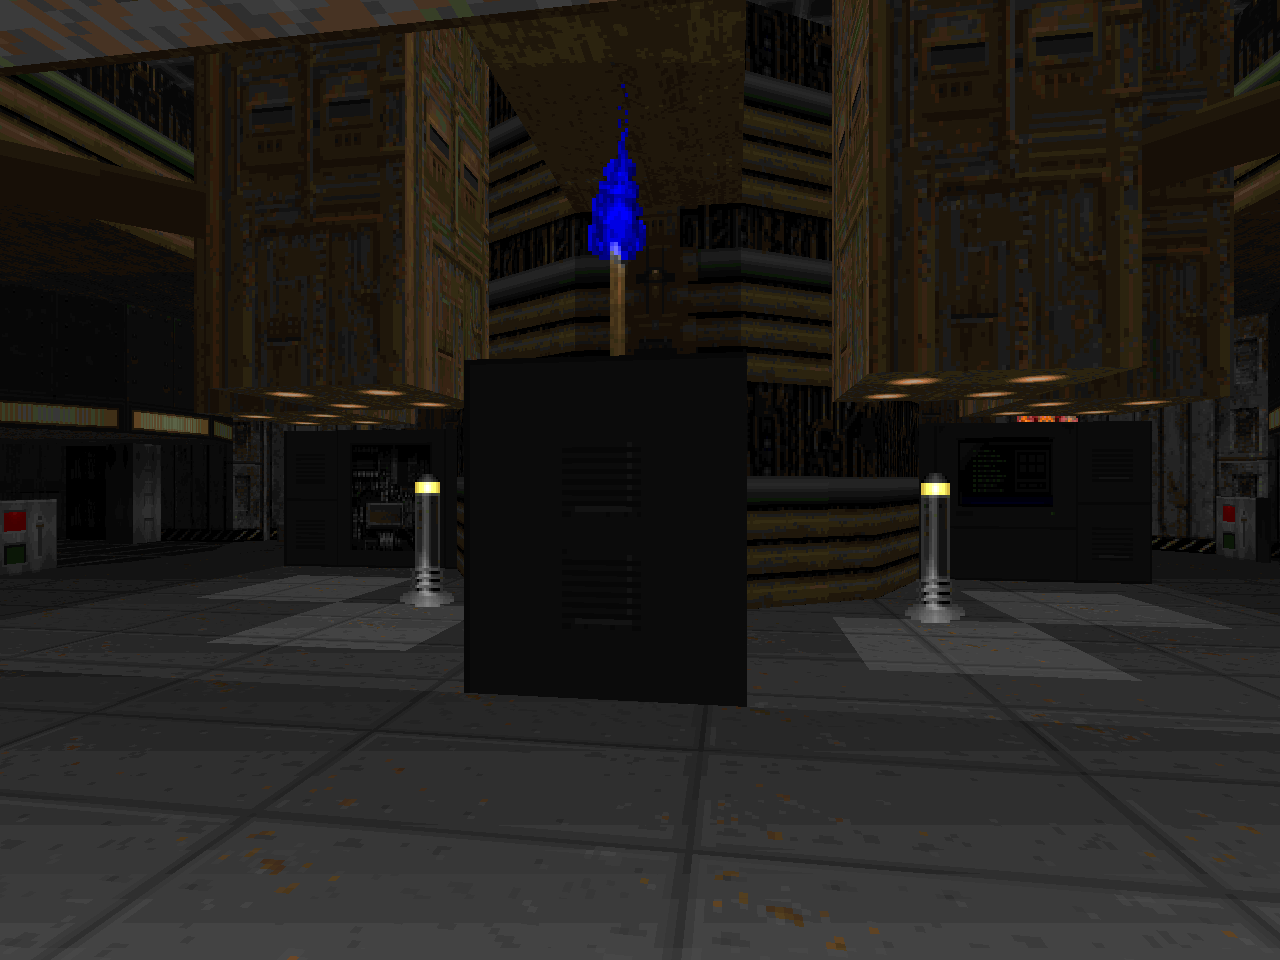
| The Basin | MAP05 |
|---|
| This rugged waste processing facility has one of the dirtiest tricks you'll ever encounter in a Doom WAD. It comes after a main walkway policed by commando sniper towers and a few other minor challenges like the green armor trap. The level's recurring motif is a 3 x 3 grid of square, blue pillars, appearing four different times. Whatever you do to one of the grids affects the others. This may not seem like a big deal at first but when you reach the finale, well, I'll invoke a tired cliche: waste not, want not. The good news is that if your rocket aim is true (and snag the soul sphere and combat armor just before going down like I did) then you'll be able to endure the burn long enough to survive. I really enjoyed the early rocket launcher secret but it's sort of a one-time thing. | 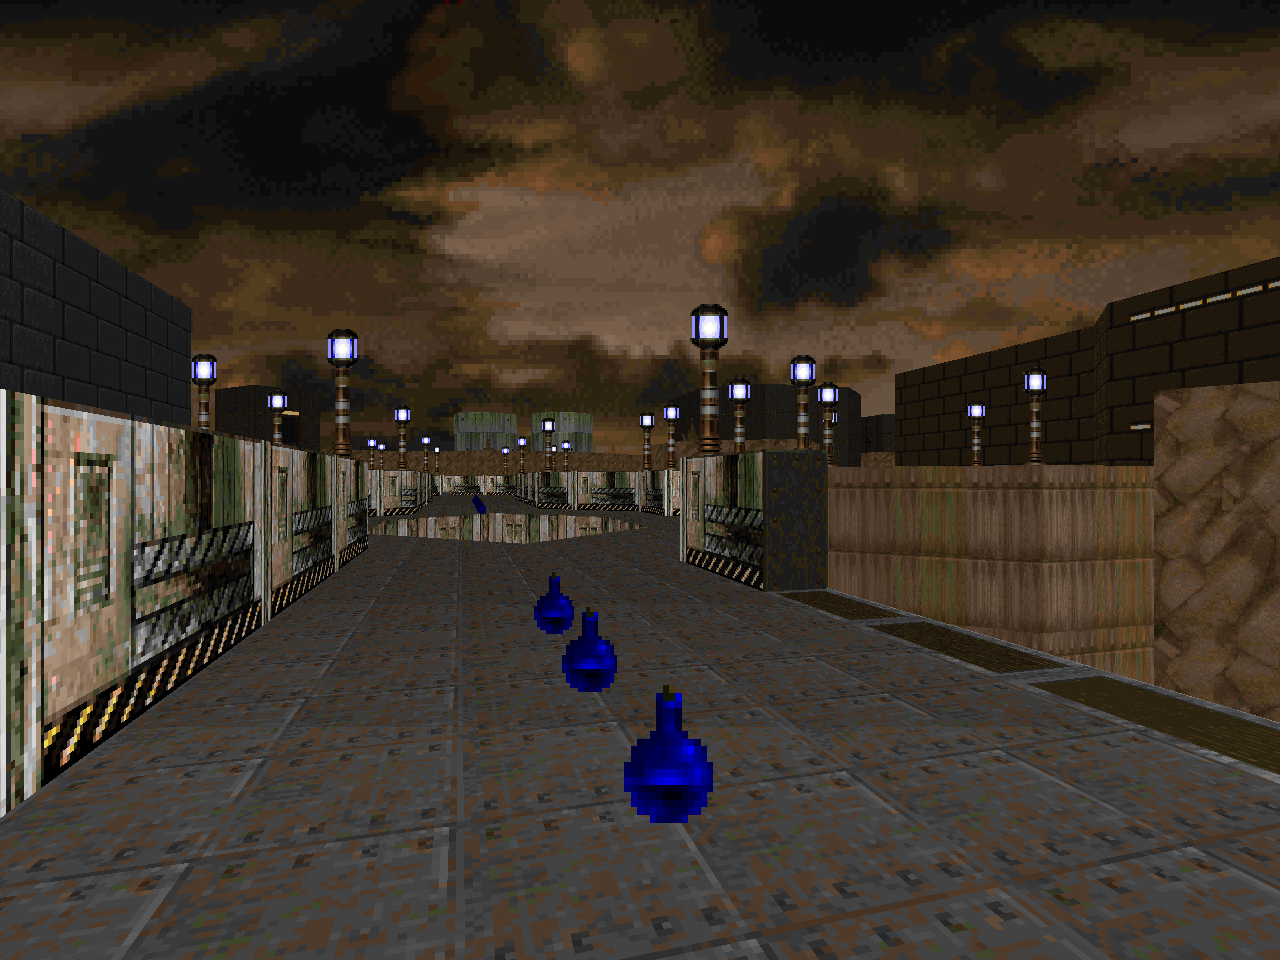 |
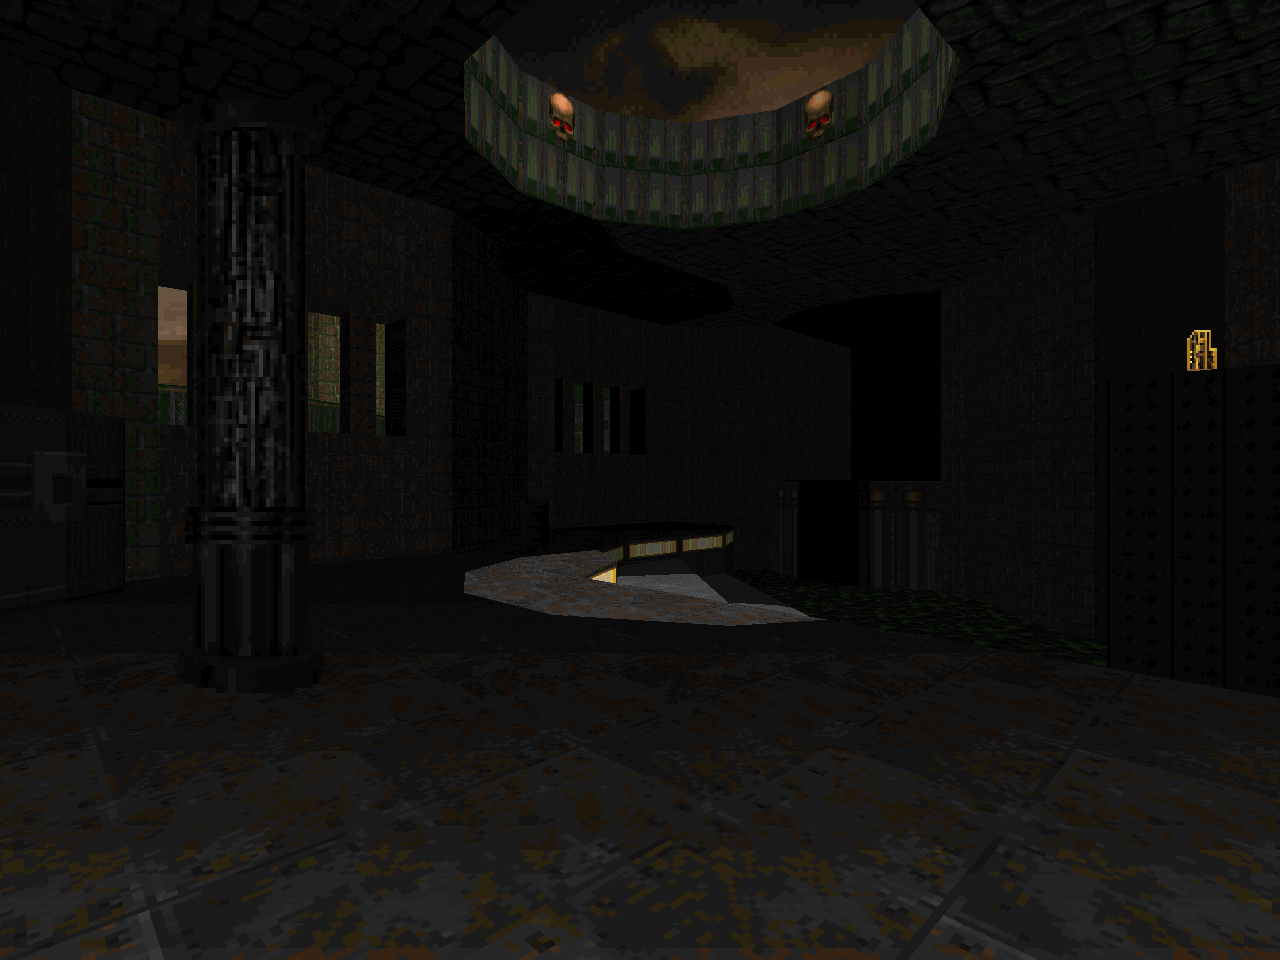
| MAP06 | Nexus |
|---|
 | A large, stringy level that's centered around a small, computerized crossroads accessed by lifts in the cardinal directions. The emphasis on hallways gives it a rather cramped feeling and makes battle with revenants and lost souls difficult. A couple of portions like the flaming skull sewers to the northwest - granting access to the first and secret combat shotgun - drag on a bit too long. The environment looks great but the columns of lost souls emphasize the grind. |
| Conquietus Explicitus | MAP07 |
|---|
| A dead simple nightmare based in a circular arena, the outer ring patrolled by mancubi. It's a slow fight but you can save ammo if you find the secret combat shotgun, which is incidentally guarded by an arch-vile. Make sure you kill him first or he'll undo your hard work! The inner ring starts out with a small group of revenants but the red key is guarded by a Cyberdemon. Have fun trying to kill him in his little bunker. If you roll past all that then there's still the matter of the gate guardians, a perfect pair of poisonous parselmouths. Good luck. | 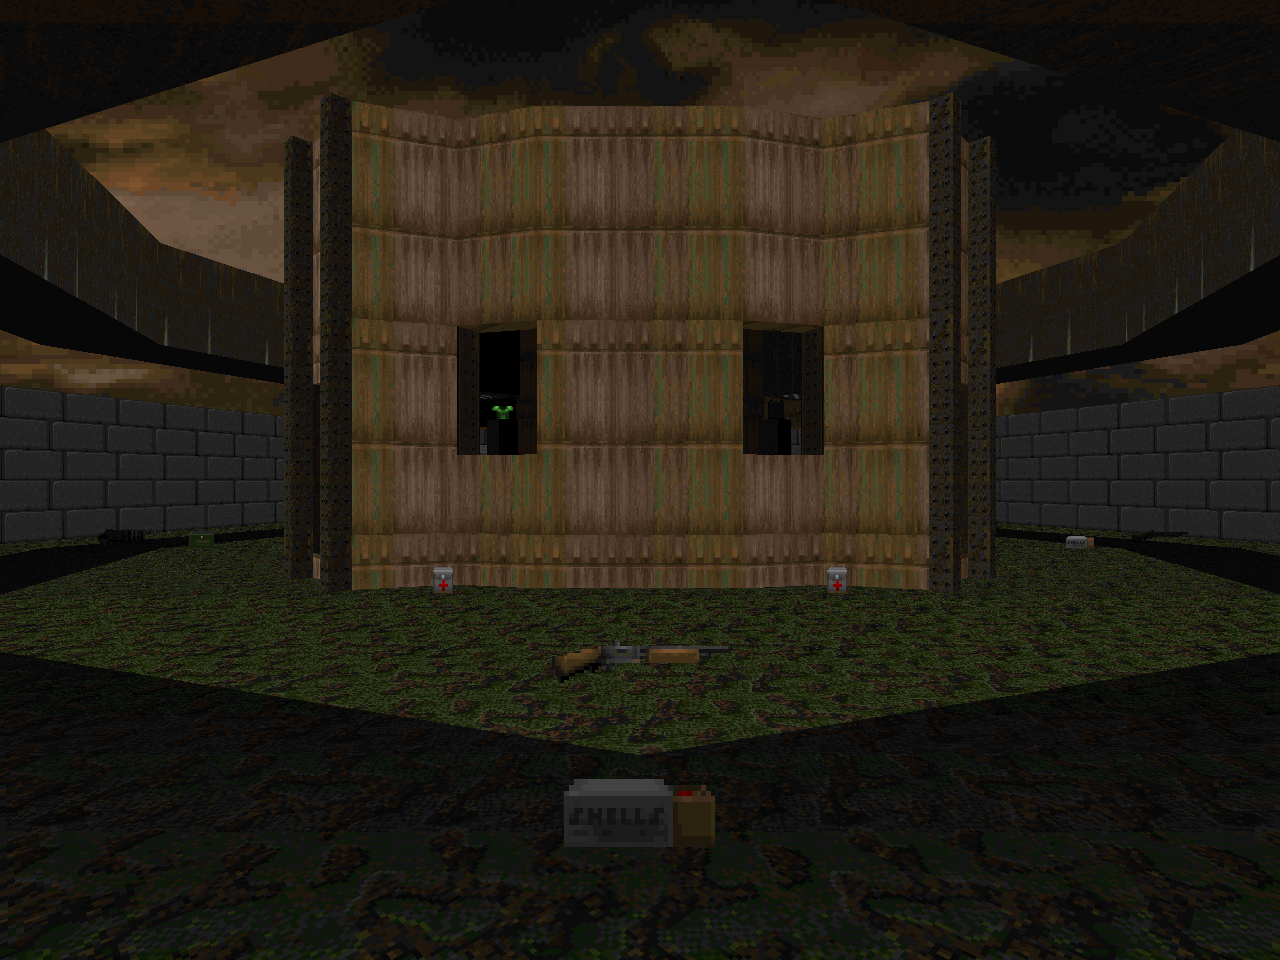 |
| MAP08 | Processing |
|---|
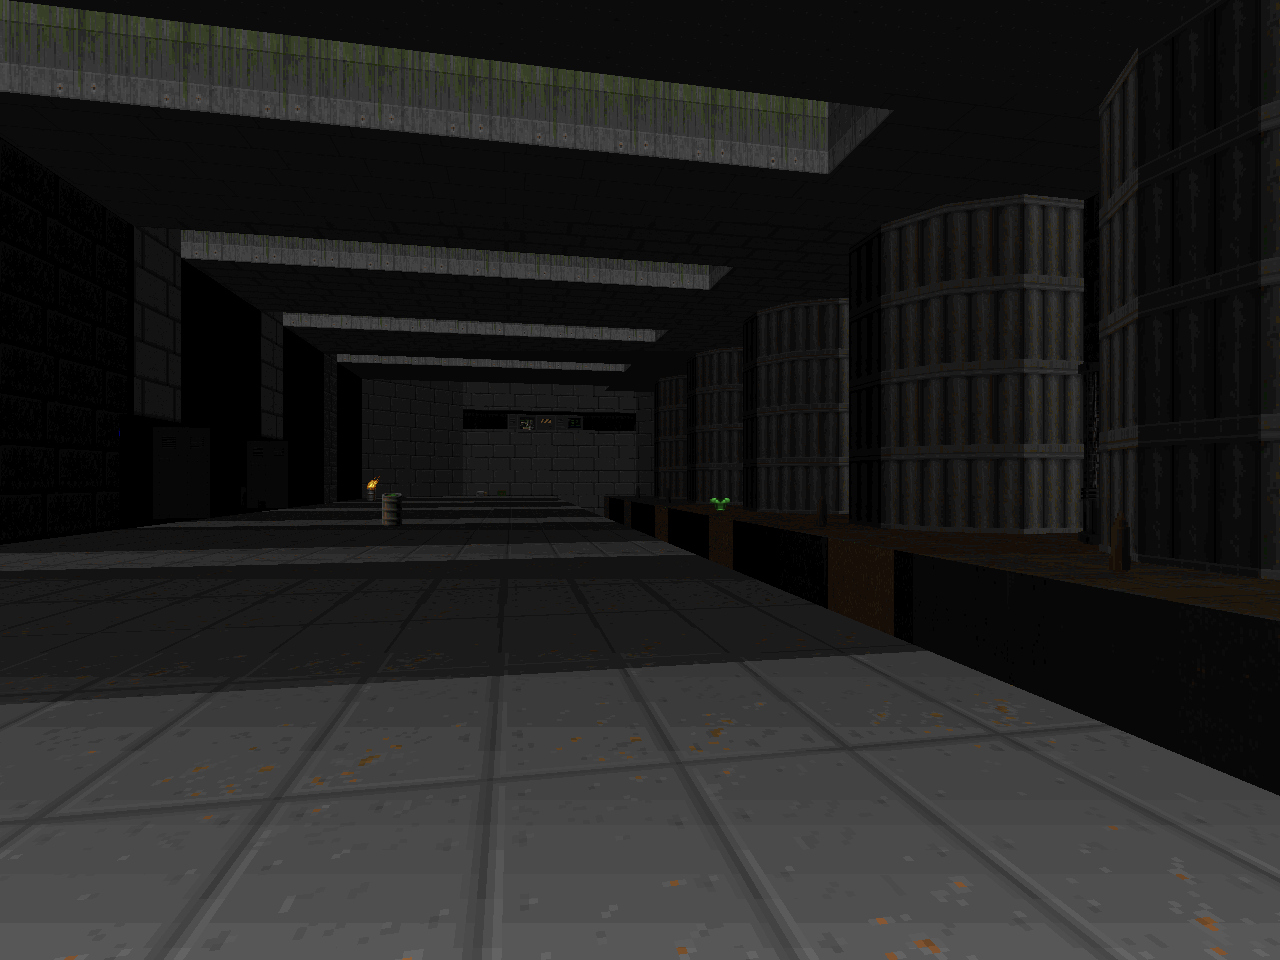 | The interior of this industrial facility is pretty impressive and the opening is as action-packed as it gets. The author all but pushes you forward until you find the combat shotgun at which point you return to root out those troublesome mancubi. The western leg has some nice verticality and platforming. The north is all about massive, circular machinery with identical mancubus / zombie layouts for your opposition across four indistinguishable chambers. You get your pick of paths to the exit. One darts through a number of crushers but has a plasma gun for a reward. The other is all moving platforms. The final is an elevator drop. If you don't slay the cacodemon packs quickly enough then you'll be overwhelmed when the final welcome party arrives. |
| The Path | MAP09 |
|---|
| Another tech installation with a formidable front. The outer area is dangerous to hang out in since there are revenants stationed at the level's final funnel so you'll have to duck inside and look for stronger weapons. The combat shotgun is a long time coming but you'll be glad once it's yours. "The Path" refers to the western loop of the level, which winds in and out of the building. It's dotted with low-tier monsters but you need to make the journey three separate times since it dumps you out at the aforementioned funnel at each major progression point. The two trips will unleash some reserve monsters, including arch-viles who are the level's major challenge. You'll want to kill them without burning too much ammo since you still have a Spiderdemon - included in one of the reserve contingents - to contend with. It might come down to the wire; it nearly did for me. | 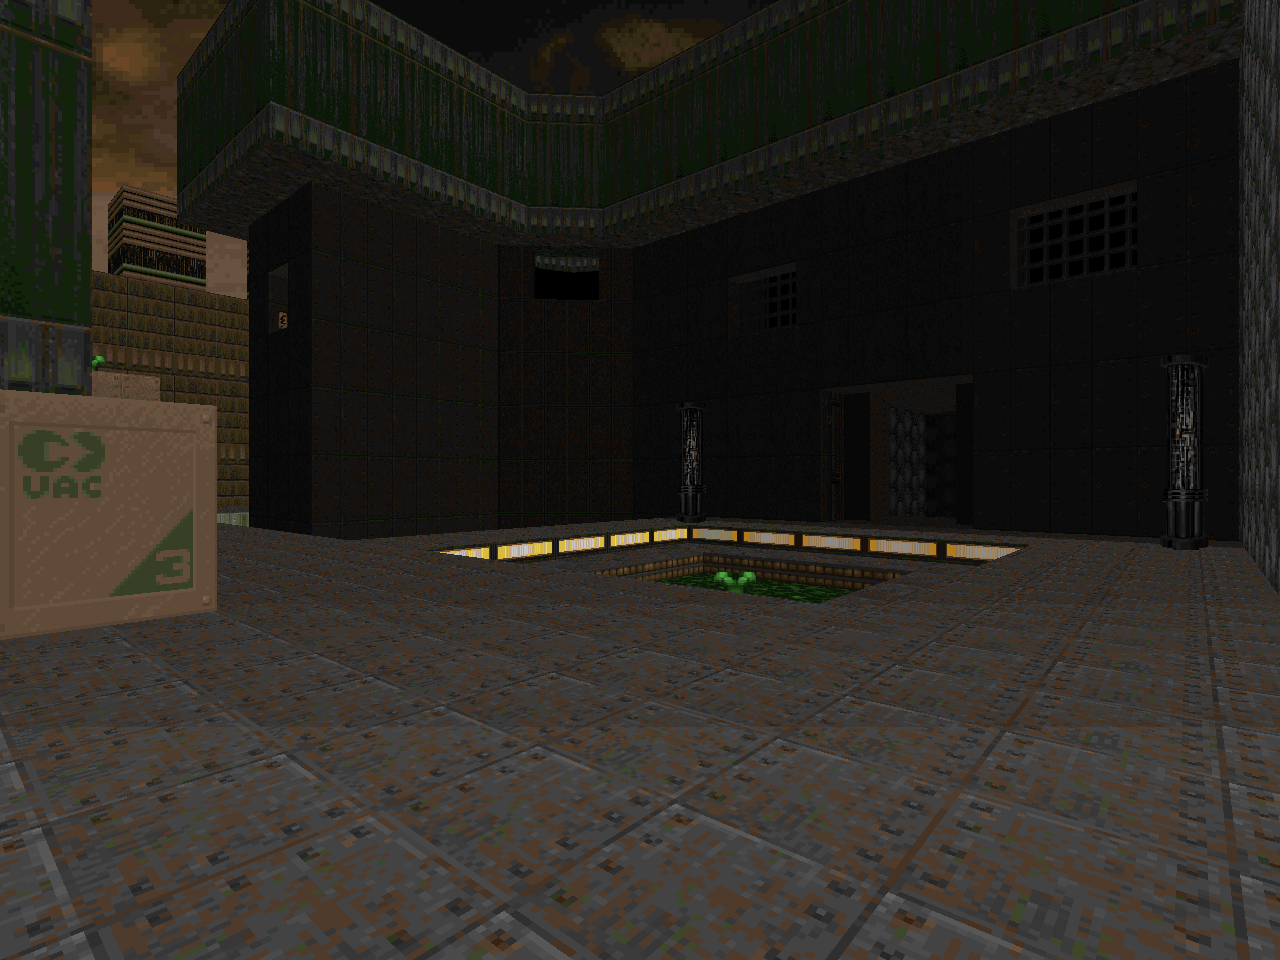 |
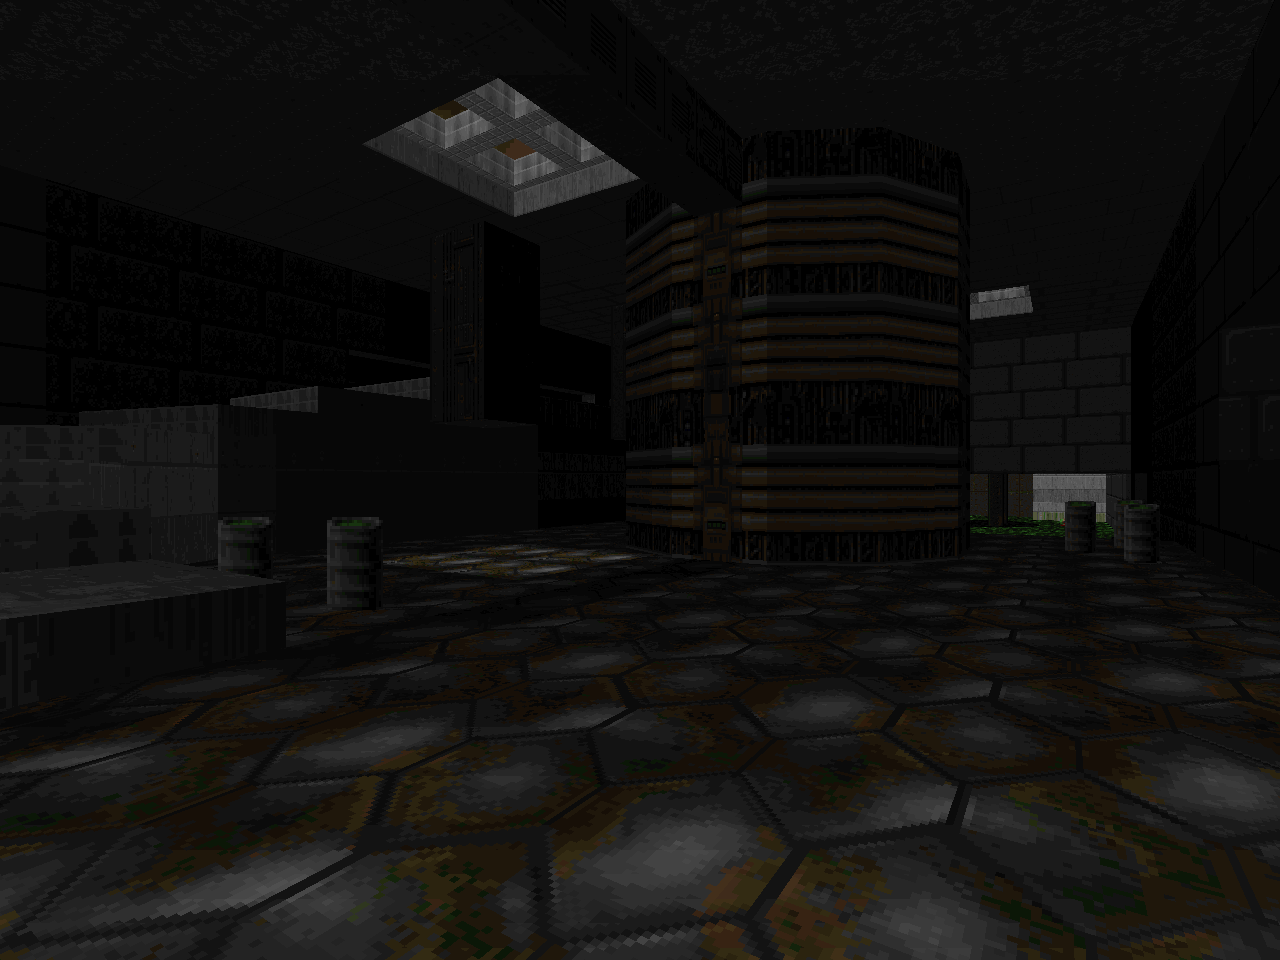
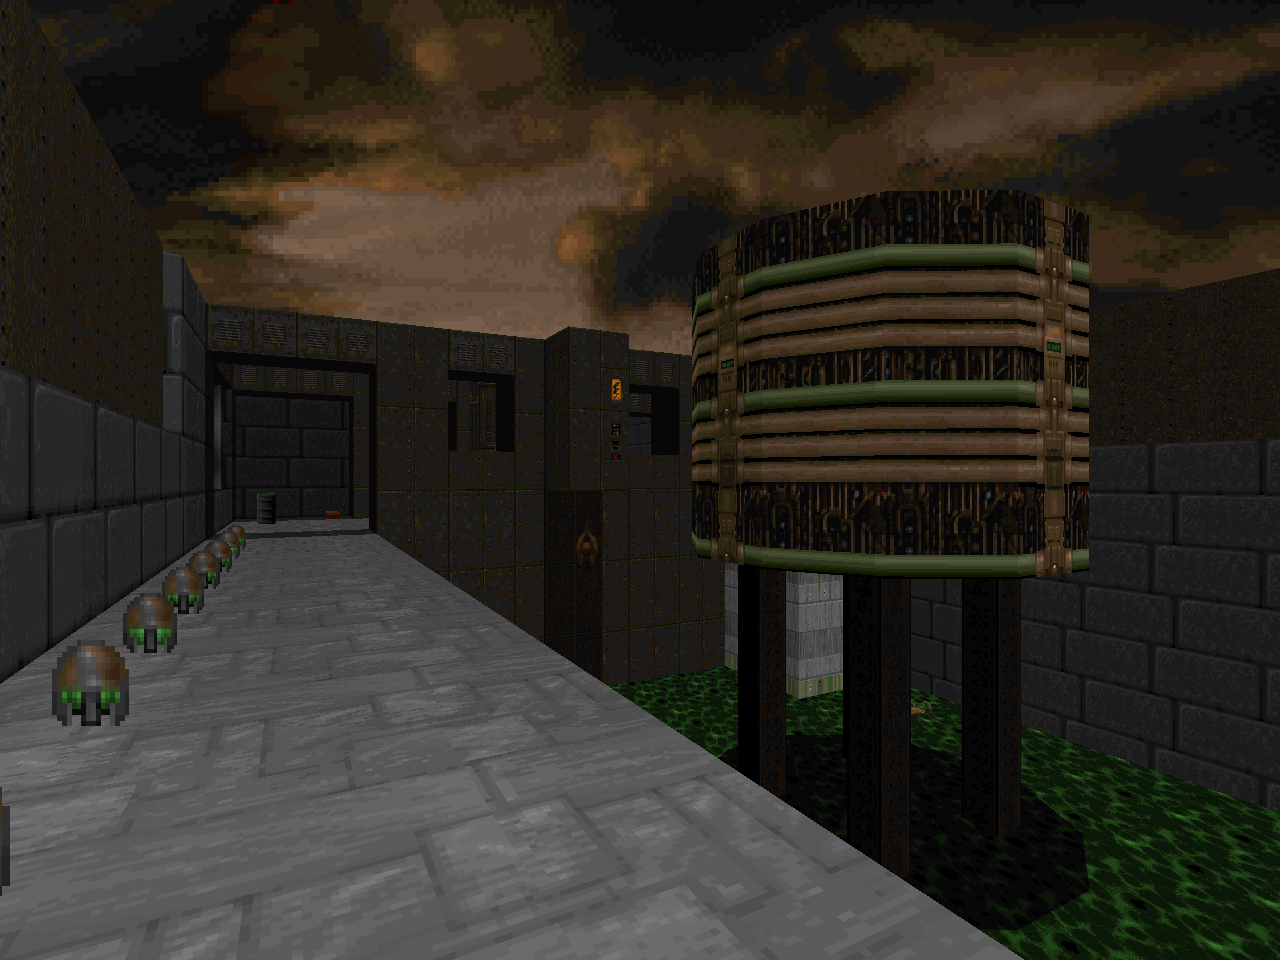
| MAP10 | Silence |
|---|
 | A puzzle level! There are six Cyberdemons at key locations and all of them will wake up if you attack. A handful of imps work as spoilers. Making it to the exit is the easy part; what's tough is killing all of the big guys. There are three simple telefrags but the two obvious ones involve actually shooting. The toughest Cyb will be one you have to immobilize by pushing in and then punching to death, I believe with the Berserk pack purloined from one of the shoot switch Cyberdemons. At least, I'm pretty sure that's how you have to do it. ZDoom appears to break the technique because the dude could still attack after I immobilized him. Once he's down then the rest will fall very quickly, requiring a couple of BFG blasts to finish. A fun, little exercise. |
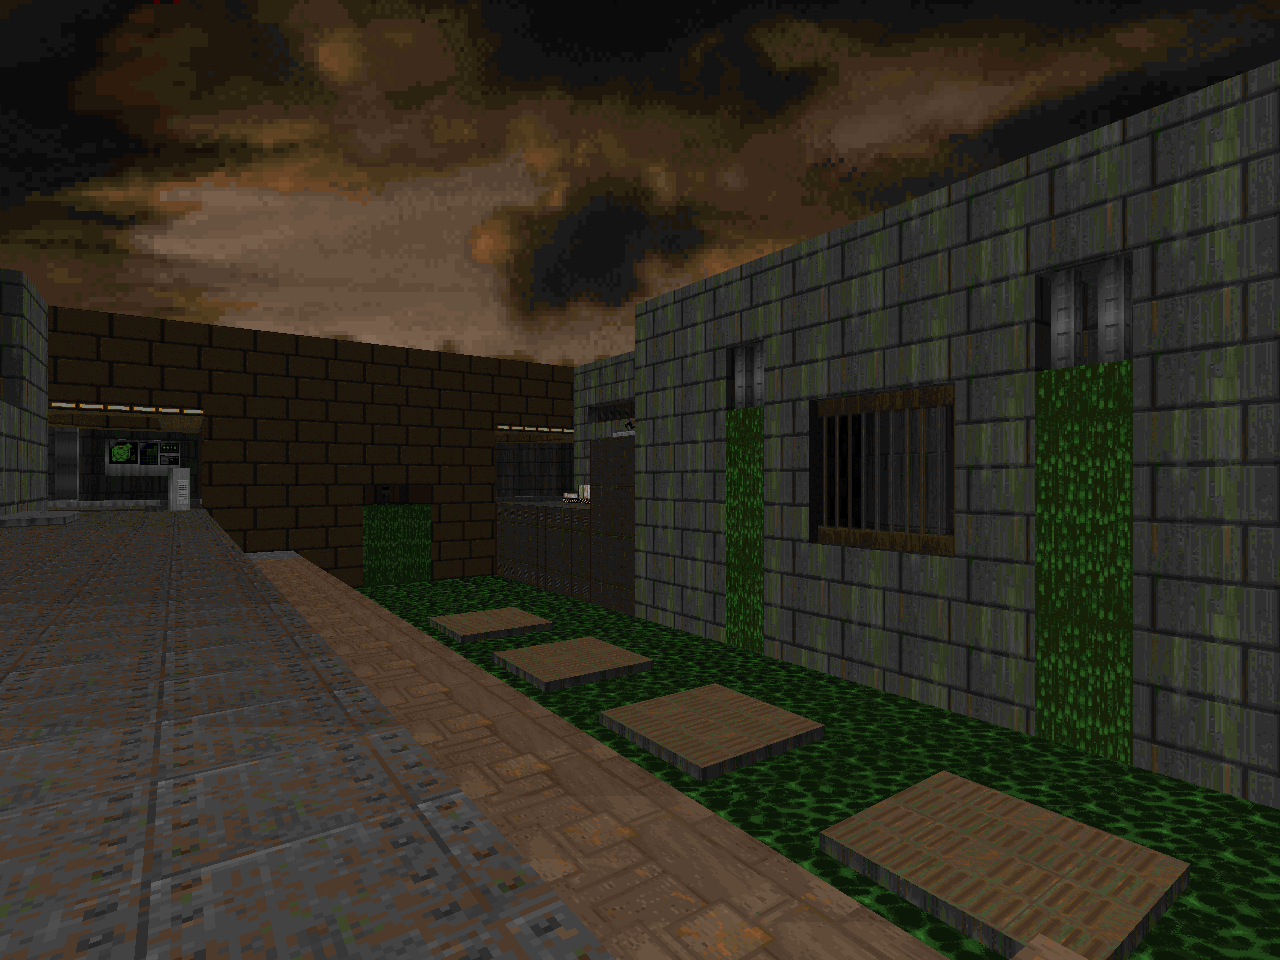
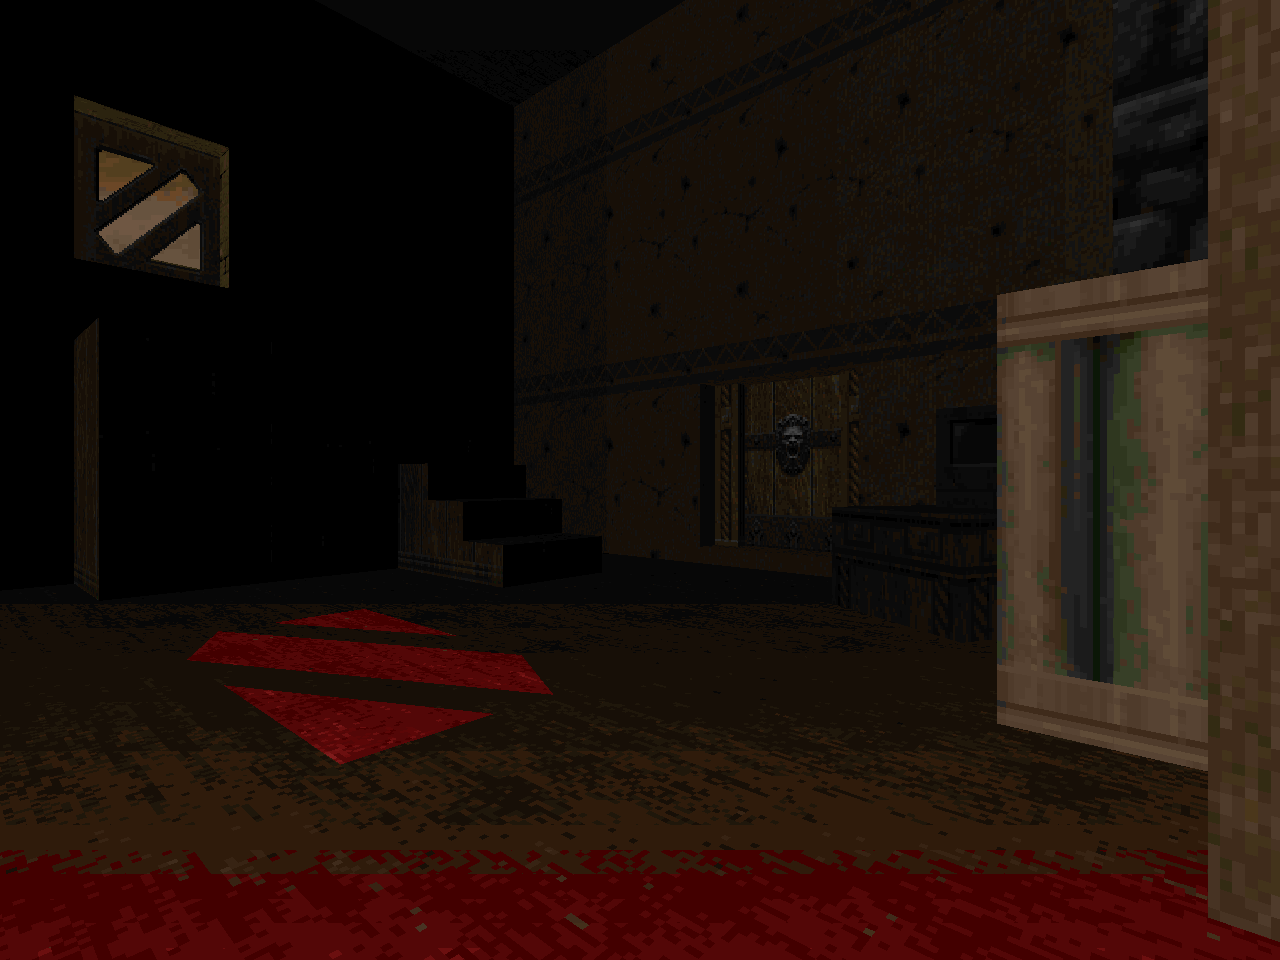
| Egress | MAP11 |
|---|
| A tight, highly dynamic level that takes place around a courtyard which contains the exit. There are a lot of high-HP monsters roaming outdoors and your major weapons - the combat shotgun and rocket launcher - are pretty far from the starting point. If you grab all the weapons and use them to kill everything then it'll be a close call with your ammo up once you bring the Cyberdemon in. The combat will still be rough since the arachnotron snipers and mancubi on the floor are pretty tenacious, not to mention the cloud of cacodemons. It's probably much simpler if you just activate Cybie and let him infight most of it to death but hindsight is 20/20. The Doom realism in the room you run through to access the upper walkway is a bit of a change. It's a nice contrast against the clean techbase look of the rest of the episode. | 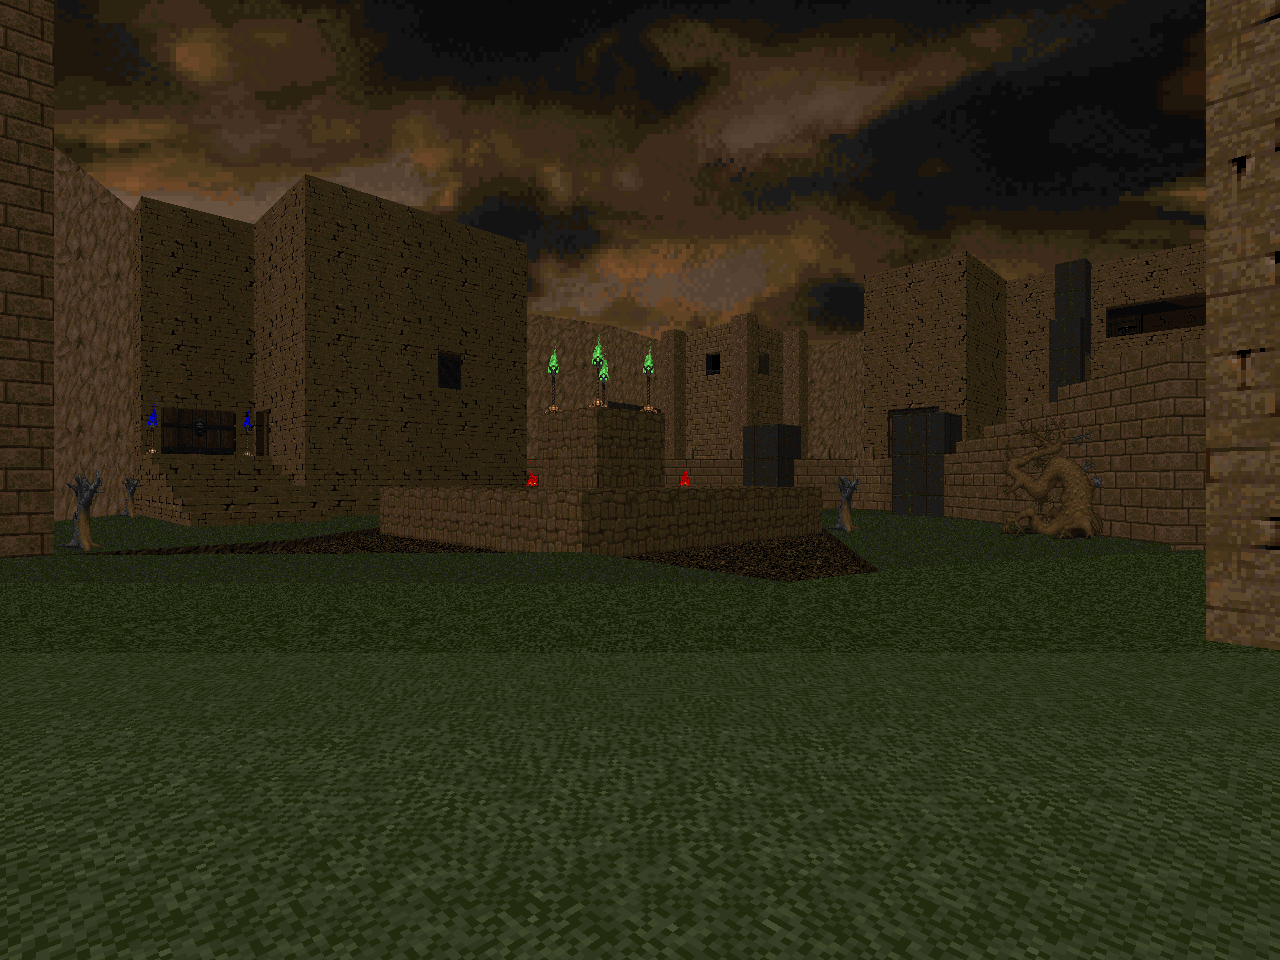 |
NEX HARMSTRONG

No comments:
Post a Comment