It all began back in 1997; Emil Brundage released
The Beginning of the End (Part 1), laying the seeds for an author crush that saw consummation with the advent of
Doom the Way id Did some fifteen years later. Xaser was (and still is) Emil's biggest fan, and while none of the latter's maps made the final cut for
DTWiD, the two plied together their trades with the inimitable Chris Lutz to make their OWN original
Doom megaWAD. Thus began
No End In Sight, whose final release continued to elude its authors. In 2016, however, it exited Limbo along with its fellow offshoots (
Phobosdeimos Anomaly and
DTWiD: The Lost Episodes).
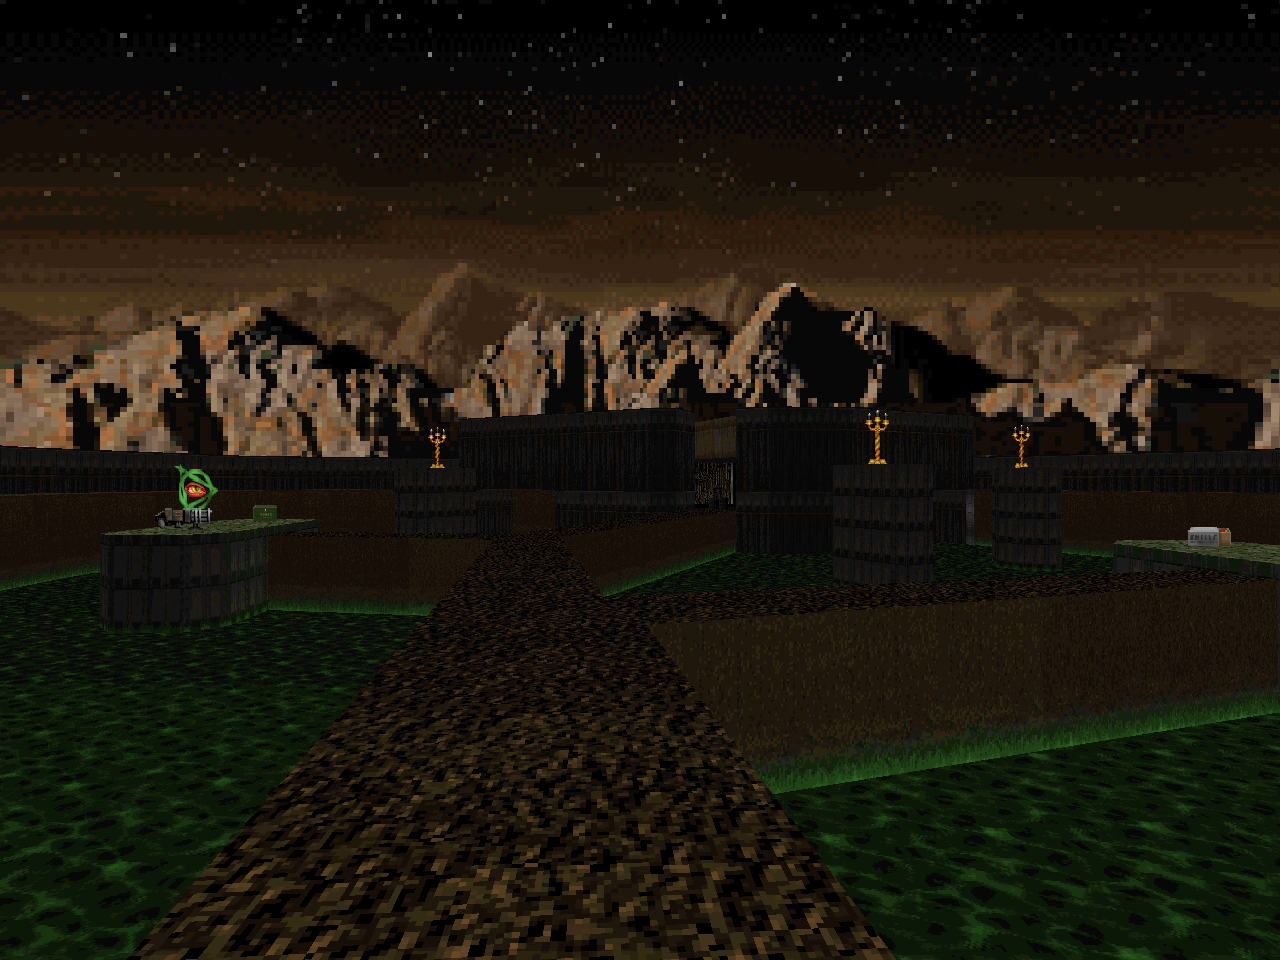
You may already be familiar with the three-episode beta that saw release awhile back. The final publication of
NEIS includes an additional, fourth episode to make it an
Ultimate Doom megaWAD, but there's a caveat. Where the first three were vanilla-compatible, the final journey must be played in limit-removing ports. It also includes two super-secret levels only accessible using Zternity; one must be warped to (E1M0) and the other can be reached by an additional secret exit in E4M6 (E4M0) for a grand total of thirty-eight levels for
Doom. Wow! That's a lot of maps. They'll breeze by at first but the further you play the more you'll wonder whether there truly is no end in sight.
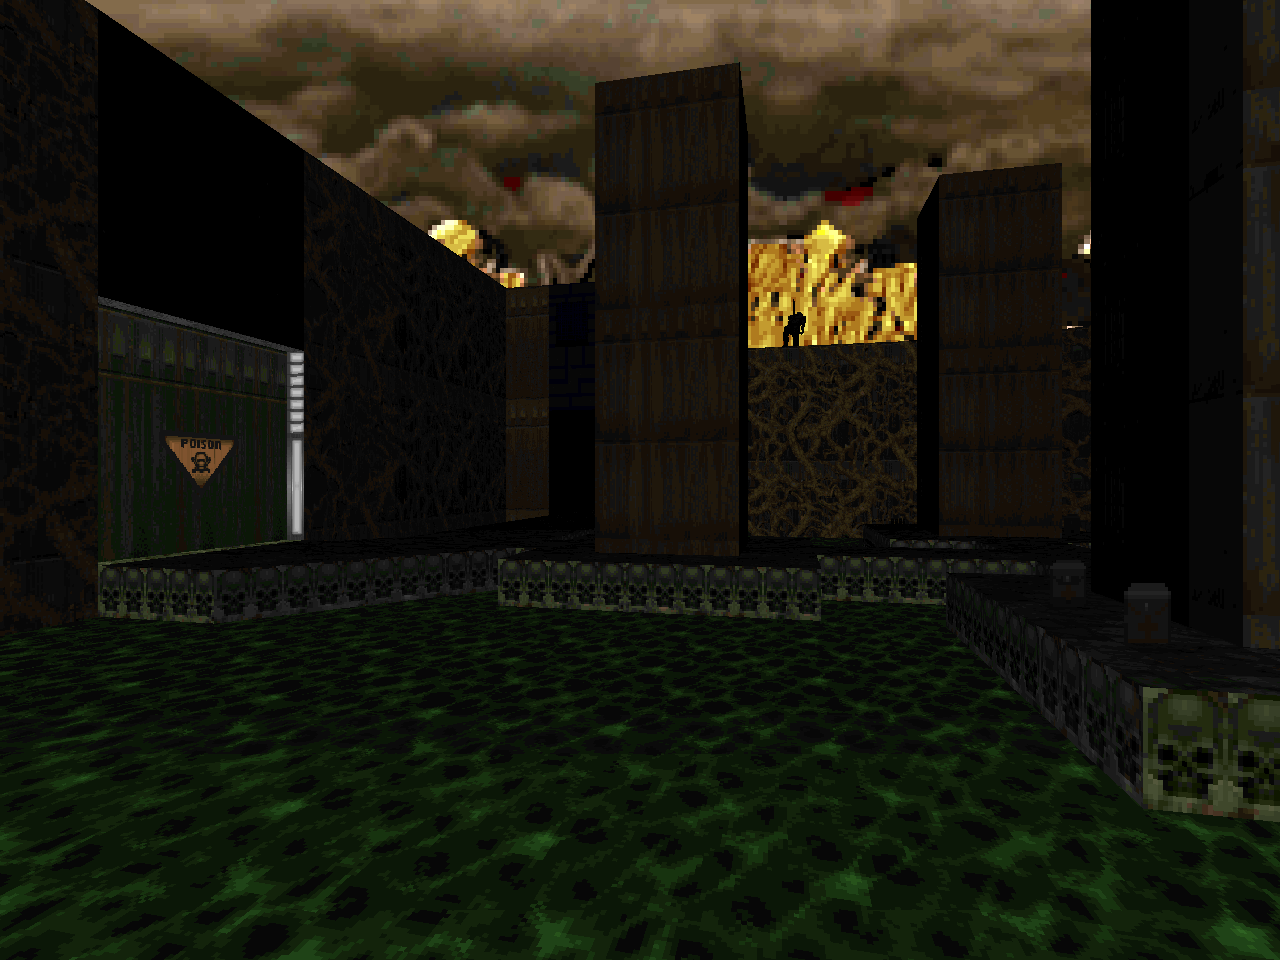
The authors have constructed a framing narrative but it's lip service to a plot and more silly than anything. I guess no amount of dirty work has lessened the Earth's demonic woes, leading you to make your way back through Phobos, Deimos, and Hell again in order to find out where the roaches hide when Doomguy comes calling. The locales may look familiar but these are the darker, nastier places of Doom, the things you were fortunate enough to avoid during your previous whirlwind tour. What new horrors might you glimpse? Can you finally stamp out the ultimate evil? And how will the Earth weather in your absence?
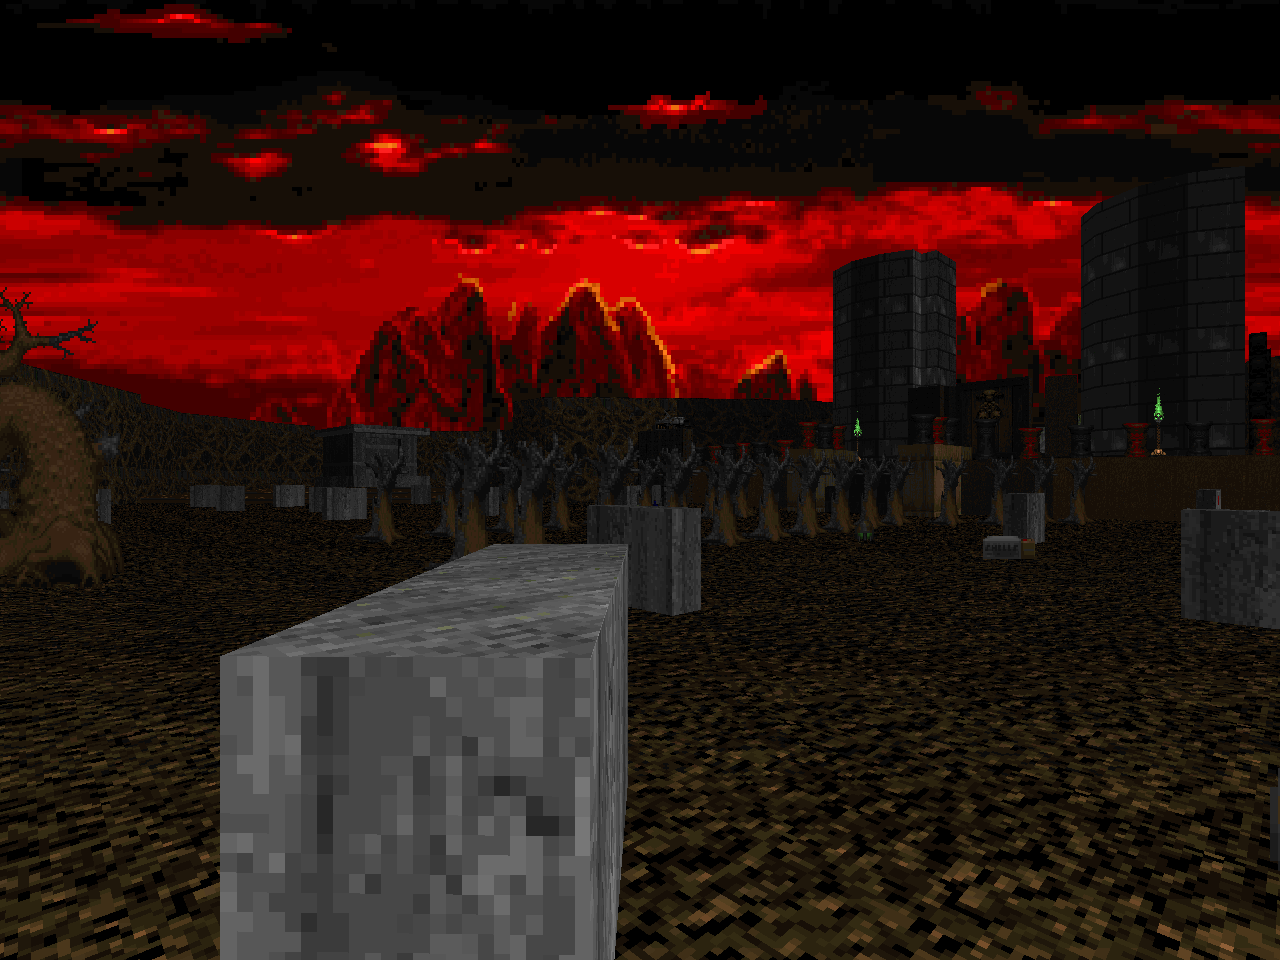
Because NEIS has its roots in DTWiD, the spirit of the IWAD levels is plainly evident in many of these maps. It's not Doom the way id Did part II for a reason. This isn't a bad thing, though. I am actually a bigger fan of the DTWiD levels that strained against the rails. NEIS starts out rocking dangerously before quickly careening off the tracks and into uncharted territory as the wild imaginations of Brundage and Xaser take over, authorial improvisation with a touch of adoration. I don't mean to downplay the contributions of Lutz, of course. He has contributed one level for each of the later three episodes to keep things slightly grounded yet gorgeous, particularly the limit-removing spectacle of "The Blood Beneath".
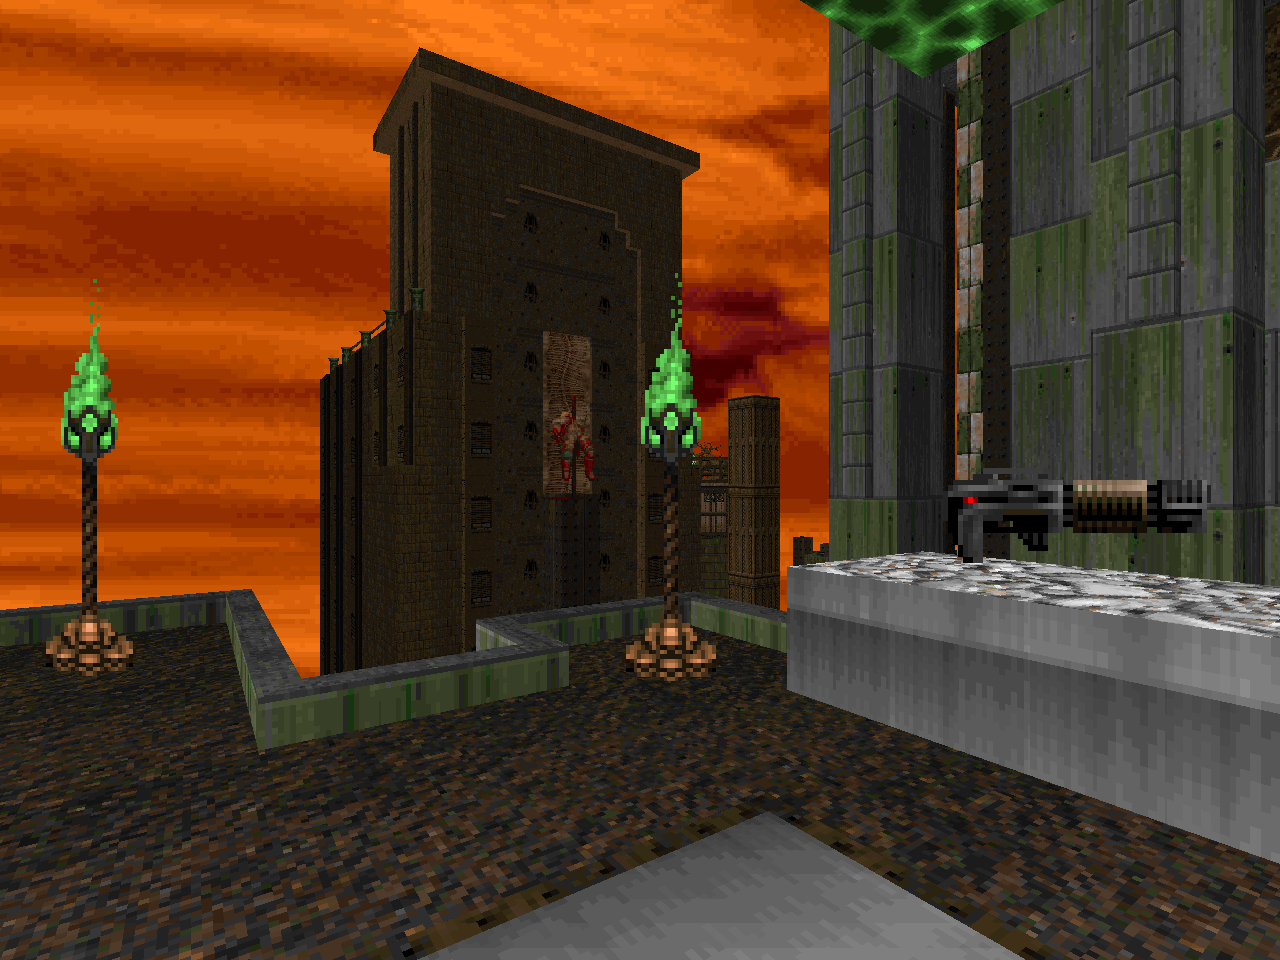
This megaWAD is much harder than the original
Doom in both its combat and its level design. If you're looking for a nostalgia trip you'll be okay through the first two episodes but E3 and especially E4 ramp up the evil genius factor. If you've played and enjoyed Emil's
END1 and
END2 I think that you'll find these to be a natural extension of his style, even if "Sanctuary of Filth" is saturated in Cyberdemons and Spiderdemons. Since
Doom's monster palette isn't very nuanced you can expect to be mobbed from different angles and suffer death by attrition as you're peppered with hitscanner fire. It isn't dull by any means but if you're more inclined toward the depth of dynamics afforded by
Doom II's monster roster I doubt
NEIS will change your opinion.
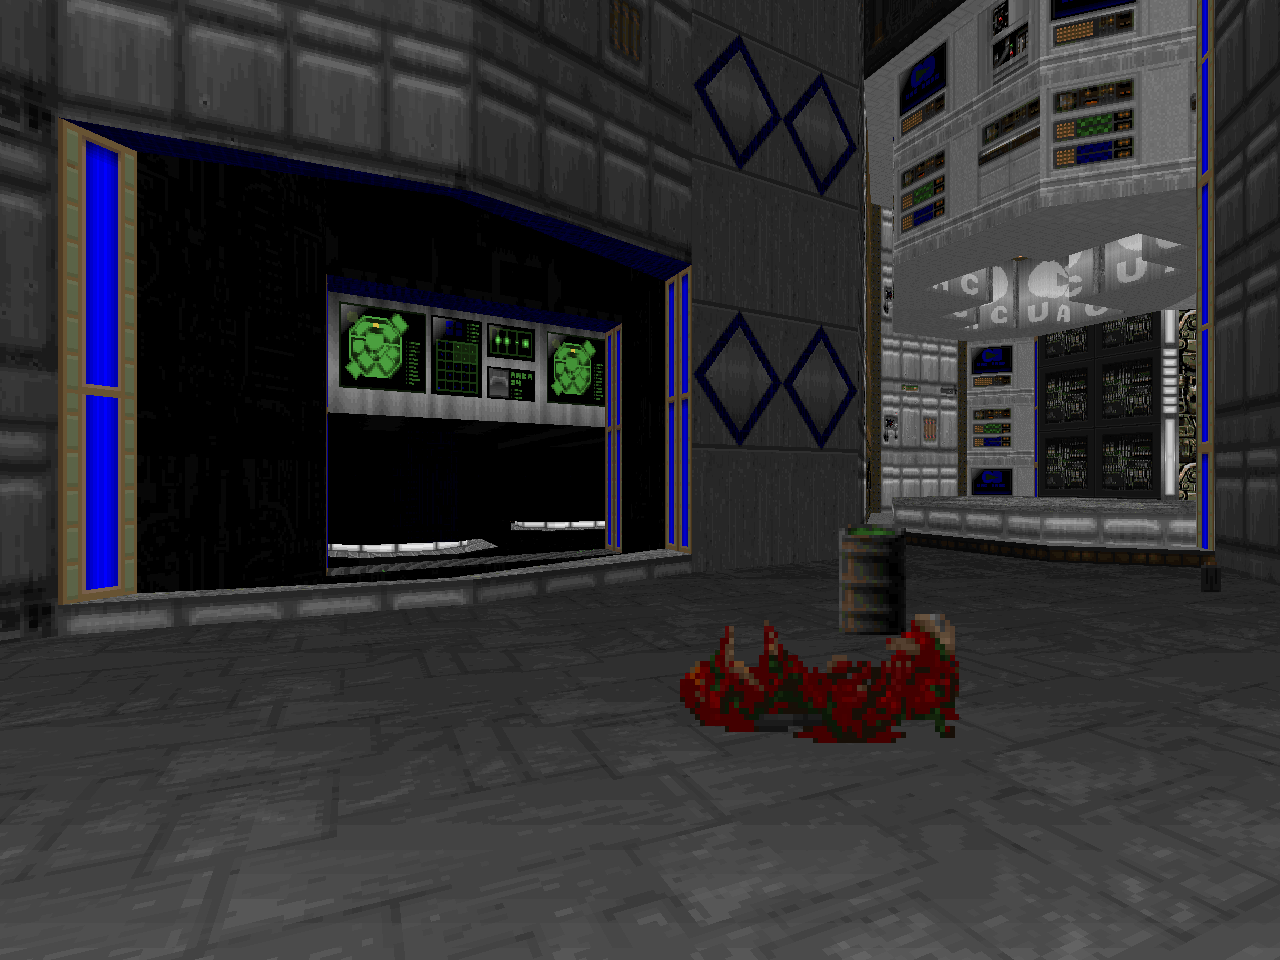
On the other hand, if you're a fan of complex sector machinery and unique environments like me, the team has got you covered! NEIS has some of the coolest levels I've seen for Ultimate Doom and the fourth episode just about steals the show. Its lineup includes stuff like "Parallels", a "Wormhole" style level featuring devious interaction between the two dimensions; "Wartorn Precinct", which really feels like a block of ruined city still in the throes of a demonic invasion; the aforementioned "Sanctuary" utilizing insane verticality, crisscrossing paths, and various linedef riddles; "Vacuum Consortium", fighting your way down through the bottom of an enormous, inverted tower; "RGC Alpha"'s platforming segments and ever-changing main area; and the title map, "No End In Sight", admirable for bringing the action of an Icon of Sin level to the perhaps more palatable platform of the original Doom.
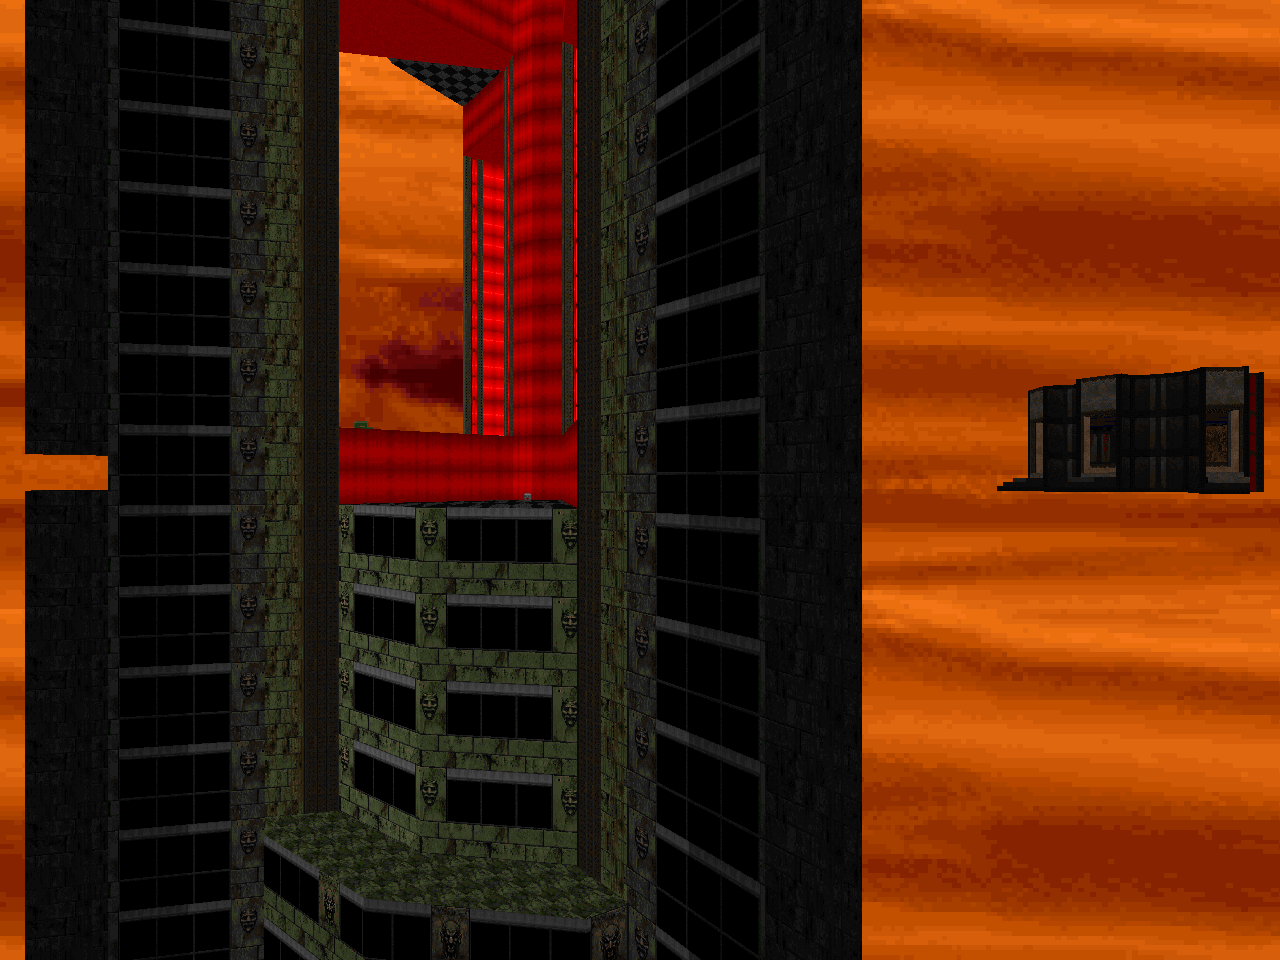
The third episode leads into all this chicanery by opening on a tight puzzle-driven level showcasing quite a bit of optional content ("Gates of Hades") and then going nuts with concept levels that sometimes border on the cruel, best exemplified in the absolute player exposure of "Requiem". "Emblem of Destruction" and "Forgotten Caverns" do the automap picture thing using a pentagram and lost soul, respectively, and Xaser does a level based around an awkward crusher scenario called "The Grinder" that also leverages damage floors. "Anomaly Retribution" piles demon bodies high after an atmospheric intro that walks through the previously conquered "Phobos Anomaly" and has a ton of side-scenarios on your way to the Baron-laden showdown. The penultimate "Netherworld Citadel" points the way forward, an underground adventure unto its own with secret selections from END1 hidden behind a platforming sequence that locks you out if you mess it up.
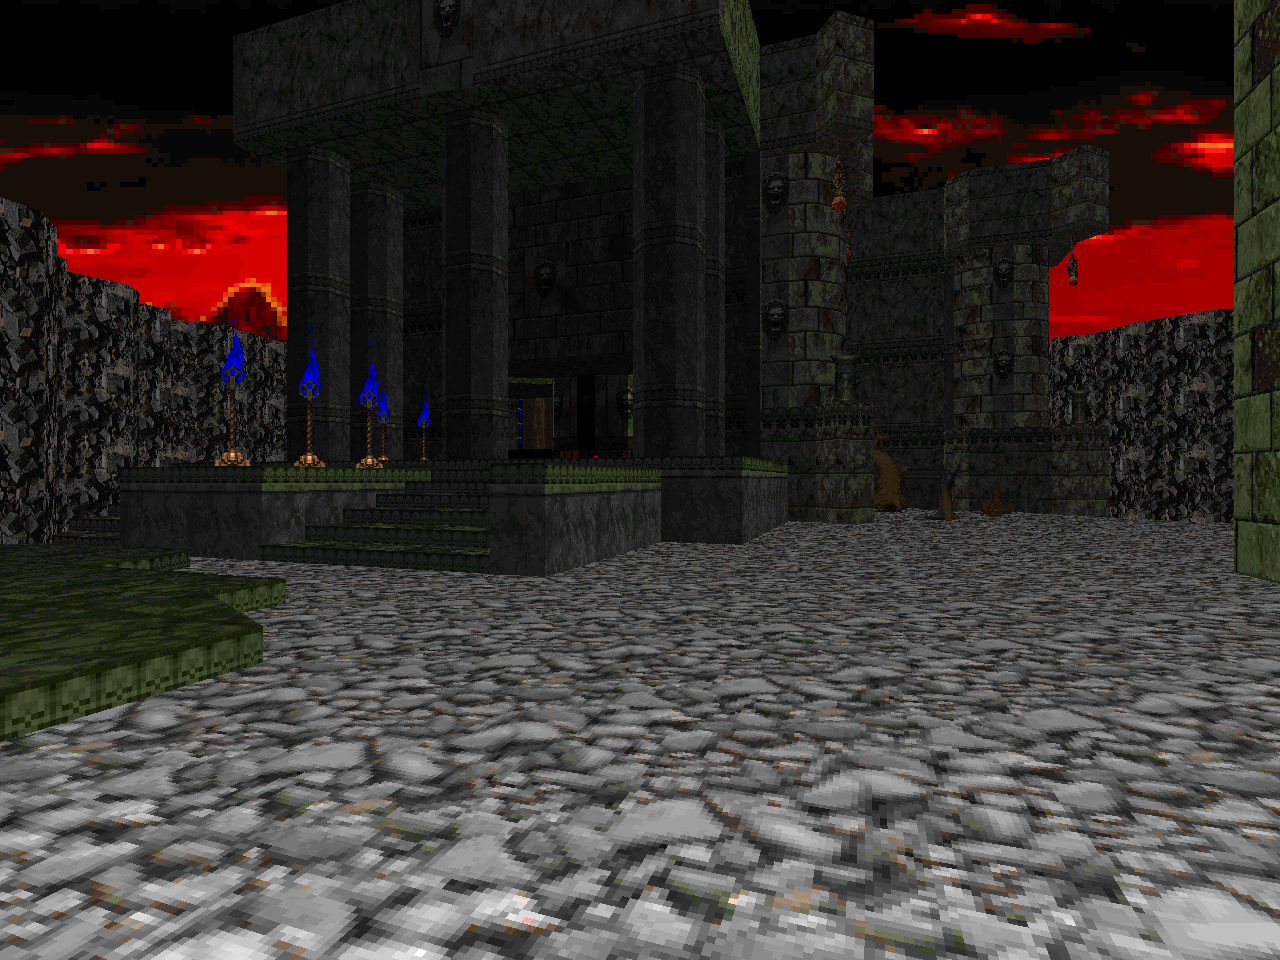
Devious secrets are more or less the norm through the entire work; I'm awestruck at some of the tricks Brundage has coaxed out of the engine. Coaxing monsters to open doors in E1 is kind of sneaky but using them in E2 to pull your aim up to a switch you couldn't hit without freelook? Diabolical! Then there's the case of two barrels, one of which must be destroyed in order to let a walkway raise in E1. The other helps to keep a door open in a critical location in E4. He's also used the quirks of secret exits to finagle two hidden levels into E3. They're actually E3M5 and E3M6, a feat accomplished by using the secret exit linedef for "normal" egress in E3M4-6. Since E3M9 exits to E3M7 the regular level progression becomes 1, 2, 3, 4, 9, 7, 8.
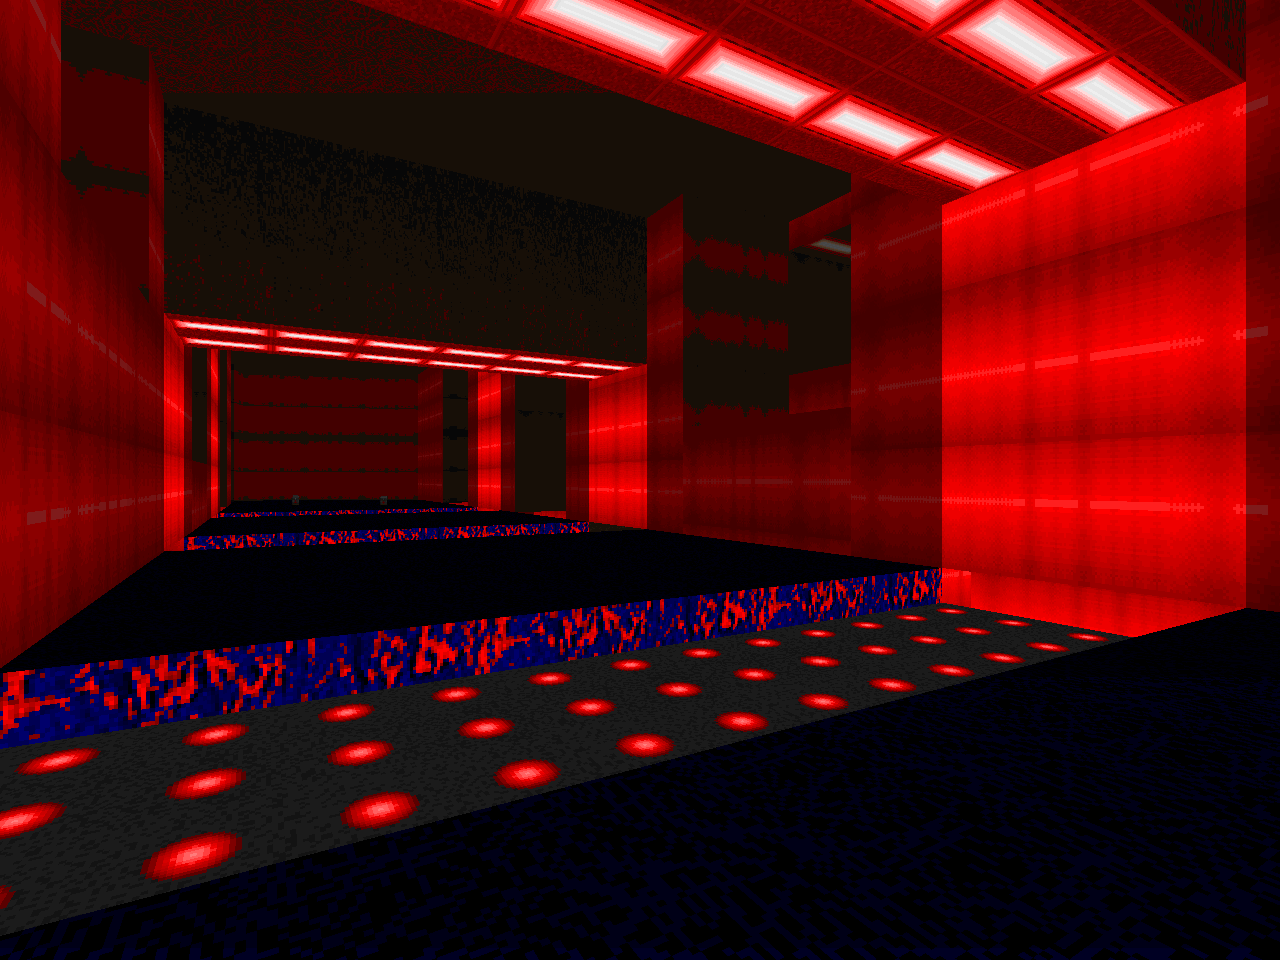
NEIS features plenty of fresh visuals much wanted considering that maps for the original Doom usually default to IWAD themes and homages. I've already mentioned some of them but I'd be remiss if I didn't extol the virtues of Chris Lutz again. He worked a few sneaky structures into the classy "Lake of Fire" which along with Xaser's "Receiving Station" was selected for the official release of DTWiD. "Poison Control" is more blunt about squeezing the most it can from vanilla's limits. If any of E4's levels really looks like a limit-removing map, though, it's "The Blood Beneath" and its combination of meticulous lighting / lightcasting and (un)naturalistic caverns.
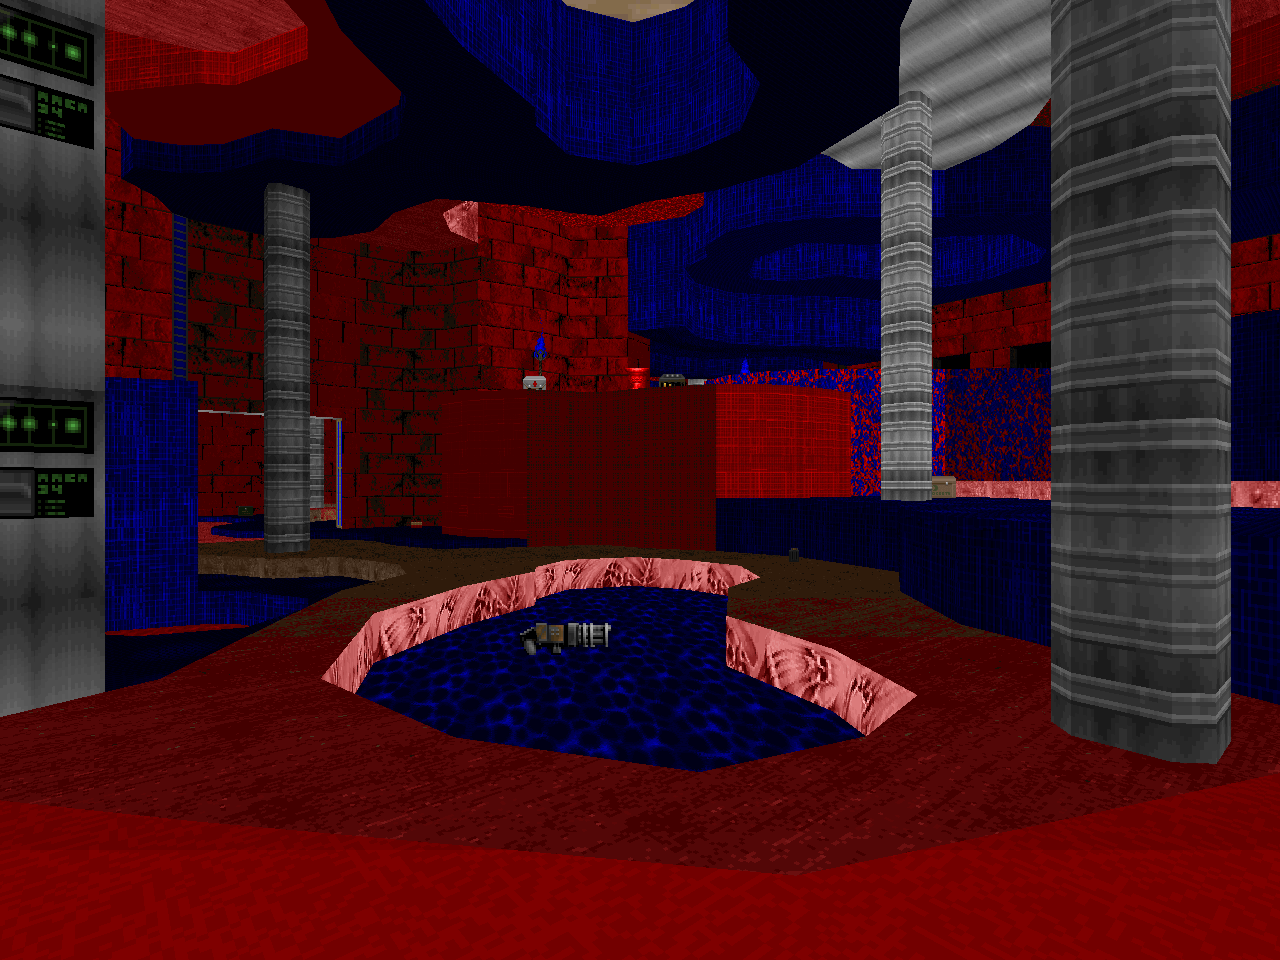
I've already mentioned the fourth episode's unique locations, but some of the other setups help to break up the more typical Doom-themed levels. There's "Fortuna Bridge", for example, whose major set piece can be seen from the beginning and which you will be working your way toward. The entirety of E2M4's "Derelict Vessel" takes place within a spacecraft, presumably on the ground (hence "derelict") but there's nothing outside the ship to tell one way or another. For all I know, it could just be cruising Deimos on auto-pilot after the demons slaughtered its crew. Whatever the reason, I'm quite happy to have another spaceship-themed level to play. The first episode is the most traditional of the bunch, whatever that means to you, but "Biosphere" is a much-appreciated trek across the Phobos wilderness and around its monolithic megastructures. Maybe not what I expected given the title, but great maps are all about defying expectation.
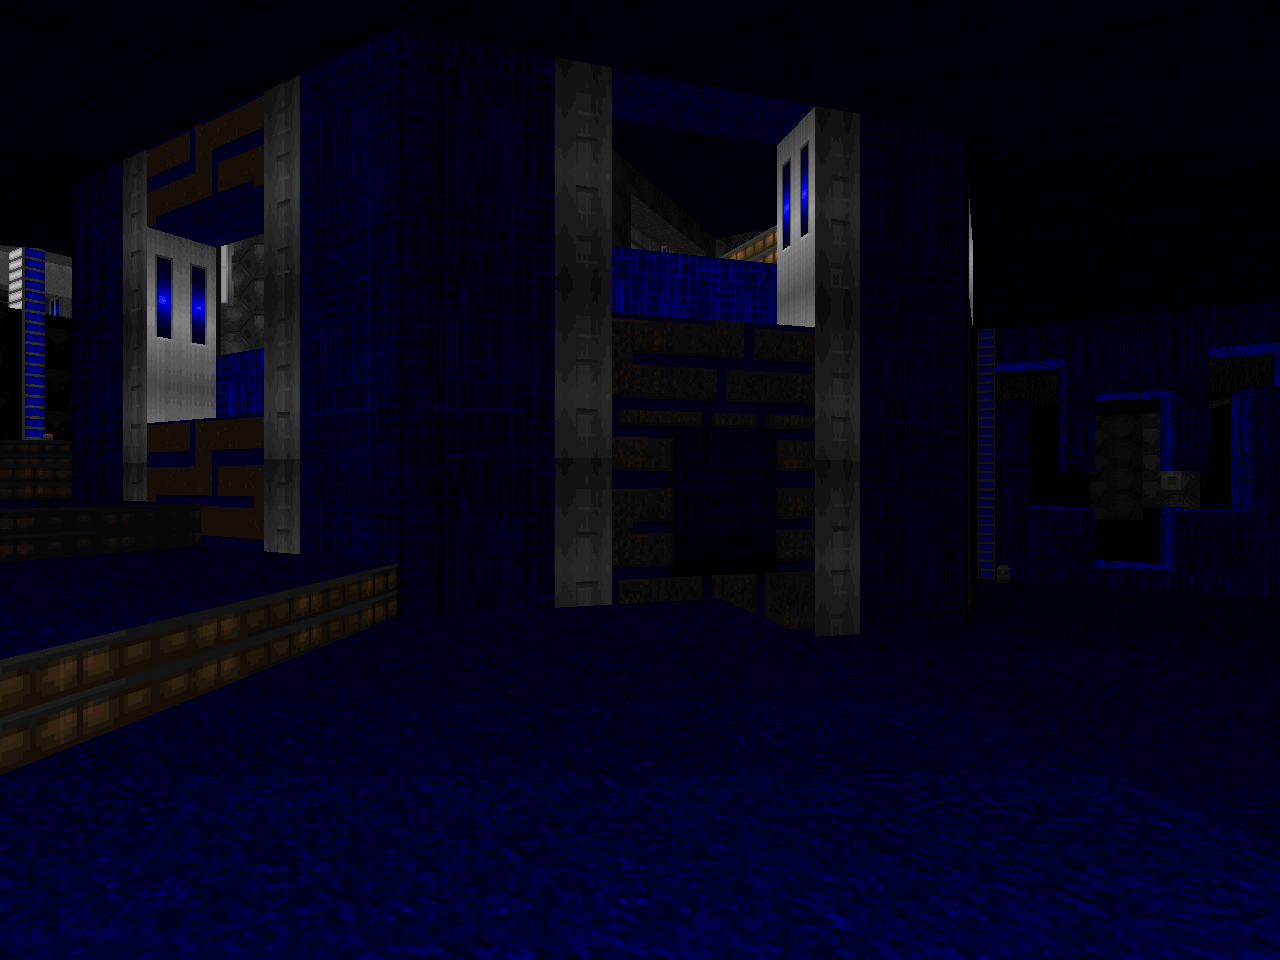
id's original release and its limited rogue's gallery may pale in comparison to its meatier sequel but No End In Sight shows that it's a format to be reckoned with. These levels could have just as easily been made for Doom II (and one of them was!) but their linedef sorcery would be a bit harder to swallow when paired with the bigger, bloodthirsty beasties and a greater lean toward congestion over claustrophobia. It's much easier to make compelling combat with so many different actors and thus interesting mapsets. Keeping an Ultimate Doom megaWAD feeling fresh throughout its run time is considerably more difficult without revenants and mancubi and arch-viles to lean on. My favorite authors turn the geometry itself into an engineered enigma and this one is no exception. The limited bestiary gives these challenging contraptions room to breathe.
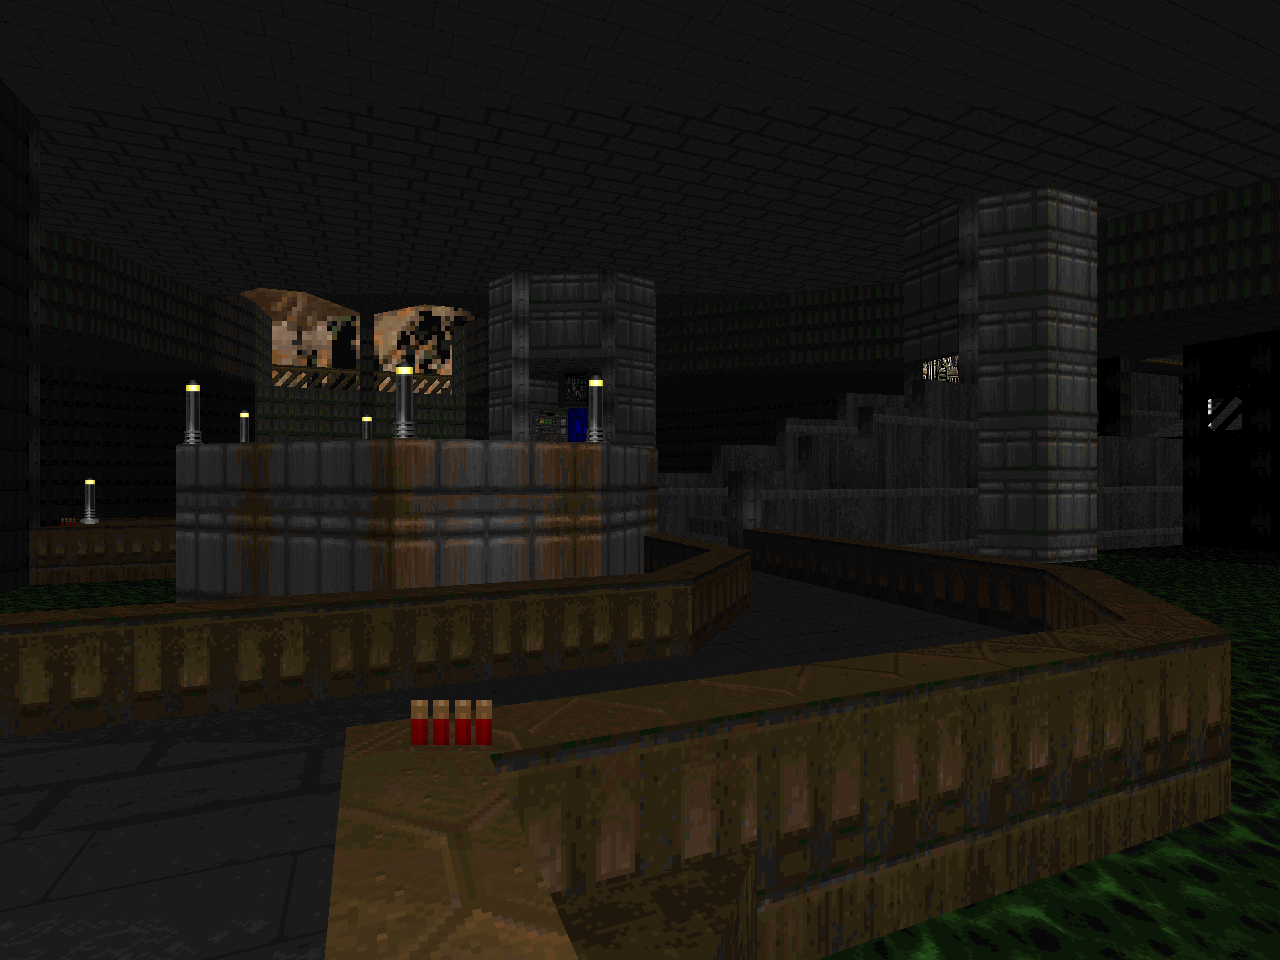
I have enjoyed NEIS through every eureka and each moment of enervation, when I just couldn't be bothered to find the last little secret and instead slinked off to the exit switch, tail tucked between my legs. I even appreciated those moments where a single mistake had cut me off from a substantial secret, though I could not have known at the time. I hope that you enjoy the epic adventure as much as I did.

NO END IN SIGHT
by Emil "NaturalTvventy" Brundage,
Xaser Acheron, and Christopher Lutz
EPISODE ONE
1994 WAYS TO DIE
| Terminal | E1M1 |
|---|
| by Emil "NaturalTvventy" Brundage |
|---|
| A nice starting area with a couple of nods toward "Entryway" that tickle the mind and a bit more depth. There are several nukage pits you can splash around in plus a sizable little secret machine room that launches its own adventure. The action is light fielding your basic Doom trash; you get the shotgun pretty quick. The biggest fight actually comes at the tail end of another secret chain but there's little chance of any real threat. A good intro to a lot of things... particularly Brundage's incredibly devious secrets. |  |
| E1M2 | Slime Trails |
|---|
| by Emil "NaturalTvventy" Brundage |
|---|
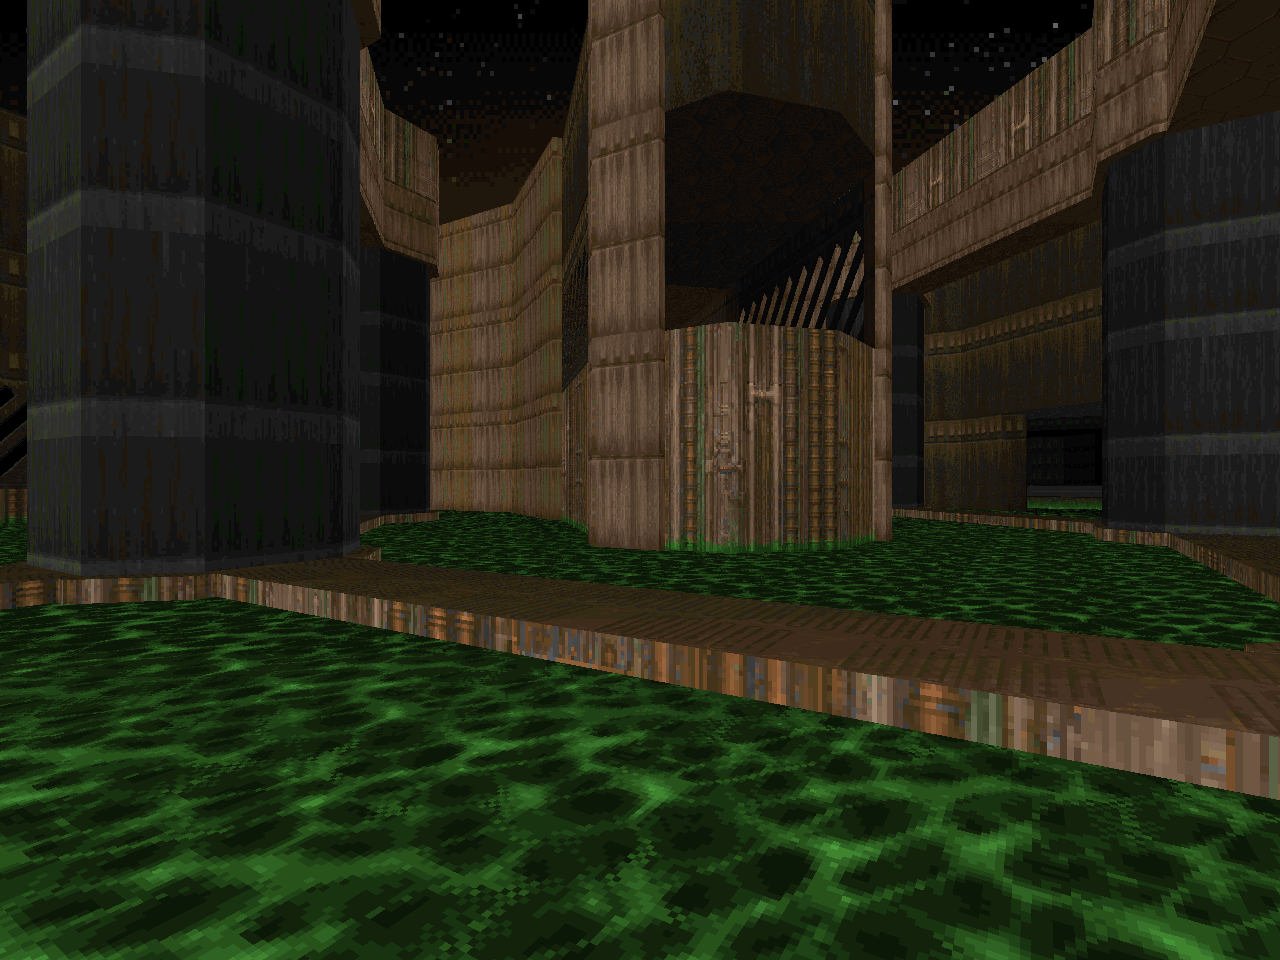 | Stepping things up with a really cool nukage map. The centerpiece is a partial octagon chamber and features some pillars that transforms into the exit walkway; it's surrounded by a network of dingy tech tunnels and toxic channels. You're free to take any avenue you like to make your way around to the key but one of the paths is a lot shorter... and pretty cool, since it involves Doom platforming! It's a really neat area to go alongside the installation guts to the northwest and the central octagon. The monsters are slightly thicker, utilizing a few snipers for a stronger challenge. |
| Logistics Center | E1M3 |
|---|
| by Emil "NaturalTvventy" Brundage |
|---|
| Much larger and more dense. This level is fun to explore, containing many secrets and some unique centerpieces like the three-by-three grid of doors that serves as one of several segments required to open the secret exit. It also features a decent escalation of encounters. Keeping along with the previous maps, this one has a bunch of secrets and while they may be a bear to figure out Brundage usually offers some kind of obvious clue to alert you to their presence like a porthole door that isn't a secret in and of itself. Getting the red key will be the hardest part, though; you'll need some assistance. The opening pushes you into specters and demons so the opposition's a little meatier from the beginning. It's a great map to just puzzle out and untangle. | 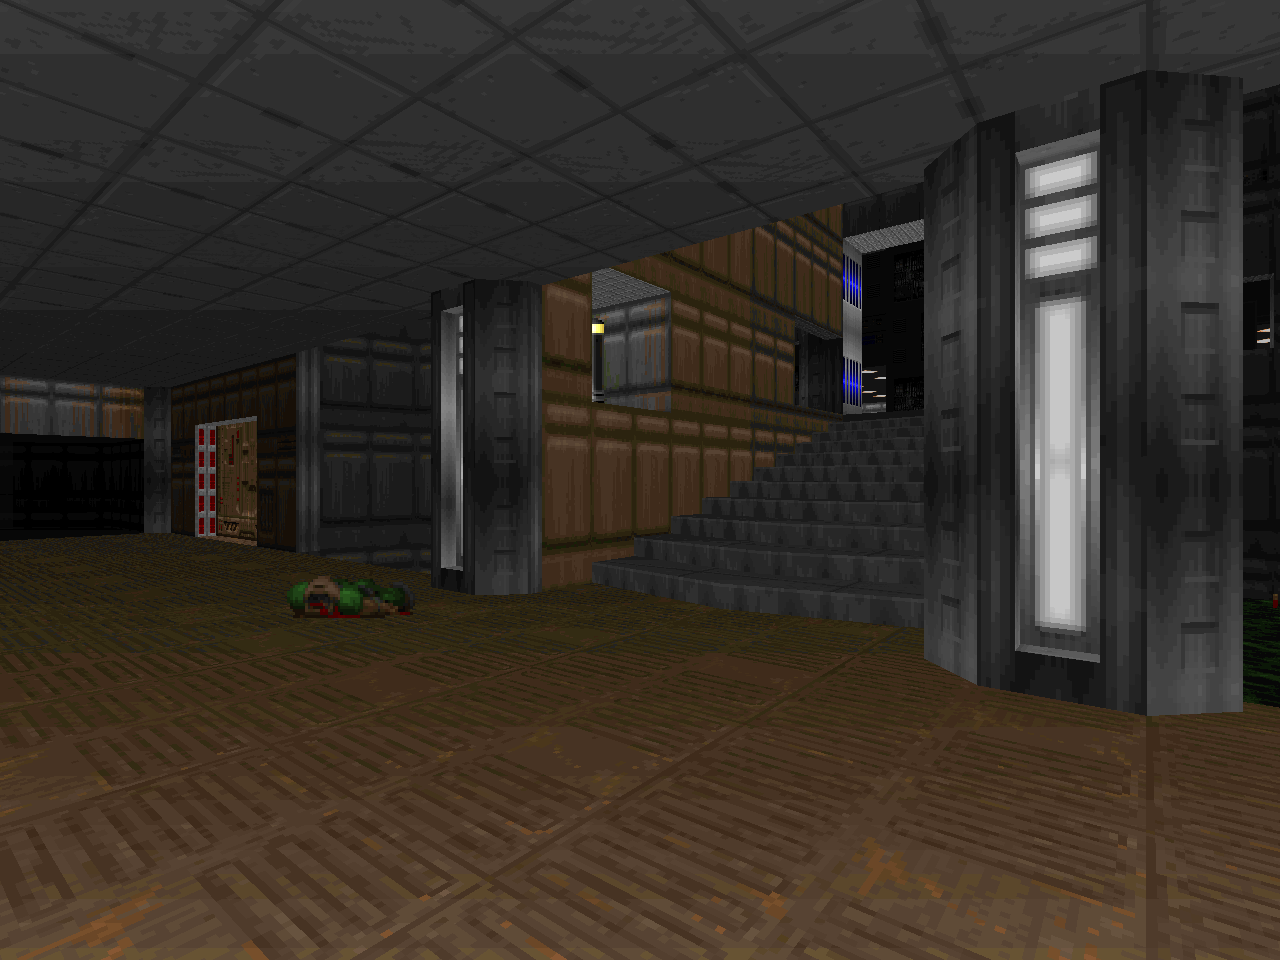 |
| E1M9 | Quarantine Silos |
|---|
| by Emil "NaturalTvventy" Brundage |
|---|
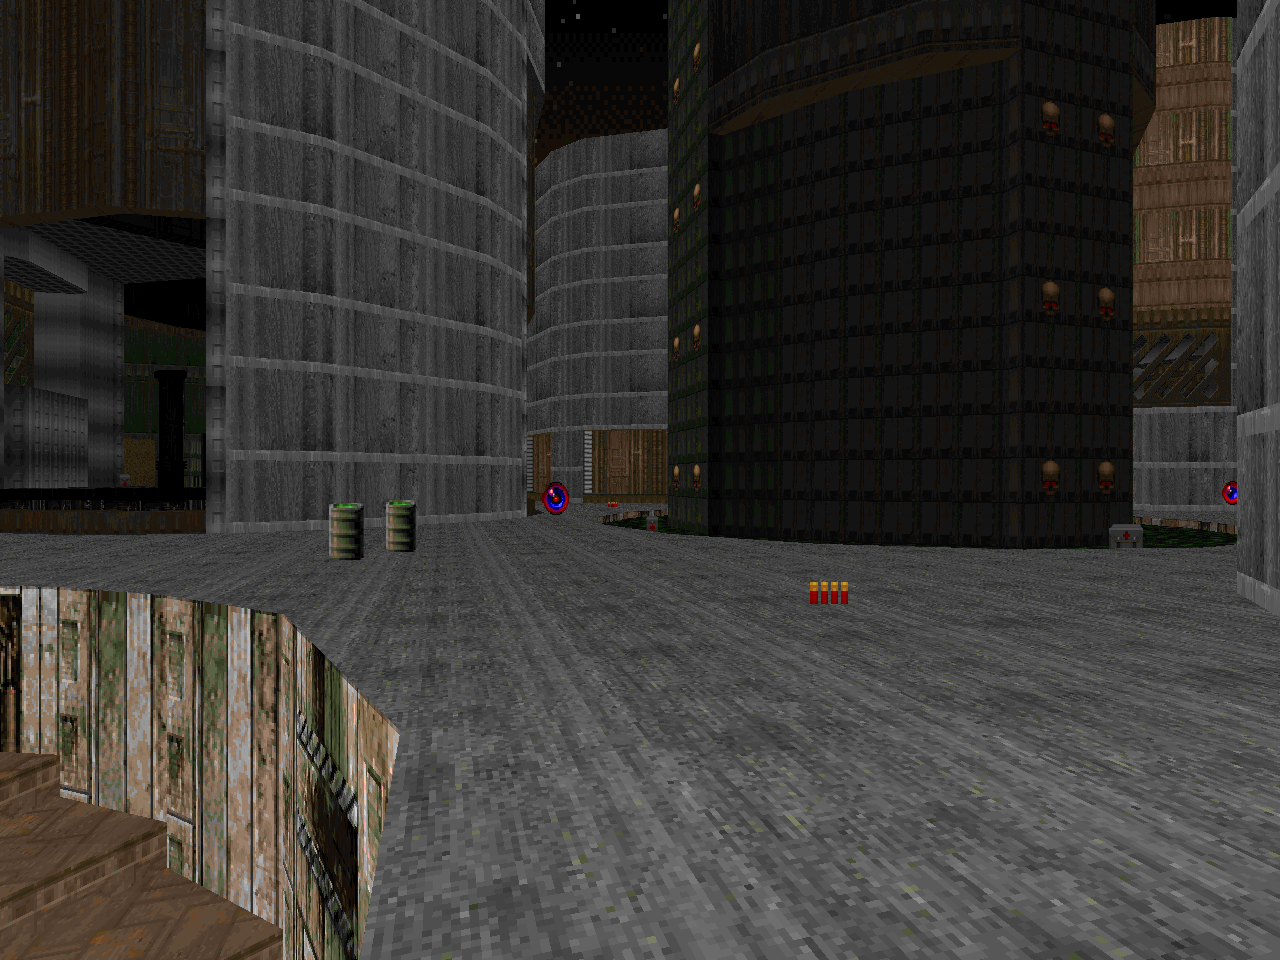 | It's quiet... and then you emerge from the first silo, suddenly at the mercy of all of the baddies roaming on the ground and on the outer edge. But it doesn't stop there! The surrounding silos will continue to open and usher in infernal ingrates who also lurk in the peripheral sewers. Making any progress will inject more zombies, imps, and demons such that you are fighting a war of attrition. The threat continues until the very end, yellow key defiantly clutched in hand. A masterpiece in its encounter design; the silos don't look too shabby, either! |
| Abandoned Factory | E1M4 |
|---|
| by Emil "NaturalTvventy" Brundage |
|---|
| Shades of E1M4, E2M2, and perhaps a bit of E2M5? Potential references aside, it's another fantastic map and features an unusual gimmick in the way the southwestern portion of the level interfaces with itself, whether it's the narrow octagonal hallways or the cross-shaped dumping chute destination. It's also rich in secrets and tighter on ammo, I think because more imps and demons are used to threaten the player. Amid all the intermittent opposition is a small network of hallways that works as the site of your final big ambush, a real "clamoring hordes of evil" moment. | 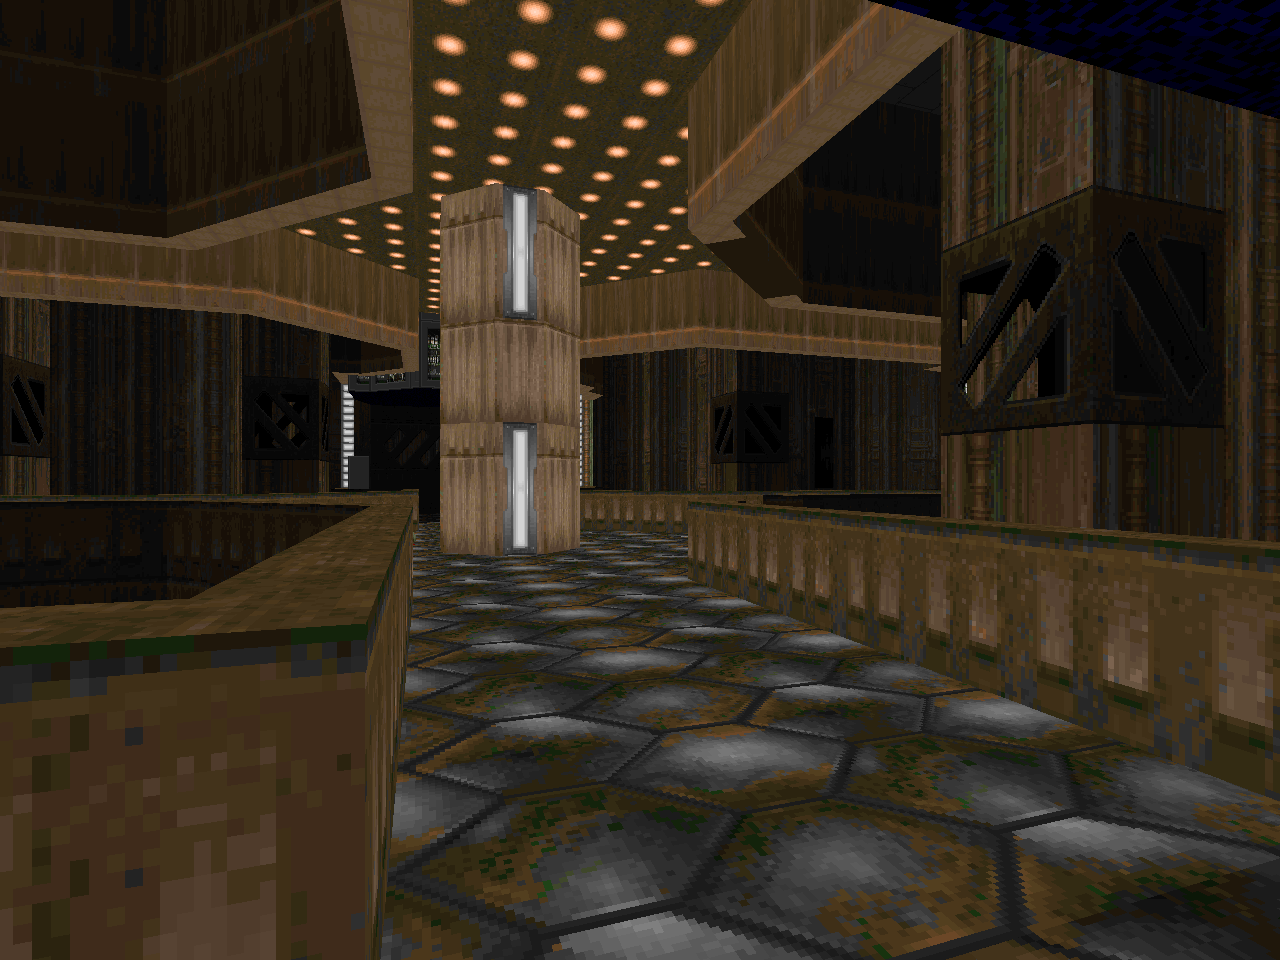 |
| E1M5 | Warehouse |
|---|
| by Emil "NaturalTvventy" Brundage |
|---|
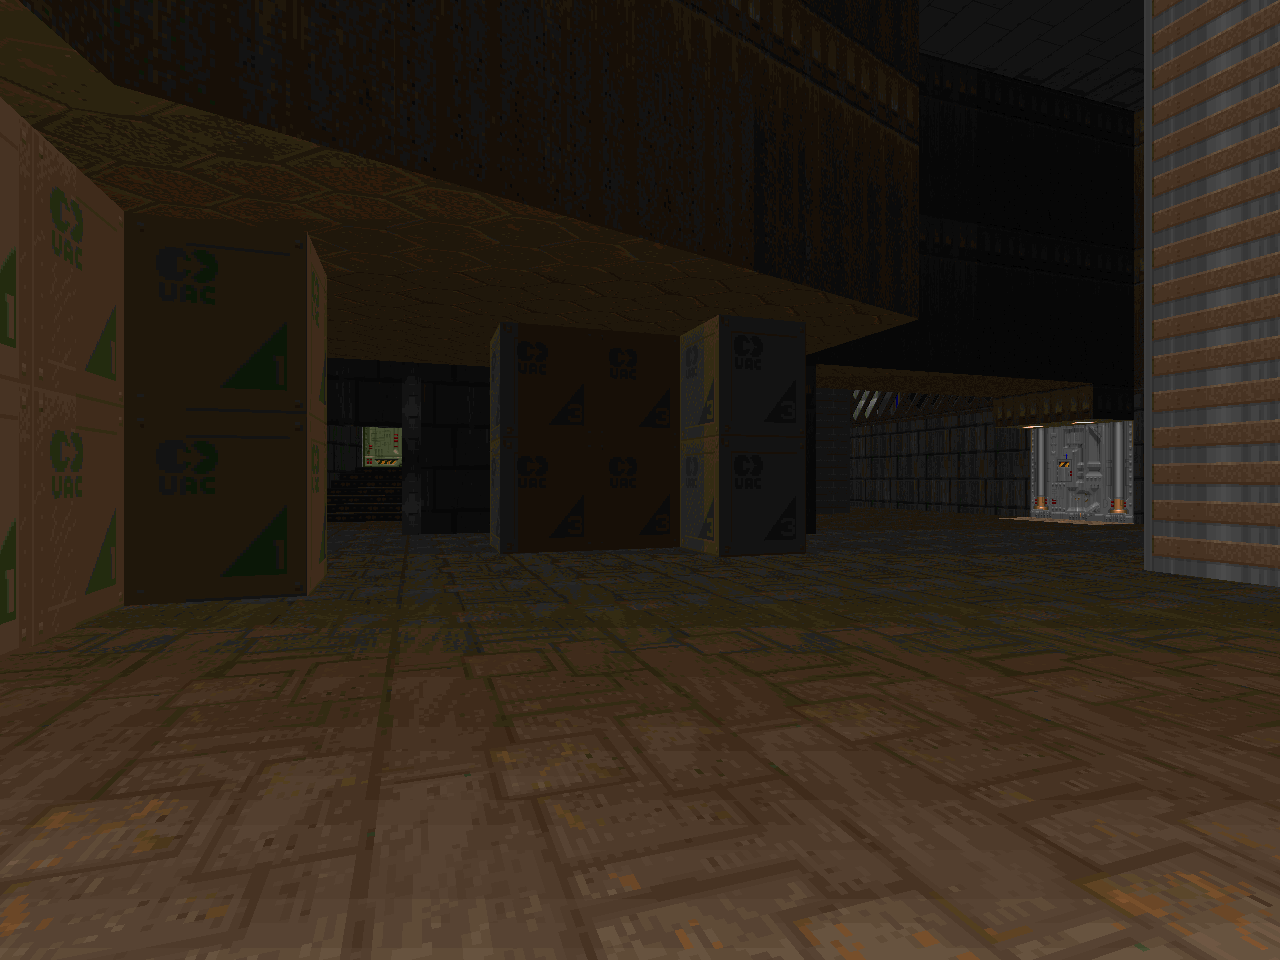 | This is a cool, dark level with two main segments of action: the periphery running around the warehouse floor, which dominates the center of the level, and the storage section itself. The monsters come on thick as you move between areas and the layouts are designed to give you plenty of emergent movement to surprise you. I like how maneuvering across the warehouse is done via walkways cutting through the level's center, working your way around to a little steppe maze that has shades of E1M4's southwestern labyrinth. My favorite moment has nothing to do with the hordes of Doom monsters; it's a fiendishly clever secret requiring the destruction of a barrel... |
| Power Core | E1M6 |
|---|
| by Emil "NaturalTvventy" Brundage |
|---|
| "Power Core" has more of a web feel but it isn't especially intricate; its outposts of action are joined by a network of squat, underground tunnels that are still pretty wide to facilitate a constant flow of enemies toward your position. It truly feels infested until the very end, its peak madness being the nexus just north of the yellow key door with six different locations you can expect monsters from. You may end up clearing down one tunnel at first only to find the rest of the nasties have sallied forth to do battle. | 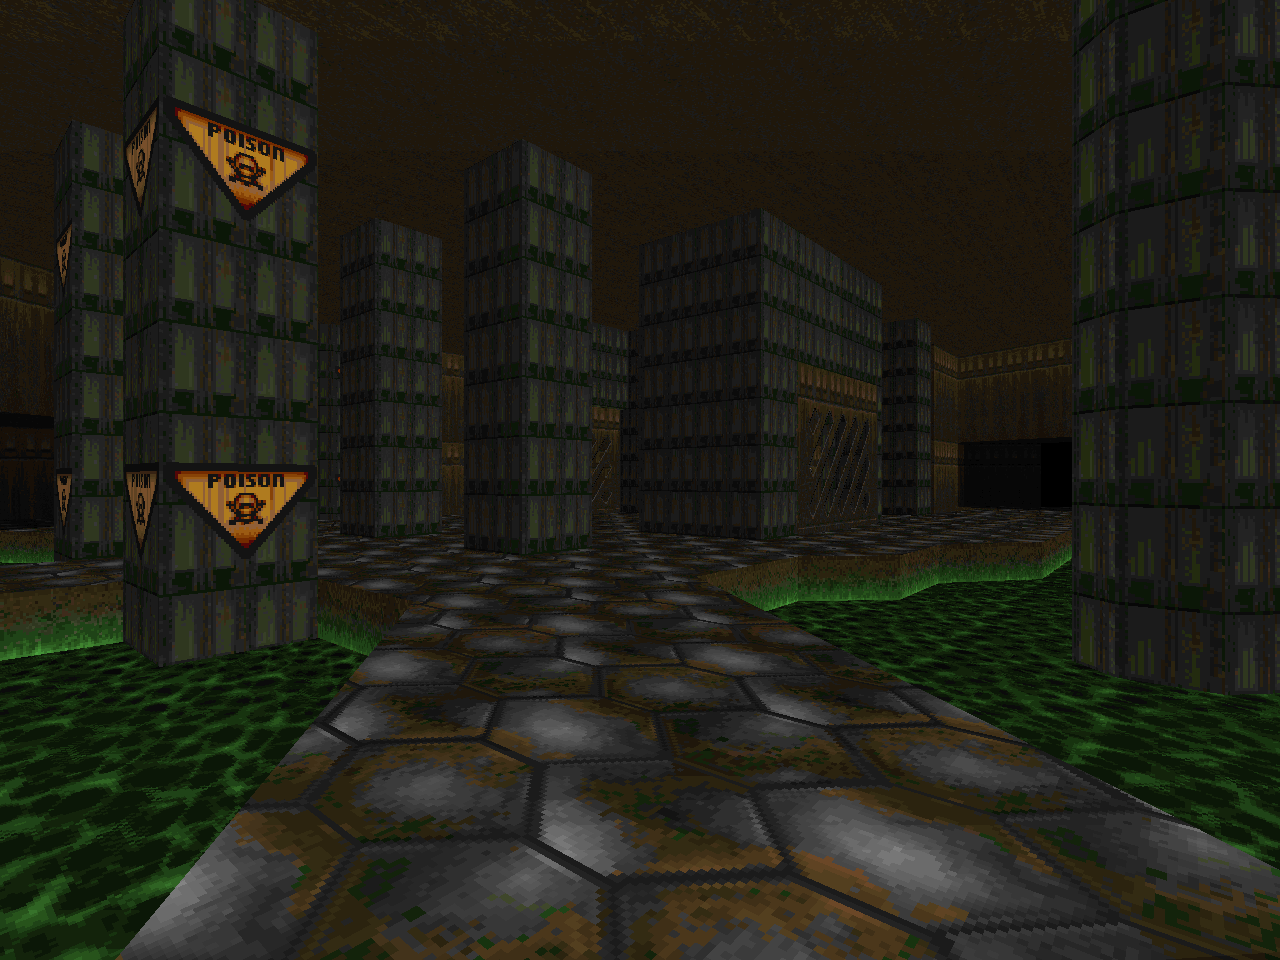 |
| E1M7 | Biosphere |
|---|
| by Xaser Acheron |
|---|
 | An enormous level from the X-Man; while there are a few "spheres" the only bio in them belongs to bio-hazard. I imagine this will be a potentially confusing leg of the NEIS journey since progression involves finding a way into the nukage of the E1M7-ish area and then taking a long hike through the rugged wilderness around the periphery until you meet back up at the western area. It's a grand adventure with some impressive megastructures and plenty of Hellish forces amassed against you. That said, it's mostly attrition fights, and the biosphere battles aren't very complex as far as ambushes go. Maybe the second one since those demons seem to come out of nowhere. Very cool stuff. |
| Enigma | E1M8 |
|---|
| by Emil "NaturalTvventy" Brundage |
|---|
| Well, it's an E1M8 map but there are a few imps to warm you up and the end star-shaped battleground is a bit tighter with the tradeoff being no spectres. If you find the secret rocket launcher you should speed things up quite a bit; otherwise it's pistol shooting imps from a tight rope to snag the shotgun and then chaingun. The long walk to the murderbrawl finale is a different sort of eerie; where the original felt like the unveiling of a wretched, stinking secret, this more resembles an ascension to a different plane. | 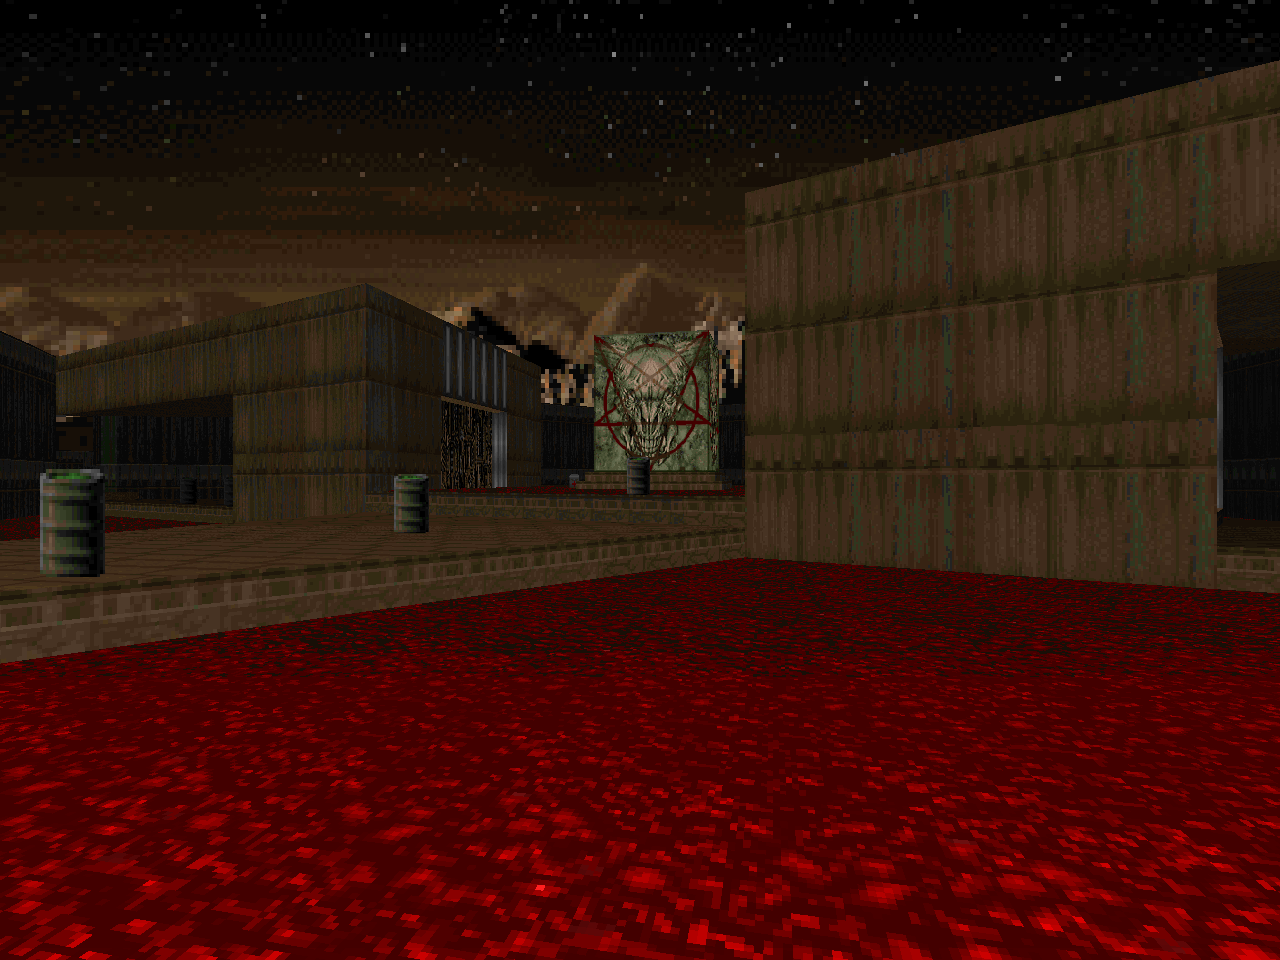 |
EPISODE TWO
THE DEPTHS OF DOOM
| E2M1 | Receiving Station |
|---|
| by Xaser Acheron |
|---|
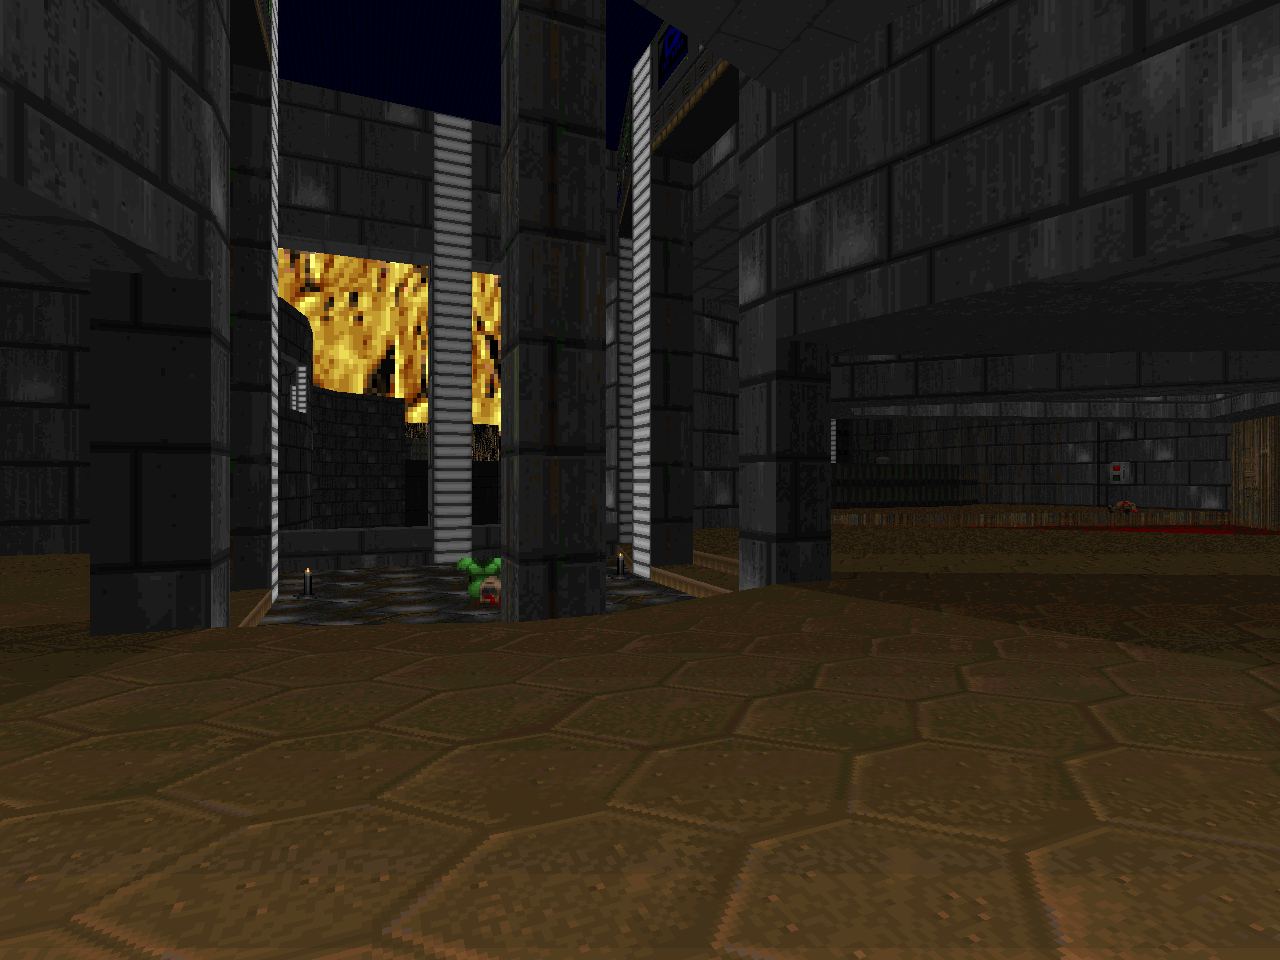 | Gently massaged from its original appearance as DTWiD's E2M1. It's a fun rewrite of "Deimos Anomaly" featuring a cherry red intrusion as the focal point for the annex that eventually leads to a secret plasma rifle. As could be expected there's an optional area and some teleporting about to keep you off-guard with the new rules. The re-introduction of the cacodemon toward the level's end is a welcome shift from the now weary shareware monsters. |
| Proving Grounds | E2M2 |
|---|
| by Emil "NaturalTvventy" Brundage |
|---|
| Channeling the dungeon-like layout of "Spawning Vats" with some creepy surprises. It's a dark level but not particularly nasty as far as monsters go in spite of the first regular appearances of Barons and lost souls and you should be swimming in shotgun shells. What I appreciate is all the switches and looks-like-secret walls revealing more and more of Hell, showing how the doomed UAC base is on the verge of being eclipsed by their satanic majesties. I also love the extensive secret stuff that seems to be concentrated in the southwest corner, from a limited opportunity at the blue key to a long path ending in a showdown for the automap. | 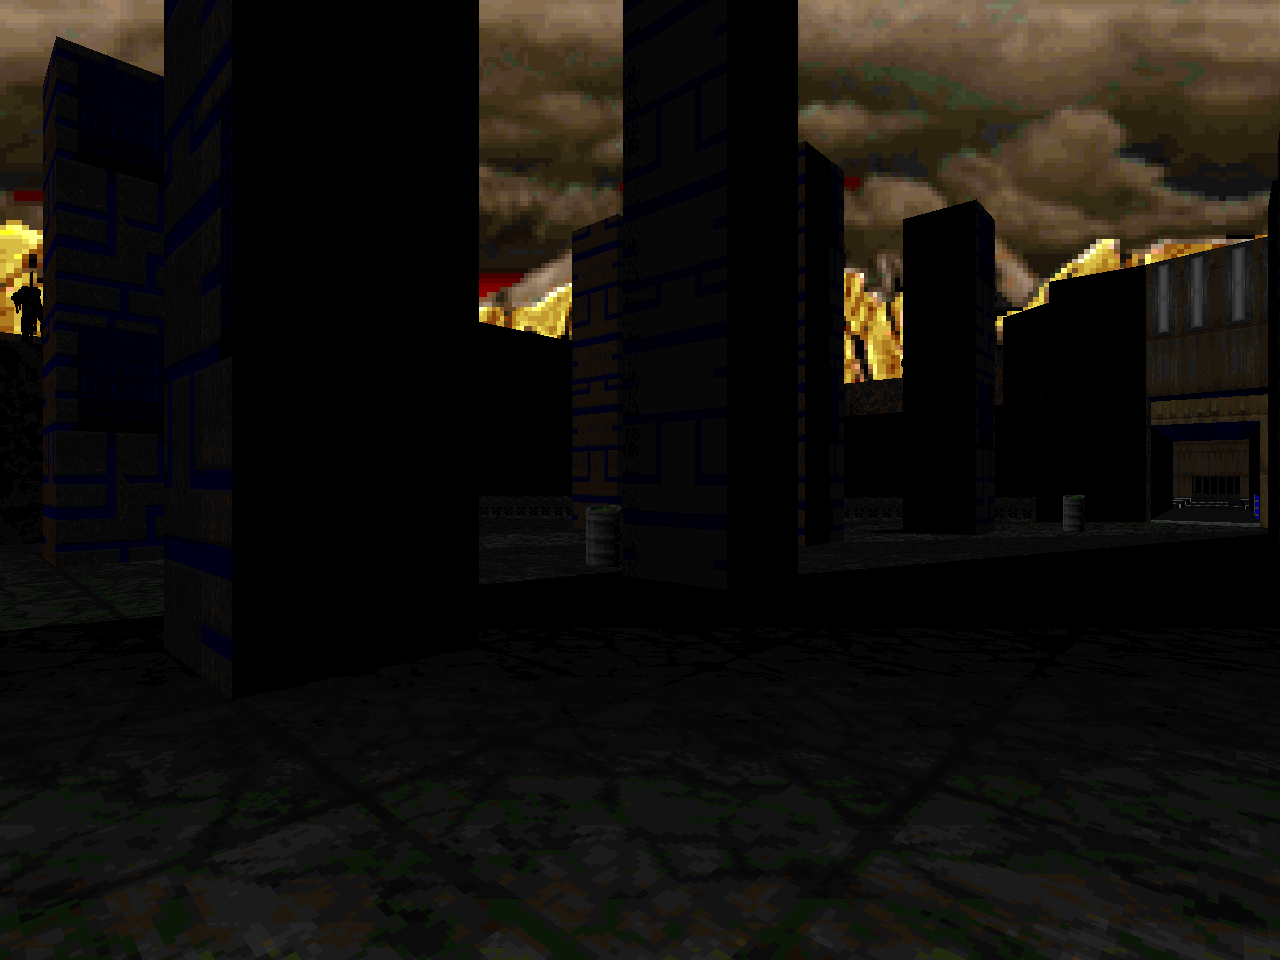 |
| E2M3 | Contagion Engine |
|---|
| by Xaser Acheron |
|---|
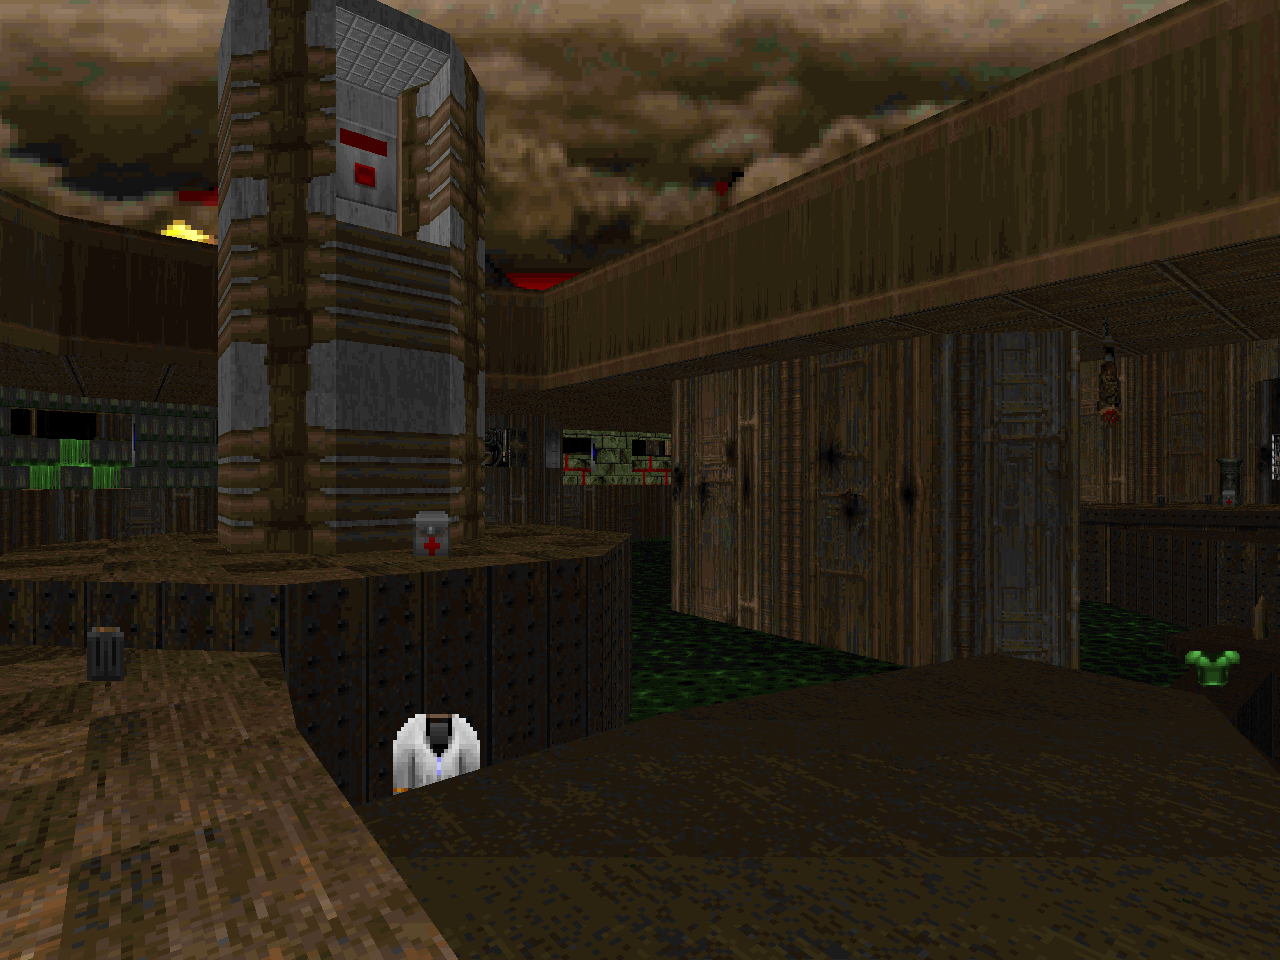 | Blood and toxic waste collide. The opening starts out in the middle of a trinity of poison cisterns that becomes quite the crossfire, especially with the cacodemon wildcards. The only other spot of action matching the same madcap energy is the axial annex to the east but such is partly a function of how much less ammo you have to burn. All the moving parts make this fun to unravel, from the compass rose in the level's center to the coffin-teleporter that takes you inside to the cool transporter reveal granting limited access to the cisterns seen at the beginning. |
| Derelict Vessel | E2M4 |
|---|
| by Xaser Acheron |
|---|
| This is a dark and dense spaceship rendered mostly in blue, silver, and tech guts. While I know it was made before, I can't help but be reminded of Ancient Aliens's "Gray Dwarf", both levels cramming a complex layout into a general shape. Toward the end you'll get to see the bits given over to Hell beginning with a slam shock in what I can only assume is the engine room. Later it moves to a brilliant bit where a hallway transforms with every return trip until reality frays and it's given completely over to the demons. I also love the optional yellow key area though if you skip it you'll miss the crew quarters and rocket launcher. | 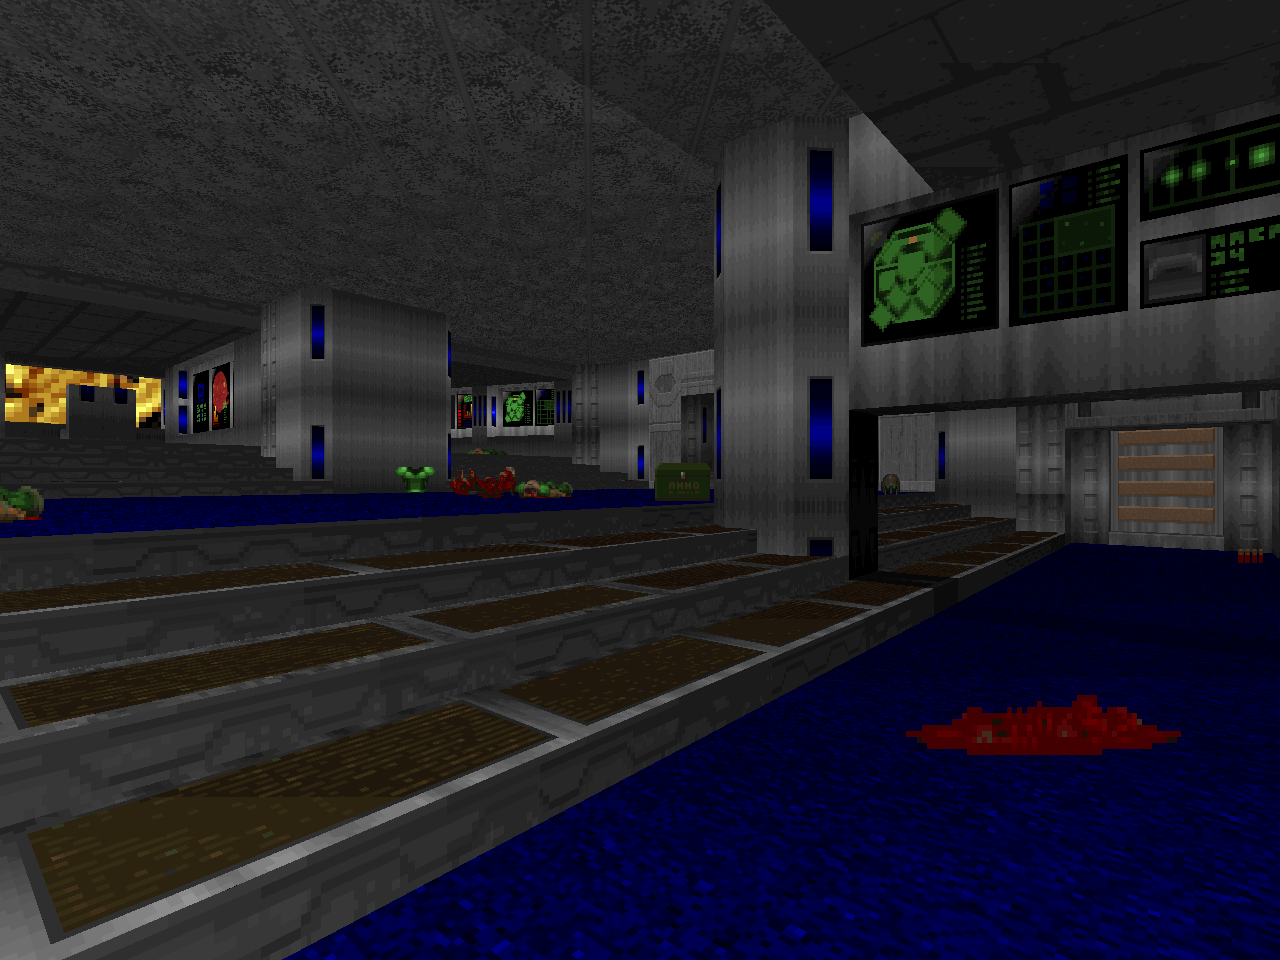 |
| E2M5 | Deep Storage |
|---|
| by Emil "NaturalTvventy" Brundage |
|---|
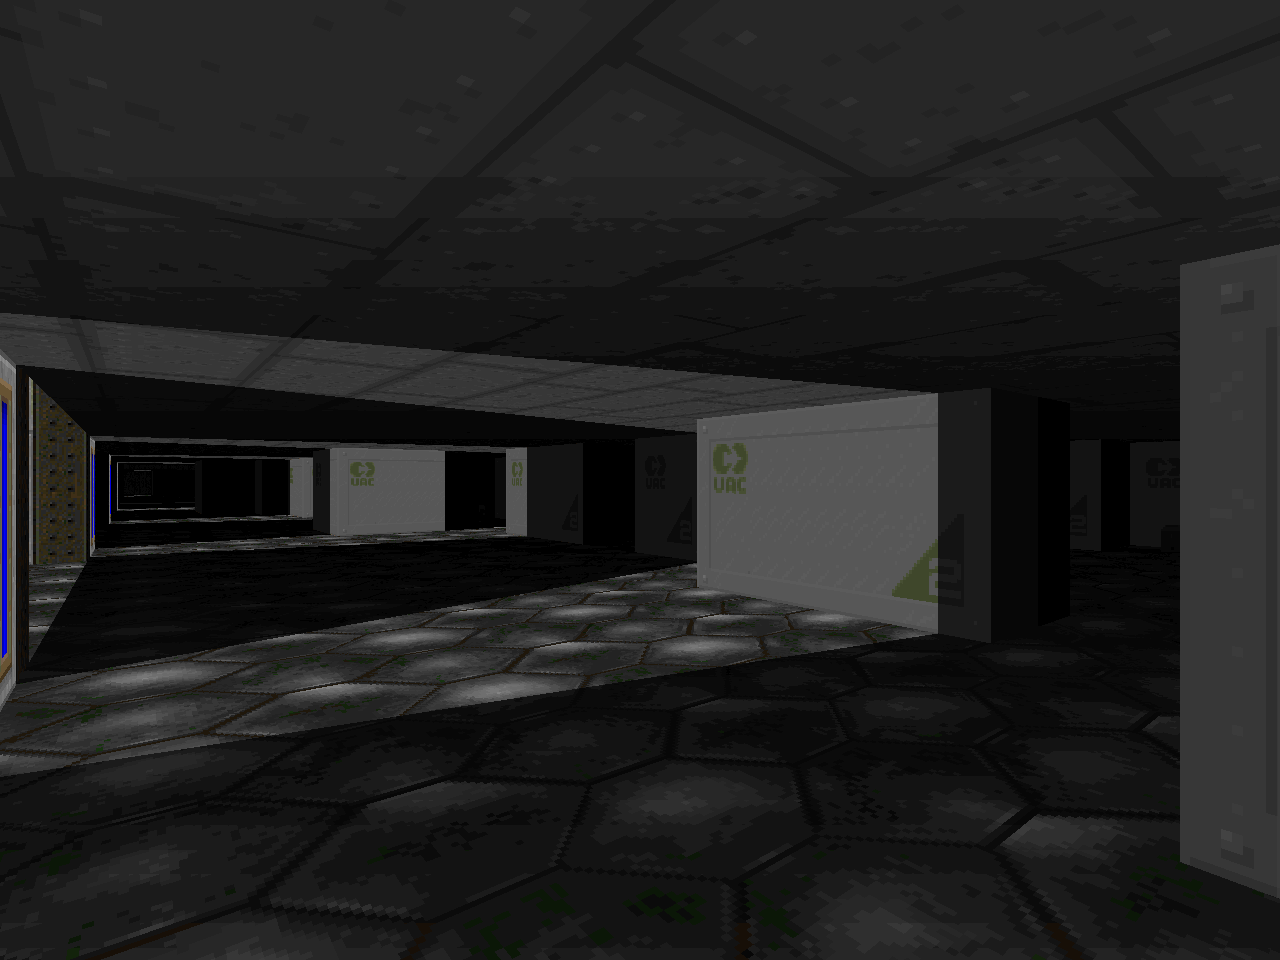 | One half of this level is a dense crate maze clusterfuck with a big wave of monsters once you turn on the lights. The moment is cool in and of itself, dropping down and flipping the switch that activates all of the buttons and doors as well as some other machinery. Once the lights are on you can explore the medical bay and munitions depot. Afterward you're off to a radial sewer arrangement with deep secrets, some of which can only be found after pumping down the normal level of nukage. The secret exit is another dastardly Emil moment and requires the assistance of an imp but in a different manner, one that may have players crying "Foul!" yet again. |
| Castle of Illusion | E2M9 |
|---|
| by Xaser Acheron |
|---|
| This is to "Receiving Station" as "Warrens" is to "Hell Keep", but the differences between "Castle of Illusion" and E2M1 are more extensive than an extended coda. Xaser's alterations change the essential character of the level, from the way you move through the pre-existing space to the torturous sector machinery built to trick and trap you (the titular Illusion). It's a potentially thorny level whose progression usually drops you into some kind of new nasty. There's the small but dangerous fire pit leading to the exit corridor, for example, or stepping out from the nearby plasma gun tower and causing the landscape to lower and reveal a Stygian pit. The cherry red finale hints at things to come, I think. | 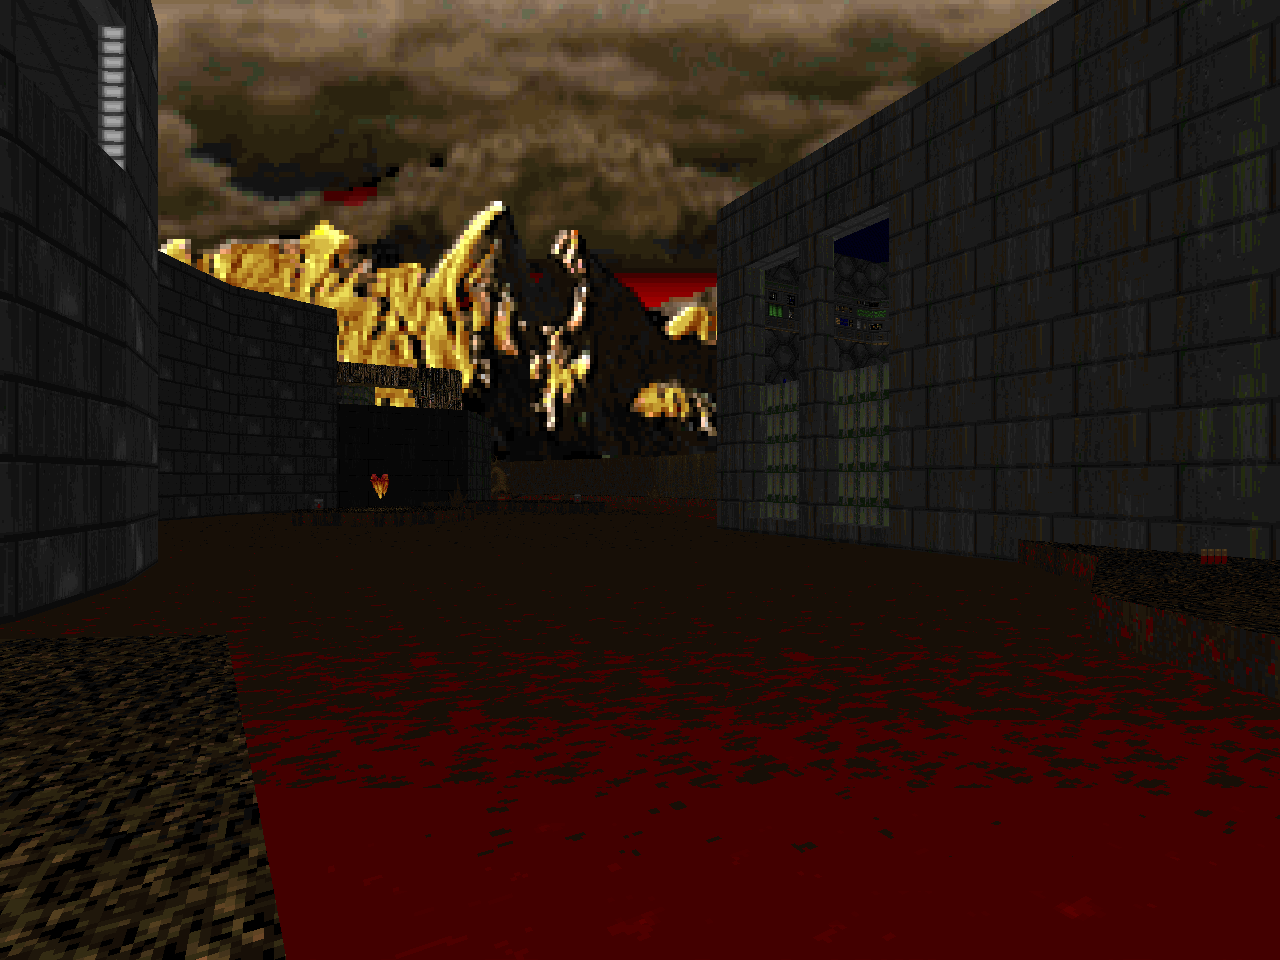 |
| E2M6 | Poison Control |
|---|
| by Chris Lutz |
|---|
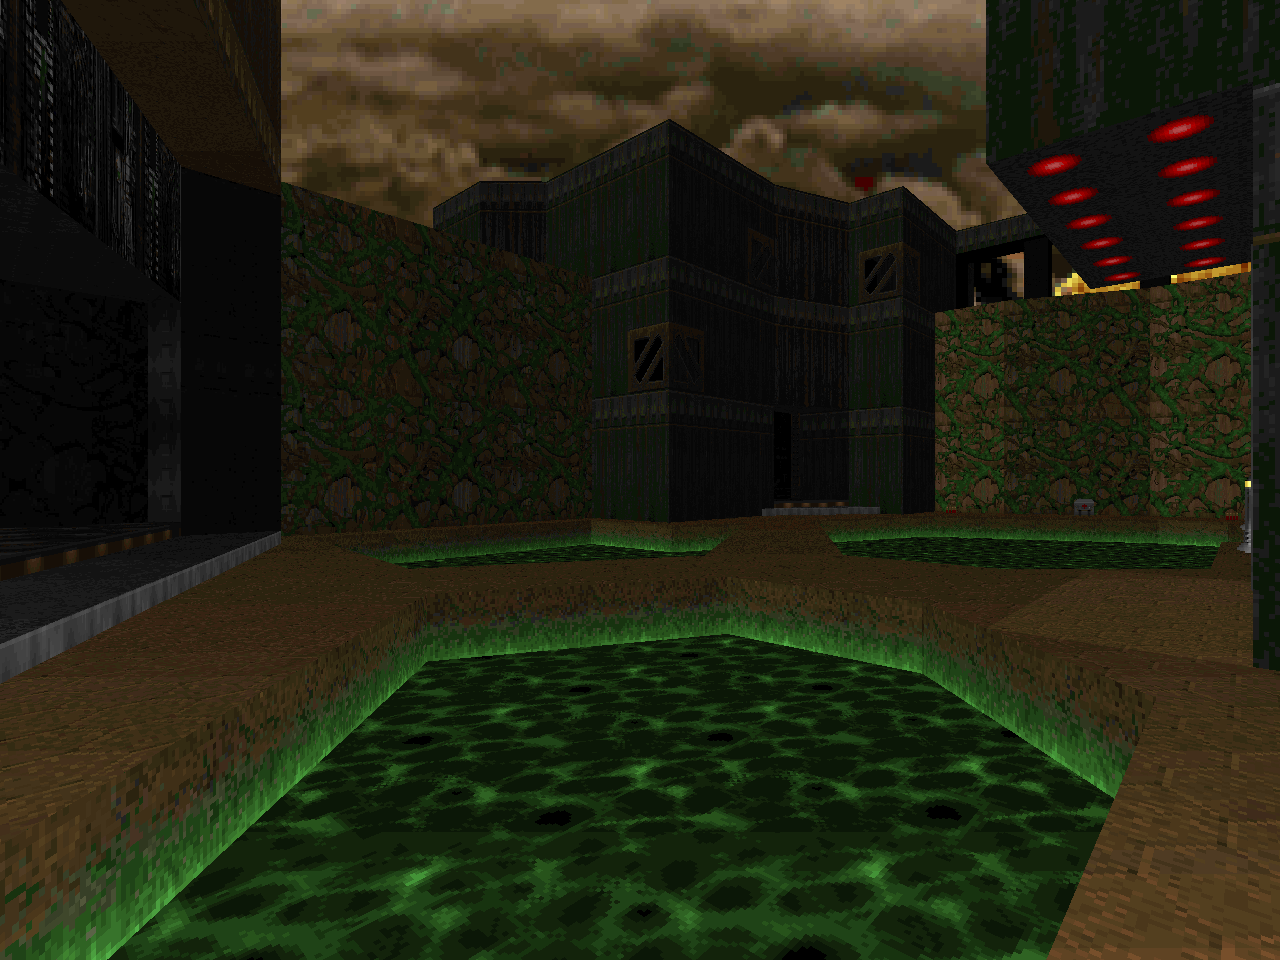 | A sprawling techbase liberally doused in nukage and filled with pockets transmogrified by Hell. Like all good classic Deimos levels it's a slow burner, though the ambushes in the southwestern portion have quite the potential to overwhelm. You'll definitely want the rocket launcher but given that the layout is fairly non-linear and features a few optional annexes you might miss it entirely as you explore with bated breath. The fact that Lutz coaxes as much detail into the environments as possible while also maintaining a sense of interconnectedness with all the windows is another definite plus. |
| Gateway Labs | E2M7 |
|---|
| by Emil "NaturalTvventy" Brundage |
|---|
| Another enormous base but in Emil's style; that is to say, it's got masses of monsters and intricate connections. The major action is centered around the central chamber and gradually opens up as you collect each key and usher in progressively more monsters for massive brawls. The final wave is heavy on the Hellfolk including Barons. The invasions are accomplished through some linedef wizardry as you are allowed to collect the keys in the order of your choosing; it hinges no doubt on the key chutes located at the end of the major legs of your journey. There are a ton of cool things to see here like the opening Alpha-esque lab or the bloodied skulls ushering in monsters to the south and the action is top-notch. I couldn't be bothered to locate all thirteen secrets but I did manage to find the fake exit... | 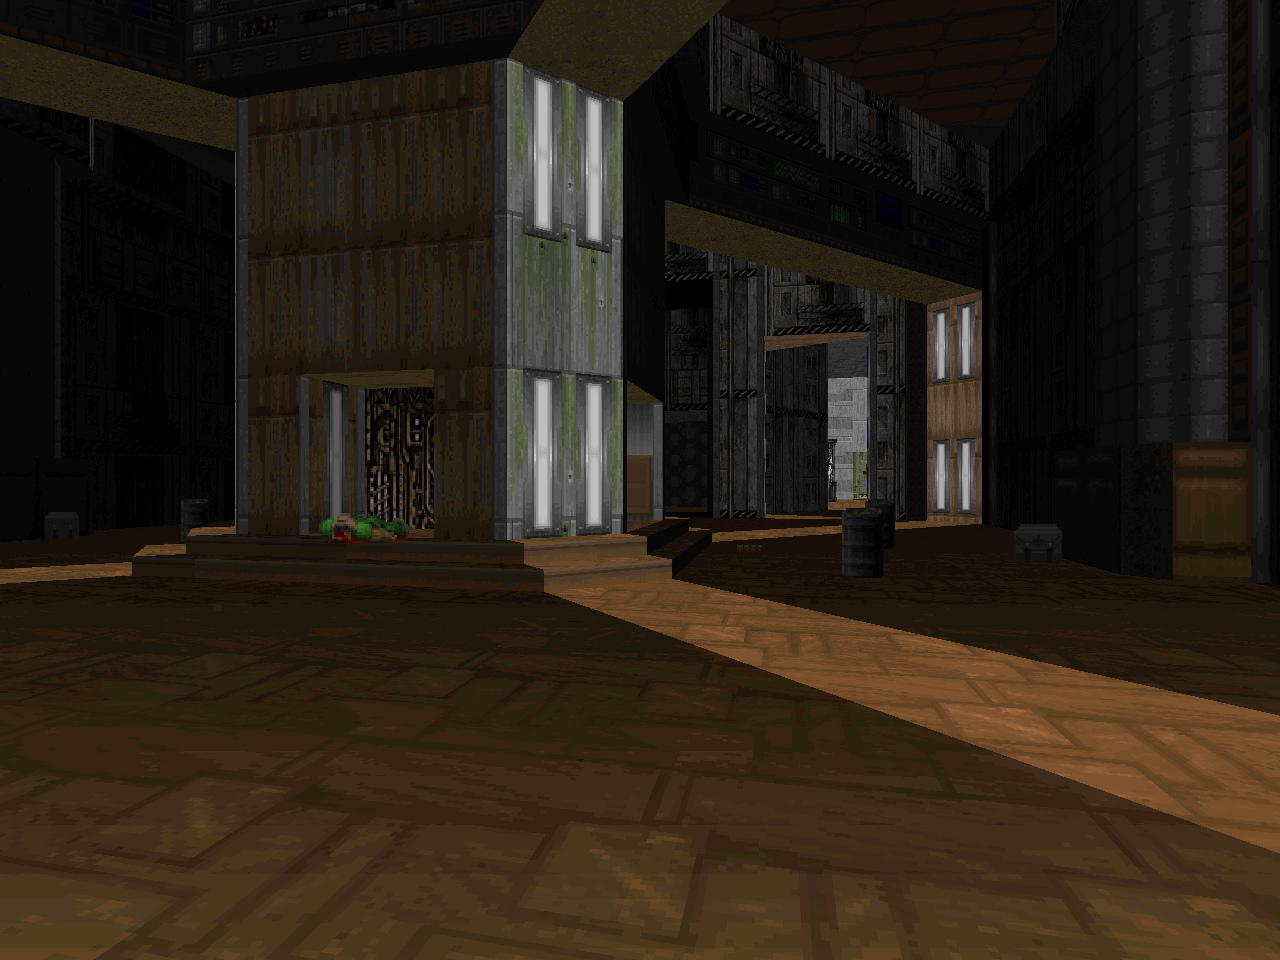 |
| E2M8 | Rubicon |
|---|
| by Emil "NaturalTvventy" Brundage |
|---|
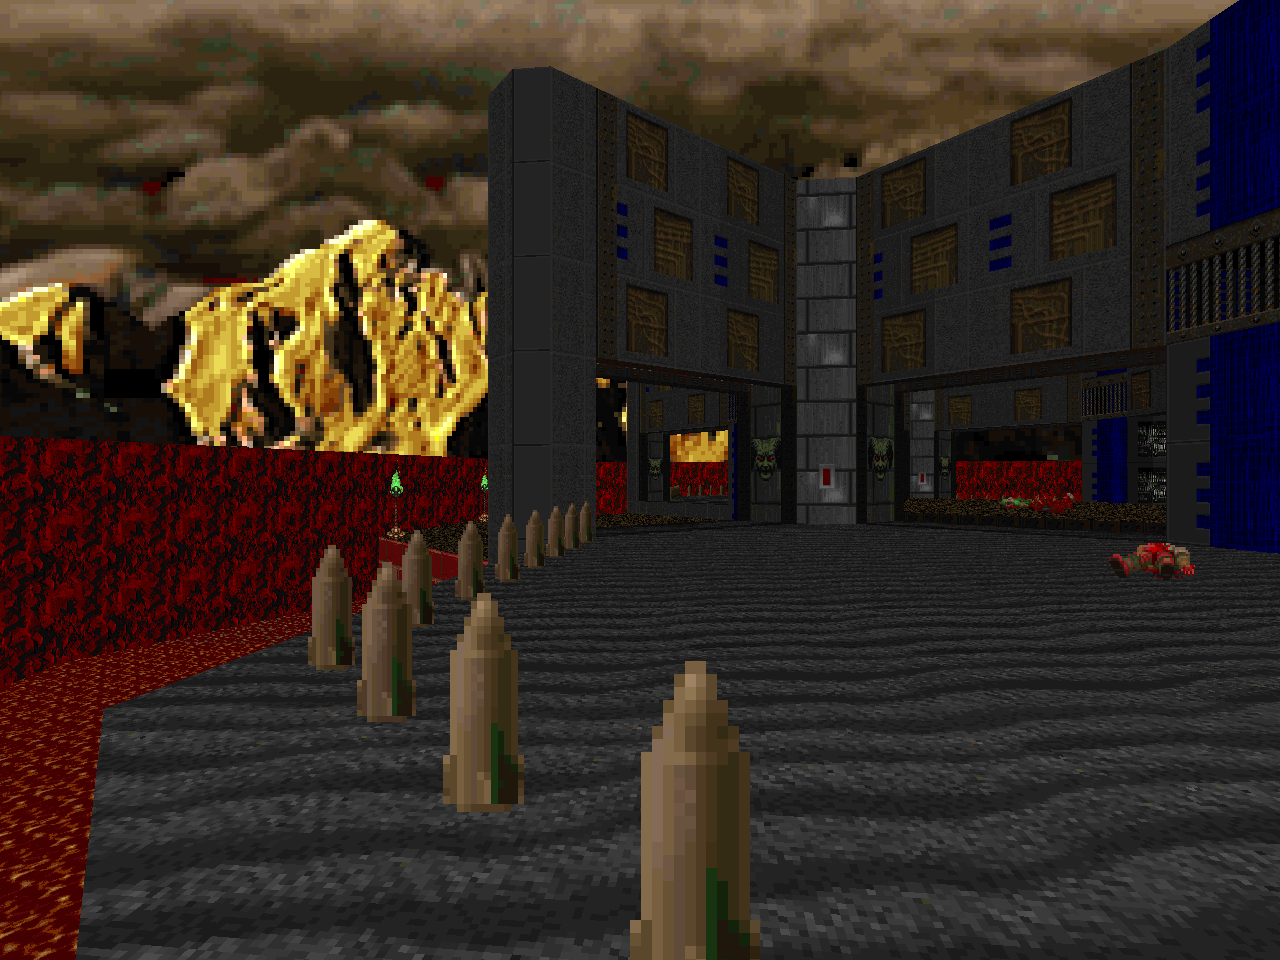 | A successful Cyberdemon boss map that still sort of speaks of a tower but has a more geometrically pleasing structure. It's not quite as atmospheric, though. All of the goodies you'll need to actually slay the Cyberdemon are located in jail cells containing imps and you'll have to open them all up while under suppression fire from Cybie and the Lost Soul revue. Once you've got one of the rocket launchers, though, things should come together... or get blown apart, depending on your perspective. |
EPISODE THREE
WOE
| Gates of Hades | E3M1 |
|---|
| by Emil "NaturalTvventy" Brundage |
|---|
| E3 opens up with a pure puzzle map. You're free to ignore most of it, of course; the only thing that you are required to tackle is the pillar-running gauntlet. The other two big puzzles have solutions encoded elsewhere in the level so if you look for their mirror images all you'll need to navigate is some deceptive sector machinery, particularly concentrated in the northwestern area. I love the dual Hell furnaces and their Baron encounters, a faint echo of the infamous NIN secret of E4M1 but far more purposeful. | 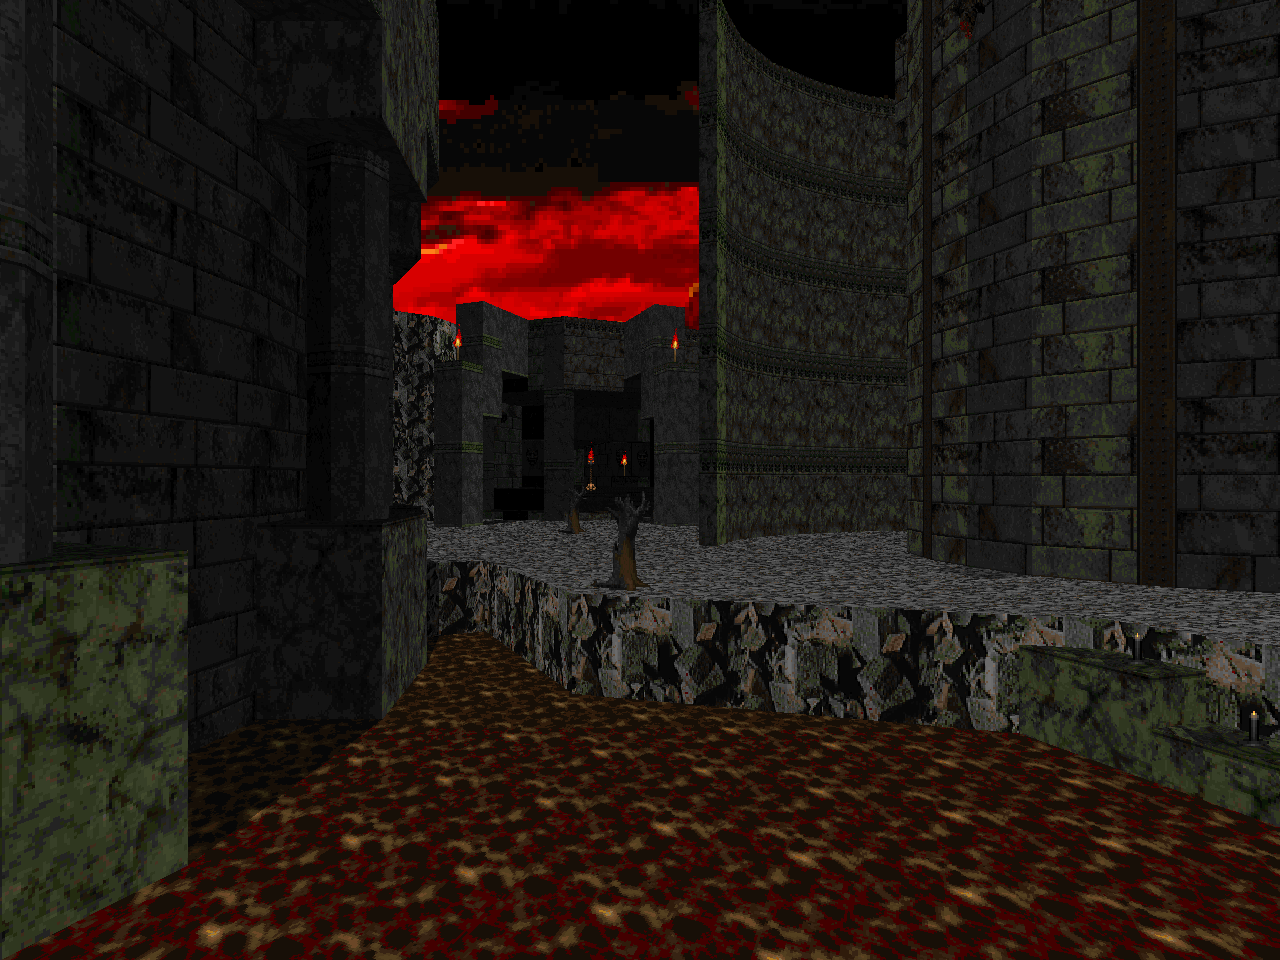 |
| E3M2 | Emblem of Destruction |
|---|
| by Emil "NaturalTvventy" Brundage |
|---|
 | Takes the "looks like a thing" facet of E3M2 (in this case, a pentagram) and mashes it with the "teleporter adventure" gimmick of "Limbo" to make a map consisting of roughly five quadrants and lots of crusher stuff including a secret run to the chaingun featuring a crushing FLOOR. Wicked! It's a wild mish-mash of themes. My favorite area is the catwalk portion to the northeast but the crusher gauntlet to the northwest has some nice tension, especially if you get hemmed in by that initial demon wave. The grid 64 marble / tech forest to the north ratchets up a feeling of paranoia as you feel your way through. |
| The Grinder | E3M3 |
|---|
| by Xaser Acheron |
|---|
| Starts out looking like a re-imagination of "Hell Keep" and then turns into an oppressive fiasco centered around a large crusher ringed by a small walkway and surrounded by 20% damage floor. You've got to survive an initial rush of demons, preferably catching them under the grinder, in order to dart through the cherry-red E2M1 crossway and make some significant gains. The rad suit will take you past the monster-laden tunnel to the southeastern yard where you'll have to fend off a liberal sampling of cacodemons and lost souls. Afterward, navigating the rest of the Xaserian sector machinery should come easy. |  |
| E3M4 | Fortuna Bridge |
|---|
| by Xaser Acheron |
|---|
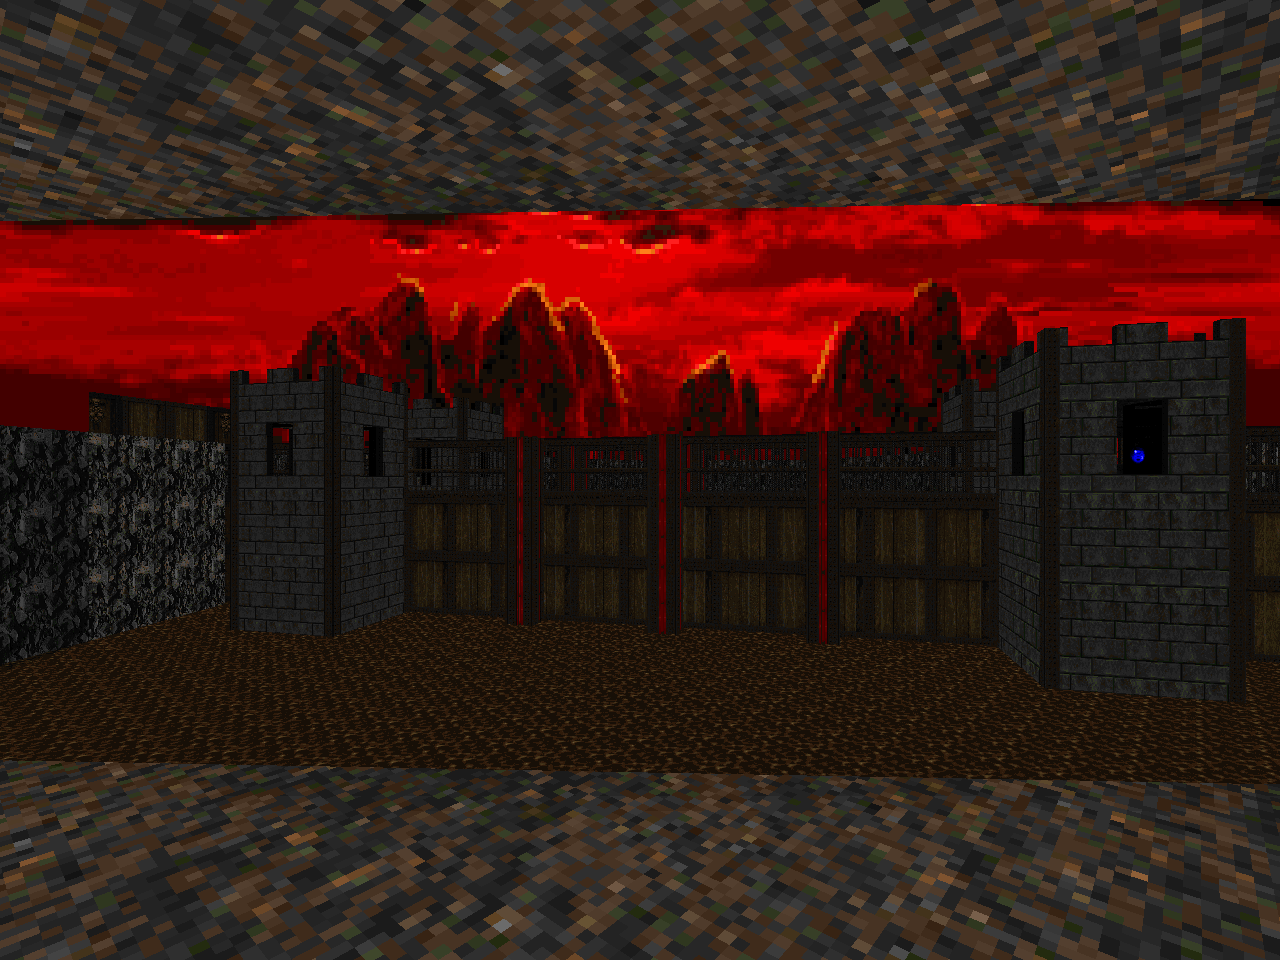 | Taking equal parts E4M2, E4M3, E3M6, and adding a great big landmark you're looking toward for a good while - "Fortuna Bridge". It's a cool level opening on a healthy dose of pistol panic and just about everywhere you poke seems to induce even more demonic insurgents. At some point you'll have to knuckle down and grind out the cacodemons and Barons, probably using that weird plasma gun (having its own problems, of course). The bridge is the star of the map and features a locked-in firefight vs. demons with imps on overwatch and a collapsing walkway bit at the end leading into some semi-precarious platforming. There's also a, uh, secret exit, which is actually the "normal" one. It takes you to E3M5 proper whereas the regular one shunts you to E3M9 and then, of course, E3M7. This is part of a brilliant vanilla hack to give E3 a super-secret level instead of just a secret one. |
| Forgotten Caverns | E3M5 |
|---|
| by Emil "NaturalTvventy" Brundage |
|---|
| Perhaps the most abstract and exacting level so far. It's got a sort of deconstructed "Slough of Despair" quality as its opening cracks into the earth and as you pick your way through you'll find it to be shaped like a side-view of a lost soul. E3M5 is incredibly tight on ammo and has a lot of damage floor shenanigans that will make it tough for a first-timer and may be more 1994 to some players than anything from the episode bearing its name. It's brilliantly cruel; the treacherous opening cavern, the cacodemon roundabout to the east, the cherry red crusher / lift engine to the northeast, and even the grid 64 Baron maze leading to the level's... secret exit. It's actually the "normal" one and takes you to E3M9, skipping over E3M6 as Emil's final flummox at the player. If you want to get to E3M6 and live you'll either need the rad suit or the invul sphere because it's a ways out there. | 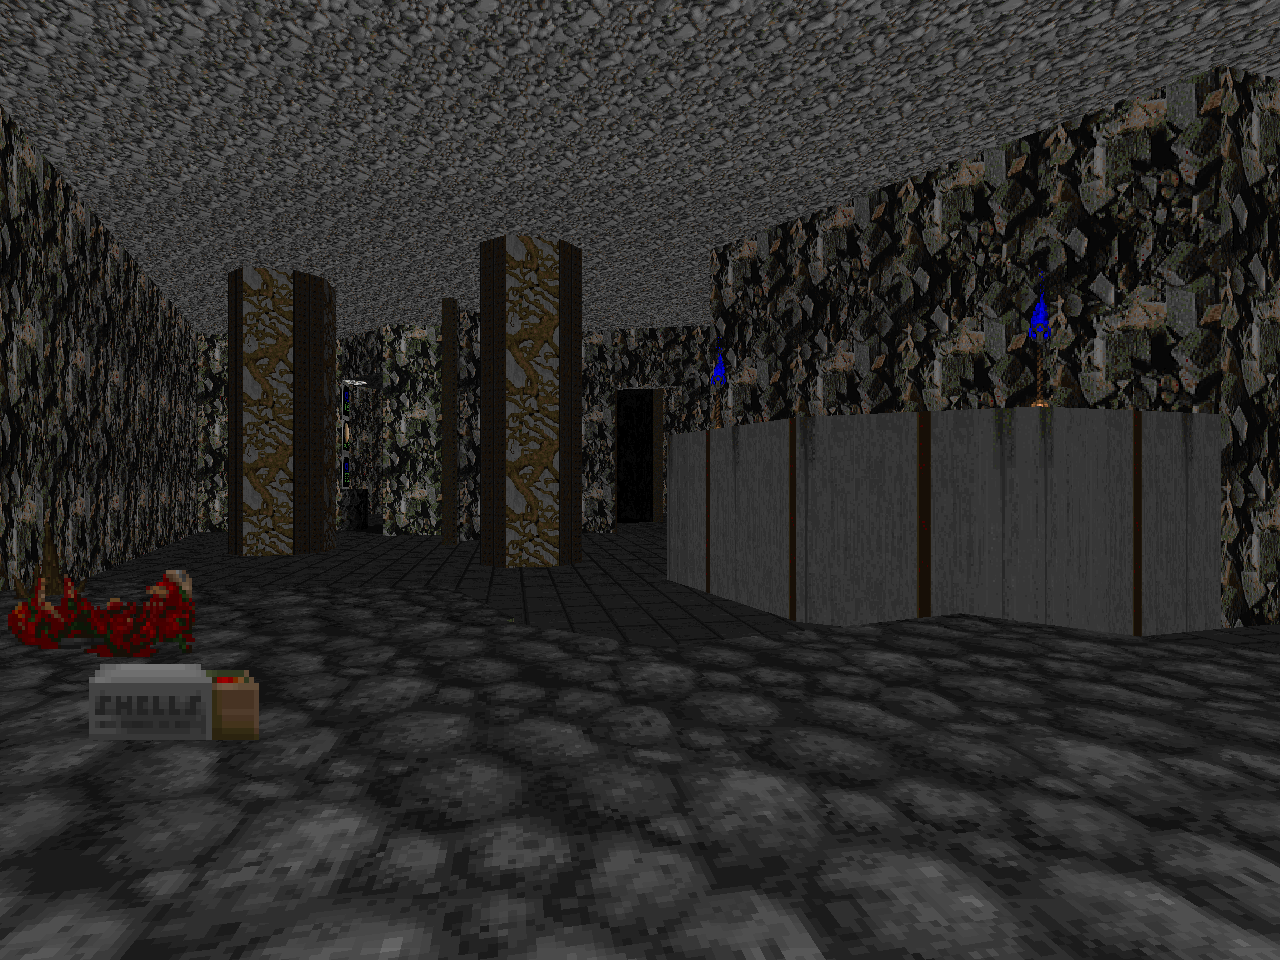 |
| E3M6 | Anomaly Retribution |
|---|
| by Emil "NaturalTvventy" Brundage |
|---|
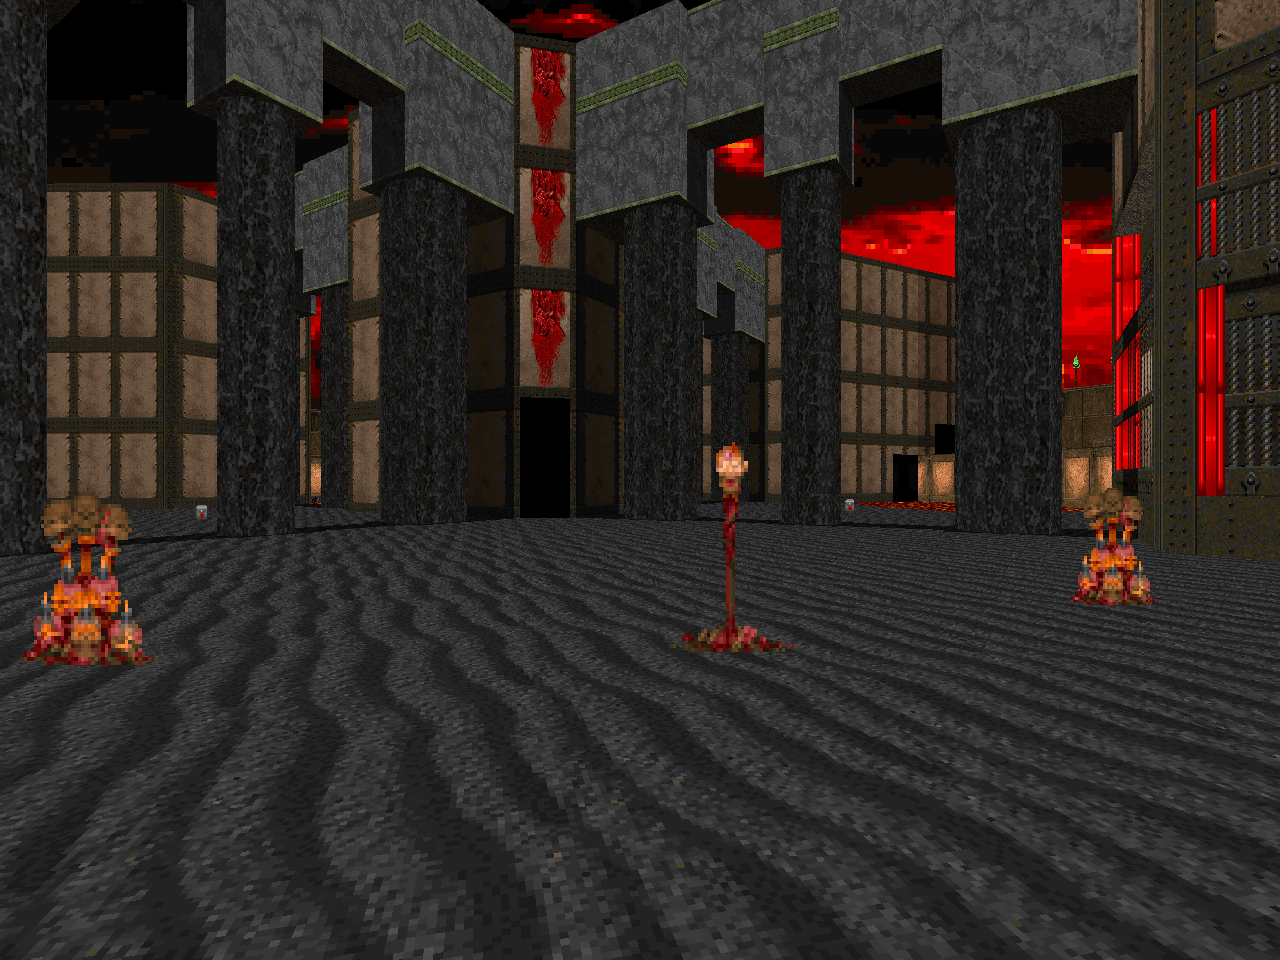 | The demons send you back to the "Phobos Anomaly" as a haunting retread of E1M8 before plunging you into the ultimate ambush. It's movement madness with installed tiers of imps and Barons, caged cacodemons, and a bunch of fuckers moving around the ground floor. The first phase is all about dodging and slaying everything on your level after which you can carefully and deliberately clear the peanut galleries and get their goodies. The highest tier accesses the side segments that eventually net you the yellow key, leading to several mini-areas. Two of them are Hellish mazes that open up to reveal progressively more monsters but with their own gimmicks, the circular one having the opened areas also be damage floors and the other getting darker with every discovery. It's really cool and the sector machinery involved in that and other stuff like the giant eye tower is just as fascinating. The cloud of souls to the southwest is not so fun but it's an interesting gimmick to work out. The finale is comparatively straightforward, still involving Barons but sort of running on a tight track and timing your BFG blasts. I'd be more worried about dispatching the dual Cyberdemons before them, myself. |
| Lake of Fire | E3M9 |
|---|
| by Chris Lutz |
|---|
| Taking a break from the crazy shit with a less experimental map by Christopher that's similar to "Mt. Erebus", kind of like "Pandemonium", and first appeared in Doom the Way id Did. The northern section is surrounded by a lake of fire and the southern built into the infernal landscape, nicely separating things between open spaces and labyrinthine passages. The latter are freely explorable once you have the blue key. All of the weapons are in the hands of your enemies so you'll need to hunt for something more suitable before you can thank them for the pure pistol panic warm welcome. As you poke around you'll unleash plenty of beasties onto the playing field via monster closets and the outside area. While there are a lot of canned ambushes the placement is more sneaky and scrappy, especially when you run into the occasional pack of lost souls plus cacodemon roaming the outdoors. Quite a thrill ride – don't miss it! |  |
| E3M7 | Netherworld Citadel |
|---|
| by Emil "NaturalTvventy" Brundage |
|---|
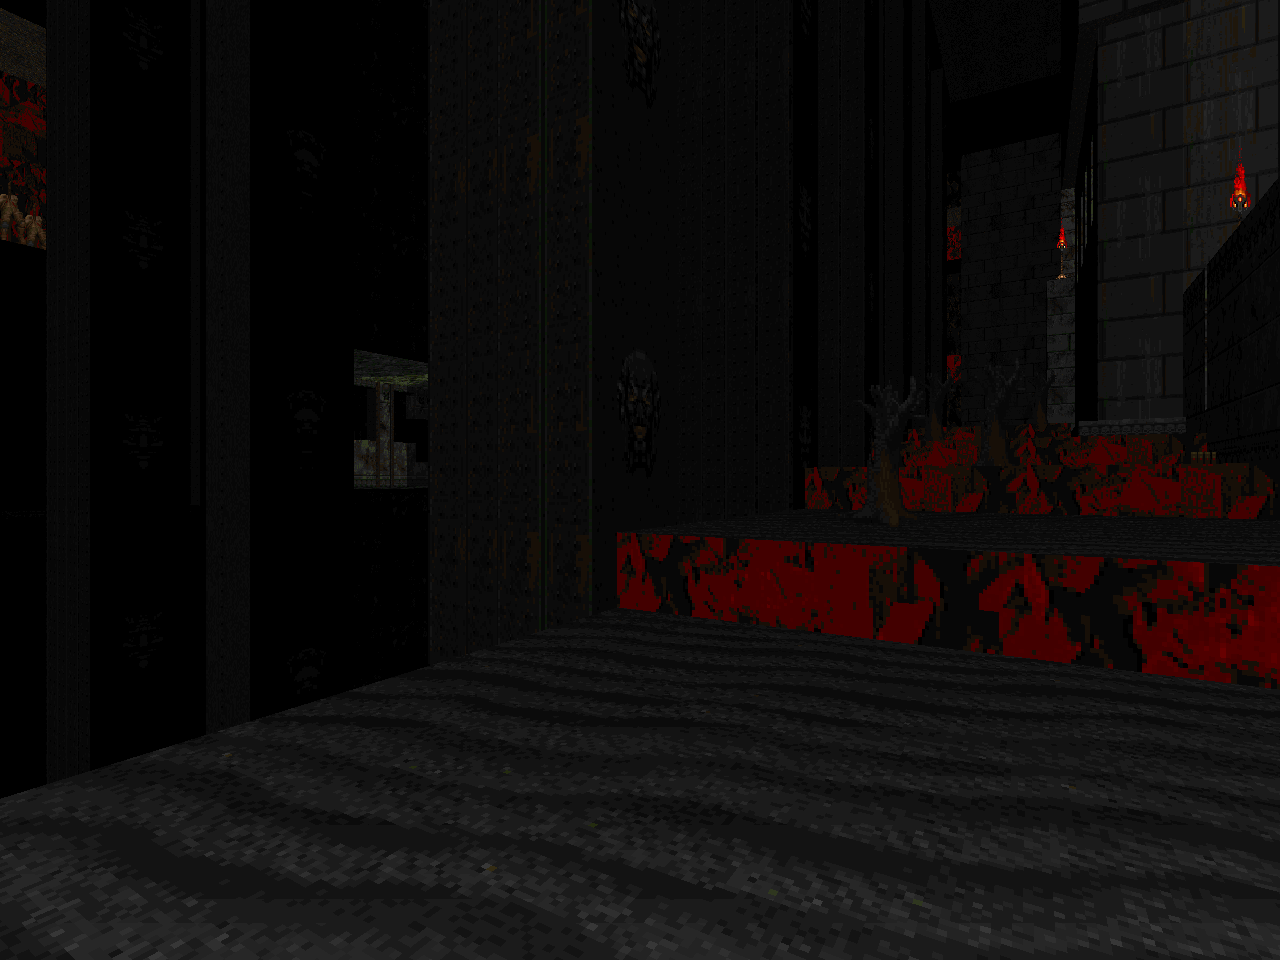 | A massive, marble fortress cut into the underworld and drenched in blood. It's treacherous; it's labyrinthine; and it's got substantial optional areas. Most of the extra space is accessed via a series of tricksy marble catwalks that loop through the central square-ish arena and you have but one shot to make it. The only way out of the blood is into the center the wrong way, which will lock you out of the bits you haven't yet explored. Remember this or you'll be stuck banging your head against a brick wall like I was. Tackle it correctly and you'll get to fight through excerpts of E1M1 and E2M4 from Brundage's END1.WAD. The main level is impressive in its scale and scope; the visuals are top-notch, there are tons of side-areas to explore (including DoomCute bathrooms), and set piece encounters like the horde of imps behind the door opposite the yellow key switch and the crusher / Baron gauntlet to the west fit in nicely between large swathes of incidental firefights. I love it and the densely-layered secrets are a plus; I just wish I'd known that you can break super-secret chain so easily! |
| Requiem | E3M8 |
|---|
| by Emil "NaturalTvventy" Brundage |
|---|
| Sort of a remix of "Dis". All of your cover is ephemeral, though, whether it's explosive barrels, the hitscan-triggered walls cocooning the Spiderdemon, or the slightly more substantial cacodemons and lost souls that appear sparingly. Easy as ever if carrying over the BFG but when approached from scratch you're depending an awful lot on your fair-weather foes to let you get a good head of rocket power. The boss has a plasma gun all to itself, useful for a stunlocking breather if you happen to get it tethered to you. | 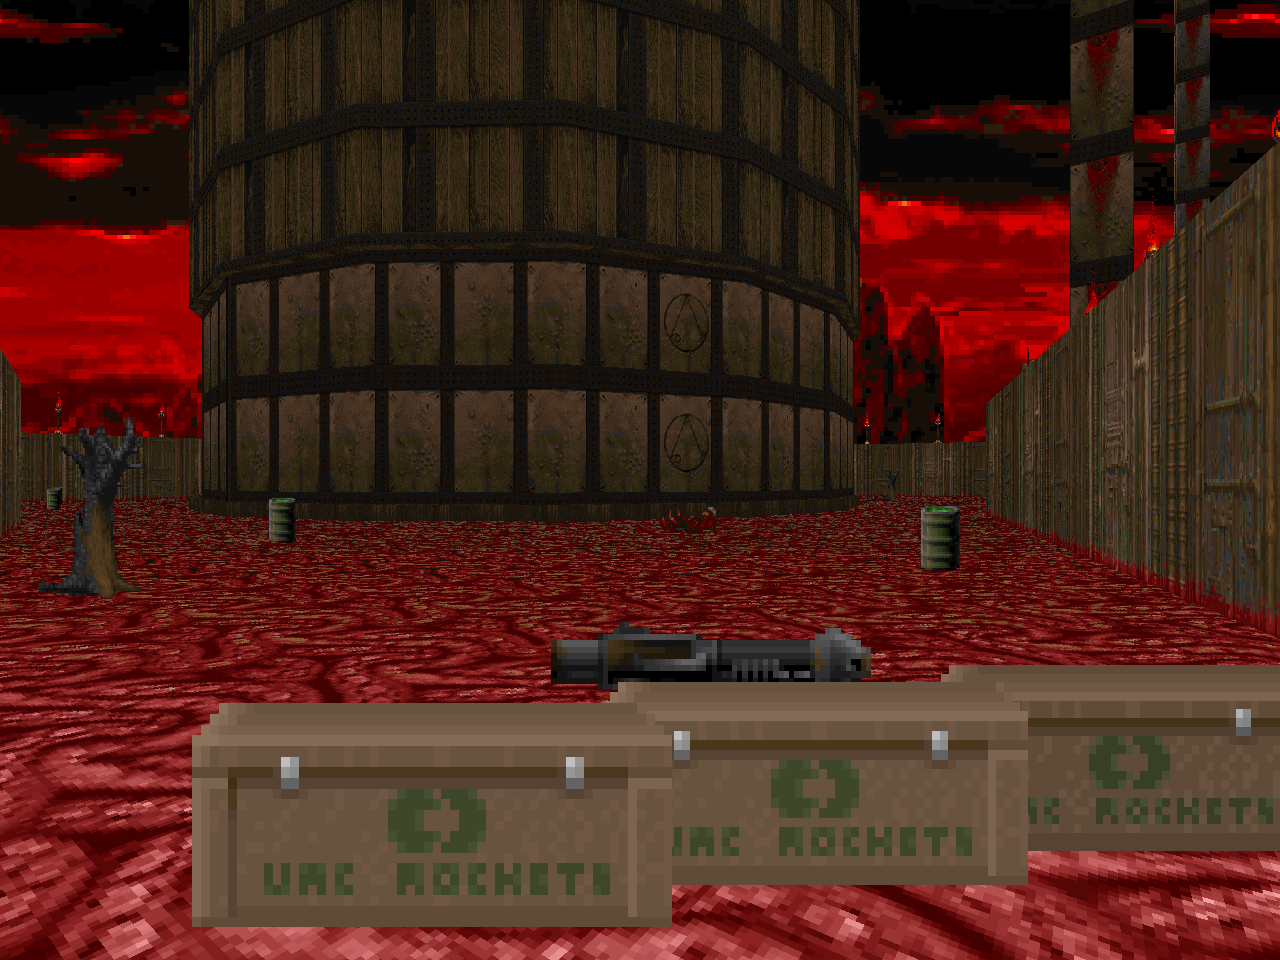 |
EPISODE FOUR
BLOOD STAINED EARTH
| Nexus | E4M1 |
|---|
| by Emil "NaturalTvventy" Brundage |
|---|
| Starting things off with a firm boot. "Nexus" is a tight level featuring a dense teleporting scheme and two general sides; blue vs. red. Your foes are either demons (trash), Barons (the norm), or cacodemons, which are the turret monsters for this level and usually cloaked in FIREBLU. The verticality and final platform make for a pretty cool outing. Brundage also does his form of an E4M1 homage but pays ode to his own favorite band a la END1's E2M6 and - not to be outdone - made the "bonus" encounter a Cyberdemon who must be telefragged if it is to be killed at all. | 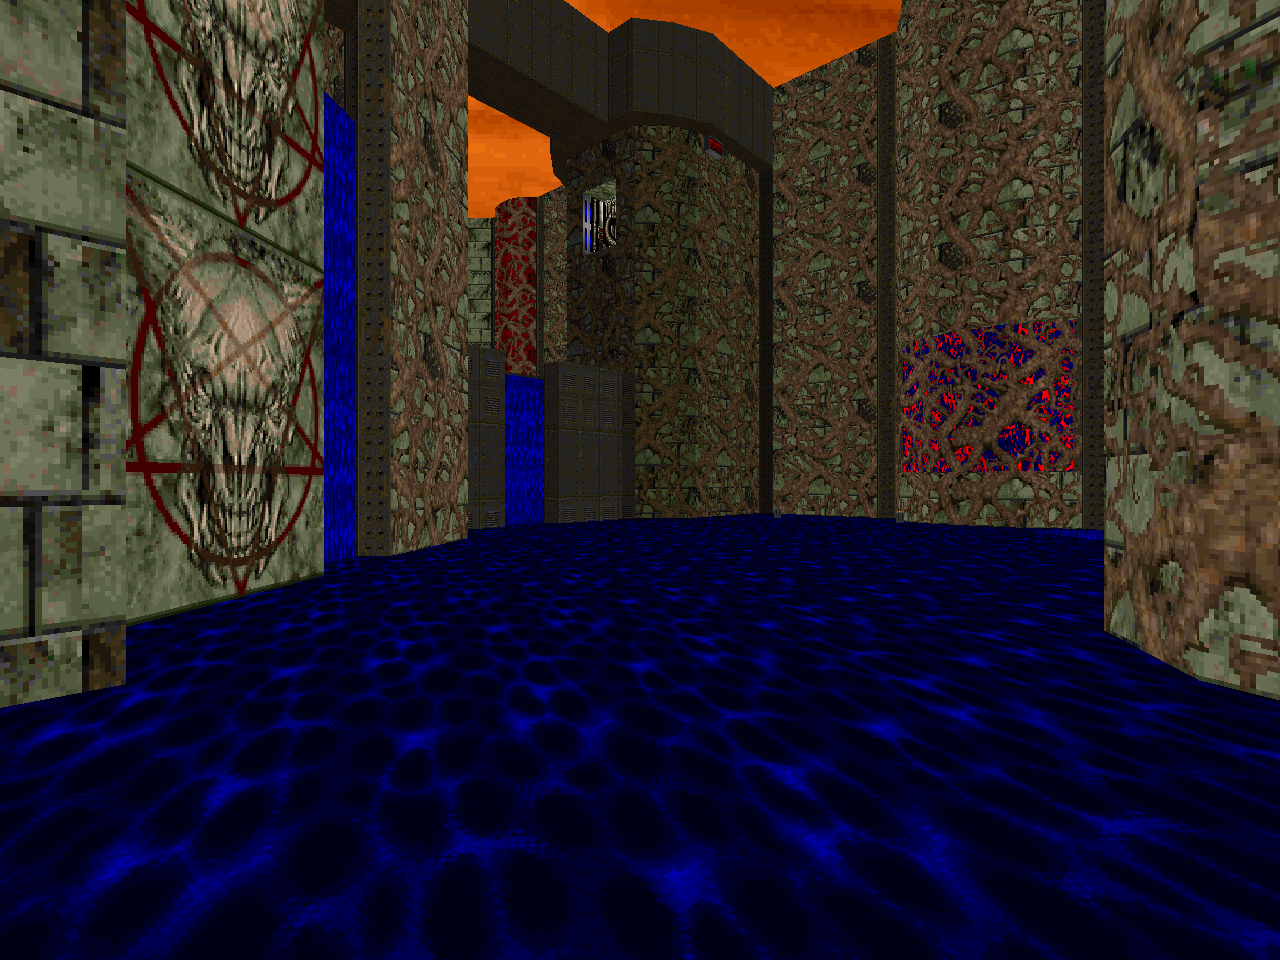 |
| E4M2 | Parallels |
|---|
| by Emil "NaturalTvventy" Brundage |
|---|
 | An enormous, "Wormhole"-type level between ruined Earth and its unearthly parallel and packed tight with monsters. Getting to the exit is easier said than done, especially given its unrelenting pistol start throws zombies and imps behind every window and has tougher fare lurking about. Brundage is also good with providing massive monster brawls, most memorably in the light-side row of colonnade chambers, perhaps the toughest battle of the level due to the temptation to just jump out and raise Hell, only to realize too late that someone or something has snuck up behind you. The interplay between the two worlds isn't required knowledge in order to reach the normal exit but you'll need to do some complex sleuthing before you can obtain every secret. Finding the red key is the easy part; what's hard is not locking yourself out of it, especially if you're prone to blowing up every barrel you see. A mesmerizing masterpiece. |
| Vile Cross | E4M9 |
|---|
| by Emil "NaturalTvventy" Brundage |
|---|
| Good times with Spiderdemons. This abstract level has four successive Araneas, fielding six arachnomommas in total. You'll be using temporary cover, exploiting the stunlocking properties of the chaingun, and maybe even pitting two of them against each other if you play your cards right in the final bout. The forethought in the last battleground is impressive with walls and grating used to ensure some level of player exposure on either side of the aisle. I also enjoy the sector machinery involved in bringing you up by successive floors to the red key while locking you out of earlier areas until you've got the key in hand. | 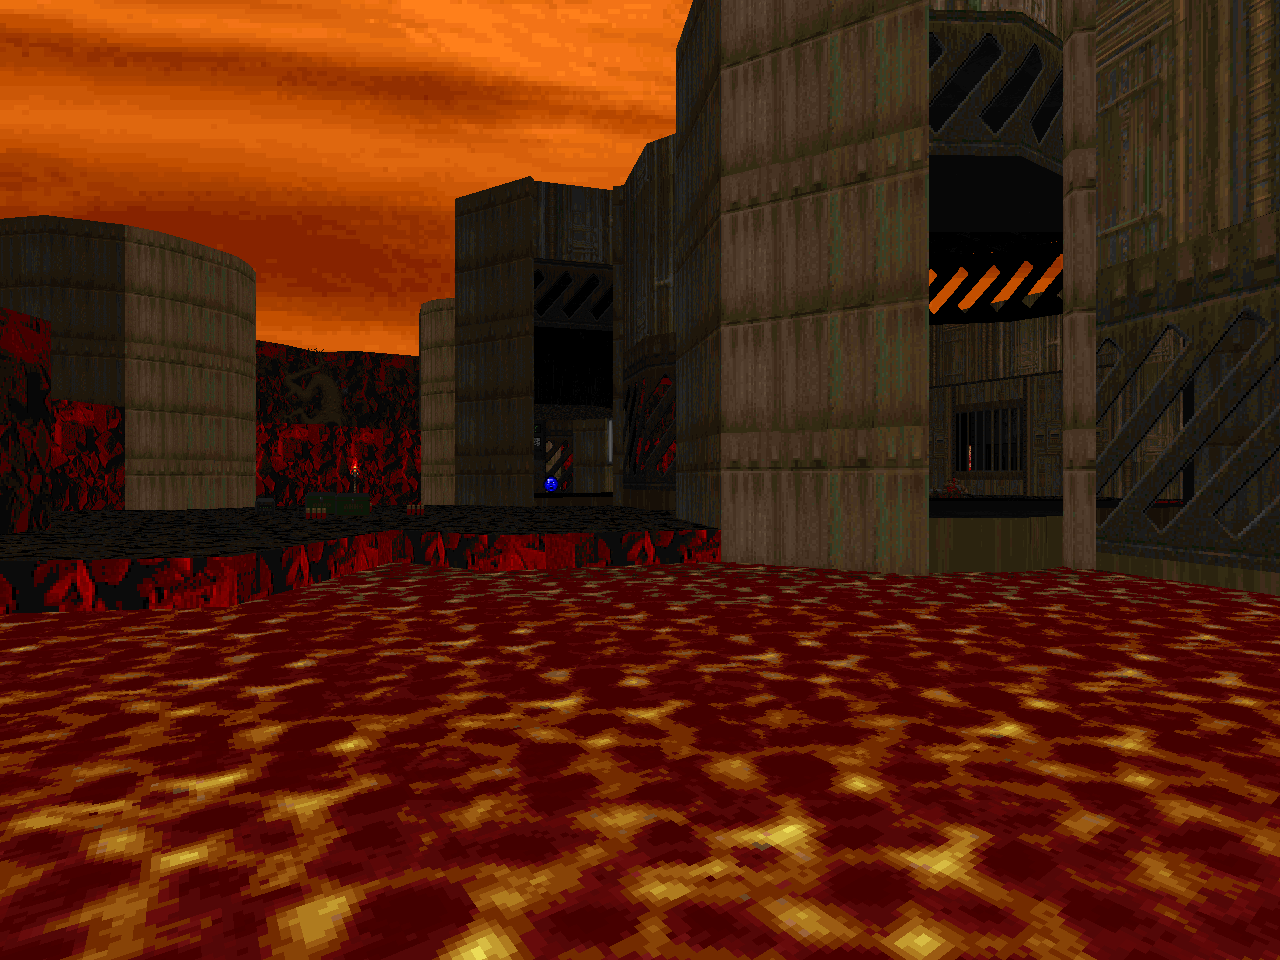 |
| E4M3 | Square Zero |
|---|
| by Xaser Acheron |
|---|
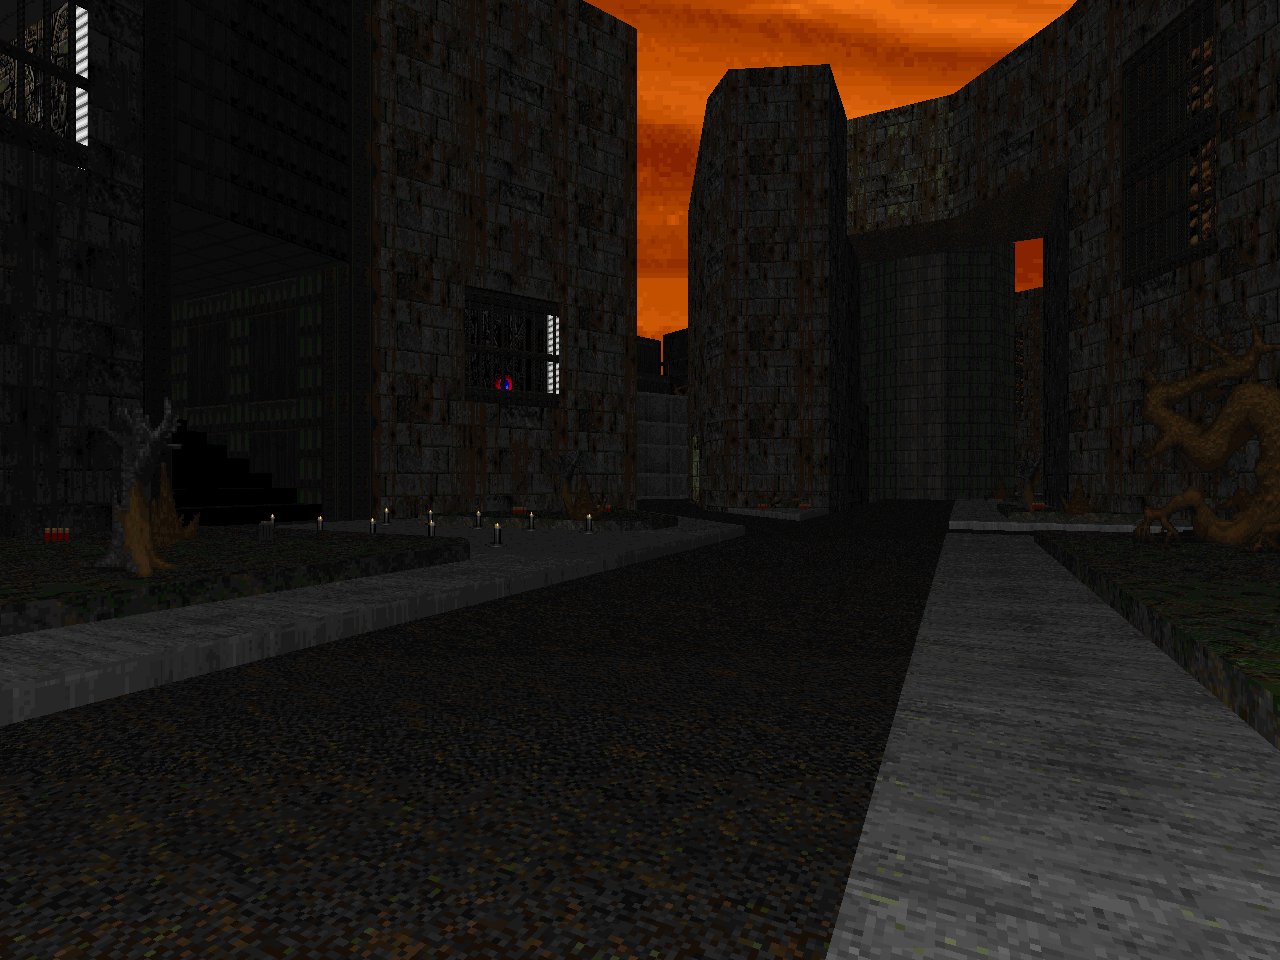 | Ditching the more abstract stuff for an adequate approximation of a corrupted segment of urban civilization. "Square Zero" is a really cool level and a bit of levity after the previous murderbrawls; the only truly harrowing aspect is the proliferation of shotgun snipers. Well, the secret Cyberdemon encounter might be cause for alarm but it's a nice open fight and comes complete with a plasma gun. Plus, you can use him to knock down that demon / Baron pack! Descending into a little yard to grab the blue key felt like a unique moment to me. I also liked the fake-out exit turning out the lights and forcing you to navigate by Feel-A-Round. Just a rock-solid outing. |
| Wartorn Precinct | E4M4 |
|---|
| by Emil "NaturalTvventy" Brundage |
|---|
| This level has the very feel of a crater having swallowed some section of an old world city and gives you a taste of what fending off an infernal invasion might have felt like. The latter is accomplished by a network of monster-only teleport lines that injects a bit of magic into the setup, having enemies warp back and forth between the disparate areas of the shattered city. It's a frustrating dynamic, of course, but definitely a cool one and after carefully wresting so much of the city from the demons, hearing the Cyberdemon bellow near the end really makes the hair on the back of your neck stand up. The map's open layout and ruthless player exposure (most of the floor is lava) increase the chance of it being treated like a cover shooter and, as if the blinking beasties weren't enough, the ammo balance is pretty tight. Be on your guard. | 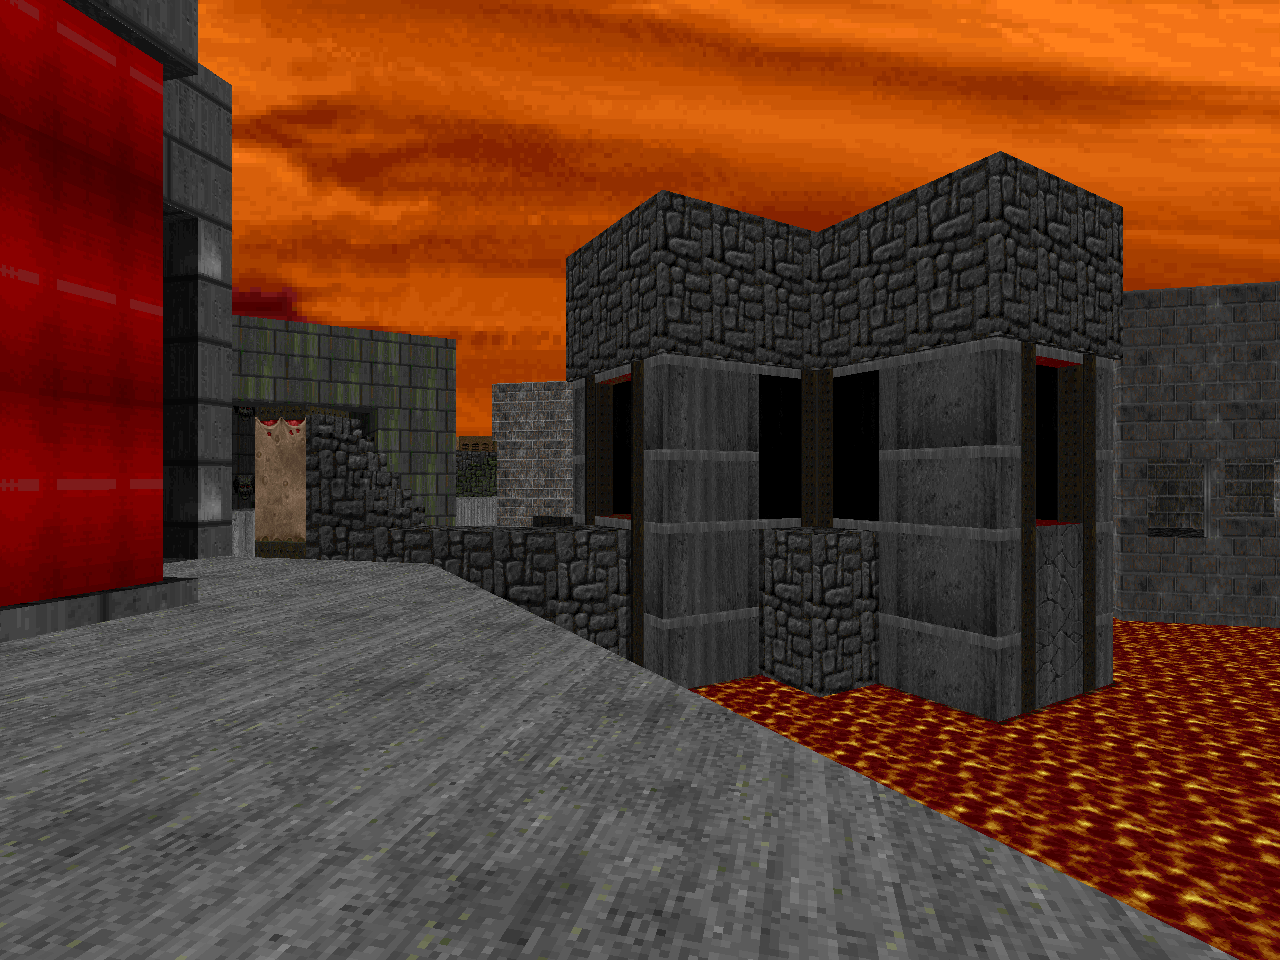 |
| E4M5 | The Blood Beneath |
|---|
| by Chris Lutz |
|---|
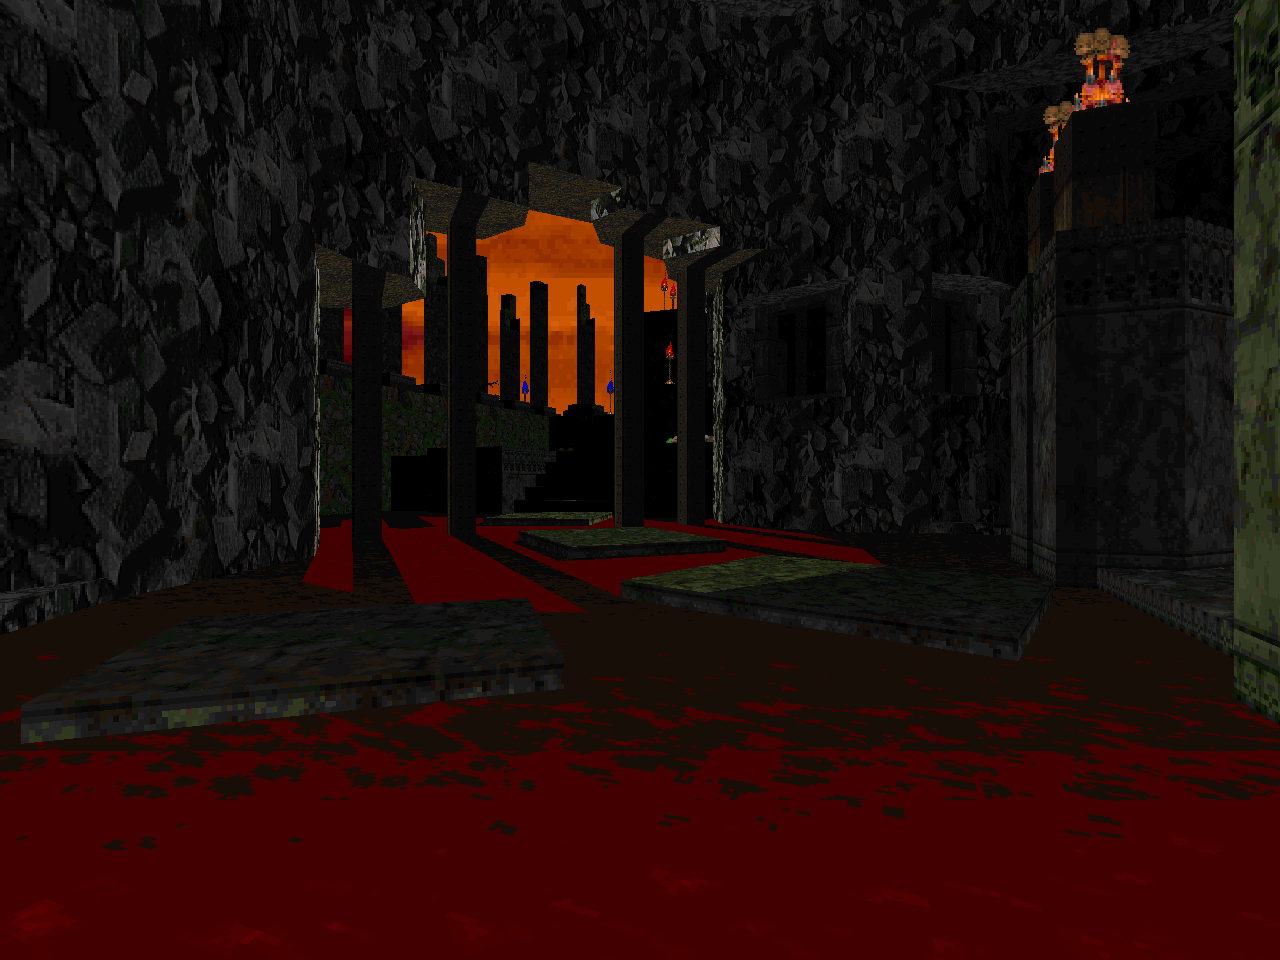 | A stunning, gorgeous journey through sanguineous caverns and decaying marble ruins. I can't say enough good things about how this level looks; Lutz's architecture and lighting are brilliant. The gameplay is fun, too, with the deliberate drip feed of an adventure level broken up by the occasional set piece fight. Lutz throws out the token Cyberdemon encounter fairly early on as a sort of rocket-dodging obstacle course. The rest does a good job of attempting to swamp you in unique locales like the blood tunnels dominating the level's northeastern area or the teleporter rush that more or less ends the set. The ubiquitous damage floors are rarely a true obstacle but they make maneuvering awkward, especially when trying to combat the outdoor mob in the northwestern area. You should have plenty of cell ammo, though, supposing you snagged both plasma guns. Marvelous; detail hounds won't want to miss this! |
| Sanctuary of Filth | E4M6 |
|---|
| by Emil "NaturalTvventy" Brundage |
|---|
| A nightmare of sector machinery, damage floors, and meaty mega-monsters used for area denial. Simply establishing a toehold will be challenging. Making it to the end requires judicious use of powerups, from enviro suits to a handful of invulnerabilities. You must also navigate a plethora of moving parts that at times has the air of a complex three-dimensional maze. The opening quickly sets the tone as you hear all the big bads wake up, perhaps running smack into a Cyberdemon in the toxic trench while trying to escape some Barons. Rest assured that it only gets worse from there. When "Sanctuary" isn't cramped and caustic it's oozing with spectacle, the more open areas painting the portrait of some kind of poison factory because of its enormous crusher-pistons. An envenoming enigma, to say the least. | 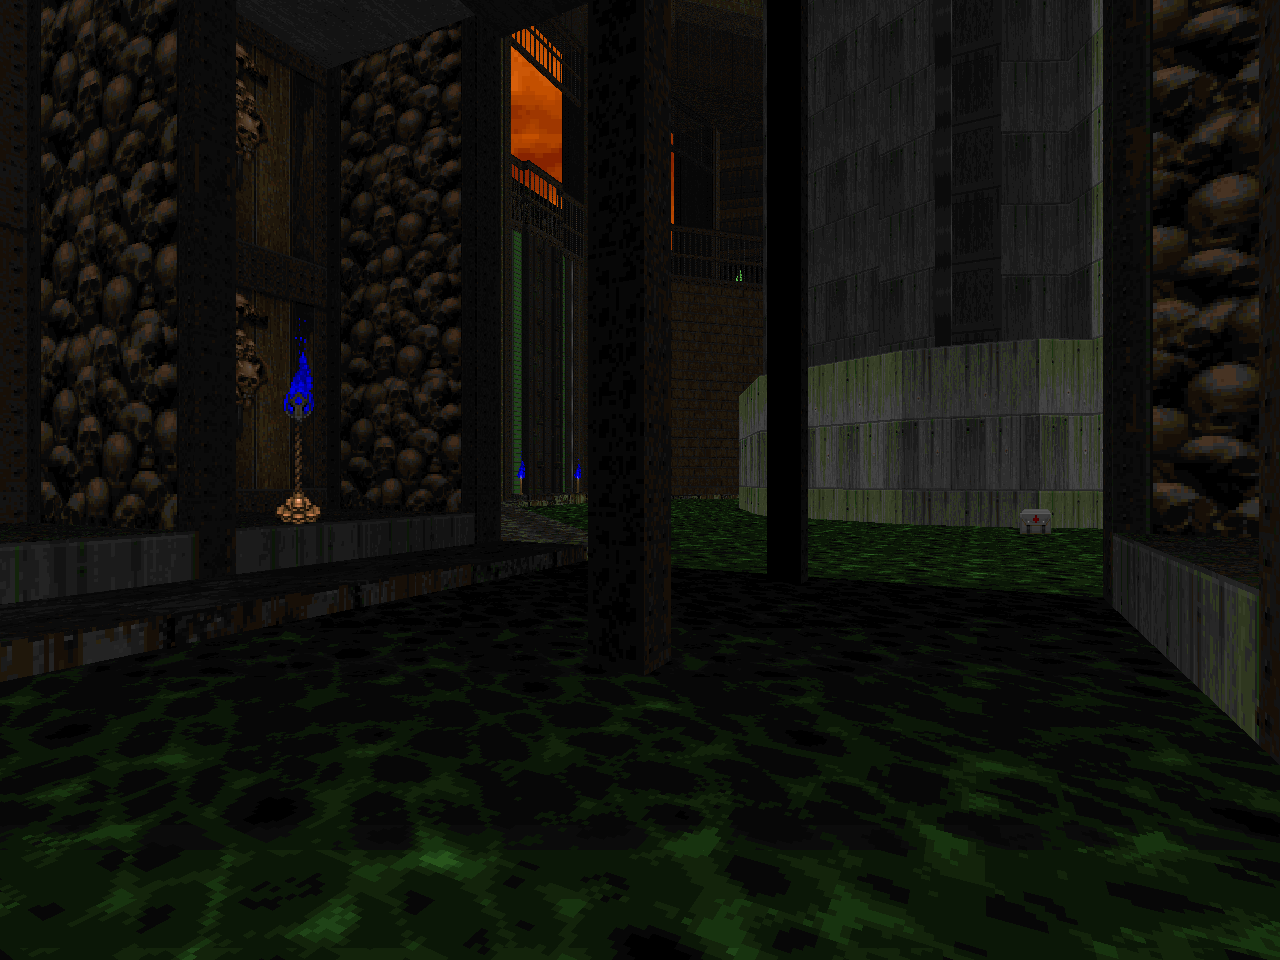 |
| E4M0 | RGC Alpha |
|---|
| by Emil "NaturalTvventy" Brundage |
|---|
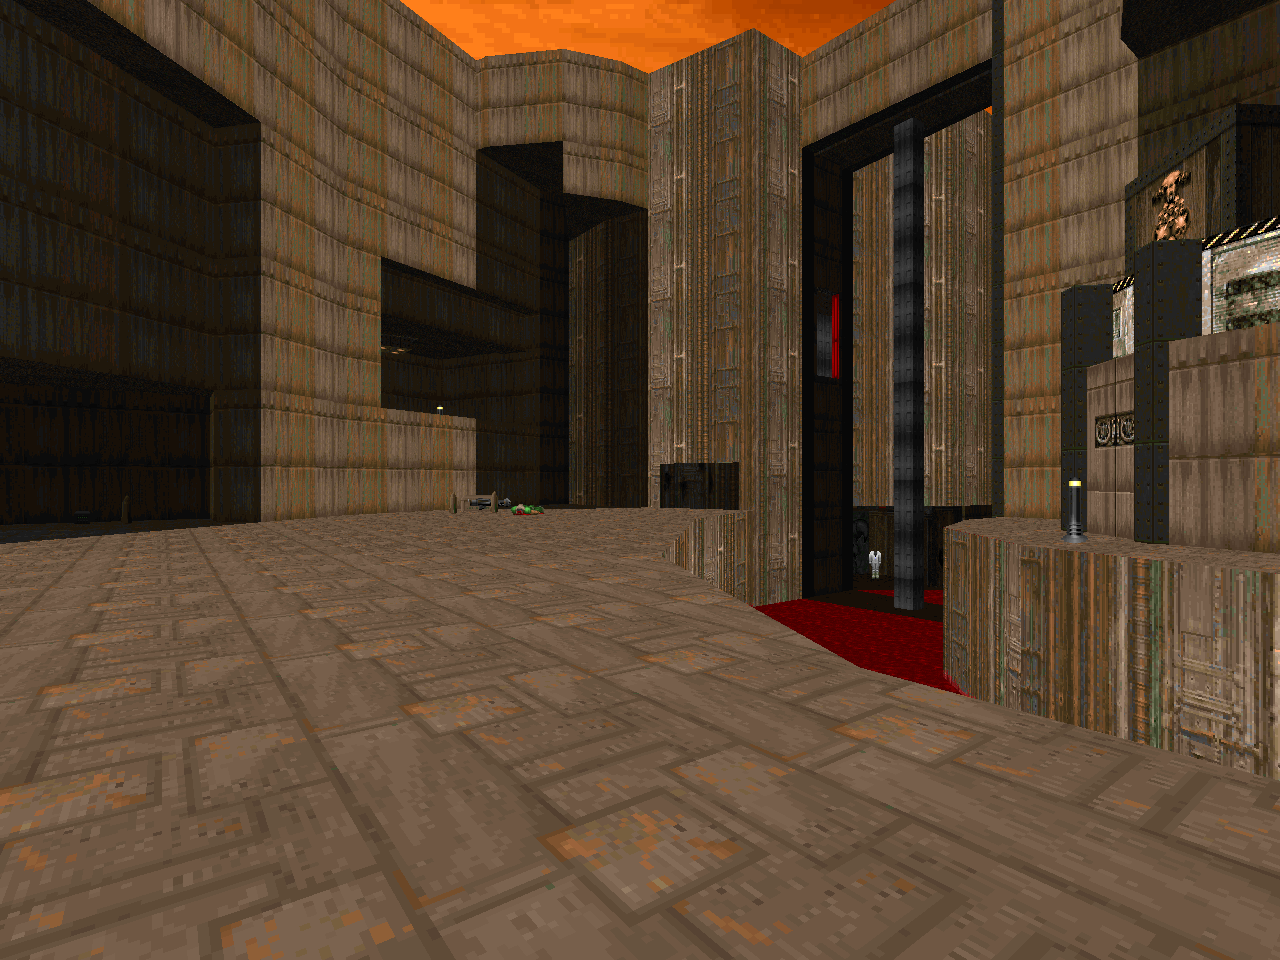 | Emil's level from BTSX E3, retextured and rebalanced for Reasons. It's a fantastic map and features a lot of verticality including some precarious platforming. My favorite bit is a descending column / lift that must be dropped onto within a specific window of time so you have enough momentum to make it back to the starting area. The action is treacherous and has plenty of opportunities for your health to attrition out since the inner ring has four squads of shotgun guys on point accompanied below by imps in order to distract your aim. Then there's The Big Fight, ushering all sorts of nasties into the outer ring and requiring you to have enough ammo to sort of punch your way through a Baron sandwich. A drawn-out clear remains where you battle lingering lost souls and the rest of Doom's regulars, including all of the Barons you skipped past in order to get some ammo. It'll be tight. The other big fight is a mob of cacodemons that I had to lure out in order to snatch rockets and cells to use against them. It'll be a little easier if you get the BFG but I was too excited to divine its secret before initially reaching the exit. |
| Vacuum Consortium | E4M7 |
|---|
| by Xaser Acheron and Jon "40oz" Vail |
|---|
| Another superb adventure map to lead things up. It starts out at the top of a tower... but the fragmented earth is clustered around the spire's apex as the rest of its structure dangles below. You'll be battling through the various floors, each with their own style of encounters, before ultimately emerging in the void. At this point you swap towers and continue your descent to be spat out in the darkest Stygian pit... immediately following a rocket-fueled showdown with two Cyberdemons in a "Tower of Babel"-ish encounter. There's plenty of opportunity to cut loose with your favorite regular Doom weapons, including a long drawn-out segment in the heart of the caverns where you hose down a great number of Barons with ample cell ammo laying about. Certainly worth a gander on any difficulty; the inverted tower is executed brilliantly, and while the opening brawl is a great warm-up, it only hints at the sights to come. | 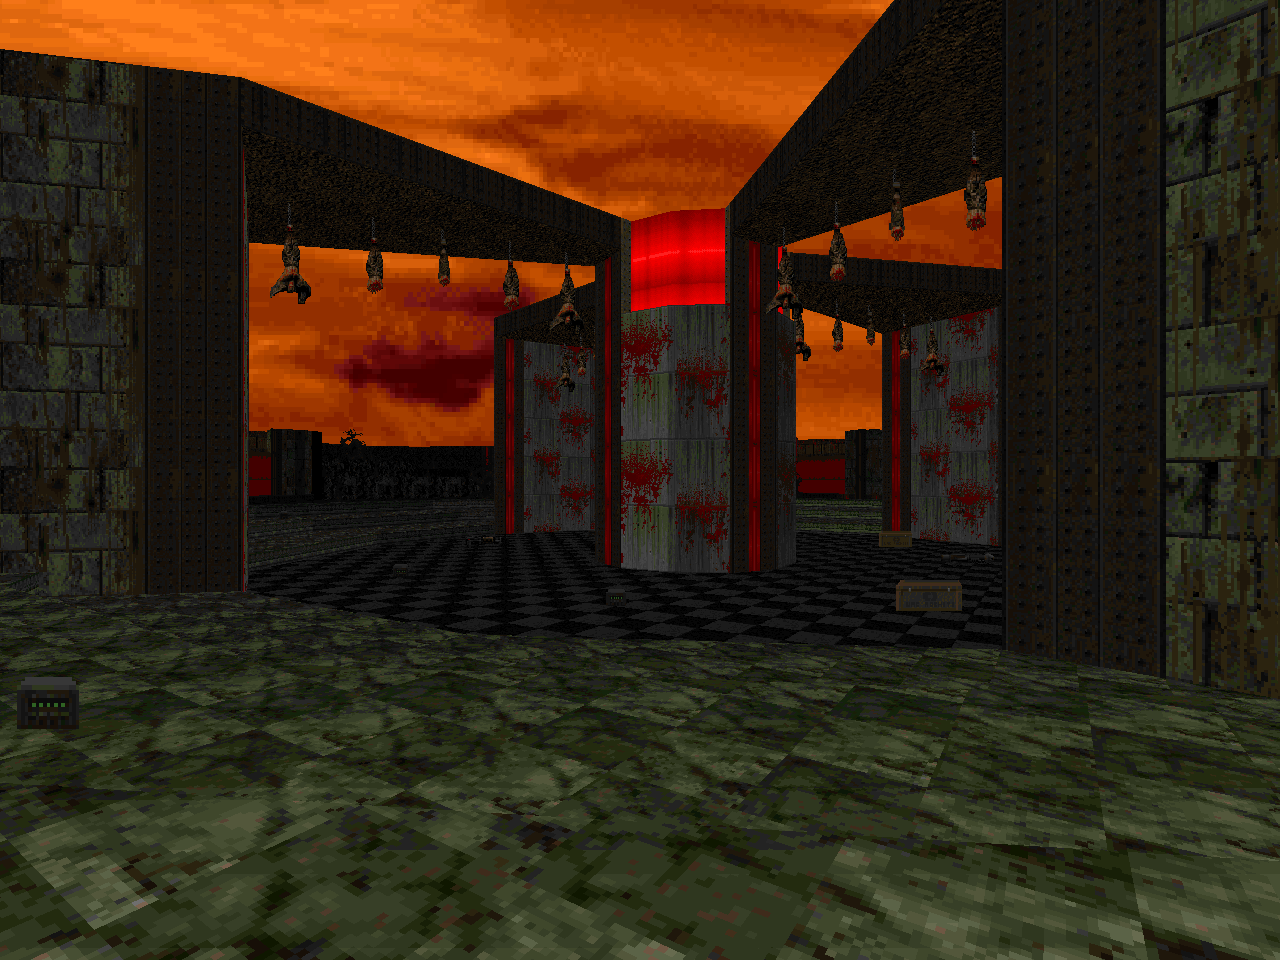 |
| E4M8 | No End In Sight |
|---|
| by Emil "NaturalTvventy" Brundage and Xaser Acheron |
|---|
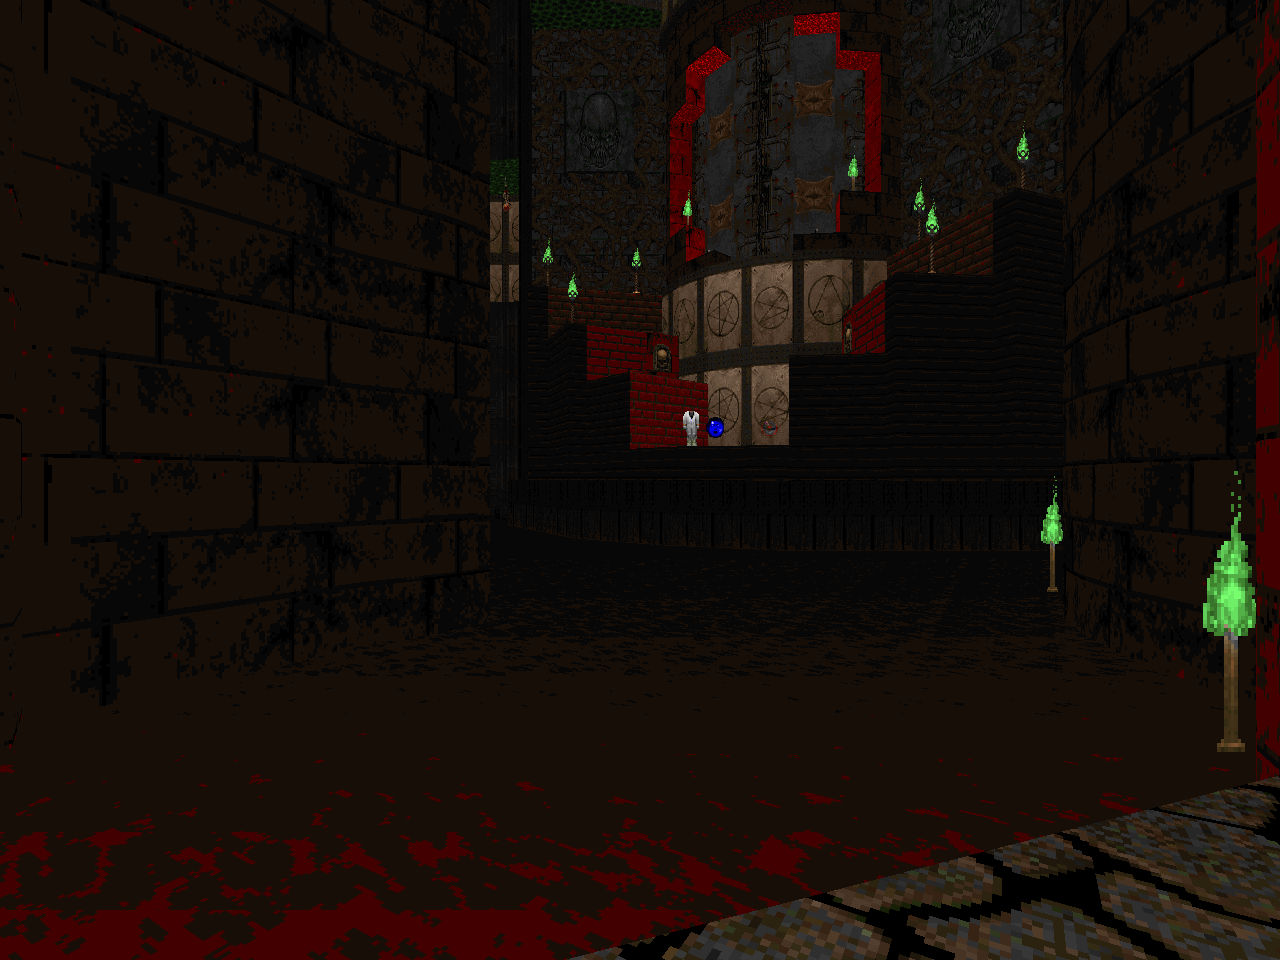 | Remarkable if for nothing but the attempt to recreate the panic of an Icon of Sin battle in the original Doom. The authors swing this via a dedicated series of monster closets to ensure a continuous drip feed of nasties, minus the threat of being telefragged. It's a little claustrophobic but the limited bestiary allows for such a deviance. I'm not too fond of the switches being so close to the Cyberdemon since he seemed to splash me pretty good from below. He's the main guardian you have to defeat so that your rockets will sing true but once you open up the "brain" chamber an impressive flood of cacodemons issues forth. So that's two major obstacles before you can fire away. There is no Romero, of course, so take the ambient explosive sounds as your signal that the exit has opened up. Ingenious; a welcome finish to an exhausting but worthwhile journey. Enjoy the last vista of the accursed tower's destruction. |
WARP ZONE
| Tom's Halls | E1M0 |
|---|
| by Emil "NaturalTvventy" Brundage |
|---|
| A map which can only be accessed by some sort of command. Presumably inspired by Tom's realistic level design in Doom's early history, "Halls" lacks the vibrancy of Emil's more abstract predilections but has some of his verve for combat. The map initially resembles a deathmatch event with the shotgun placement and the haunting absence of any opposition but the army of evil arrives soon enough. There's sort of a "Military Base" vibe in the way the southern portion of the level is arranged. The northern section is a bit more interesting, especially in the way the key doors are junctioned together and everything meeting at the central hallway. Good, simple fun. | 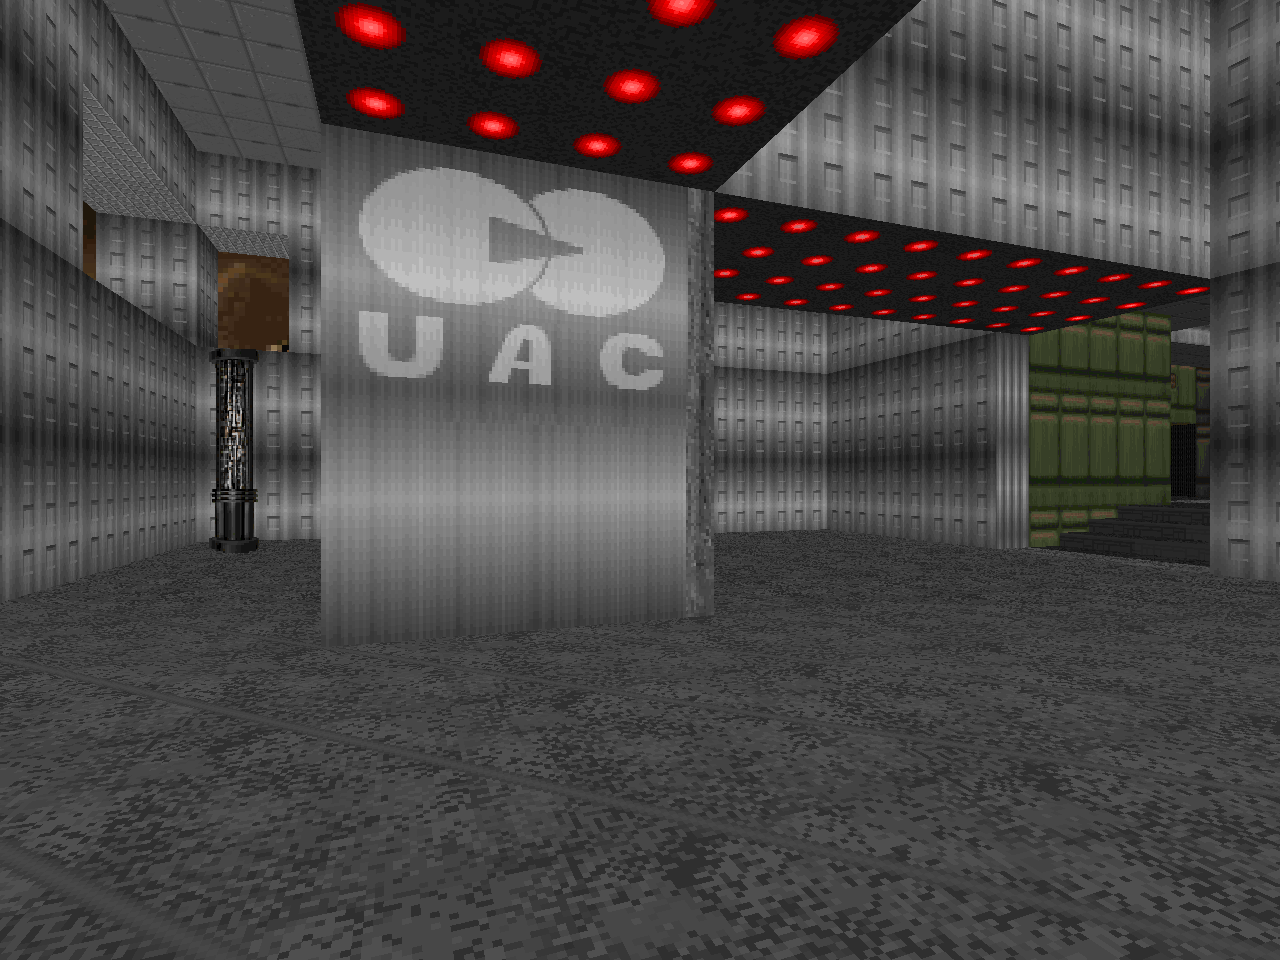 |
CHILDLIKE SOUL DREAMER
ONE JOURNEY, ONE TO SEEK AND SEE IN EVERY LIGHT
DO OPEN TRUE PATHWAYS AWAY


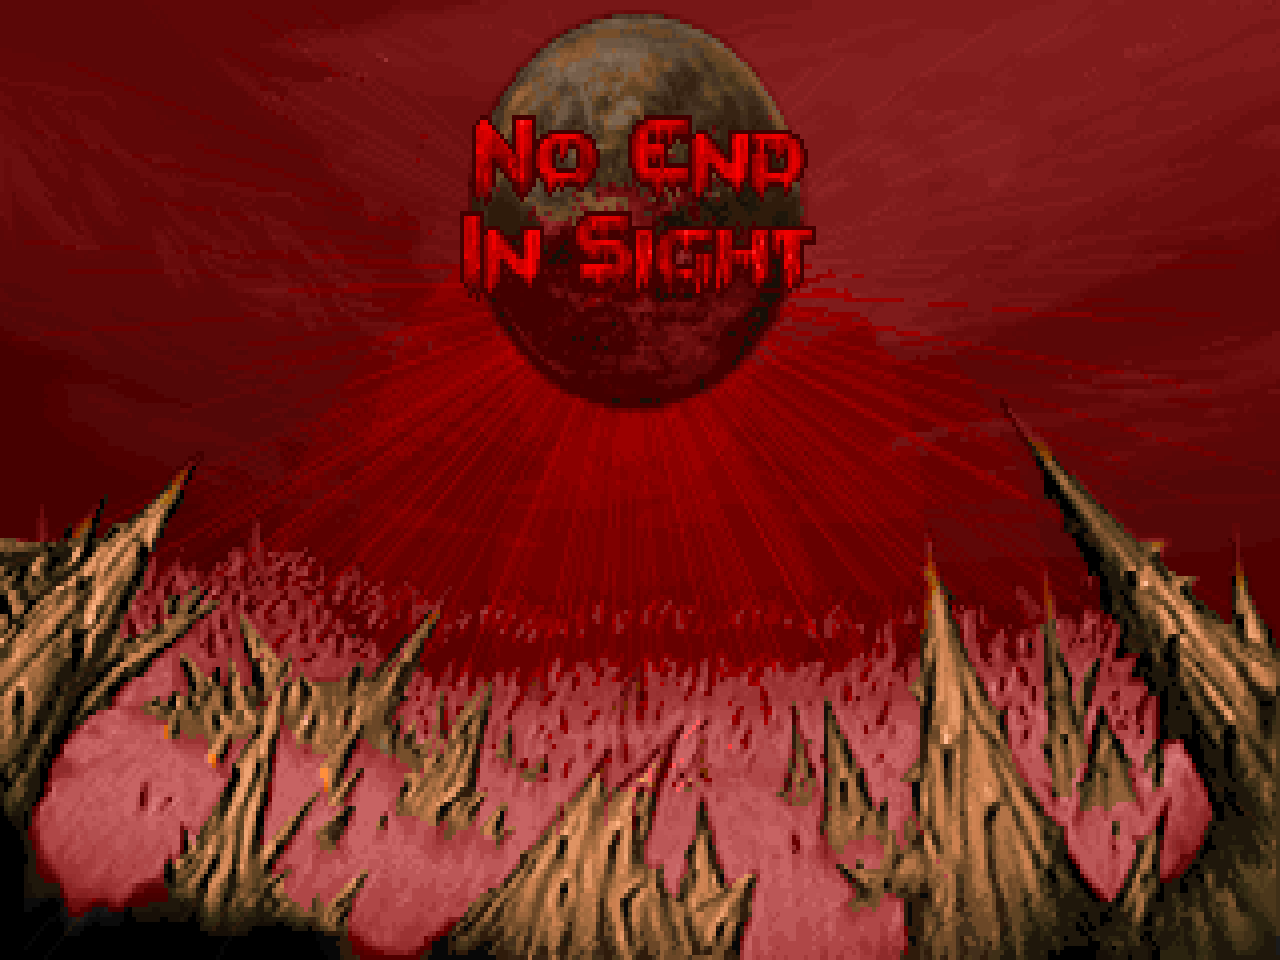


Huh, this seems really well done compared to other 90's maps, although I do see its limit removing, when exactly was zdoom created, (or what source port did this run back then). Based on level design alone it looks way out there, kind of looks like an 00's-09's map than 97. Maybe I'm just short chaining this due to me not really playing any maps made before 05 except for a few wads made by Chris Hanssen (I think that is his name ?)
ReplyDeletethe production of NEIS began in... 2010, maybe? certainly 2011, or at least whenever the NEIS contributors started submitting maps to Doom the Way id Did. limit-removing ports did not properly exist until 1998... i think. only the fourth episode requires a limit-removing port. the EXM0 maps require a port like Eternity or ZDoom.
DeleteGood to know. And I must say while I do comment here and there on your blog, I must say your quite the Doom historian. I get quite gleeful when you reply with a short Doom history lesson.
DeleteIs there a way to make GzDoom explode barrels with crushing ceilings?
ReplyDeleteI have never known crushing ceilings to NOT explode barrels. i don't think that gzdoom would break what is a fairly fundamental behavior for PWAD authors. do you have a specific example?
DeleteOne I think of off the top of my head is are the barrels in Doom 2 In Name Only level: dead simple.
DeleteIndeed barrels dont explode when crushed, Im not sure what causing it. But for example I couldn't finish E4M8 of No End In Sight because of that.
ReplyDeleteare you playing with some sort of Doom mod that might modify the barrel "actor"?
DeleteNot that I know of, its just gzdoom
DeleteI have found exactly one mention of this issue in some WADs description. google failed me.
DeleteThis should be highlighted given it's now an official Caco winner (one of three pre-12/10/2016 wads to get well deserved recognitions)
ReplyDeleteI'm so sure that this is a Brandon D. Lade comment that I'm not even going to specify a caveat. I love reading comments like this so much that I'm going to hold off on highlighting it in the review index just so you can check it every day in rapt anticipation of seeing a row on a table be gray instead of black. Will it happen today? Nobody knows! Maybe tomorrow? Maybe I'll hold off for so long that I'll forget about it entirely!
DeleteYes, it's me, but I don't know why a perfectly innocent recommendation has to be treated like that. Just because it is clearly me does not mean I'm trolling or spamming.
ReplyDeleteIt's because it rides the thin edge of making this blog feel like a job and not a hobby that I can treat more or less casually, however helpful you are trying to be
DeleteIt's not a job so you can do what you want when you want. 'nuff said (and even I feel I'm already stating the obvious).
ReplyDeleteAt some point I hope that you understand that this is just something I'm going to be weird about and that no amount of reasoning will convince me otherwise
Delete