
Tomi Rajala had his heyday during Doom's source port boom, demonstrating the power of ZDoom's early features when he released The Hell Factory Hub One in the year 2000. He also showed his capacity to make longer, single levels with Painful Evil during the same year. Back to Hell (not to be confused with Dave Seager's episode of the same name) appeared to be his passion project and was potentially a megaWAD for Doom II but the author never finished it and the only evidence of its existence was a review of a seven-map demo by Colin Phipps on Doom Underground. I put out a feeler to see if anyone still had a copy lying around on their hard drive and Grazza obliged. Surprisingly, his version was slightly less unfinished for a grand total of nine levels! This exchange happened back in 2013 so I am happy to be playing the demo now in TYOOL 2018 so that it can finally stop riding my conscience.
I don't know anything about Tomi's plan for BTH but I can infer from its title that the final destination was to be, you guessed it, Hell. Since he never mapped his way out of the first episode, though, the player does not have the opportunity to visit... unless you keep playing through the original campaign. MAP01-04 are in a tech and underground theme while 05-07 exploits The Plutonia Experiment, drilling deeply in the case of 07. The eighth gives a bit of a swerve for an ode to the original E2M2 before going abstract Doom II plus a few Plutonic textures for MAP09. The last is actually a joint venture with Timo Kuosku though I couldn't tell you where he ends and Tomi begins.
The stages of Back to Hell that we do have lean pretty heavily on chaingunners and the later ones tend to feature those rascally revenants, too. Rajala was pretty clear about his influences in the .TXT, though, so no surprise there. If anything I'm amazed how respectful the PWAD is to the player. Up until about the sixth level, at least. The combat is a cocktail of easygoing incidental clearing, tactical approaches, and building up to crazy murderbrawls toward the end. It feels vaguely like Hell Revealed's difficulty curve but with some distinct touches of the Casalis.
Excepting weird setups like the opening of MAP09, the combat is pleasantly serviceable. I think that people might have bigger issues with Tomi's switch-fu in spite of the easily parseable levels. They're all relatively short and essentially linear. The big Plutonia mashup is the most complex of the layouts but you never have to go very far in any direction to figure out the latest door that you've opened up. The biggest curveball for me was the sector 667 tag misbehaving in ZDoom and sealing off an exit but my largest bug-free lockup was probably a not-exactly-dead end since the author does nothing to draw you to it.
Back to Hell E1 is a nice collection of short maps whose biggest flaw is probably a sharp and sudden difficulty curve. The chaingunner love might be off-putting for some players but I had a decent time of it. It was interesting at least to see the sort of stuff that Tomi cut his teeth on prior to wooing Cyb for Doomworld's Top 10 WADs of 2000. If you like quick levels and don't mind getting roughed up with a dash of Plutonia then you ought to enjoy BTHE1, too.

BACK TO HELL E1
by Tomi Rajala
| MAP01 | |
|---|---|
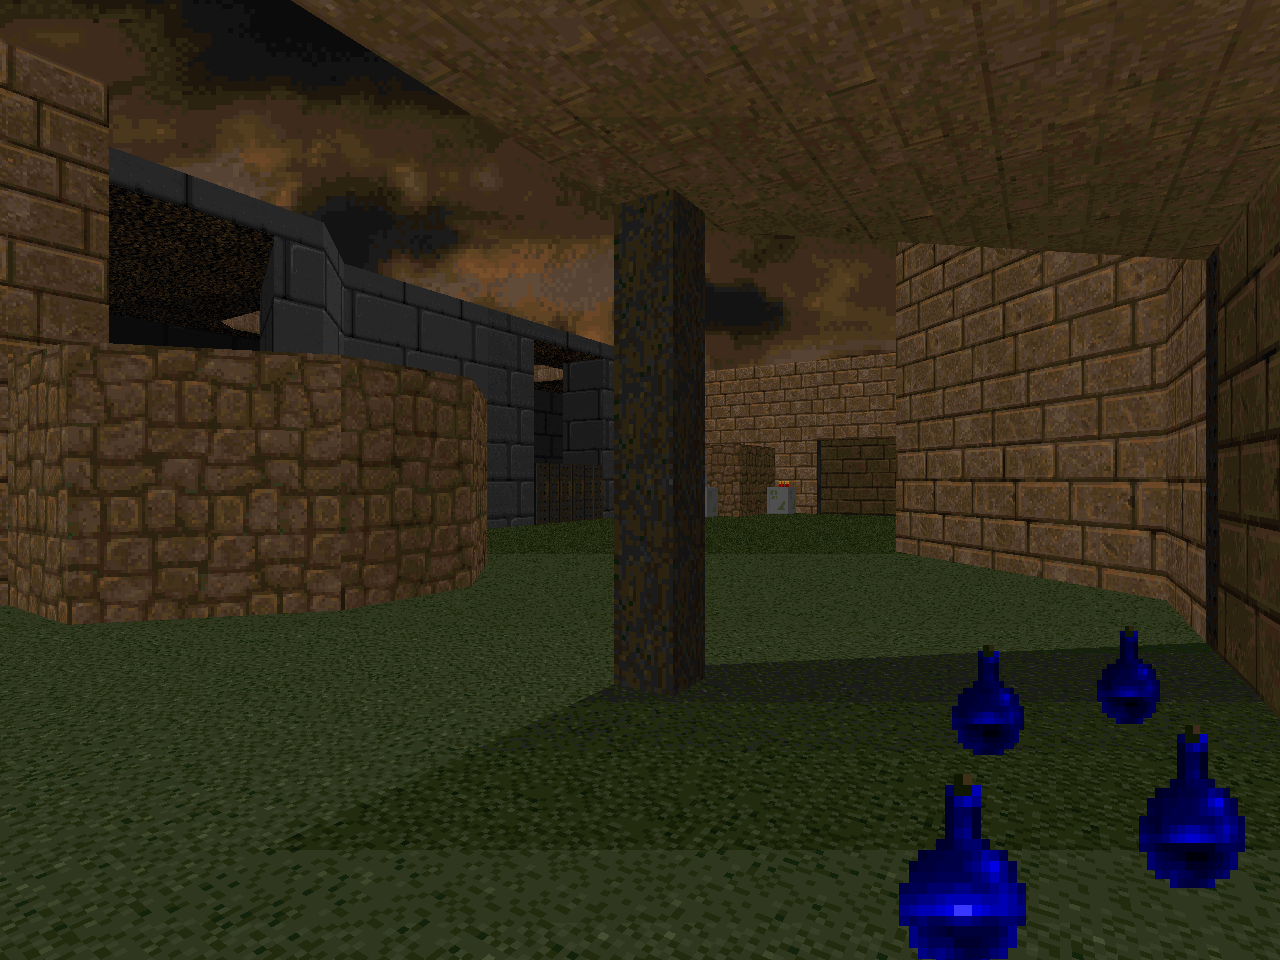
| A dingy sewer / techbase hybrid whose biggest threat manifests in a healthy number of chaingunners. It's Doom II trash all the way though the shotgun guy is curiously absent. Progression is back and forth switch-fu in a relatively complex yet small layout but it shouldn't take too much time - or health - to figure out which one of the nearby barred pathways opened up. Not a bad opener. | 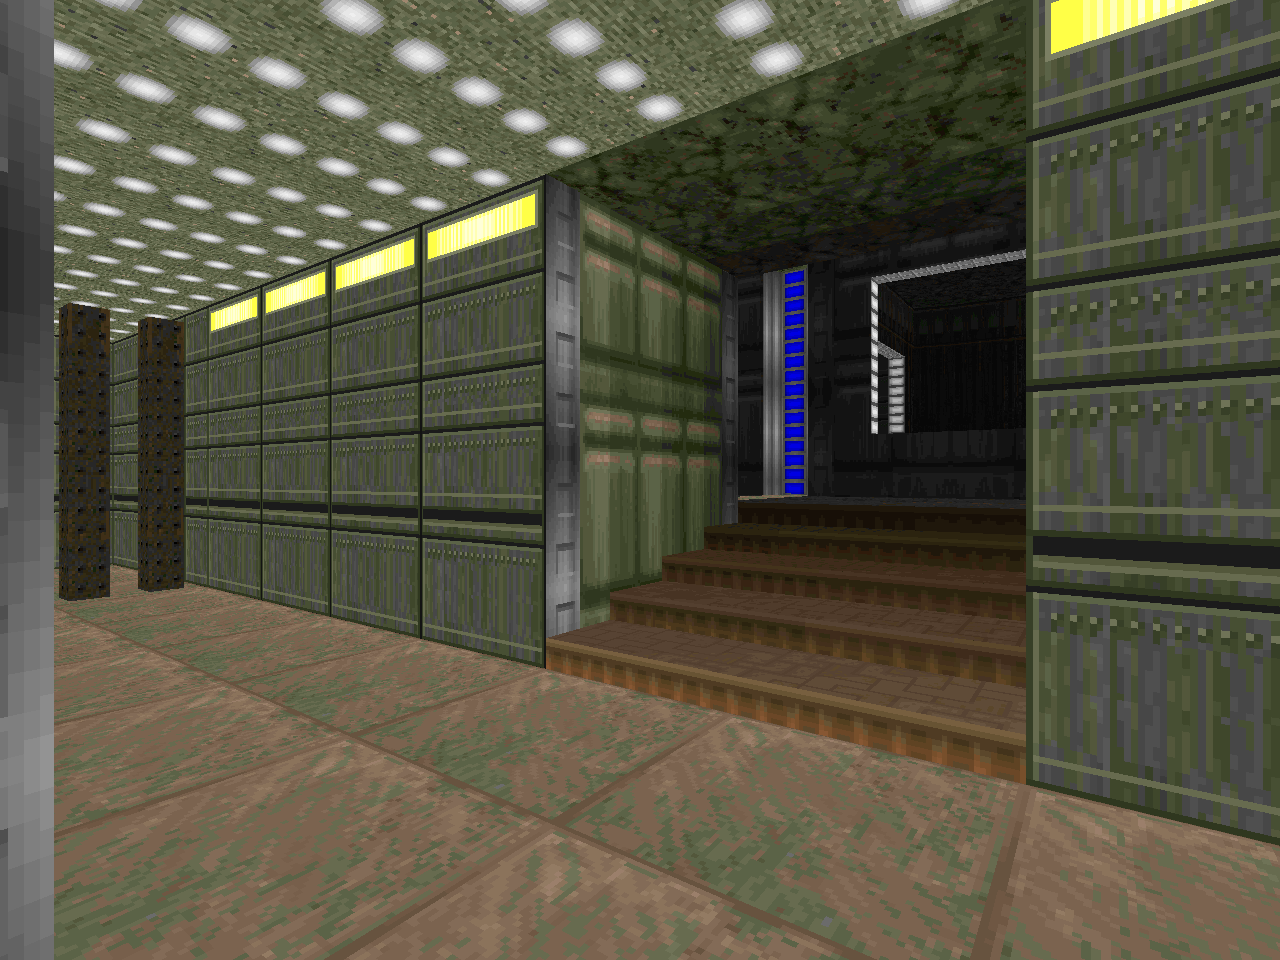 |
| MAP02 | |
|---|---|
 | Same sort of base / sewer combo. Memorable if for nothing else then the three mancubi waiting outside your bunker. You can either grind them down with the provided shotgun while doing the fireball flamenco or know how to procure the secret rocket launcher... not that the close quarters wouldn't be any less awkward. The entire level is all about holing you up in vulnerable positions, from the western teleporter ambush to the drop down into the under halls segment to the eastern toxic catwalk and forcing you to skirt 20% nukage to hit a switch. |
| MAP03 | |
|---|---|
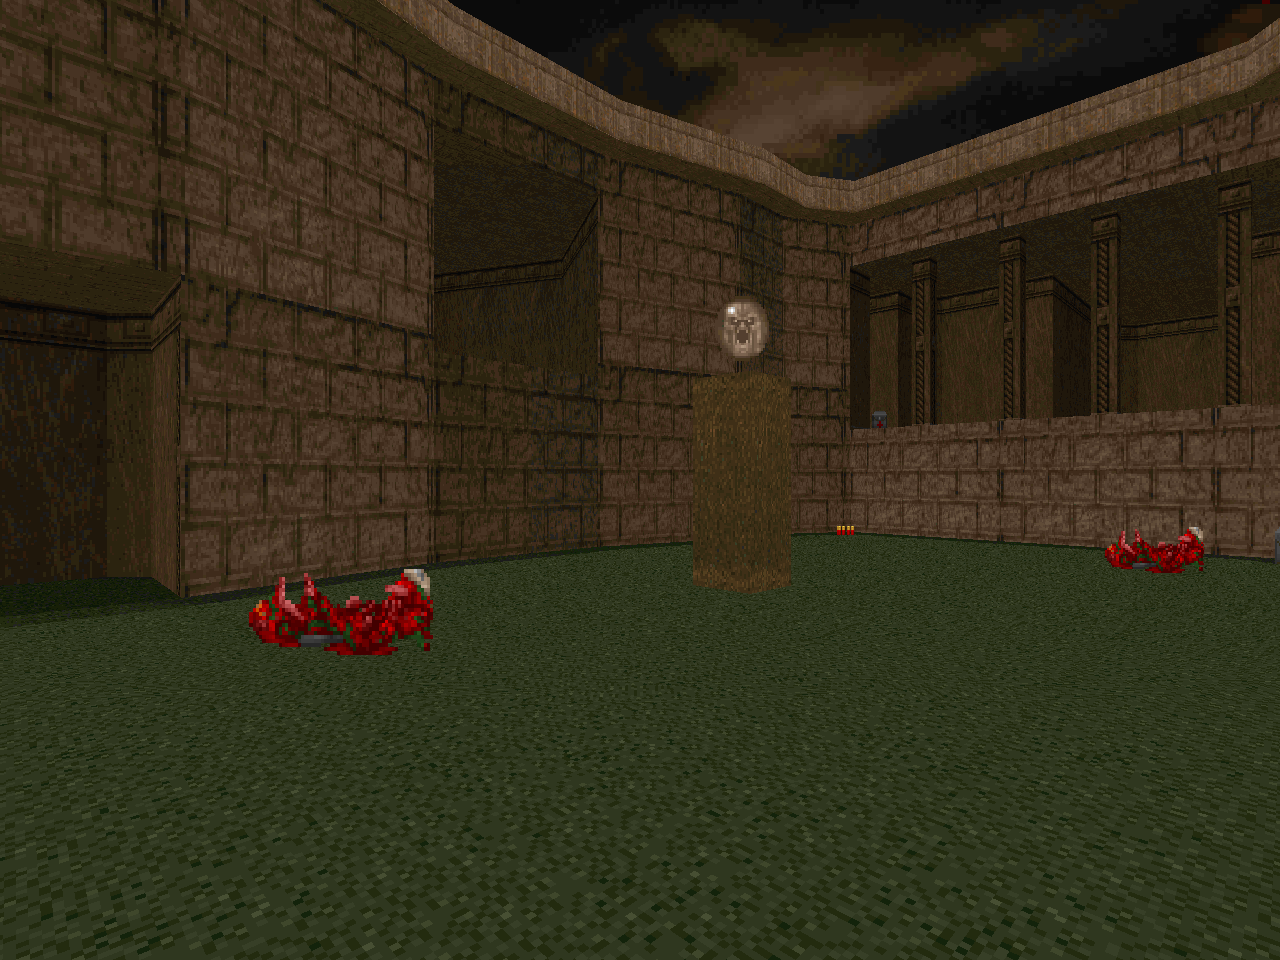
| The start is a little dicey but after that you can settle behind your workhorse shotgun and chaingun and do a couple of back and forth sweeps through the gauntlet. It's another base annex with a bit of a warehouse theme. Most of the opposition consists of Doom II trash but there are a few Hell knights to give you pause, particularly in the large outdoor yard. It's the scene of two highlight ambushes, the first having an organic component and the second a big ol' teleporter-fed brawl complemented by opportunities for infighting. | 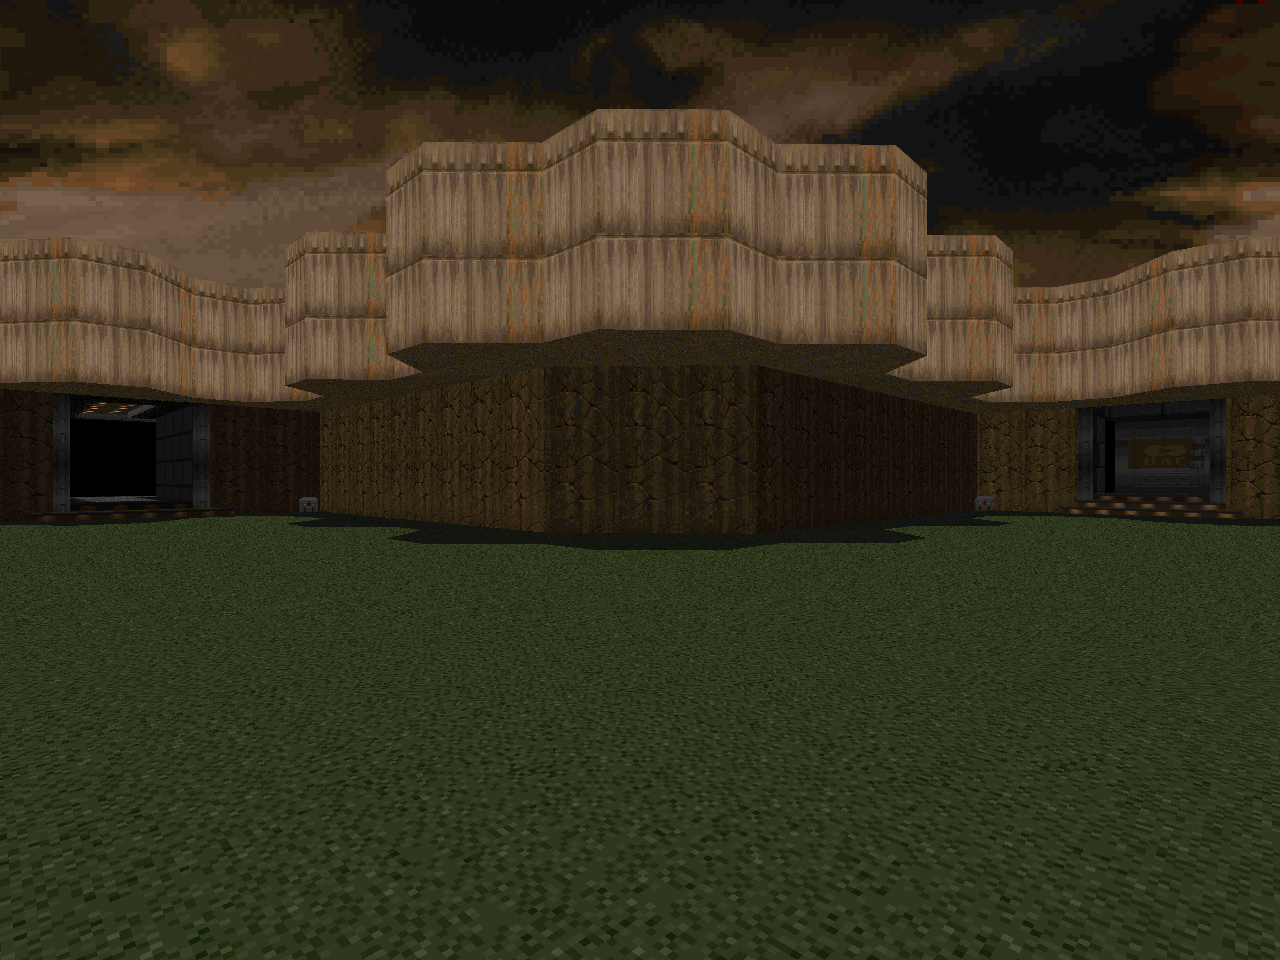 |
| MAP04 | |
|---|---|
 | Corridors and switch play abound and Tomi sees fit to press the combat shotgun firmly in your hand. The monster toughness takes a concurrent dive, resulting in fast, punchy action. The second half bears a passing resemblance to "The Waste Tunnels" in its texture scheme; belabored, successive monster closets; and an outdoor yard with a balcony that concludes the level. The progression is very linear but the light action easily draws the player through. |
| MAP05 | |
|---|---|
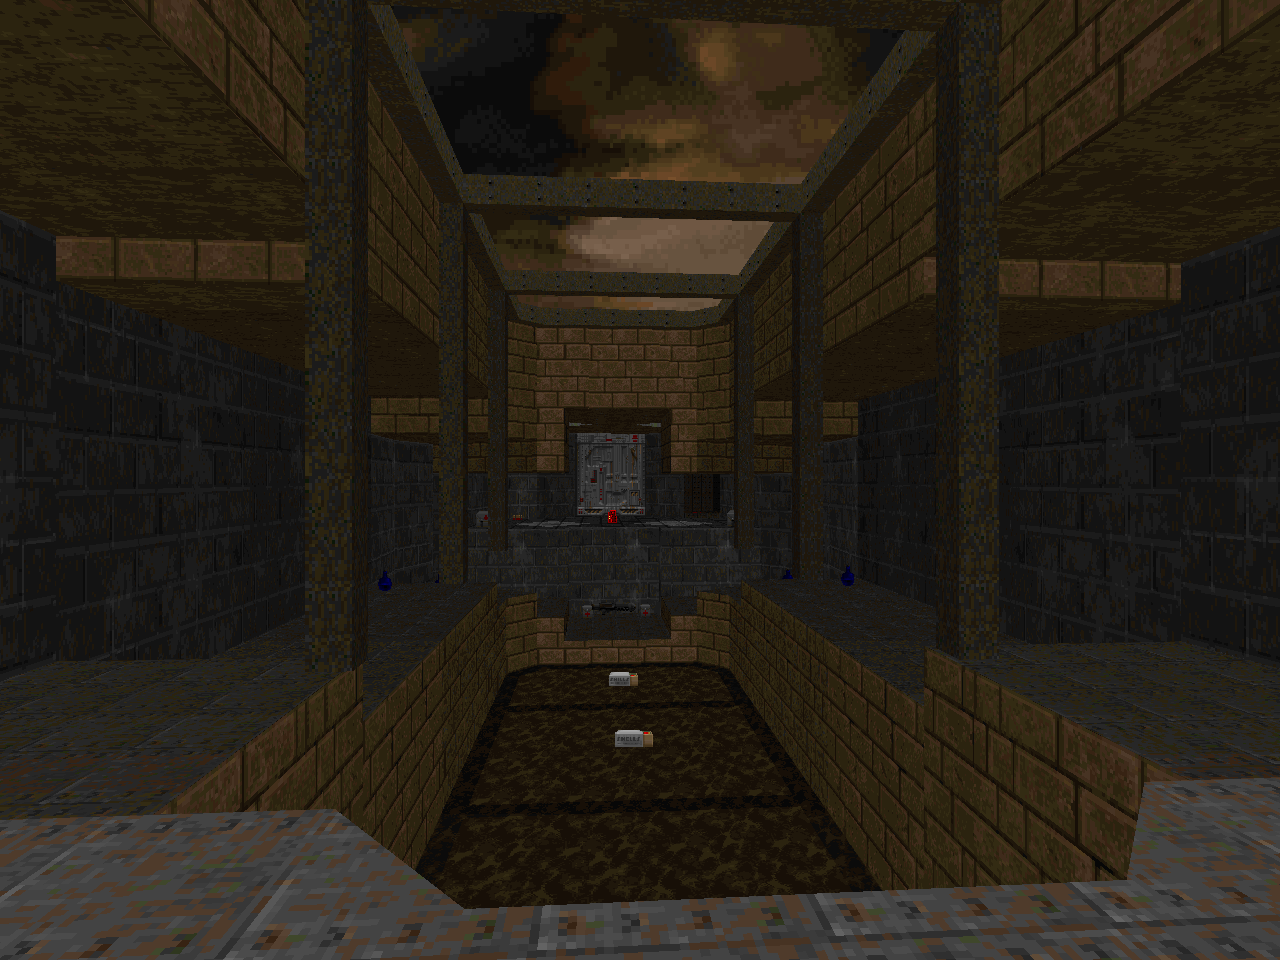
| More base shenanigans, this time with a little teleport action and a slightly Plutonic theme. The progression is obscure at parts, like having to hit the dead end of a hallway in order to be lowered into a cool-looking ambush room where you can continue on. I'm also not a fan of having to drop back down to use the yellow key and then returning again through the isolated transporter wing with barely any new opposition. The end chamber is neat, though, featuring a catwalk that weaves between first a revenant and then an arch-vile alcove. The boxes on lifts in the northwestern annex look cool but make absolutely no sense. | 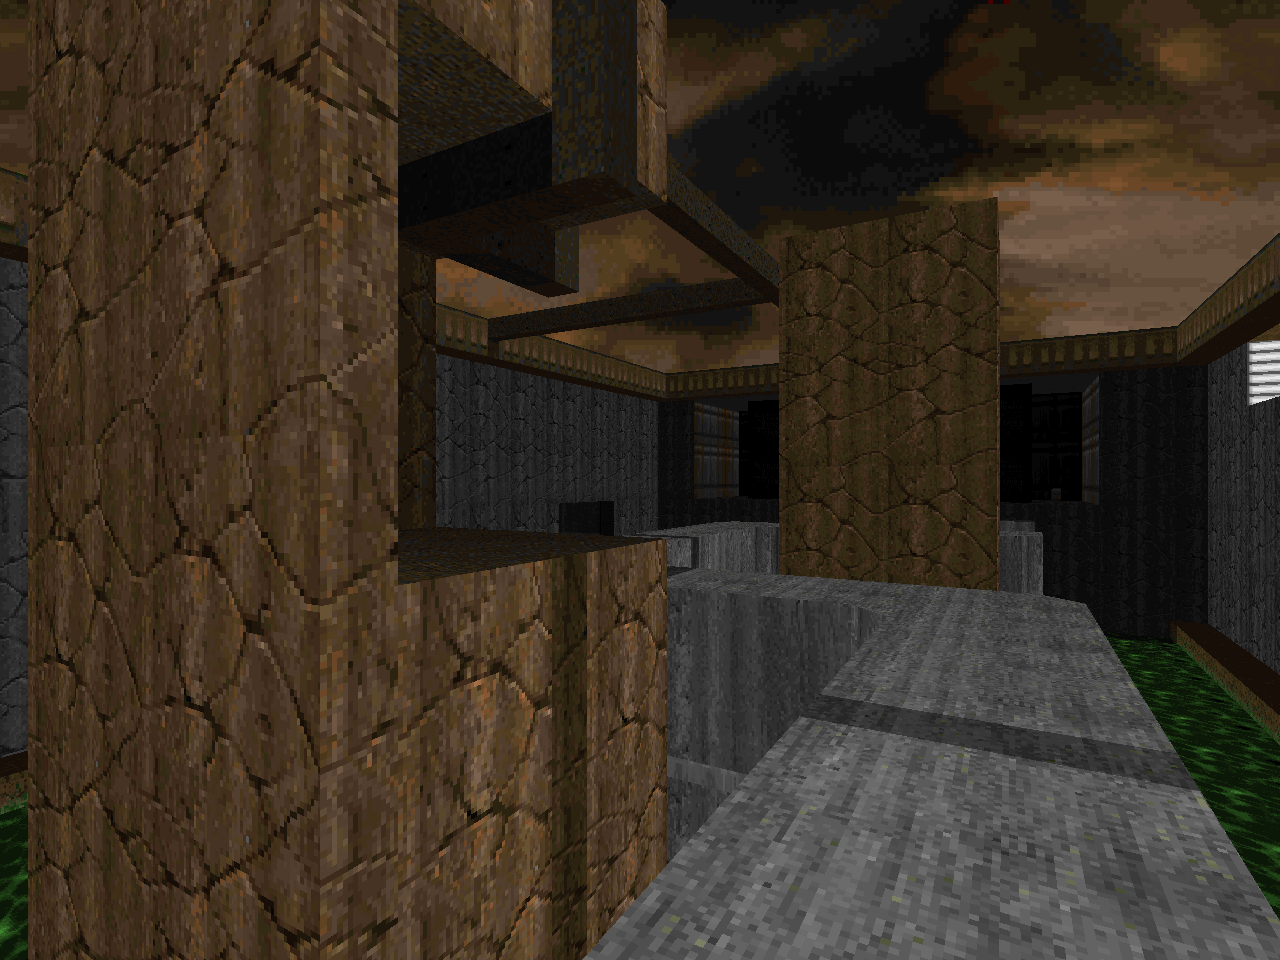 |
| MAP06 | |
|---|---|
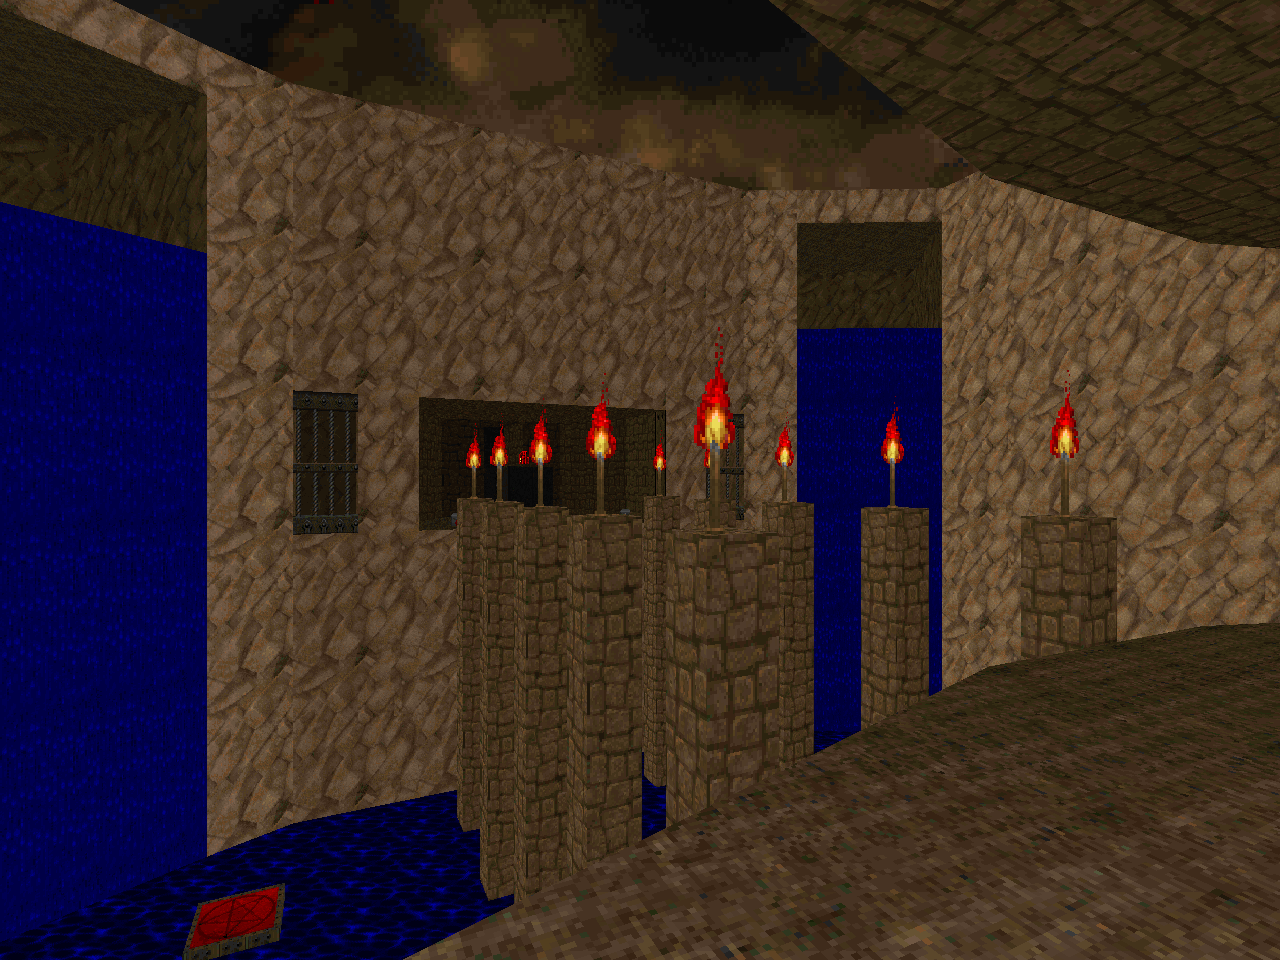
 | This one cribs pretty heavily from Plutonia's "Baron's Lair" in the key-locked hub and the first major firefight. It's a cool and difficult tussle but comes as quite a shock after the relatively light lifting in the previous levels. The rest of the map emphasizes tactical movement over constant maneuvering, employing a large number of hitscanners. The final room, which features a jagged bridge across a watery chasm, is my favorite visual scene. |
| MAP07 | |
|---|---|
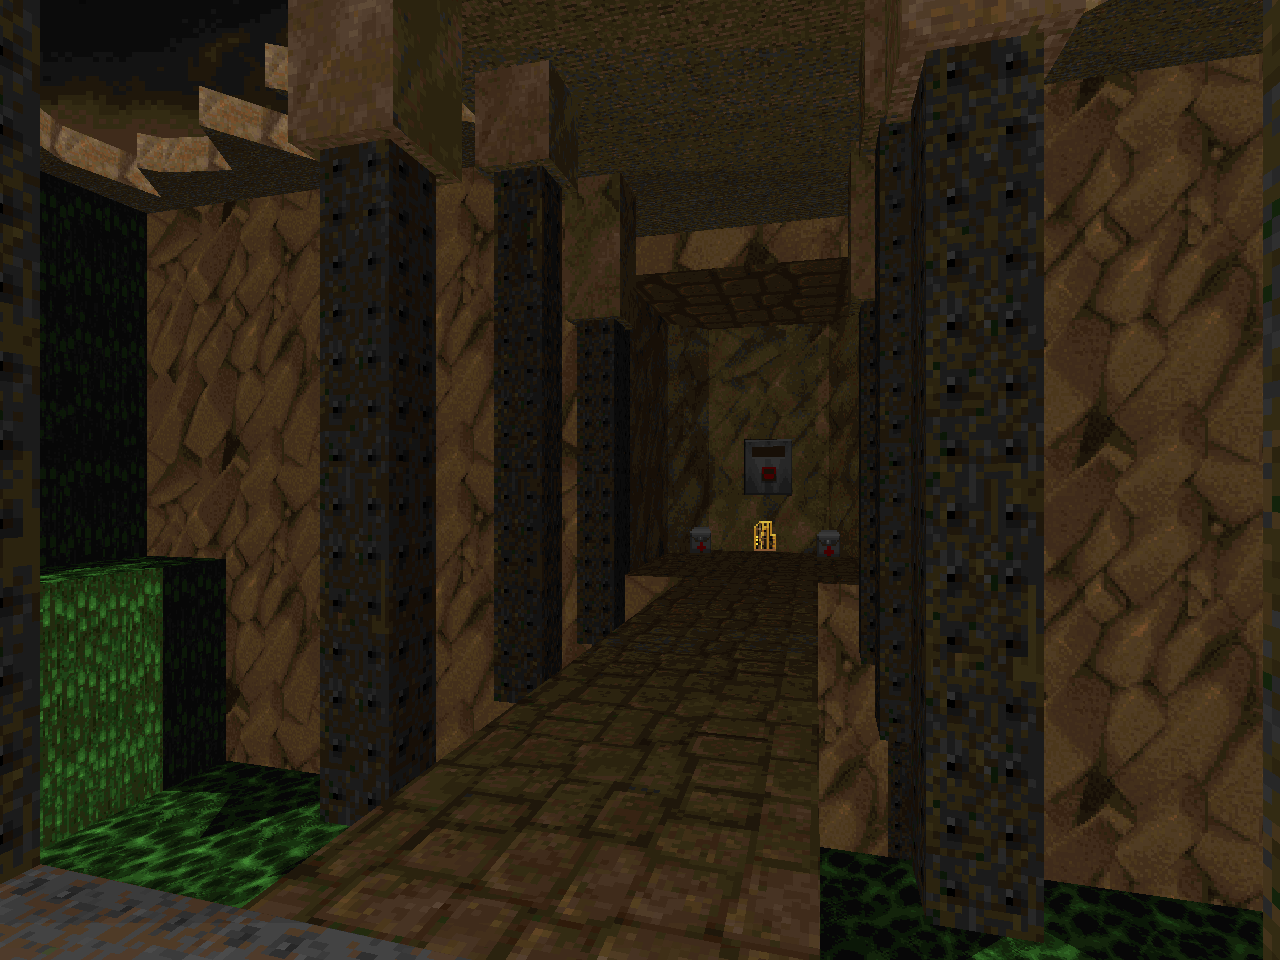
| Borrowing from both "Well of Souls" and "Aztec" (and maybe a little bit of "Realm"?). It's a really cool-looking level that starts out in some naturalistic tunnels before moving on to a few great if derivative set pieces. The big cistern / hub to the southeast is my favorite but the arachnotron crossfire to the northwest is a great place to burn all of your rockets. There's a ZDoom bug with the exit, I guess, since the author uses the spider-sector 667 tag to raise the steps to the switch but they go too high and block you off. Kind of a rotten way to end a relatively entertaining level. | 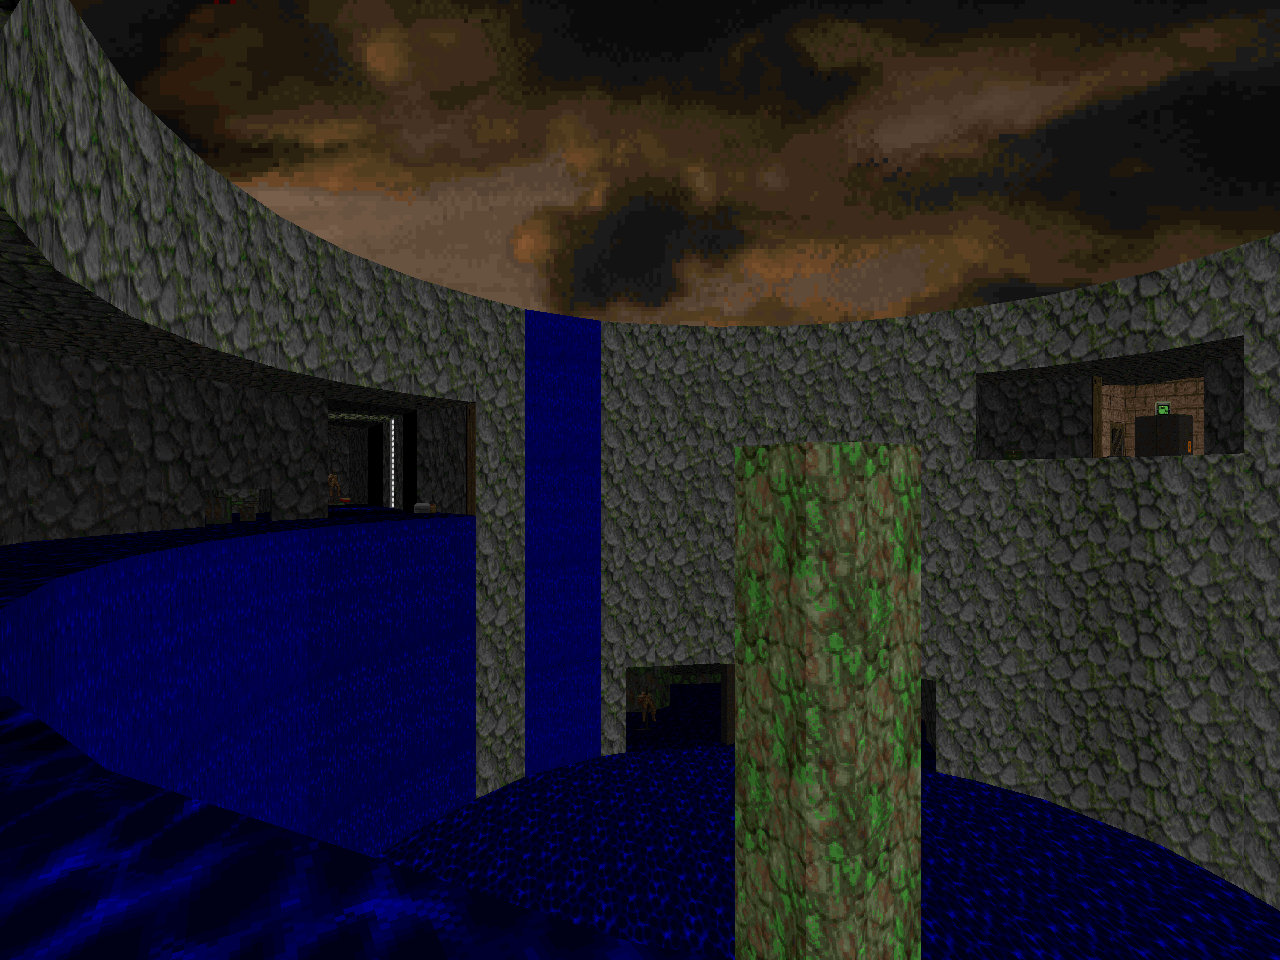 |
| MAP08 | |
|---|---|
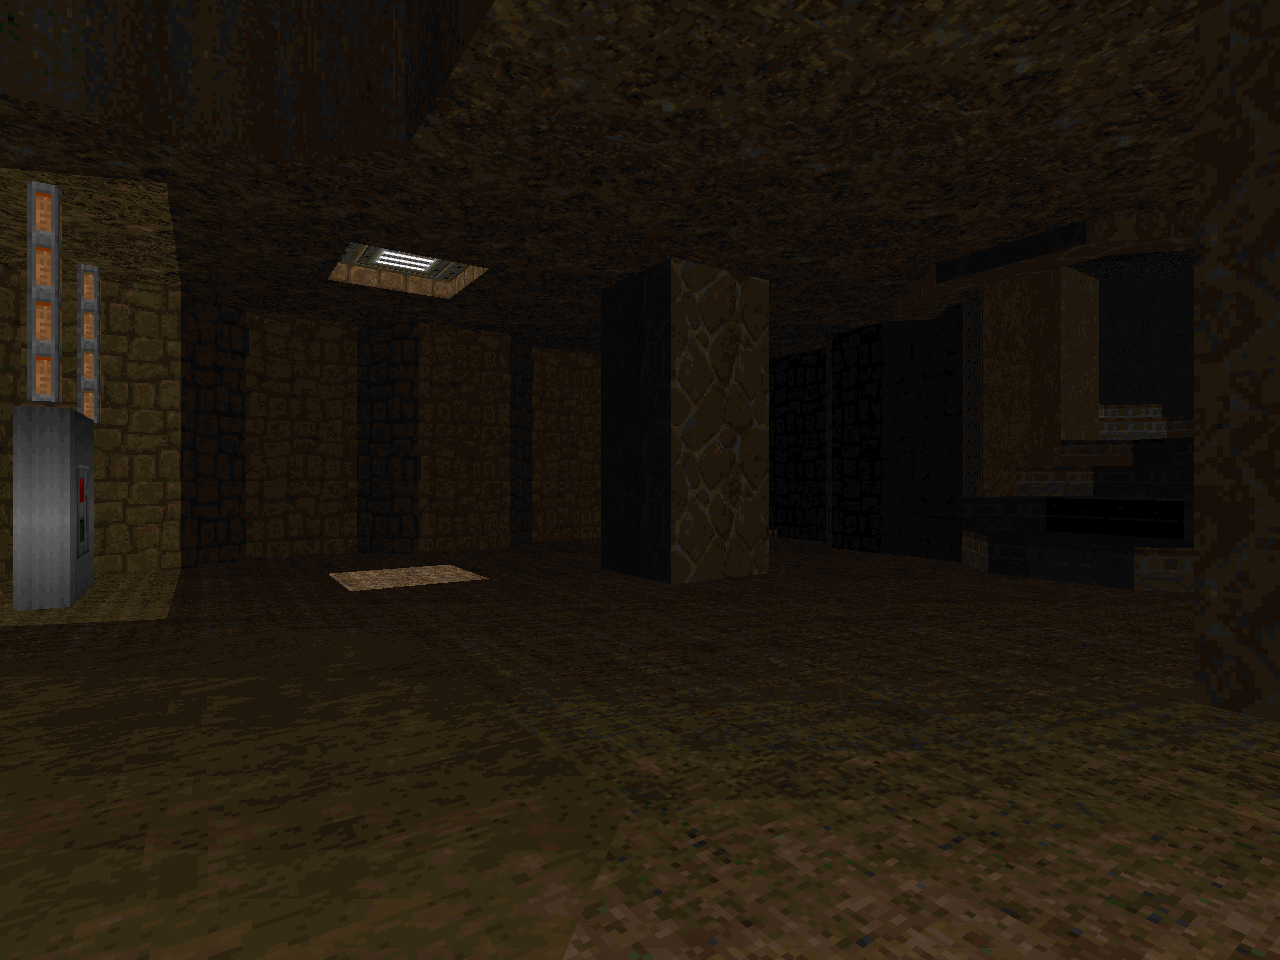
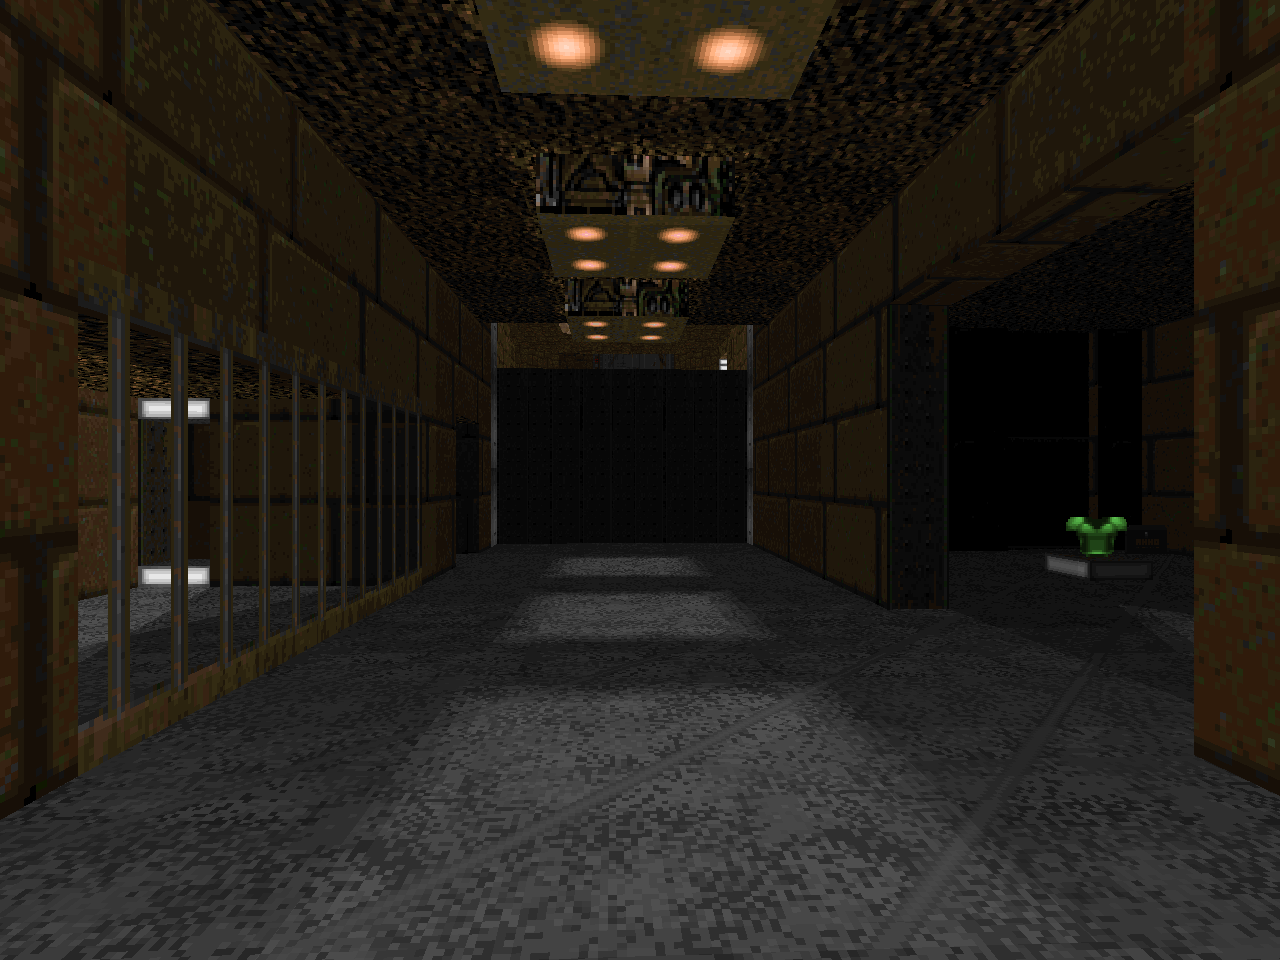
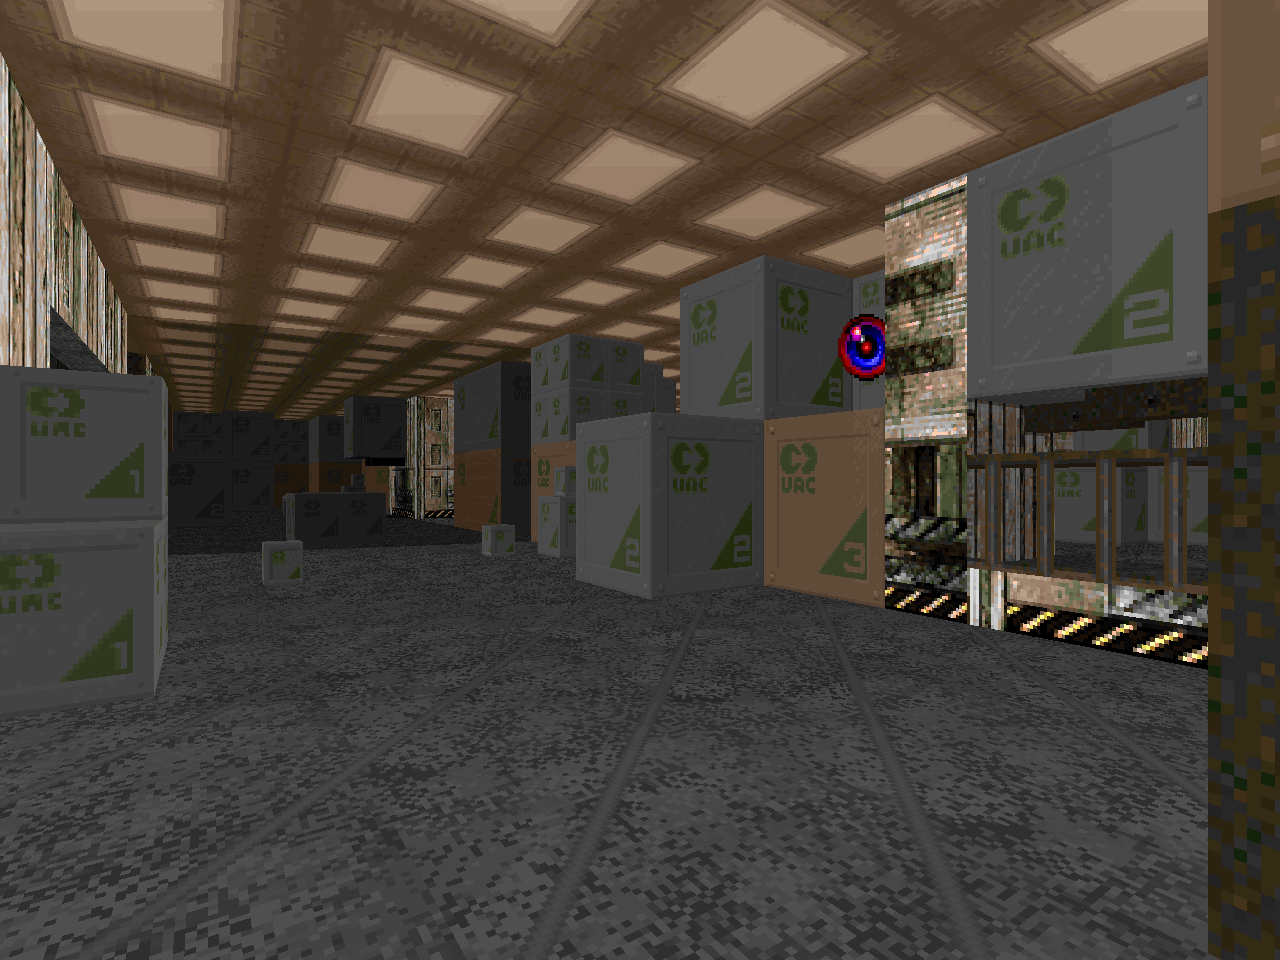 | Back to basics, this time riffing on "Containment Area". The author puts most of the focus on the corridors crammed full of crates. The initial wave feels like bog standard imp clearing with a few surprises but the meat of the level is confined to two very large fights: an enormous teleporter ambush that follows after snagging the yellow key, and a congested firefight featuring crusher hazards. You can neuter the latter if you know about the nearby invul sphere. There's a hiding in plain sight BFG as well (and it would simplify cutting through the hordes) but I couldn't be bothered to figure out how to get to it. The strange stationed crates from MAP05 appear here, too, and seem like an even more extravagant indulgence. |
| MAP09 | |
|---|---|
| with Timo Kuosku | |
| Sort of a ruined civilization / base aesthetic. The hot start is one of the most oppressive I've seen in a while, at least from the position of the pistol. The arachnotron / mancubus crossfire must be escaped but your salvation is a bunker that sports a Hell knight and Baron, resulting in some claustrophobic combat before you can finally relax. The obvious BFG secret lets you tame the round with minimal effort, after which you can proceed to clear the rest of the hub. Nothing really comes close to the opening, though; apart from the surprise revenants it's more grindy than thrilling. | 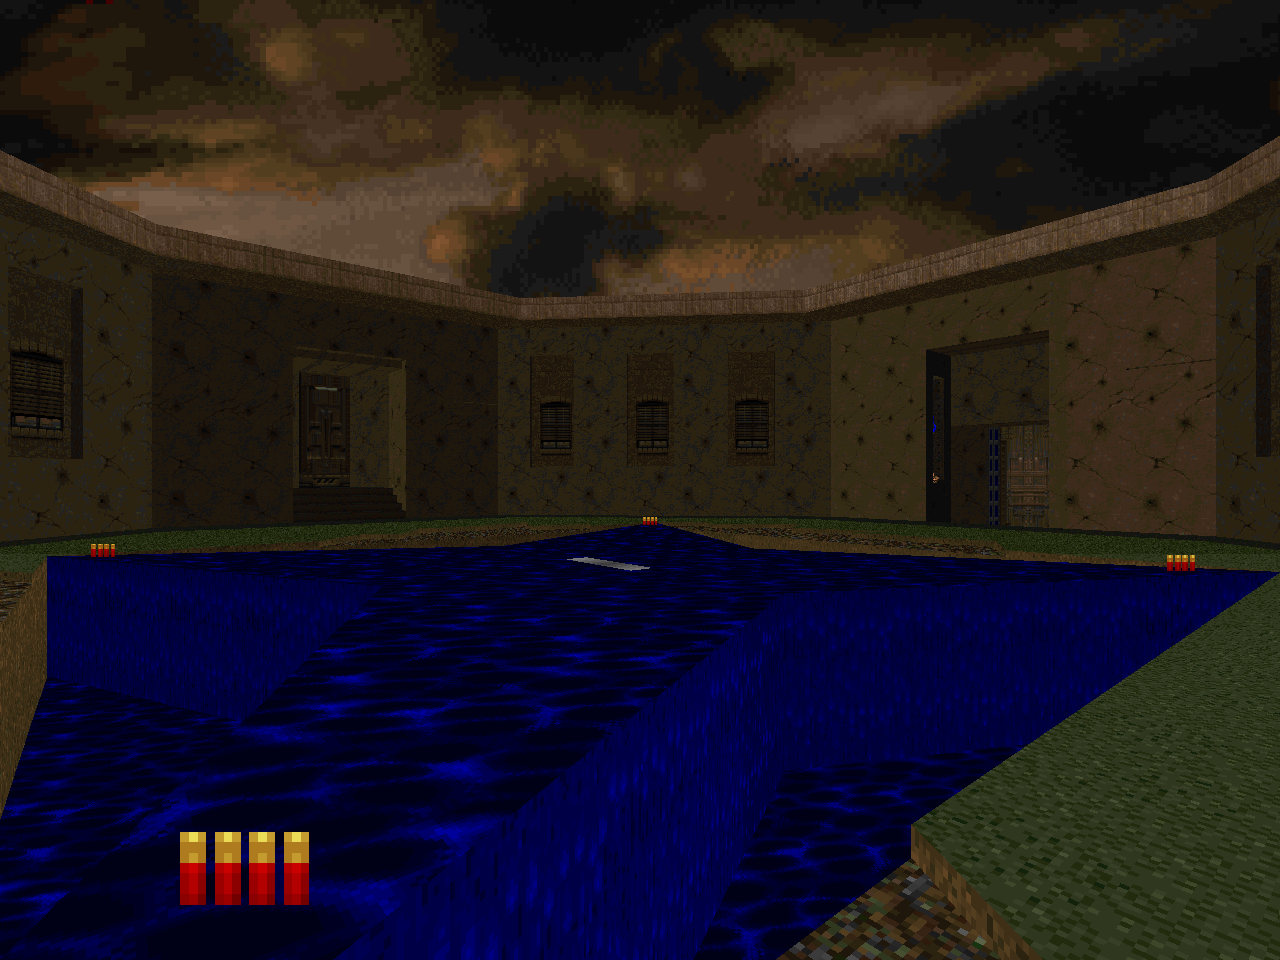 |
JUST WHEN I THOUGHT I WAS OUT
THEY PULL ME BACK IN
THEY PULL ME BACK IN
No comments:
Post a Comment