Once a year or so someone starts a "Most Underrated WADs" thread on Doomworld and it seems like Donald Howard's Kill! Zone (and its sequel, KILLZON2) are perennial favorites. Don's fanciful publishing house was Heuristic Software, though whether he had anything to do with the then defunct chess game company is beyond me. A reading of the now archived Team TNT roster reveals that he is also the same Don Howard who contributed three levels to Daedalus: Alien Defense. His debut, Vile-Lab, is apparently lost to the sands of time. KZ#1 is a seven-map episode for Doom II and was published in 1996. The author did not bother attempting to establish any semblance of a narrative but if it bears any relation to the tongue-in-cheek follow-up then each of the maps represents a separate bastion of Hellspawn rather than a single adventure with multiple stages.
Don has a definite, consistent style. The levels remind me of Jim Flynn's works from 1995 in their large size and indulgences in sector machinery. They're far less demanding on the player, though. Where something like Titan Manor requires you to poke and prod and turn it until you solve the Rubik's cube, KILL! Zone's layouts slowly bloom as you explore. A lot of the unraveling comes from the almost fetishistic use of switches but there are other segments, most memorably the crate annex in MAP01 ("Flashback"), where you'll have to operate them in tandem with other puzzle features like walkover triggers.
It isn't a morass of meandering through nondescript hallways, though. Each level has a cogent theme and there's a dedication to a gimmick somewhere in the layout, whether it's subverting expectations generated upon seeing the E1M3 starting room in MAP01 ("Flashback"), playing with symmetry in MAP02 ("Mayham"), having to move forward by falling down in MAP03 ("Drop-Zone"), building around a wide-open floor plan with tons of exterior space a la MAP05 ("The Keep"), or giving you most of the guns and ammo up front in a room just off the starting area per MAP07 ("Dead End"). The layouts don't resemble anything in particular, serving as great examples of abstract architecture that make for a compelling adventure.
Howard isn't one for carefully orchestrated fights. His levels are mostly full of incidental combat and monster closets, much like the original Doom, though some of the playing spaces are large enough to become complex encounters by default. MAP05 marks one of the biggest departures because of its emphasis on big areas and what passes for masses of monsters. The fascinating moments of macrotecture also make for excellent landmarks and help to break up some of the more intensely claustrophobic corridor- and room-heavy levels like MAP02, MAP03, and MAP04 ("Labyrinth").
KZ#1 has a very distinct aesthetic that firmly plants it in the early years of the community, which may be my favorite period of Doom mapping simply due to the unbridled enthusiasm and output. Part of it is the nuts and bolts of its level design but there are other complementary trappings. I don't recognize the music but it's delicious 90s stuff from the opener, which runs through the intros of both "Ragtime Piano" and Beethoven's "5th Symphony" before settling into a funky groove with a horn lead, to the I-can't-place-it-but-I'm-sure-that-I've-heard-it-before sludge rock of MAP05. Many of the weapon noises and monster sounds have been replaced, too. Some of the gun stuff definitely comes from Quake, I think, though not the adorable chainsaw rzzz. The enemy sounds give some creepy voices to the zombies, my favorite being the hollow ring of "WHERE ARE YOU, HUMAN?" but I'm also partial to the subtle but goofy "Gotcha." that plays whenever you slay a cacodemon.

This is great stuff, especially if you're into dungeon crawler Doom. I feel like the less challenging combat is a good draw but it's probably outweighed by the expansive and moderately enigmatic level design. If you're a fan of the 90's era of the community, though, then Kill! Zone is a must play, particularly disciples of Jim Flynn and Bob Evans. I'm looking forward to see what Howard's second episode has to offer.


KILL! ZONE
EPISODE ONE:
THE TREK BEGINS
by Donald R. Howard
| Flashback | MAP01 |
|---|---|
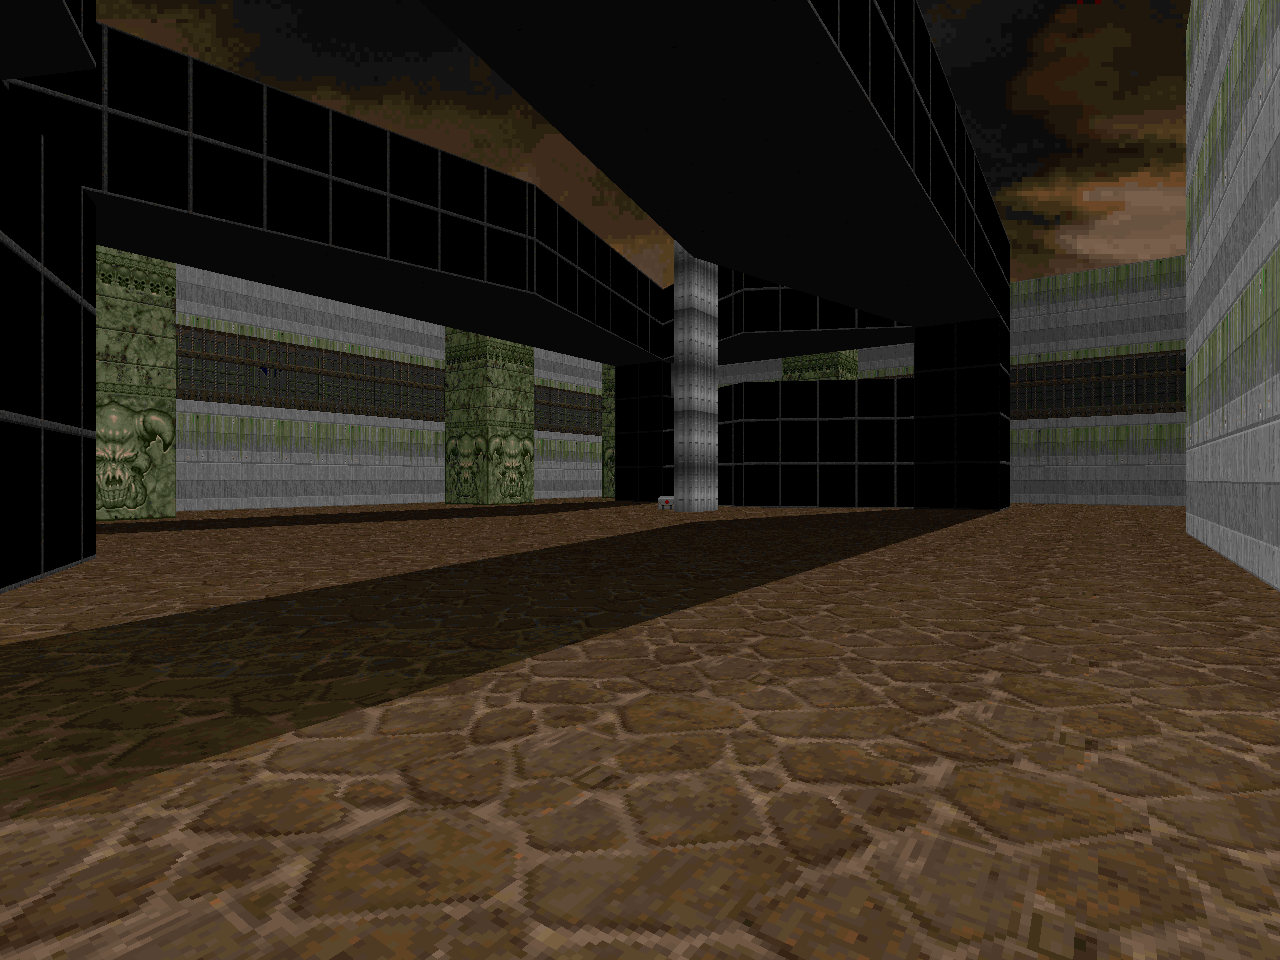
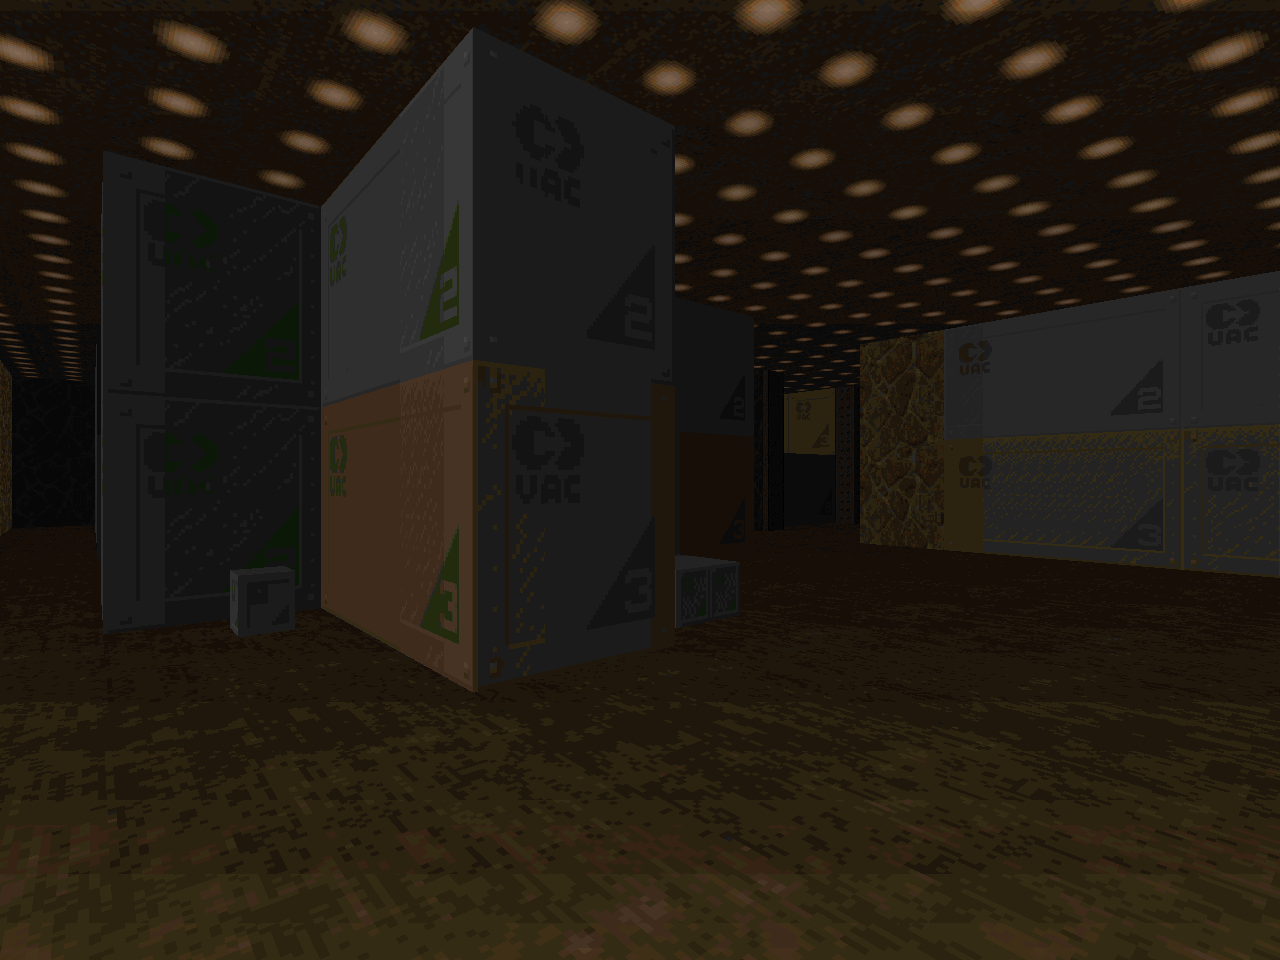
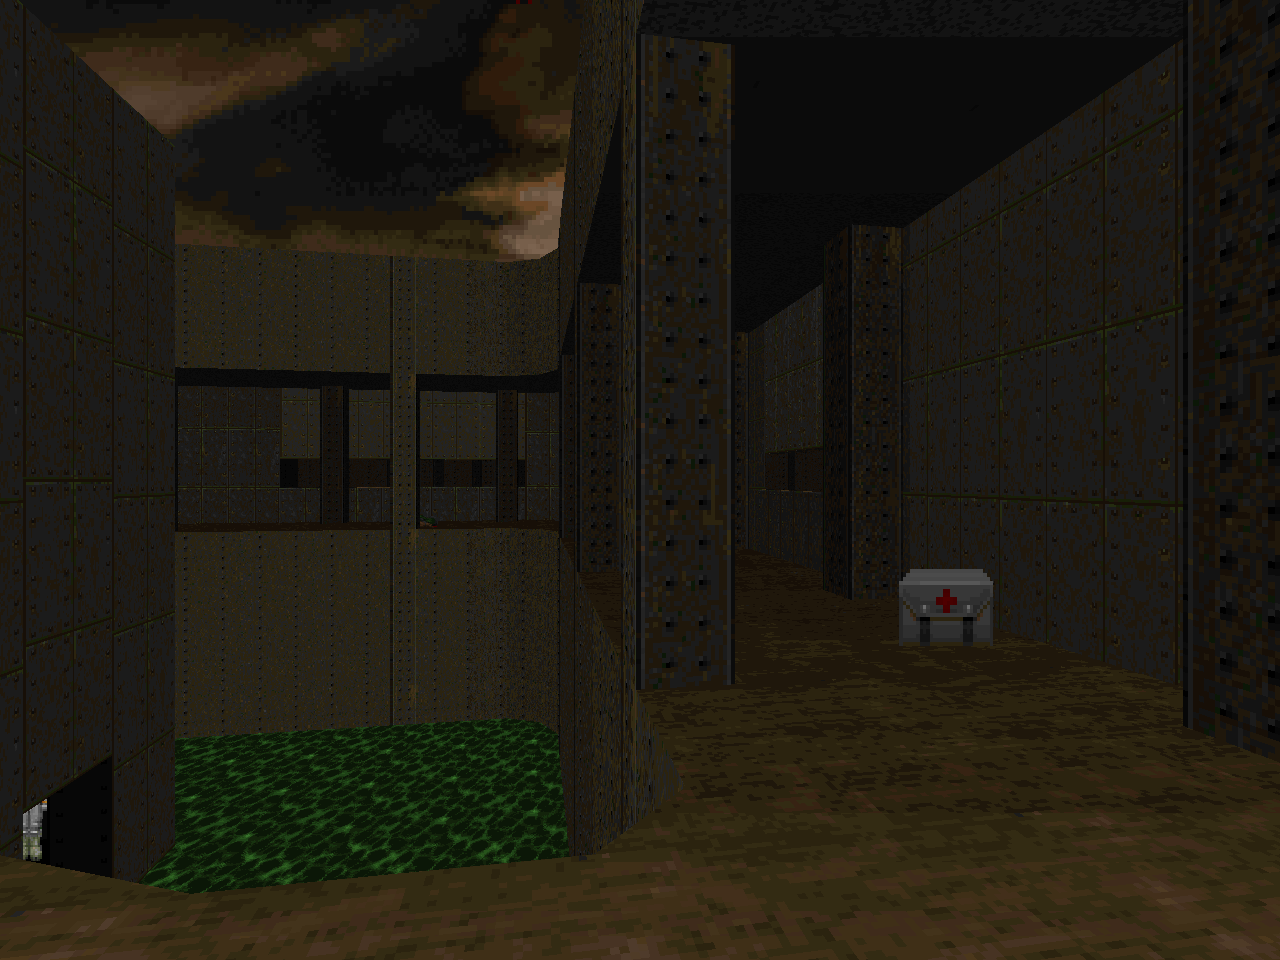
| The opening looks a lot like E1M3 and there's a computer room that superficially resembles the northeastern corner of E1M4 but the surrounding material is just wonderful, abstract Doom II. The combat is more about a slow drip feed of monsters with some false wall surprises here and there, like the off-corridors in the silver northern segment or imps and lost souls smuggled away in alcoves in a tunnel stretching to the BFG. The toxic pillar room is my favorite bit but I'm also partial to the land of a thousand crates which is crammed full of walkover triggers. The finale has a rather rude surprise. | 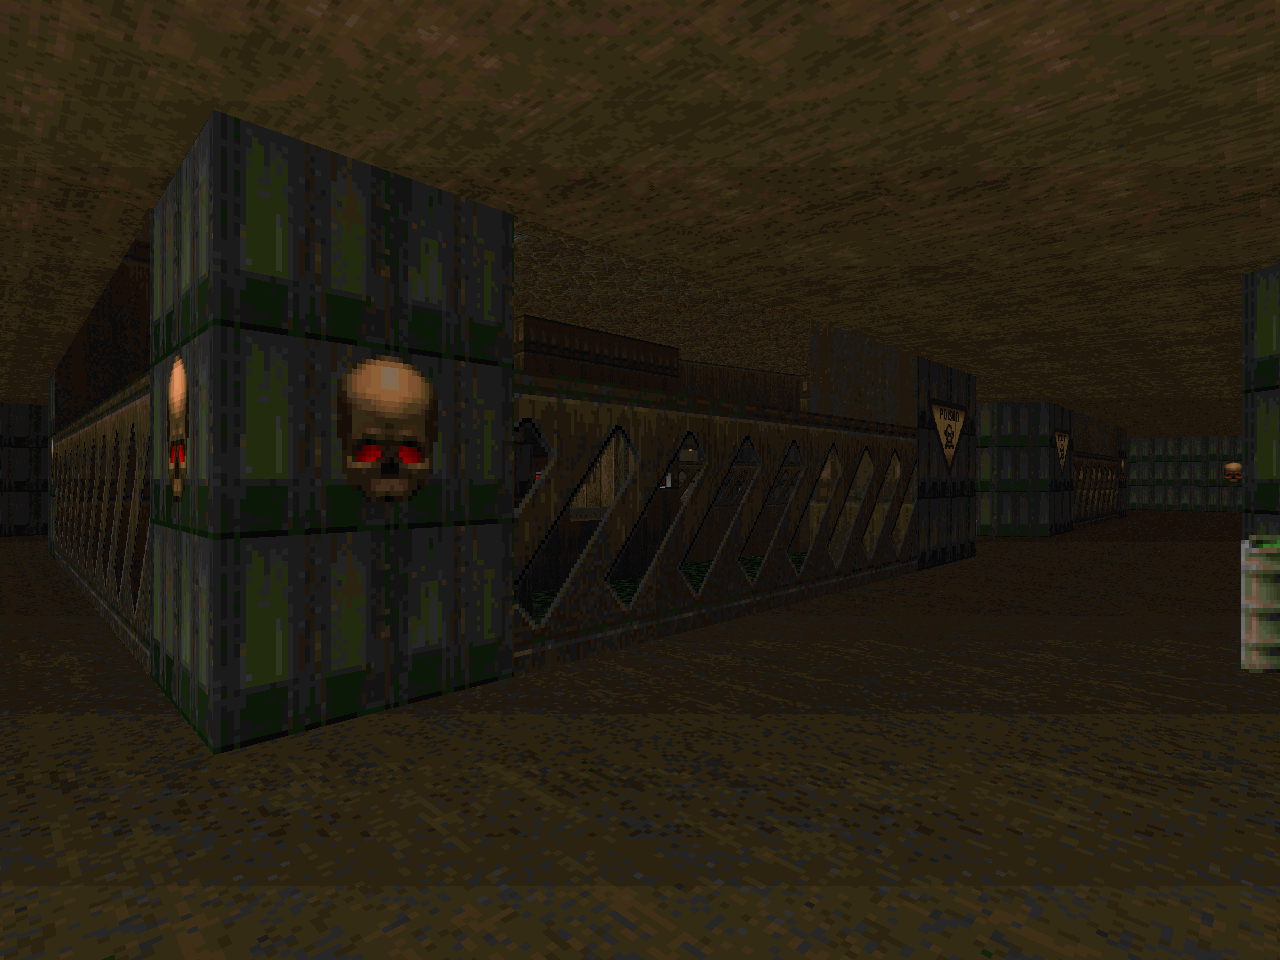 |
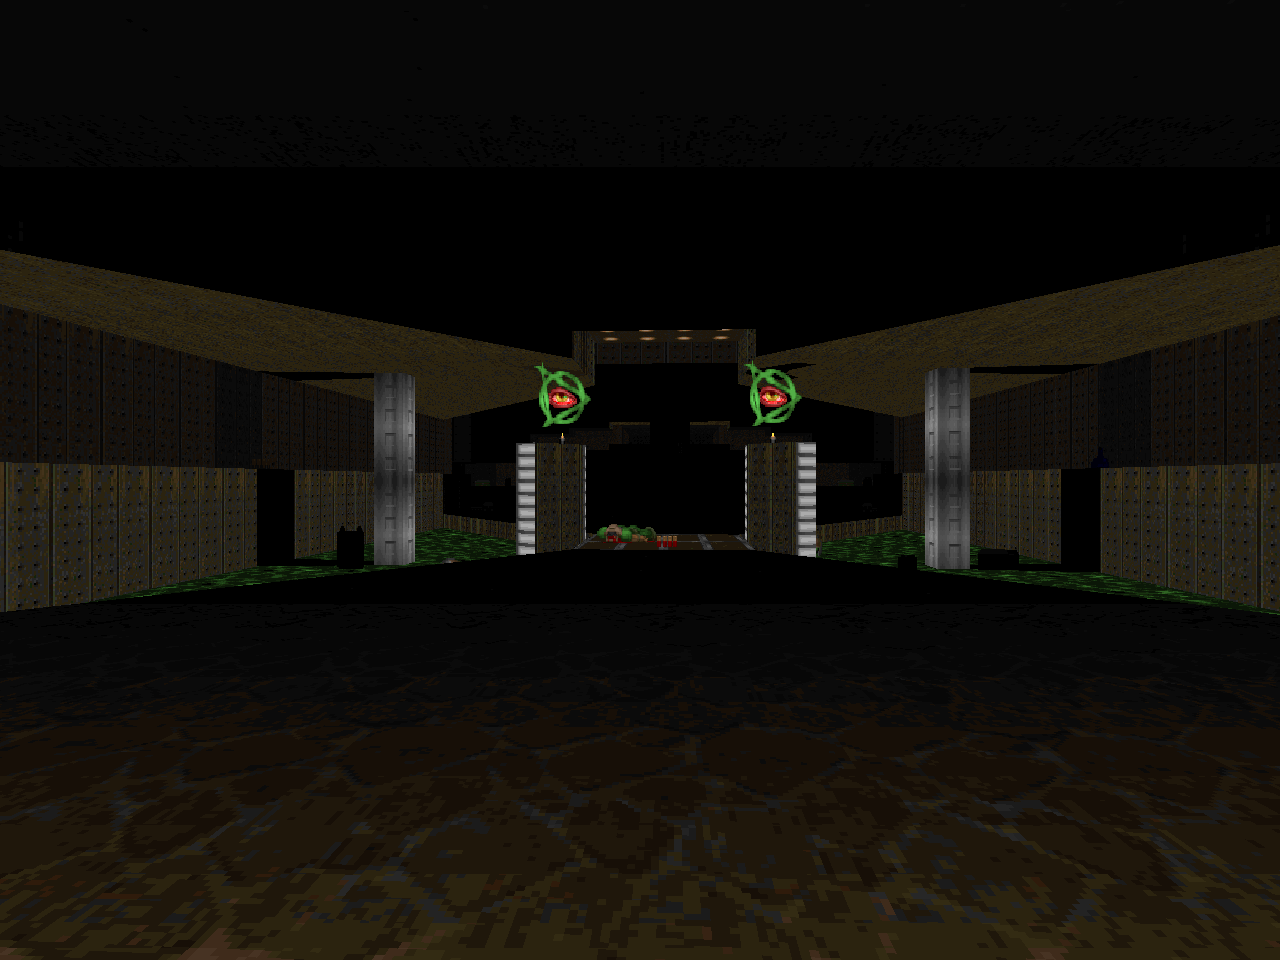
| MAP02 | Mayham |
|---|---|
 | Starts out in a mysterious diamond of corridors before moving on to a symmetric marble gauntlet. Howard barely plays with your expectations so there isn't a whole lot of interest involved in clearing the mirrored sides but it looks pretty cool and I dig the teleporter ambush in the channel yard prior to the yellow key door. By far my favorite moment was a surprise teleporter that took me to an infernal rendition of the starting area, just tighter and with a Cyberdemon. The skull and crossbones poison pool is DoomCute to the core. |
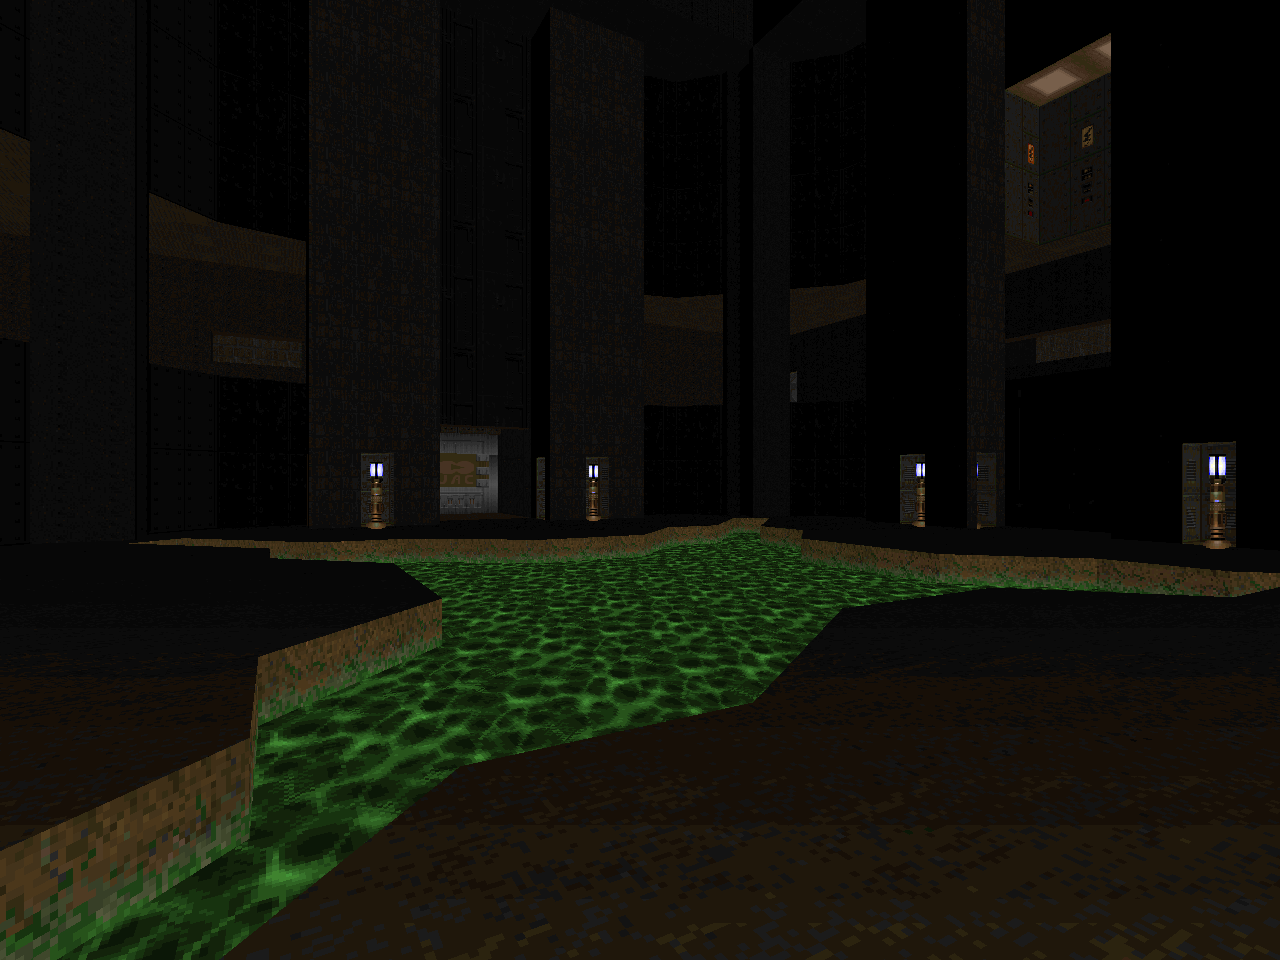
| Drop-Zone | MAP03 |
|---|---|
| This one is an immense sewer level and features too many large rooms to count as a labyrinth. And yet, the way you're intended to navigate it - dropping down to the next tier below - adds a similar level of complexity. There's a great big cheap shot lurking nearby one of the many soul spheres that you probably won't be prepared for but you don't have to fight him and can come back when you've equipped yourself better and opened up more maneuvering space. The corrupted annex to the east, with its heavy focus on demons, comes as a welcome change in scenery. It almost feels like a small hive. I also liked the scale and shape of the southwestern room, though I'm not sure about those teleporter cells. | 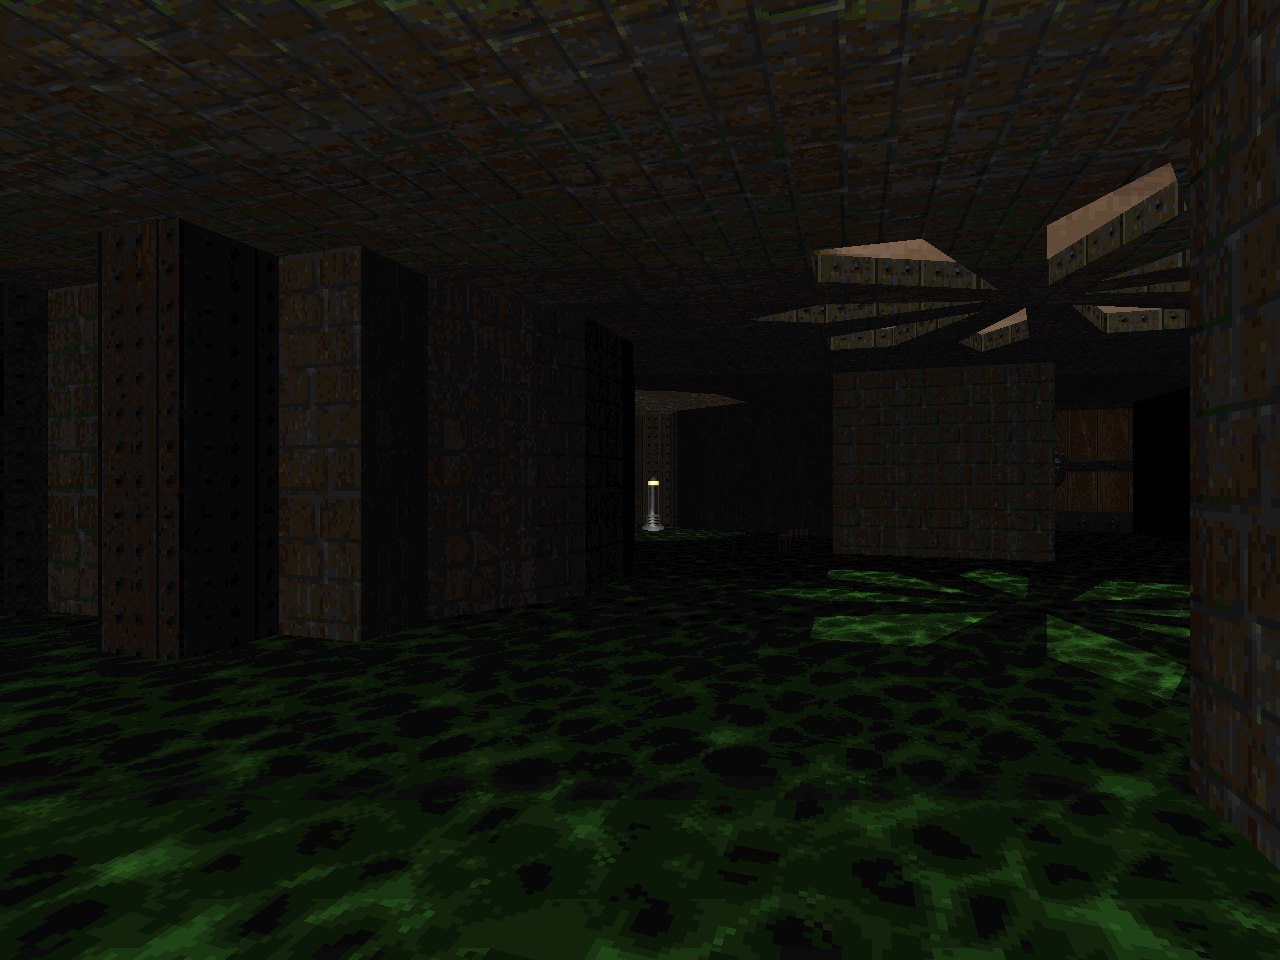 |
| MAP04 | Labyrinth |
|---|---|
 | This one is more of a puzzler in that the switch-fu is much closer together and also getting started is a bit of a bear since the trigger that opens up the first teleporter to one of the side areas is hidden on top of one of those lift-doors in the starting zone. The setting is full on metal and mortar and branches both east and west off opposed viewing galleries. The test is in unraveling the layout and discovering the keys. Favorite moment was the "J"-shaped catwalk with monsters packed into chambers on the outside looking in. |
| The Keep | MAP05 |
|---|---|
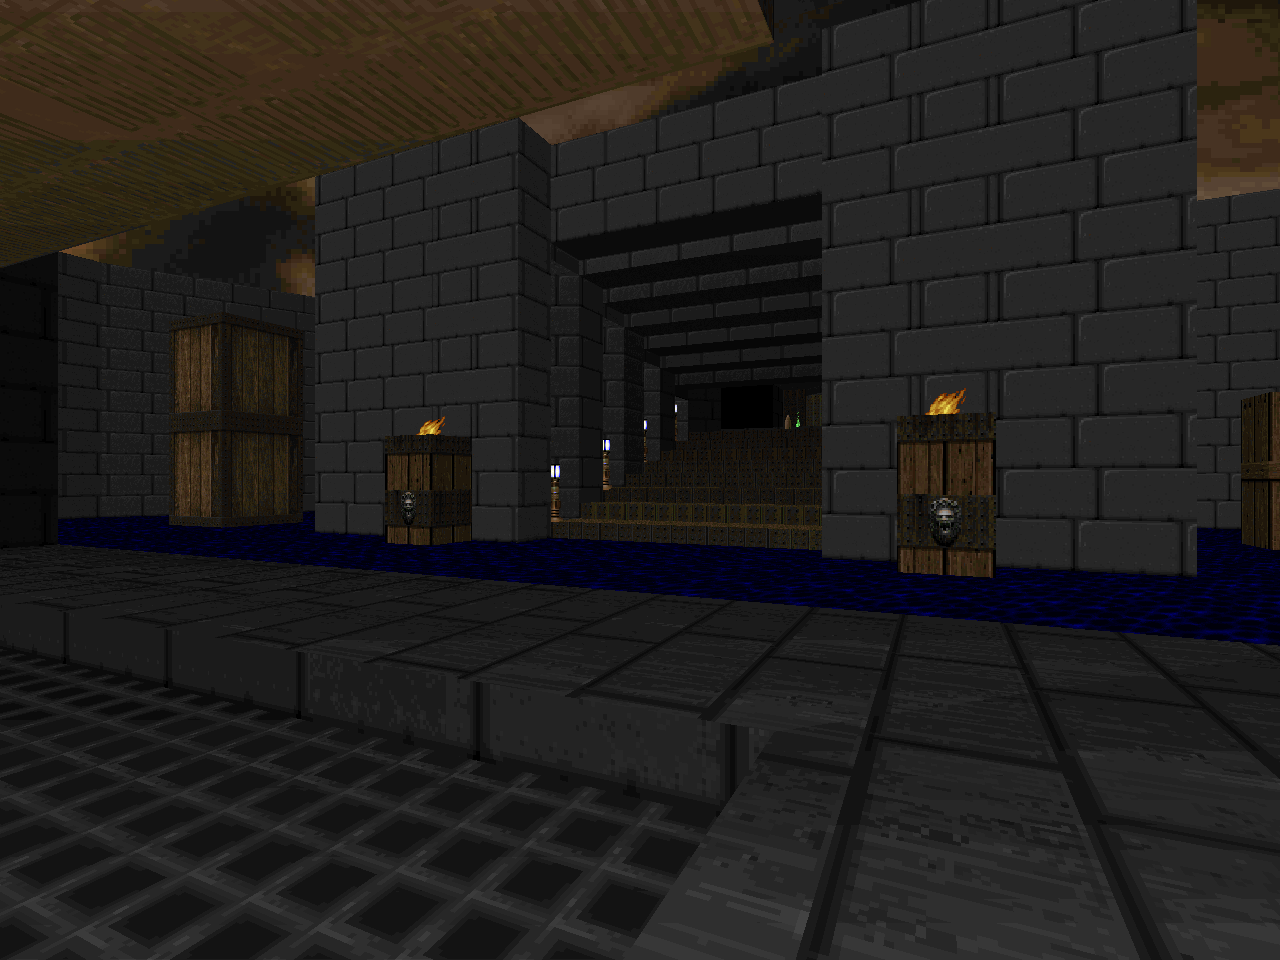
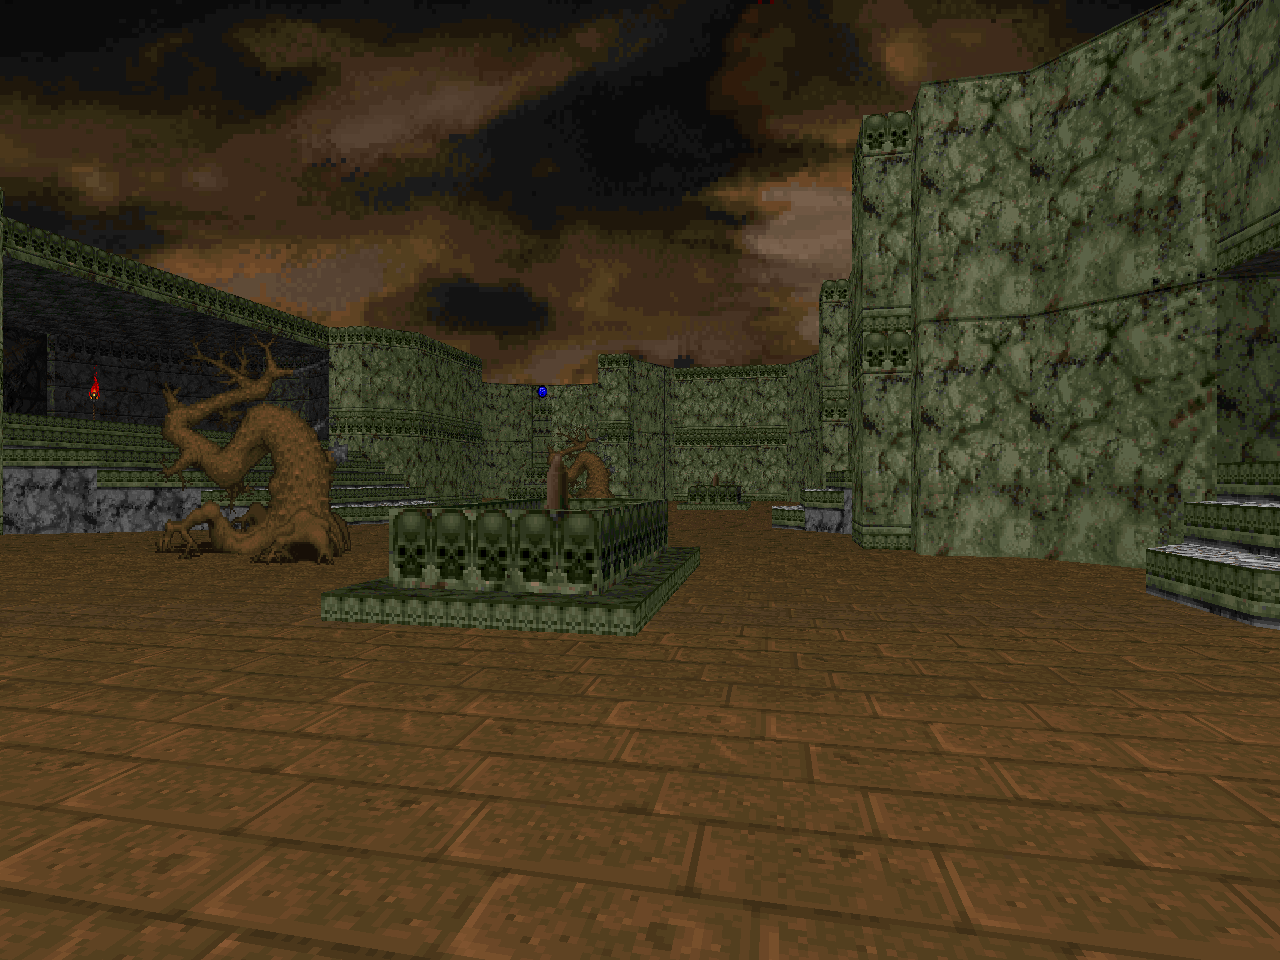
| There are two halves. The west, where you begin, is a little closer to the button-pushing you should be used to by now but Howard interestingly abandons the claustrophobic settings of his previous levels for more open areas. The east features the massive, titular construction which is protected by an inner wall. The outer has scattered zombies, but I'd be more concerned about the two guard towers and - eventually - a Cyberdemon on overwatch. I got stuck here for awhile just because I hadn't found the yellow key and there was a lot of potential ground to cover. Then I saw the barrel and all was well again. Hey, quit stealin' Jim Flynn's moves! If you don't get hung up on the progression this is really fun to play because of all the space you can move around in means that you can cut loose with the big guns while blasting apart stuff like the hidden armies in the fortress. The coolest part for me was the stairbuilder that significantly changes the geometry inside the keep. | 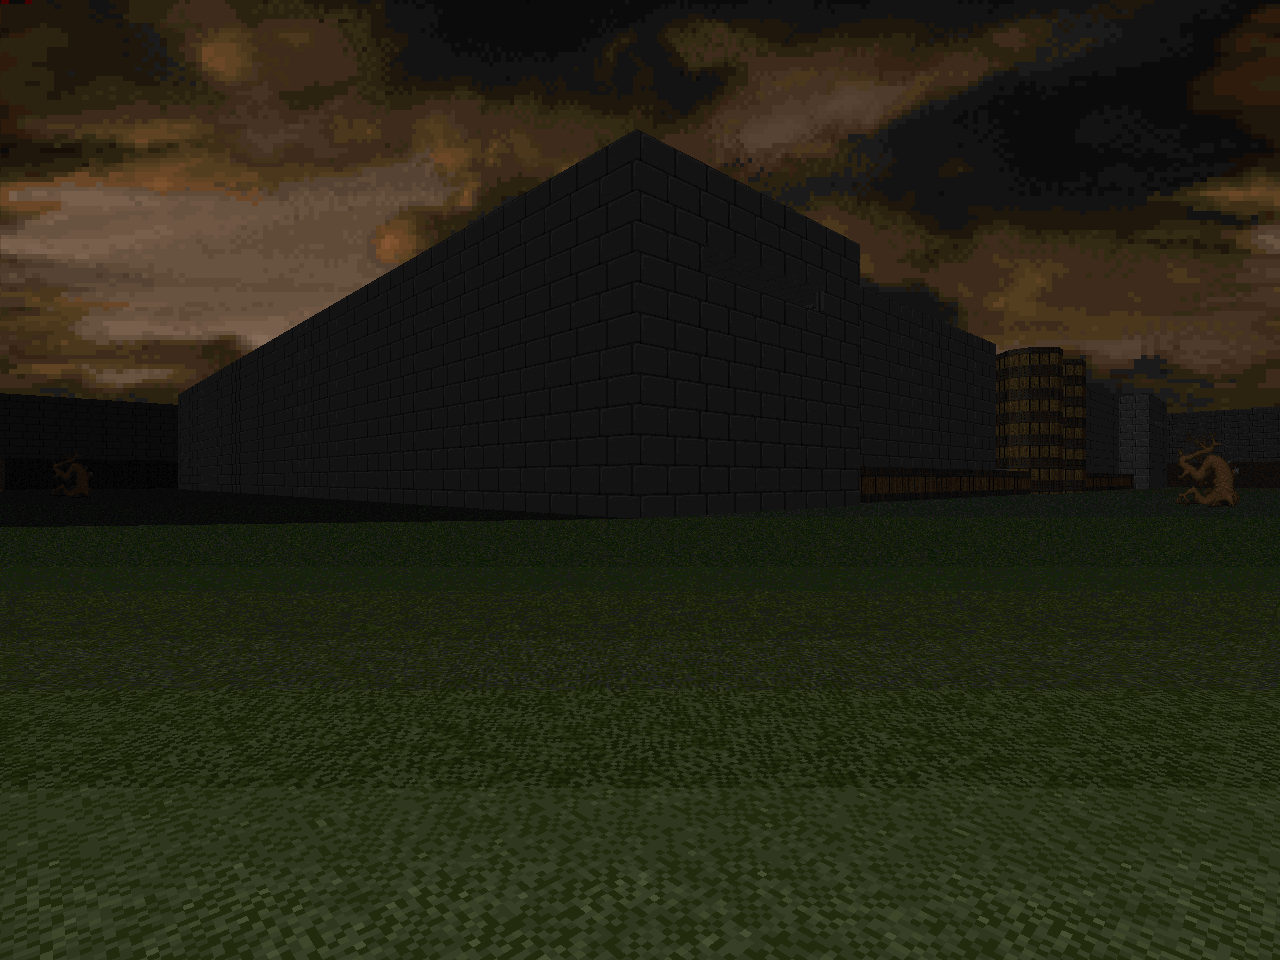 |
| MAP06 | Zero-Sum |
|---|---|
 | A tale of two worlds. It opens with some dark, hitscanner-infested sewers before exiting out into a massive open area that reminds me again of Flynn's work. The yard itself is entirely optional but it has some cool stuff. After moving around the perimeter via the fenced-in walkway you teleport into a massive puzzlebox with a few enemies lurking in nearly every segment. The core of its layout is kind of banal but there's just enough monster variation to keep it from feeling like a total snoozefest. The real meat is in picking apart the annexes located in the cardinal directions and seeing the way in which they unravel. The grid-64 lift corridors are a little cumbersome but I enjoy all the sector machinery. |
| Dead End | MAP07 |
|---|---|
| The big hook of the finale: all of the ammo and weapons you need are located in a relatively safe room south of the starting platform. It's easy to miss if you're prone to jump right into action though, like me, and getting back to it is less than straightforward. There are several teleporters through the map that dump you back to the beginning and one even puts you right inside. It looks as though there are a pair of staircases but I couldn't figure out how to raise them until I was doing my screenshot tour. If you don't find it (like I failed to) then the action starts off a little slow before gradually turning into a survival-style nightmare. My advice is: go south and get all of the good shit. Progression moves to the west and then the north for a neat, Hellish annex with a few dicey crossfires before returning and probing the eastern tech facility. Lots of switch-fu complicates the layout but the affects are generally confined to your immediate location. It's either a fun blastathon or a grueling nail-biter; take your pick. |  |
GET IN THE ZONE.
SEMI-AUTOMATIC ZONE!
The guy loves his symmetry.
ReplyDeleteI didn't really get that impression outside of MAP02.
DeleteI was on MAP02 at that point. A few maps later and I can tell that what he definitely loves more (than even fake walls) is soul spheres.
Delete