Back when I started playing
Doom again I had a bunch of review sites bookmarked with the express intent of finding obscure but memorable stuff on the larger end of the scale. One of these was
Geniac's Doom WAD Playlist. The descriptions aren't very thorough but they give you a brief picture. One of the interesting PWADs that I wasn't able to locate on the archive was
CASTHENG by "James XIII". Back when the entry was made it was logged as consisting of fourteen "tough scary castle levels". After I sent out a feeler in 2012 in the "Trying to Find a Specific WAD" thread on Doomworld, The Mad Butcher delivered and provided me with a copy. I was surprised to discover that
Castle of the Hengs had been further developed to the point of replacing MAP01-MAP30 of
Doom II.
Since then I've discovered the full name of the author - Andrew James Brehm - and other information from an ancient BBS discussion including old hands like Adam Williamson, Eric Roberts, and Ty Halderman. The actual topic was BTCHN97 but James appeared to be partially using it to hock "Castle Heng Junior", "Junior II", and "Metal Moon". There's no concrete proof but I suspect that CASTHENG as it exists is actually an amalgam of all three releases with the last one becoming the middle episode. That's better aligned with the fortress / space station / another fortress! theme, anyway. I can't provide an accurate release date but by my estimation, it was finished some time before 2012. Geniac played the 14-level copy in 1998 at the latest and '12 was the year when the author provided it (unzipped) to TMB so in the absence of further clarifying information it's all I have to go on.
There is no explicit story but the author goes out of his way to join the ending of each level with the beginning of the next. In this respect the megaWAD thus tells a contiguous narrative of action but the only context given by the author is the title - Castle of the Hengs - and a parenthetical statement that describes a Heng as "(a difficult-to-beat Cyberdemon)". The .TXT accompanying the PWAD identifies a total of six of them with many more "regular" Cybs appearing throughout the whole set. My own parsing of the implied story includes an assault on an Earth-bound fortress controlled by a Heng; locating the enemy's starport and subsequently traveling through space to a station orbiting their planet of origin; and then eliminating the rest of the warlords on their own turf.
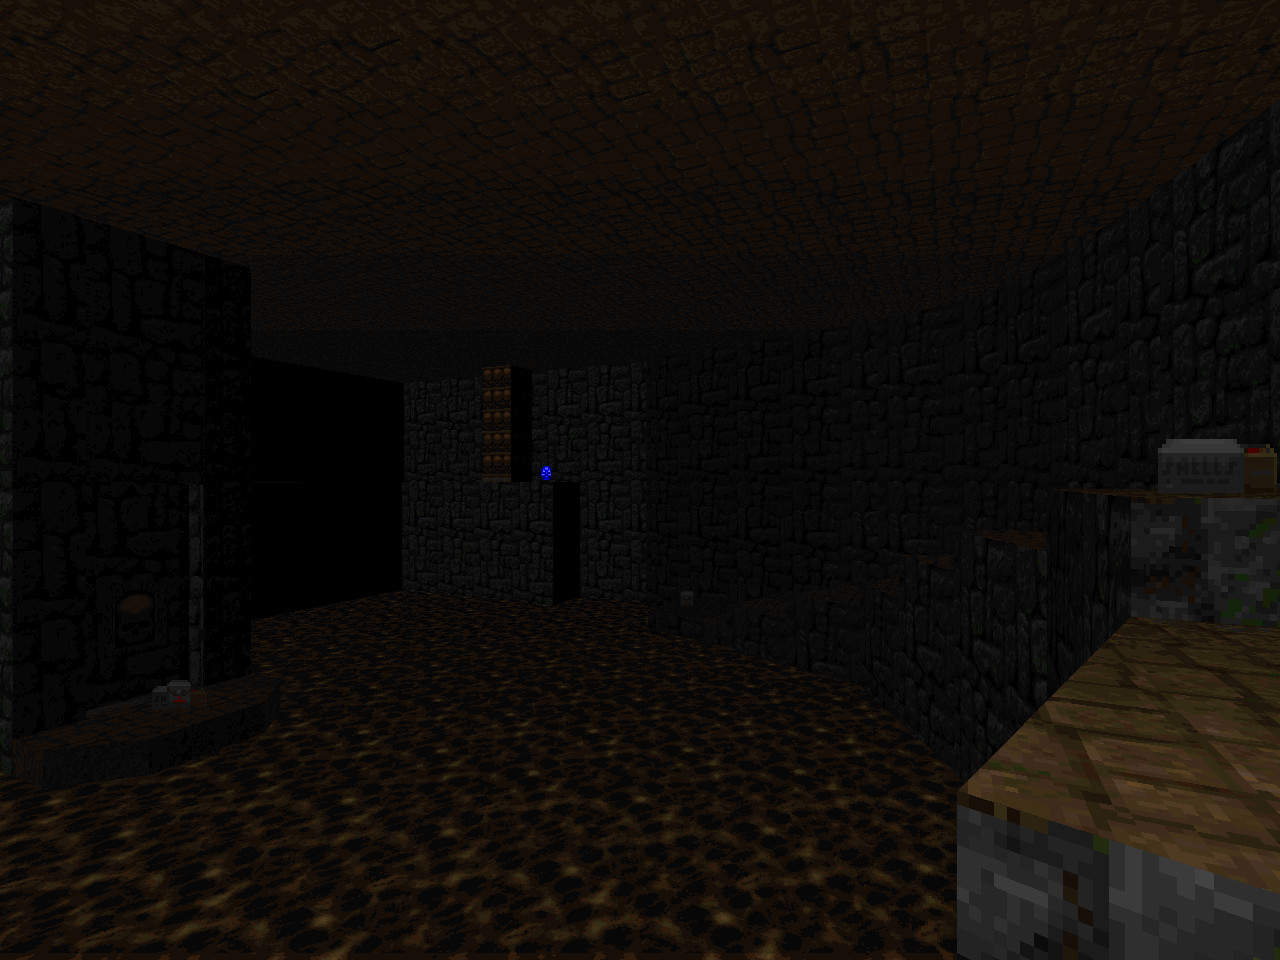
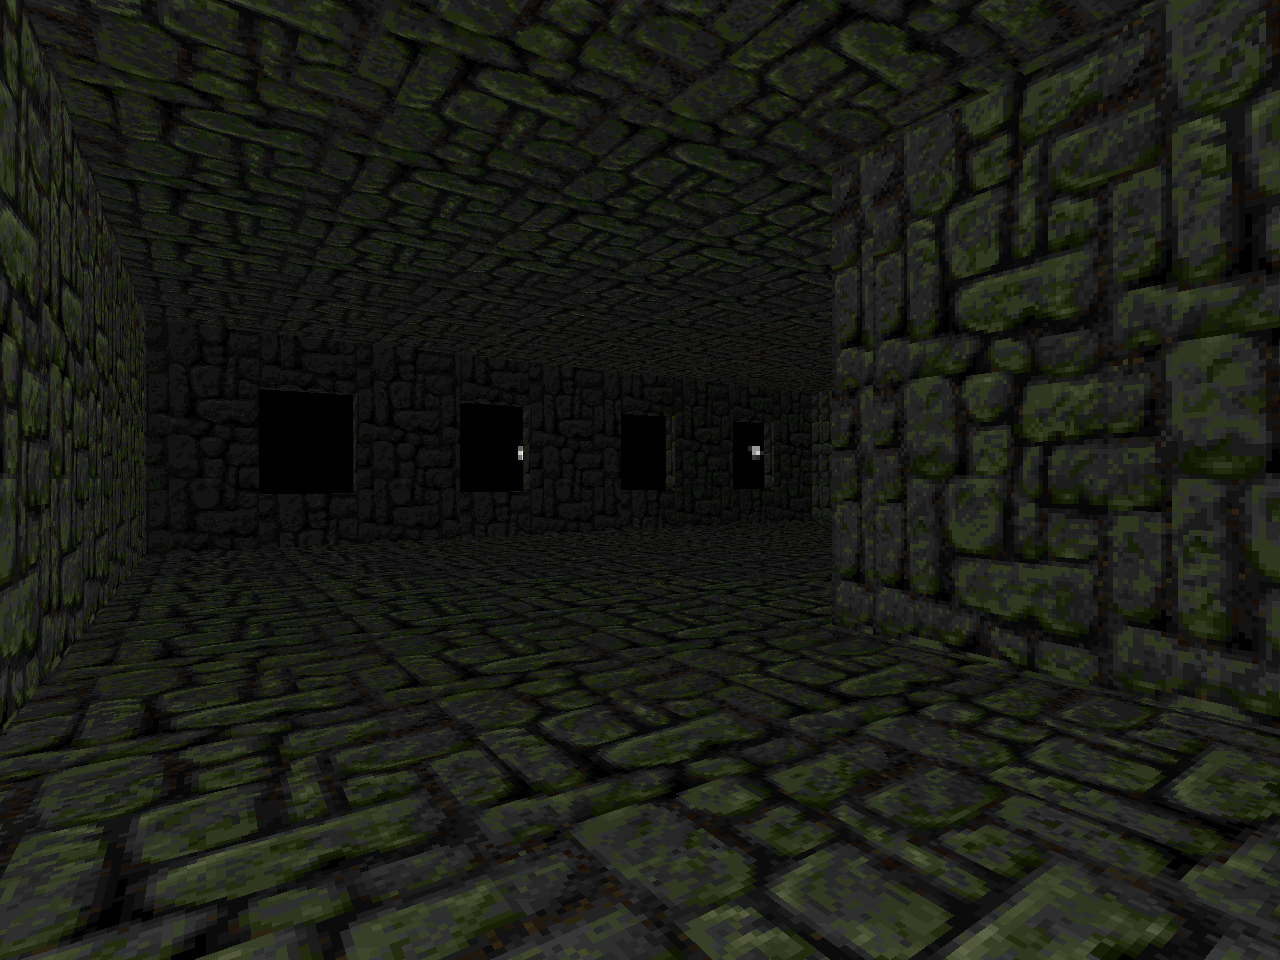
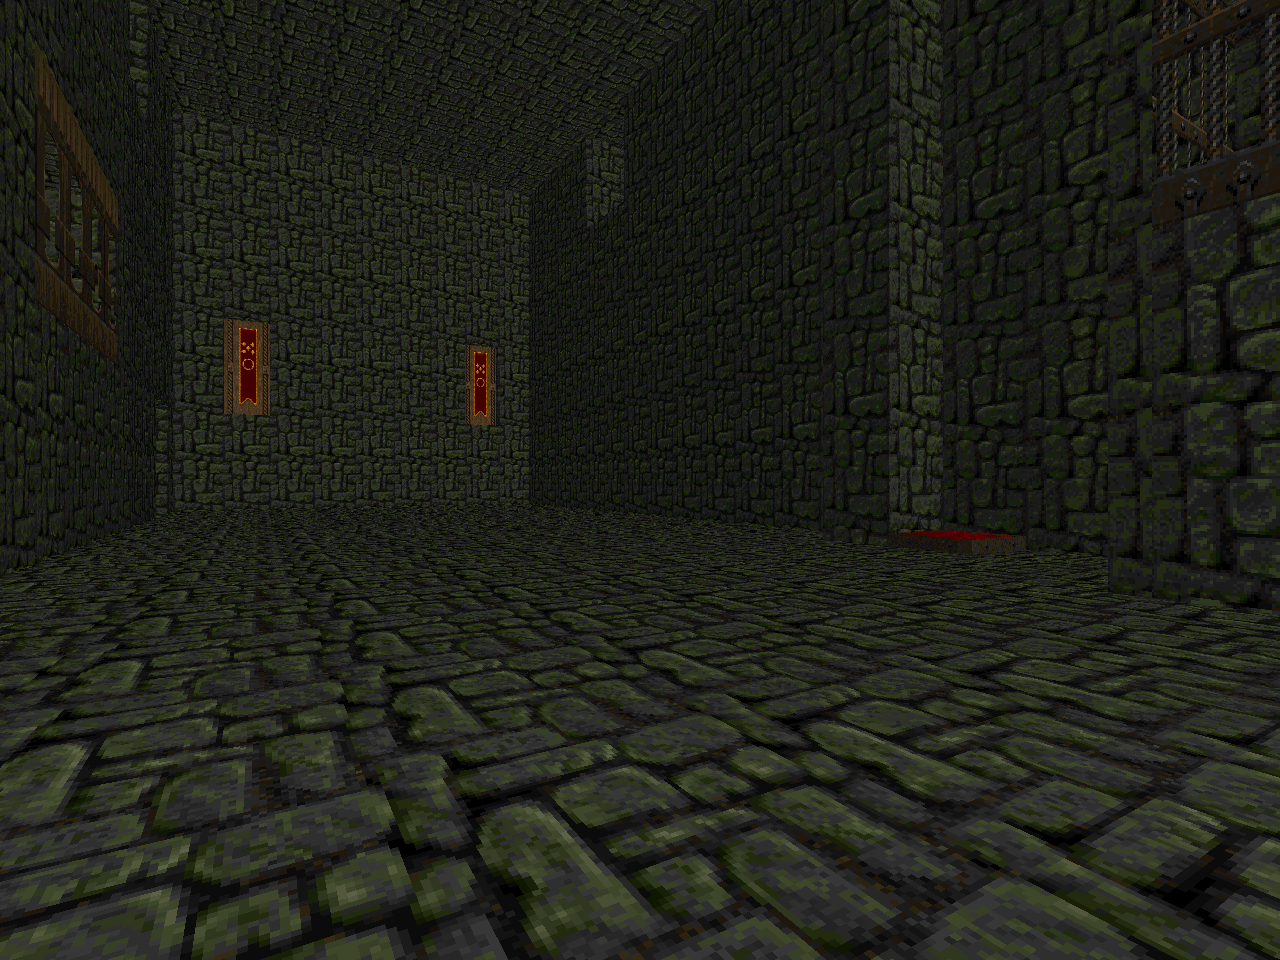
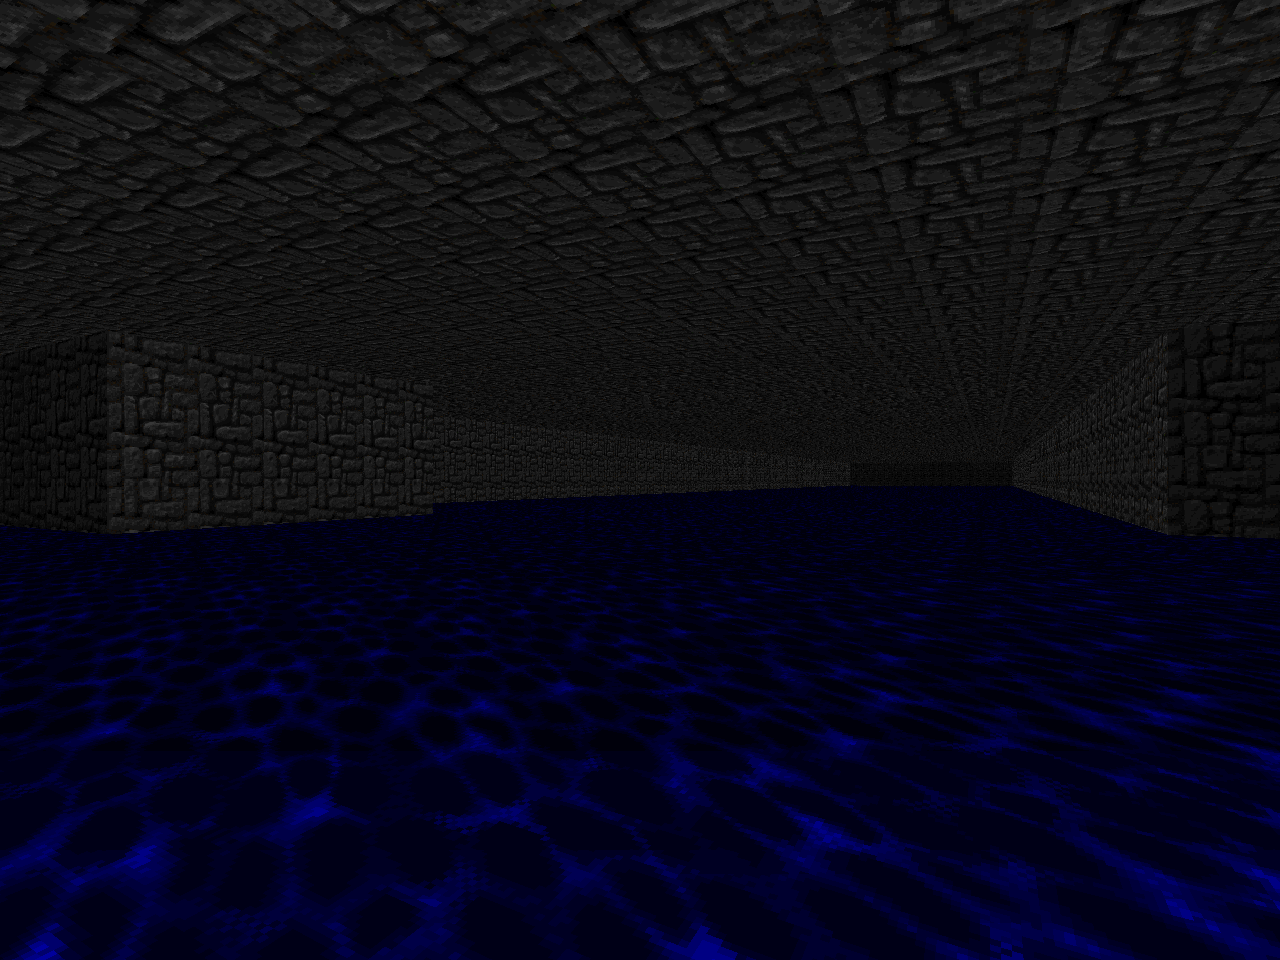
It may sound like Doom high adventure to you but reality is far more mundane. These are thirty of the plainest, shortest levels that I've ever played insofar as they're overwhelmingly rectilinear and composed mainly of either wide, open spaces or long, featureless corridors. They're not horrible or bad but they are so utilitarian in nature that a row of computer panels has the air of unchecked excess in the spartan settings. It may be easier to remember maps by their featuring DoomCute props. An obligatory sector toilet, for instance; spaceships hanging in the sky; or elevators that feel like they take minutes to travel.
The resulting level design is simple but not necessarily intuitive. James's layouts are slowly revealed as you wander around and new hallways open up with every button press and key grab. You may have to walk a long way before figuring out where the latest aperture is. Some of the points are more sneaky than the average mapset, like hiding the key behind an unneeded medikit or requiring you to step into a corner previously occupied by a monster. The area you have to explore is fairly small for each map so you're usually just mildly confused rather than hopelessly lost for time
Eternal.

The author does try his hand at some "advanced" mapping tricks which might seem even weirder given the relative simplicity of the rest of the set. Many of them do not appear until quite late, however, like the deep water effect. Other design oddities include faked room over room, done simply by way of teleporters in some cases or more interestingly through linedef actions to create entirely new rooms out of old spaces like in MAP24 and MAP25. One of the weirder features occurs in the megaWAD's final moments and as far as I can tell is meant to portray you as riding powerful air currents delivered through vents in the floor, sailing you up so that you can float your way over to the room with the final boss. It has the same sort of clumsy execution seen in other places where the vision of the author exceeds the immediate capabilities of the engine as is the case with
Herian.
The true meat of the experience is actually in its encounters. Many of them revolve around Cyberdemons who being both numerous and belligerent are truly the stars, Heng or not. There is no inherent difference between a Cyb or its titular twin and CASTHENG includes no modifications. The antagonists are hard to kill because of the way their encounters are set up which involves little if any outside interference. The first of these such showdowns is the most interesting to me because "touching" three of the room's walls results in your immediate death. While you can soak a single direct rocket hit at max armor and health, the applied motive force could push you to your death.
One of my favorite setups isn't named as a Heng encounter but it's still pretty cool because of the shape of your "safe" dodging space (i.e. non-damage floor). The rest, barring the obnoxious levitating Cyberdemon of MAP17 and his cadre of deeply entrenched rocket turrets, are setups that remind me of
Eternal Doom's "Woodhouse" or "Dementia" from
2002:ADO. You initially encounter the Heng while you're outgunned and sort of have to maneuver around it, after which it teleports away only to be encountered several times later until you're adequately equipped to dispatch the fiend. It's a pretty cool way to design encounters though nowadays the Cyberdemon BFG bump can do a lot to disarm these cinematic showdowns.
If you've got lead feet and suck at dodging rockets, though, then you're going to have a bad time. CASTHENG includes numerous instances of monster closets opening up to reveal big guys up close and personal, chasing you down hallways and serving as rocket-spewing turrets and just being jerks in general. Your personal acid test will come at MAP06 where the first of these situations is truly forced upon you. Like what you see? Then play on! Otherwise, prepare yourself for interstitial frustration as you start to remember how you felt back when Cyberdemons were actually scary or, at the very least, threatening.
It's commendable if for nothing else than the way in which it embraces the otherworldly kinetics of
Doom - particularly the disorienting teleportation feature - and integrates it into the megaWAD's combat stylings, almost as if the ability of monsters to blink away to other locations was a feature of the game. As opposed to, you know, yet another monster delivery vector for the author to cram more meat in with the player. That's generally how it's used in PWADs apart from the occasional arch-vile or Cyberdemon whack-a-mole, I imagine because an enemy "running away" is seen as being annoying for the player as opposed to anything else. If you're interested in seeing other examples of zwee-fighting in
Doom then I heartily recommend Sverre Kvernmo's
Black Tower.
CASTHENG won't win any aesthetic appeals and its action will likely run counter to the expectation of a typical Doom player but it's an easy recommendation for those folks who enjoy the weirder results of PWADcraft, especially circa 1994-1995. It's also pretty easy to get into since every level can be completed from pistol start with the overall gameplay being just about as awkward. You might even be drawn in by the way in which James ties all of the levels together. Go on; you know you want to do it. Load it up and see how hard it is to bag a couple of Hengs.

CASTLE OF THE HENGS
by Andrew James Brehm aka "James XIII"
| MAP01 |
|---|
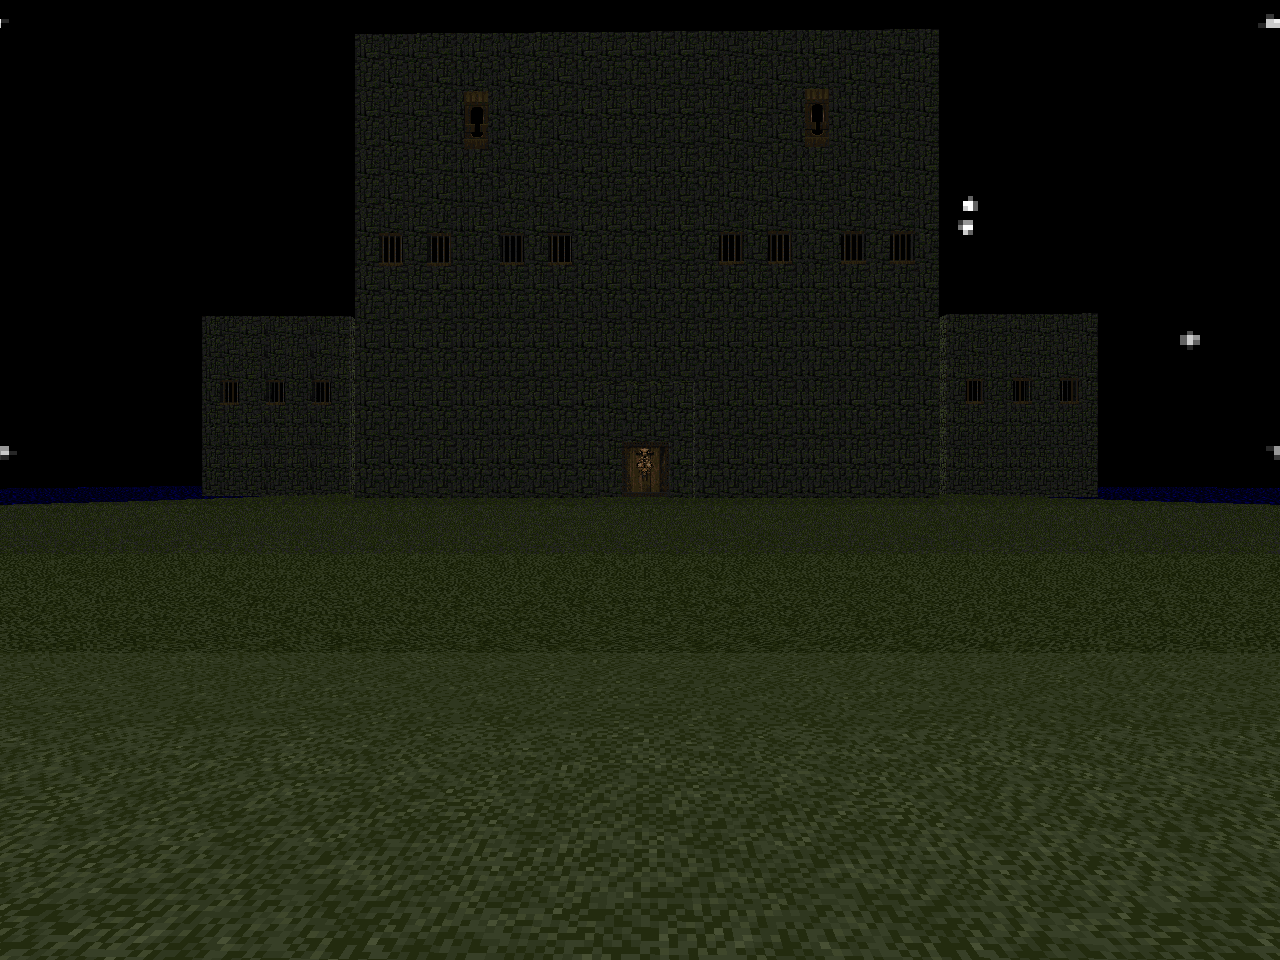
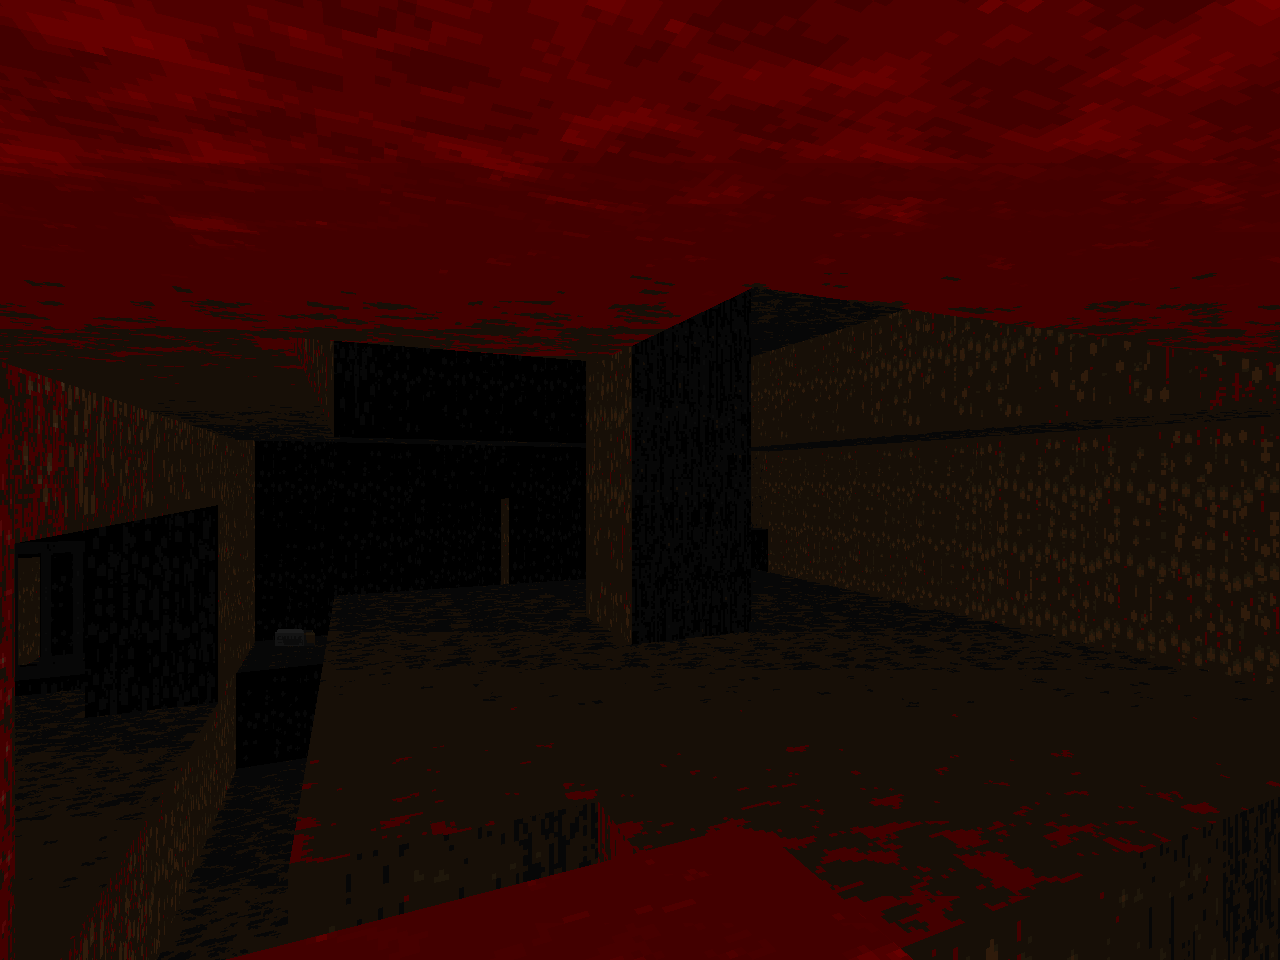
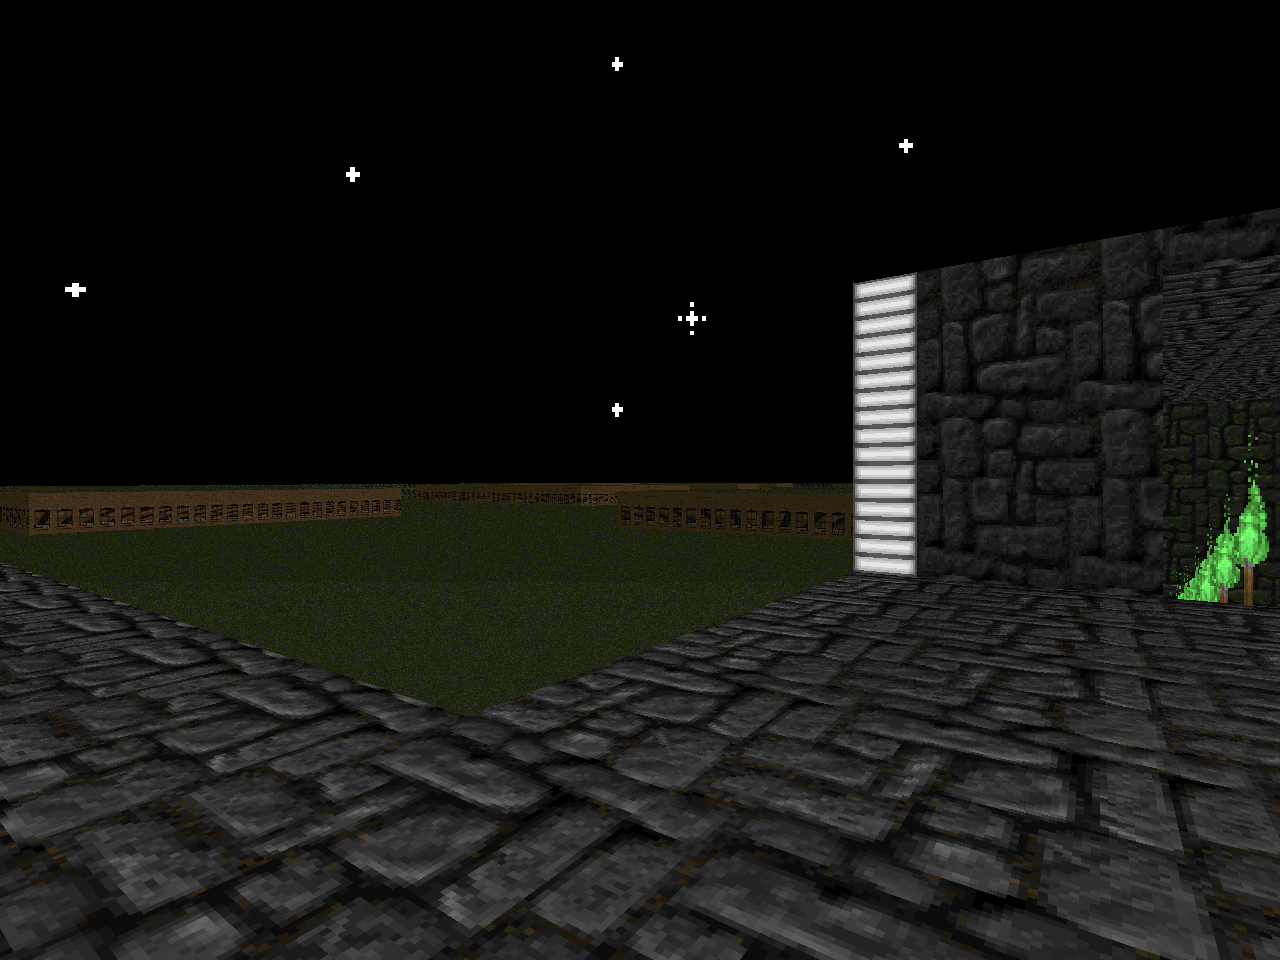
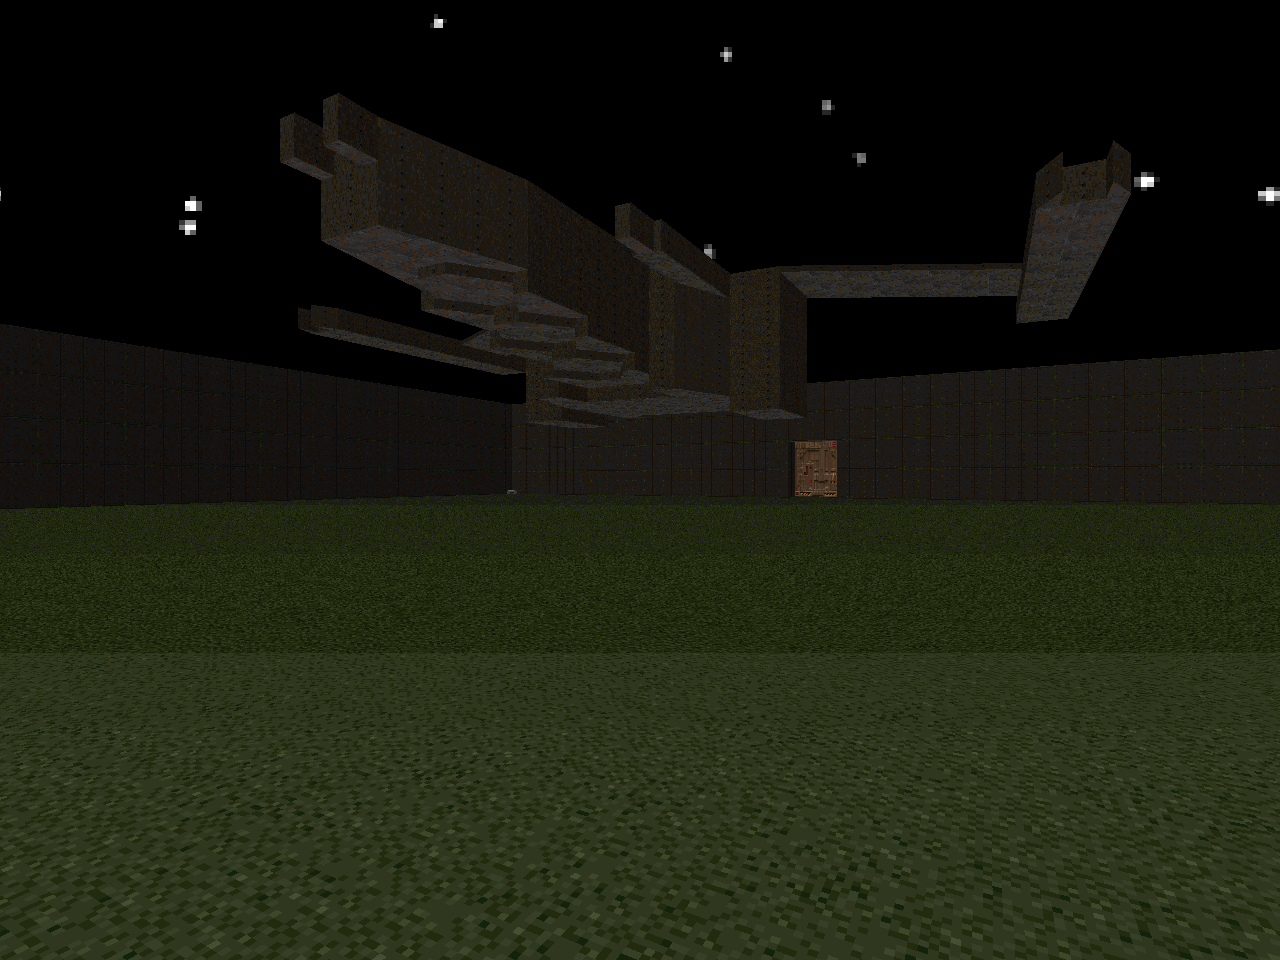
| Your intro to the castle. It's a very short level and the entry area has an underwhelming layout but the author uses keylocked doors to guide flow which works out okay and shows off a few neat effects. The lightcasting in the eastern side is a traditional effect but you also get the curious staircase clogged by green goo for something more imaginative. The action is mostly a shotgun grind versus several Barons and Hell knights plus an early arch-vile who comes as a nice wake-up call. I dunno what's up with the silver stair chamber opposing the flesh field goal but it's deliciously lo-fi. | 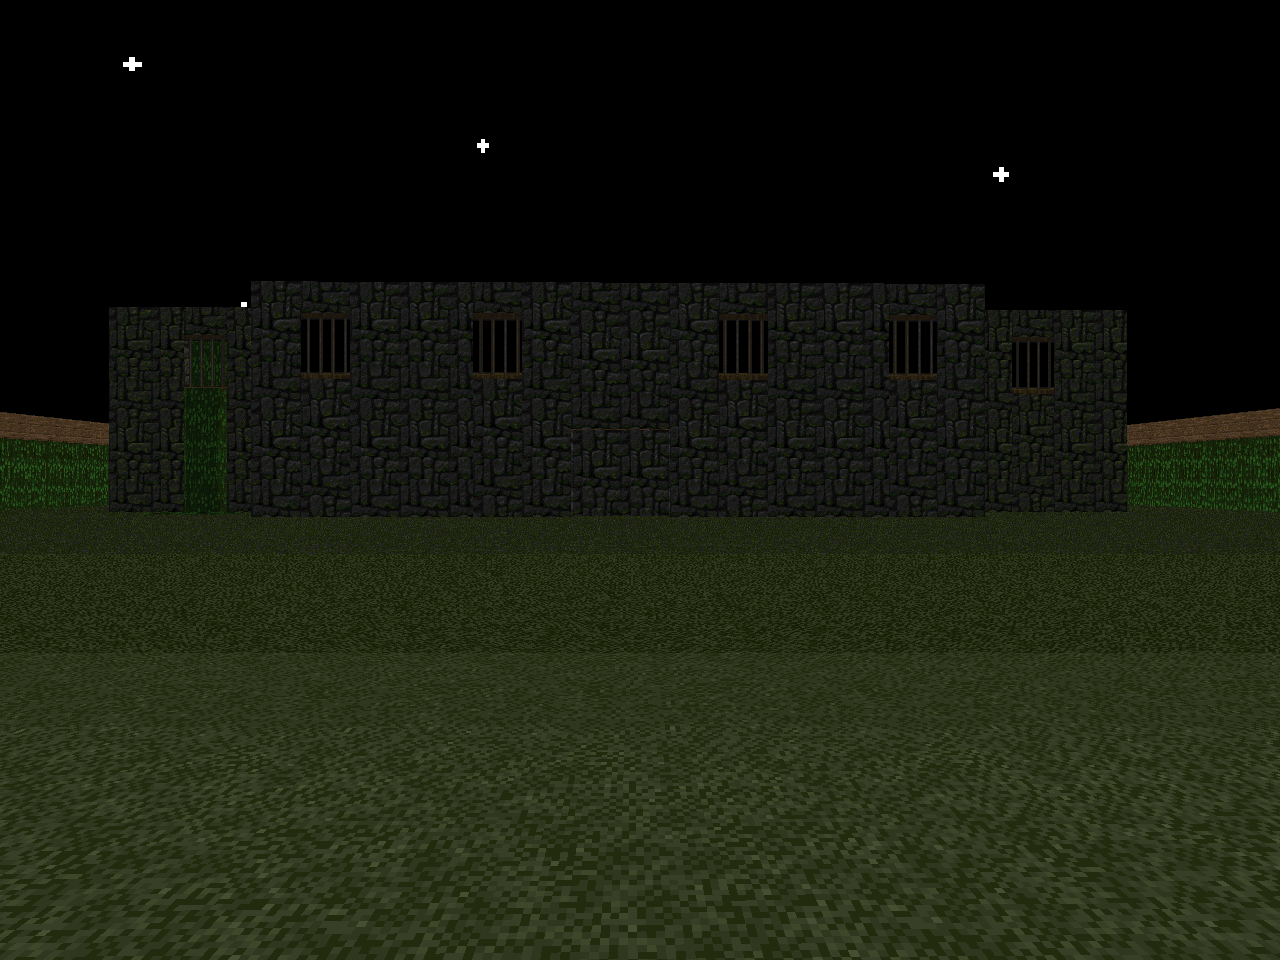 |
| MAP02 |
|---|
 | You're at the structure glimpsed from the first level which is a pretty cool touch. It's a small courtyard where the main threat is between two arachnotrons but you don't have to necessarily kill them just yet. The fortress interior is serviceable but my favorite parts are those enormous gore pillars. This level has a Cyberdemon gate guardian but he is no Heng since he is easily shelled to death from his immobile position. |
| MAP03 |
|---|
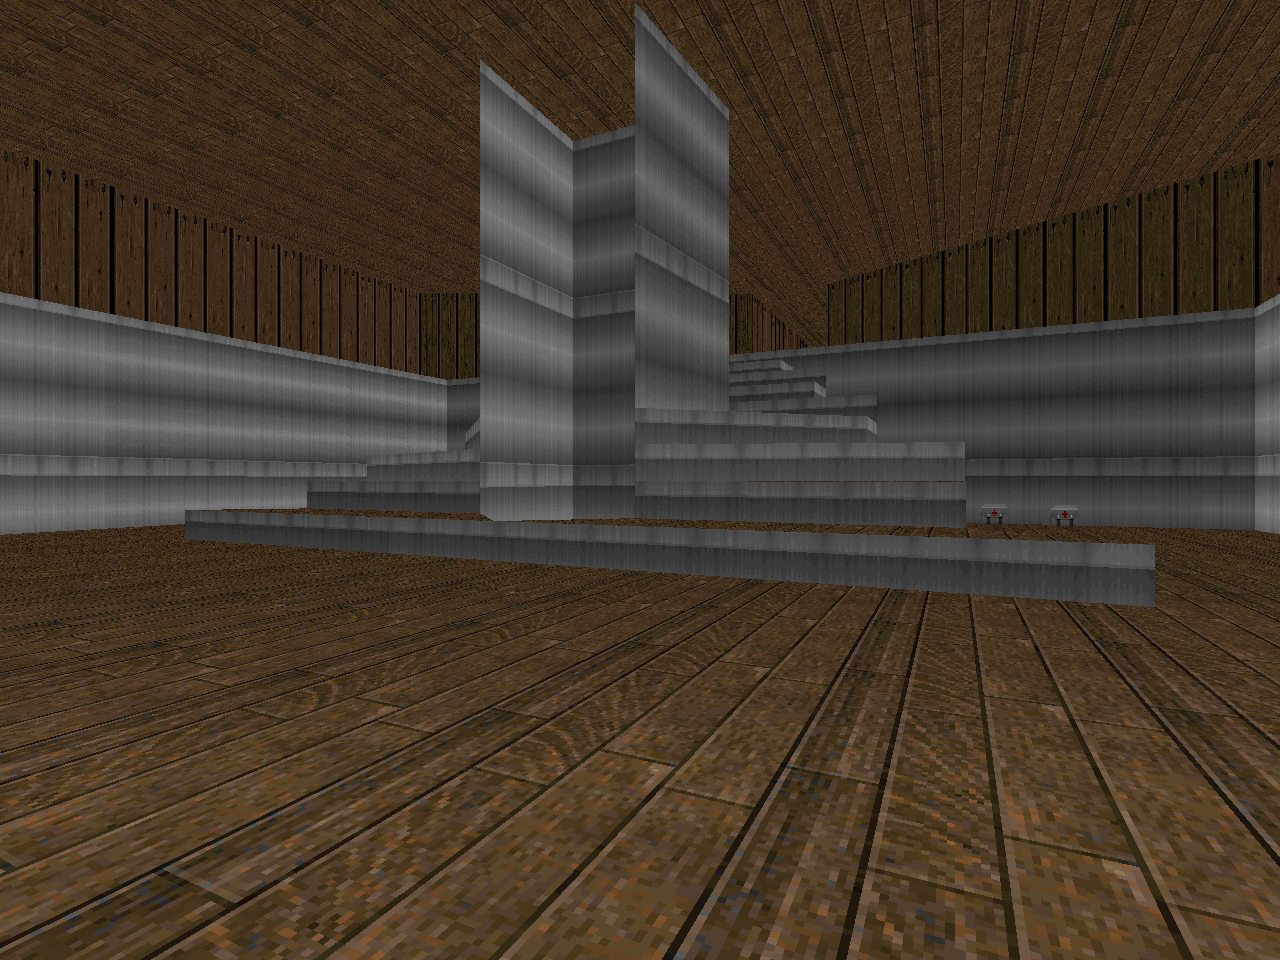
| A tricky dungeon level with an enormous rectilinear spiral staircase. The geometry is plain as Hell. The meat is in the annoying encounter design. Invul spheres turn most of the encounters into exercises in tedium. A Cyberdemon holds the yellow key and while it isn't tough to circle-strafe him sans powerups I appreciate that the author has created a semi-secret outer bunker / hallway if you'd like more cover. The best aspects of this level are in the cute little blood fountain at the beginning and the panic-inducing two-front melee on your way back down. There's a Spiderdemon ambush toward the end but you are given no plasma gun for all the cell ammo strewn about. If you want to kill it then you'll have to cross your fingers and hope that your telefrag sings true. | 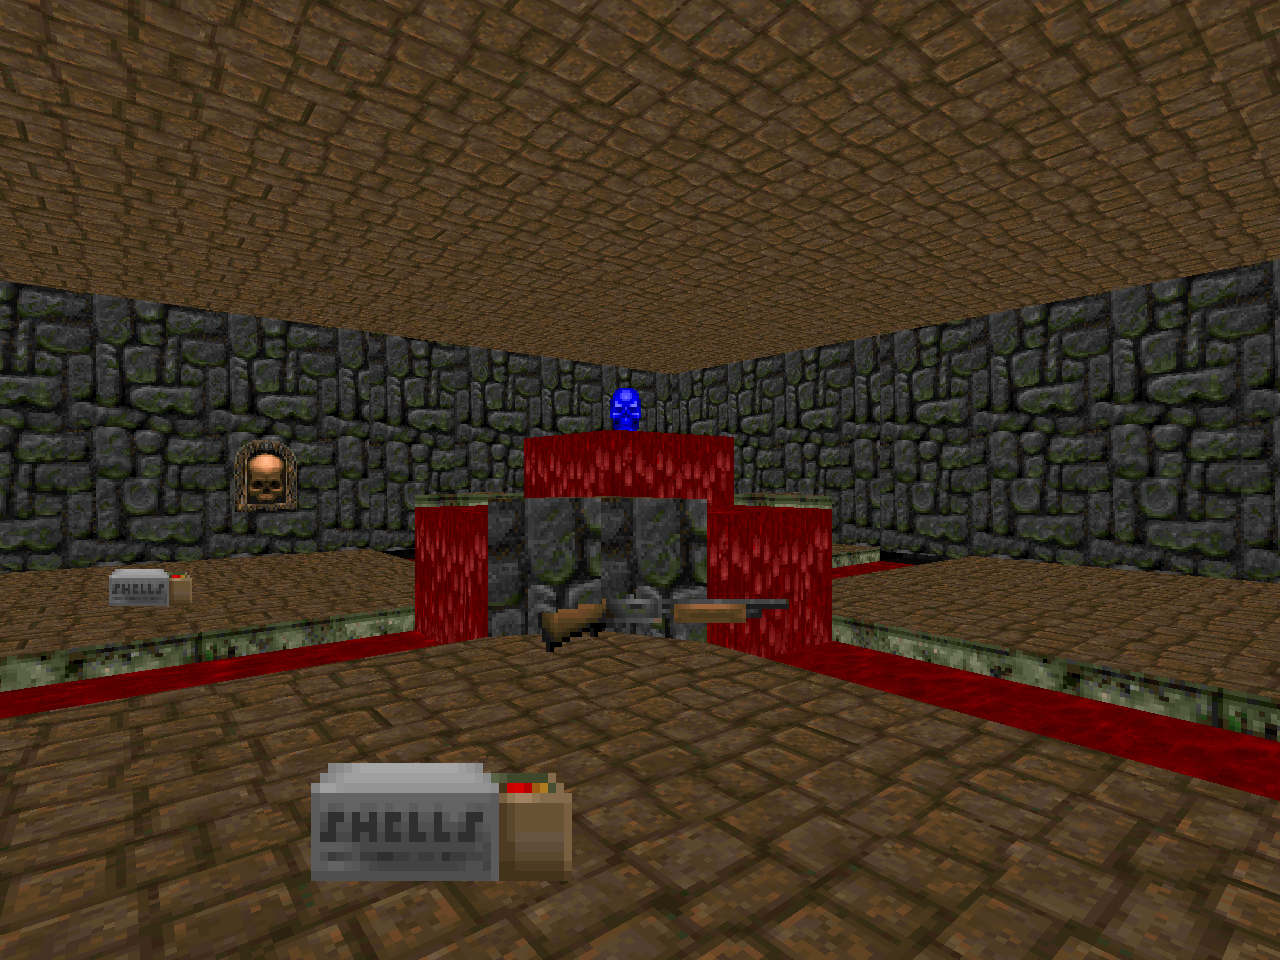 |
| MAP04 |
|---|
 | A big ol' blood pit, the starting area, is the coolest section of the map. The other eight rooms comprise the rest of a 3 x 3 grid of identically-sized square chambers, each just as flat as the last. On the plus side, you get a boat load of ammo. The secrets seem rough to find but they're definitely not essential. |
| MAP05 |
|---|
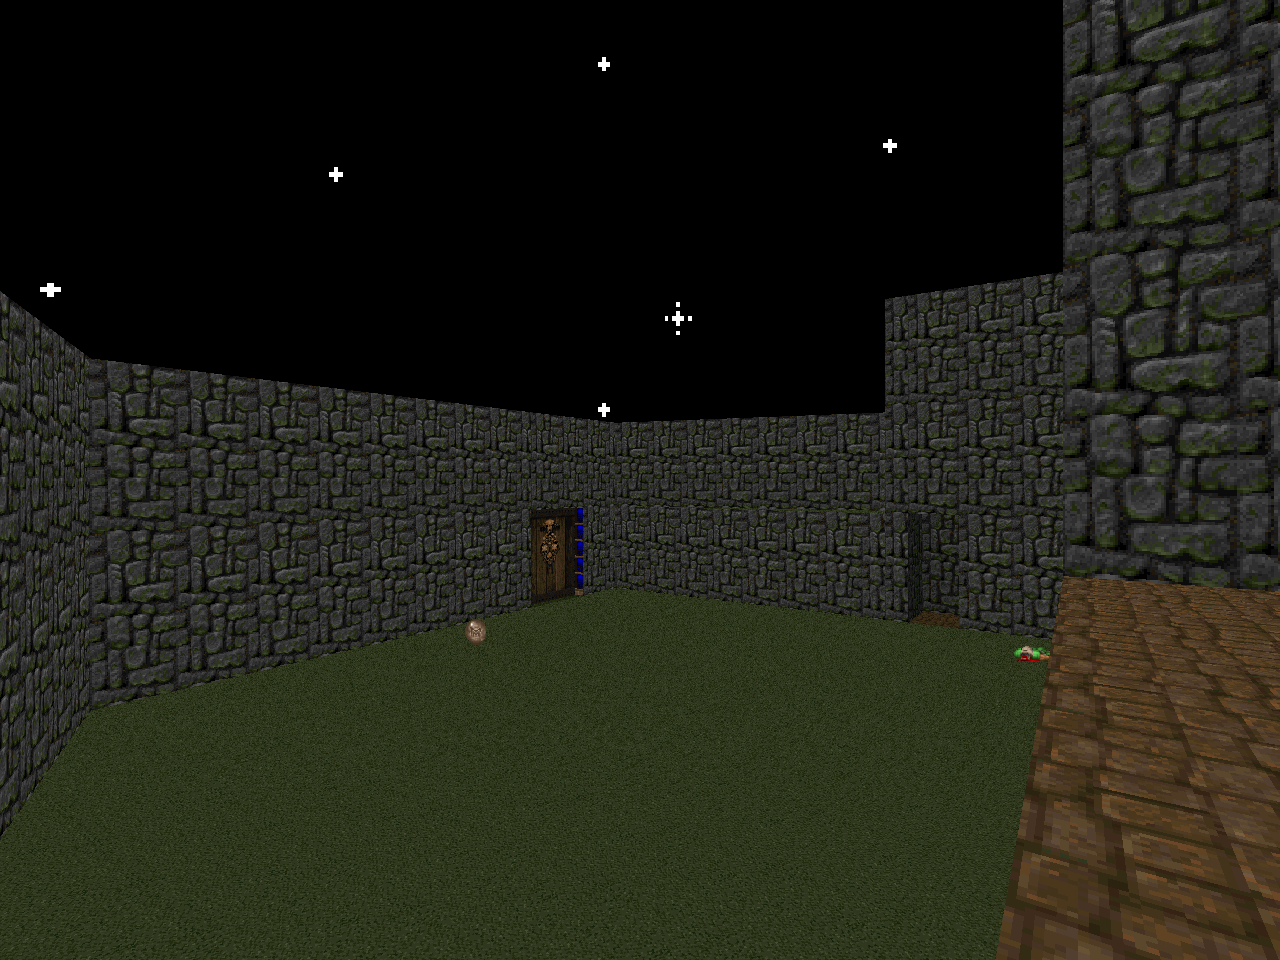
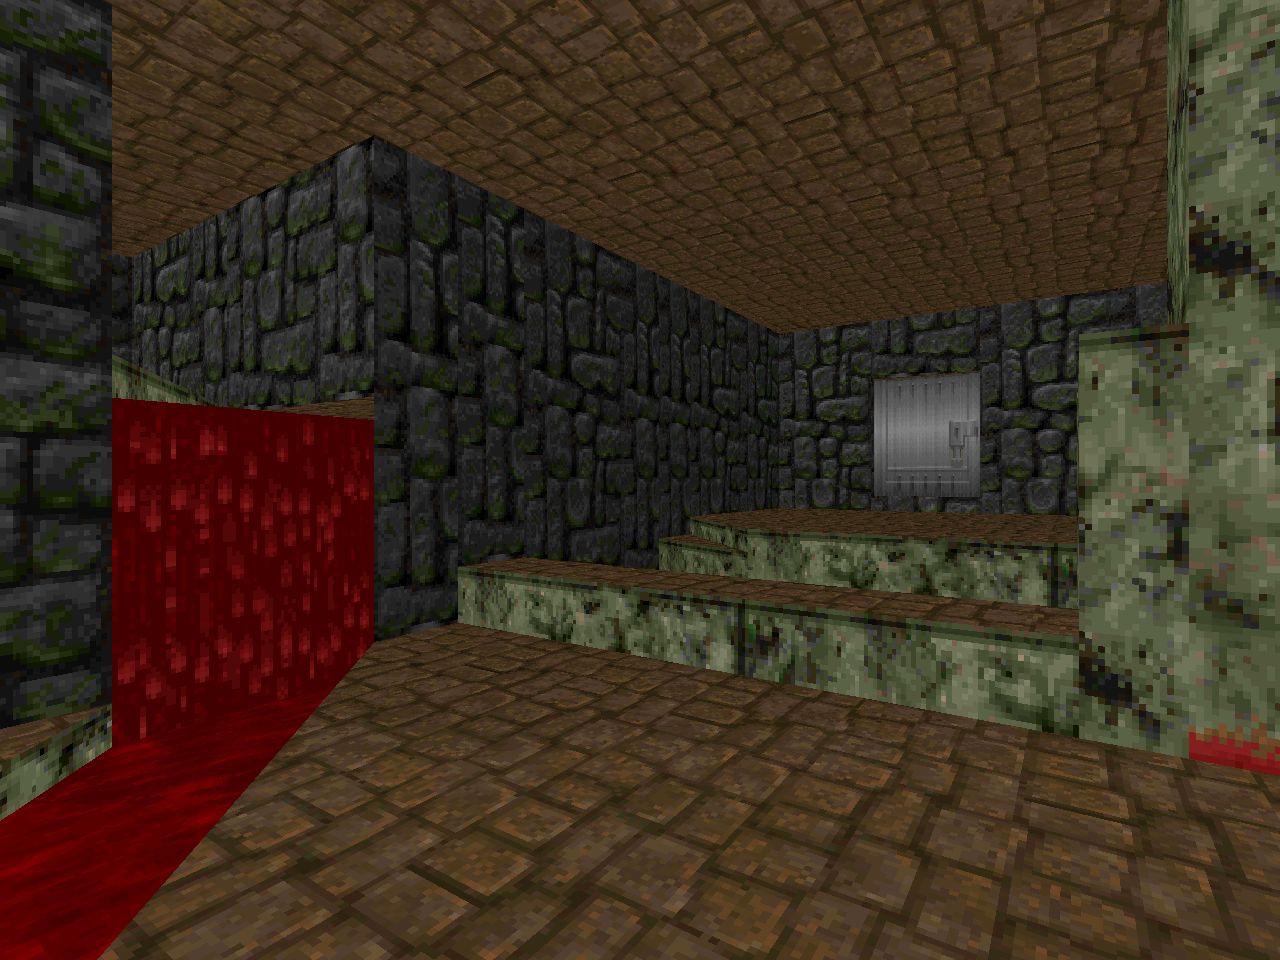
| An atmospheric, ominous trek through a more purposeful section of the castle grounds. The architecture in the building to the north is fairly interesting compared to most of the stuff seen so far and the little library in the northwestern annex is a cute touch. Progression is adventure game exploration style. The required brainpower is pretty low apart from one thing that sticks out in my mind. | 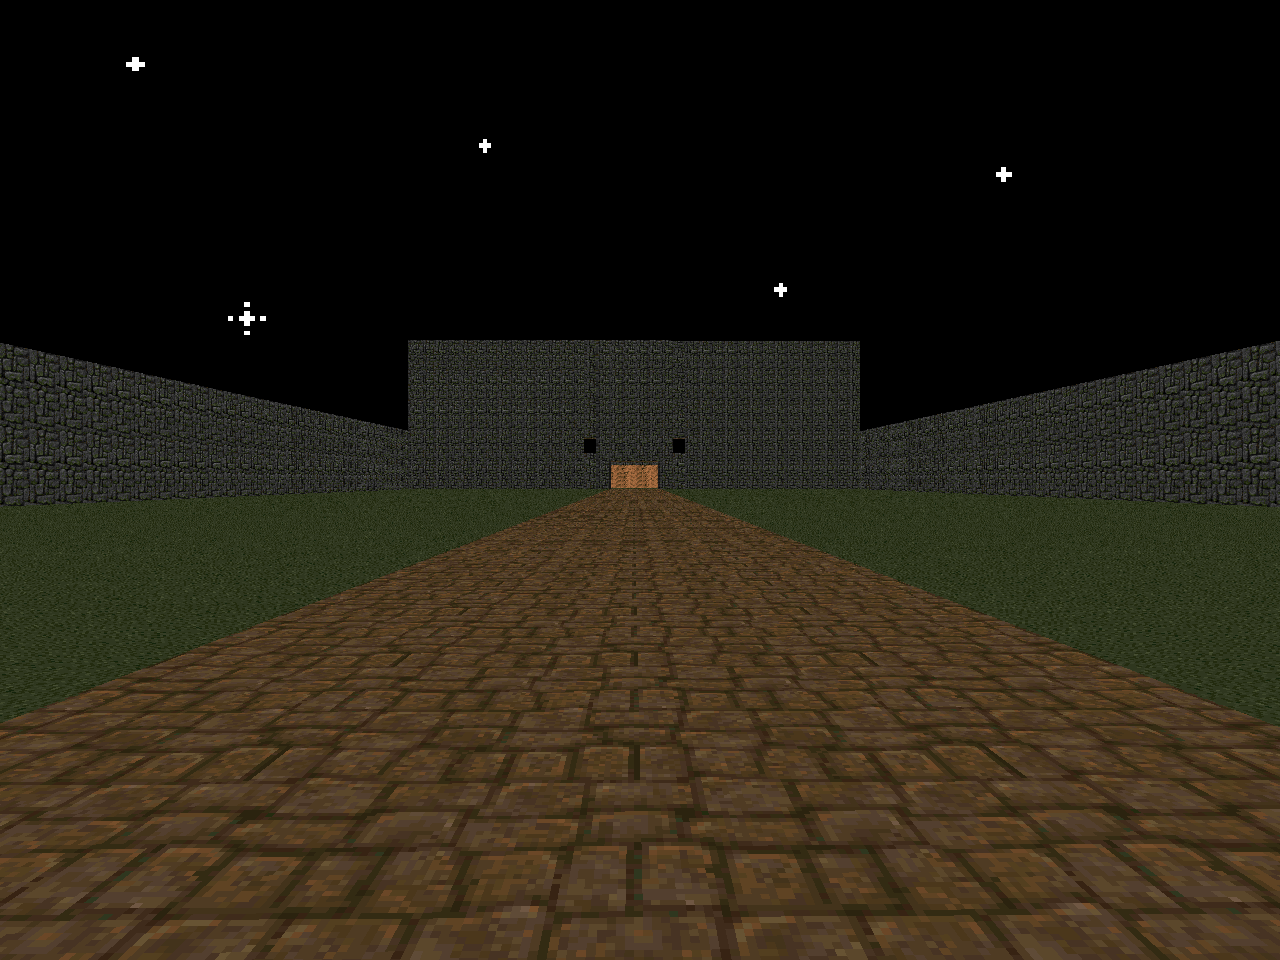 |
| MAP06 |
|---|
 | Surprise! I could conceive of the player as being able to full clear this level by using carryovers but the intent appears to be to drive you down a rocket-dodging escape route once the bottom falls out. Nothing fancy but the slow-lift scrolling wall has an interesting, psychedelic look that might have been even better with a dynamic light. The imp / Baron staircase chamber is a pretty cool setup and I like the kinetics of the room. |
| MAP07 |
|---|
| Survival under siege. You can't possibly kill everything in this level. You'll be Swiss-cheesed outside and blasted to smithereens on the in. The goal is to wait out the exit opening in a safe spot but you'll have to make one out of the least dangerous place there is. I suppose that a continuous player with the BFG and a healthy amount of starting cells could handle it if your aim is true and your nerves of steel. | 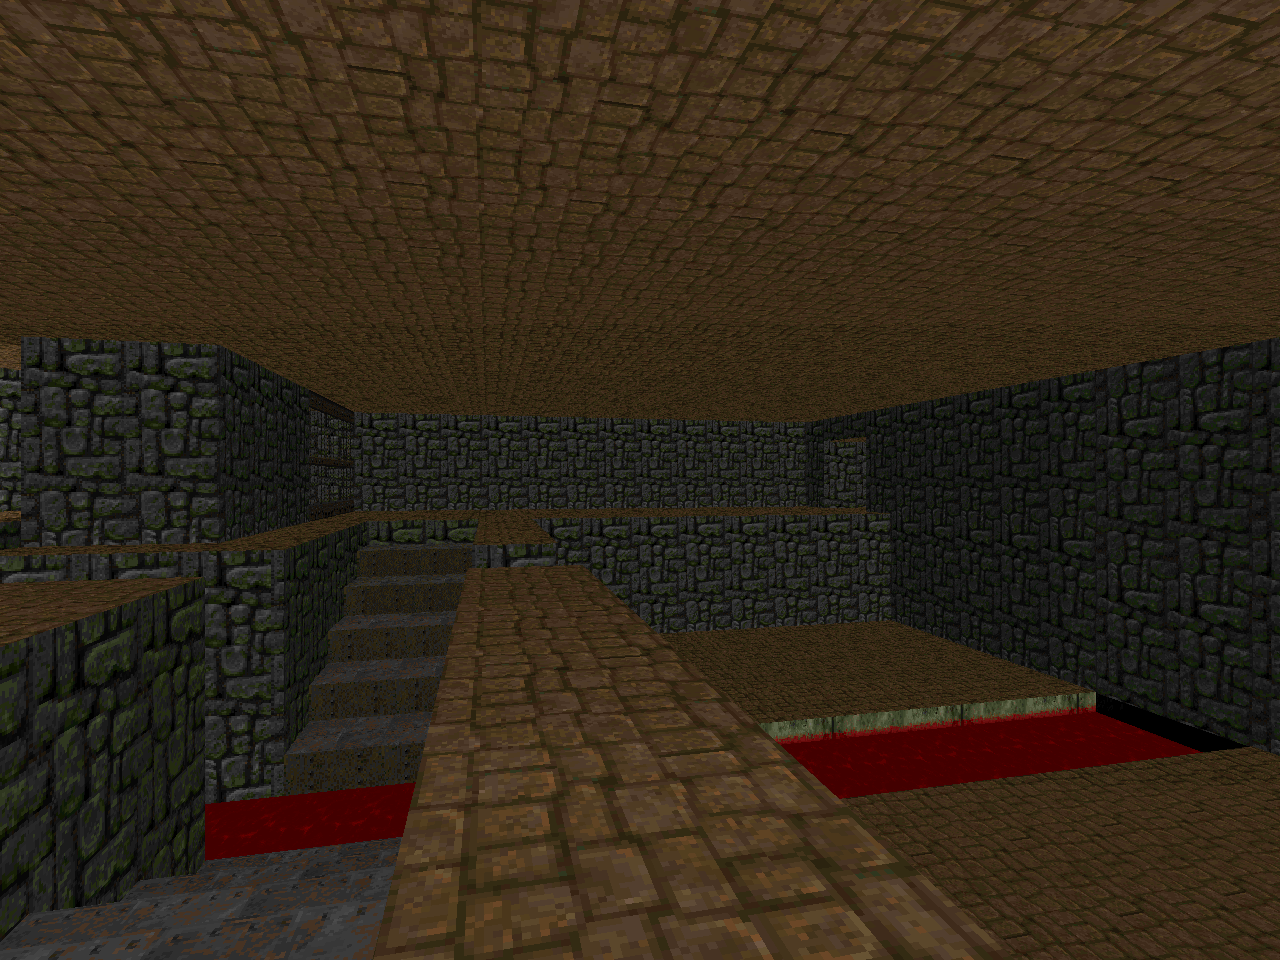 |
| MAP08 |
|---|
 | A little cathedral-shaped bunker featuring a Heng. It appears to be a Cyberdemon featured in a relatively novel encounter setup; I hope the rest prove to be so imaginative. The gist is that getting within touching distance of the walls to the east, west, and south will slay you dead so don't get rocket punched into a flat surface or you'll splatter everywhere. |
| MAP09 |
|---|
| This one is a Cyberdemon death gauntlet with a couple of huge spaces, one of which features another iteration of the spooky structure from MAP05. The trickiest bit is the first big Cyb surprise because it isn't immediately obvious where you're supposed to go after flipping the switch. The rest is (at least for me) by the numbers rocket dodging. The finale is pretty cool since you have two Barons at your back and are not likely to focus them down when doing so necessarily puts ol' stomper facing yours. My favorite bit is the Get Smart-ish semi-secret that sets you up with a blue armor and a soul sphere. | 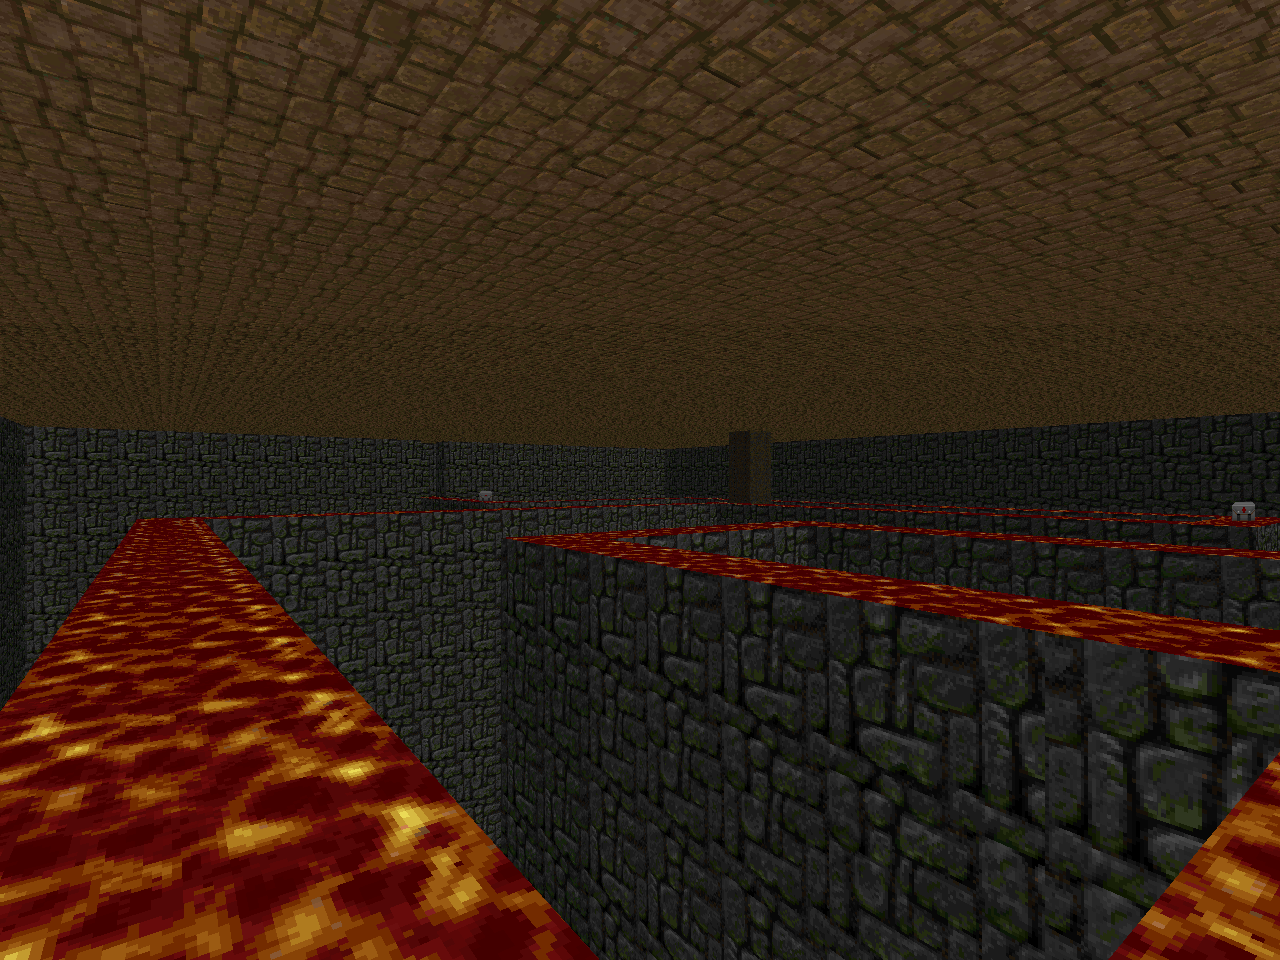 |
| MAP10 |
|---|
 | Going back even farther to the beginning. This time, though, the nukage curtain falls and you get to explore the grounds outside. It's something like a city, just executed in James's usual enormous scale paired with minimalistic detailing. Excepting the wicked DoomCute exit signpost, of course. The visual that sticks in my mind the most is the squat, blocky city to the south since it's such a large area. My favorite bit isn't BFG bumping the several Cyberdemons but turning into a partially invisible and totally invincible ball of fury to punch through skeletons and get the gun in the first place. The torchlit catwalk is pretty cool, too. |
| MAP11 |
|---|
| Now this one, I like. The starting playing area has a weird world-turned-upside down feel since the sky is on the bottom and a moat of cinders floats above. The blood well is a nice opening moment and I like the geometrically weird sanguine space. The Cyberdemon setup is pretty novel since it softly encourages you to dodge within a limited space - damage floor in front of and behind you - while in relatively close range to the big guy. 1994 cool. | 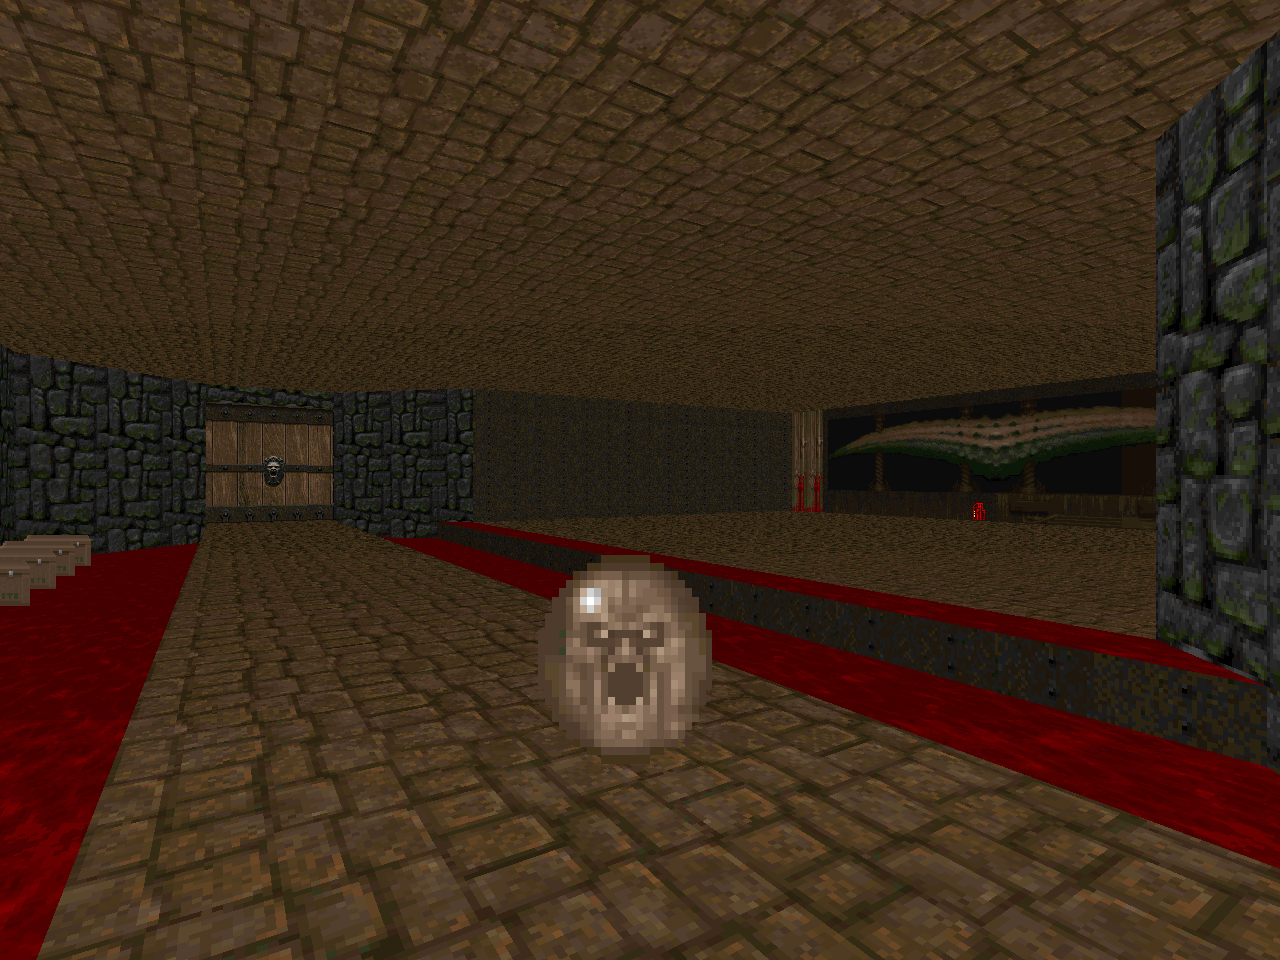 |
| MAP12 |
|---|
 | Critical design flaw: The previous level ends in a "death" exit (sector 11 damage floor) while this one starts in a pain zone. It appears to be a clumsy attempt at restarting the player's inventory for the "prison" block. The rest, not so bad. A little light action with plenty of imps to kill and a cool path that weaves you back and forth through the marble structure atrium. There's also a neat progression bit that first fills an enormous blood chamber and then later drains it to reveal the exit pathway. |
| MAP13 |
|---|
| This time the bloody vacuole, serving as an isolated annex in the previous level, is the entirety of the piece's style. If you can figure out the plasma gun secret then you'll speed things up. Otherwise it's an easy if dull shotgun grind against a handful of monsters hemmed in by blocking lines. It's still a nice change from the previous levels and their big, rectilinear layouts. |  |
| MAP14 |
|---|
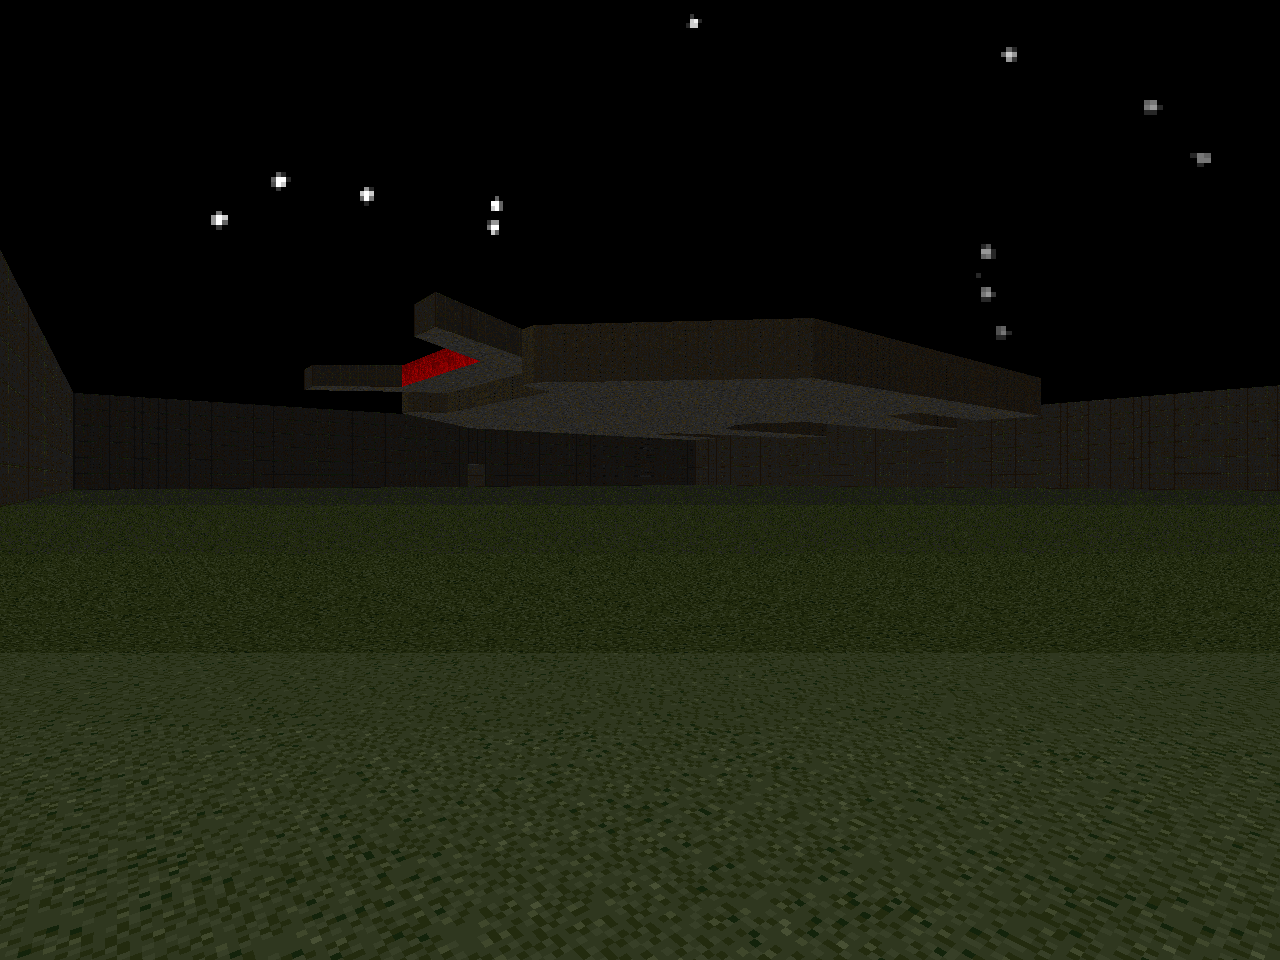
 | Back to the spacious, utilitarian style. It's some kind of a spaceport but the design is very basic. The good: I like the huge, DoomCute spaceships floating in each hangar. The bad: a long, slow grind against a Cyberdemon with the regular shotgun. |
| MAP15 |
|---|
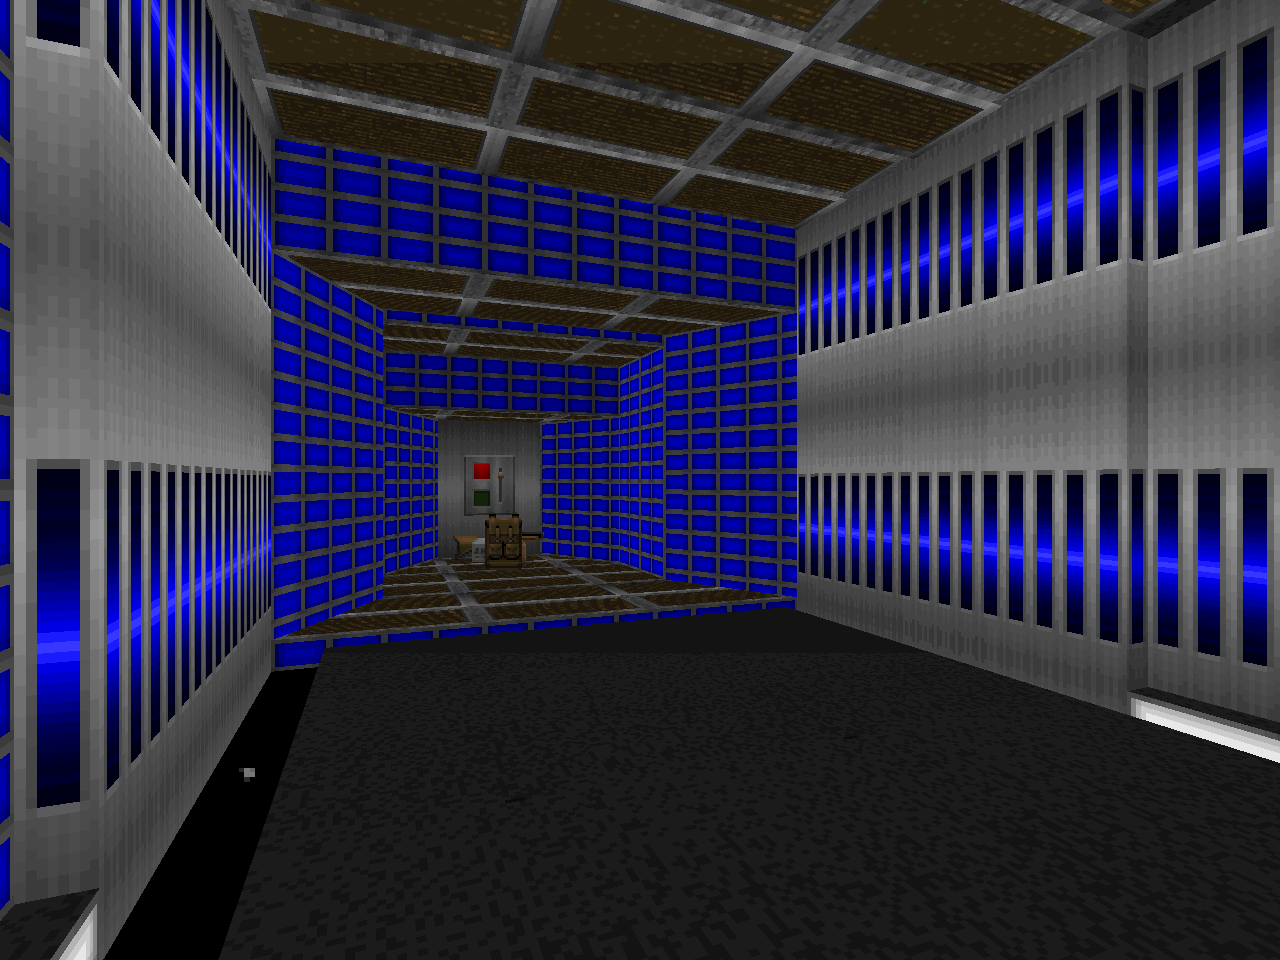
| You're inside a ship. The silver and blue sort of sells it even if the actual design is rectilinear and boxy and betrays very little of what the working parts of a spaceship might look like. Before you can steal it you'll have to kill a bunch of arch-viles using the plasma gun. They mostly come at you down long hallways two at a time, though. Mostly. Exiting via a shuttle is not quite what I expected. | 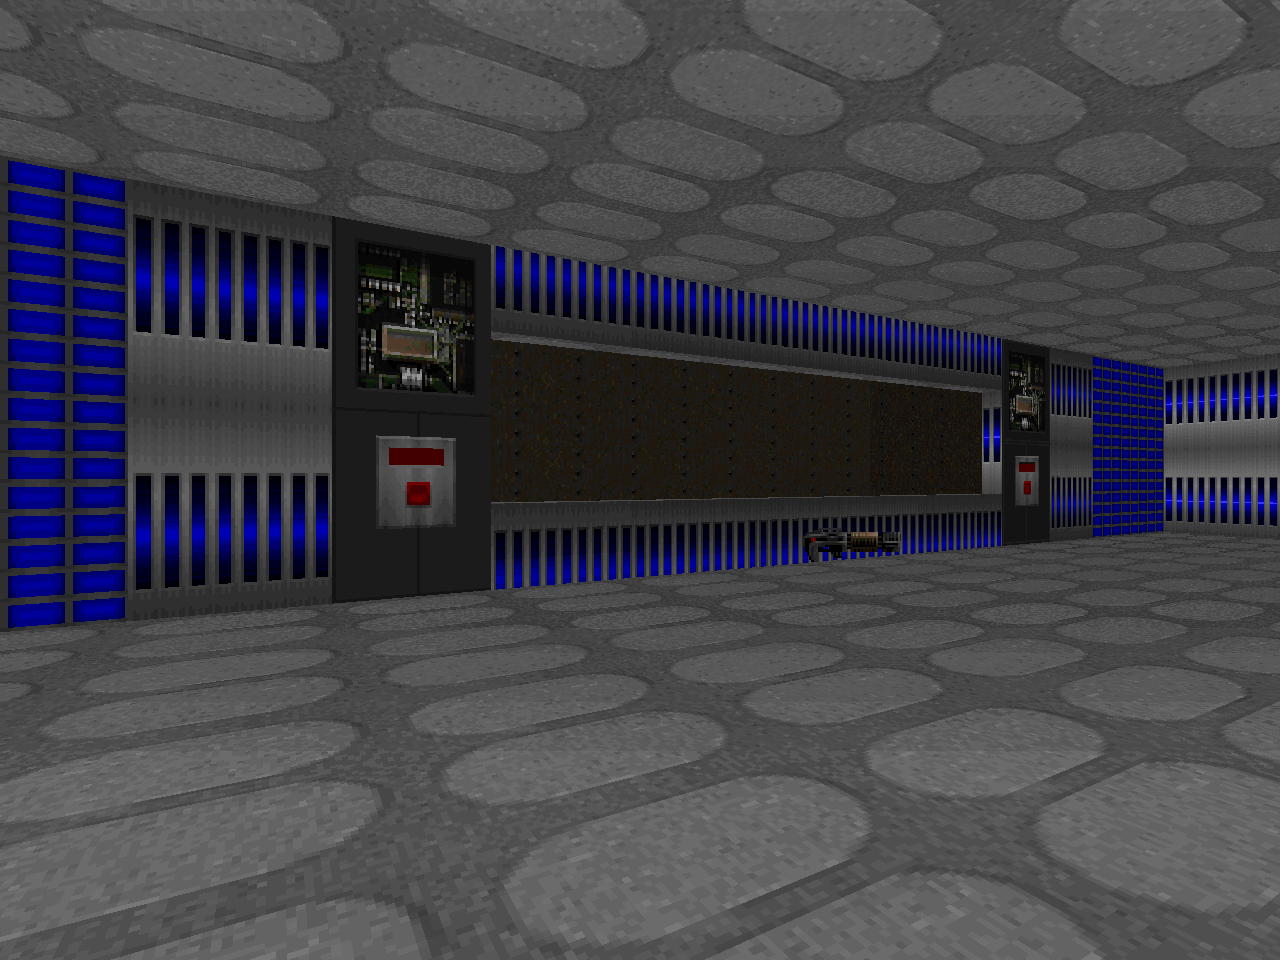 |
| MAP16 |
|---|
 | It's a space station! Maybe. At the very least you can see the craft you came from docked inside. It's mostly featureless metal corridors and a very sparse monster population. The most exciting things you get to see are a counter for something that appears to be a security checkpoint; some sort of operations room (because of the computer wall); and an elevator cage propelled by blood. James insists that there's a Heng in this level but the Cyberdemon in the arena with the glowing rock centerpiece is a total pushover apart from having to use the rocket launcher. |
| MAP17 |
|---|
| The cavernous guts of the station also fields a catwalk-style obstacle course and more extra long corridors. The distant mancubus is an effective harrier since he's on the same playing field but you have to be standing still for the corner imps to pose a threat. This one also has a much better claim to having Hengs than the previous level. There are many Cyberdemons and the majority of them are awkward to dispatch for one reason or another. The sole pain elemental is also pretty dangerous to handle thanks to the cursed corridors. |  |
| MAP18 |
|---|
 | This tangled web of metal ductwork is mostly interesting because it is so short. Almost all of the monsters are imps, initially peaking in what appears to be some sort of space sluice (the most interesting bit of architecture present), but it ends in a tricky fight against a Cyb where you've got to come up with a tactic to avoid rocket hits and execute it to victory. The fastest method resembles a combination of the mancubus and revenant dodging strategies. |
| MAP19 |
|---|
| Similar to MAP09 because it has a ridiculous amount of Cyberdemons and you can't possibly hope to kill them, but the setting is the familiar bland geometry of the space station. Most of them are behind the false walls that surround the exit room. Having to kill the two in the surprise attack is a nice dynamic since they can and probably will sneak up on you while you try to slay the switch blocker. | 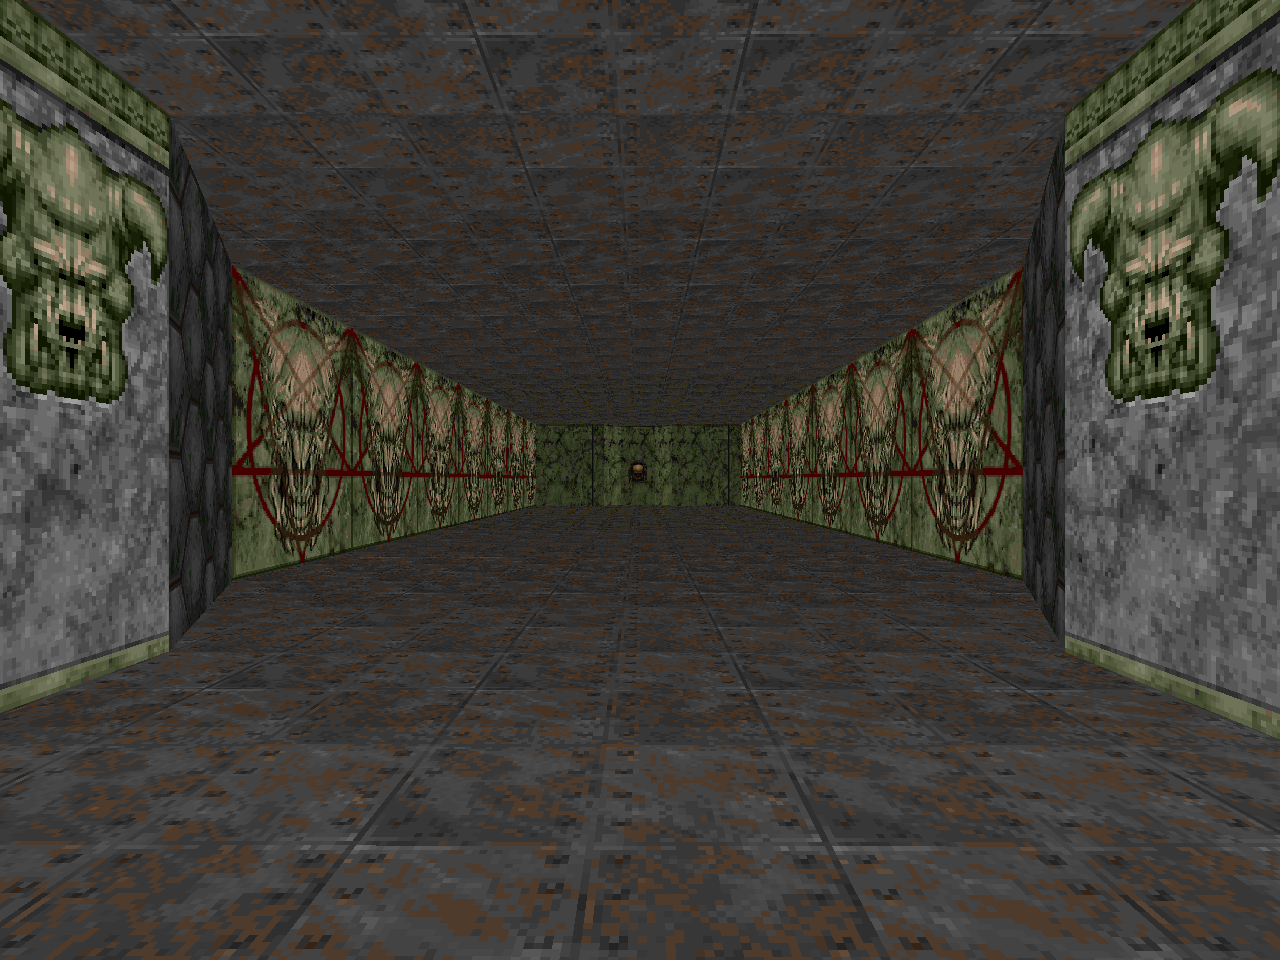 |
| MAP20 |
|---|
 | Psychedelic warriors abound in the incredible melting mansion. Nothing special to fight, though; just a bunch of imps, some demons, and one single Baron using only the shotgun. The most memorable aspect is the building composed of cascading slime while using tech panel doors that appear to have swung open by the time you return to them. |
| MAP21 |
|---|
| The big surprise happens after you fire your first shot and it's a doozy. The spawner injects a lot of panic into a level with a confusing progression scheme considering that walls raise and lower on several occasions as you battle your way through the gatehouse, locating all three keys. I like how the key structures link up to the starting area. It's a pretty simple level made much more complex by an, err, iconic complication. |  |
| MAP22 |
|---|
 | A filler level. It's almost indistinguishable from one of the space station entries except for the fact that you begin in what appears to be the fortress outhouse and end up bumbling your way into a jail cell. A few handfuls of imps and the bog standard Baron of Hell miniboss are the only challenges you'll find here. |
| MAP23 |
|---|
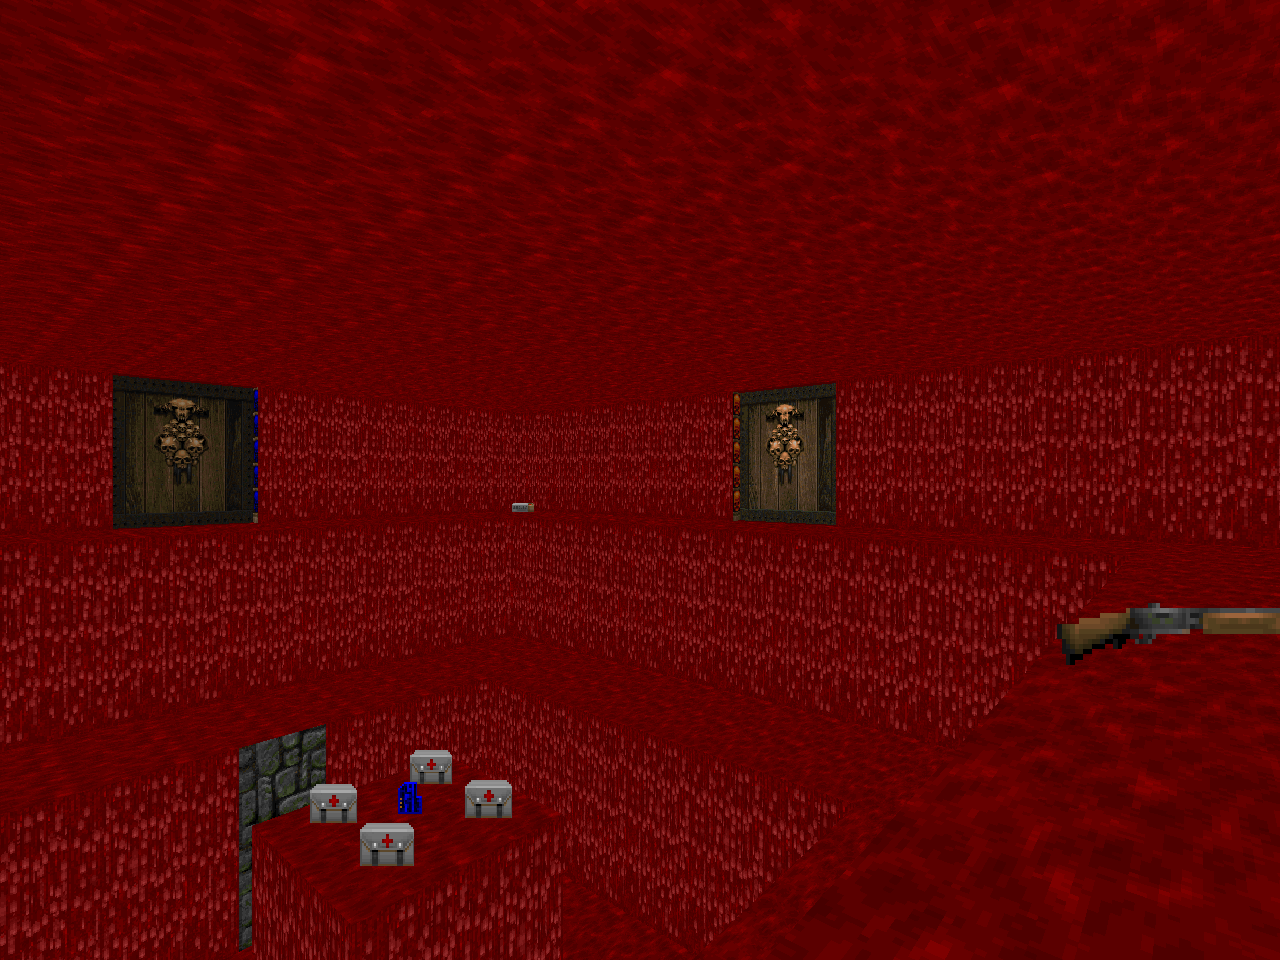
| This feels way more like a jail escape than MAP12 but it takes the crazy, ever-shifting lattice of ducts featured in MAP18 and then blows up the scale. The resulting adventure is mostly about running up and down deserted corridors and dead space until you bump into the next button or trigger and then run some more. There's one big surprise, as always, and the meat locker showdown is a memorable fight if only because the bodies make your movement that much more awkward. There are a few level design tricks, though, like the lowering barred wall and an instance of deep wat- err, lava. |  |
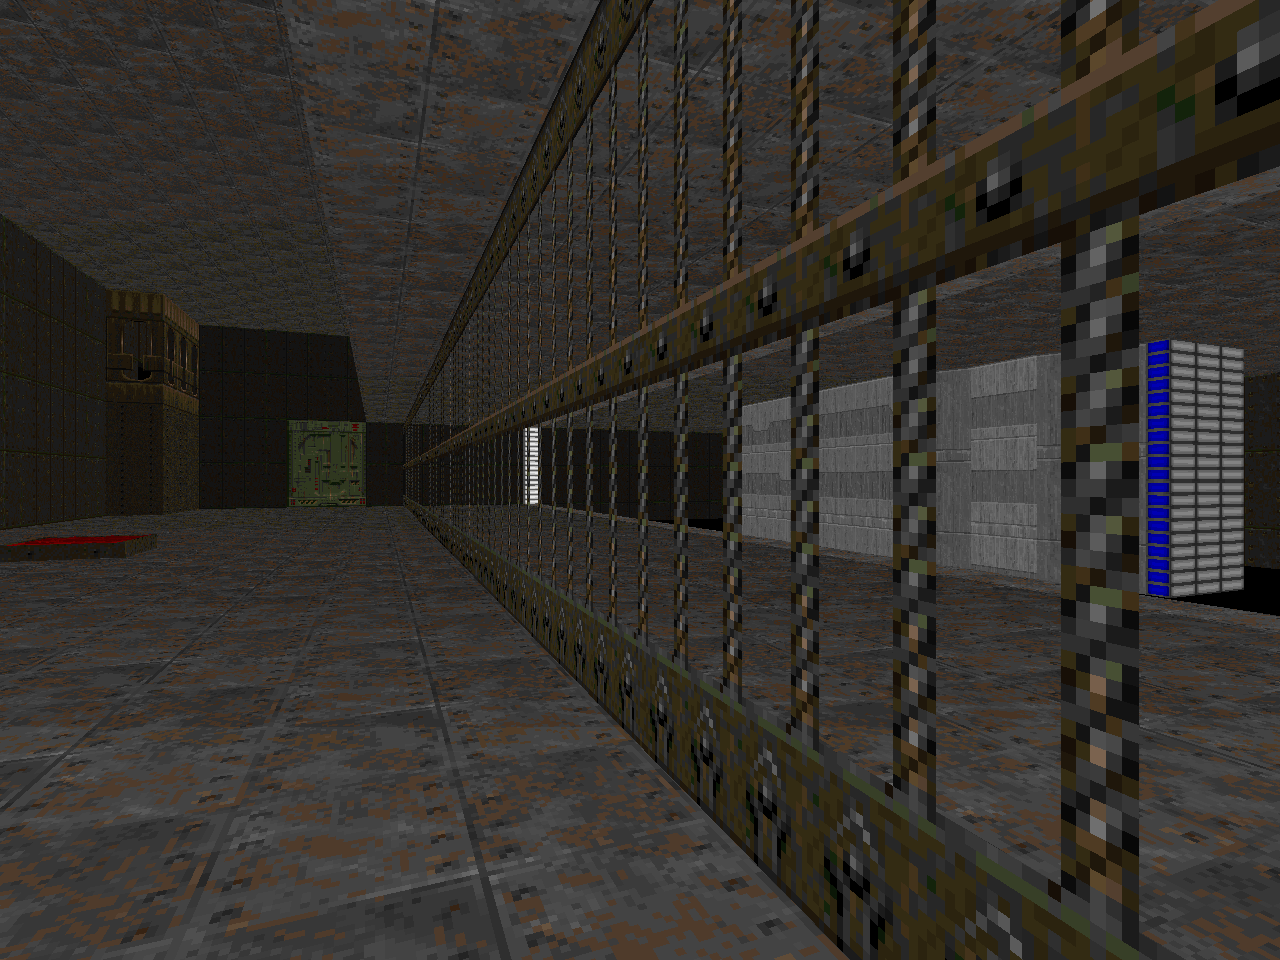
| MAP24 |
|---|
 | James warns of the long elevators. He's not joking! I don't understand the purpose of the convoluted sector machinery but you're going to spend a long time in "transit" before fighting a single thing. Maybe they're supposed to make the level look a lot larger, or perhaps they set up the fake stacked room effect seen in the northern chamber. The monster population is anemic but the arch-vile rushing up the staircase might give you pause. |
| MAP25 |
|---|
| More of the same structure. It's a little spooky at first and I dig the banquet hall. Thankfully the elevators are much shorter this time around, allowing you to get to the point. Hitting rock bottom is a nice transformation and tackling the exit guardians with a shotgun isn't too tricky as long as they aren't just hogging the step-off pad. | 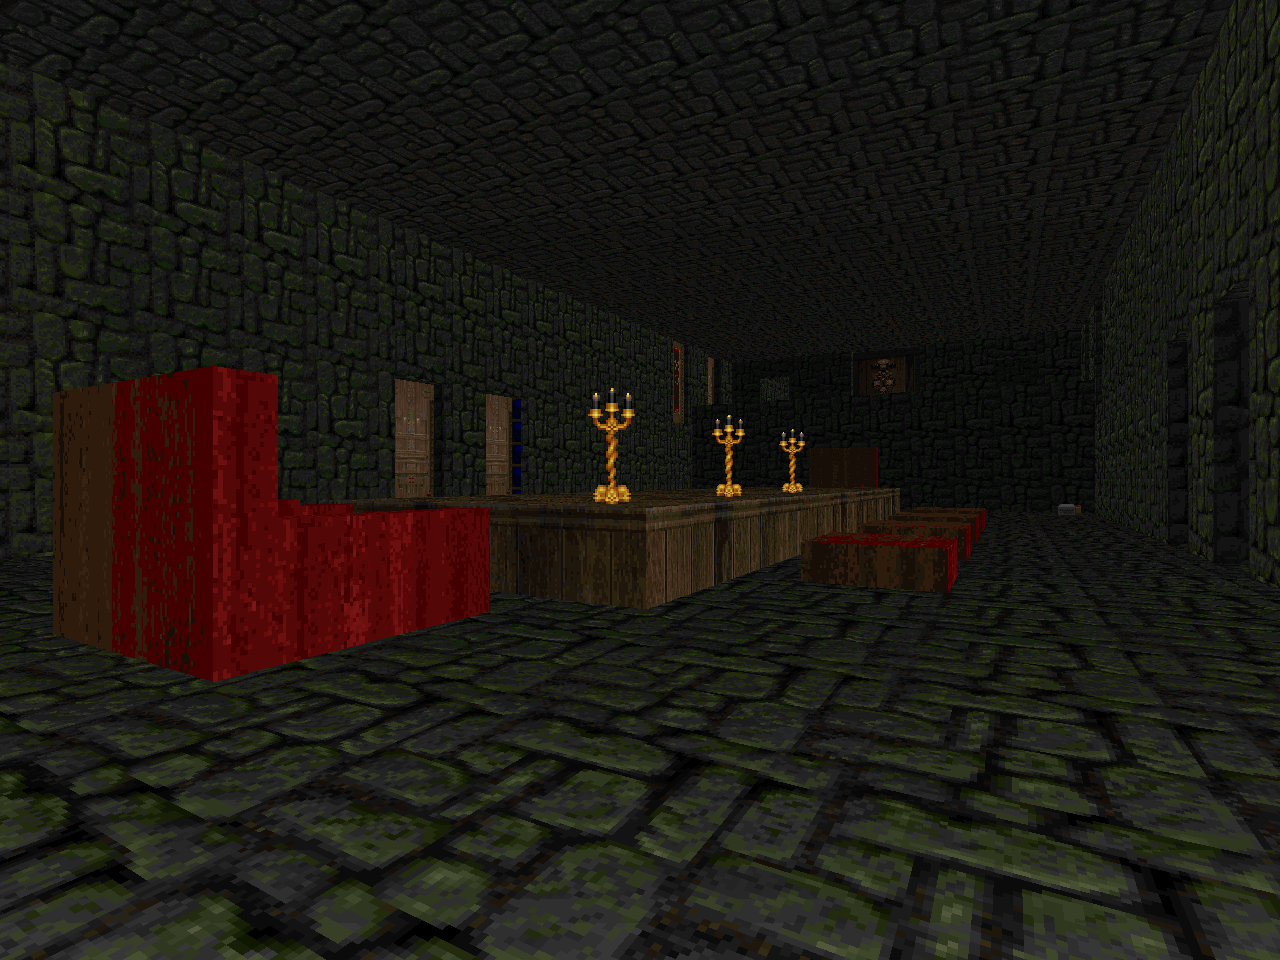 |
| MAP26 |
|---|
 | Another level where the layout slowly unravels as you explore and poke around but James does it with way more verve when you get giant exploding staircases and other feats of basic sector machinery. You end up running the same convoluted path several times while the author piles new monster groups onto the track. Highlights include a four-Cyberdemon BFG brawl and a healthy pack of imps ready for the slaughter. Biggest nail-biter: a corridor that turns into silent, grinding crushers interspersed with automatic lifts. |
| MAP27 |
|---|
| Boss rush time. Cobblestone colonnades ring these spooky deserted hallways. The "Warrens"-worthy crowd of shotgun guys is a bit of a shock at first since the plasma gun is your given weapon but it's not at all bad. The Heng isn't difficult to kill as much as he just teleports away only to be definitively slain shortly later. I suppose that the first fight might be difficult because the skull pikes make dodging a bit awkward. The lava tunnel to close out the level is an odd coda. | 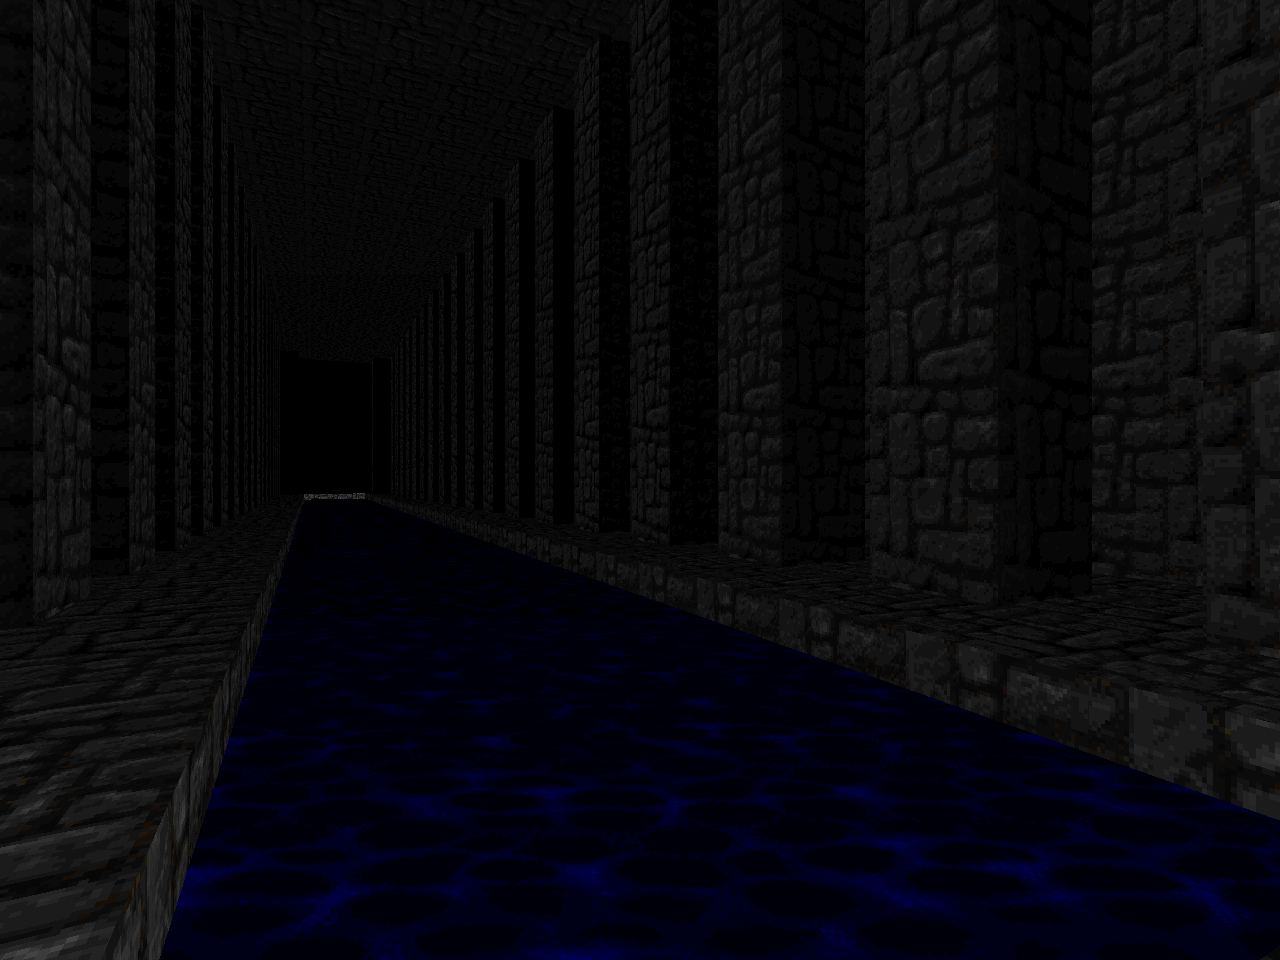 |
| MAP28 |
|---|
 | I really enjoyed the narrative of this level. The features are as simple as ever but I like the way where the Heng ambushes you; afterward, you panic and sort of maneuver around him until he inevitably teleports away; and then he eventually ends up running from you before you travel underwater. It's almost as though he believes that his cacodemon guardians will distract you enough for him to be able to sneak up on you. Of course, if you have a cache carryovers you might swat him with the BFG before he can even think about escaping. |
| MAP29 |
|---|
| More above and below water stuff before activating your next challenger. It's cute but underwhelming when every corridor looks like the rest. The Heng is dick who appears to teleport into your face on several occasions. This time I actually felt like the one on the run and you're pretty powerless in the face of James's level design since you never know when a protective wall will slam shut behind you or be able to predict which linedef can warp you away to your next position. | 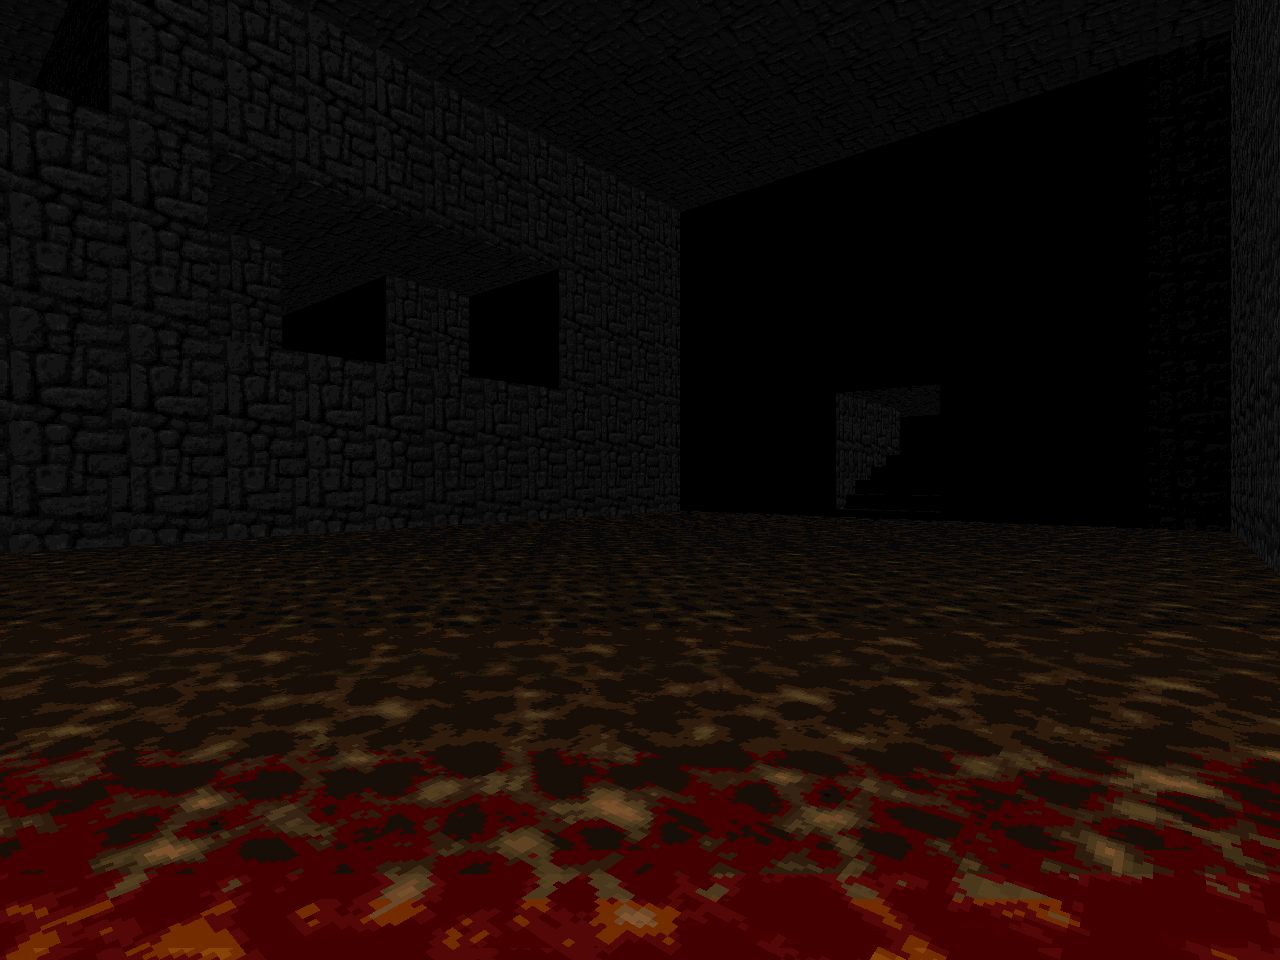 |
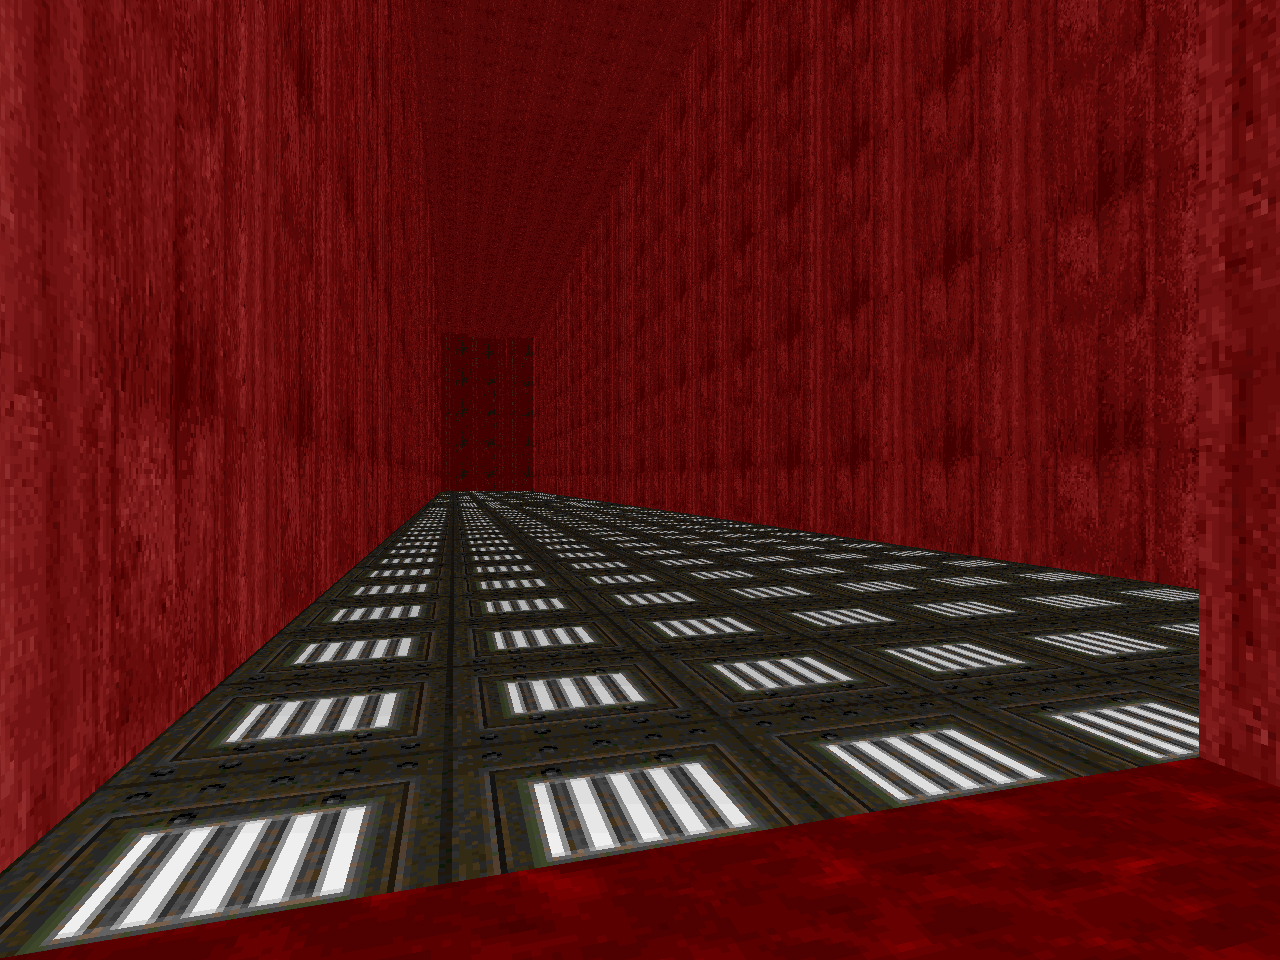
| MAP30 |
|---|
 | The flesh-colored corridors are a welcome departure from the tired metal and cobblestone. James exercises the usual game of Cyberdemon keep away but there's an additional twist when you wind up ambushed by an enormous crowd of imps and, more importantly, revenants. The intent appears to be to drive you into the relatively safe chasm and from there use the horde as a harrying mechanism while you move on. I did it a different way first, though. The sequential bloody cisterns with deep water were a great way to build up tension and while I'm not sure what's going on inside the final corridor it comes as a nice, psychedelic finish. |
HENGIN' OUT ON THE OL' MONSTER RANCH

Thanks for reviewing this, and thanks especially for that additional backstory about the wad itself. It's one of my favorite weirdo mapsets from this time. It's clear that James' vision exceeded his technical chops, but I really enjoyed experiencing the fruits of his vision.
ReplyDeleteYeah, I'm happy that someone else managed to dig it up. I wonder how many quirky Doom relics have been lost to the sands of time. So much of the info surrounding them has all but vanished, too.
Delete