
Matt Powell aka "cannonball" made a splash in 2012 dabbling in both Slaughterfest 2012 as well as some scattered Ultimate Doom works. One of these - his speedy episode 1 - eventually became 2013's ConC.E.R.N.ed, a megaWAD replacing the original trilogy. 2014 drove E4 fetishists wild with Thy Flesh Turned Into a Draft Excluder. DRAFTEX was a leap forward in his craft and while it wasn't meant to be appended to CONCERN he passed the savings on to the player in 2015's Return to Hadron. E1 revisited the locale of his megaWAD's first episode while changing some things up to suit his developing gameplay sensibilities. In 2017 we were fortunate to receive the second part, The Collider's New Clothes. This one replaces The Shores of Hell and should play in any limit-removing source port.
As a series, ConC.E.R.N.ed is unique in approaching the action from several different view points. The megaWAD covers Hell's invasion of the European Organization for Nuclear Research's Hadron Collider and a plucky security officer's ill-fated attempt to arrest the assault. RtH's E1 sent in a second prospective hero after the first failed but he was ultimately Doomed. Civilization is ruined and you are one of a group of survivors picking through the resulting Hellscape. While you forage you are mysteriously transported inside the Collider complex's perimeter. With no other choice available you elect to explore the facility in the hopes of finding some end to the horror.
New Clothes is a different beast when compared to a vanilla Deimos episode. The architecture is large scale and utilizes broad height variation as well as wide spaces to give the player plenty of room to move. The rub is in the sheer number of monsters set upon you by the author. cannonball puts the player pressure on early in just about every outing, sending you crashing into the layout in search for guns and ammo. The cacodemon appears as a regular foil and is the perfect complement to his style. Big red is a space hog, requiring you to be cognizant of wherever it's flying. It also soaks up quite a bit of punishment, unable to be ousted with a single rocket blast, and has no problem pursuing the player given that it can fly. Throw it in to Powell's spacious layouts and there is virtually nowhere to hide.
This isn't anything new as far as the overall trend of Matt's mapping, of course. He's been using cacodemons to torment the player for ages. They were one of Return to Hadron's star players, figuring heavily in levels like "Gateway Lab" (E1M6). The overall thrust of New Clothes has a harder edge, though, and is more comparable to the slaughter that ConC.E.R.N.ed concluded with and which has been an undercurrent of his authorial career. One of the best and earliest examples of this is "Mortuary" (E2M4), whose northernmost region dumps you into a crazy Baron and caco melee. There's very little room to maneuver and so many high-HP enemies that you need to move efficiently and manipulatively while laying down weapons fire when it's safe to do so. "Ground Zero" (E2M8) is at the far end of the spectrum, a crazy death arena with a small army of Cyberdemons plus a fitting accompaniment of fiends.
If any one of the levels fits the E2 stereotype of "big techbase" then "Core Processor" (E2M7) is it. The level has a few recognizable remnants of CONCERN's same slot but is generally brand new and better interconnected. The tiered architecture is great, a strong feature of the entire episode, and the grand scale lets him throw nearly a hundred cacodemons at you, spread out over a handful of encounters. The setups are constructed in such a way that you feel the sting just about every one of their fights, too. You're also set up with two different ways to grab the BFG in an attempt to mitigate potential hardships brought on by non-linearity, which is a plus.
"Descent Into Darkness" (E2M9) is then an interesting inversion of the typical way of things. It offers the slaughter portion up-front (shades of Hell Revealed's MAP31) and then chases it with the barely visible light level gimmick from ConC.E.R.N.ed's E2M9. The way Powell employs the latter is quite different, though, as it's a big crater surrounding the elevator you rode on the inside as opposed to pussyfooting through a more typical layout. The blood causeways of CONCERN's "Haunted Cellars" (E2M6) return here as "Aqueduct of Agony" (E2M6). I remember experiencing some displeasure with the former - granted, nearly years ago today - but the new iteration was fun and faster to learn. The looping tunnels of the layout are wicked cool and it's possible to race through most of the map and then turn around to blast the ensuing dogpile into oblivion.
It helps that you're not meant to just grind down Barons and the like using the shotgun. Of course as I write this I realize that for many of these levels the expectation of the player is to search frantically for stronger weapons and ammo, often leaving many monsters behind. I'd say that "Comm Centre" (E2M3) is the first outing where careful play begins to feel just as if not more perilous. At least, with regards to pistol starts. Continuous players will likely have a vastly different opinion in the opening difficulty of each level. Especially when they are handling something like "Bunker" (E2M5) and its small army of Barons plus - surprise! - a Cyberdemon.
Doom levels can approach modern difficulty. This typically uses the fundamentals of good slaughter gameplay and plays to the feelings invoked when I was much younger. The monsters then seemed innumerable and poised to overwhelm me. I rarely find myself under such dire straits in classically-styled mapsets nowadays but authors like cannonball are more than capable of driving the gameplay to the fringes to achieve the same result. If this episode is a portent of Return to Hadron's E3 then the hordes will be even thicker. I'm up for it as long as it plays as fast as New Clothes.


RETURN TO HADRON
EPISODE 2
THE COLLIDER'S NEW CLOTHES
| Flesh Start | E2M1 |
|---|---|
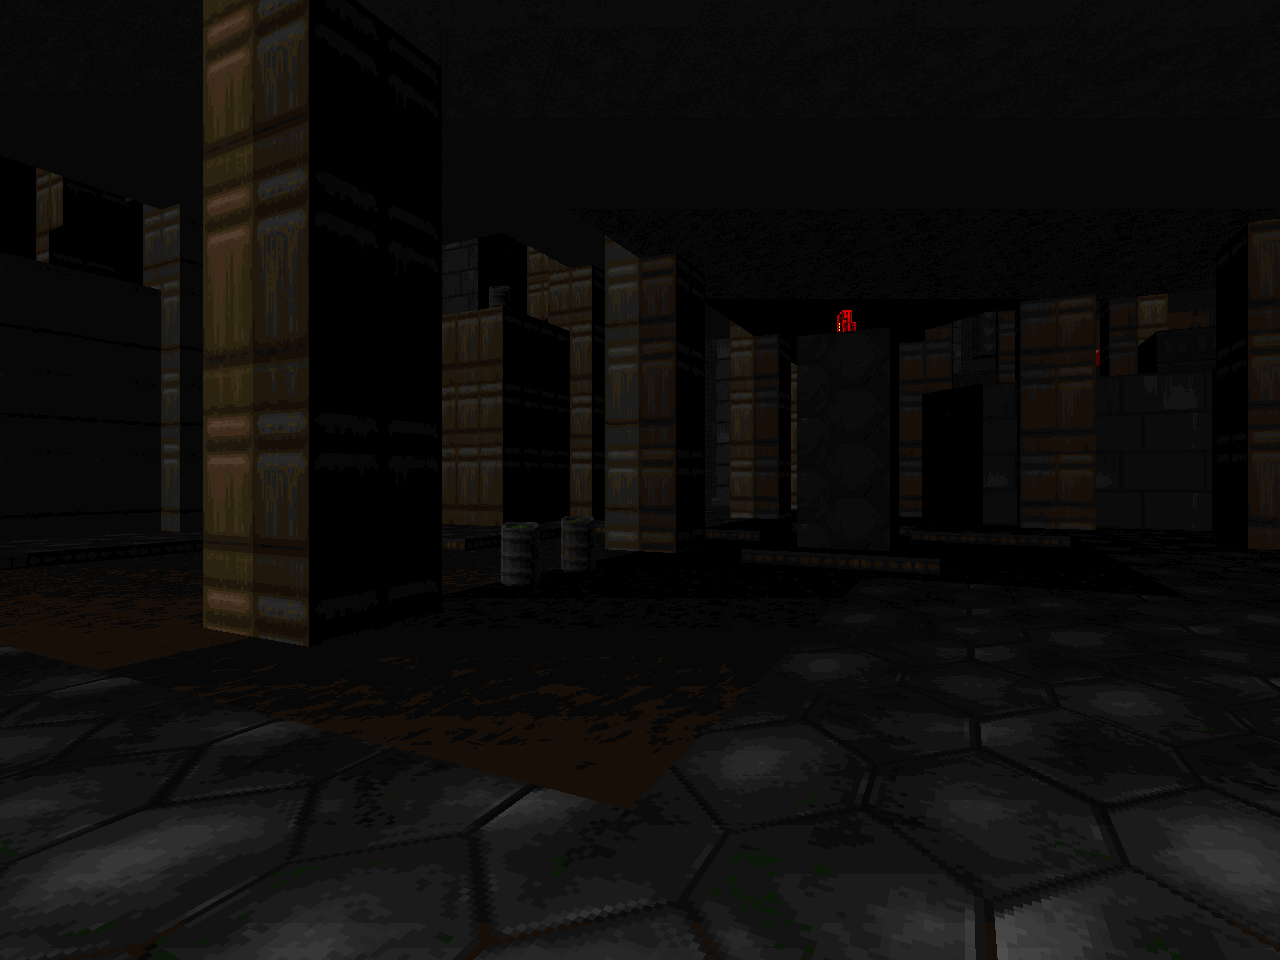
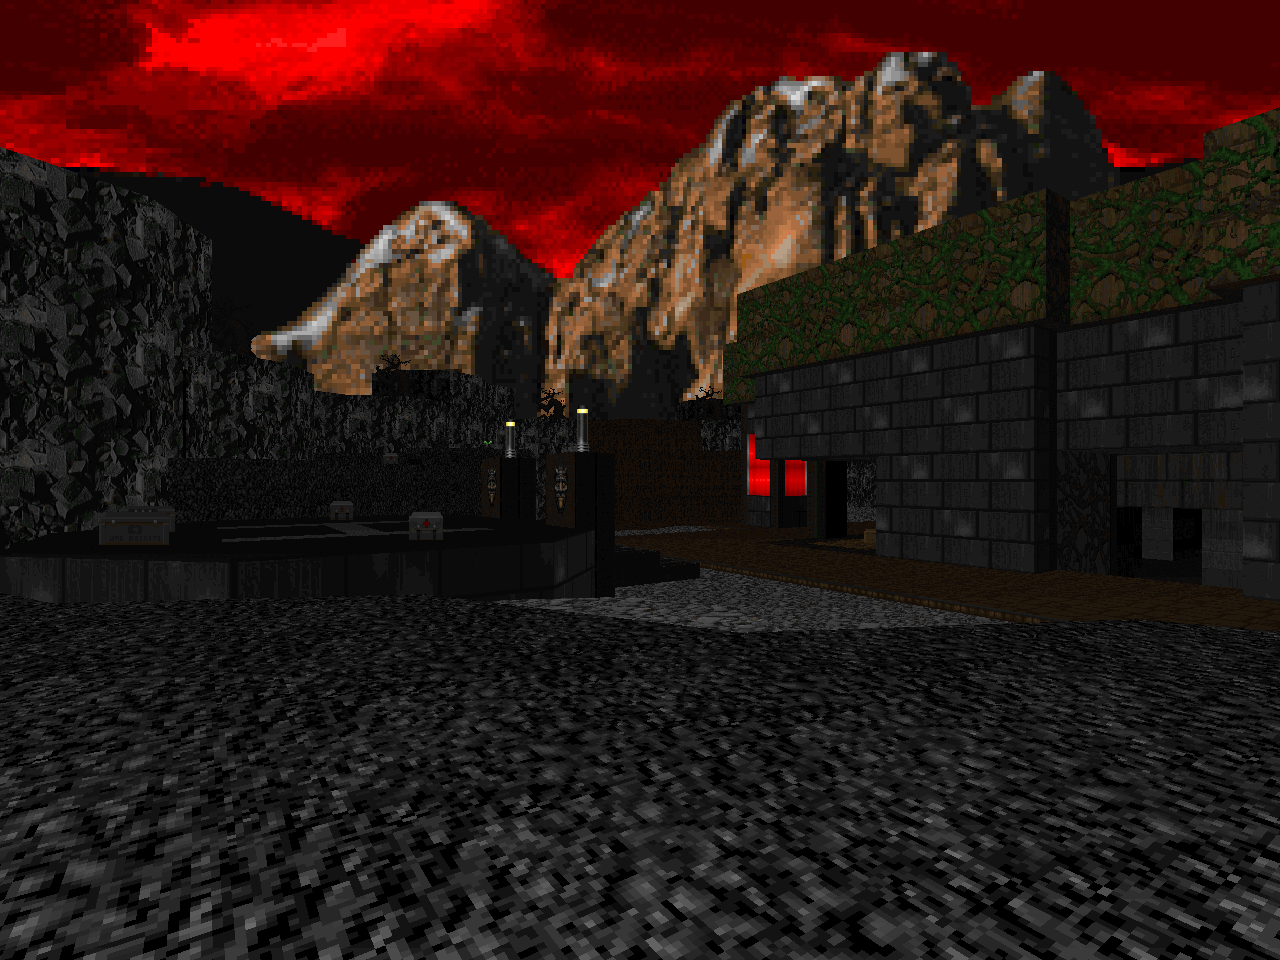
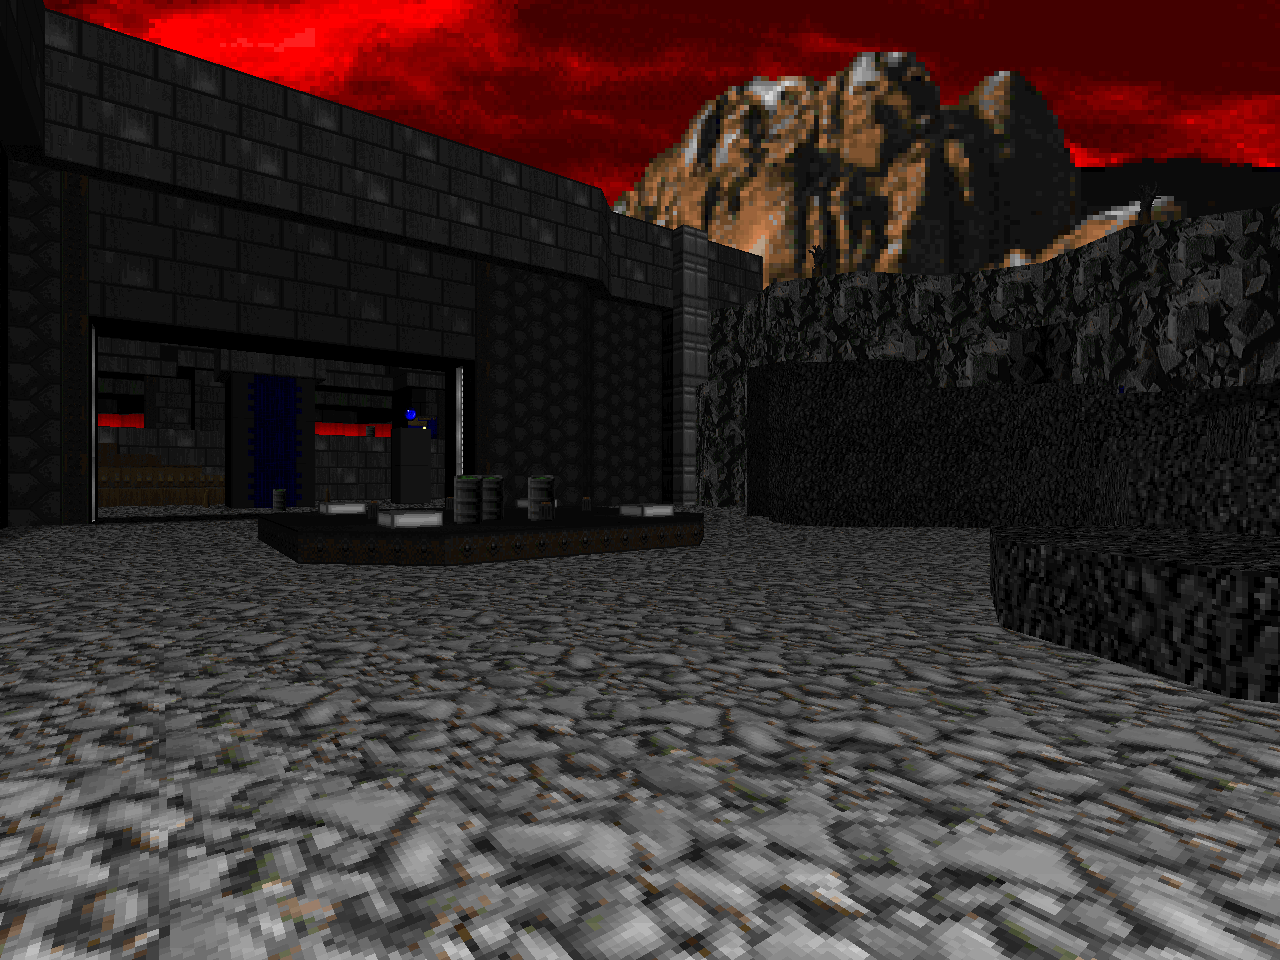
| This beginning does a great job of setting the tone. The corrupted base is dark, making the few sources of light - some of them cherry red - a great contrast. The layout is built to expose the player to the multitude of hitscanners. The opening rushes you through the crushers to a demon melee but you have to step down into zombietown where they are at the walls. The open floor plan lets the lost souls shine, too, since they can chase you pretty much everywhere. I like the secret yellow key, a great goal for carryover players since it nets you an early episode rocket launcher. | 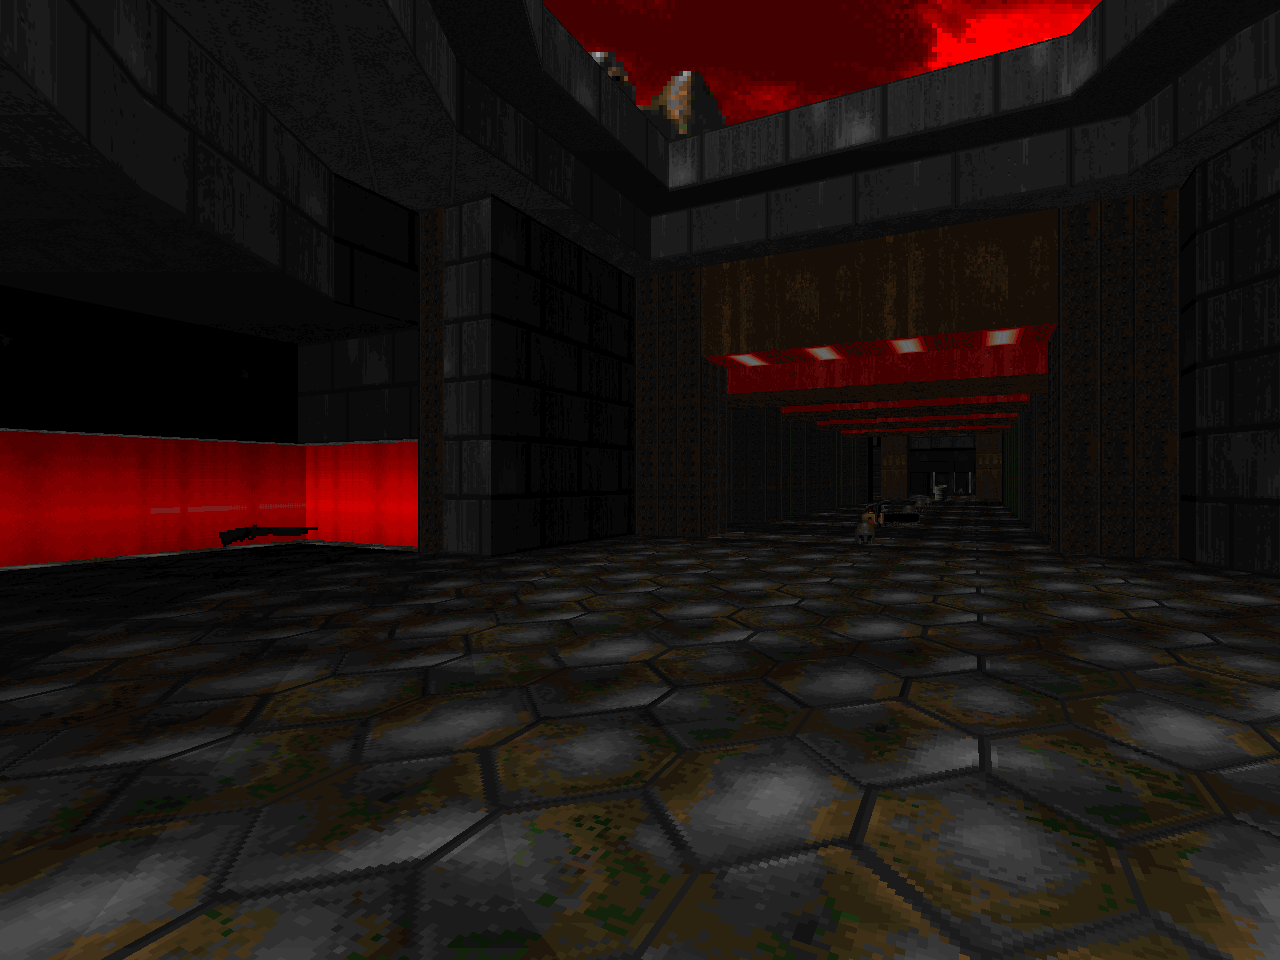 |
| E2M2 | Logistics Complex |
|---|---|
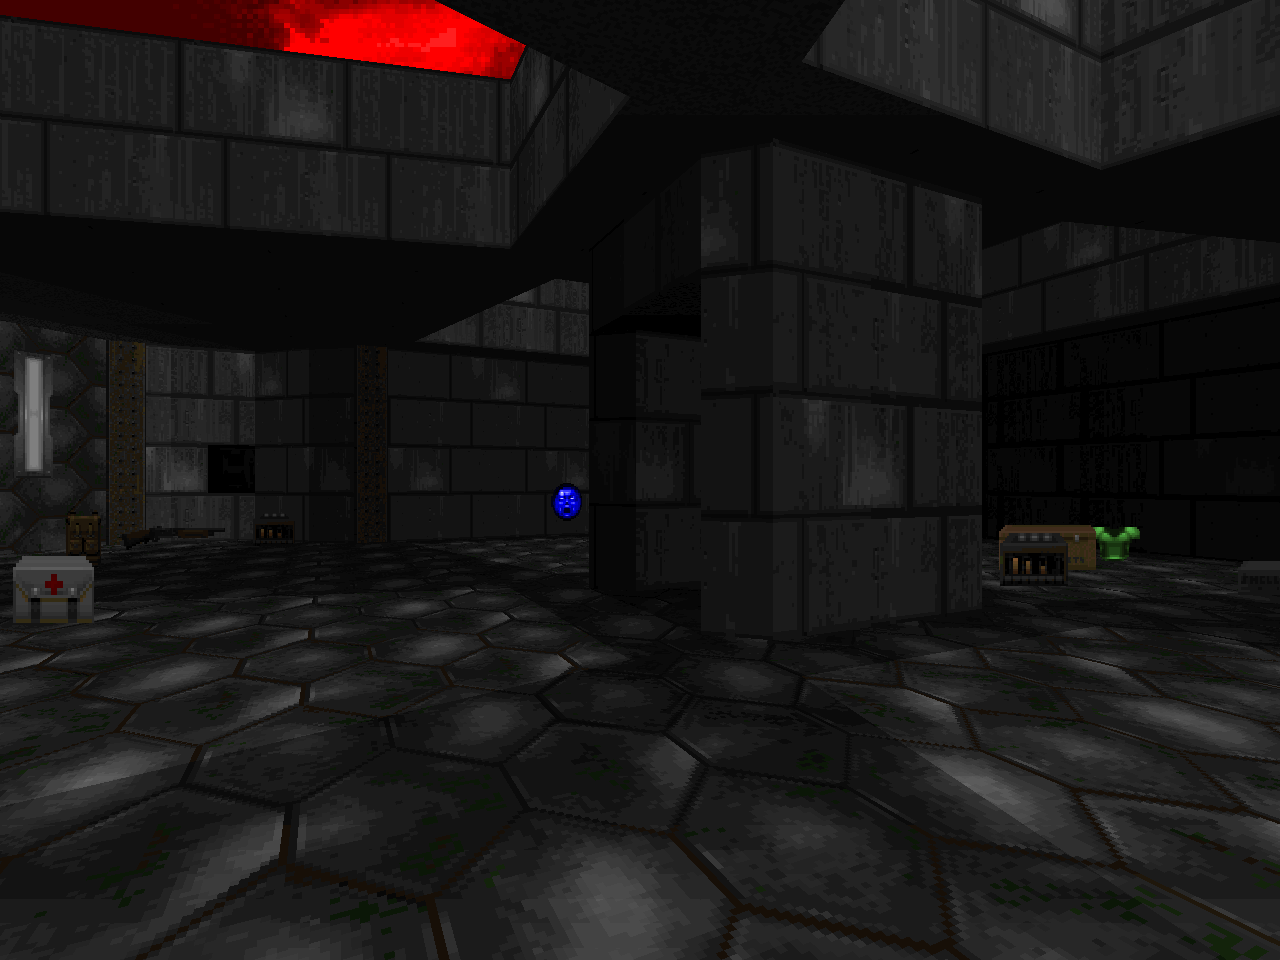
 | Another tight floor plan with an ingenious layout, still in the style of E2M1. Powell uses the enormous window that adjoins the atrium to the northern, outdoor area to field several multi-prong ambushes. My favorite is associated with the blue key grab due to the sheer meat involved. He again succeeds in pushing the player into hostile territory at the opening by way of an incoming mix of cacodemons and lost souls. You'll need more ammo - if not necessarily the bigger guns - in order to weather the storm. The secrets offer immeasurable aid. The soul sphere buys additional margin for the larger fights and the plasma gun is highly effective in the more claustrophobic encounters. The finale may be the cruelest due to its two-tier lock-in setup. |
| Comm Centre | E2M3 |
|---|---|
| The same generally orthogonal and tiered architectural style but cannonball opens up the floor plan for a more exploratory design. The layout is dominated by a big blood pool in the center of the level, a cistern that you fight around but have to dip down in at least once. You don't start outgunned by much, here, but a pistol precision shootout with the opening zombies and few lost souls feels harder than it looks. It's far more fun to run to the end, grab the chaingun, and then fight off the advancing horde. Powell's big ambush has the most stroke yet due to the sheer number of cacodemons that he dumps into the playing area. If you can't handle them then they will eventually corner you. The yellow key surprise is pretty potent, too. | 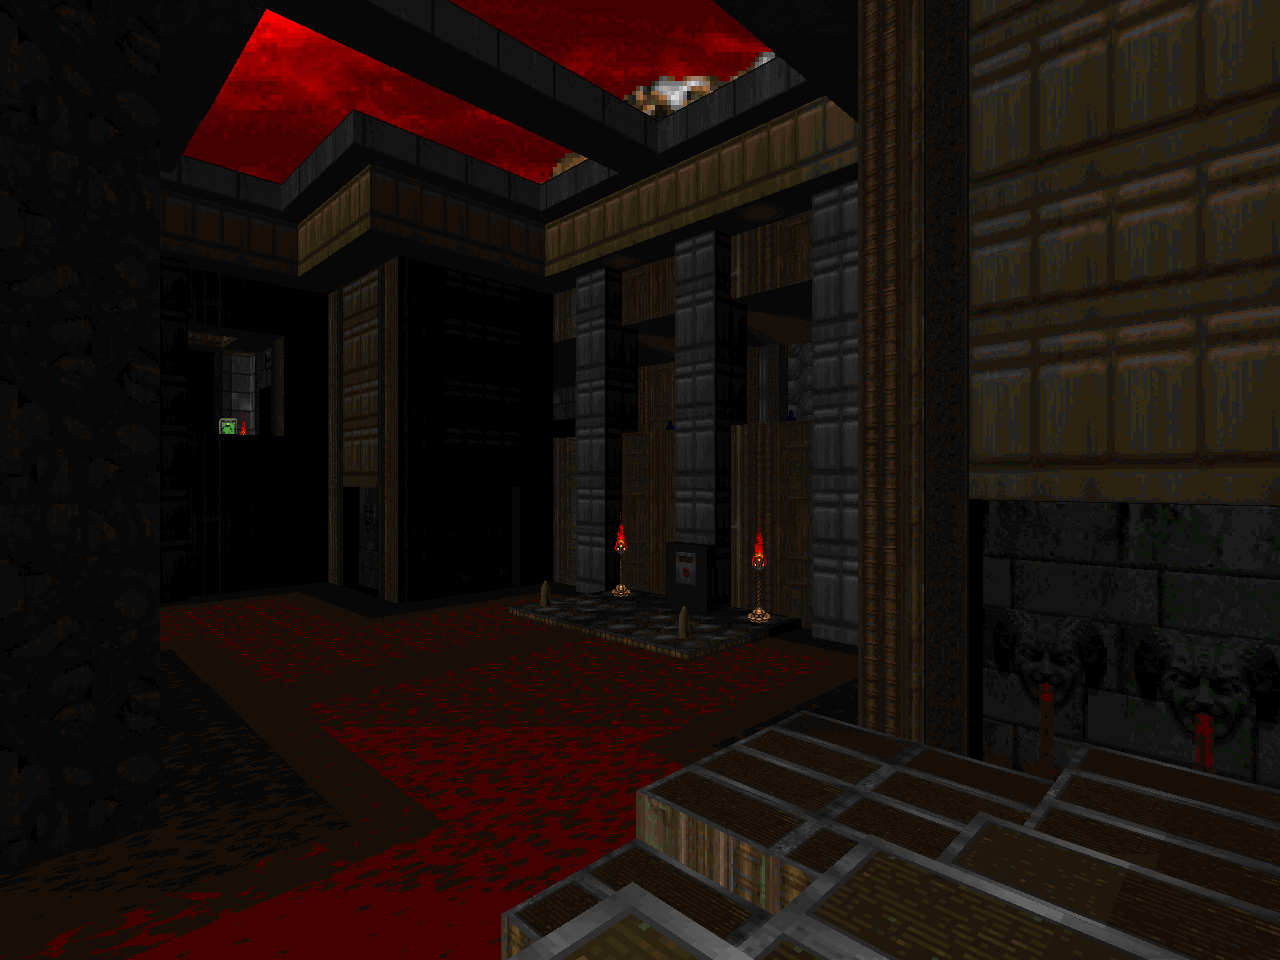 |
| E2M4 | Mortuary |
|---|---|
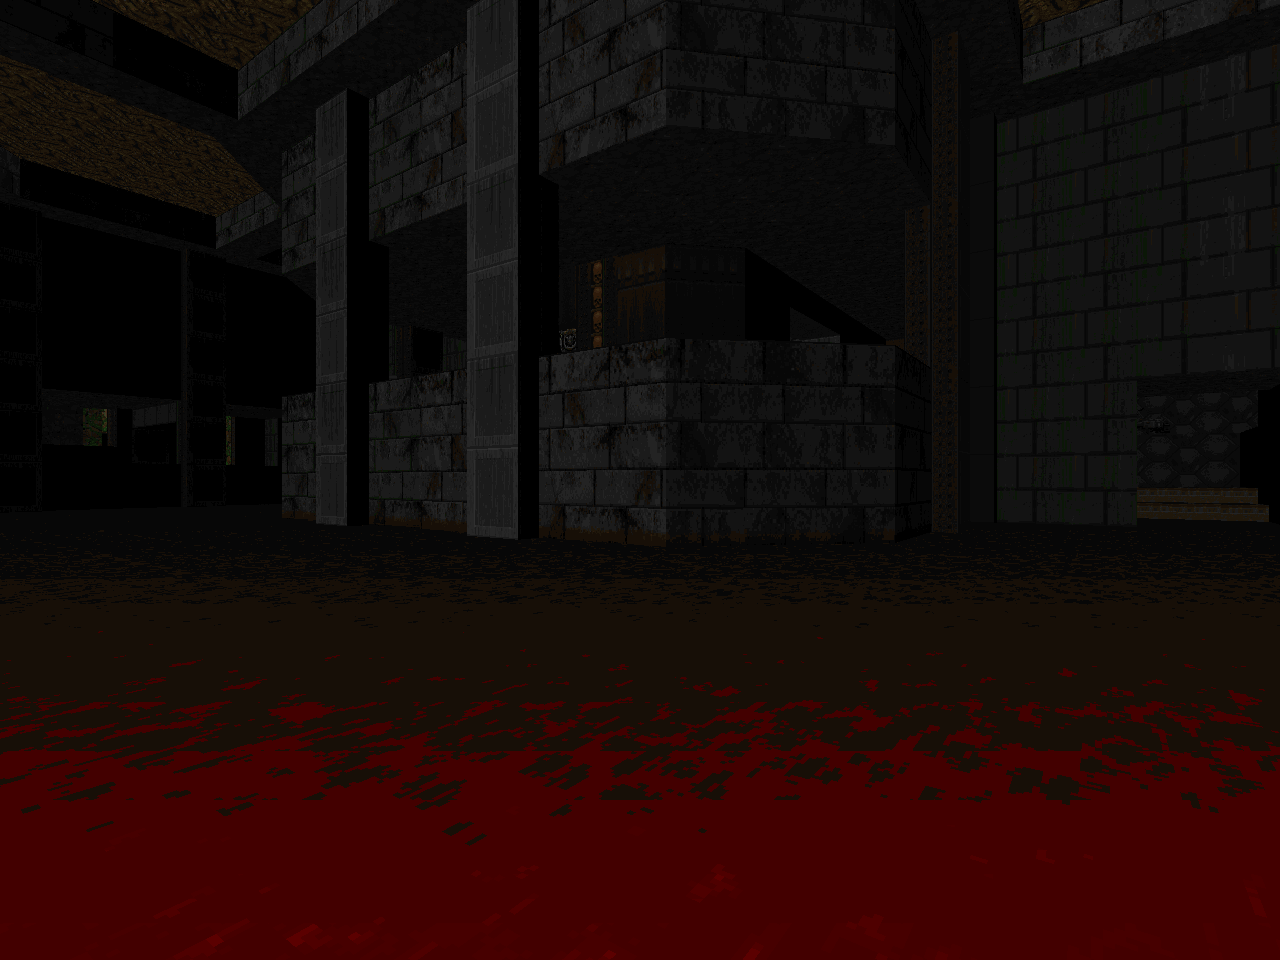
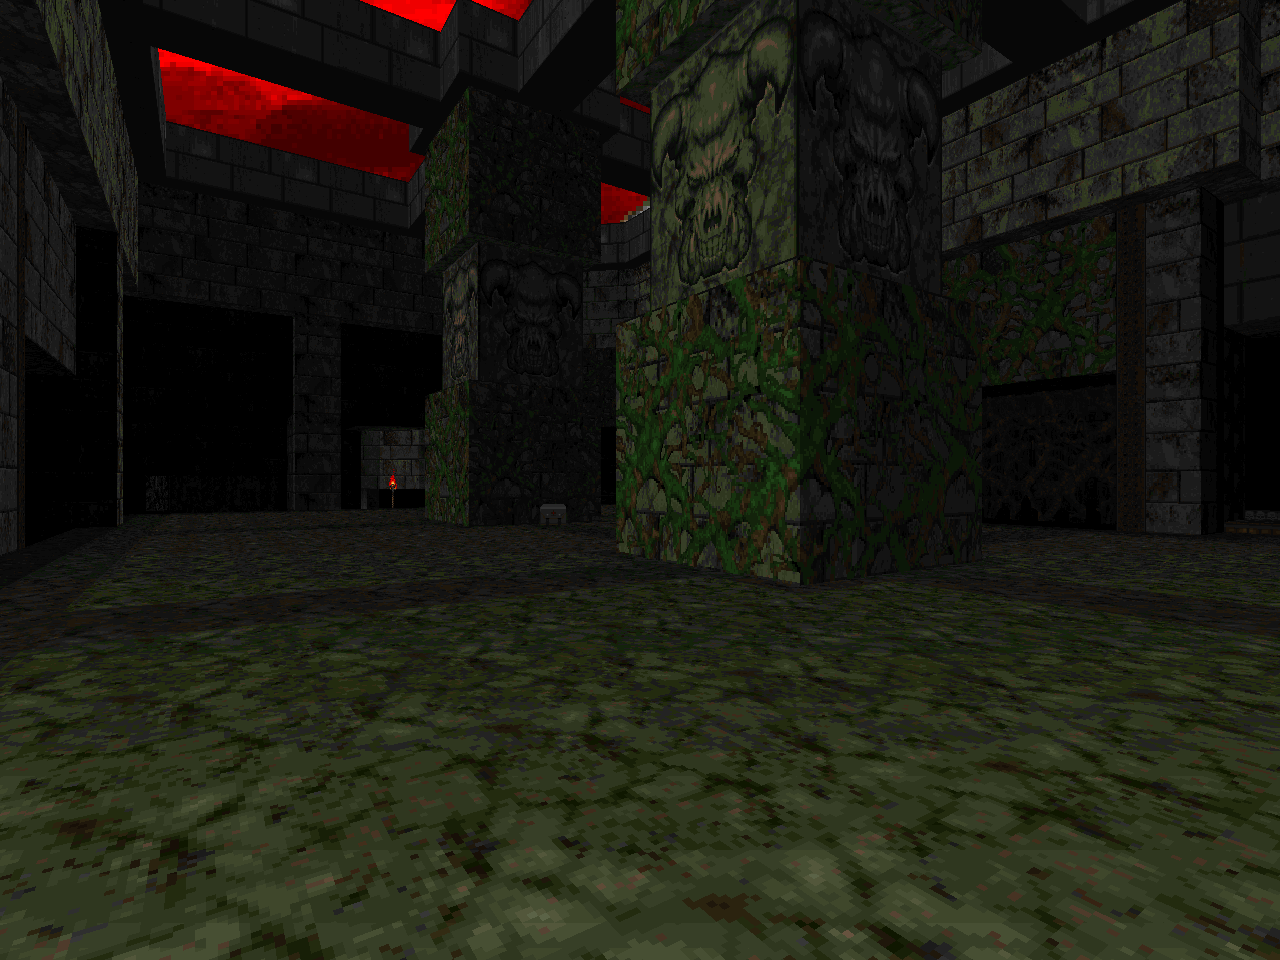
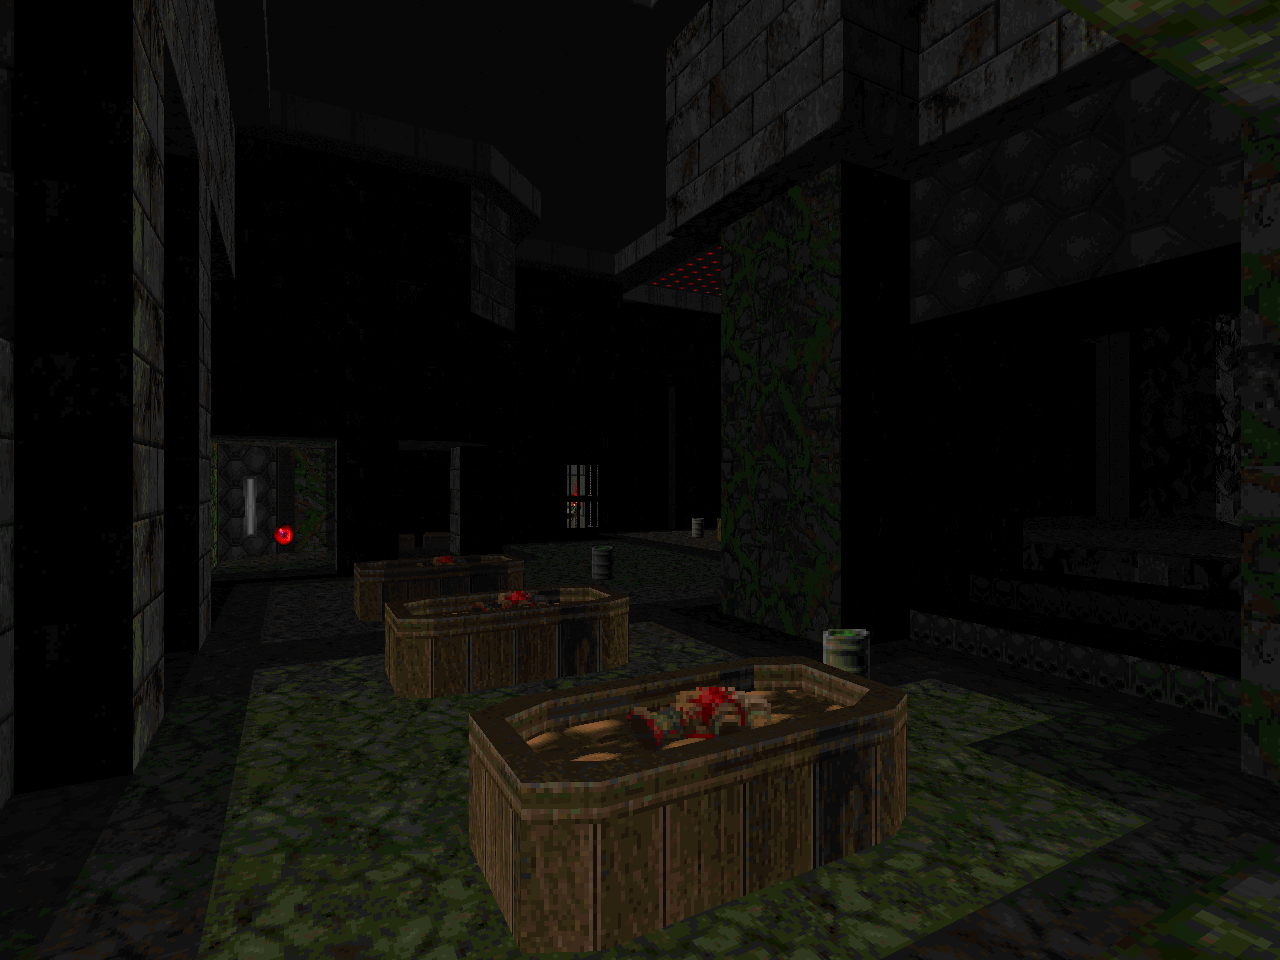 | Begins slaughter-lite with a Berserk fisting party, turns into an uncomfortable cavern shootout, and then finishes fucking hard. Powell employs big brick and marble architecture to great effect and the underground is dark and sprawling. Specters feel super dangerous, here, but the light level is low enough that virtually everything is a threat. It's fun to explore and Matt starts to deliver some pretty big shocks. I wasn't expecting to have to lean so hard on the rocket launcher but this level has oodles of Barons and cacodemons. The red key fight isn't so bad as it's basic suppression fire. If you want to handle the yellow one without dragging stuff out, though, then you have to be a crowd-shaping pro. The bridge guardian battle is a great spectacle; the sheer force on display is impressive and wonderful to just unload your ammo on. |
| Bunker | E2M5 |
|---|---|
| More techbase than corruption but it has a super tight layout and a monster gimmick. It's a pistol start terror; turning the wrong corner unleashes the small pack of Barons who guard the yellow key. Grabbing it releases a Cyberdemon, a twist that I wasn't at all prepared for. Luckily, fungineers can set these two players on a collision course and then wipe out the sole survivor using the given plasma gun. cannonball has a late stage ambush, too, but it's small potatoes after sorting out the manic opener. The true meat of the map comes in unlocking the secret exit, a multi-stage act that involves raising a pillar bridge... among other things. Hopefully you are smart to Powell's hidden button modus operandi. |  |
| E2M9 | Descent Into Darkness |
|---|---|
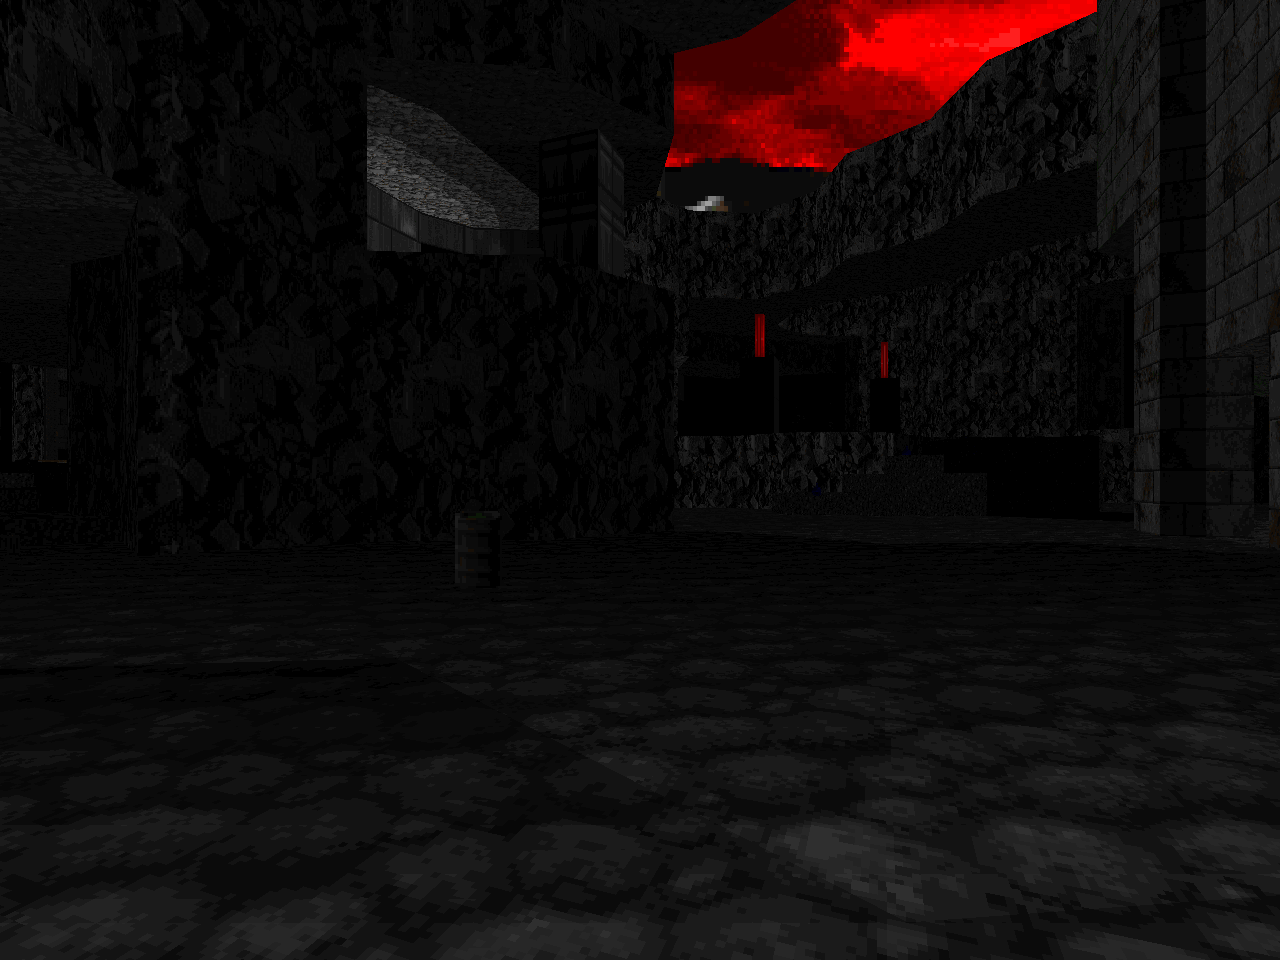
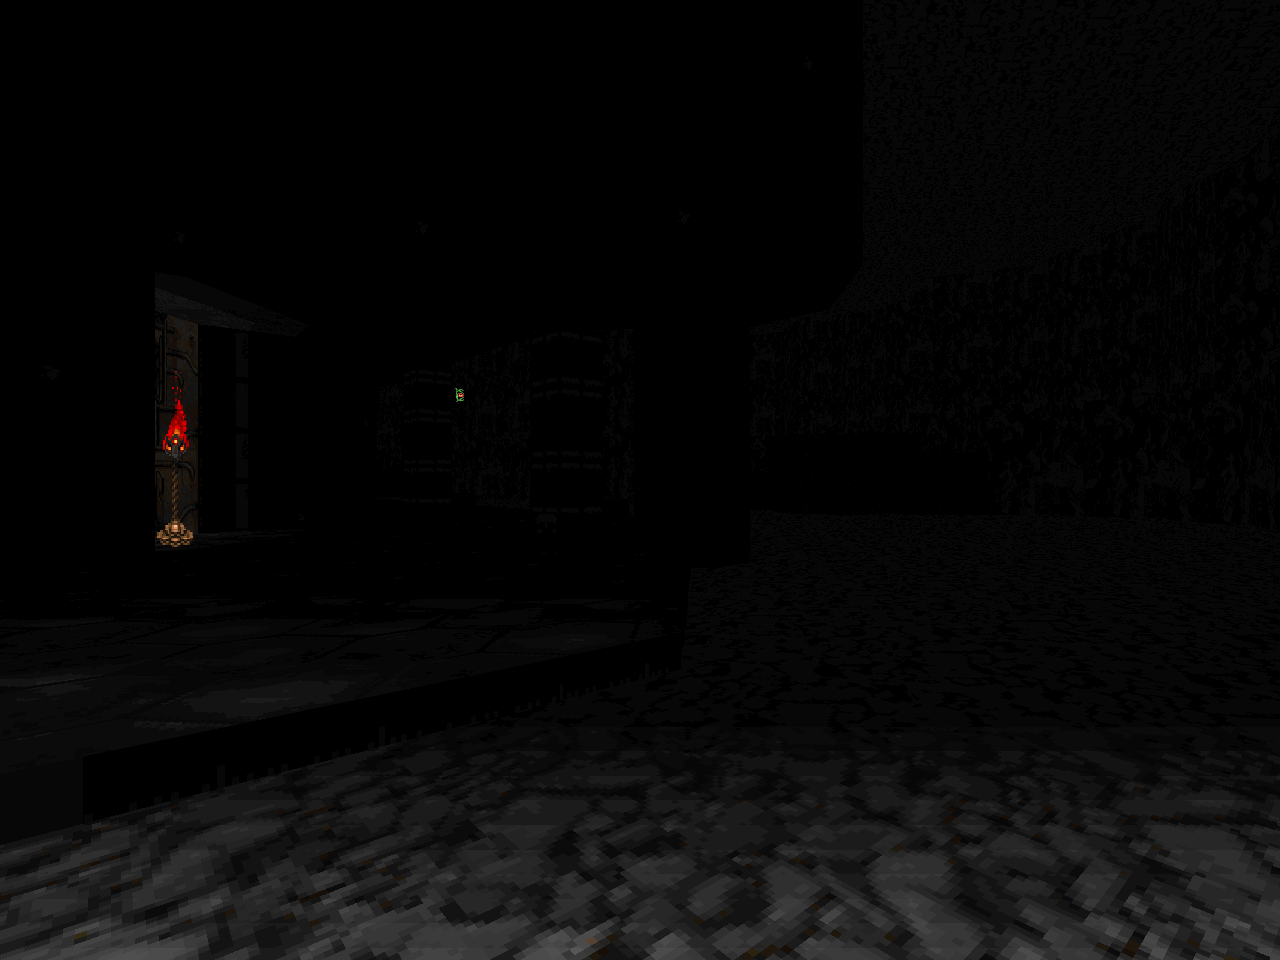 | A Hell Revealed homage. The opening is a descending pit fight that begins with a friendly neighborhood Cyberdemon. We move from there to space-clogging demons and Barons before you hit the ground floor and are flushed into the deadly dark exterior. It's tough to stick the landing on this map since the stakes keep ratcheting up. The outer region feels like horrifying randomness because it's very open but populated with enemies. Choice supplies are available but you're groping around in the dark for them. It's really easy to bump into a cacodemon and then get slapped upside the head by a rocket from another Cybie. Not to forget the supreme nerves-of-steel battle for the red key skull. |
| Aqueduct of Agony | E2M6 |
|---|---|
| The pressure is on. The Cyberdemon is an old friend and while he teleports away he is rarely too far from the player in these blood-carpeted tunnels. The damage floor seems like a hazard but standing your ground in an enviro suit is a foolish endeavor. This level is mostly about finding the first powerup point and then moving quickly between stations until you are looking across at the red key. At this point you can snag the secret BFG. The rest of the map is then a relative cakewalk. I cursed these sewers as I learned them but once I had it down smooth it felt pretty rewarding. | 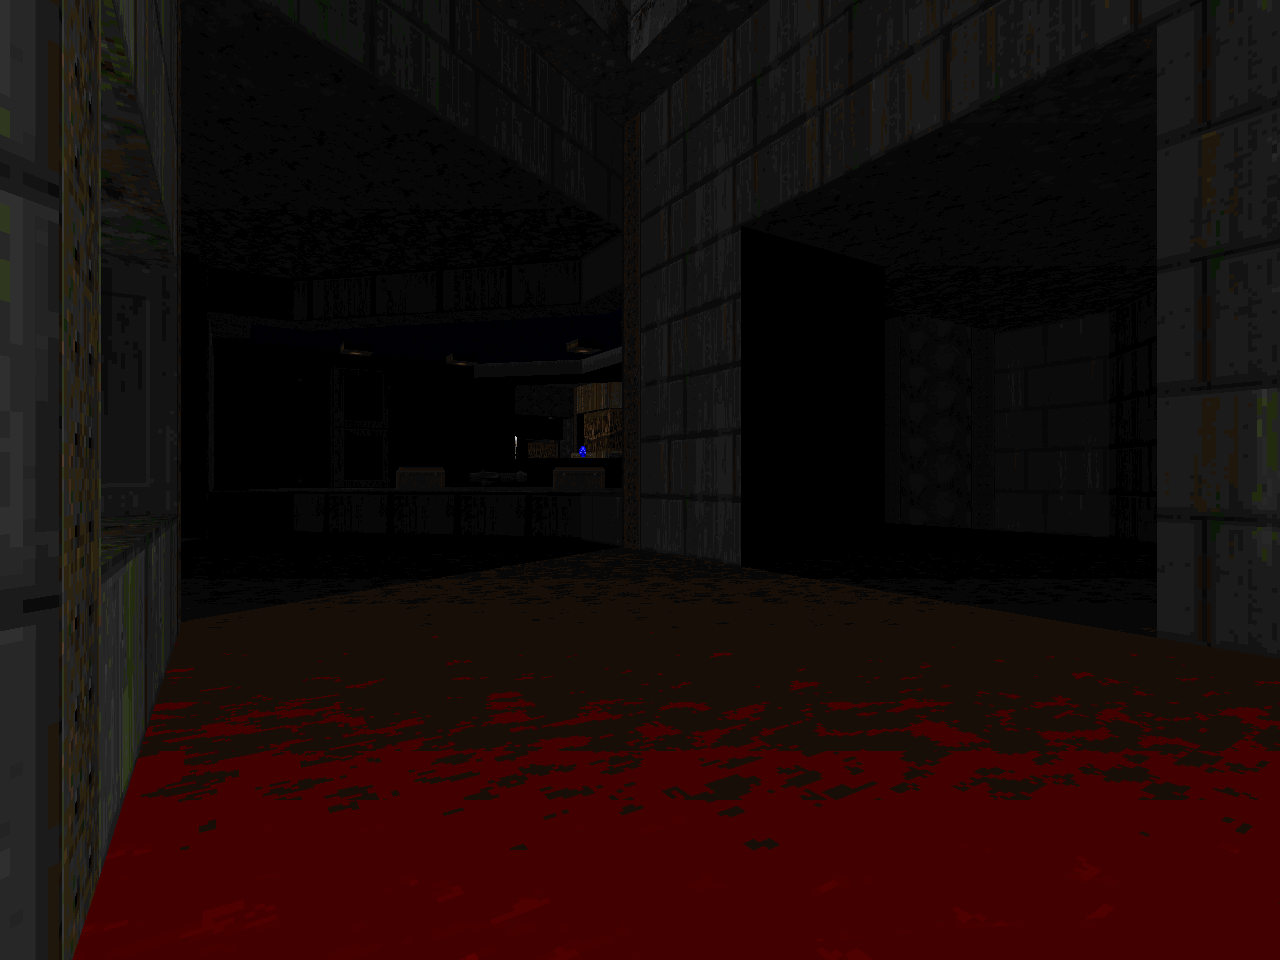 |
| E2M7 | Core Processor |
|---|---|
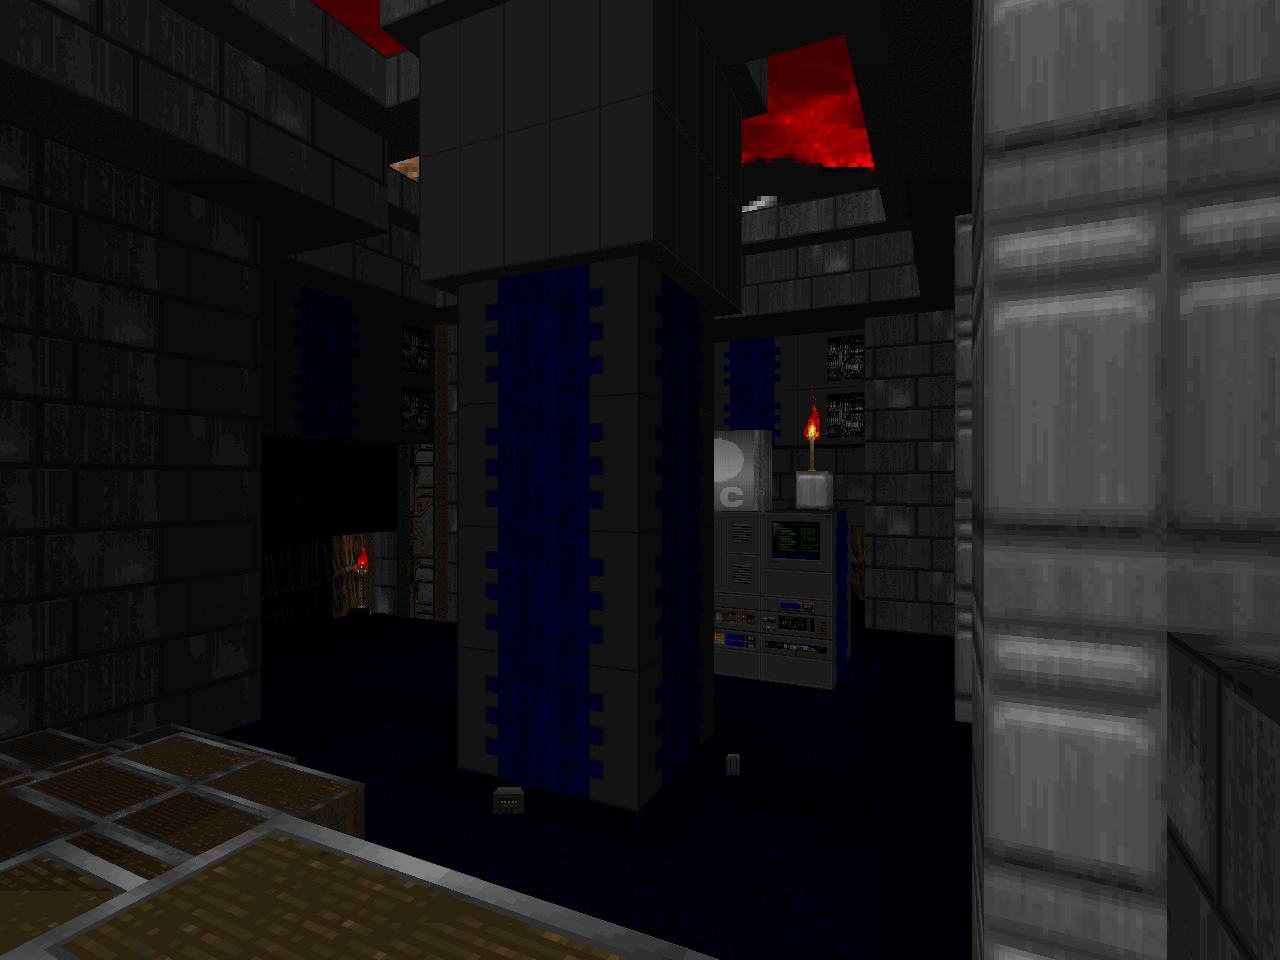
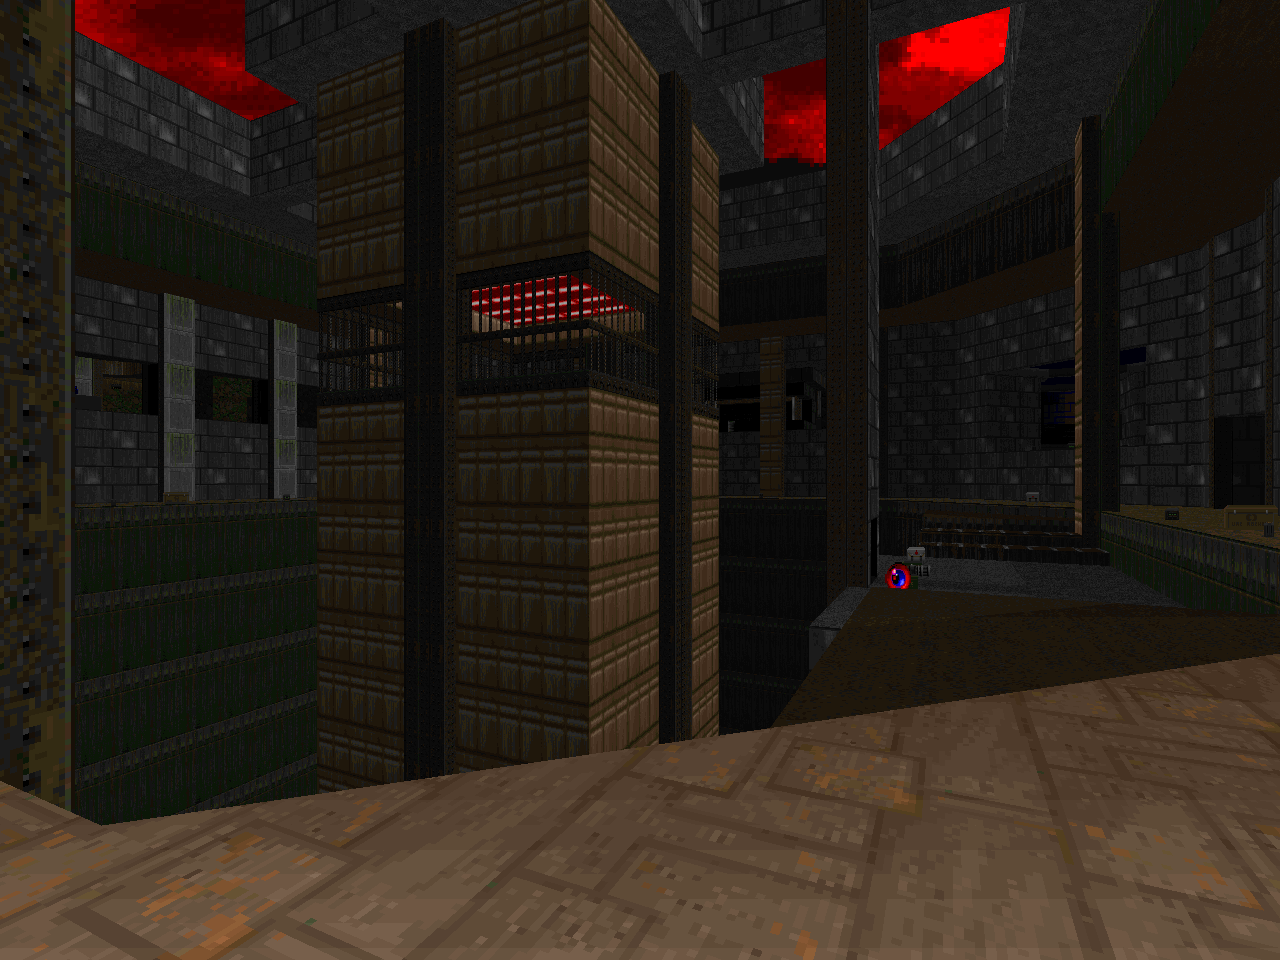 | Take everything seen so far and multiply it across a huge techbase layout with enormous, high-vaulted architecture. You won't really have the full picture of what's going on until the mob of cacodemons starts to emerge from the central pit. You will be sent fleeing somewhere, anywhere, in a desperate attempt to get some reprieve. Every pocket has something nasty to hide, though, especially the western lock-in fights. It would be good to know where the two BFGs are. It's also nice to see that you can run the invul sphere to almost all of the big fights to lessen your stress. The cacos are the real MVP, here. They occupy your precious space, take some mid-tier punishment, and can follow the player pretty much anywhere. The red gasbags also figure into every major ambush except for the finale. |
| Ground Zero | E2M8 |
|---|---|
| A massive, underground level done in the face of the invasion gate. This starts out pretty strong with the claustrophobia. Then it swerves hard toward an insane slaughter crossfire. The only way out is to kill all of the Cyberdemons and here the difference between UV and HMP is staggering. There are something like three times as many Cybies at the top with a trio beginning in relatively hardened positions as area denial turrets. It's a true clusterfuck to navigate and the second wave is just as bad as the first if not more so. Its biggest invaders arrive on the floor after everything else has teleported in. Crowd surfing and shaping will go a long way but I recommend Ultra-Violence to BFG bump enthusiasts alone. | 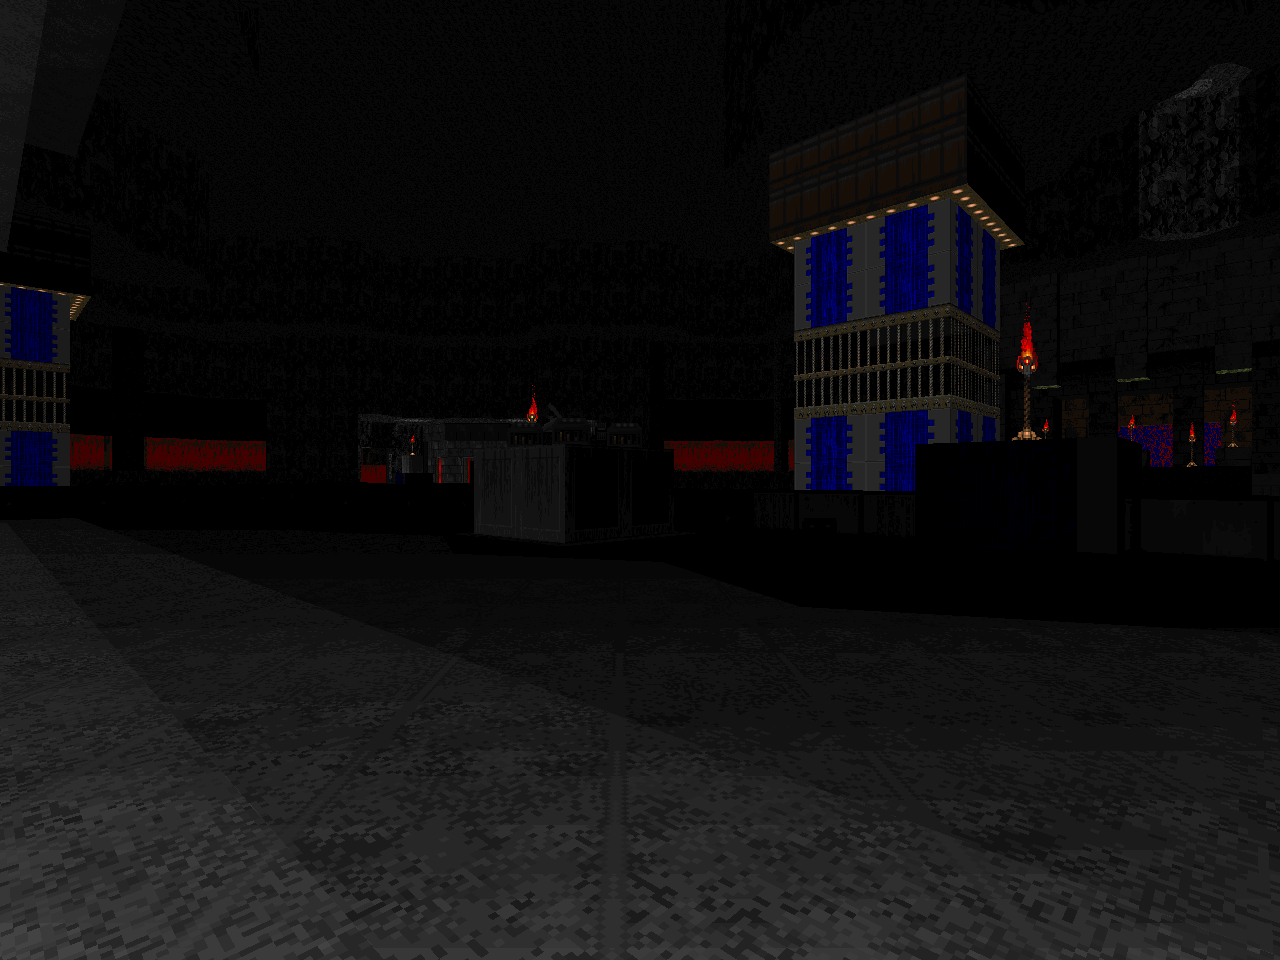 |
Well, shoot. These have been on my To Play List for a while, but I assumed they were just remakes of ConCERNed E1-2. Instead you make it sound more like a sequel with some revisited locales mixed in with the new stuff. Coolio! These have just vaulted up my list (along with Draft Excluder) right behind the new Monti megawad. I think I'll defo be going in at HMP, though.
ReplyDeleteI feel like the differences are far more significant than any similarities.
Delete