The MAYhem series has built a PWAD for every May since 2012 and, starting with 2014, they've all been megaWADs. The project organizers have changed but the general procedure is the same. 1) Pick a texture pack in order to give the set a distinct identity. 2) Decide on some sort of limitation as a gimmick. 3) Kick the event off in May, where the bulk of the level design is (hopefully) performed. In this particular case the merry month was used for planning and logistics while the actual work was done in June. 2016 was really a tale of two gimmicks but you probably wouldn't realize either due to the necessities of the final product's presentation. It's a 21-level mapset for Boom-compatible source ports and, in spite of some promising progress, still drug ass until it was uploaded in early 2017.

There is sort of a story going on here but, as typical, it's highly referential and played for laughs. The demons have taken over a UAC satellite and are using it to "Stroggify darkness". The appeal of an inter-company crossover event is highlighted in all of the normal text screens. Even the Doom marine seems perturbed at the idea of quashing the unholy matrimony of demons, Quake, and the Q2-ish Darkening E2 theme. The Earth doesn't appear to be under any imminent threat, after all, and the infernal experiment is suitably removed from their normal sphere of operations. Nothing that the monsters do is ever for our benefit, though, so it's up to you to recover the satellite.
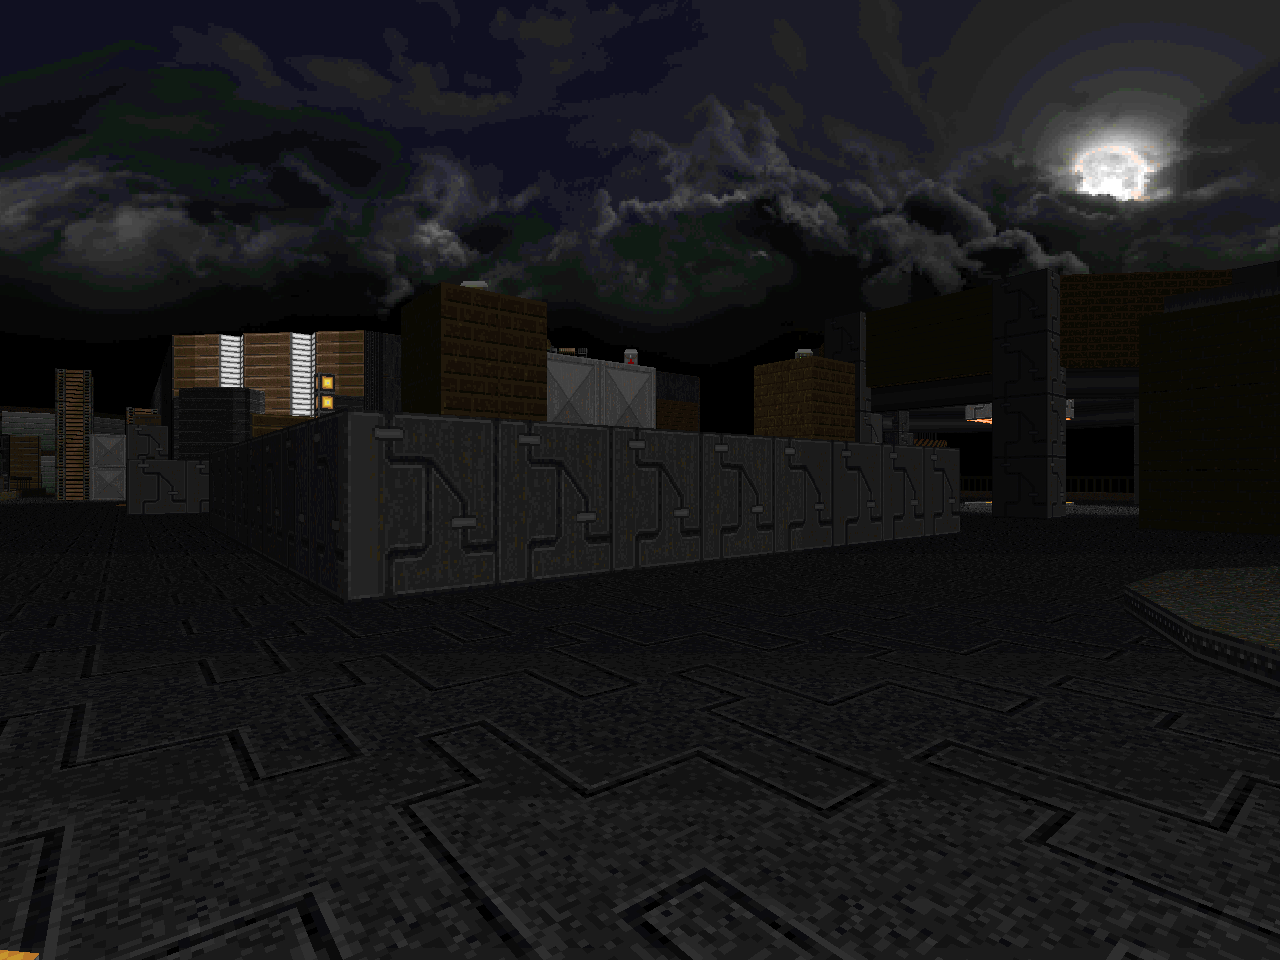
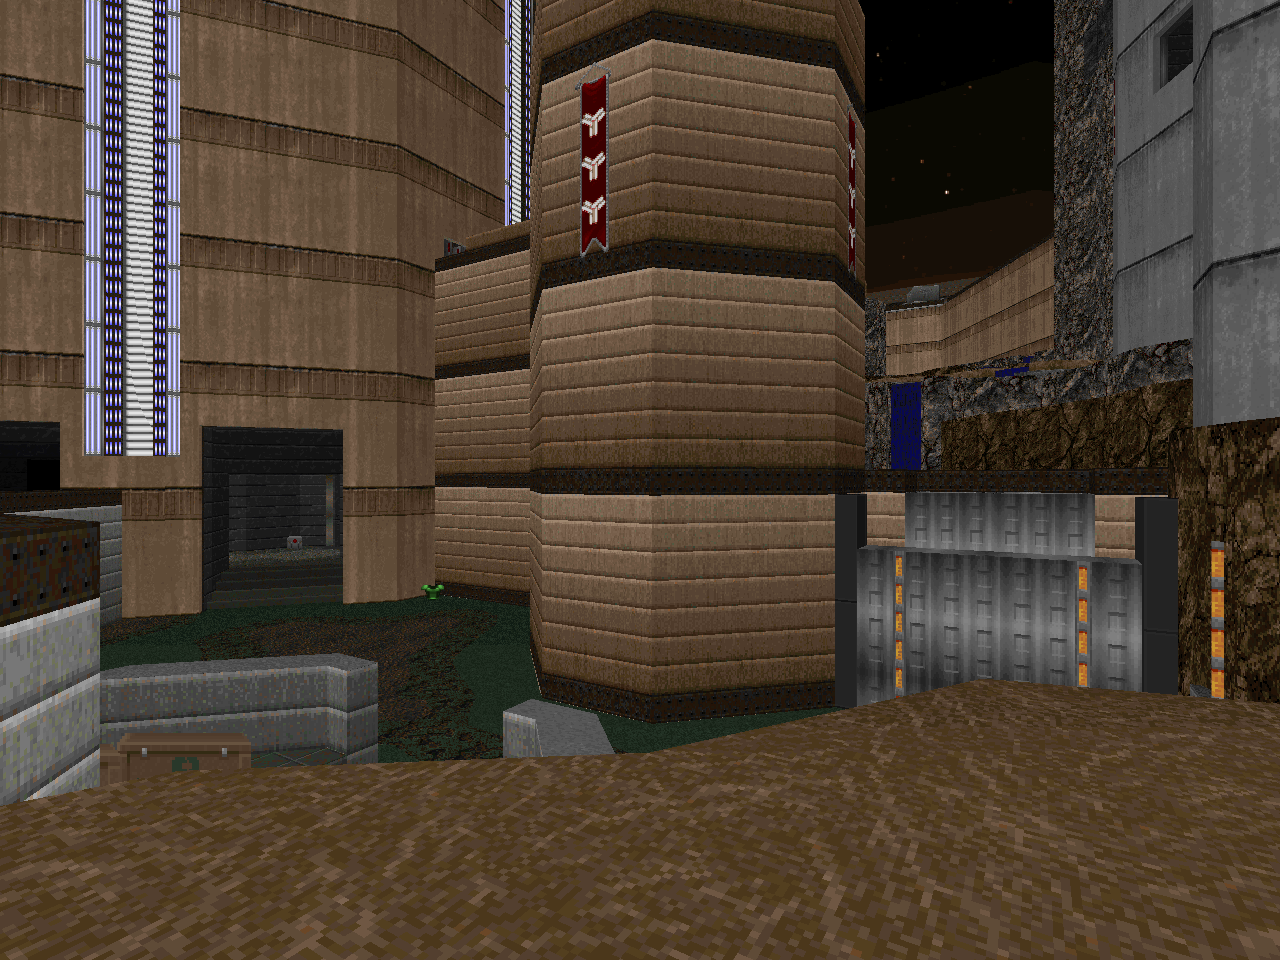
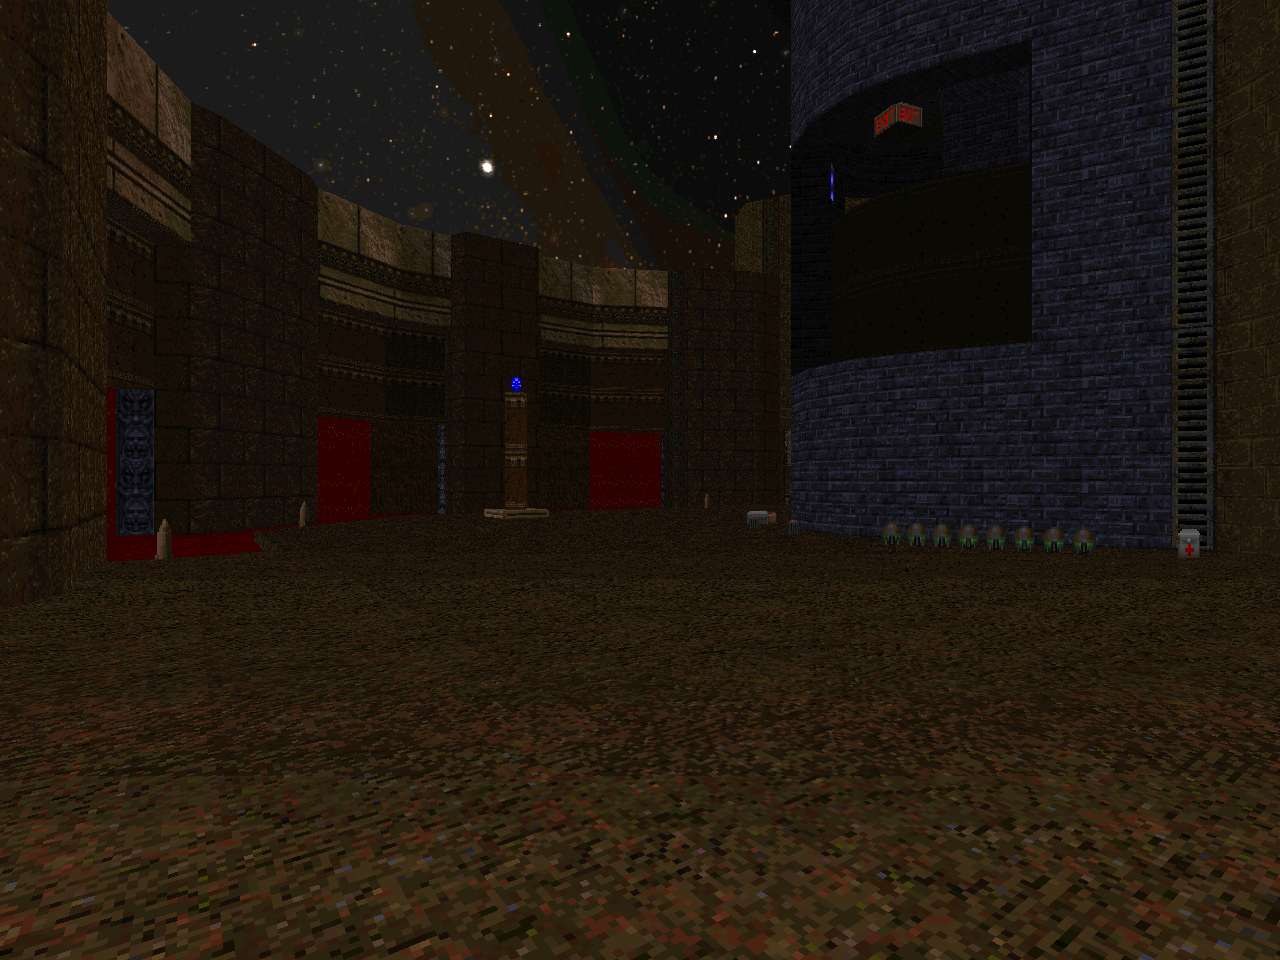
As the story summary hints at, the selected texture theme for this set is a conglomerate of post-Doom aesthetics. Quake is the most obvious one, at least for folks who aren't versed in community history. I am unfamiliar with the Malice TC so I dunno what is specific to it as seen in MAYHEM16. The Darkening E2 is classic but not necessarily ubiquitous due to Ola's originally restrictive distribution / use clause. I have no idea what it was like to watch the community develop since 2000 and largely ignore the pack but it's been fun seeing more takes on the material in recent years. The finished product has a lot of variety. I don't feel that Quake and DARKEN2 are complementary but they look pretty good when the former is used for eldritch, Gothic citadels and the latter for techbases.
The limitations are more pertinent to gameplay. Authors had two options. You either had to use a number of monsters equal to your chosen level slot x 10 or used no more than 160 initial things. The latter bit includes monsters, player pickups, and - I assume - decorations. These constraints aren't evident because, well, the object restriction breaks up the escalation immediately after the first level. The maps were also shuffled around with an eye toward cooperative play which is why the 30 monster death trap of "Maria" appears as MAP18. Adding to the variety is the fact that the project wasn't finalized with a level for every entry. "Seasons In the Abyss" (MAP19) has the most interesting story to tell since its monster total reflects slots 19, 24, and 29 depending on which difficulty you're playing. The esteemed Dragonfly's "Grievance", meanwhile, was clearly developed for MAP27.
This reshuffling doesn't really affect the set in my mind. MAYhem has never been about thematic cohesion - at least, not to me. The factor that ultimately unifies it is decidedly different. 2016 is wildly difficult, taking UV to highly uncomfortable places. I'm not talking about Rayzik's mastodonic slaughtermap in the secret slot, either. Alfonzo's "The Performance" is a suitable crown jewel, requiring the player to dodge imp fireballs and hopefully manipulate Cyberdemons into taking some out with rockets. This activity plays out over a periodically shrinking dodging space. I already mentioned Ribbiks's "Maria". Every one of its scant thirty monsters is fully felt as you try to navigate its abstract, three-dimensional labyrinth.
Tarns's first outing, "Xsshsss Zsss" (MAP01) gets the player in the proper mindset. It uses monsters as obstacles to be maneuvered around, at least until you get the berserk pack. Interesting that you're sort of prompted to manipulate its Cyberdemon into flattening some of the monsters; the first and final levels complement each other as bookends. Highly specific encounter design permeates the mapset and includes fun bits like "Kepler Communications" (MAP12). There, an annoying Cyberdemon is dispatched by sending it via teldeporter to do battle with the end-of-level Spiderdemon. Part of the reason that UV feels so challenging to me is the overly specific tuning of difficulty. You really need to learn these maps as opposed to, say, sight-reading them. This isn't a philosophy new to Doom, of course - be it Death-Destiny disciples like Ribbiks or even Yonaten Donner - but it surprises me to see it so strongly in a freestyle community project.
A few levels are more approachable than the rest. Paul's comparatively restrained "Clockwerk" (MAP15) is a great example. Its straightforward layout and combat came to me as a desperately needed breather. "Affinity" (MAP04) is early in the set so its easygoing nature is less of a surprise. It's another outstanding techbase romp from Jimmy, though. It lacks any truly murderous encounters or ambushes. Pinchy's "Piston Hurricane" (MAP10) is more straightforward in its difficulty insofar as it rewards deliberate, tactical gameplay after sorting out its player exposure-focused opening. It's a stretch, though, to include it with the others given its chaingunner packs and laser-focused plasma gun ambush.

Many of MAYHEM16's levels aren't thorough killers but instead have some kind of tipping point that comes as a sucker punch. The Remmirath and Marcaek feature, "Seasons In the Abyss" (MAP19), has some wicked cool fights and a nice castle to explore but the battle for the red key is a step beyond. "Steel Coffin" (MAP03) by Angry Saint starts out kind of punchy but the curved walkway puts you in one of the most blunt fuck-yous of the set. I mentioned "Kepler Communications" before; its precious moment is an apocalyptic tidal wave of cacodemons, pain elementals, and arch-viles on the ground. alter's "Cybercrusher" (MAP13) starts out as a deliciously dorky exercise in sector machinery but then plunges into the deep end with its cursed honeycomb. I really liked A.Gamma's "Galactic Decay" (MAP16) but its arch-vile machine room is a step beyond. I also recognize that I probably got lucky during its finale since it seems more balanced for having the secret BFG in hand.
Other authors just pour the coals on from beginning to end. Alfonzo and Tarns have an early collab in the set, "Will o' the Wastes" (MAP02), where every enemy seems poised to stick a knife in your back. Pinchy's other submission, "Darkvault" (MAP07), starts you in a compromising position and then appears to dump even more enemies into the player's space. Frei's second solo effort has some of the most awkward Cyberdemon combat of the set and the rest of the monsters in "Lodi Eno Rebmun Si Ocin" (MAP08) are just as nasty. "Blood From a Stone" (MAP09) is beautiful and has something of an adventure flair given its expansive, optional cave. Every step is agony, though, and the pain for me peaked with the plasma gun fight in the derelict station.

The remaining maps are, for me, somewhere in between. I like the smooth look of "Vaalbara Reborn" (MAP05), Argentum's first offering, and it has some fun, punchy combat. The end of level invasion feels a bit too entrenched given the secrecy of the weapons but you aren't really forced to clear the entire horde. Urthar's "Ziggurat Mayhem" (MAP06) is the most purely Quake of the bunch - Sir Also Appearing in Dimensions of the Boomed. It looks friggin' awesome, has some neat sector machinery bits, and a couple of awkward as Hell ambushes. "Quaker Plumbing Inc." (MAP11) feels like a very Skillsaw-inspired level in its multi-front lock-in fights but the connective tissue has the same, treacherous monster placement as the rest of the set. It just does a nice job of drawing you through by supplying you with enough ammo to keep you semi-confident.
I love an_mutt's "Ancient Den" (MAP14). The main leg has weighty combat with one nasty fight - the obvious soul sphere pit - but the pop-up secret slaughter must be seen. It's a fantastic visual. I also adored Dragonfly's "Grievance". Some of the tower segments feel a bit finicky but the ground floor offers fun and frantic slaughter-lite set pieces. I was surprised at how much I enjoyed Rayzik's "In Death, Is Life" (MAP31) compared to the overall tone of the main run. I think that I just appreciated how straightforward its setups were. It could easily have been a matter of luck, too, as far as where I decided to blow my BFG ammo during the key-locked stages.
In general, I was caught aback by Mayhem 2016's more difficult moments. I strongly suggest that any initial / casual playthroughs be done on HMP or lower. Many of the headaches only exist for players attempting to kill every monster but some of the more grueling encounters cannot be skipped through on your way to the exit. It was interesting to read the DWMC thread and see so many folks stall out in the final quarter (and hear some of the same grievances regarding the most troublesome encounters). There is an incredible level of artifice showcased in these levels, much too good to be waylaid by a stodgy adherence to UV or bust.


MAYHEM 2016
by assorted authors
| Xsshsss Zsss | MAP01 |
|---|---|
| by Richard "Tarnsman" Frei | |
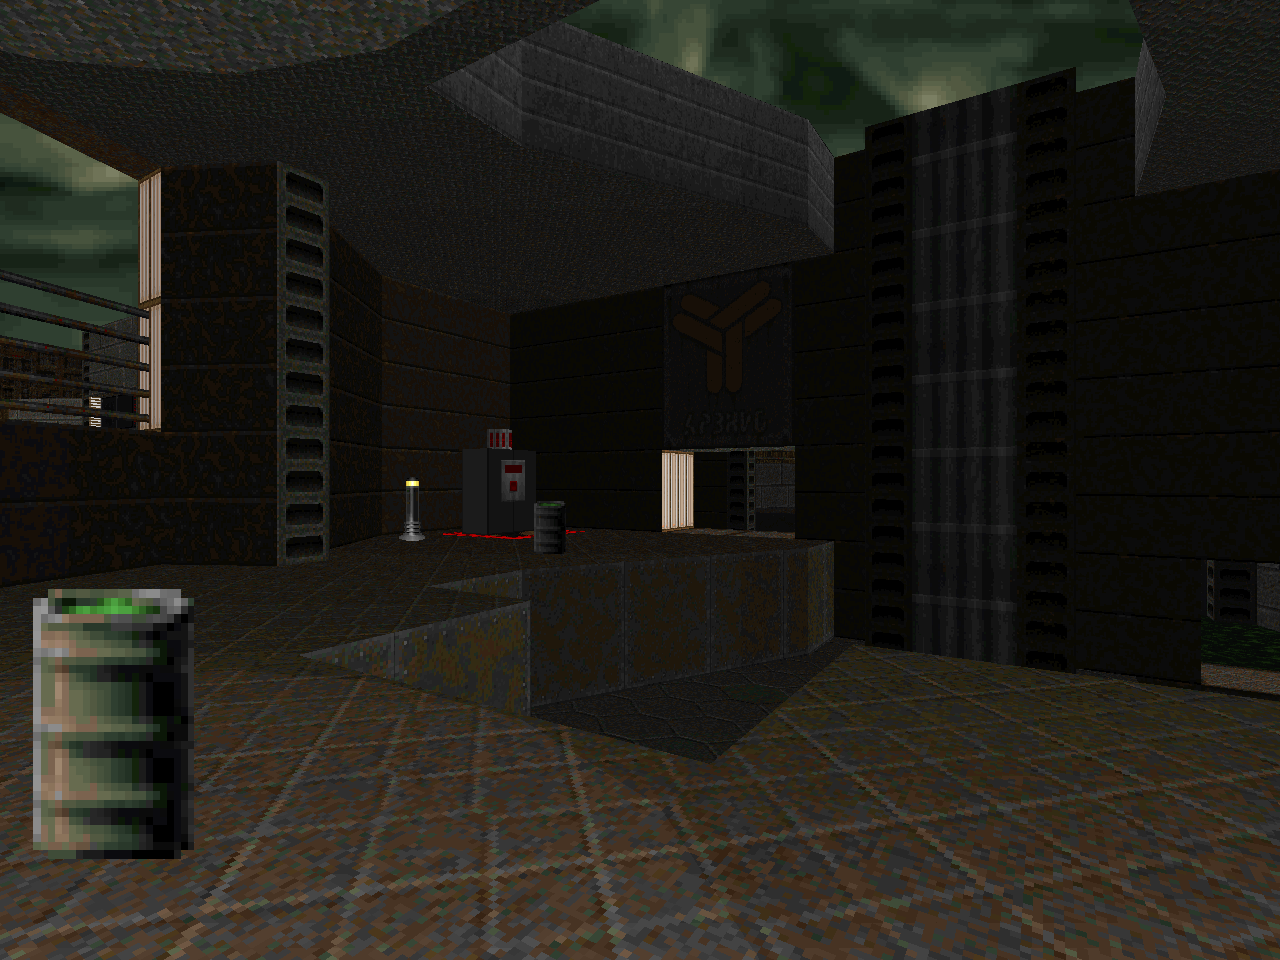
| An interesting way to kick off the new gimmick. This is a puzzle level with beefy monsters and no real weapons besides a Berserk pack. The enemies are the elements, though, and you'll need to manipulate them in order to get to locations safely and clear the way. Once you know what's going on it's pretty easy to get up to the section where you need to punch out an arch-vile. It would be great to leave its two revenant retainers alive in order to goad them into softening up / killing the mancubus but, well, good luck. Rich's elegant architecture and texture is on full display. The lowering blood table makes the tiny layout feel much more complex. | 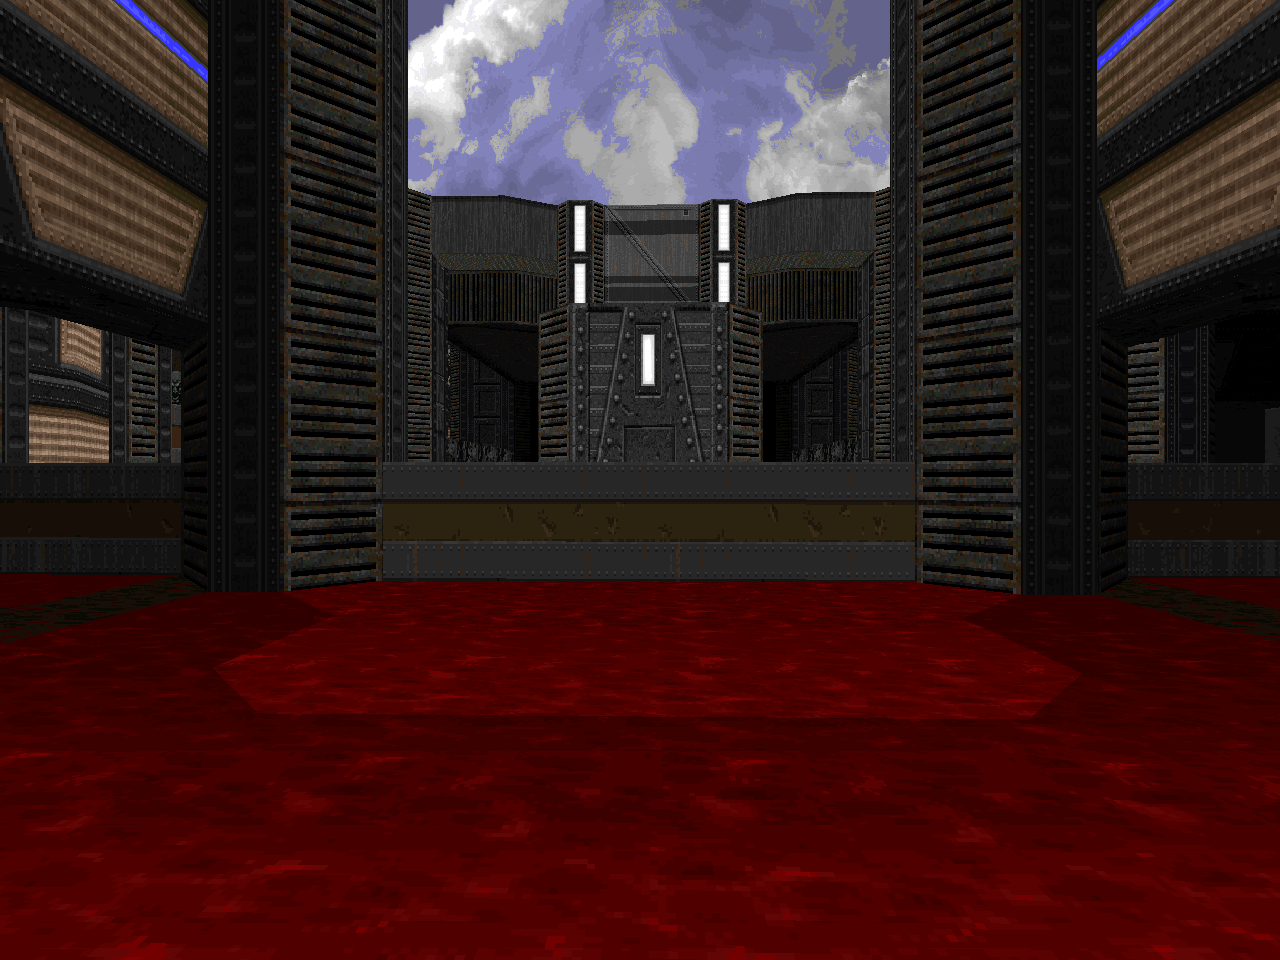 |
| MAP02 | Will o' the Wastes |
|---|---|
| by Augustus "Alfonzo" Knezevich and Richard "Tarnsman" Frei | |
 | Gorgeous use of the earthy and terra cotta textures, here. The opening shot with the crumbling column and dagger arch is exquisite. I also love the blue brick drop-in room, the scene of a simple but super-dangerous battle involving a Baron, a few arch-viles, and their spectres. It's a very unforgiving level with tricky dick monster placement. Not that I expected anything different based on the two names at the helm. A lot of the surprises are simple things like hitscanners lurking in corners, a detail you're prone to overlook as you run from bigger fish. I appreciate the cacodemon use; the layout facilitates their free movement and you're rarely safe enough that you can just ignore them. It's tempting to blow your rockets with all the meat running around. The woken arch-viles beyond the southern door are a brilliant detail since they ratchet up paranoia and clue you in to keeping an explosive nest egg. The authors have hidden away a BFG which could trivialize the finish but I couldn't be arsed to figure it out. |
| Steel Coffin | MAP03 |
|---|---|
| by "Angry Saint" | |
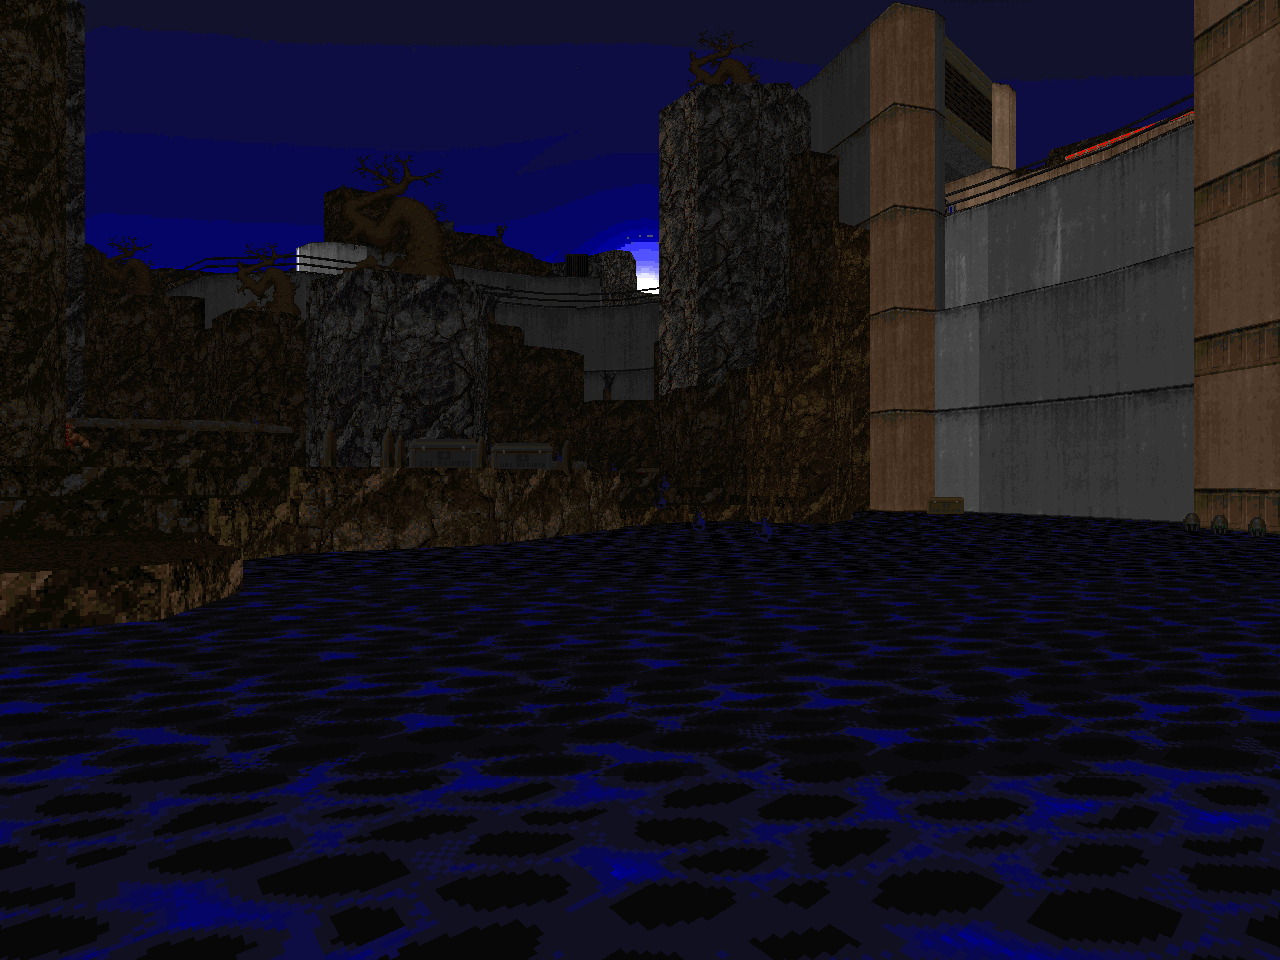
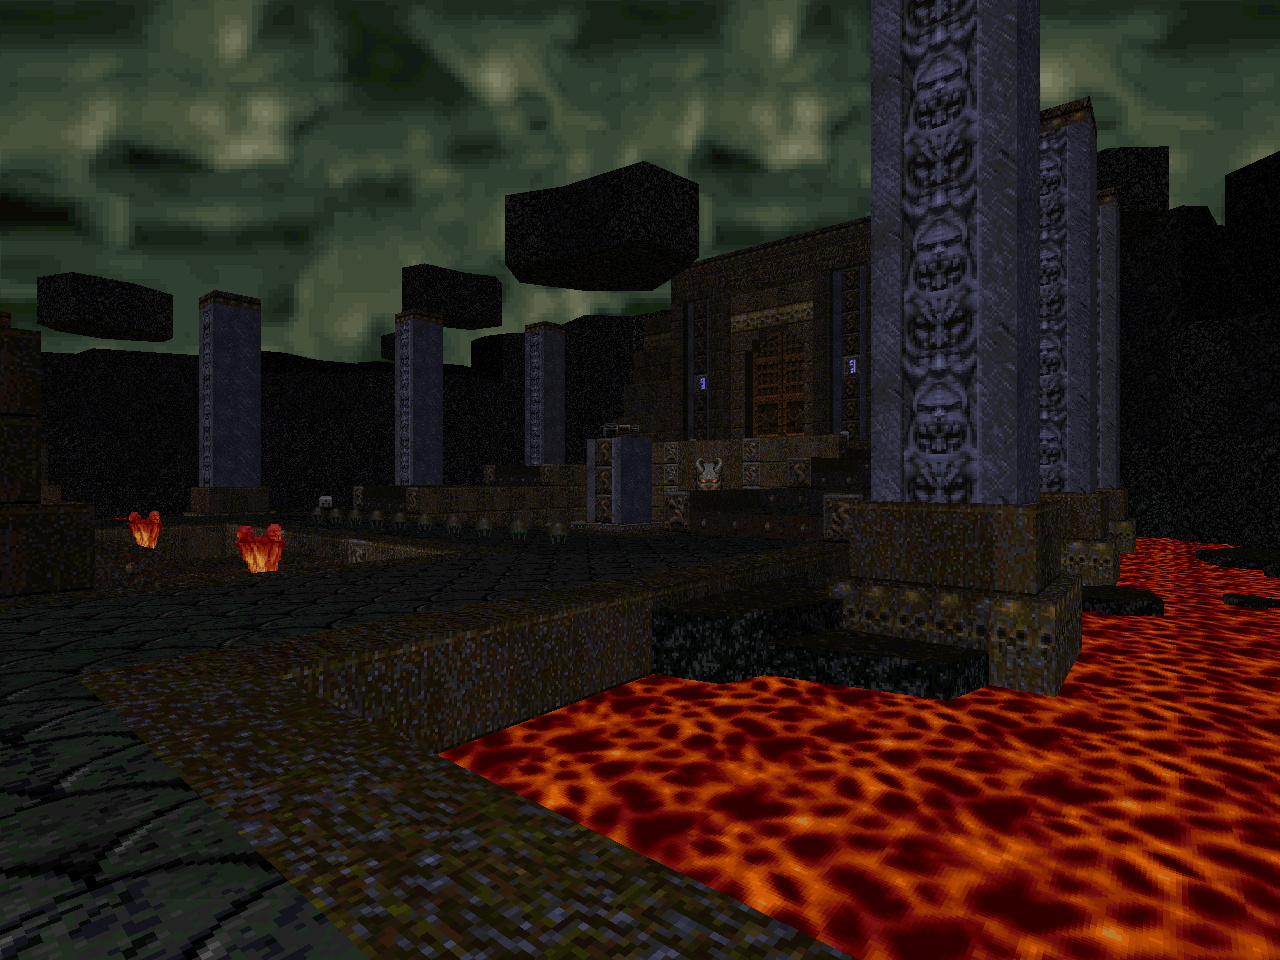
| Truer words. This is a great dark-looking techbase with a few brutal shocks. The combat shotgun trap is the first and sets the tone but I had a better route in mind for my second attempt. The soul crusher is the semi-circle walkway by the nukage canal. When the trap springs you have a gallery of chaingunners across the way; a pack of revenants behind; and a mancubus blocking the doorway. I dunno what the "sure thing" strategy is but if you run behind the revenants then you can use them as a shield while the mancubus waddles out. None of the other fights really compare but the grand staircase chamber gets an honorable mention. You'll be so panicked by the pain elementals that the revenants who teleport behind you slip your awareness. At least, up until you catch a rocket to the back of the head. As always, I enjoyed Angry Saint's large-scale architecture. The curved passage looks great and the true nexus - with the enviro suit machine island - makes for a cool landmark. |  |
| MAP04 | Affinity |
|---|---|
| by James "Jimmy" Paddock | |
 | A knockout base with several nukage channels. This level is highly interconnected and uses its apertures to hint at the major secret area. It's also kind of dangerous since Jimmy has spread a bunch of mid-tier monsters around the facility for you to bumble into. The super shotgun is available early on and will help, but it's located in a counter-intuitive direction. "Affinity" is a handsome level with all of the irregular corridor and room shapes. It even has a laser grid or two to disable. Most of the combat doesn't stand out in particular but there are a couple of surprises dependent upon the tight ammo balance. The aerial ambush at the red key is one but the exit room surprise could quickly turn around your victory parade. |
| Vaalbara Reborn | MAP05 |
|---|---|
| by "Argentum" | |
| A wicked cool techbase level built out of smooth, curved lines. It has a few cute world-building bits with inaccessible locations and the neat, corporate-style planters. I really like the sandbar-esque landmass seen from the northern bridge-bound island. Making all of the big weapons secrets (well, not so much the SSG) is a gutsy move but it's not like you have to stick it out during the finale. The facility layout opens up in a few crucial ways as you play through, like raising poles so that you can access the upper tier. Or the huge-ass eastern side area where the author dumps a healthy mix of revenants and mancubi on you. I wasn't particularly fond of the combat during the final big ambush but I didn't figure out the secret plasma gun until I'd finished the map. That would have made the nearby Cyberdemon much quicker to dispatch and the other one is trivial to slay with rocket fire. |  |
| MAP06 | Ziggurat Mayhem |
|---|---|
| by Stephen "Urthar" Wadsworth | |
 | Classic Quake vibe, here. The big thing missing is, of course, the insane verticality of "Ziggurat Vertigo". The plane is a bit more even but the author has still squeezed in a fun bit where you can platform your way to a handful of rockets. Urthar allows you your pick of two different paths, each one ending at the yellow key. One of them is much longer and full of combat scenarios while the shorter leverages crushers and damage floors for much of its route. It's a tough level and I had to pick apart a few of the bigger ambushes before I could consistently best them while still playing aggressively. The outdoor arachnotron fight is just plain awkward, for instance. You're actually a bit better off opening up the northwestern pit's monster closet, too, even if you just run back up to kill the staircase mancubus. I love it, though. |
| Darkvault | MAP07 |
|---|---|
| by "Pinchy" | |
| This antiquity-themed level has an in-your-face attitude. You start out in some crossroads and the view to shotgun gently points you in the direction of the first major progression point. You don't need much more prodding to take the plunge though the peanut galleries of monsters lining the hallways helps. The northern chamber is tantalizing with its shotgun and boxes of rockets. However, it unleashes an army of monsters: revenants from one direction and the other mancubi and cacodemons. This makes for the most serious of all the encounters. Pinchy has worked a few fun reveals into the geometry. The adjusting pillars to the east are a fun detail but the floor falling out of the southernmost chamber caught me off-guard in a great way. |  |
| MAP08 | Lodi Eno Rebmun Si Ocin |
|---|---|
| by Richard "Tarnsman" Frei | |
 | An amplified echo of Tarns's style in MAP01, rendered in granite-bound antiquity. You get access to weapons but the enemy placement is so much more excruciating. It's a tough 44 monsters and includes a Cyberdemon that you'll have to avoid for much of the opening as well as two others later on. All of these fellows can be slain by a late BFG pickup but the one at the top ledge is easier said than done due to its awkward accessibility. My favorite fight happens right after picking up the rocket launcher. Your munitions are limited but you're pressed by a gang of Hell knights behind you while the arch-vile cackles as the yellow key guardian. You can use three rockets to soften up the goat men, though, and give yourself enough room to dance outside of the AV's area denial. I was shocked by the isolated revenant / arch-vile / pillar fight but it's more scary than it is difficult. |
| Blood From a Stone | MAP09 |
|---|---|
| by "Benjogami" | |
| The opening visual, with the earthen spire off in the distance, is great. I like the derelict base and the tantalizing secret cavern on its northwestern side. It's far more difficult than anything to have come before, though. The opening encounter is something like an insane take on the beachhead storm of "The Living End". As you press on you must submit to fiendishly designed ambushes. The worst is the congested invasion in the base's bowels; you'll have to do quick and precise work with the plasma gun to buy some room. The cavern bit is accessible from here and if you know what to do then you can tear down the dividing wall. I dunno whether it will help the situation, though. I don't think that getting the secret BFG before taking on the arch-viles is feasible. Good luck figuring out either of these your first time through! Assaulting the spire itself is actually pretty easy once you've busted up all of the badasses. I like that there are little bits of ammo tucked away behind some of the surrounding islands, an acknowledgement of the curious player. |  |
| MAP10 | Piston Hurricane |
|---|---|
| by "Pinchy" | |
 | This has a vaguely comparable vibe to one of the author's Mayhem 1500 entries, "Drillbit Compression" (MAP17). The action appears to occur on some sort of platform in the middle of the ocean and conveyor belts figure in to the layout. Here, though, the outer ring of the facility is completely exposed. It's a testy, projectile-dodging layout with hitscanner snipers in a few key locations in order to give you something to prioritize. Chaingunners infest this level and tend to crop up where you least expect them. Many of the pillar / box-bound enemies are Hell knights, so you're not going to be clearing them quickly until you locate a rocket launcher. The platform's interior compound is actually relatively safe to stand in and has some fun sector machinery bits. None quite as cool as the orange / green hurricane transformation that closes out the action, though. The combat is not about set pieces as much as it concerns carefully moving and pulling teeth until you can strike with superior firepower. |
| Quaker Plumbing Inc. | MAP11 |
|---|---|
| by Justin "Breezeep" Kelly | |
| I was so drawn in by the action that I forgot to save on several occasions, sending me back to course through the level. This is a great location-based adventure as it takes place around and on top of a giant, beautiful dam. The author does not pull punches; heavy-hitters appear early and enemy placement in the caverns is built to lure you in and stab you in the back. Justin has two big standout encounters, one at the foot of the structure with the other on top. I wanted to save my rockets to clear out the bigger meat but it actually felt more worthwhile to blast apart the comparatively fragile monsters. Hitscanner attrition is real, of course, and quickly handling the weaker foes gives you more room to bob and weave with the SSG. Neither (!) Cyberdemon is all that dangerous when you think about sneaky shit like the yellow bar arch-vile ambush. |  |
| MAP12 | Kepler Communications |
|---|---|
| by "Argentum" | |
 | This has the same sort of rugged wilderness / clean outpost aesthetic as MAP11 but it is much more difficult. The ammo balance is over-tuned to turn the encounters into puzzles. Woe betide the player who doesn't figure out the ledge-hop secret to the armor / rocket box / large cell room. Or, for that matter, the teleporter pad meant to send the spiral staircase Cyberdemon into mortal combat. I can deal with the plasma gun bunker early on. I dig the ambush placement between the mancubi up front and the arch-viles on the opposite side plus arachnotrons to keep you on your toes. The enormous cloud of cacodemons and pain elementals which arrives with the blue key grab is soul-crushing, though. I get the feeling that you're supposed to leave the early overwatch Cyberdemon alive in order for him to do some dirty work for you. Of course, you don't realize this until it's too late. If you decide to run, then you'll have to punch through the aerial horde and circumnavigate a couple of spoiler arch-viles. Less painful than Berserk-fisting the cloud, supposing that you're fortunate enough to surgically slay the four or so pain elementals. Gorgeous level; unless you're a masochist, though, I recommend bringing more than a pistol. The cable antennae is deliciously DoomCute. |
| Cybercrusher | MAP13 |
|---|---|
| by Przemek "alterworldruler" Zimny | |
| Huge architectural spaces and neon lights in this cyberpunk railway stop. The author is a fan of using upper-tier monsters. The only sub-revenant appearance comes from chaingunners used in a conspicuous, elongated tier climb. Most of the big boss monsters are logically dispatched using an assortment of slow crushers that are spread throughout the level. Some do a better job of harrying the player than others but in general I found the regular enemies to be more dangerous. This sort of changes in the finale since it's a huge honeycombed structure with fast instead of slow crushers. I can see the pros and cons of either speed but the bottom line is that a full clear begs extensive use of the plasma gun. The first phase of the encounter is pretty easy to wrangle. The initially spread-out arch-viles for the second, though, require a somewhat more thoughtful approach. You may want to stick to outlasting them until the exit teleporter opens... | 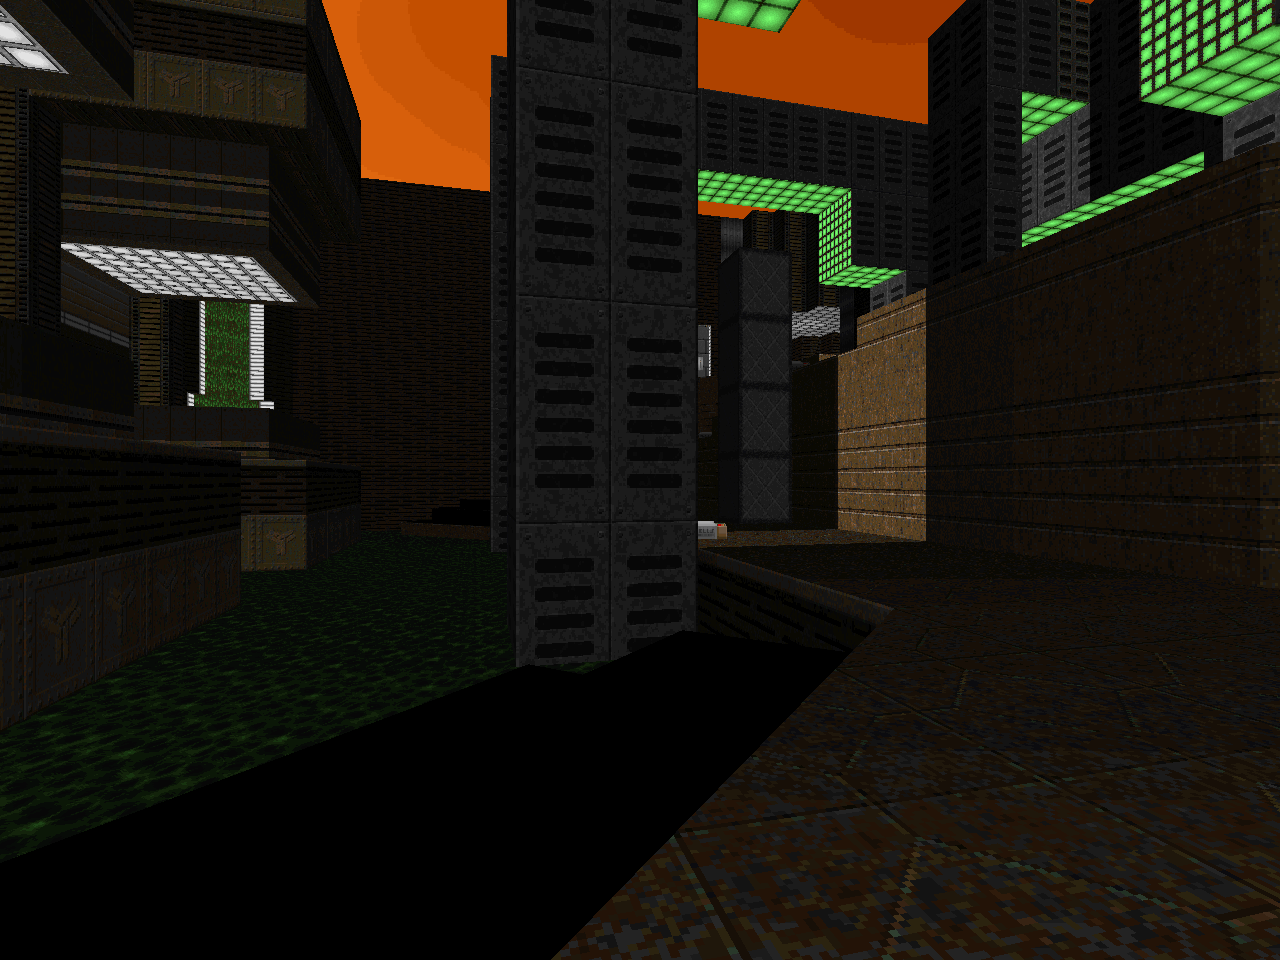 |
| MAP14 | Ancient Den |
|---|---|
| by James "an_mutt" Collins | |
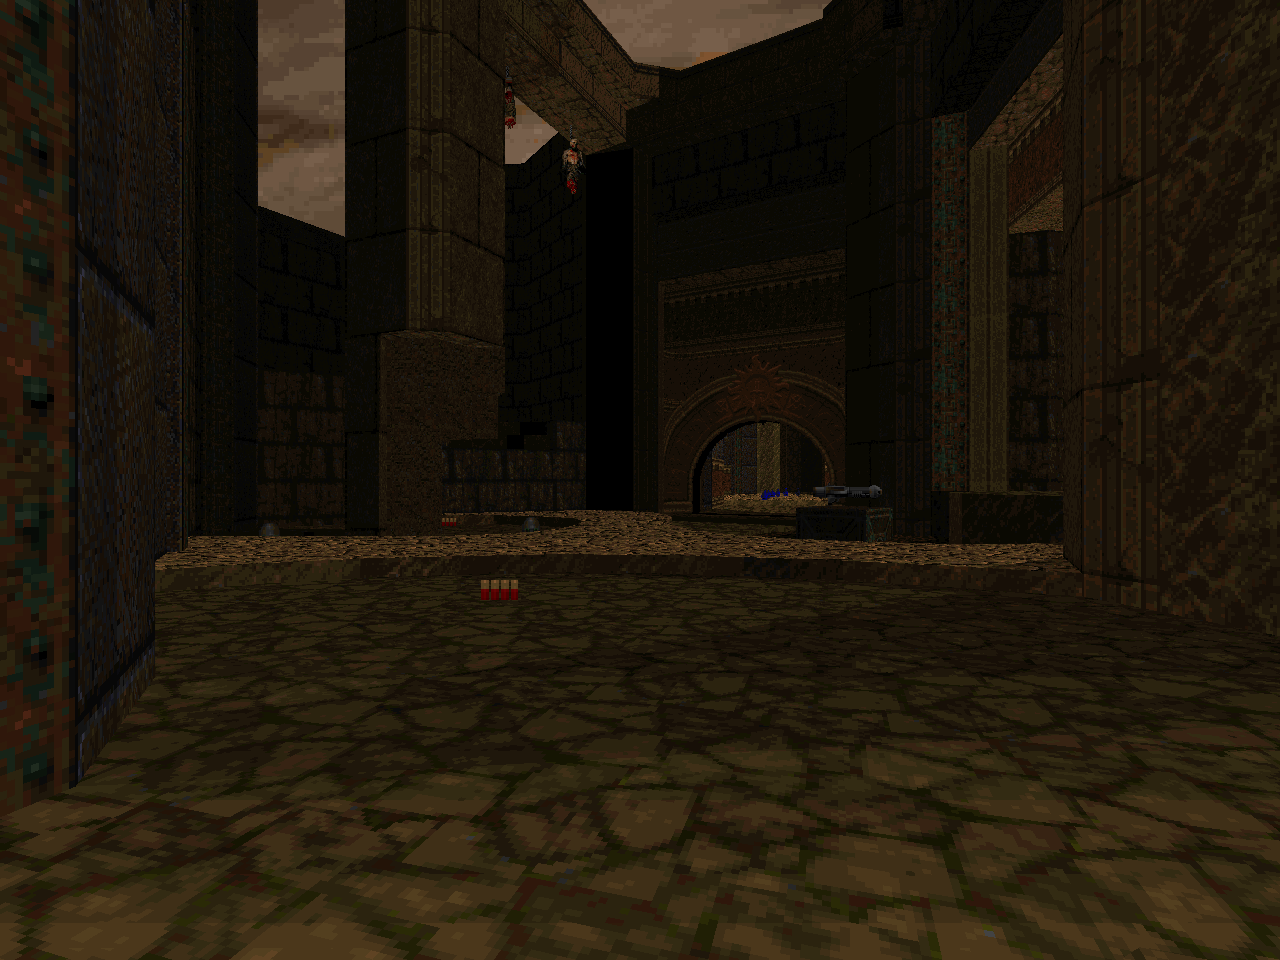
 | As the lovely tones of "Birdsong" waft over me I'm hoping that I get something of a breather. This is a great ruin level, situated out in the middle of a desert. an_mutt still throws a fair number of big bads at you but the playing space never really feels crowded apart from that goofy soul sphere. Sure, you still have to deal with arch-viles and some larger fare, but most of the really dickish fights are restricted to the secret chain. It's worth pursuing because the eventual reward isn't so much the BFG or the fight where you get to use it. Rather, it's the way in which a low-lying set of ruins rises out of the sand to create a slaughter-lite arena. I love how interconnected the level feels; as I played on a few of these details caught me by surprise. The draining blood pools are one of the sneakier examples but there are a few others. Very cool stuff. |
| Klockwerk | MAP15 |
|---|---|
| by Paul "pcorf" Corfiatis | |
| I desperately needed a bit of levity and Paul is eager to supply. This simple, rectilinear level features a good mix of the Doom II bestiary. It's something like a fortress but the major motif comes from the use of those clock face panels. The toughs come at you in dribs and drabs, each one giving you plenty of time and room to dance with the super shotgun. I like how Paul weaves you through the level. The process opens up paths back to the starting area and also shunts you around using those wall-mounted Quake portals. I guess that the arch-vile at the finish might come as a shock but by this point I've been desensitized. | 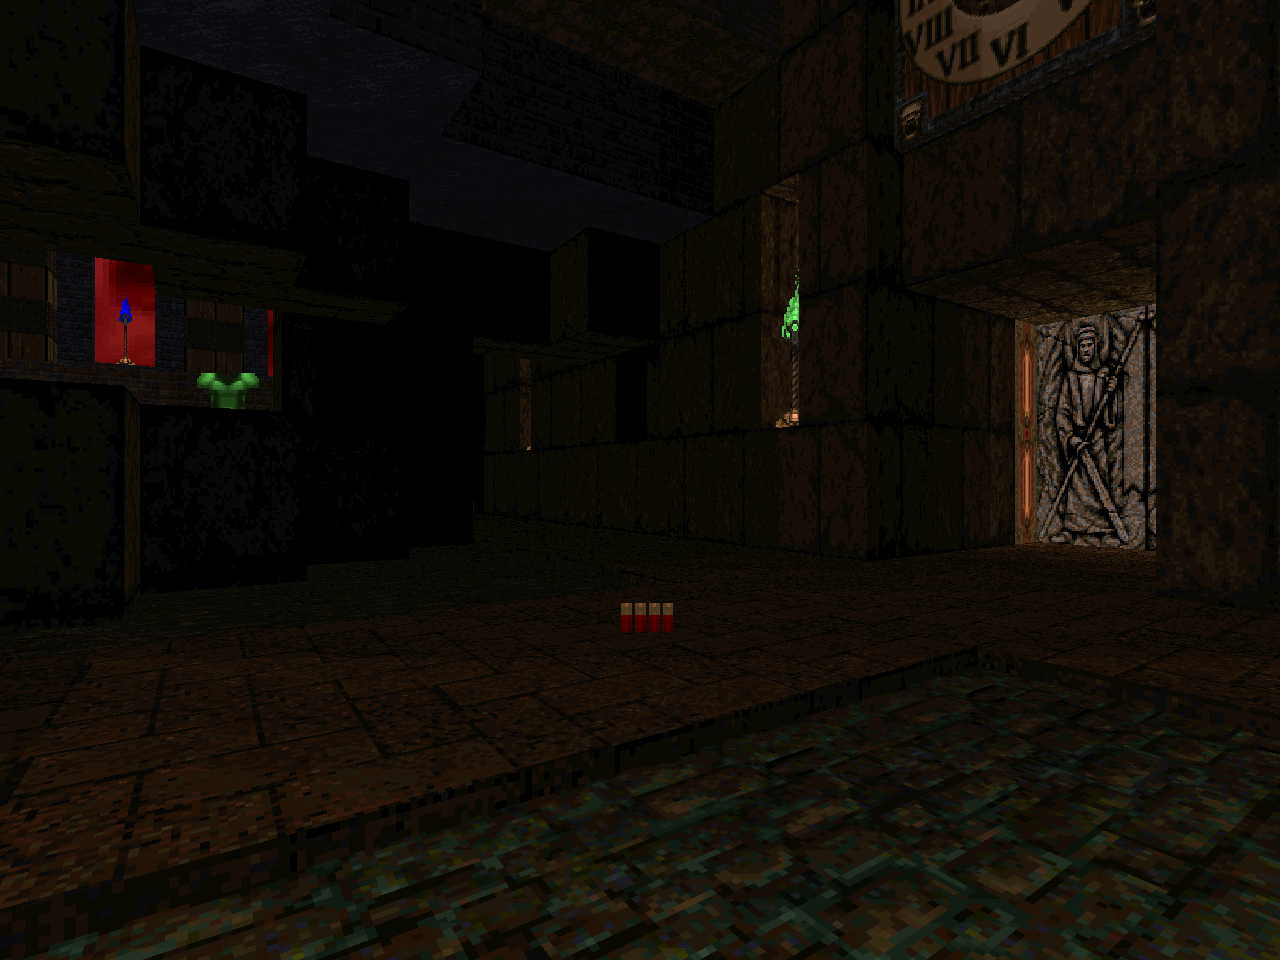 |
| MAP31 | In Death, is Life |
|---|---|
| by "Rayzik" | |
 | A grueling assortment of slaughter scenarios in something like an enormous, underground tomb. I appreciate that the fights (and their supplies) have been compartmentalized. I still went back into the cleared areas to grab ammo that I'd left - mostly rockets - but you are generally provided what you need to complete each encounter. Survival may not always be straightforward but Rayzik generally reveals all of the moving parts during the initial curtain jerk. The one exception in my mind is the countdown clock since the very nature of its pacing is a series of "twists". It's a shame that it's so hectic; there's some great sector machinery going on with the corner panels. Of all the fights, the blue skull key arena gave me the most trouble. It feels incredibly chaotic. The outer ring of arachnotrons can quickly bust the player down and do a great job of pulling monsters like demons onto the safe track. The inner component can't be entirely ignored because the author sprinkles zombies and shotgun guys in there. Left unchecked, they have a tendency of grinding your health down from sheer attrition. This goes double if they wind up staying on one of the cycling spawning platforms since they won't be quickly snuffed via infighting. I died a lot while coming up with a working strategy - focusing on the arachnotrons first - but eventually came through. Slaughter fans are likely to have a ball with this. Less skilled players may want to rush DQD if not avoid it entirely. The monster count on ITYTD is the same but approximately 400 enemies have been replaced by plain zombimen. This removes some of the nastier stings - no pain elementals or arch-viles - but the thrust of the encounters remains the same. I think that it's worth seeing some of the setups. I cackled when I saw the monster-spitting fountain. The Cyberdemon auditorium to the east, in addition to being a great breather fight, makes for a nice spectacle. Thanks for locking all of those monsters in their seats, Rayzik! |
| Galactic Decay | MAP16 |
|---|---|
| by "A.Gamma" | |
| A grungy spin on the Vrack-like orbital platform genre. It's up front with the big guns - rocket launcher and plasma rifle - and you'll need the added firepower. This is a tough level. The difficulty is a mixture of dickish ambushes that favor arch-viles and revenants as well as thoughtfully exacting thing placement. Rushing into many of the more open areas is a mistake as the entrenched opposition includes chaingunners in the early game and, later, viles. Ol' archie features in a big way in the southeastern machine room, easily the most excruciating area to conquer. There are a bunch of them on the... conduits, for lack of a better term, and the taller ones are a pain to hit with projectiles. I have no idea how you're supposed to hang after you flip the yellow key switch but I bet that the secret BFG, which I didn't find, would help. The author appears to have a concession for those who can't: enough time to run outside the room. From there you can let the four or so arch-viles matriculate past the Spiderdemon, take it out, and then approach cautiously. The final ambush is a similarly tense affair since you have to confront two Cyberdemons and a few archies in a tight space. Again, deftly handled with a few BFG bumps, especially considering the way in which the monsters are metered out. The level looks fuckin' great and I love the space pod intro. I just think that the machine room really drags. | 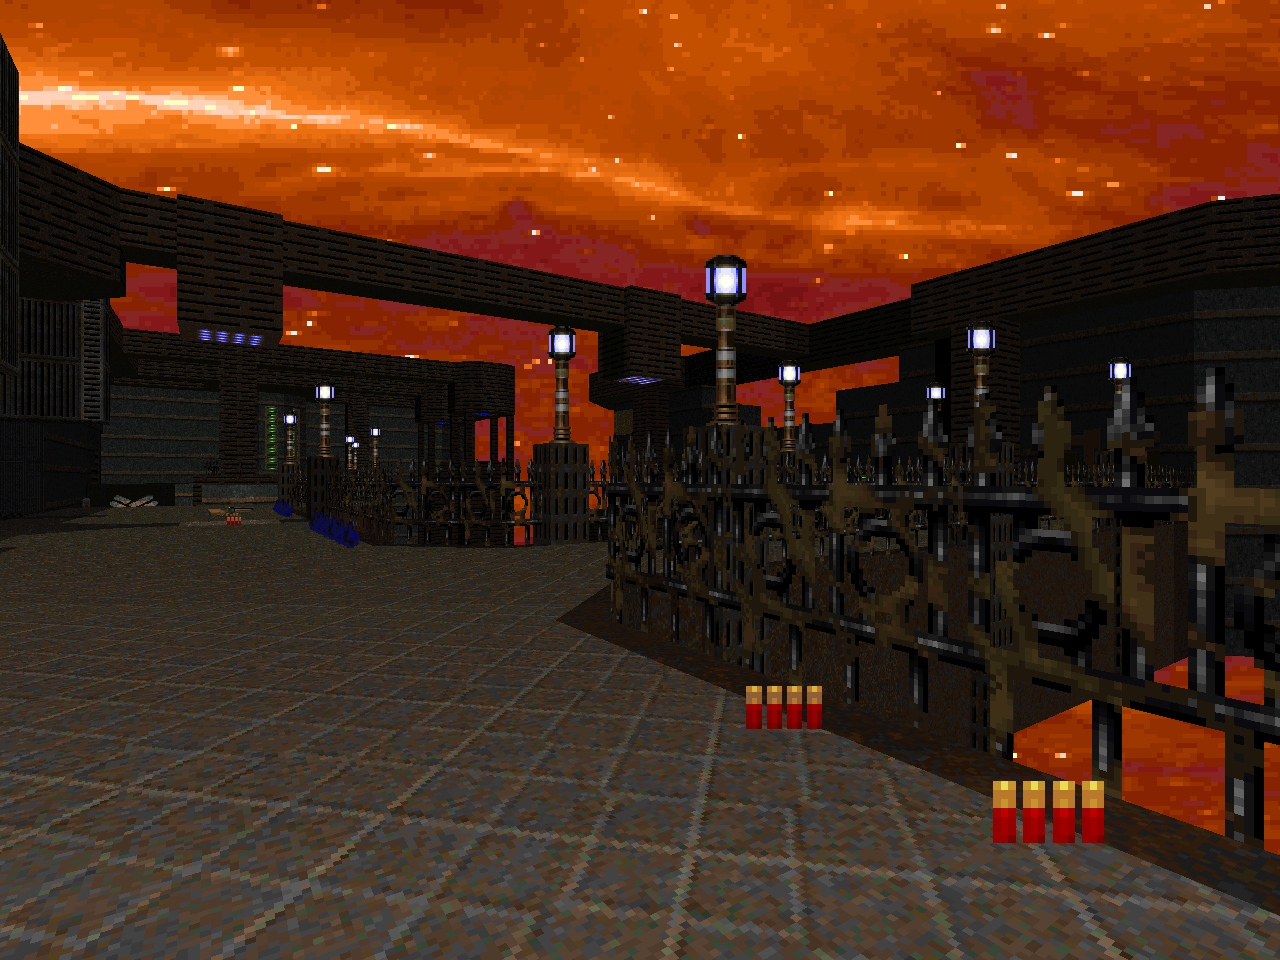 |
| MAP17 | Grievance |
|---|---|
| by Joshua "Dragonfly" O'Sullivan | |
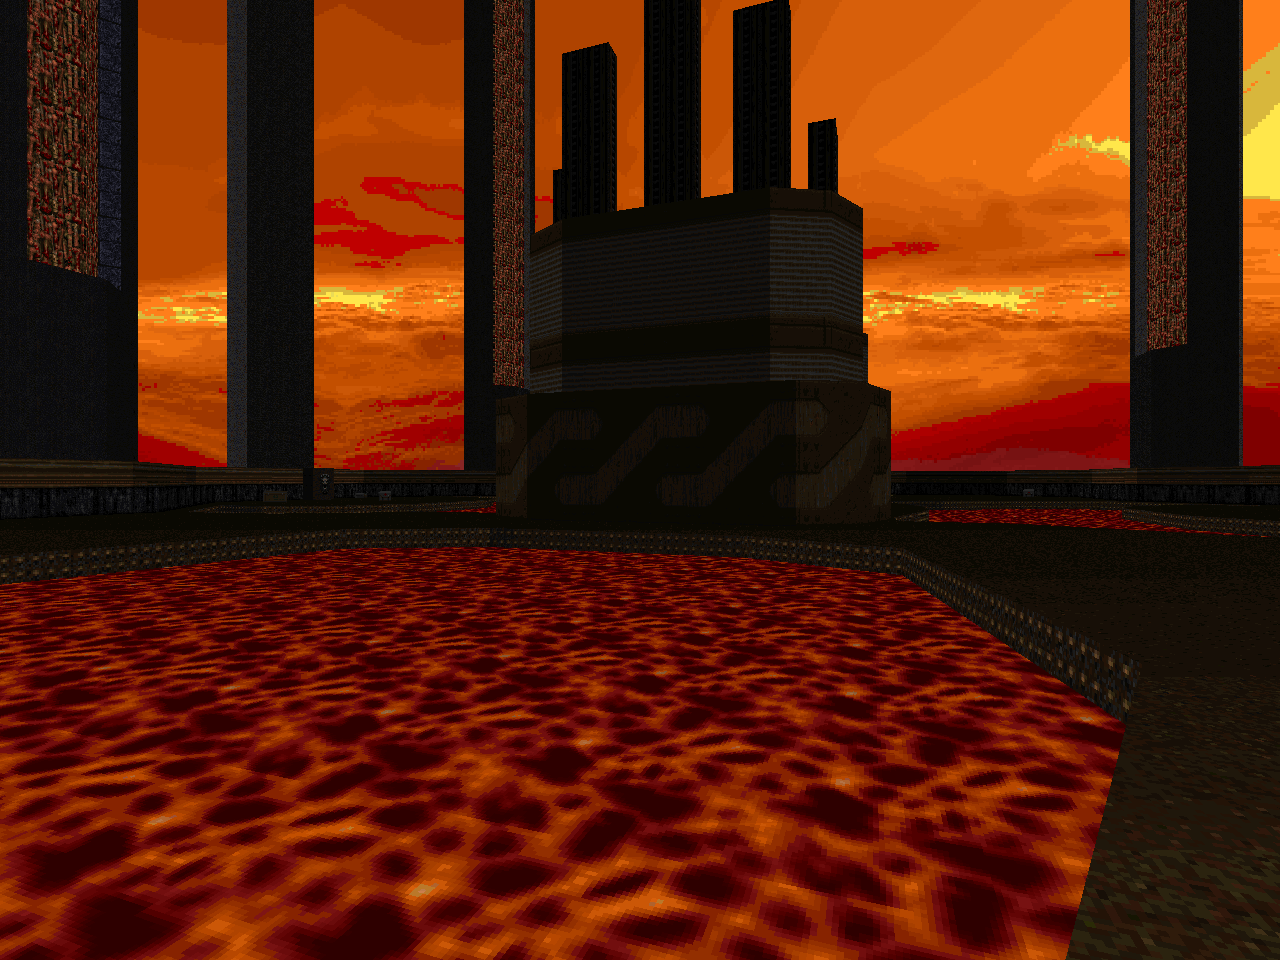
 | The first part of this level is a crazy climb up the interior of a blood-drenched tower. It's highly vertical and has lots of cross-over and platforming action coupled with a Cyberdemon centerpiece. The combat here is highly claustrophobic but not really frustrating. I think that the hardest moment I had was trying to repeatedly snag the berserk pack while dropping down from the bamboo poles. When you finally hit the summit the action spills out into the exterior. It's a fun, sort of Skillsaw-esque brawl. The landscape has pockets of turret monsters like revenants and mancubi and the sunken pit of pillars - featuring a few arch-viles - is a neat moment. When you clear out the north side you eventually bust into the south, the scene of a hectic teleporter horde ambush with three more Cybies. The layout makes it pretty easy to eat a rocket if you're not paying attention, particularly if you follow the inclination to provoke infighting. I had a much better time after killing one of the Cyberdemons straightaway. Very cool level; I like that the city backdrop gives the impression of a vast ruin. |
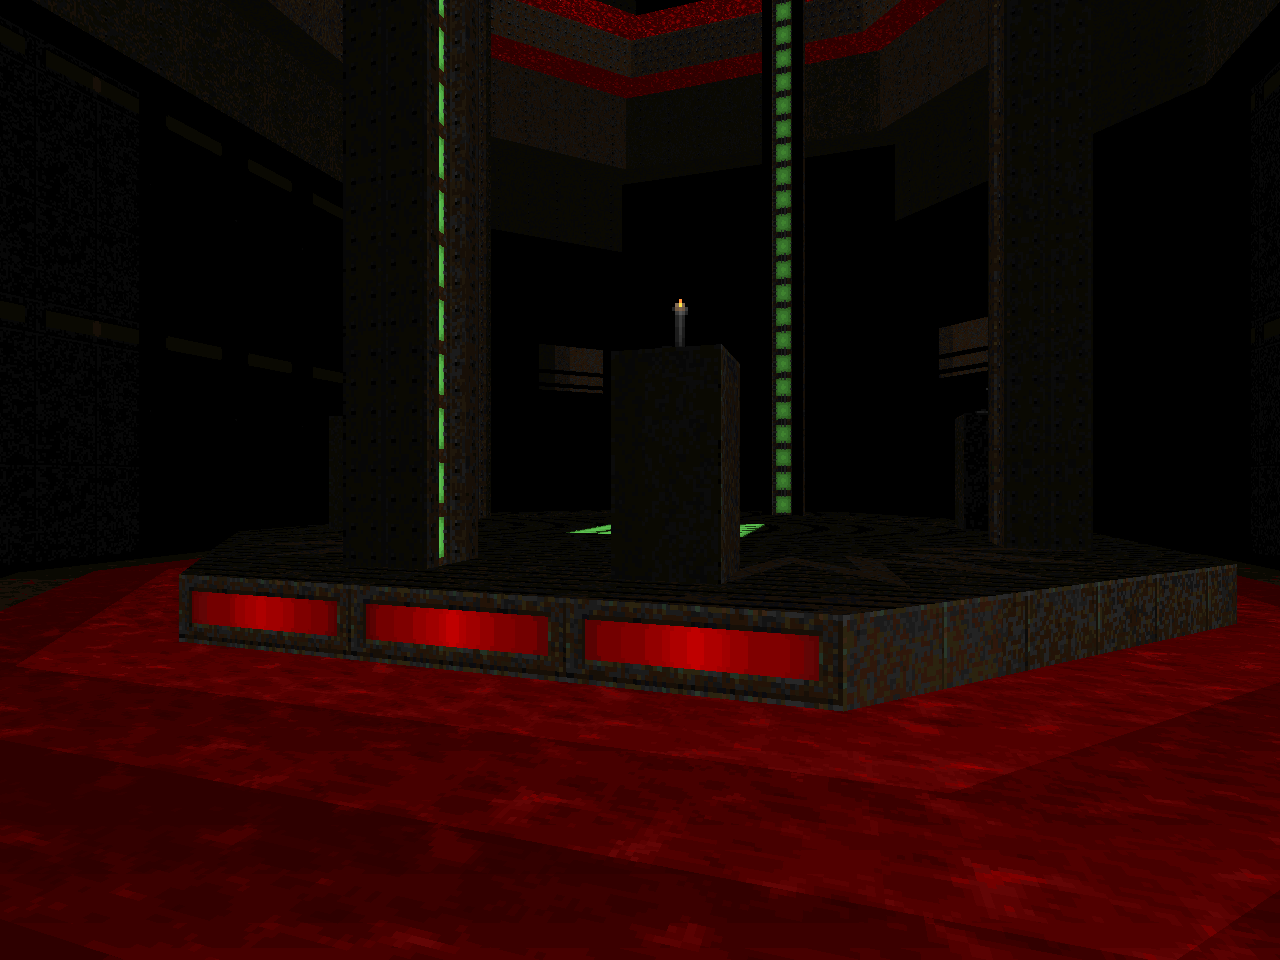
| Maria | MAP18 |
|---|---|
| by Zachary "Ribbiks" Stephens | |
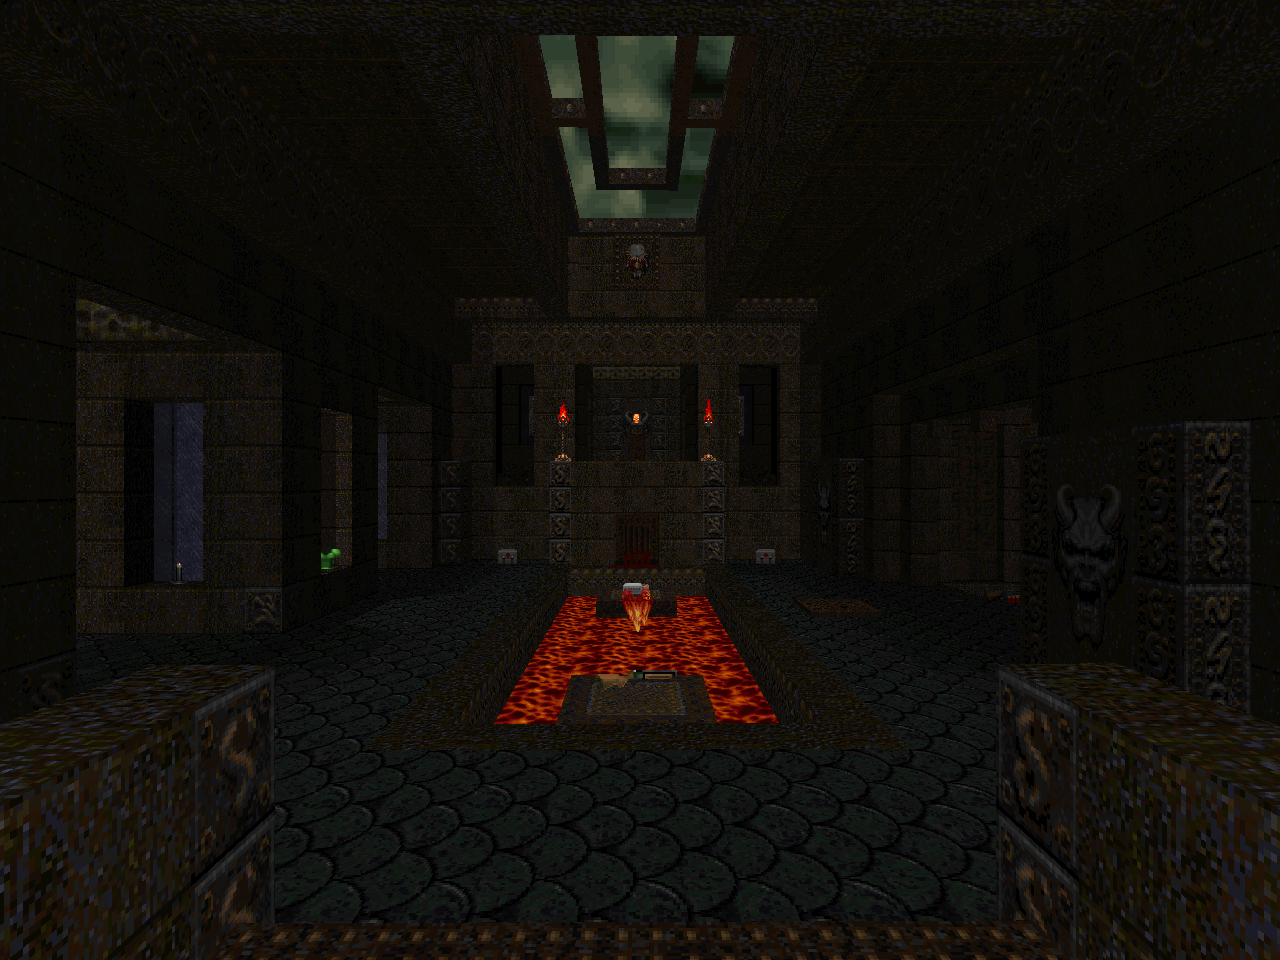
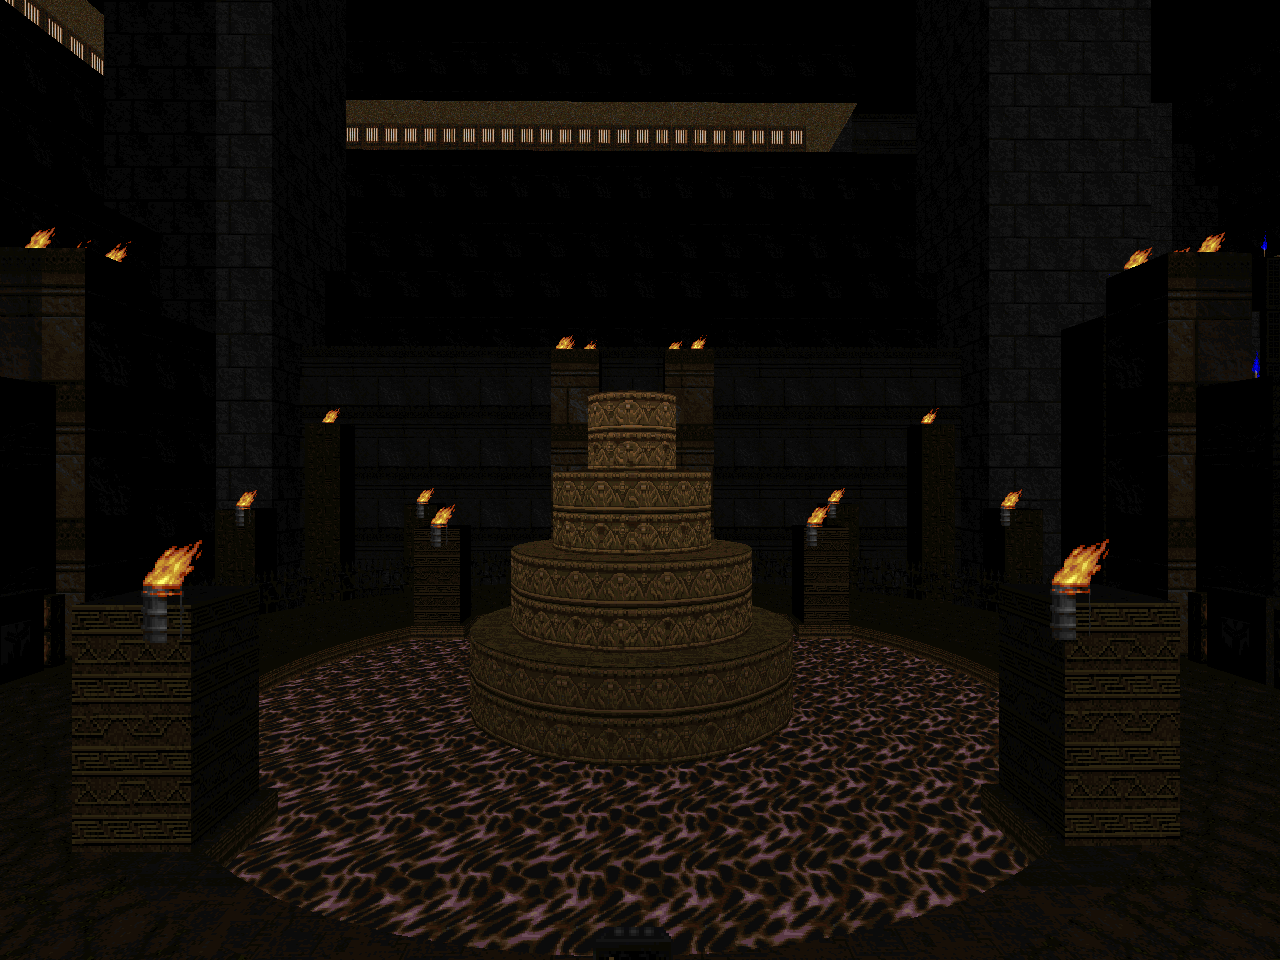
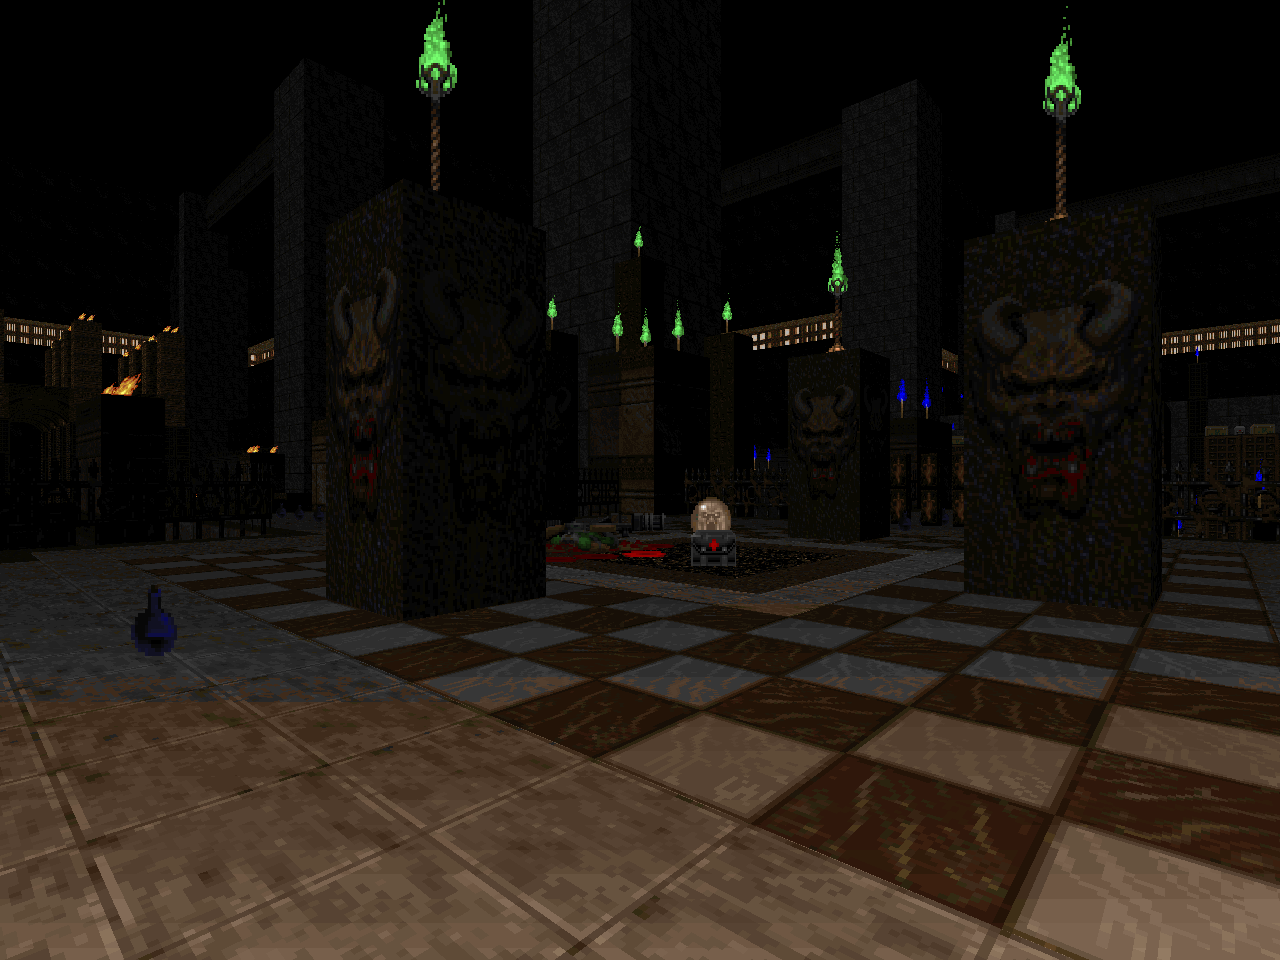
| This is a gorgeous, abstract tech tomb with gutters and pools of poisonous blood. The level is constructed as challenge mode only for UV pistol start. Continuous players will be considerably better off but the author's exacting layout and thing placement makes it tough to play safely. There are infinite respawn chaingunner balconies, for instance, and you're expected to skip past a bunch of stuff and be deft with Berserk fists. Lower difficulties tone down its toughest aspects and give you a super shotgun at the beginning of the first major encounter. It's a lot harder to survive on UV. It won't be a "Cakewalk" but the progression is much easier to tease out on HMP and below. The goal is to raise three platforms by finding DARKEN2 switches. III threw me for a loop because I forgot about the blocked-off path in the opening blood sluice after gritting my teeth through I and II. The arch-vile ambush wasn't completely unexpected and I daresay the simplest part to cheese. I forgot the green armor for the blood pit fight, though. The level has a few dickish DoomCute moments, too. One of them is a fall into a certain death pit with a fuck-you crusher. The other for UV-MAX players will be budgeting in the Baron found at the north end of the western trench. | 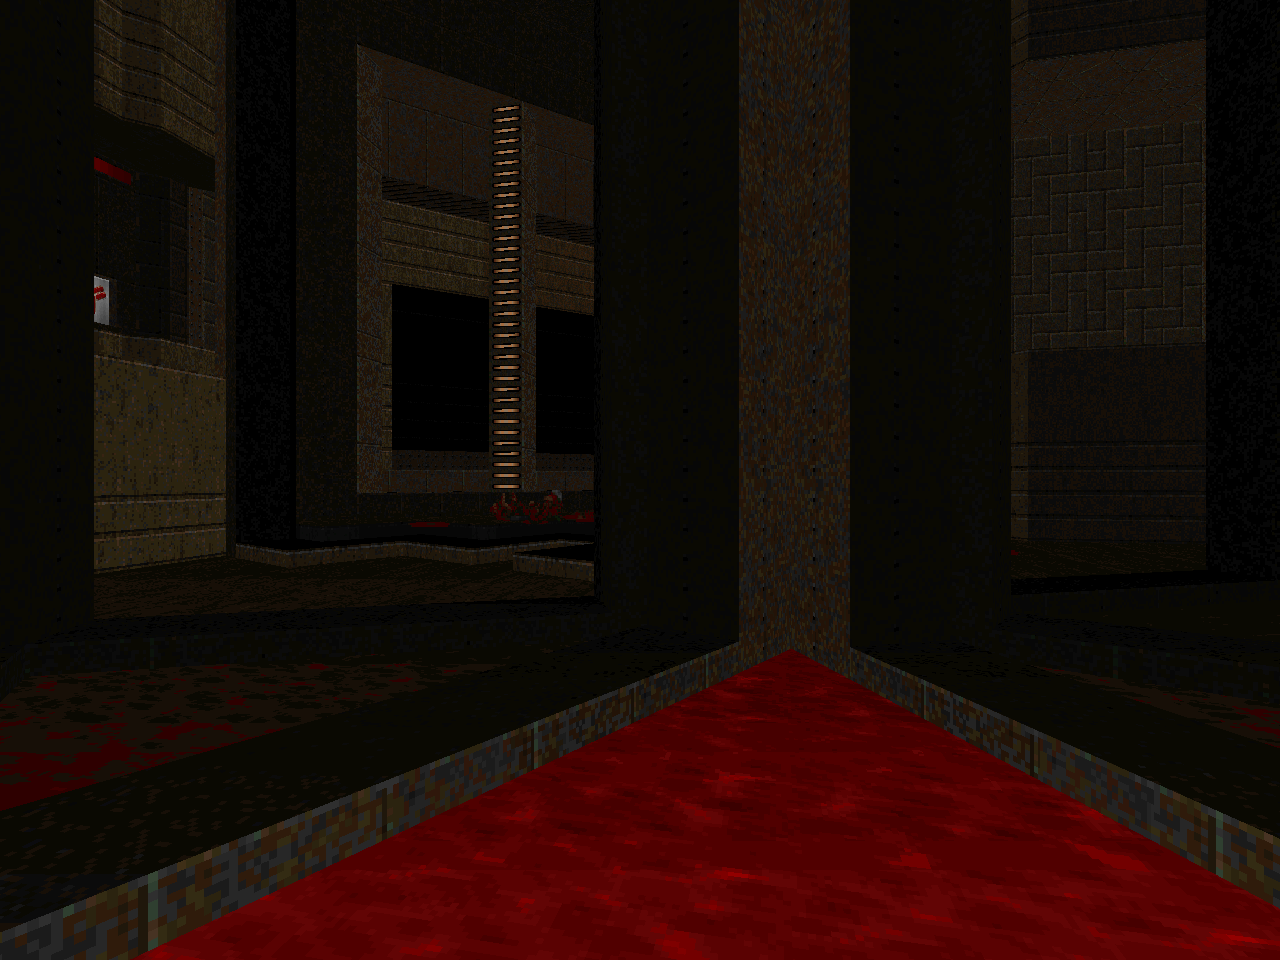 |
| MAP19 | Seasons In the Abyss |
|---|---|
| by Gianluca "Remmirath" Cilento and Michael "Marcaek" Fraize | |
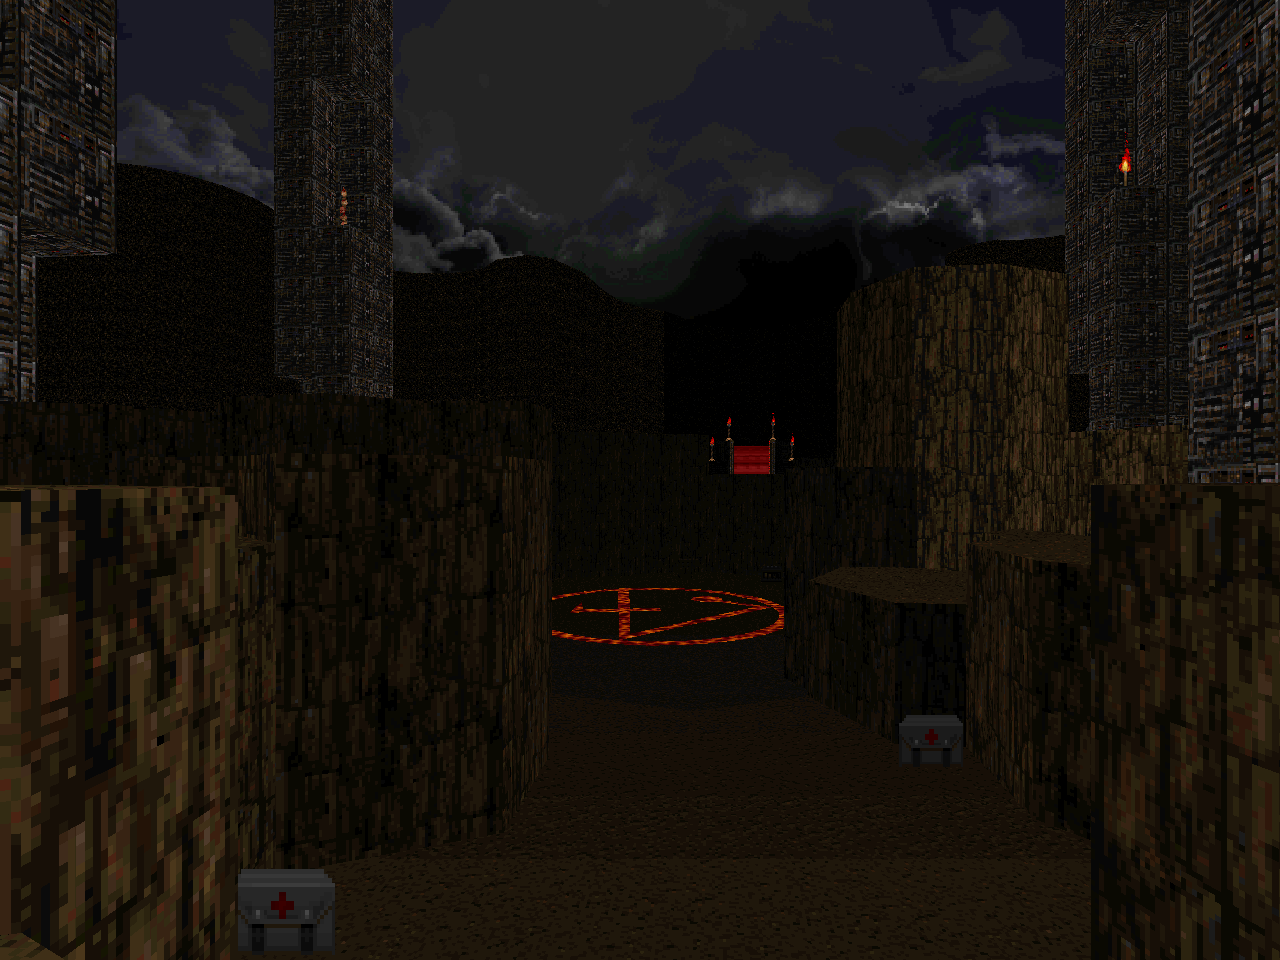
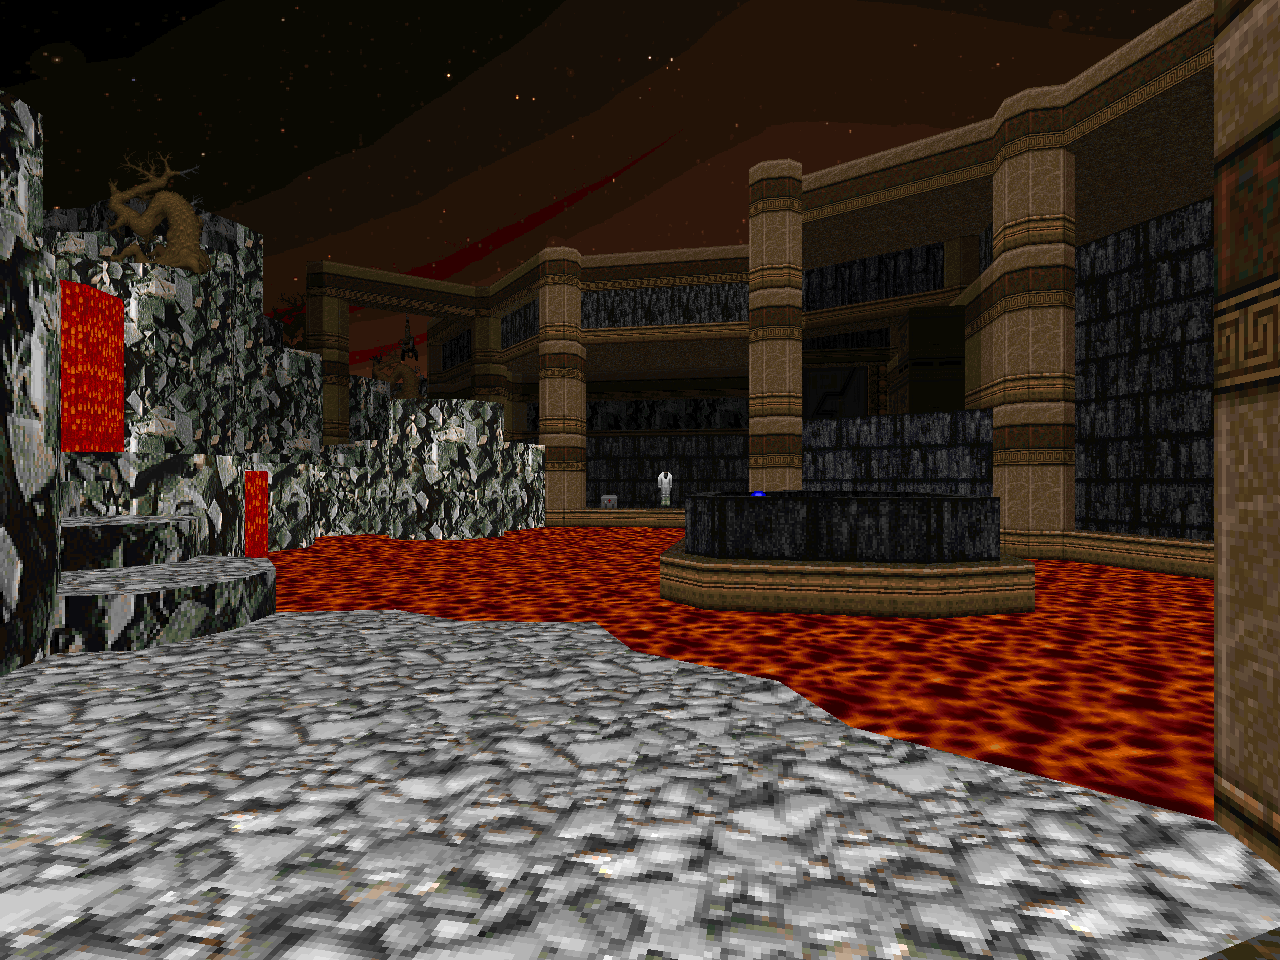
 | This starts out as a fun, knockabout castle. The rooms give you plenty of space to move, even though they sport revenants and Hell knights just as easily as zombies. You will eventually discern that it's a hub, though, once you encounter the various static portals. They lead you to the level's hardest fights. I appreciate the use the same general ring structure with variations on the interior terrain, the differences making up the titular "Seasons". Of the fights I feel that the Cyberdemon brawl is the simplest since the same disorienting teleporter locomotion can be used to quickly end it. You don't need the semi-secret-sticks-out-like-a-sore-thumb-BFG but you'll want it for the next two fights. If only to surgically remove arch-viles. The hex platform segment isn't too bad though there isn't a lot of room for error at the beginning of the big, final ambush. The red key fight felt the hardest since it is an exercise in denying the player maneuvering space. Much of the outer ring is dominated by lava and its various moving parts are designed to hang you up. This consists of demons on the inside and cacodemons / pain elemental approaching from the out. All of this makes it challenging to move between platforms and not take floor damage. They also amplify the lethality of the revenants and core arch-viles. Granted, a smartened player can backstep off the entrance pad and grease both archies with one single BFG blast before the army arrives. Just save something for the ending fuck-you brigade. The final fight is a multi-front invasion that isn't too hard to handle between the provided rockets and cells. Heck; the final seven or so arch-viles can be handled with relative safety depending on where you open up the path to the exit. It's a nice sendoff for a neat, newschool mapset with one soul-crushing arena fight. It's cool that said death zone actually occurs within the main hub's area. The squiggling eldritch crater at the end is a similarly inspired environment. |
| The Performance | MAP20 |
|---|---|
| by Augustus "Alfonzo" Knezevich | |
| The showstopper. I probably spent about three hours of attempts before I finally managed to survive the opening. It wasn't too hard to make it from there to the exit... provided that I didn't try to kill both Cyberdemons. The setup is ingenious. You're under assault from afar by two fronts of imps with only a pistol and precious few barrels to assist. You're locked into a circular chamber but won't be able to kill all of your foes on your own. The first shoot switch opens up two more, each one opening a shutter which reveals a Cyberdemon. The goal is to use their rockets to thin out the peanut galleries. For a second twist, your available dodging room slowly shrinks as segments of your platform descend into poisonous muck. Alfonzo is helpful enough to illuminate the portions before they fall but I was often caught in the heat of the moment. The penultimate phase is probably the most awkward due to the irregular shape of the resulting area. There are two issues with the premise's execution, both of which came close to infuriating me. The first is that the imps tend to bunch up toward the south ends of their enclosures. This wouldn't be so bad were you not wholly dependent upon the cooperation of your friendly neighborhood Cyberdemons. So many times I stared sullenly at my dancing partner as he waddled ineffectually from side to side. God forbid he should tend toward the level's symmetrical center. There, he had no chance of striking the accumulating pockets of imps. I was simultaneously mortified at the thought of what further jabs at the player might exist beyond the dance floor. It isn't too terrible since your natural inclination is to rush the Berserk pack, triggering the BFG platform. You can then quickly grease the arch-viles and escape. I can only imagine the capitulations required to kill everything with the scanty ammo. This is an outrageously tough exercise on UV - though I admit that I may have been more focused on killing imps than dodging their fireballs. rdwpa's UV-MAX demo looks effortless in comparison. The author took some of the sting out for HMP; it's as approachable as the fight gets but it still feels rough. HNTR and below aren't even the same thing. Alfonzo replaces arch-viles with revenants and - more importantly - substitutes mancubi for the Cyberdemons. You can do the whole thing with the pistol since the lower difficulties add a few more barrels and speed up the pace of the platform machinery. |  |
VANAHEIM?
Darn...you really sound like you didn´t enjoyed this one, as a casual player that plays mostly in HMP map 01 was a big kick for me, otherwise i love quake/industrial styled pwads.
ReplyDeleteI liked it but it its aggression is unrelenting over the course of the entire PWAD so it was exhausting. I made a lot of comparisons to HMP and HNTR because I've been trying to give less-skilled players an idea of whether the levels even fit inside their particular comfort zones.
Delete