Stephen Clark. Newstuff reviewer, ZDoom guru, The Ultimate Doomer. All of Clark's critical successes -
007: License to Spell Doom,
Super Sonic Doom, and
Serpent: Resurrection - were ZDoom releases.
Fragport, his debut, is a little different. Conceived for vanilla
Doom II, Stephen tried to leverage as many tricks as he could think of in order to show just how hard the original executable could cook. Sure, some suspension of disbelief is required, but that is generally the nature of the beast when it comes to doing anything complex in DOOM2.EXE.
Fragport was originally released in 2001 and it is a full game replacement. I've seen it passed around the internet as BOOMSKY, much to my confusion. In the absence of any clarifying information I would stick to the official version found on /idgames.
Fragport has a plot that is framed in the .TXT, elaborated on in the text screens, and told throughout as an implied narrative in the action of each level. You are space marine Jody Russell, codename "Kill Crazy" (no relation to
Killer Machine, I'm sure). Somewhere on Earth is a remote city named Fragport - there's the megaWAD title - and it has recently lost all contact with civilization. More worrisome is the fact that the last transmission bore "hellish screams". You fly toward the city in order to do some recon but are shot down and summarily captured by the unusually organized Satanic majesties. From the chatter from your captors you realize that reinforcements are on the way, with Earth's military none the wiser. You call a guard over, swiftly and silently kill him, and then embark upon a daring one-man counteroffensive that spans earth, sea, and space.
Clark is one of those authors who, during the source port boom, tried to reflect realistic locales in their works and manipulate engine features in order to elevate the typical
Doom experience. It sometimes feels like this was an attempt to bridge the gap between
Quake and
Half-Life in order to maintain
Doom's relevancy. Participants in this phenomenon accomplished it via different, sometimes understated means. In
Revolution!, Thomas van der Velden included features like mining "lasers" that could be activated by the push of a button as well as realistic locales like resorts and city streets. Chris Lutz, meanwhile, had a series of linedef triggers in
Inferno that simulated the physical destruction of a reactor, debris falling to the ground, and the resultant explosion. Early ZDoom adopters would go whole hog with this idea, cribbing elements from even
Quake II once hubs were available. The Ultimate Doomer specifically cites
Q2 and
Half-Life as favorites in his author info while also talking about
Duke Nukem 3D when mentioning his "Alphabet" texture. The last bit - or, more likely, this being made in 2001 - is presumably why the author felt compelled to use said texture to make a crass joke involving the PWAD's name.

Between Quake II and Half-Life, Stephen falls more on the side of the latter and its realistic level geometry. At its most mundane, this involves stepping into five identical hotel rooms, each more identical than the last. When he's having fun, though, you get to blast your way through novel locations like a laser tag building. Your journey will send you through mines, a dilapidated boom town, a small seafront village, and a gunship, only to wash up on a tourist island. When you leave to make landfall again you'll scale a cliff face, cross a volcanic caldera, and battle through a base and its emergency bunker (complete with a realistic diorama for a training facility). From there it's into the sewers and up into a pipe factory, at which point you are inside the city proper. The war wages across condemned buildings, a freight depot, a mall, the aforementioned Laser Quest, and the city docks prior to reaching the spaceport. Then it's bang, zoom, straight to the moon. You have to fight your way through and off the shuttle, of course, before getting a good view of the futuristic community of tomorrow and its massive residential building.
TUD does have some interactive gimmicks but most of it is not vanilla-scripted like Lutz's works or as button-action oriented as Velden. I mean, sure, you have the torture chamber with crushers that seemed to crop up in some of its contemporary PWADs (
TVR,
Trust,
DooM Resurrection,
Quake2Doom, etc.) found in "Desert Prison" (MAP01). A lot of the realism mostly boils down to using repeatable buttons to open doors where it makes sense, like at industrial facilities. The most visually stunning example of TUD pushing beyond
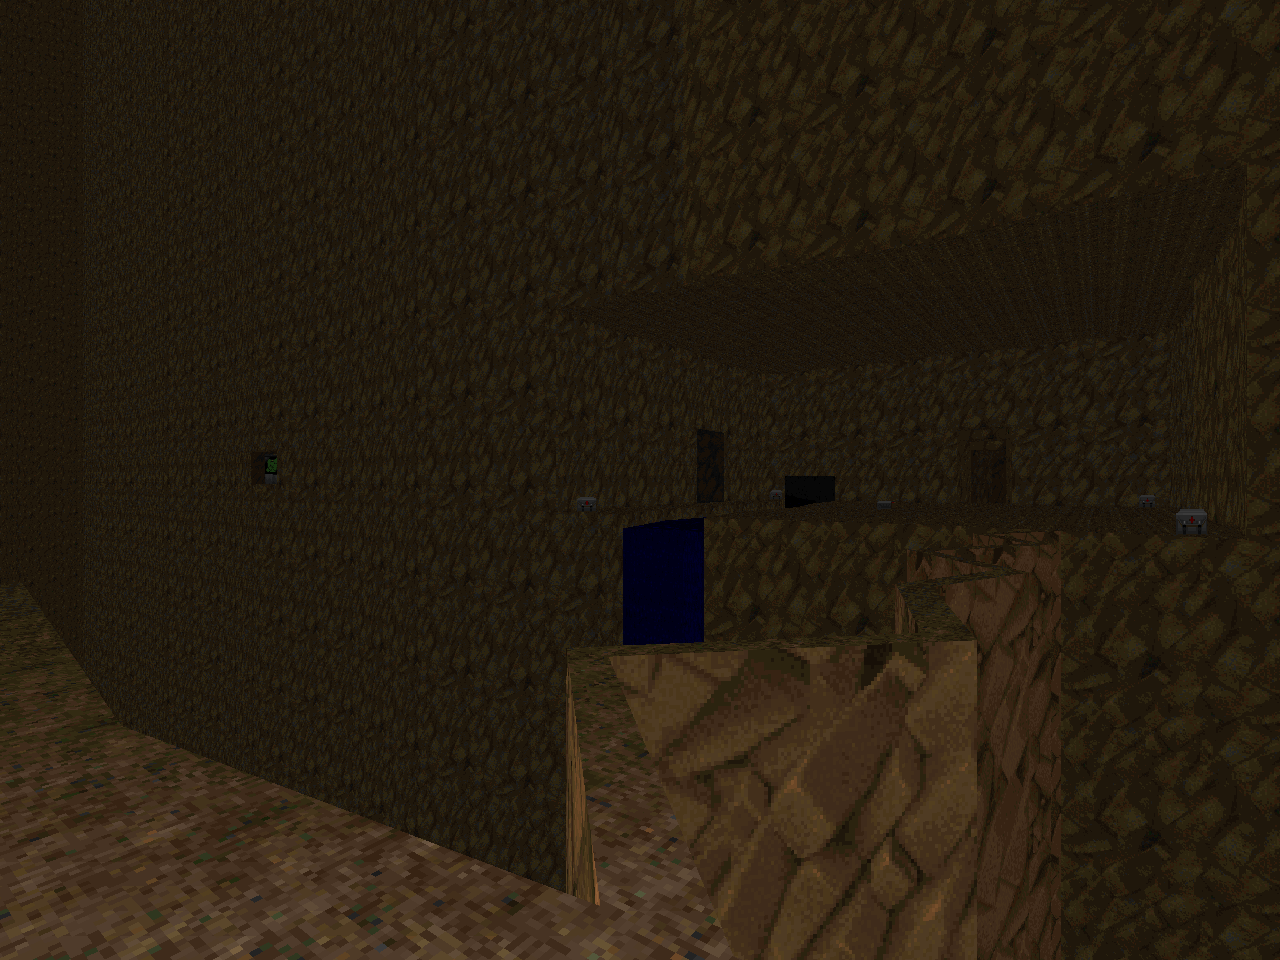
Doom's boundaries that I can think of is found in "Durncrag Mines" (MAP03). At a certain point you open up a dam that holds back an underground river, resulting in the cavity that you're in slowly flooding. It isn't set up on a timer or some kind of voodoo script. Instead, as the player crosses the next in a chain of linedefs, the water table rises. It's a fantastic effect, interesting when you first see it and then impressive to see the depth of change as you return from various side passages. Toward the end, I was nervous in spite of myself being 99% sure that I was in no actual danger from the level geometry.
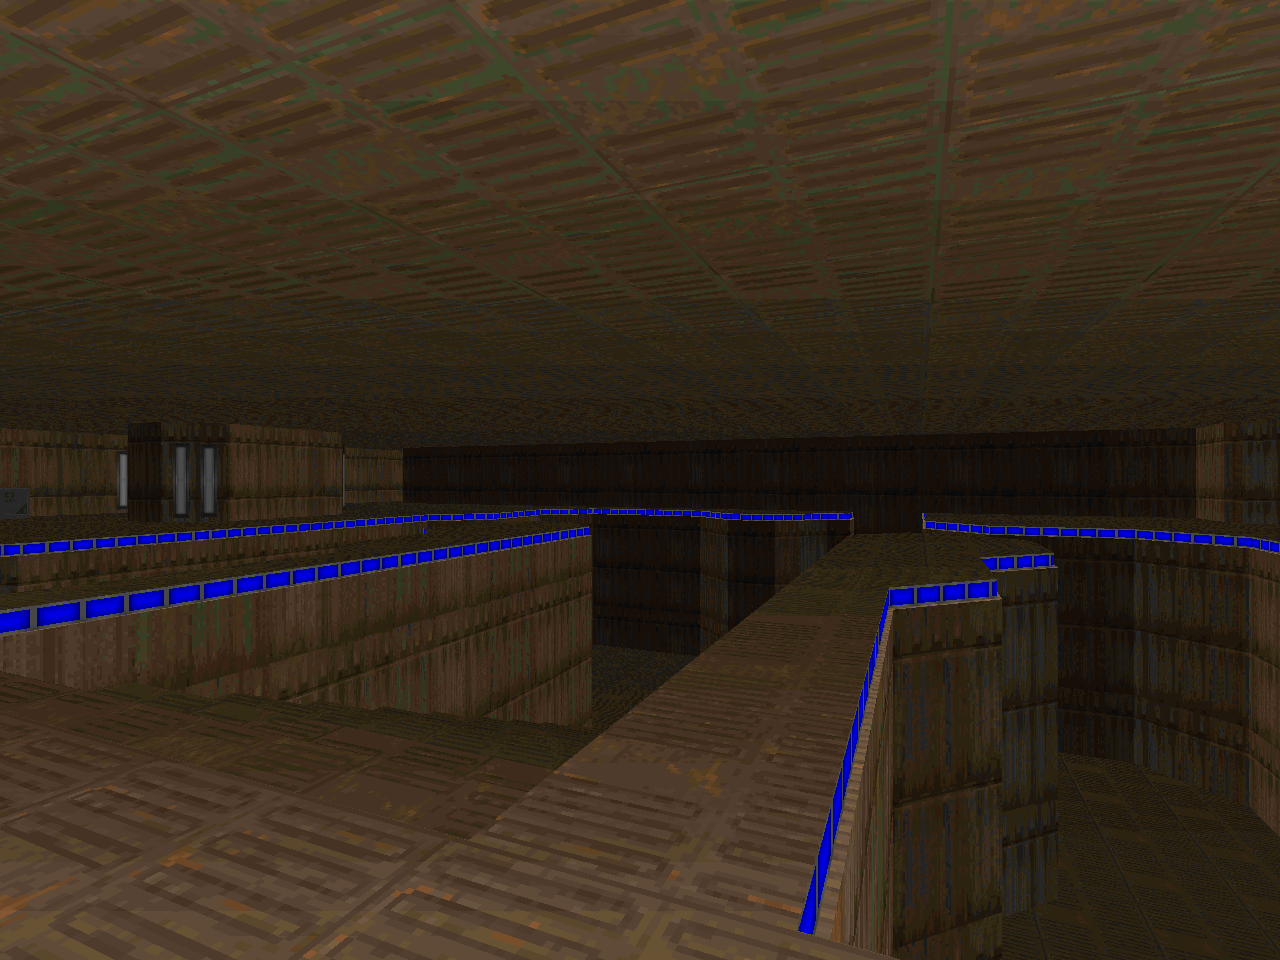
What binds Fragport together as a set (apart from replacing the yellow keycard with a green one) is its commitment to linking the end of every map to the start of the next. This is generally accomplished by pasting the former's geometry into the latter. You won't be able to backtrack very far if at all due to player-blocking lines and doing so will not reveal any hidden elements like Easter eggs or secrets apart from some goodies in "Arena: 16" (MAP26). Sometimes, as with "Military Bunker" (MAP11), you can see critical locations like the red key room in "City Sewers" (MAP12). "Northgate" (MAP18) offers a glimpse of a rail platform that you see from the other side in "Dockside" (MAP19). The entire stretch of MAP25-MAP27 is built as a hub with you tackling "Arena: 11", "Arena: 16", and "Arena: 18" from the same stretch of corridor.
The sequence from "Monad" (MAP23) to "Balanced Chaos" (MAP24) is pretty cool. You are caught by a trap to finish out the former and, after fighting your way through the sole instance of Hellish fortress in the entire set, emerge on the other side of the trap to close the latter. The way the last three levels are linked together is also pretty neat. You step out of the circular hallway of "Sub-Level 05" (MAP28) and climb through a bunch of air ducts at the beginning of "Reactor Core" (MAP29). In "Escape!" (MAP30), you start out having to rush back through the ventilation, returning to the sub-level floor, and then begin a frenzied climb back through previously unseen elevations. You ultimately pop out on the other side of the barrier seen just south of the Monad building in "Tech City" (MAP22).
There are still some cute interactive bits like forklifts that you use as platform lifts or a dry dock that you fill up in order to access the main deck of a ship. "Labour Mines" (MAP02) uses a deep water bit to simulate the player crawling through a very low tunnel. In "Volcano Valley" (MAP09), Stephen portrays the unstable, volcanic terrain by using platforms that pop out of the lava as well as rectangular prism platforms that can be "used" to collapse into the earth. In an earlier segment, TUD guides you through the magazine of a gunship only to turn around at the end and fire rockets into it from the outside, causing its destruction. The biggest showcase of Clark's pseudo-scripting wizardry can be found in "Crystal Maze" (MAP32). The level operates based on rules that roughly approximate a British game show of the same name, just translated to Doom. It doesn't have to be "found" as such; it's presented as an alternative alongside the regular exit. It also comes with a huge disclaimer that prompts you to read an included .TXT to explain how the map is played.
I describe it as a puzzle map but it is only nominally so, at least considering the grand tradition of
Jim Flynn and
Bob Evans. MAP32 presents you with twelve different, time-constraint scenarios that involve precision and platforming; weaving hurriedly through monsters; and mental mapping mazes. It may come as a shock seeing all of these highly-focused elements put together in one place, but it is thematically consistent with the mechanics that Clark employs over the course of
Fragport. The big difference is that you aren't under some kind of a hard time limit... excepting the finale, "Escape!" (MAP30), where you have ten minutes to exit the level before you die. From pistol start, at least, some of the combat scenarios have the same feeling as trying to operate while under duress as you're outgunned for one particular ambush or another.
Fragport has a general combat style and it's more or less consistent over the entirety of the megaWAD. At key progression points Clark will dump a crowd (or a couple of crowds) of monsters into the playing area. It feels more formulaic in the city levels - beginning with "Durncrag Town" (MAP05) - because he uses the same style of closets set in the peripheral buildings (plus the obligatory arachnotron in every alleyway). When monster closets won't work, however, he's just as happy doing a teleporter-fed assault. For whatever reason the teleporter stuff deploys more mixed monster crowds whereas the large closets are staffed by single monster types. The most novel execution of the closet-type encounter occurs in "Northgate" (MAP18) where one of the nondescript buildings opens up to usher in a wave of cacodemons. The little bit of variation, though it may stand as an echo of
The Plutonia Experiment's MAP29 ("Odyssey of Noise"), is appreciated.
Speaking of PLUTONIA, Fragport appears to crib ever so slightly from some classics. Doom II's MAP13 ("Downtown") is the most obvious as it informs, in some way, the execution of nearly every single city level. I was surprised, however, to recognize the finish of TPE's MAP02 ("Well of Souls") at the end of "Labour Mines" (also MAP02). There's also what appears to be an echo of its MAP28 ("The Sewers") in Fragport's "City Sewers". For something even older, the general architecture of "Military Base" (MAP10) appears to be derived from Knee Deep in the Dead, specifically its E1M2 ("Nuclear Plant") and its eastern wing.
There are some thematic similarities between this and the
Wraith Corporation megaWADs (
Perdition's Gate and
Hell to Pay). The arena arrangement is similar to the series of challenges seen starting with
HELL2PAY's MAP22 ("Vile Temple) and both it and
PERDGATE featured self destruct sequences. Heck; the latter's MAP30 ("The Escape") starts with the final area from the previous MAP29 ("The Bomb Facility").
H2P also begins with you busting out of a prison, moving shortly after to some mines with a similar forced labor connotation, and eventually involves hitching a ride on an starship. While eerily similar, I doubt whether Clark had played either given some of his early Doomworld posts. If you are a fan of the presentation of the Wraith Corp TCs - particularly
Hell to Pay - then you may find quite a bit of common ground here.
As far as Fragport's difficulty goes, well, there are some pitfalls to learning these levels from pistol start. Their somewhat open nature may lead you to pursue a significant portion of the map before trying a different direction and finding a bread-and-butter weapon like the combat shotgun. You are generally given the resources required to slay every monster without delving into secrets but there are exceptions that may come as unwelcome surprises. The idea of taking the time to exterminate every monster runs contrary to the urgency of the player character's mission, however, if not his call sign. In at least one case you not only need a hidden rocket launcher but must also somehow skirt an entire superlethal teleporter ambush (MAP24). Continuous players will be denied the delight of scouring the Darth Mall in a shopping spree for weapons and ammunition while monsters pour in from seemingly everywhere ("City Centre", MAP16).
Such challenges ought to be expected territory for pistol start players, however. Clark is otherwise somewhat weighted toward the source port boom trend of crowds of monsters. It isn't quite as dense as, say, Virgil the DOOM Poet's slaughter style as glimpsed in
AfterDoom 2, as the playing areas offer plenty of breathing room. If you get crowded out then it's usually because you allowed yourself to get outmaneuvered by the monsters. This happens more easily in situations where TUD releases monsters on both sides of the map, e.g. MAP05. The author is quite fond of using both revenants and arch-viles in monster closets and the latter in mixed teleport ambushes so if you have any problems with either then proceed with caution. Pain elementals are used sparingly and either feel as though they are entirely ineffectual (MAP18) or a shocking component of an aerial ensemble ("Pipe Factory", MAP13).
The flier packs actually make up most of my favorite ambushes. Cacodemons can go virtually anywhere, are space and ammo hogs, and can attack from afar. Clark takes advantage of their flexibility and features them in many of Fragport's levels. A veritable army attacks "Remote Island" (MAP07) at the level's climax, just as they appeared to guard the prow of the "Ironclad" in MAP06 or the shuttle cargo entrance in "Spaceport" (MAP20). They are a large part of why MAP25's action feels so frantic and a cloud of them sets the tone for the opening of MAP16. Overall, I found their usage to be far more threatening than TUD's accommodating Cyberdemon / Spiderdemon placement.
Fragport was not released with a soundtrack and has yet to be graced by an original score. Perhaps the Doom Musician's Guild will deign to write one in the distant future. The author's official recommendation was to use your stereo and listen to "fast-paced dance" (which would explain the clubs and strobe floors, I suppose) and metal. In attempting to follow Clark's advice, Doomworld Forum superstar P41R47 collected a bunch of classic rock, metal, and pop songs together for the
Fragport MIDI Pack. Looking at the eclectic track list, it appears as though P41R47 tried to employ some sort of logic in fitting songs to specific levels. Your mileage may vary.

As with many older releases,
Fragport will not compare favorably to the current, "modern" style of the community. For all of its mechanical artifice, The Ultimate Doomer did not try to push the original renderer to its vanilla limits a la
Back to Saturn X. It will thus be naturally overshadowed by limit-removing and Boom-compatible PWADs that can pull off vistas of the same size with more detailing. More pointedly,
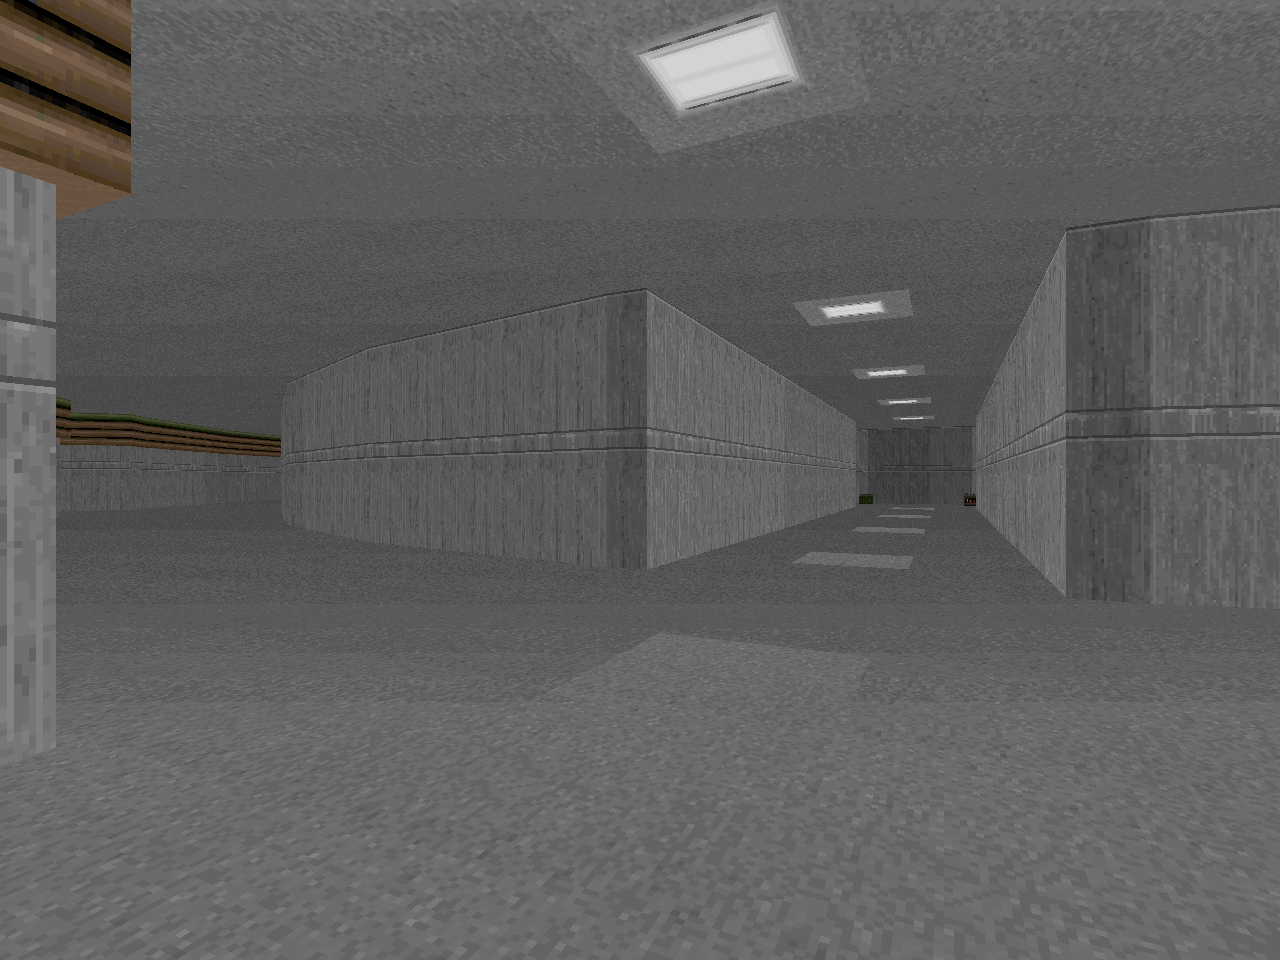
Fragport is pretty plain even for a vanilla PWAD. Clark was more intent on bringing realistic environments with plenty of DoomCute sector furniture / building layouts and less the sort of abstract battleground seen in his "Laser Quest" (MAP17). You see enough flashes of the latter throughout the megaWAD to know that it's clearly within Clark's capability to make them. Even so, it's neat to see a wide variety of urban locales explored, regardless of the building faces themselves tending to be flat and featureless.

Stephen's combat stylings could not borrow from and do not predict the arena-style fights descended from Erik Alm and his
Scythe series. Well, with the exception of MAP25 as it is composed almost entirely of a single, setpiece-styled encounter. TUD's firefights are tactically-minded and slower-paced apart from the occasional, monstrous ambush. Exceptions exist in the form of occasional hot starts, most memorably seen in MAP16 but also MAP09, MAP12, and MAP18, with a shoutout to the rude opening of MAP28. "Desert Prison" (MAP01) sort of falls into this trope as well, given what you encounter once you leave the building.

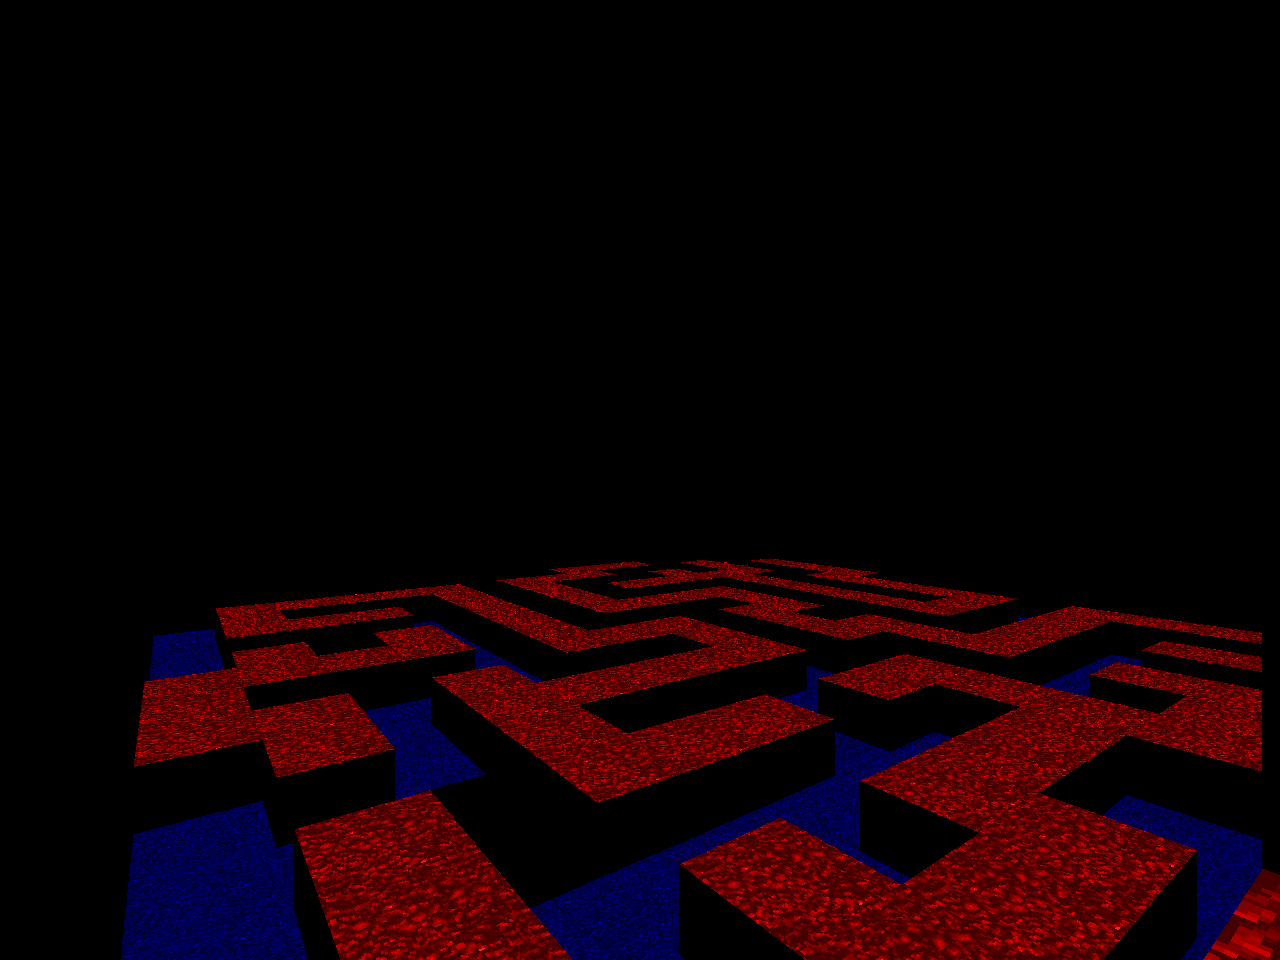
The prevalence of mazes is also sure to gall some players as they are considered to be relics of a less-enlightened era of level design, descended from the dungeon crawler portion of Doom's DNA. It won't help that a few of the labyrinths are combat-free and appear to have no stakes attached to them. If you don't fully explore the initial bunker tunnel in MAP11, however, then you'll miss out on critical supplies, and the air ducts in MAP29 are provided to you ahead of time in order for the player to formulate an escape route. The idea of having to navigate a maze under duress may be unpalatable to some but it was very much a favorite of Clark's as it also figures heavily into the challenges of MAP32. That's not to forget the two-tone track and elevation labyrinth in "The Void" (MAP31), even if both it and its lost soul denizens are functionally toothless.
If you are remotely oriented toward classically-styled level sets, however, then you should absolutely give
Fragport a play. While not as easily-digestible as
Revolution! or
Demonfear it provides a consistent, story-driven campaign that is chock full o' demons to slay. With Clark's ingenuity I am curious as to see what happens once he leaves vanilla and embraces ZDoom, knowing of course that his next release -
Operation: Lightning - was mostly built prior to
Fragport.


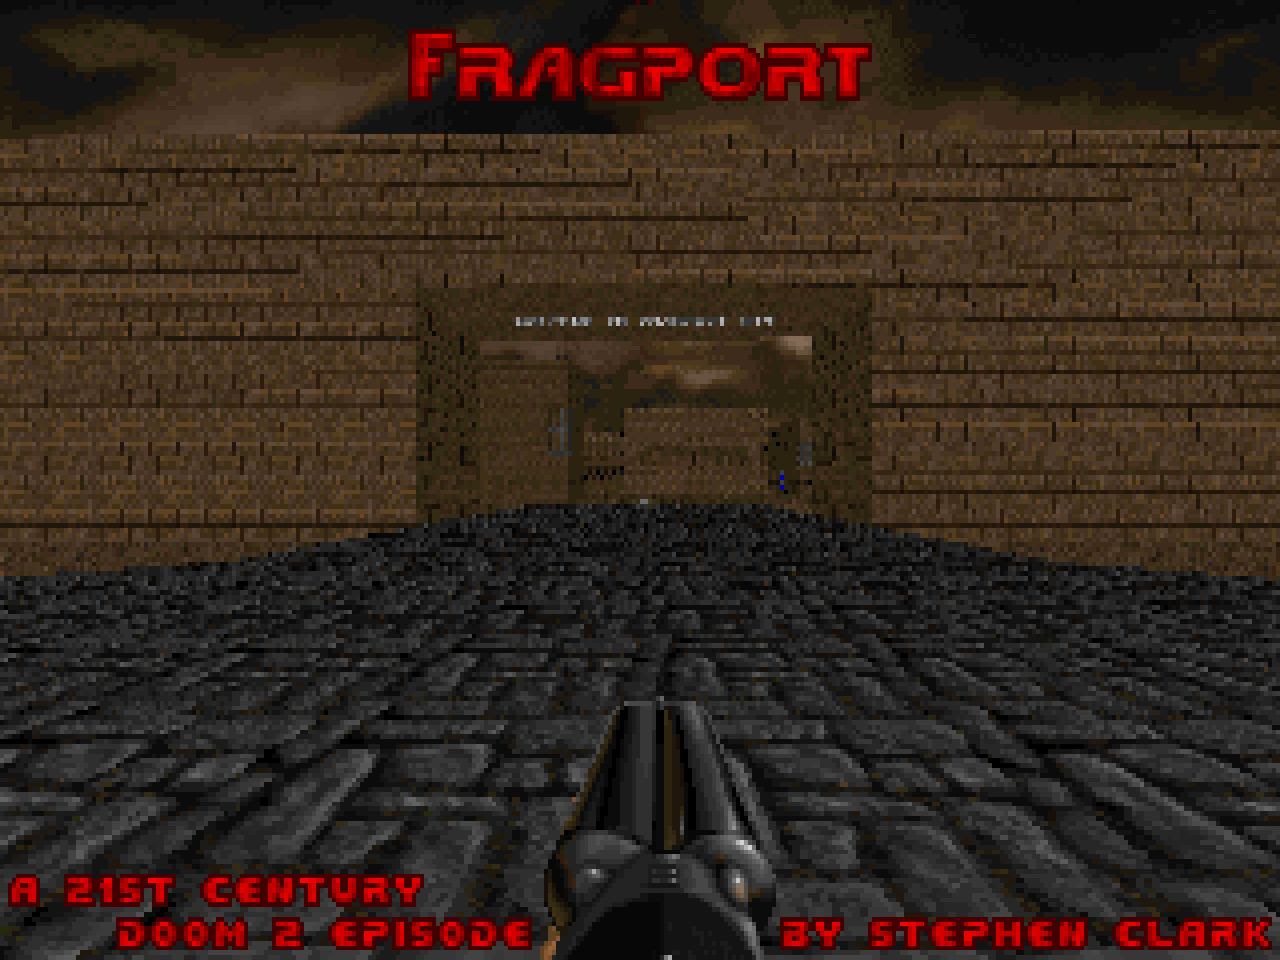
FRAGPORT
by Stephen Clark
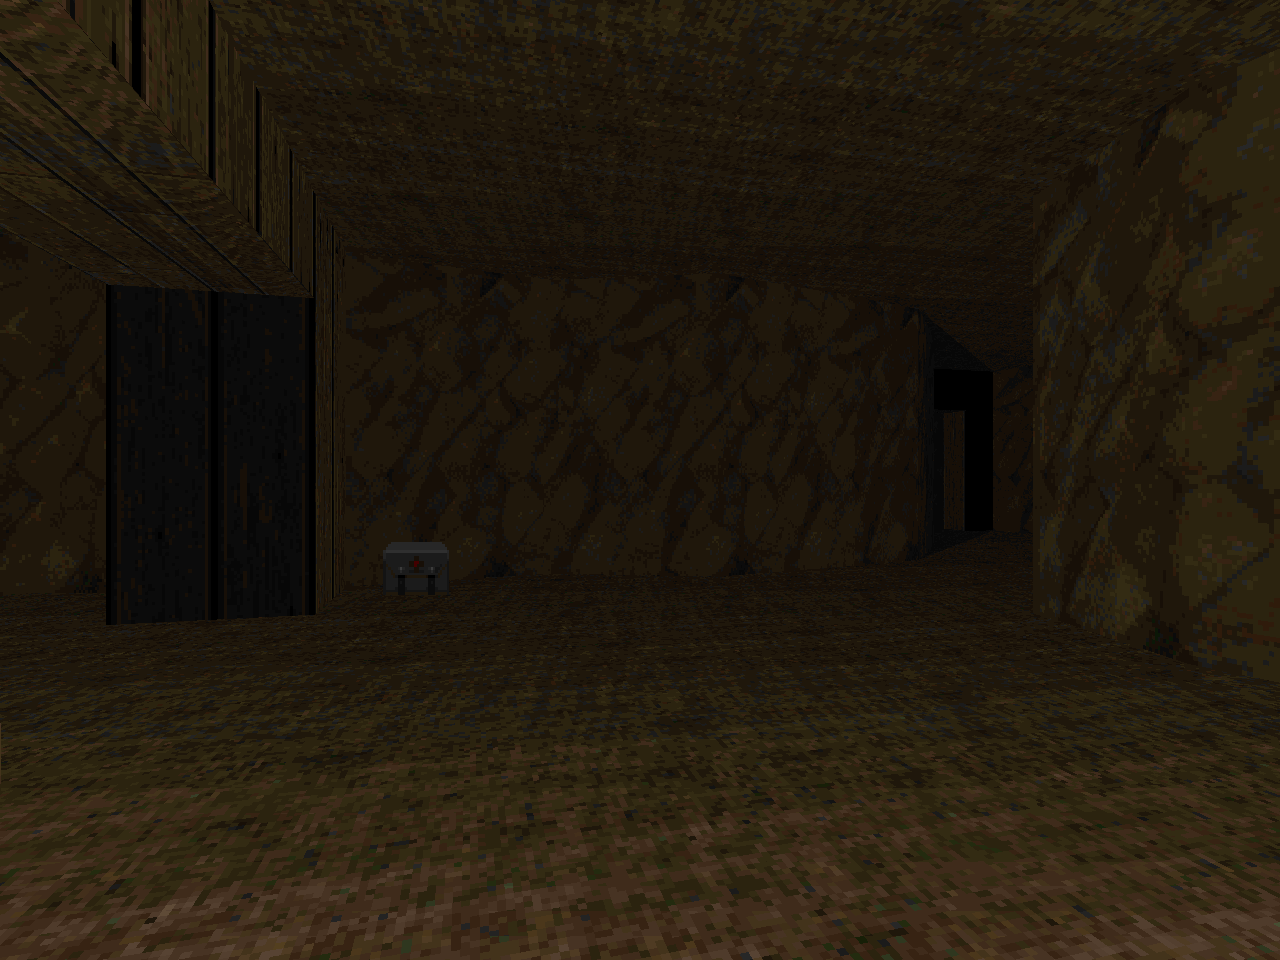
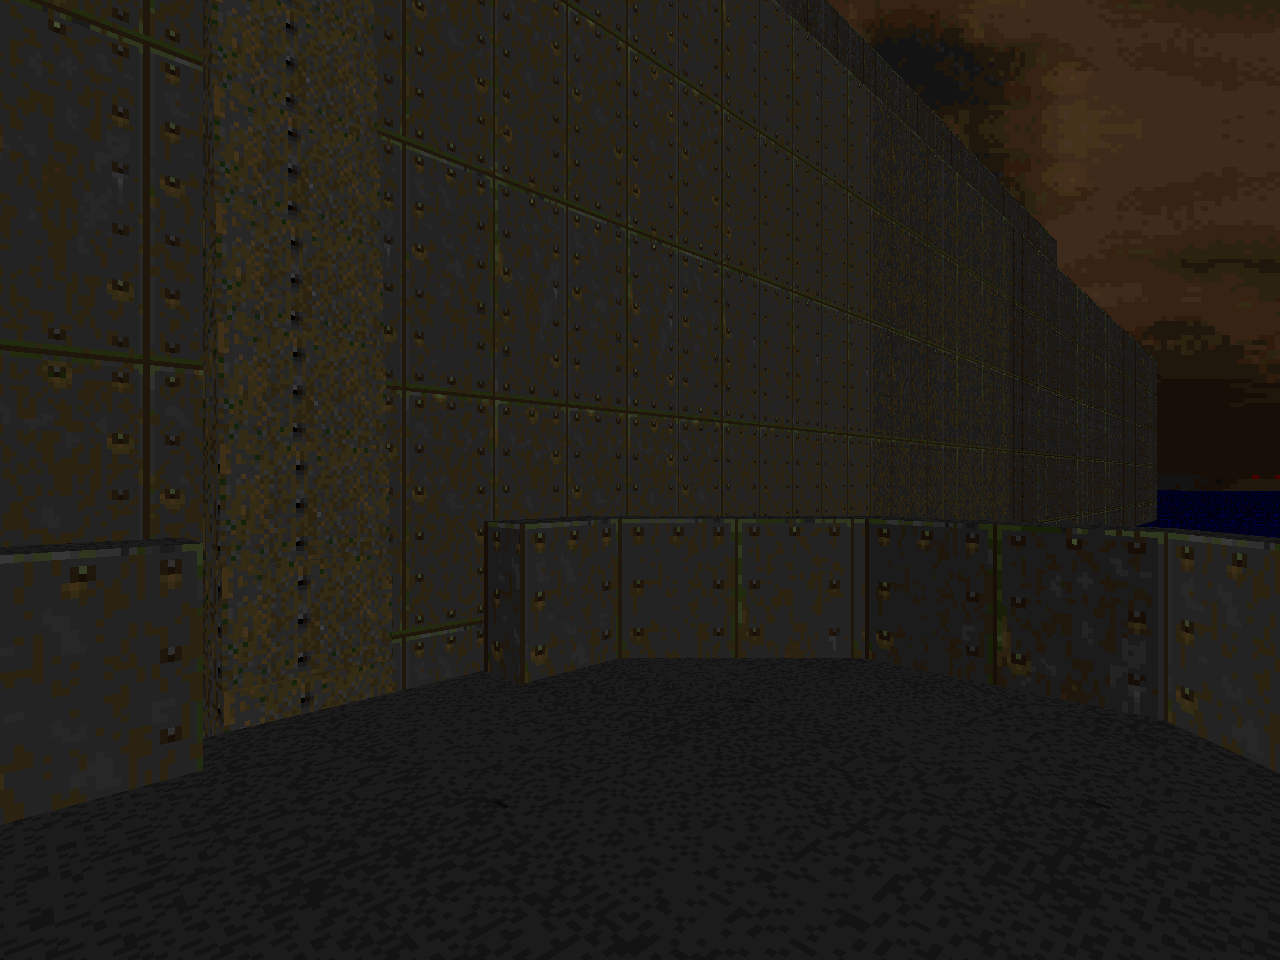
| Desert Prison | MAP01 |
|---|
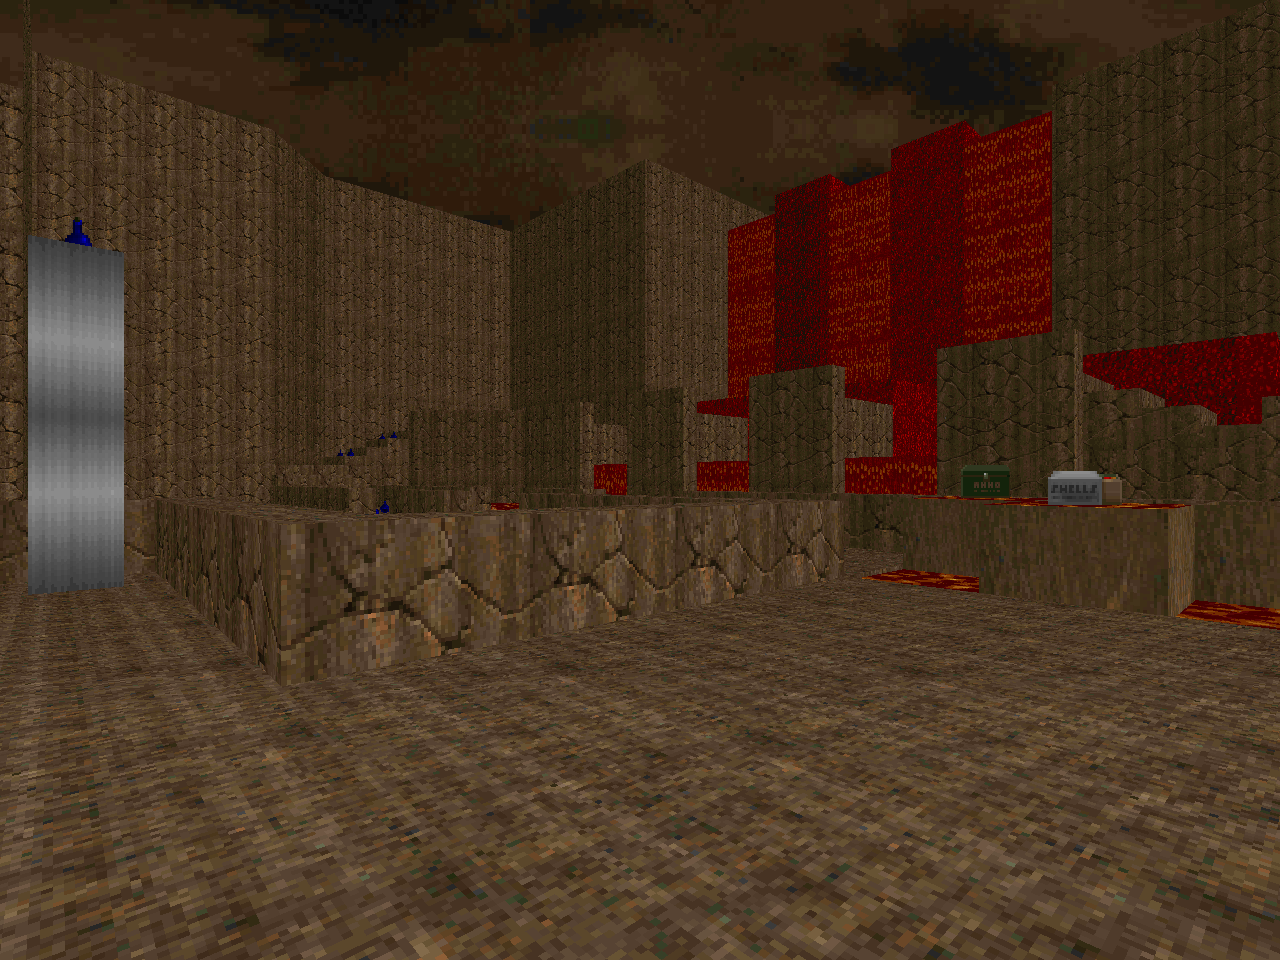
| Clark wastes no time in establishing the level of action. The opening string of jail cells is a boring sequence but the revenant in the final chamber - plus the commando guards - solidifies the higher stakes. It's nice of the author to deposit the troublesome hitscanner / homing snipers on the one prison wall near the start so that you aren't unawares. The best fight comes from the beefy monster horde that teleports into the main yard as it's a nice mix of revenants, Hell knights, and mancubi. Most DoomCute bit: stimpacks in the toilets to simulate drinking toilet water for health. | 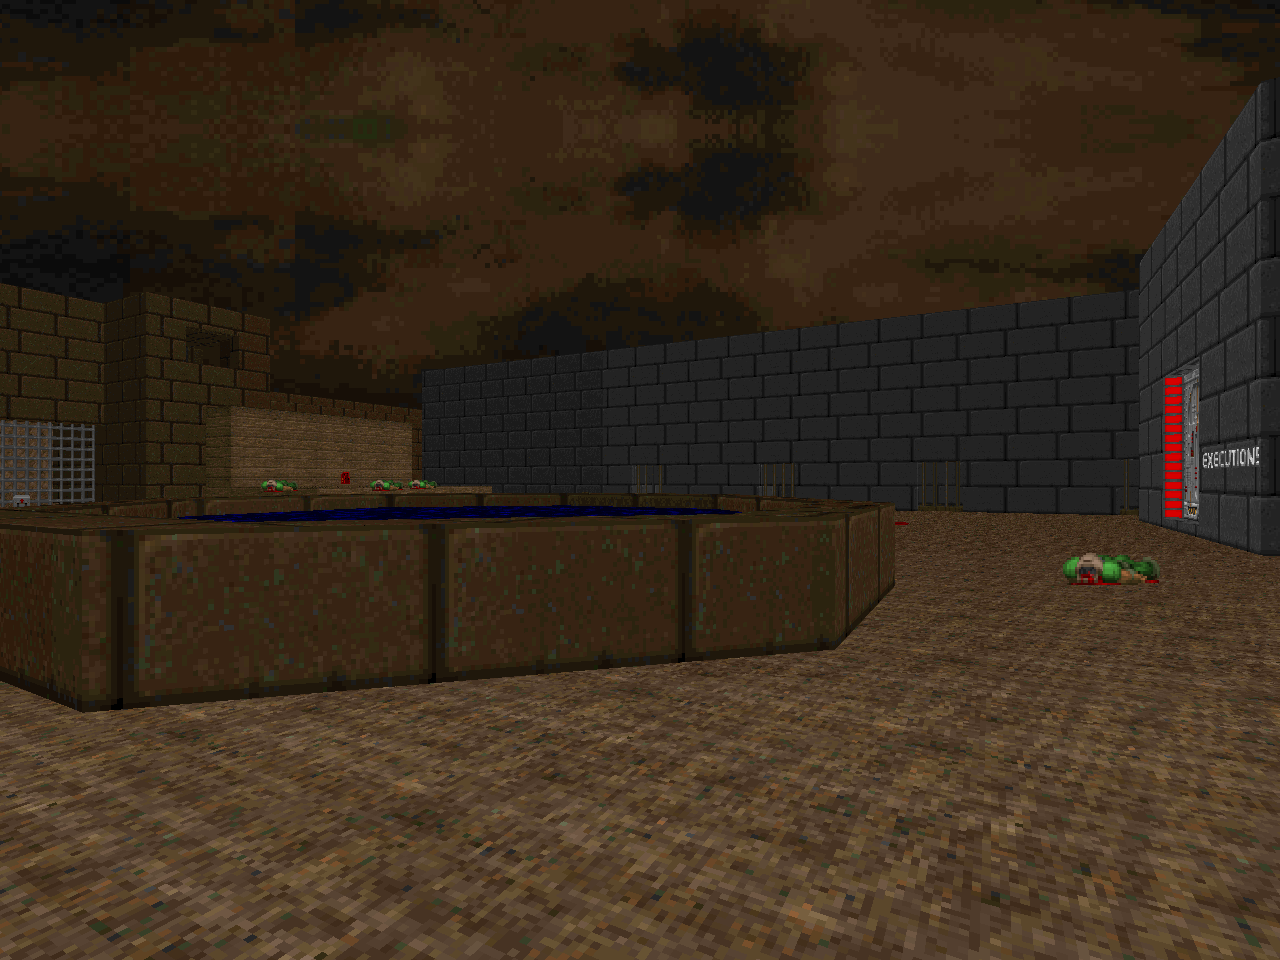 |
| MAP02 | Labour Mines |
|---|
 | A credible labyrinth of mine shafts and roughly-dug but still straight-angle tunnels. The big branching point involves four-way elevators on both the north and south sides. There are a bunch of goodies but if you play sloppily - as the Hell knight trap encourages you to - then you're likely to be overwhelmed. Through the most advanced vanilla magic available, Clark has a few cool bits where you "crawl" through shallow water and low ceilings. The first time this comes up may psychologically lock the player as you need to do the bit when grabbing the red key. The level's finale is an upscaled homage to Plutonia's "Well of Souls" (MAP02) except it's a rail-thin zig-zag bridge. The penultimate fight has pretty much the same monster complement as the big ambush in "Desert Prison", the exception being that you're encircled. |
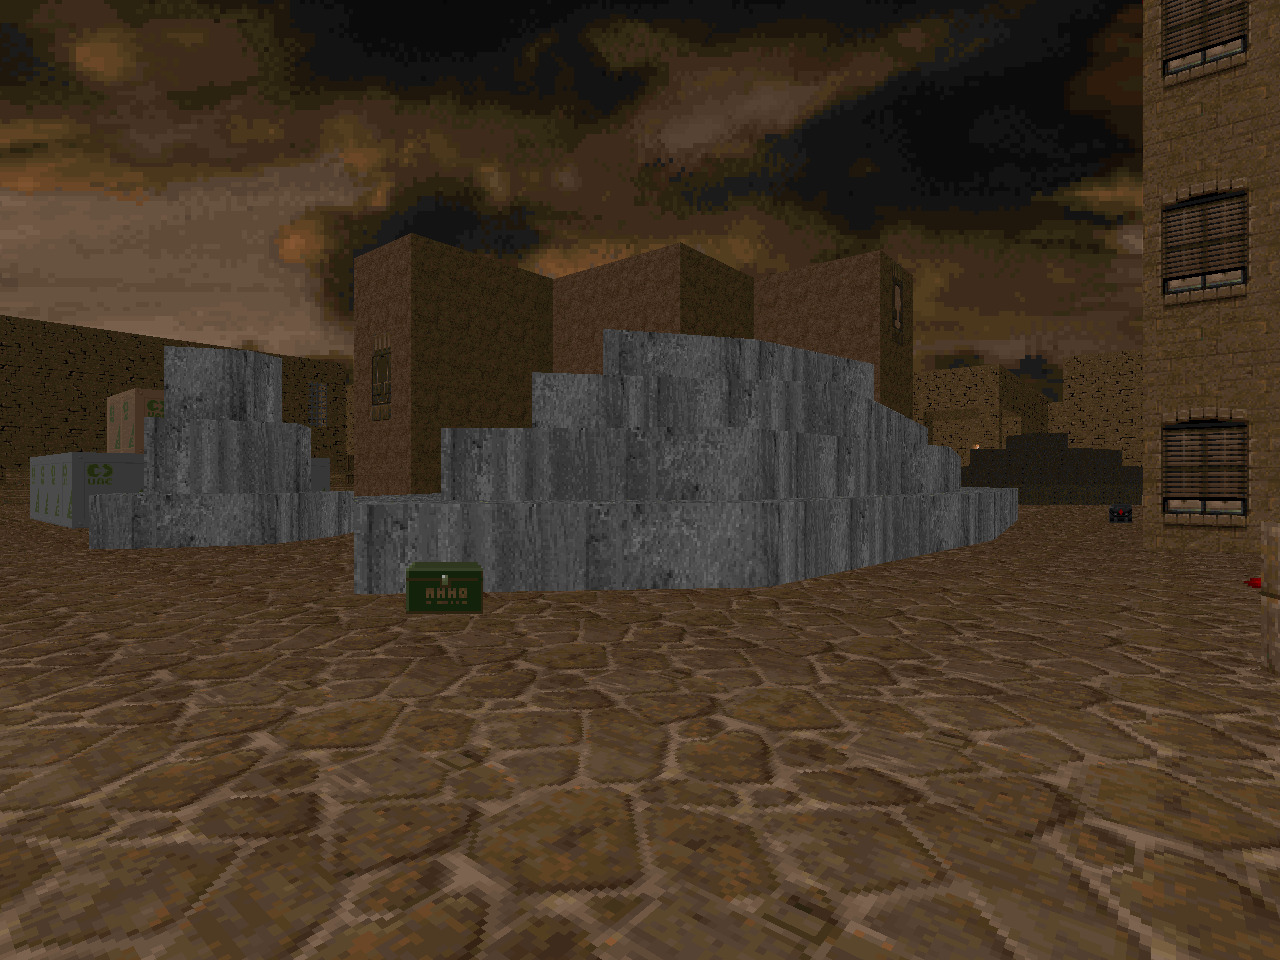
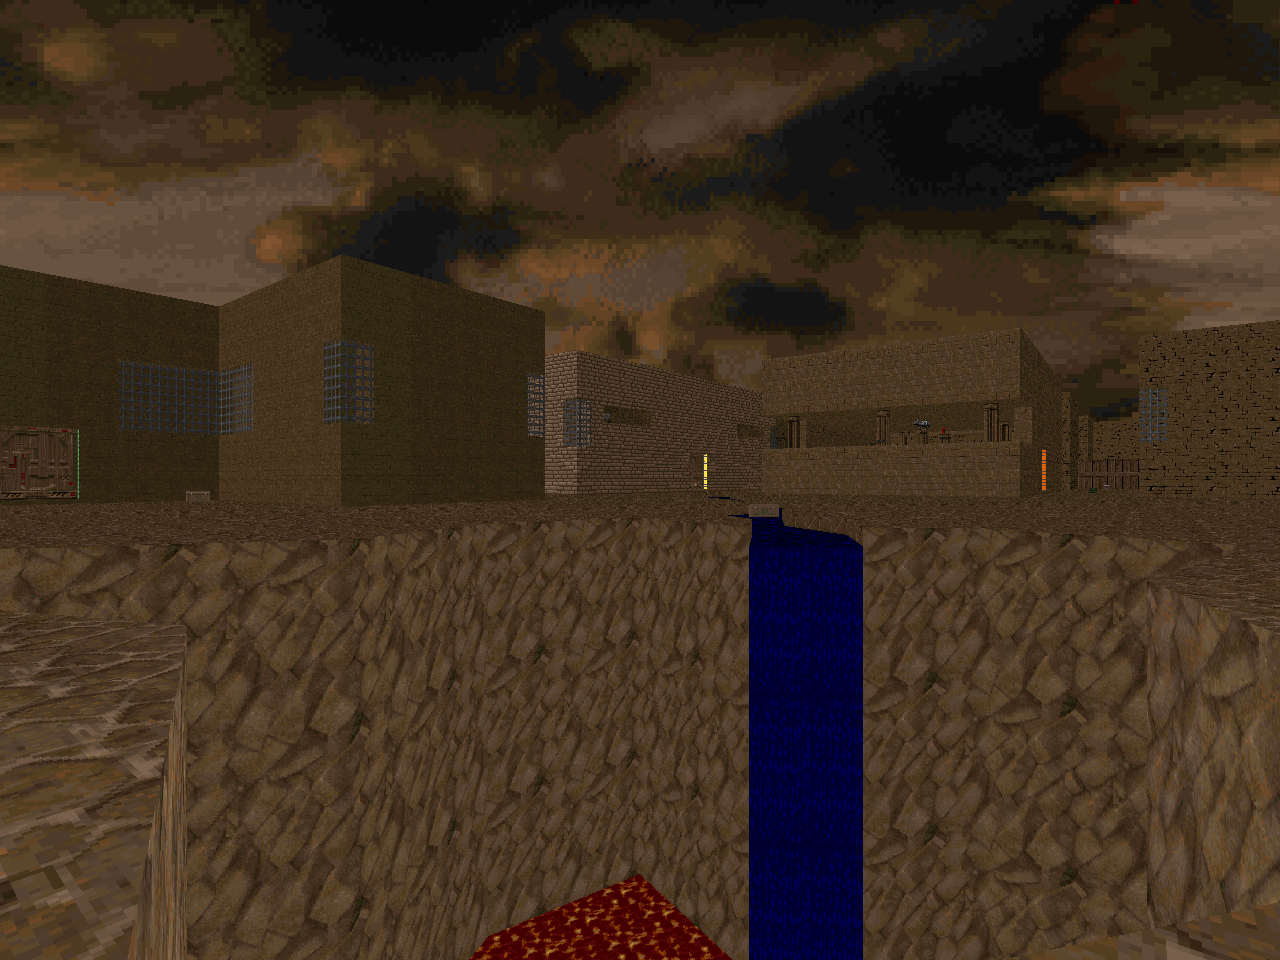
| Durncrag Mines | MAP03 |
|---|
| This level does not have an auspicious beginning. You bust out onto some rail tracks and proceed to do some humdrum super shotgun slinging in some long-ass tunnels. The big, central chamber livens things up a bit with a mancubus-heavy brawl before it's back to running the tunnels. Where this level explodes is when you raise the level of the underground river. Clark has a dedicated series of walkover triggers that causes the mine to slowly flood. While I was pretty sure that it was never going to result in my death there was just enough doubt that I actually started to get anxious toward the end. You can't afford to panic, either, or you'll get caught flat-footed by some dickish arch-vile placement and a cavalcade of revenants. All in all, wicked cool vanilla stuff. | 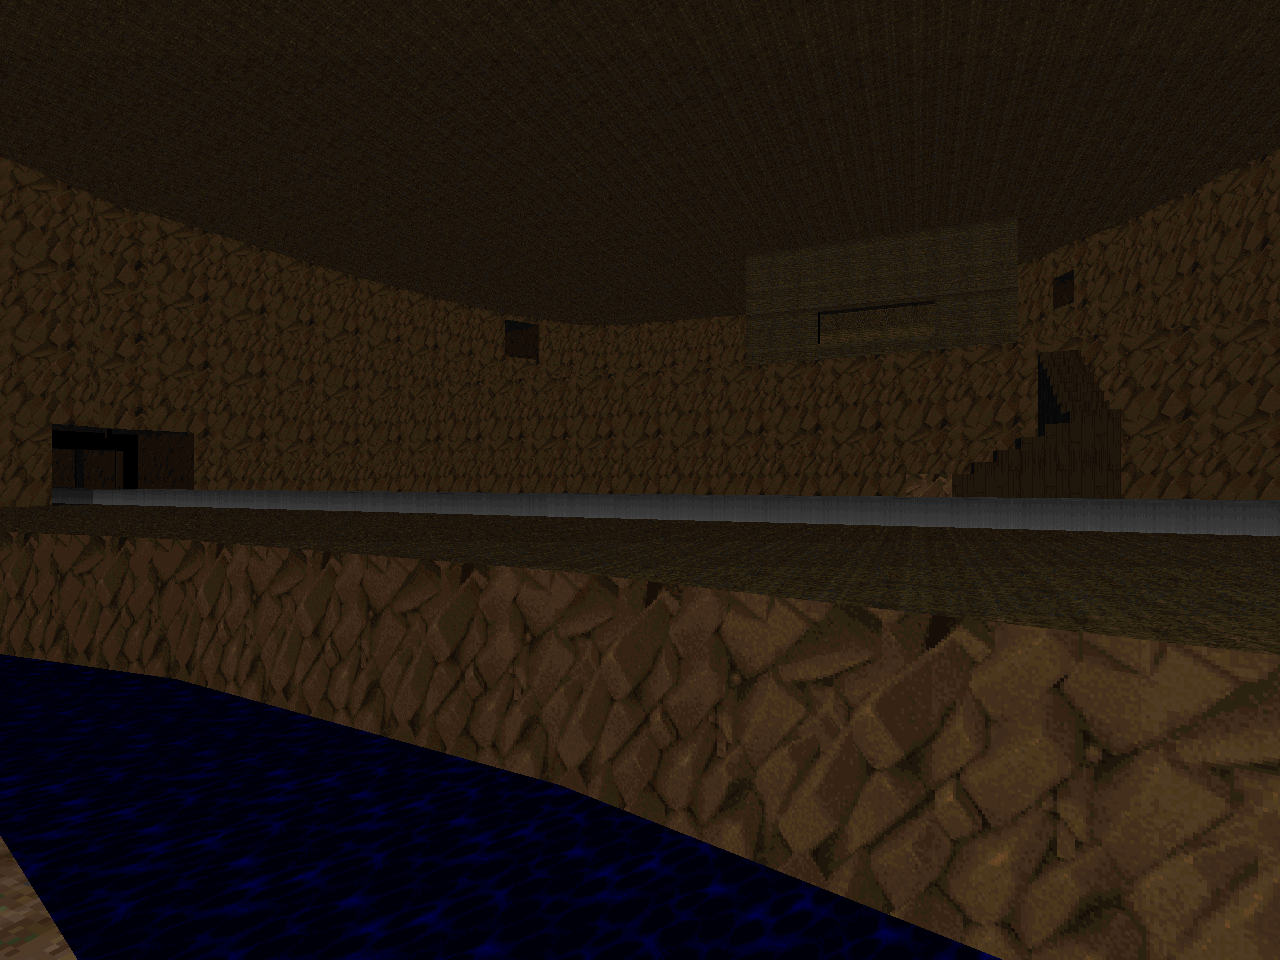 |
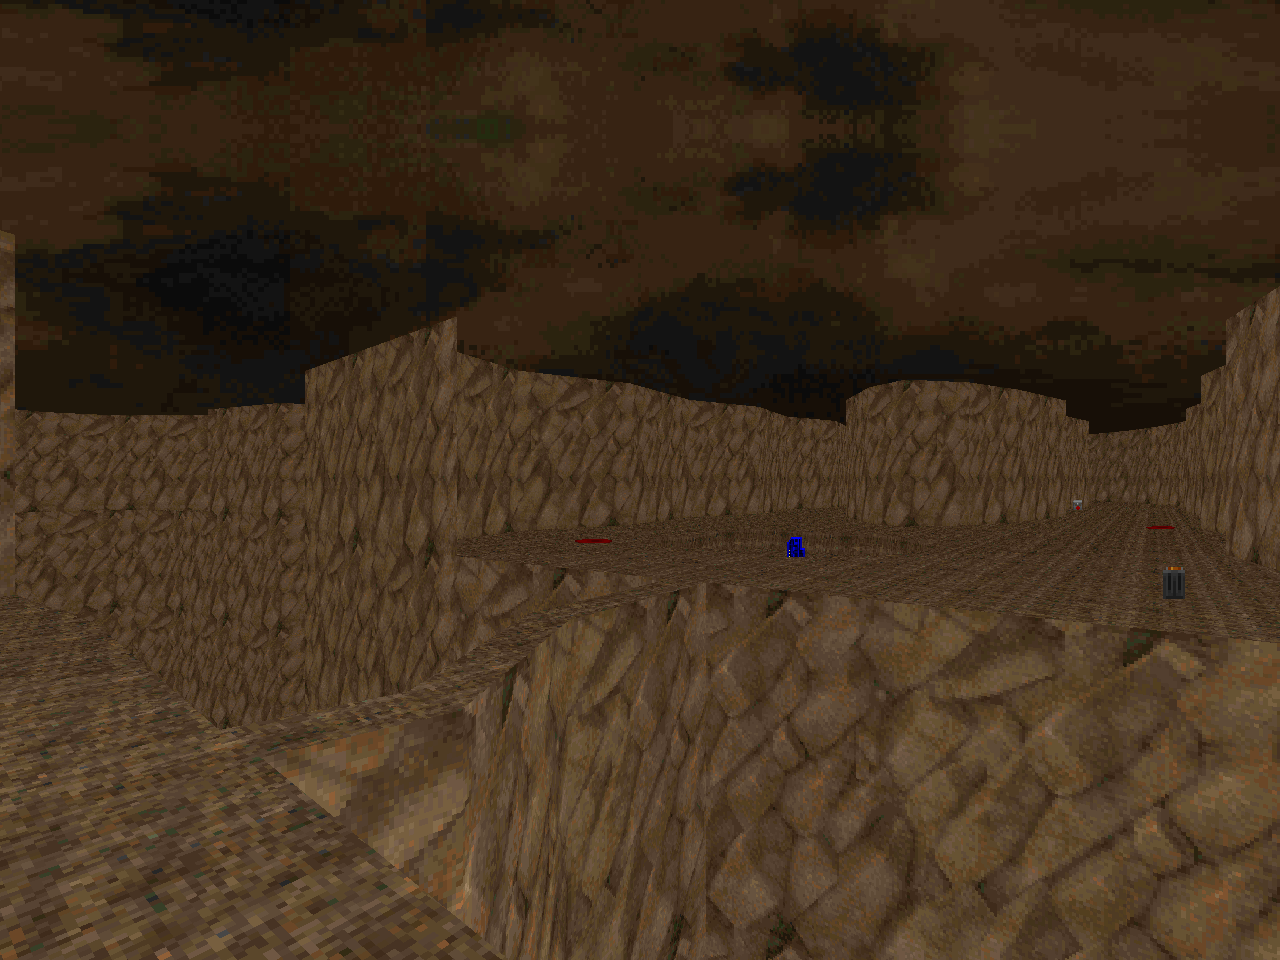
| MAP04 | Mining Colony |
|---|
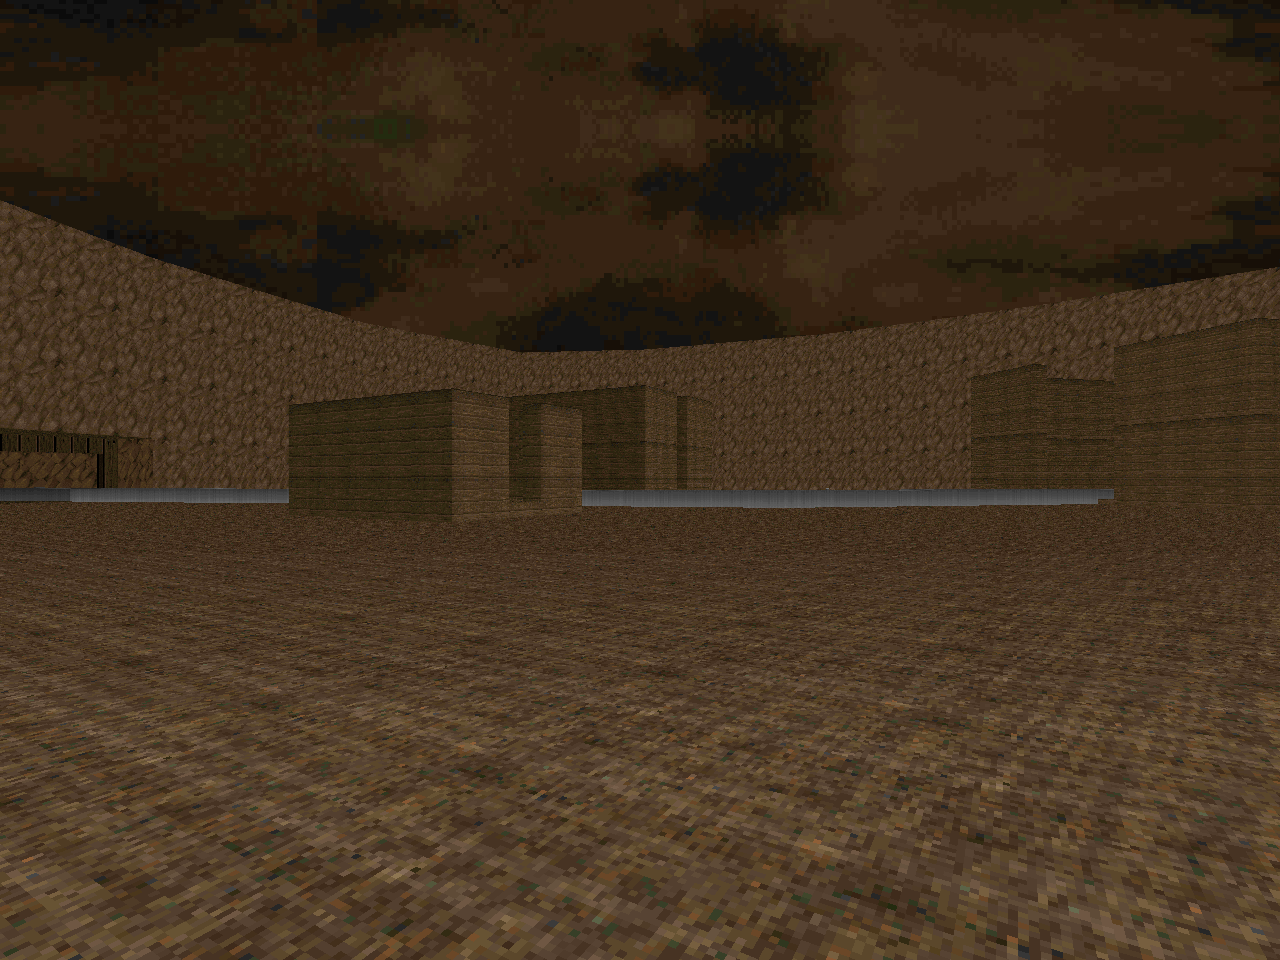 | The surface consists of a handful of half-built buildings that are occupied with monsters. The Spiderdemon makes itself known at the level's onset but it should really be the least of your concerns. As you make progress through the derelict colony, monotypical mobs of monsters will burst out of the canyon walls. They're fairly easy to deal with and the space lets you get real nasty with infight-baiting. The huge, flat canyon that leads to the Spider Mastermind showdown and Durncrag gate feels pretty bland to look at and move through. |
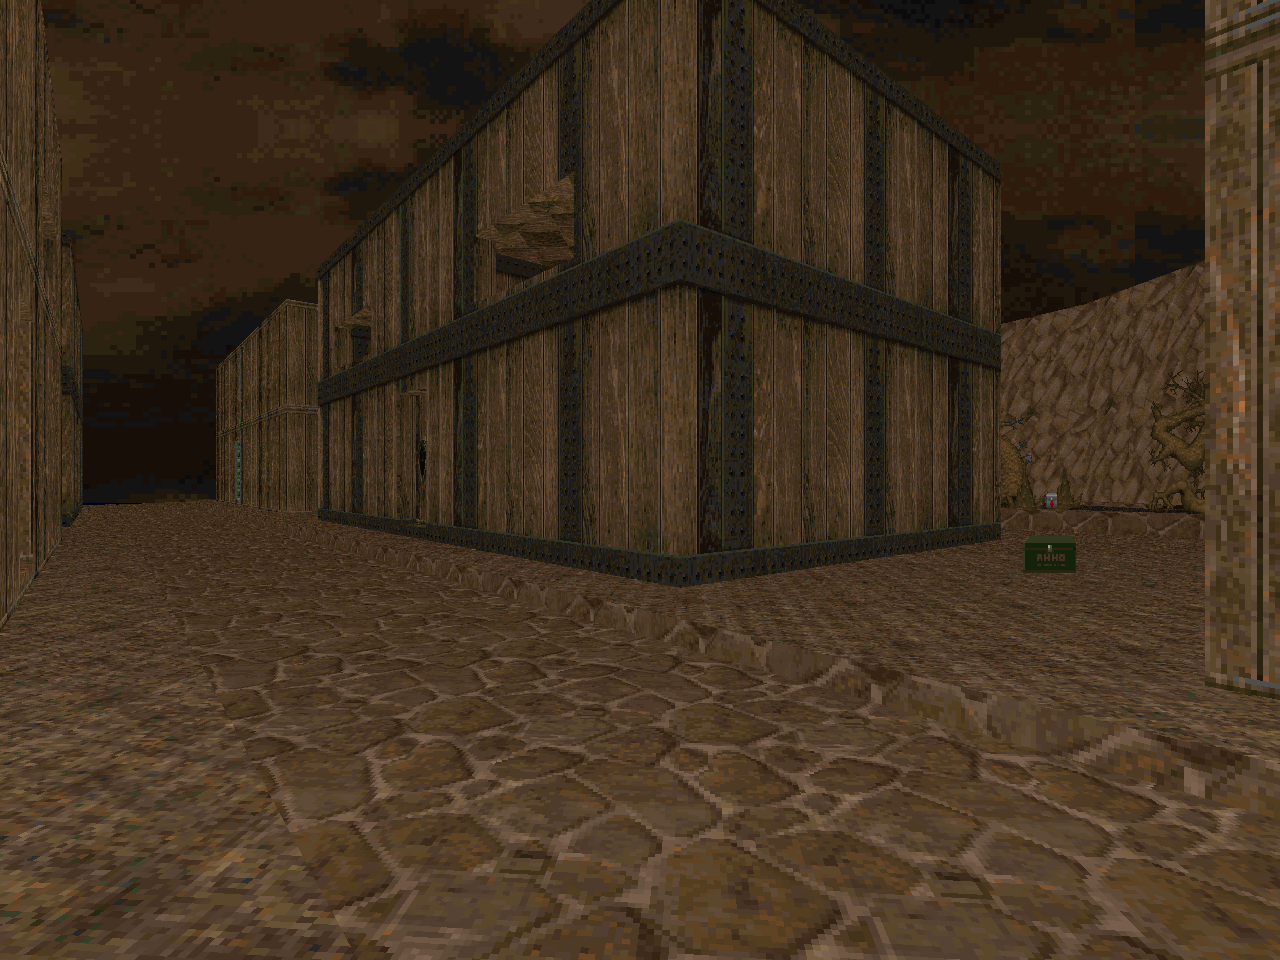
| Durncrag Town | MAP05 |
|---|
| This is way more of a town level and it has a unique character due to all the buildings with oblique sides off the road running northeast. You can explore most of the buildings at your leisure but all of your basic weapons and the rocket launcher can be located outside. That said, it pays to find the super shotgun early. There are a few nasty surprises but the best panic fight comes from picking up the green key. As you focus on the Hell knights in front of you you're liable to be swamped by a horde of demons from behind. The sector trees are quite cute. | 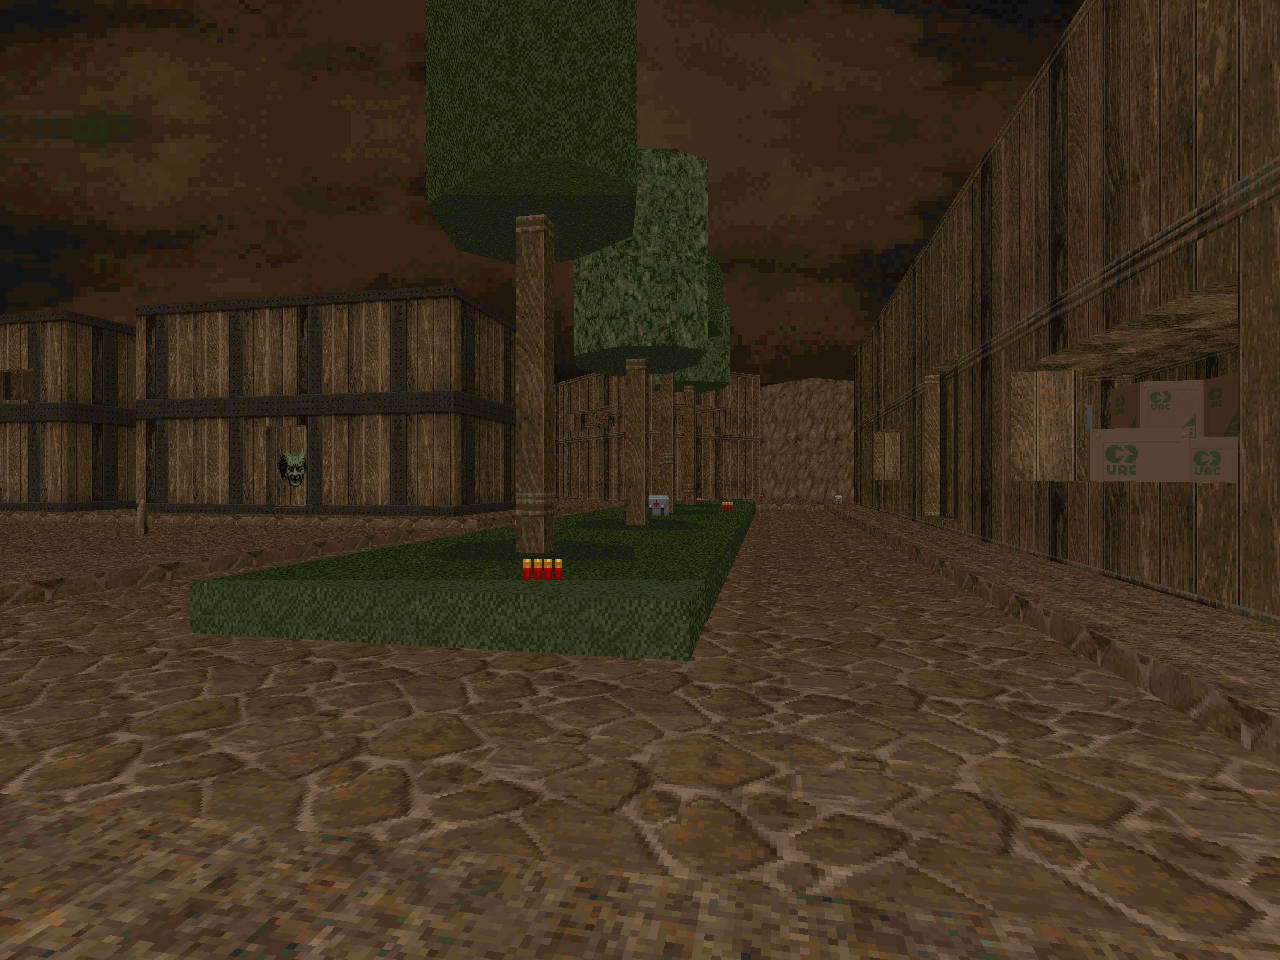 |
| MAP06 | Ironclad |
|---|
 | Another quasi-realistic level, this time on some kind of a warship. Clark's floating fortress has an upper deck and a lower, the bottom significantly and understandably more claustrophobic with its narrow passageways. The map is a tricky pistol start and some trial and error will be involved in establishing a foothold due to weapon and ammo locations. Most of the fights don't stand out but some moments, like opening up the Mess Hall and finding it full of all three zombie types, get your attention. The reactor room is probably my favorite for how you have to handle the revenant / imp mix. The overhead slows you down as you bump into it in an attempt to coast down the staircase but it's bemusing as an imagined safety-conscious agent. Honorable mention, well, it's hard to go wrong with a sizable two-sided cacodemon assault. |
| Remote Island | MAP07 |
|---|
| A tiny recreational island with a charming bed and breakfast for those who value their privacy. The naturalistic scenery is chunky but DoomCute to the core. The center of the island houses an overgrown underground maze that's kind of foreboding but most of its denizens are imps. This of course only serves to throw you off for the big ambushes when they happen. Be wary of anything that happens behind a door! Once you've bested the gnarly key ambushes you are treated to a fun cacodemon shootout on the way through the escape path. It's not all that dangerous unless you allow yourself to be surprised by whatever cacos happened to worm their way into the storefronts. Fun stuff! | 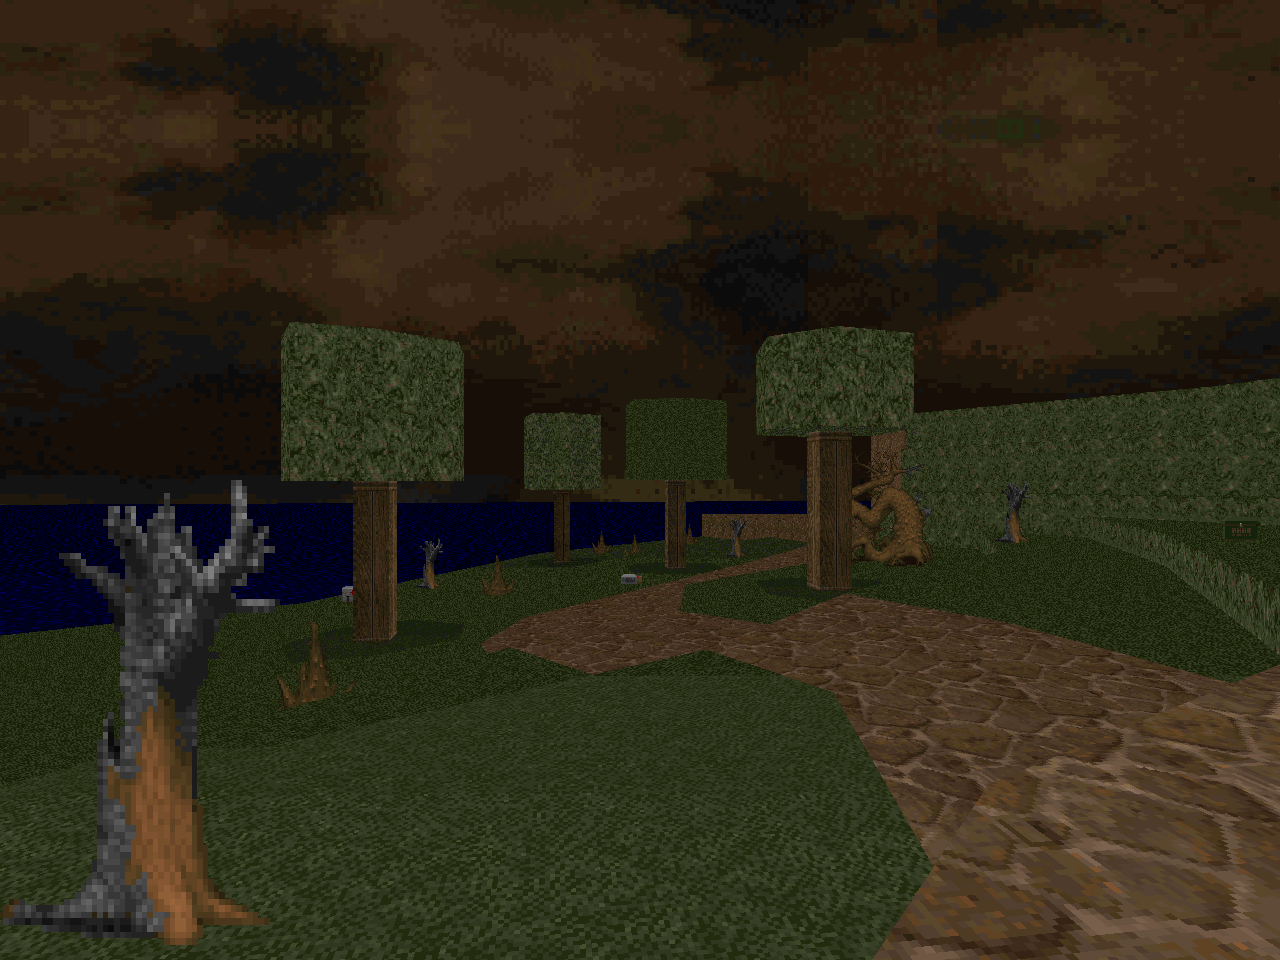 |
| MAP08 | Barren Shores |
|---|
 | This opens with a visual of an indeed very barren shoreline backed by an imposing cliff face. The opposition is scattered starting out but once you climb up you will have to deal with more significant resistance in the gulleys atop the wall. "Shores" is big on meaty ambushes. Your ability to handle them will depend on the order in which you pursue the branching ravines. I headed east first and ended up fairly tight on ammo. It's a quick play even if it feels a bit slow if you get stuck with the regular shotgun and chaingun. If anything wears on it's the key switch / arch-vile sequence at the finale. |
| Volcano Valley | MAP09 |
|---|
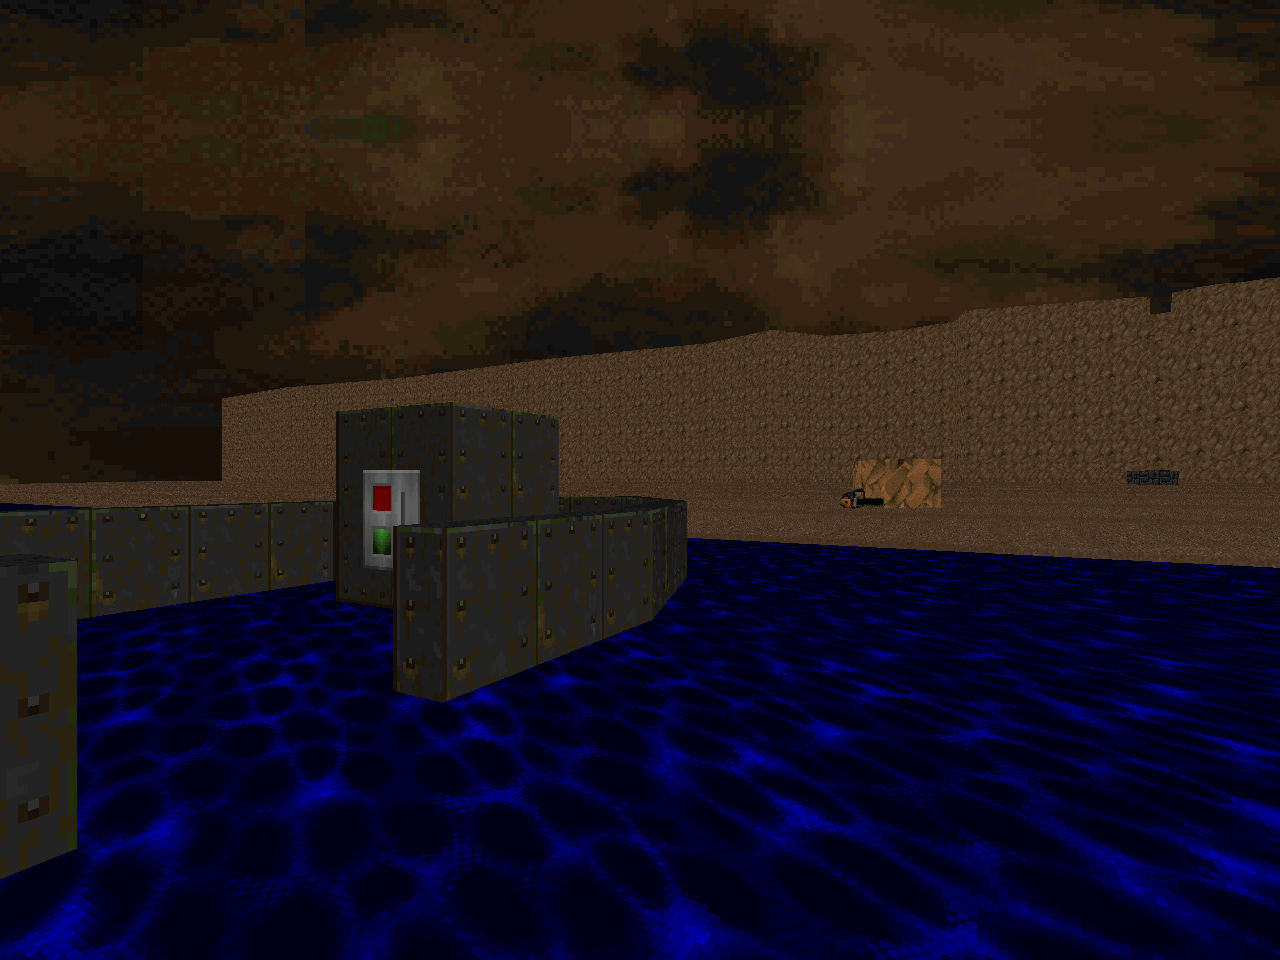
| Leaving the exotic, wind-swept cliffs for pools of molten rock. This is a fun level with a vaguely classic id vibe due to all of the catwalks that wind across the main body of the level. I had a few big misunderstandings at the start of the level. First, the square platforms with ammo on top of them don't need to be run across. They will actually descend to the floor upon a "use" action. Second, the switches spread out across the level that don't appear to do anything are actually required to unveil first the red and then later green keys. Third, you actually do have to drop into the horrible, 20% lava in order to bridge that first big gap you come across. I assume that the first and third elements are supposed to help drive home the environment's volcanic volatility. It is otherwise a fun, secret-rich level with mostly imps sniping from afar with occasional hardbodies in advantaged positions. Some of the terrain, like the cascading lava falls, is quite scenic. I enjoyed the final battle as the hard angles and breaks in the dividing wall make merely circle-strafing the Cyberdemon a little less straightforward. | 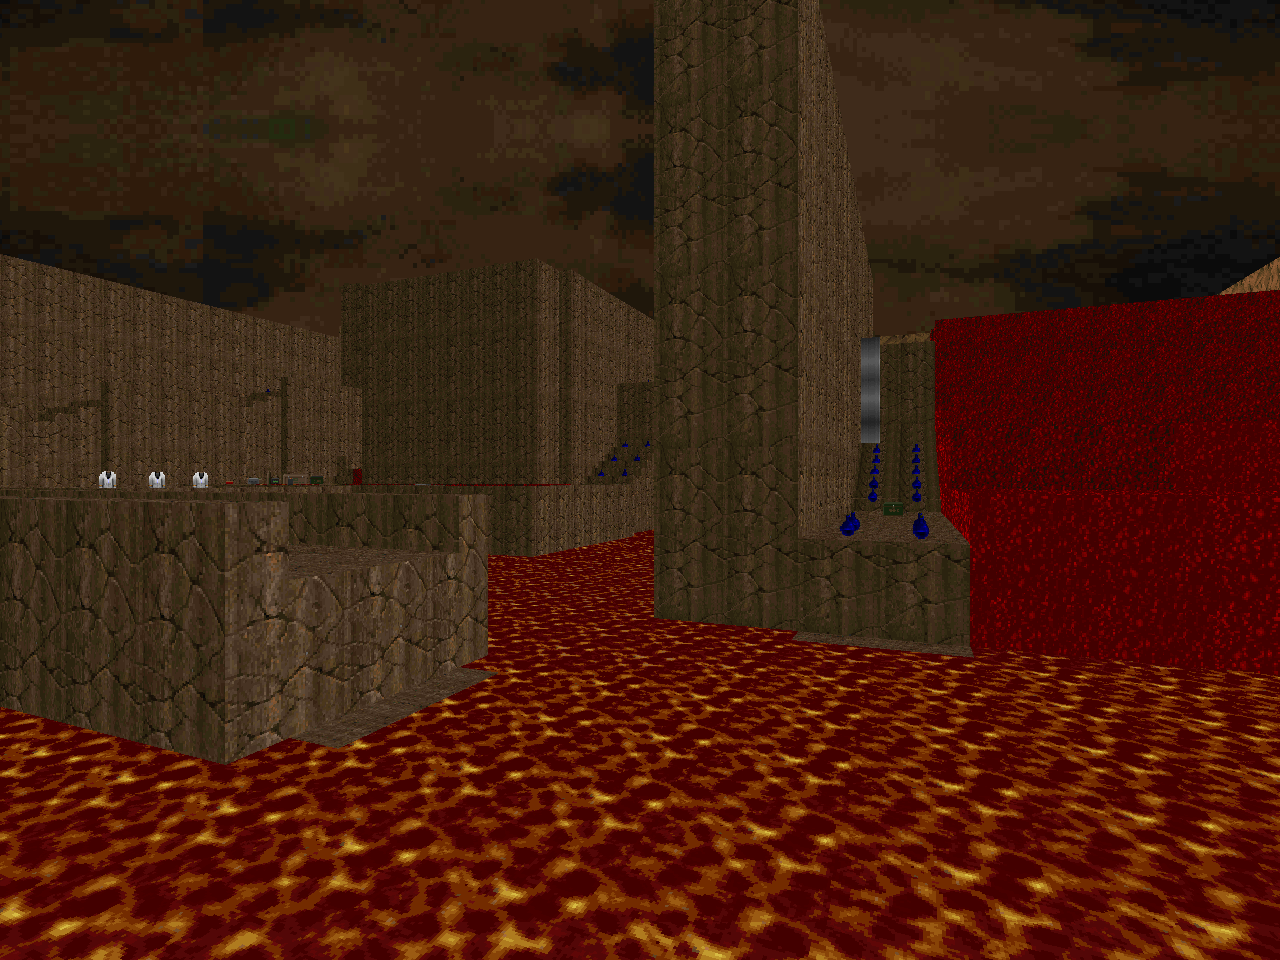 |
| MAP10 | Military Base |
|---|
 | Nominally a Phobos-themed level with deference to "Nuclear Plant" and its eastern stairbound tower It's a tough level from pistol start and if you fumble up with the rad suits and the sewage section then you may have sabotaged yourself. The progression is kind of convoluted as you have to make two separate nukage dives to grab first the red and later the blue keys. The latter unleashes a sizable contingent of monsters between you and the exit that will greedily soak up what remaining ammo you have. I didn't think that I was at all wasteful and barely got by, and that's with having found the secret plasma gun alcove. It's a tricky nut to crack. I really enjoyed the green key sequence with the arch-vile trio and erupting maze. |
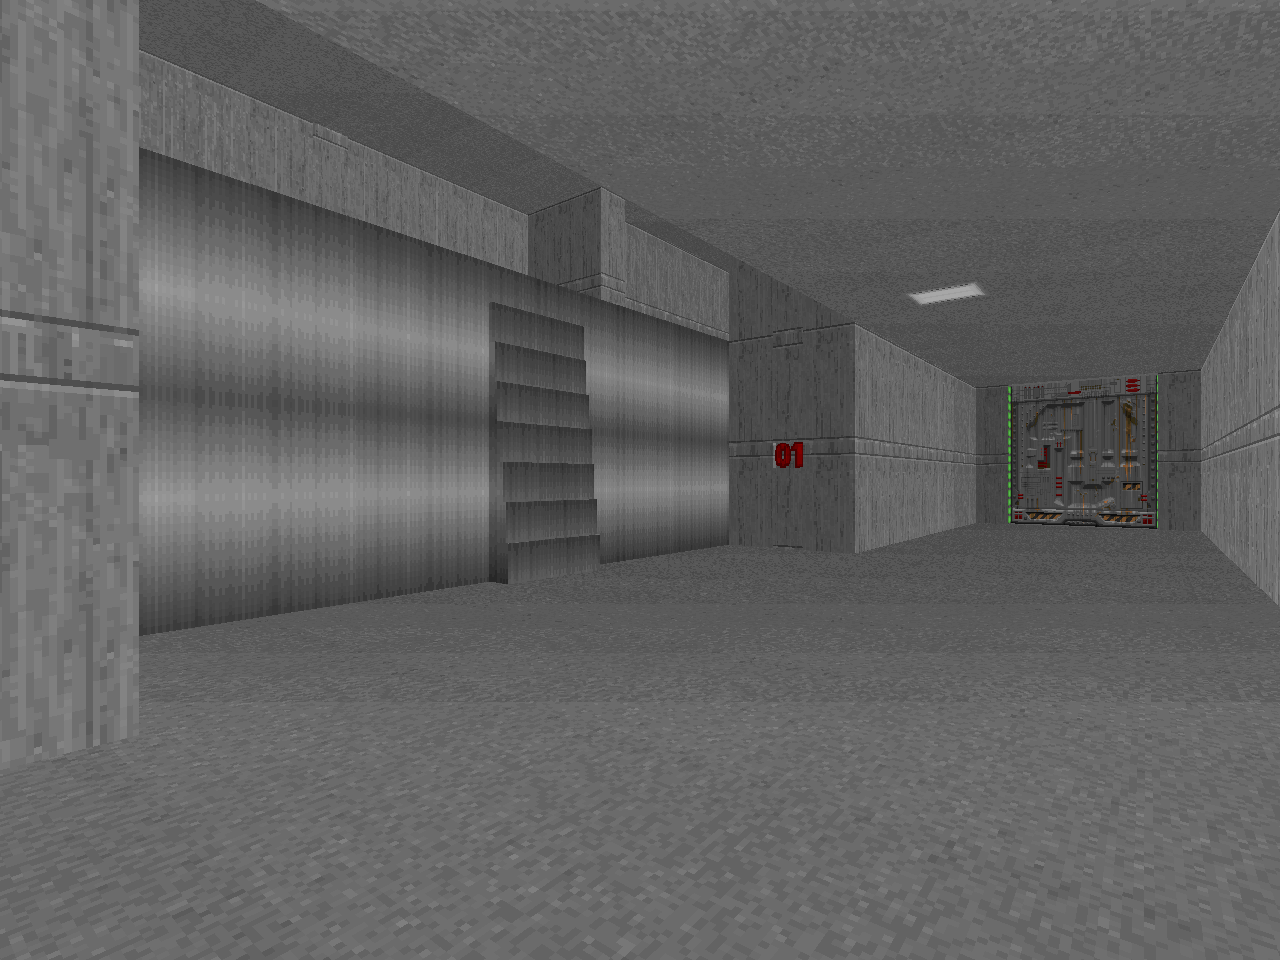
| Military Bunker | MAP11 |
|---|
| Another installation but this one has no vestiges of KDitD. The layout is fun with a series of chambers connected at oblique angles and a clearly-marked switch hunt. There's a less obvious scavenger sequence later on and I'm assuming that - given a similar occurrence in "Volcano Valley" - this is going to become a Fragport motif. The opening grid 64 tunnel system does not make for an auspicious opening but gathering all of the supplies therein is critical to your later success. There are a bunch of DoomCute elements, the best of which is probably the training area defensible mockup found in the middle-eastern portion. It comes with a teleport ambush that's more awkward than anything given how cramped conditions are. The second half of the map involves a lot of scrounging around in the "abandoned tunnels". This isn't nearly as maze-like as the level's opening but it isn't particularly interesting, either, apart from snagging the plasma gun. I'm more partial to the amphitheater ambush and desperate, strobe-laden arch-vile finale. | |
| MAP12 | City Sewers |
|---|
 | The title may fill the player with dread and, to a point, it would be fully justified. Most of the floor of this level is brown doodoo, perfect for Bobby Prince's sludgy "In the Dark". It's all damage floor, too, but Clark has provided a plethora of enviro suits to soften the blow. They're more plentiful in the beginning, though, so you may find yourself retreating to the opening tunnels to zip back up. At least, until you locate the cache in the second half. There's a cistern with a teleporter ambush that has shades of The Plutonia Experiment's MAP28 ("The Sewers"). For whatever reason, the southeastern bit with the long series of settling pools reminds me of it as well. Stephen is at his most awkward with the cacodemon vat room and all of its deep (if safe) trenches to fall into. The combat is very punchy and finally gives you enough room to cut loose with the rocket launcher and plasma gun. The multiple mancubus reveals are practically begging for it. Sewer bias aside, I had some good fun. |
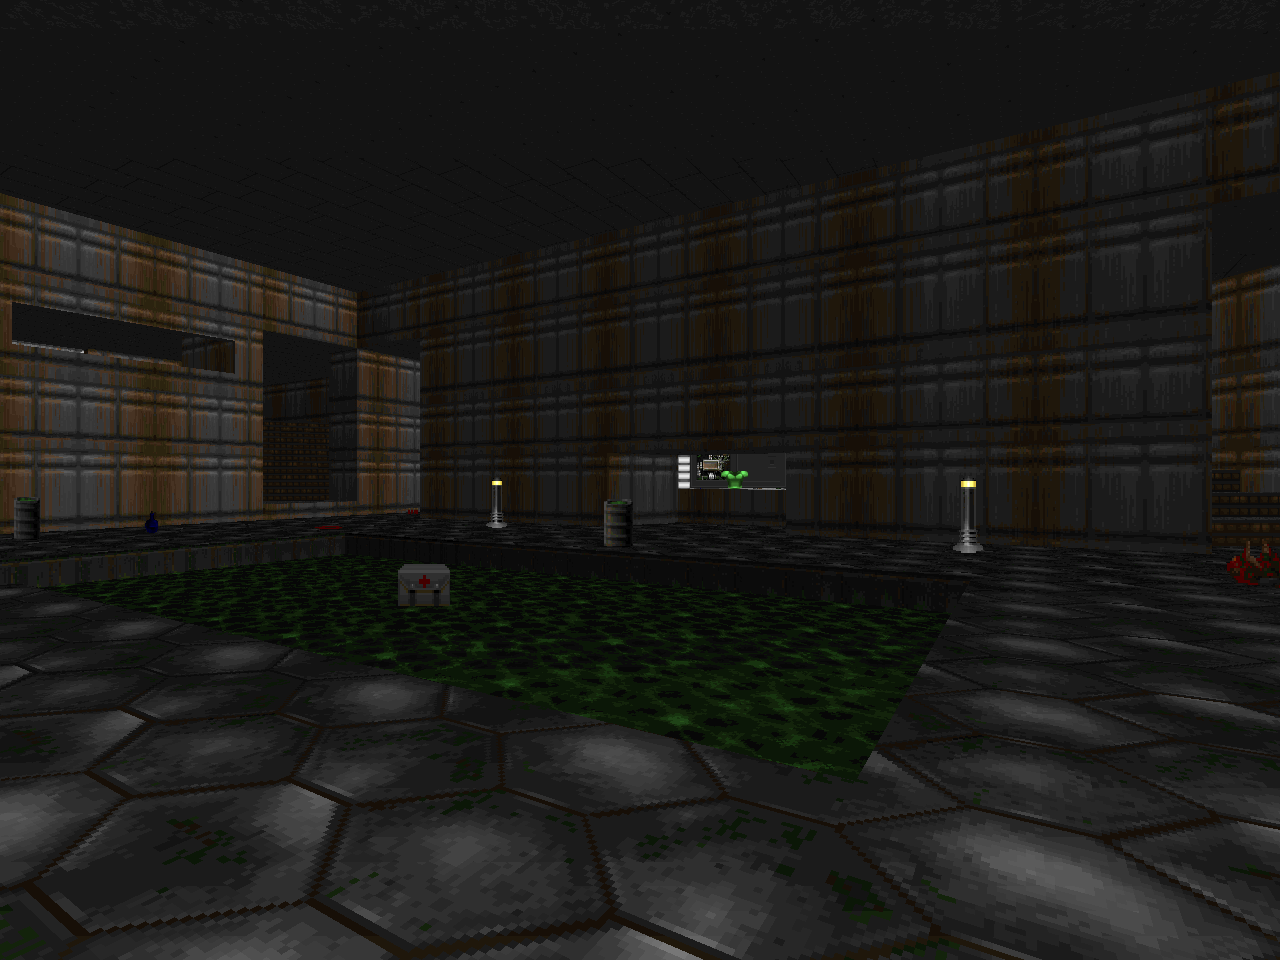
| Pipe Factory | MAP13 |
|---|
| Big monsters, big prizes! For the most part, Clark ditches the cramped combat that has dominated so many of the past levels. While the factory floor is open, however, pistol start players are liable to be overwhelmed by a tidal mancubus wave if they stand their ground. Thankfully, the "Raw Materials" chambers house most of the major arms and plenty of ammo for you to get work done. If you don't try to maneuver the uglies into a little mancubus / arachnotron infighting, that is. The outdoor area that surrounds the factory is wide open with a couple of isolated, auxiliary buildings, a bit too big for a lone Spiderdemon. When the other shoe finally drops it hits hard with a horde of aerial foes inside the factory and a bunch of nasties outside, including two arch-viles. Fast and fun; the pipe warehouse is appropriately DoomCute and provides the only significant, slower-paced combat. | 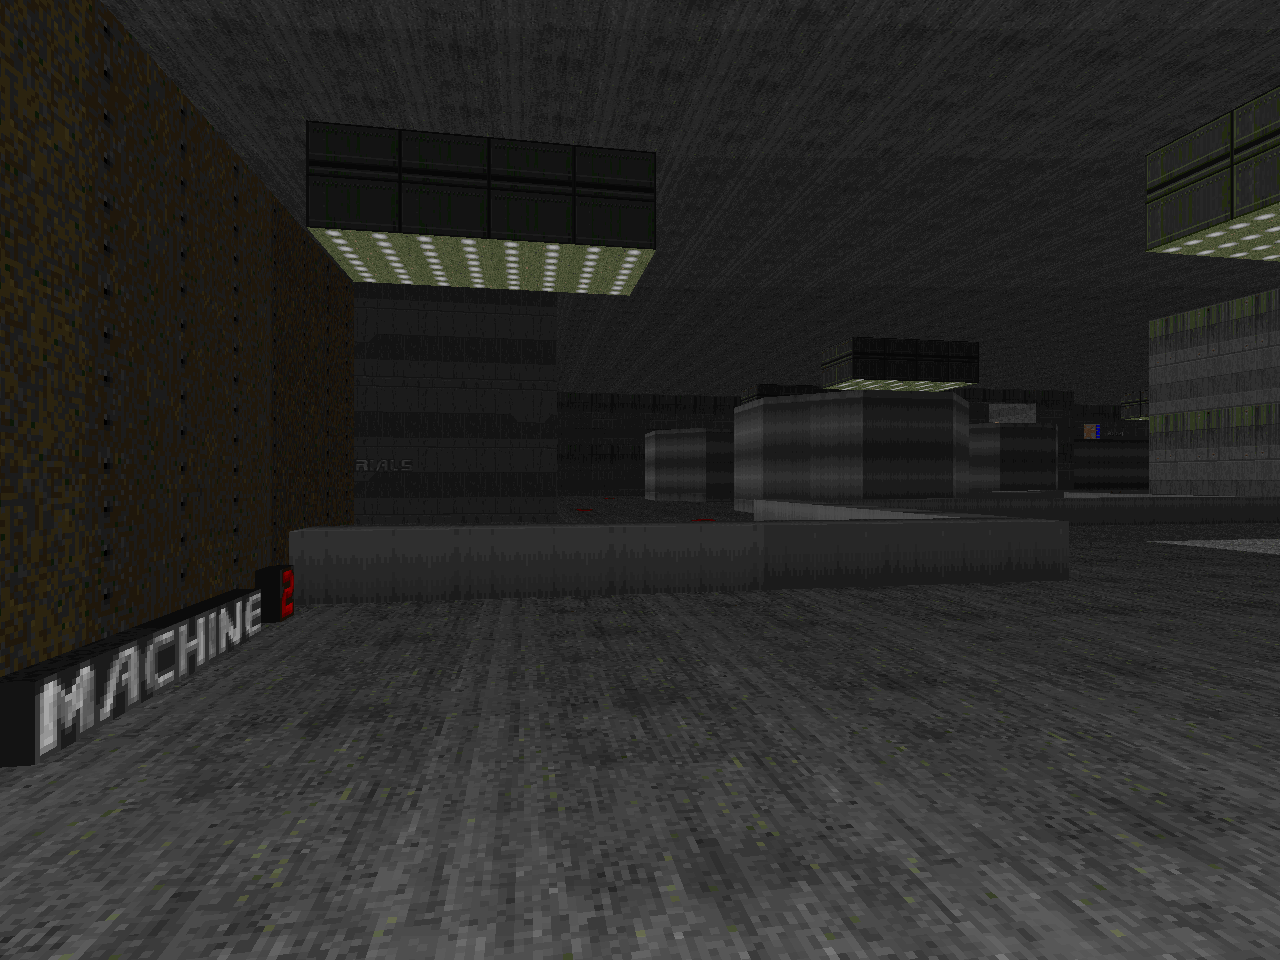 |
| MAP14 | Urban Wasteland |
|---|
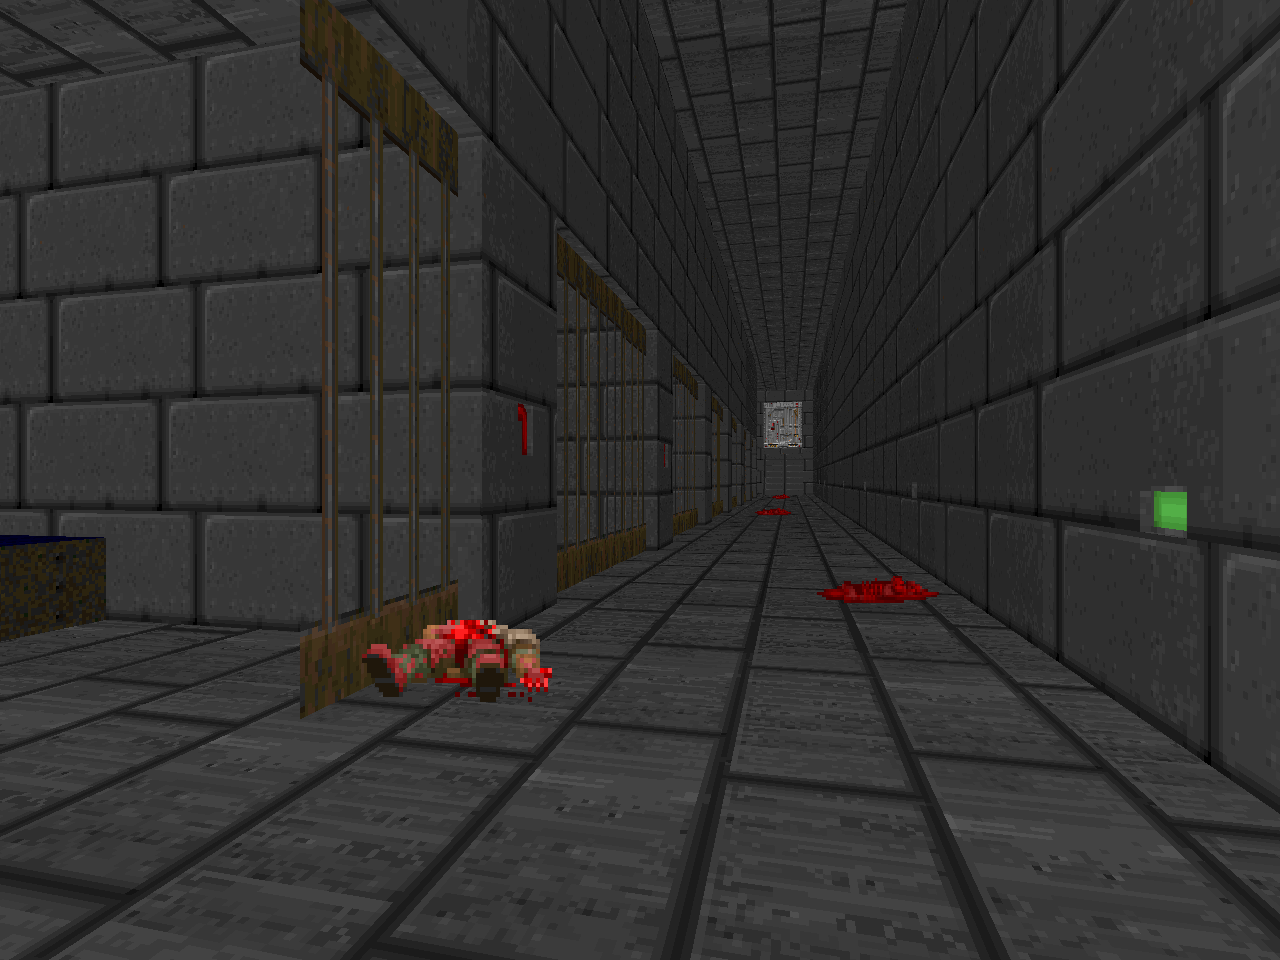
 | This one clearly borrows from Doom II's MAP13 ("Downtown") but keeps the building grid to the east and west peripheries. It's a bit more cluttered, which gives the arachnotrons poised in the alleyways a better chance of pinning you down. Clark has also stuffed a few more things than imps in those cage windows. None of the building interiors are much to explore. The meat of the map involves snagging a key and then dealing with whatever Stephen has newly unleashed into the playing area. The last two assaults make for some decent surprises. The centerpiece of the level is an oddly-shaped building with an Express Elevator to Hell setup that slows the action to a crawl. My favorite bit: there's an early arch-vile ambush in a tunnel where Clark opens up a little alcove for you to dodge into. If you stand there in shock, though, he's gonna getcha. |
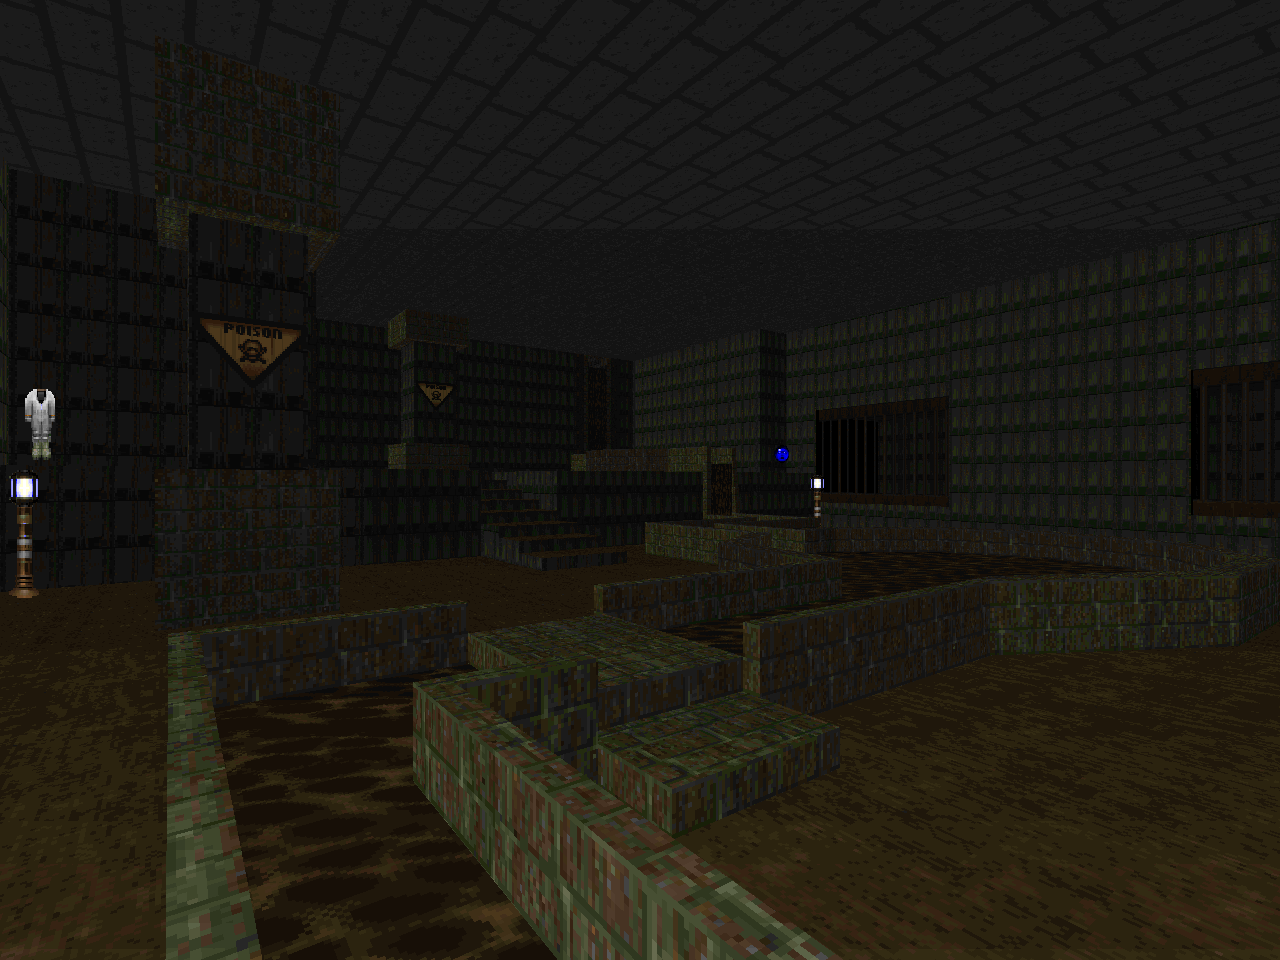
| Freight Depot | MAP15 |
|---|
| One part crate warehouse and one part enormous, expansive outdoor shipping yard. The indoor area starts out requiring some thoughtful, tactical maneuvering and then sucker punches you with a four arch-vile ambush (!!!!). It's dense with secrets, though, a few of which will set you up for success with swiftly defeating the Satanic sorcerers. I love the forklift platforms - a very fun detail. The exterior section is kind of awkward to fight through as the mancubi are fairly spaced out and you can only move on the piers and cart beds. It's otherwise pretty simple, the zombies in the northwest portion disarmingly so. The Cyberdemon climax felt kind of ineffectual but I suppose that the big metal crates make it a little difficult to just idly circle-strafe him. The aforementioned secrets are also a multi-step process to opening up the obvious if inscrutable alternate exit to the secret level. Just stepping in the light pillar rooms is enough but if you want some extra feedback then using them will extinguish them. | 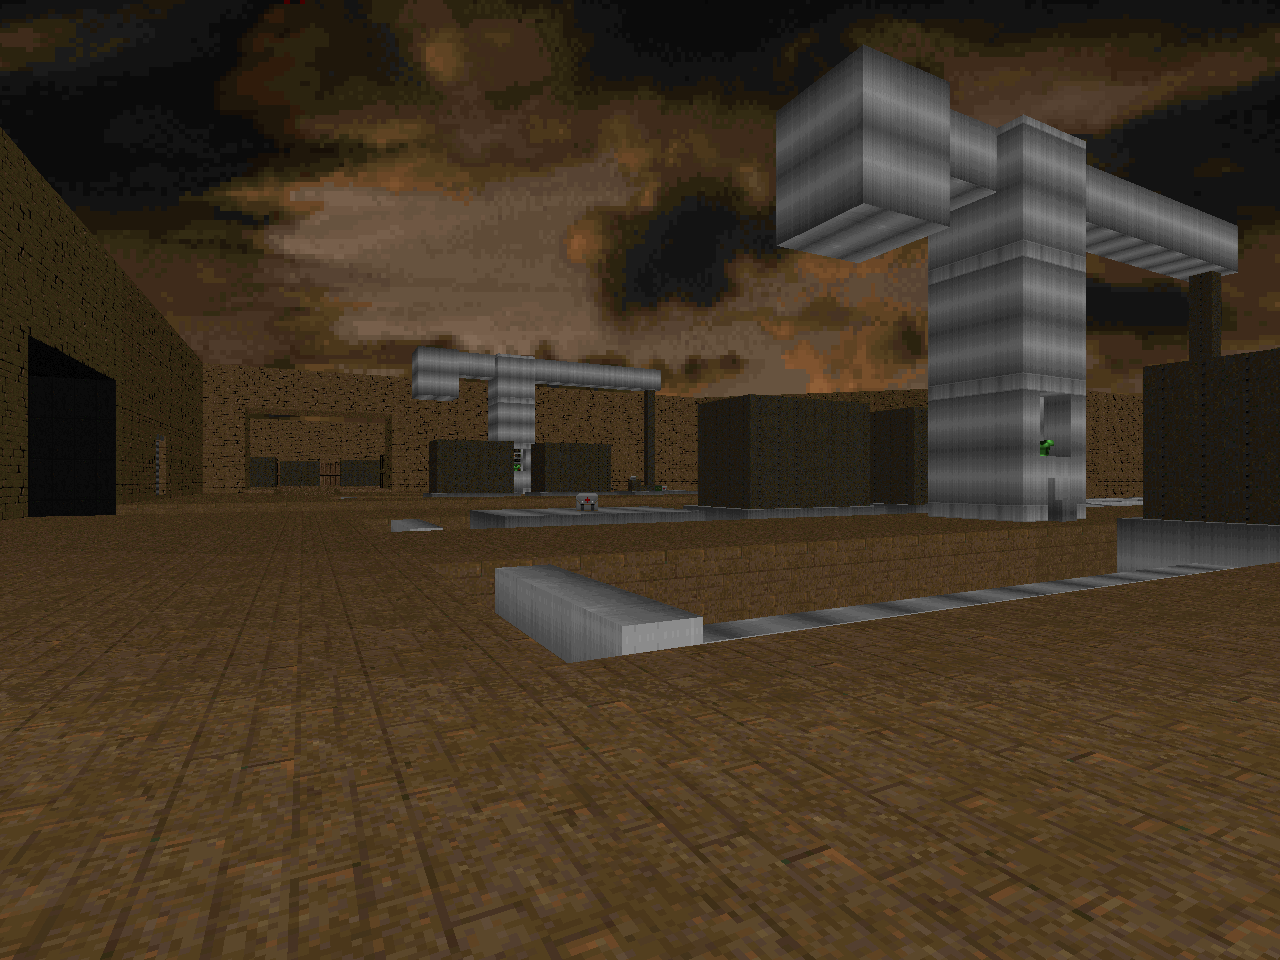 |
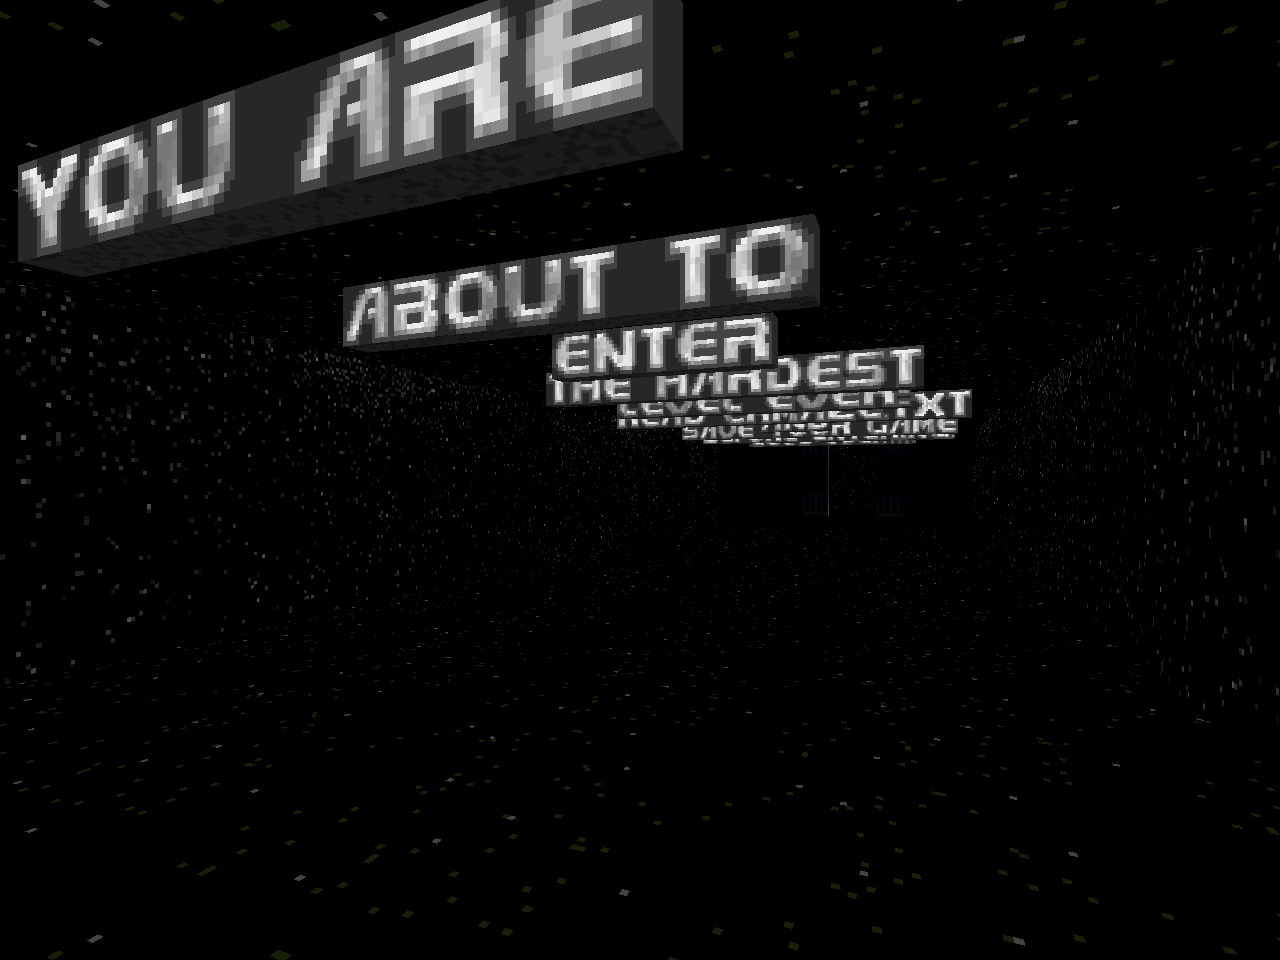
| MAP31 | The Void |
|---|
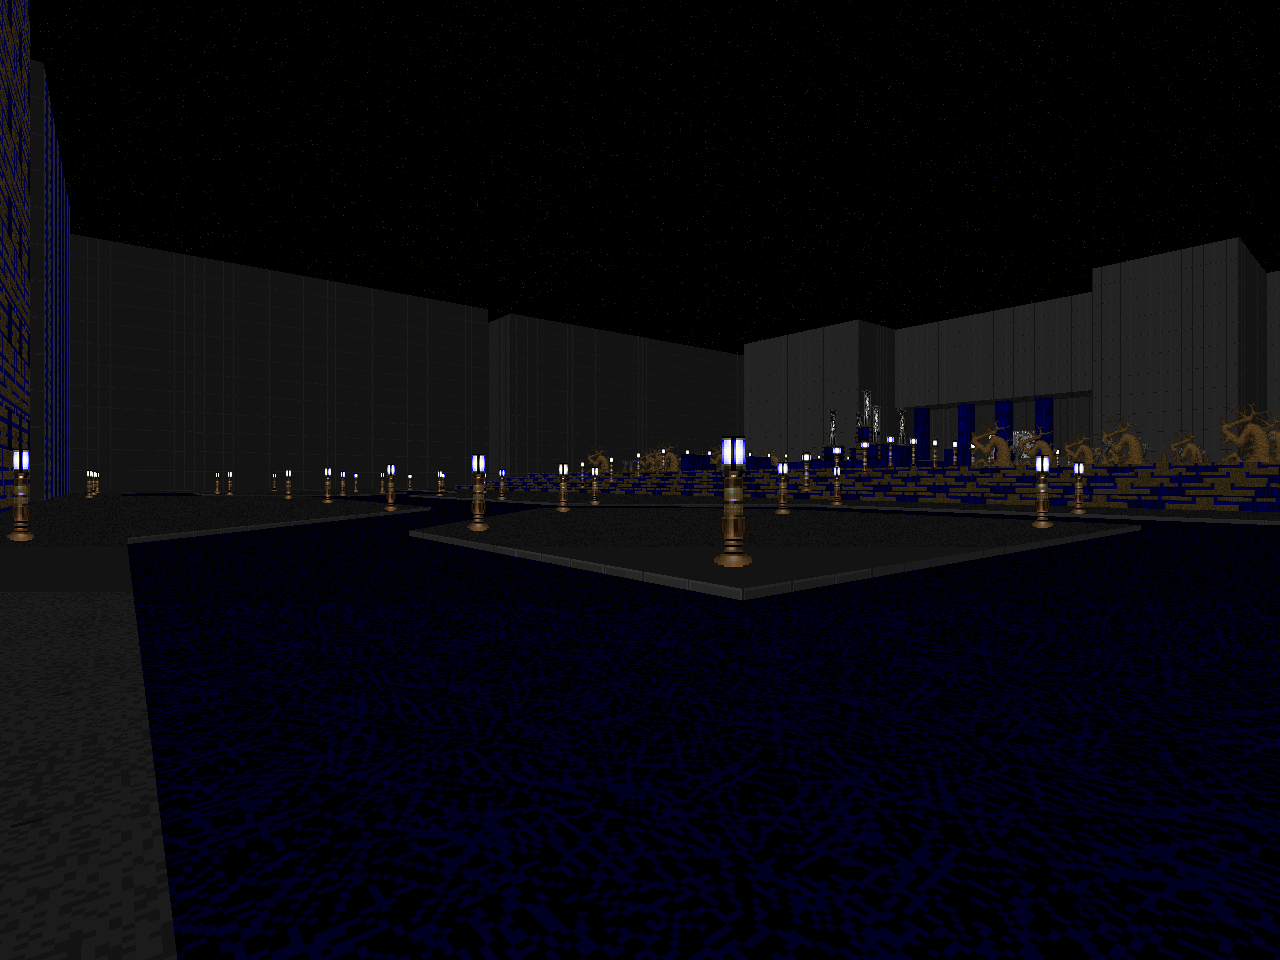
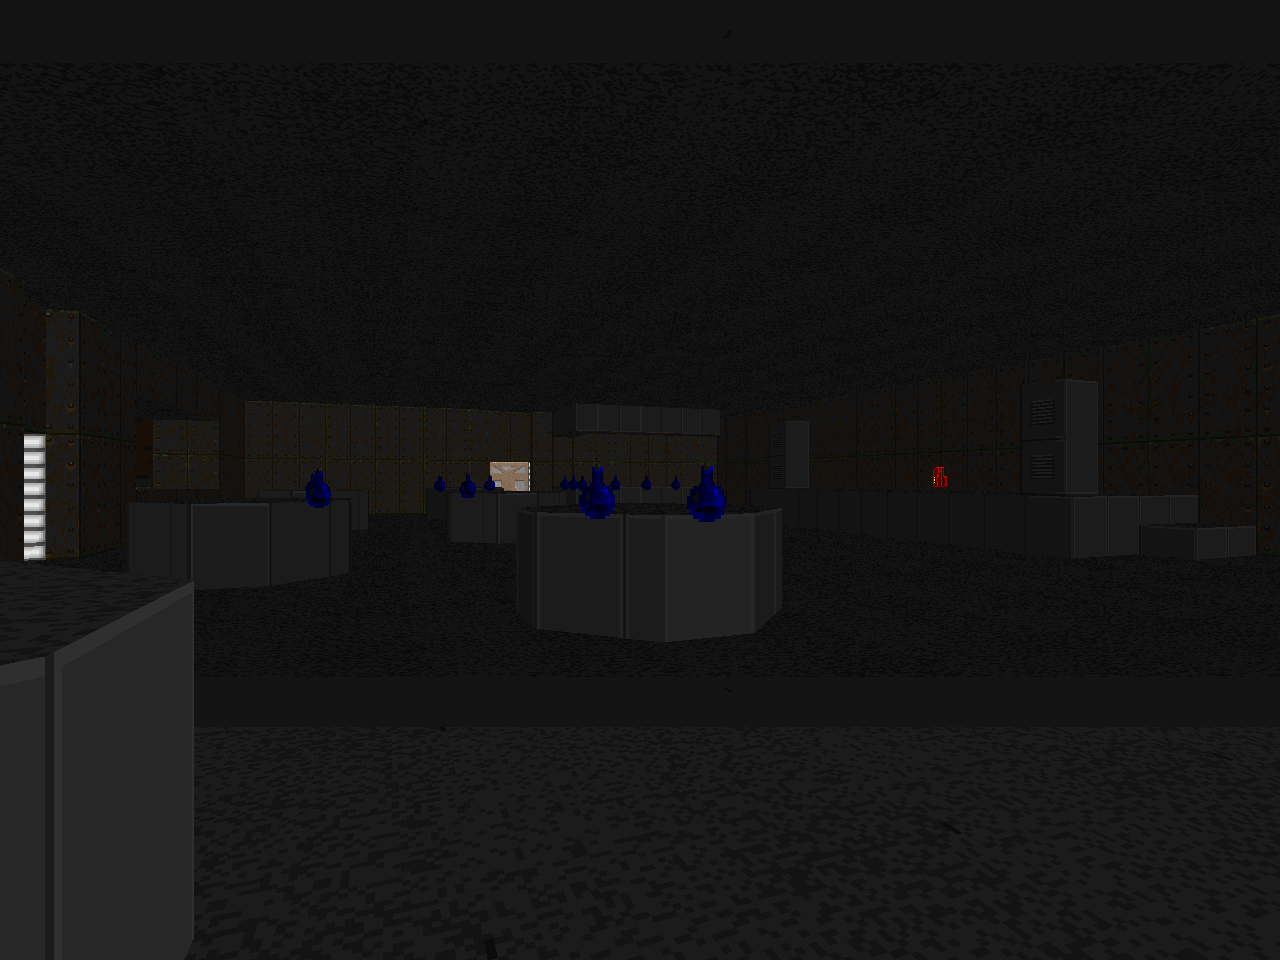
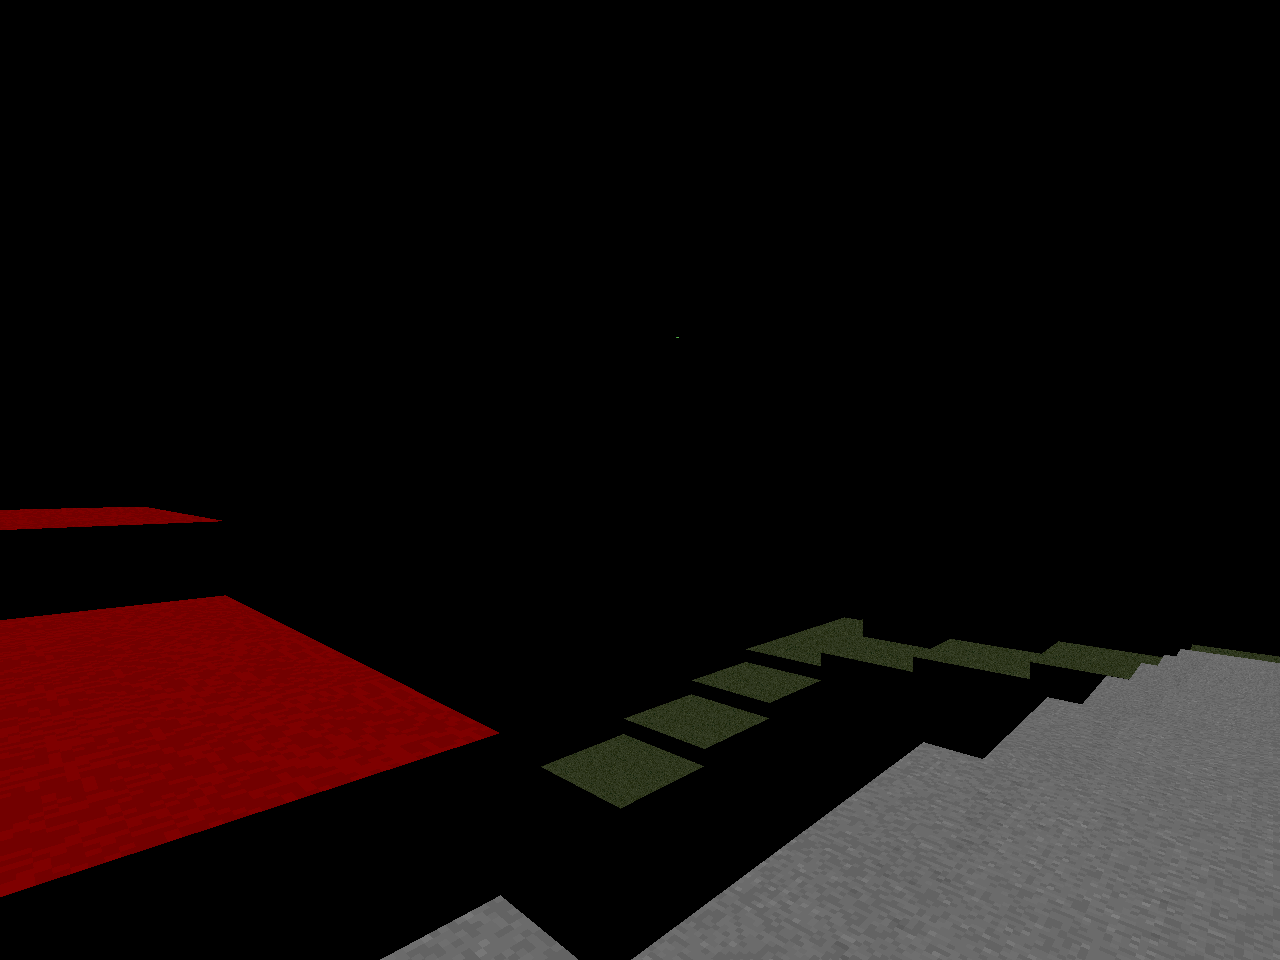 | This is a gimmick level that leverages the contrast of color on pure black. Some bits, like the lost soul maze, look much scarier than they are at first glance. The spiral staircase room has nothing to it but I love the visual of how the next stair appears to materialize in front of you as you climb. The "danger zone" tries to flag areas where you're vulnerable to enemy attack vs. void-bound safe houses. It doesn't exactly work out this way in practice but you don't have to kill too many revenants for it to work. The strobe-lit dance floor supply rooms are amusing. I appreciate that Clark tries to ward casual players away from the super-secret level. By reputation I know that it has little to do with slaughter. |
| Crystal Maze | MAP32 |
|---|
A puzzle map based on a British game show and quite confusing at first glance without having read the provided CRMAZE.TXT. Generically, however, there are four zones, each with three challenges. Clark has divided them into "physical", "mental", and "skill" games. One of these involves flipping a series of switches while under duress from myriad monsters. Another requires you to quickly navigate some variety of maze. The crate one is relatively straightforward while another one is keyed into a particular color pattern that is hinted at in the entrance. The most inscrutable one involves opening up a bunch of bars in a grid arrangement. Between some of the poles not moving and you recognizing where you have / haven't been, however, it isn't hard to build a mental map. I got it on my second try. The third involves feats of precise movement. These range from "The Chasm"-style platforming to having to shoot a bunch of switches on slow lifts to a torturous crusher corridor.
Each of the feats has a time limit, beyond which a block descends to lock the puzzle. If you're inside, well, then you're stuck and can't finish the map. Clark has reset buttons available outside the levels if you realize that you're outmatched and leave in order to take another shot. It's much simpler for you to just save and then reload before each attempt, however. Of all the trials, the one to seriously crush my ass is the skill trial in the Aztec zone. There are two points where you have to step down a series of zig-zag razor-thin trails and, without mouselook, it's nearly impossible to see where you're going... If you have the status bar enabled, that is. My advice to you is to use the alternate HUD for this particular situation. Otherwise, well, I had a blast. | 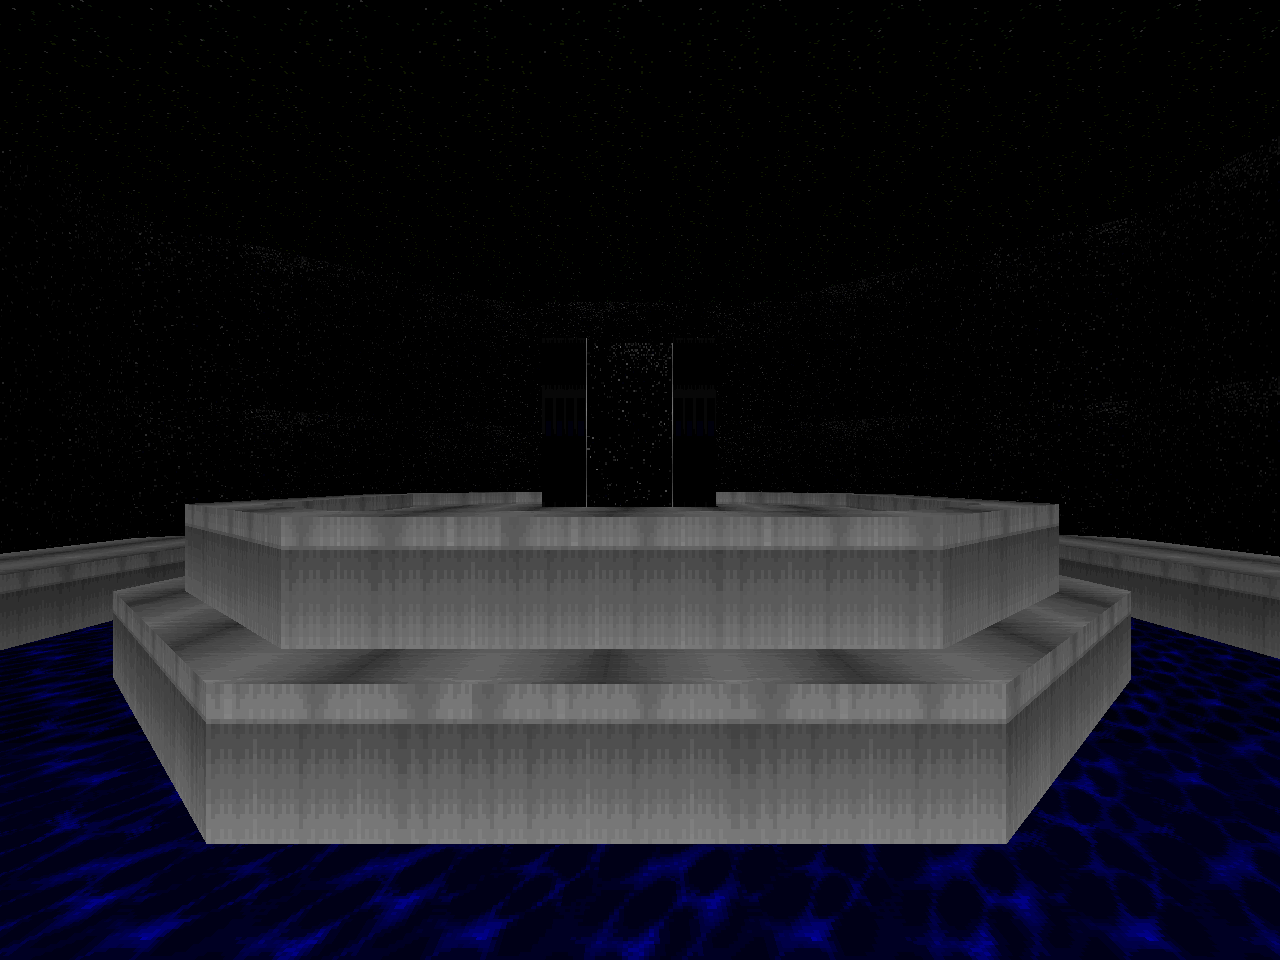 |
| MAP16 | City Centre |
|---|
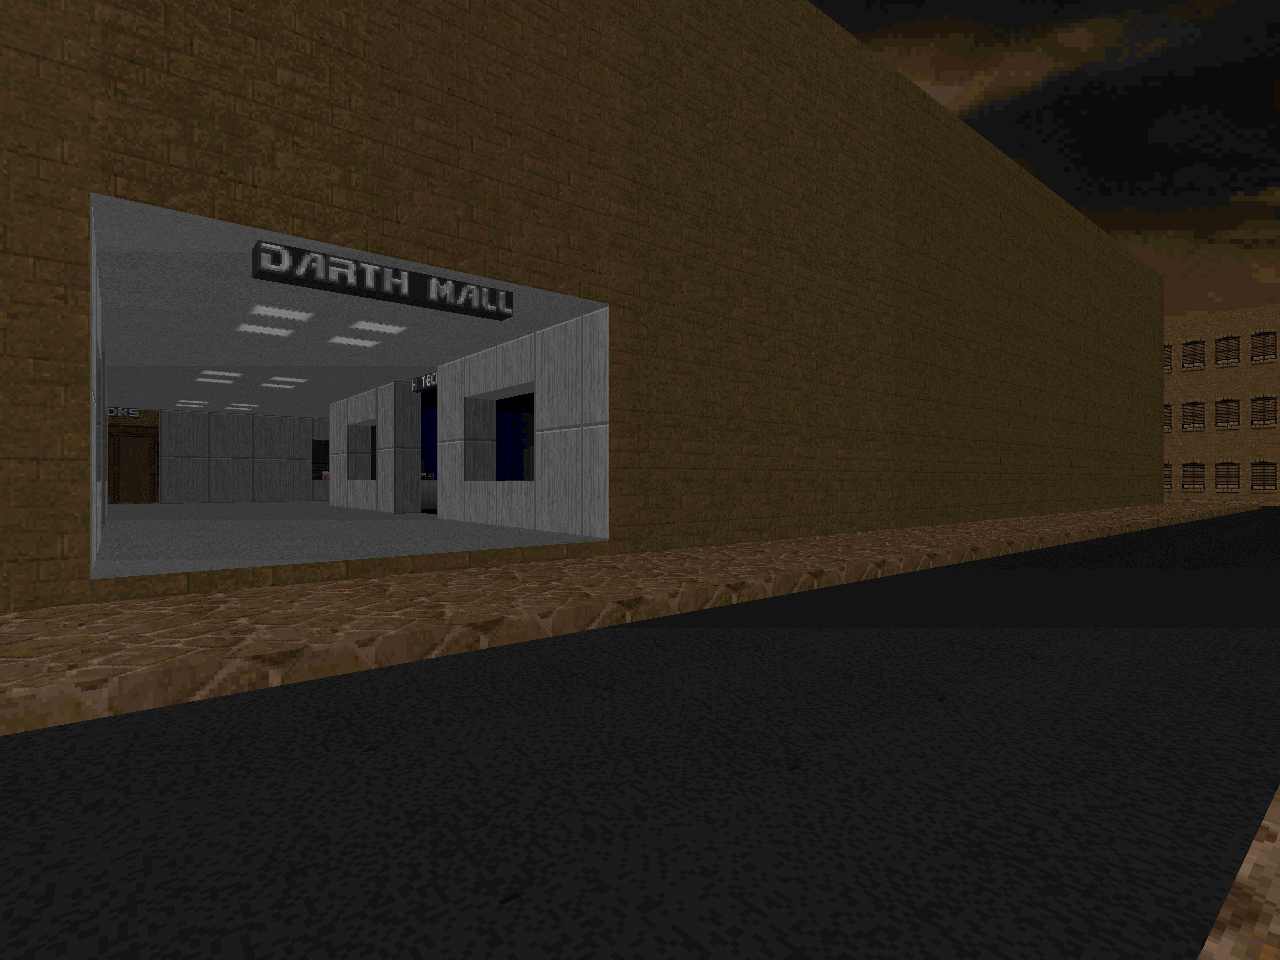 | This one is a real blood tornado. All of the weapons are inside the "Darth Mall" in the various departments. You won't have much time to appreciate DoomCute touches like the gardening section, though, because this is a crazy hornet's nest. Not only is the shopping center itself infested but, as you progress, Clark opens up holding pens of beefy monsters on the level's periphery. The result is that you are constantly under assault from - typically - two different monster varieties. Like, cacodemons and demons, revenants and Hell knights, or pain elementals and demons. Just about every time I thought things had finally settled down something else was actually creeping up on me. It's a tough level, then, with a super-hot start and constant action throughout. When you finally deal with the copy-and-pasted row of five hotel rooms with popup revenant guests it will be far more relieving than bemusing. |
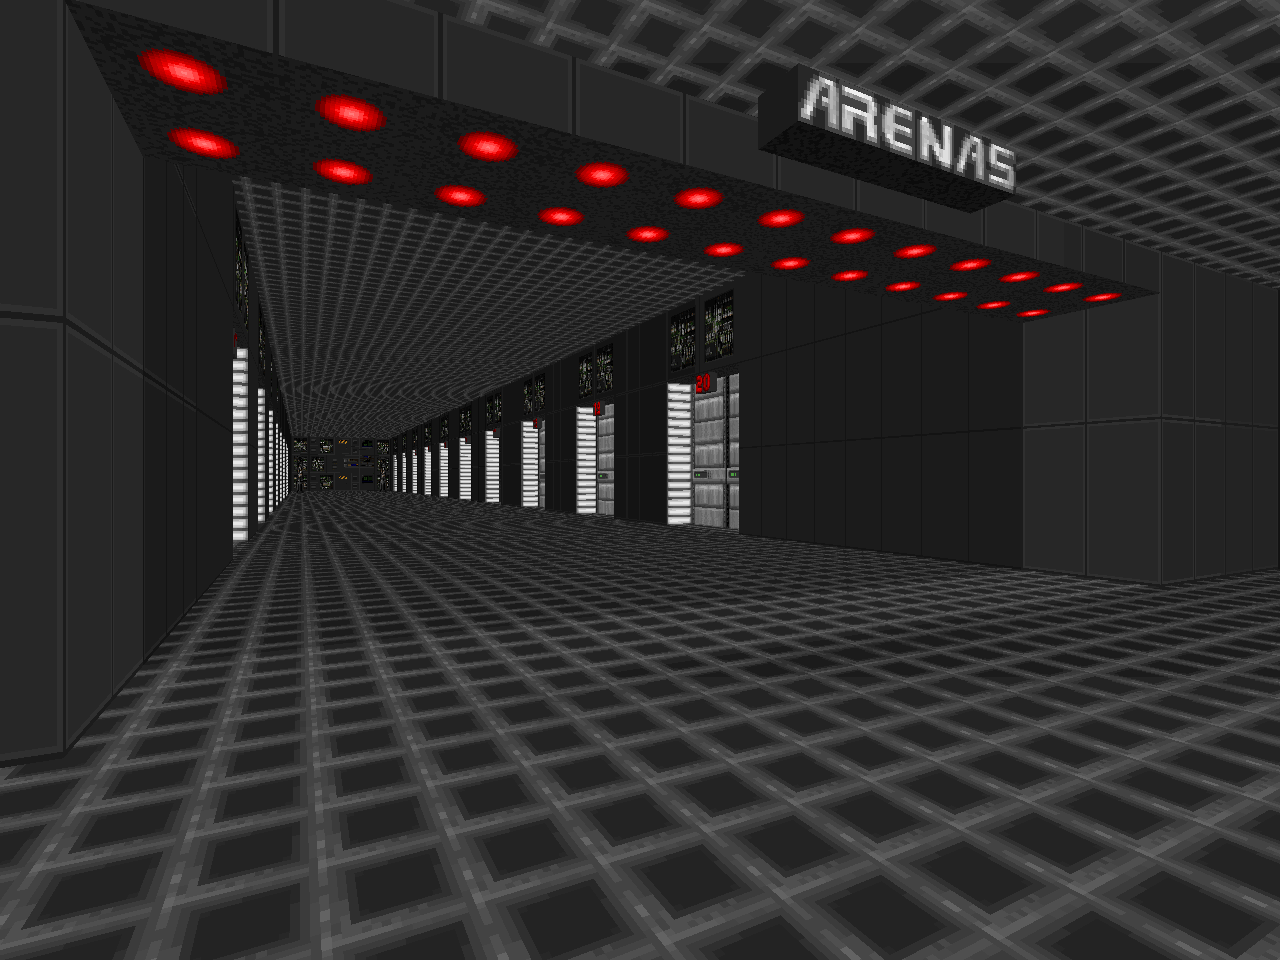
| Laser Quest | MAP17 |
|---|
| A location-based level that's chock full o' DoomCute. The building exterior and surrounding block is garishly bereft of adornment but inside is a laser tag wonderland. Laser Quest is specifically a British franchise; I can only assume that some if not all of the interior is based on one that Clark frequented himself. The lobby has what are presumably arcade machines as well as something that looks like a ping pong or perhaps air hockey table. Once you move past that it's a series of rooms with abstract obstacles like random barriers. You will have to search them all out for the three keys in order to exit the map. The key guardians are arch-viles; keep this in mind as I imagine that some players may easily move past the red key. The maze battleground is probably more fun to play laser tag in than pick your way through slaying demons. |  |
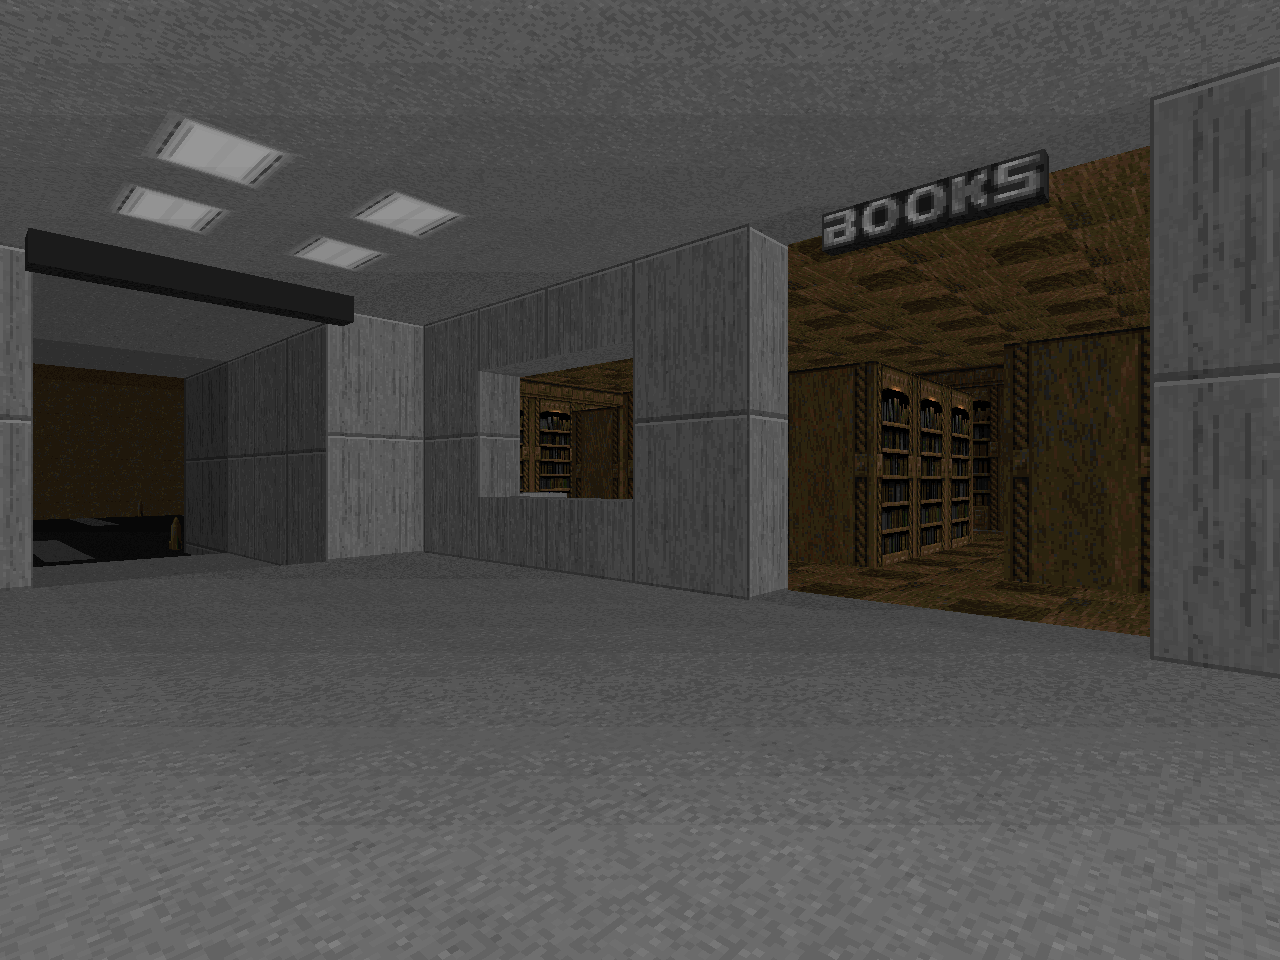
| MAP18 | Northgate |
|---|
 | Another city level in a similar template to "Urban Wasteland". The good guns come less readily, though, and the snipers in the buildings feel more dangerous. I think that having an interior corner full of chaingunners has something to do with this. A few of the buildings are fun to explore this time around, even if they amount to a warehouse with some huge-ass crates and a lovingly-furnished library / study hall sort of thing. While the player is often at a disadvantage, the pain elementals behind the stairwells in the northwestern building are utterly lost. Perfectly passable city slaughter. |
| Dockside | MAP19 |
|---|
| And now for something slightly different. "Dockside" is exactly what it aims to be, though it has a few buildings that you have to weave between before reaching the titular region. There are a few pillbox-type snipers to be wary of but nothing as ubiquitous as "Northgate". Stephen has constructed a couple of boats for you to explore and, unsurprisingly, bad times will be had shortly after setting off obvious triggers. Actually, the key in the bowels of the exterior boat isn't so bad as the monster packs area easy to handle and you can set up a "Gotcha!" scenario. I find it interesting that Clark throws out details like the baffles in the northeast building. They pose no imminent threat as obstacles until you realize that they're meant to make it more difficult to reach a nearby timed switch. | 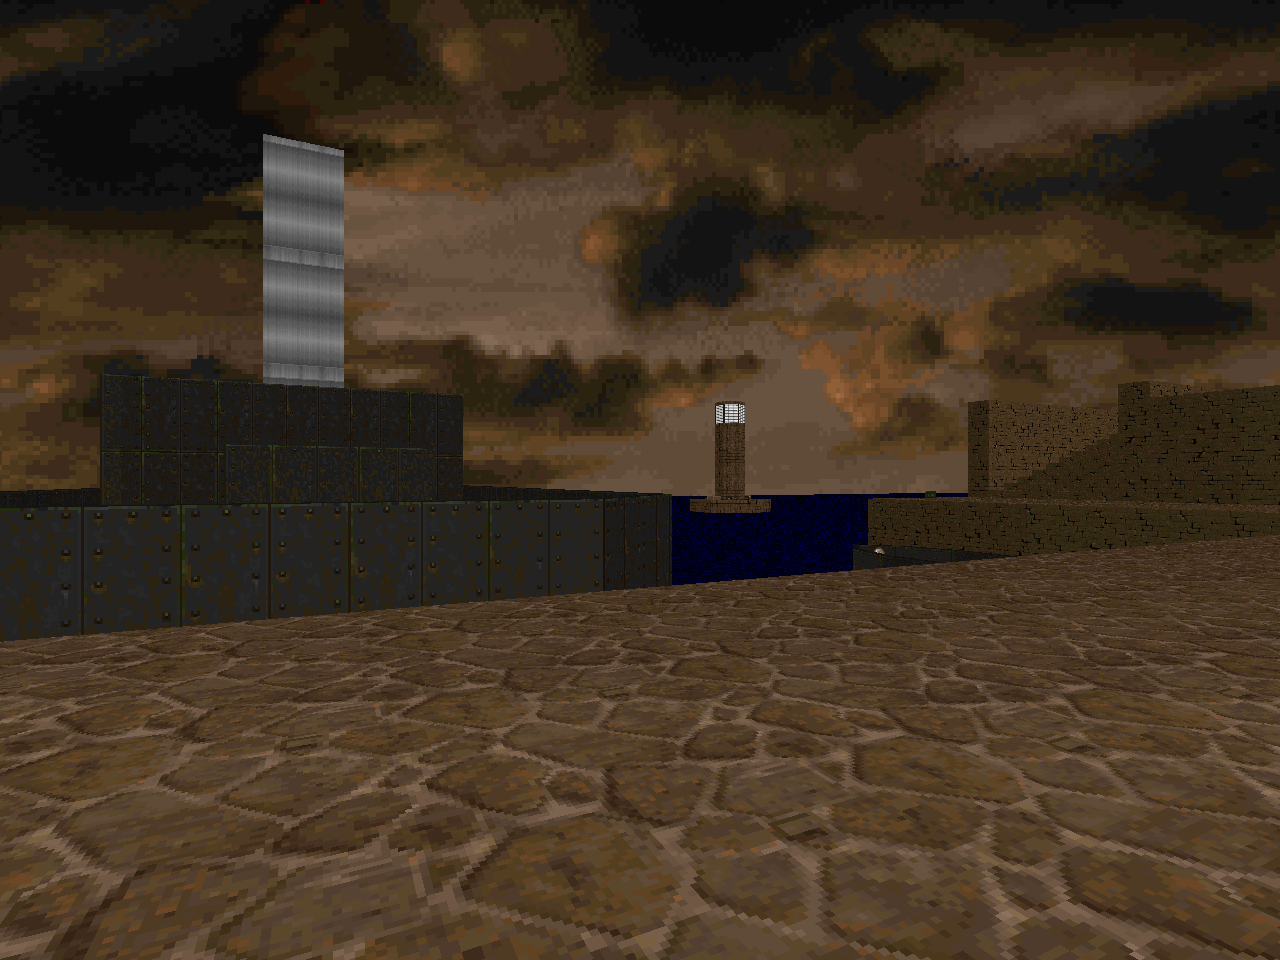 |
| MAP20 | Spaceport |
|---|
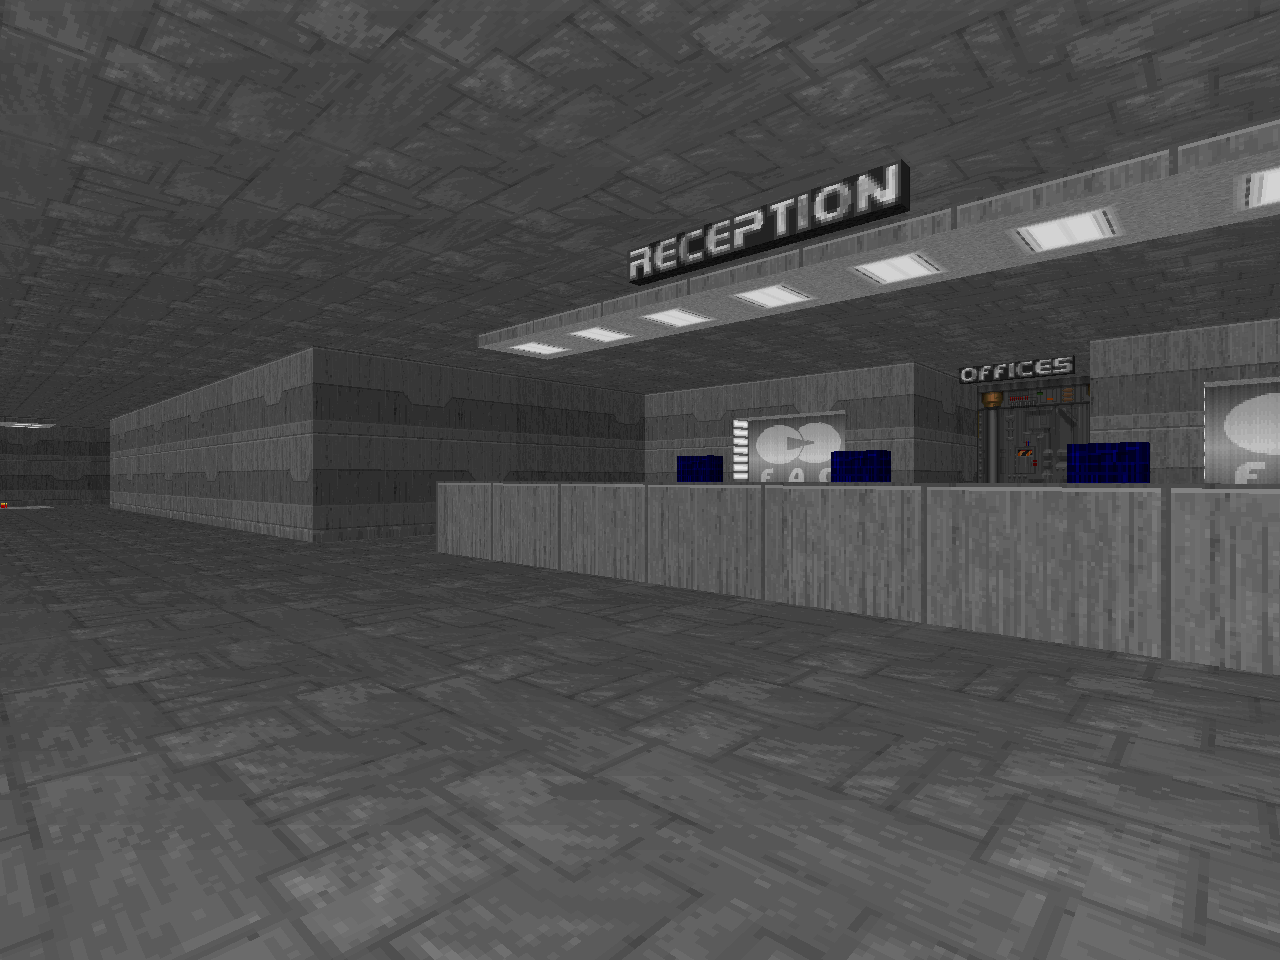 | This is a tough spaceport level with three passenger gates, two cargo conveyors, and a control tower. The start is more weighted toward survival horror as the ammo and guns initially provided feel ill-equipped to take on all of the monsters. It's a sort of order of operations thing as the admin offices and bathrooms initially only serve to hoover up your ammo. You are much better served by heading to the unlocked cargo chamber as you'll pick up more rockets and the combat shotgun. Things don't really turn around until you snag the red key and even that triggers an ambush that you have to fight through. When you get access to the armories that it locks, however, the combat becomes significantly less stressful. I'm not exactly wowed by the copy-and-pasted passenger gates and their identical zombie layouts.
|
| Spaceborne | MAP21 |
|---|
| A fight up through the cargo hold of a space ship to the crew deck and finally passenger level. It's a very slow pistol start as you will be trying to make the most of your chainsaw and scant few shotgun shells. Up until you pick your way through to the north end of the hold, anyway. At that point you ought to have the combat shotgun clinched, plus the not-so-secret cell weapons. Your ammo balance is gonna be off until you reach the luggage carousel. I got pretty used to the unassuming bathrooms so Clark finally surprised me with one that has three arch-viles right inside. I mean, it's still a bathroom so it didn't kill me, but it's the thought that counts. The space granted on a shuttle to a snack bar is amusing; must be a luxury flight! | 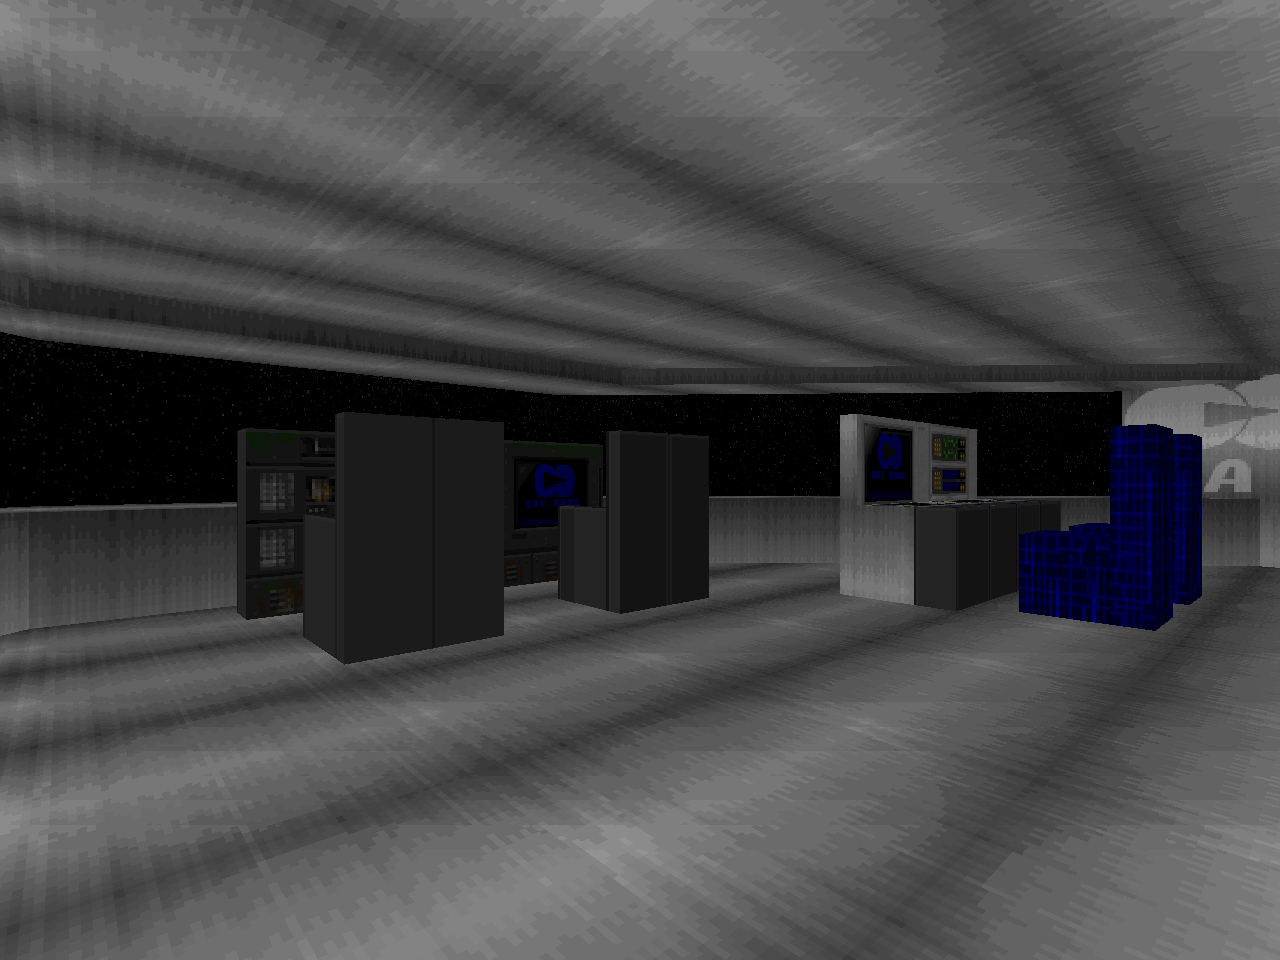 |
| MAP22 | Tech City |
|---|
 | This level is massive enough that it almost feels like a sandbox world. It's mostly empty, though, and dominated by the palatial façade to the east. The spartan ammo balance lets up a bit so you can focus a little more on blasting apart arachnotrons a la "Downtown" and less where your next rocket is. It'll help, though, if you can find the combat shotgun ASAP. Some of the more cute details of "Tech City" include a bar with strobe dance floor, "The Hexagon", and apartments of THE FUTURE! This level also has a Spiderdemon / Cyberdemon, but they appear too far apart to goad them into any serious infighting. I appreciate the cacodemon ambushes, particularly the one outside the apartments. |
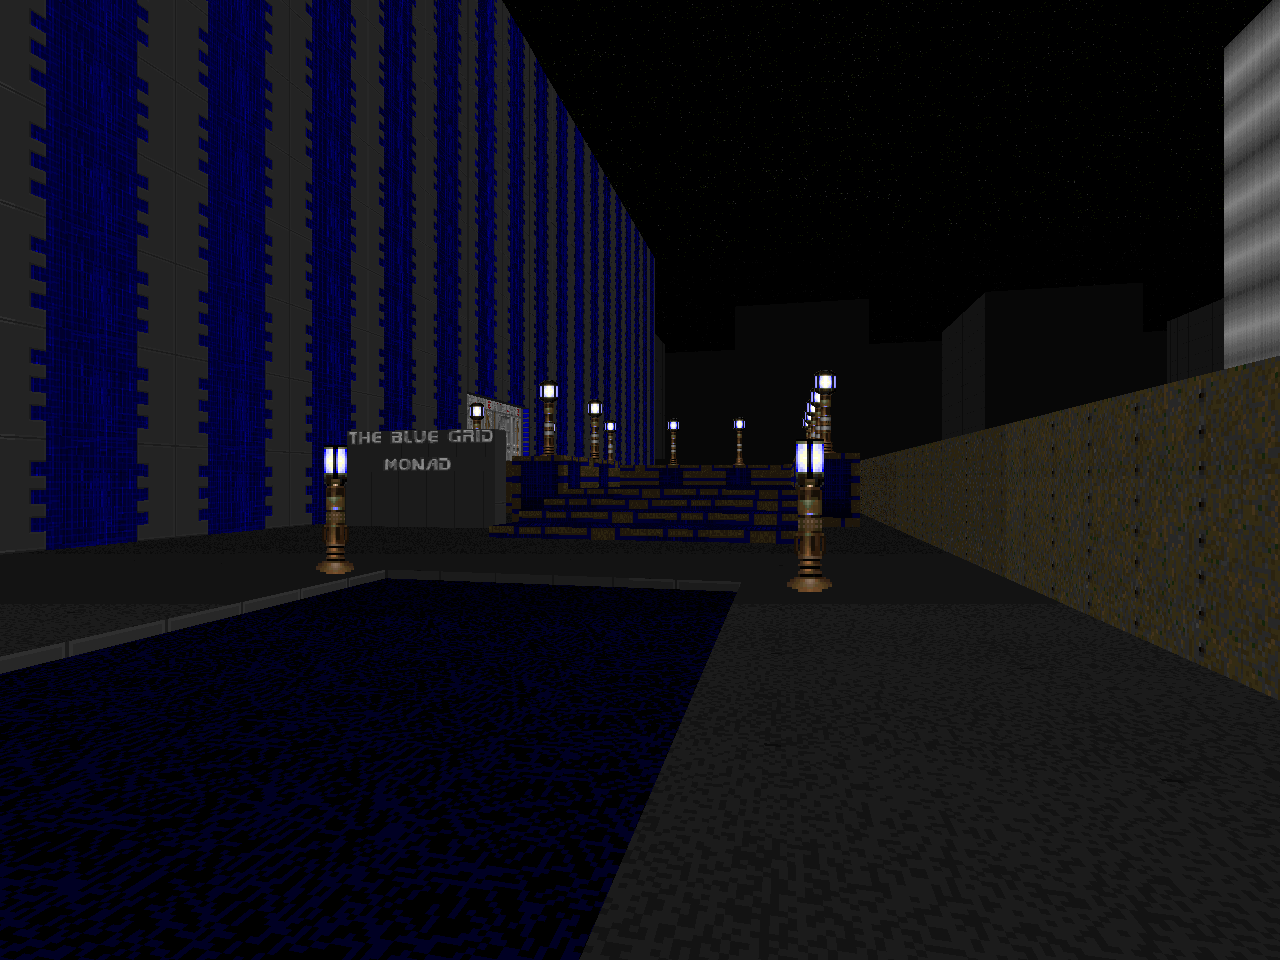
| Monad | MAP23 |
|---|
| It has the scale of an enormous military complex but is actually an oversized apartment building, maybe like one of those arcologies from SimCity 2000. A gated community, I guess? It has a virtual garden, a bar, a general store, and a go-kart track. And, uh, what appears to be the second appearance of a laser tag-type establishment, or maybe someplace for moon-people to shoot their guns. The opening staircase / flat arrangement is pretty boring; all of the apartments of the future are furnished in the exact same fashion. Most of the tricky combat seems to take place around the garden area since the overgrown windows obscure your vision. The race track is cute, though, and has a kart racer arrangement of monsters. | 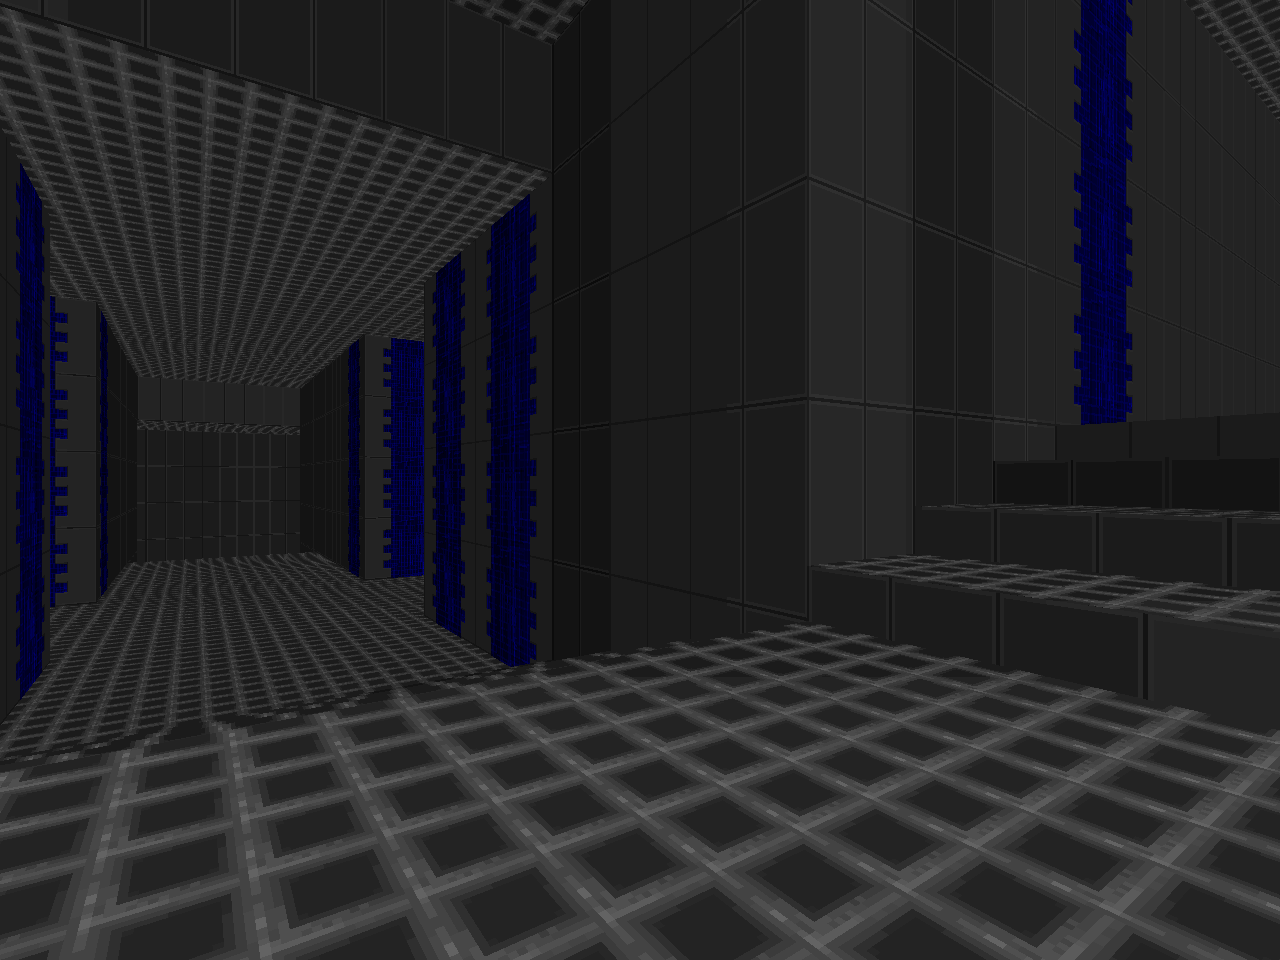 |
| MAP24 | Balanced Chaos |
|---|
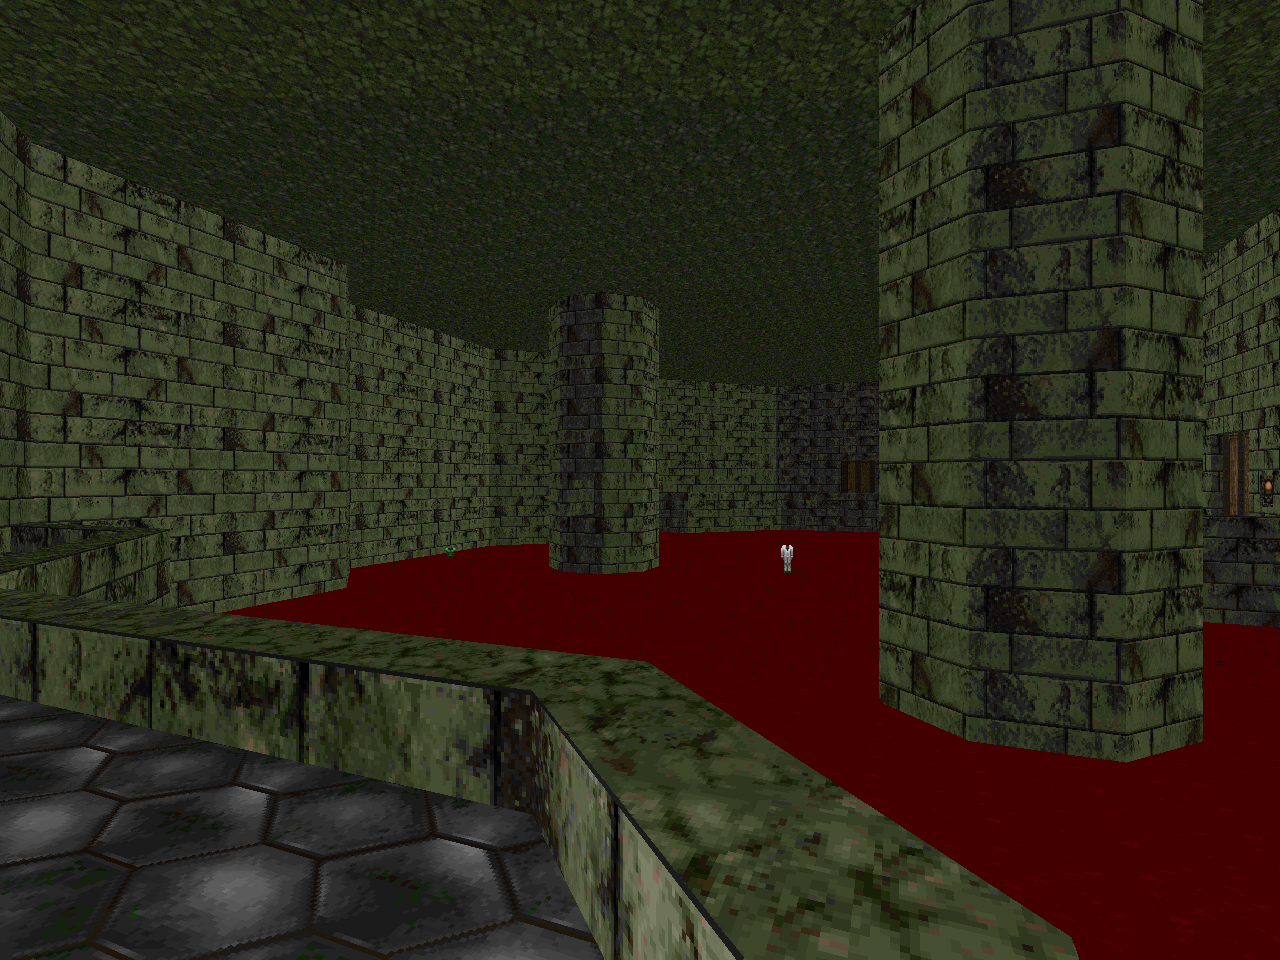 | It was a trap! You end up in the marble dungeon that Hell has built deep beneath the moon. I like the from-scratch opening as the Berserk pack and wide hallways give you plenty of room for punch-out with imps and demons. You won't find the rocket launcher until you enter the northwest wing, though, and this feels like a huge oversight given the blue key ambush. It seems as though the only way to survive the multi-monster assault and its two arch-viles is to try to run through with a prayer to the RNG gods. If you survive then you can come back with some explosive ordinance - and the BFG - to teach the beasties a lesson. The architecture is huge but plain, primarily due to the stepped corridor arrangement that serves as the atrium. I like the look of the red brick hallway and enjoyed the firewall surprise. The green marble sconce corridors have a similar but more traditional present lying in wait. The coda takes you out of the basement and back to the blocky world of "Monad" and its sort of slaughter-lite encounters. I liked the change of scenery but the rocket launcher placement sort of took me out of things. |
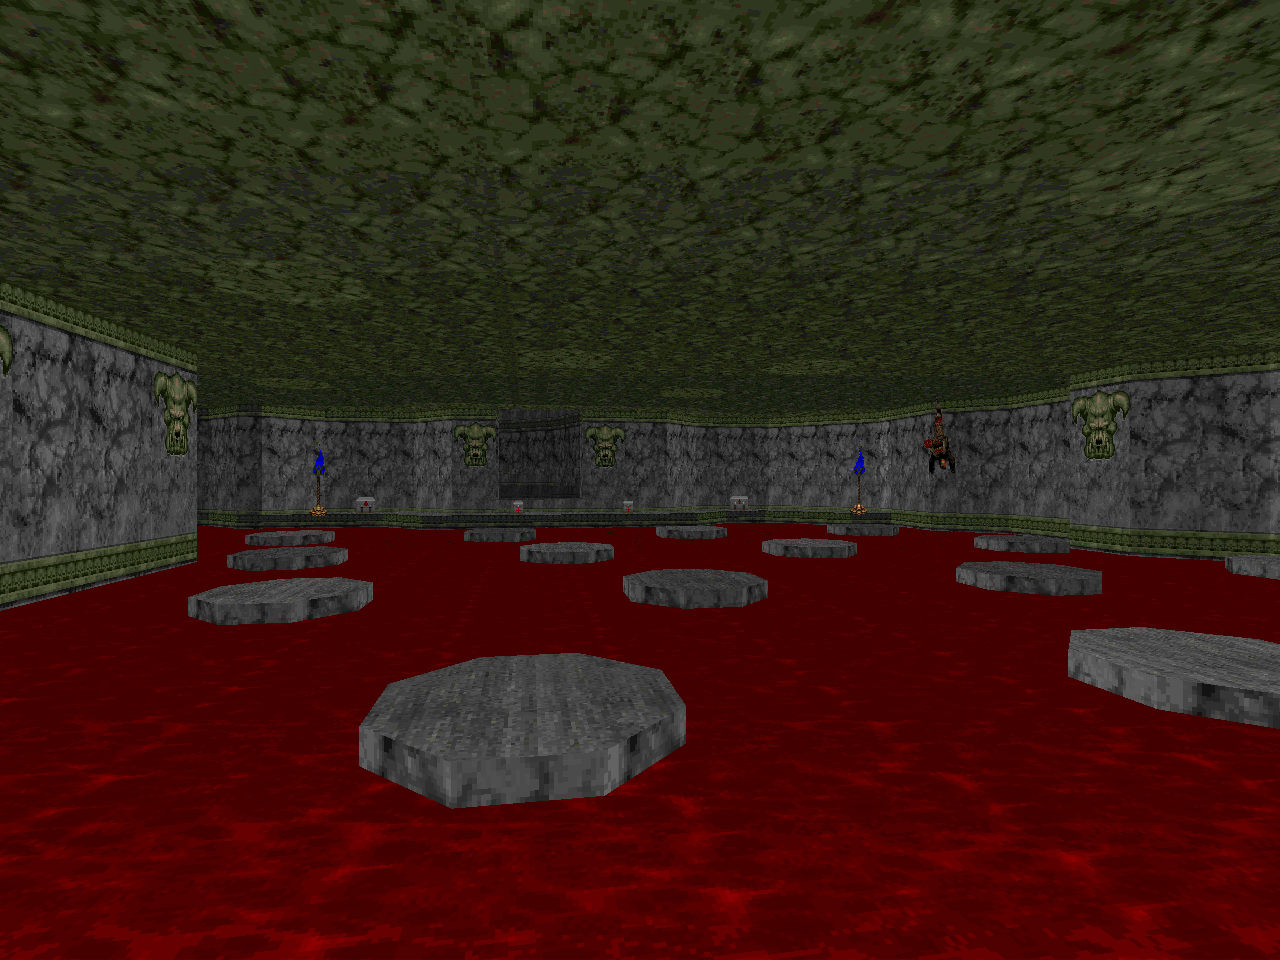
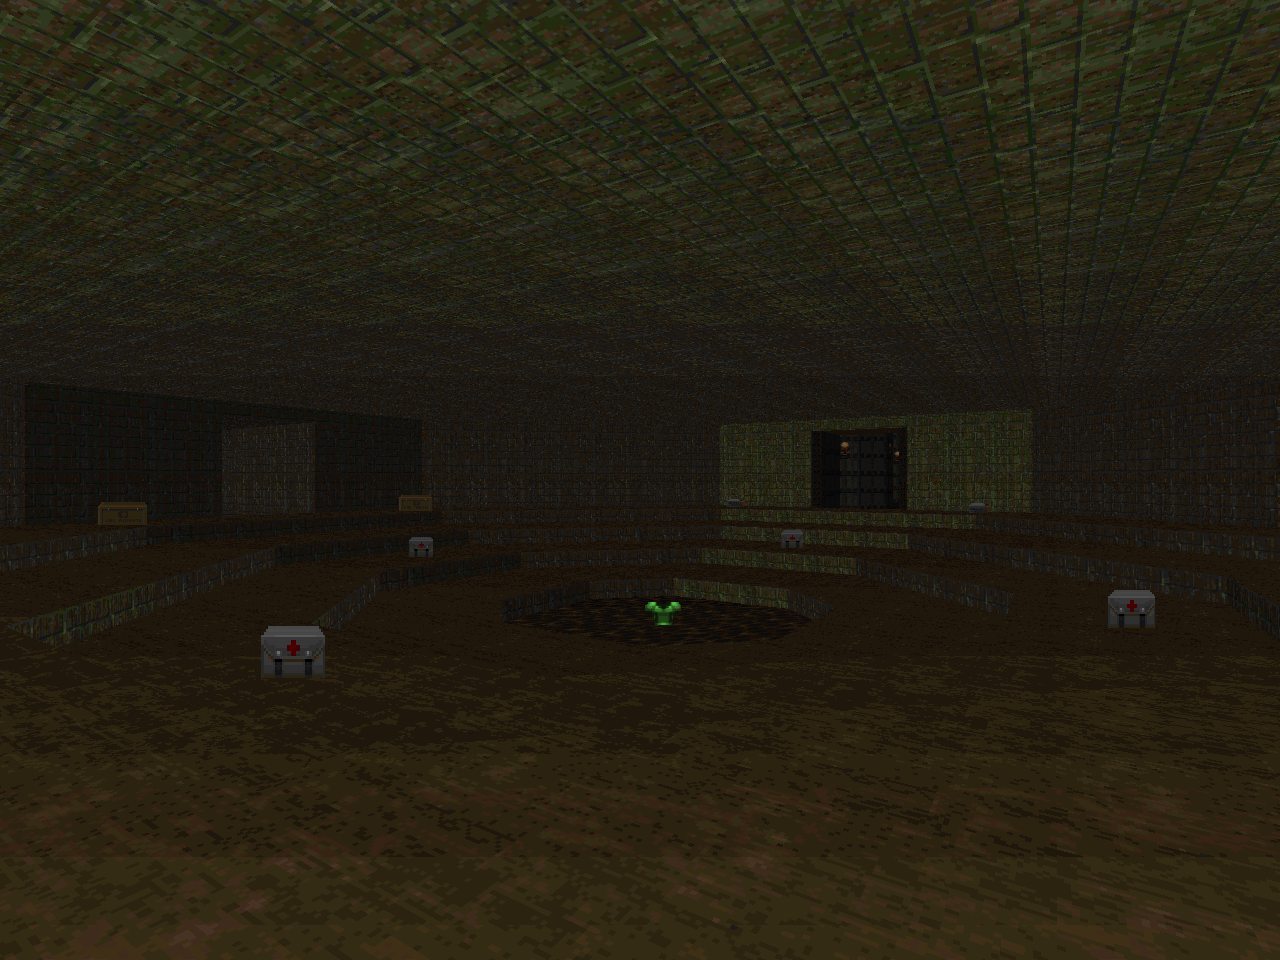
| Arena: 11 | MAP25 |
|---|
| A pretty cool setup for what is going to be some sort of challenge gauntlet. The lead-in allows you your pick of weapon between the SSG, chaingun, and rocket launcher as well as a starting point. This one has a symmetric, baffled setup in an "Underhalls" texture scheme and sets you up against an initially overwhelming wave of Hell knights and cacodemons. There are arachnotrons, too, but they are more or less stuck in their key positions. The magic that Clark used to ensure that you have extra ammo for your weapon of choice limits it to one location. As a result, you will probably be tight on munitions before you find it. Regardless, you need to find all three keys and flip all of the switches to leave. Fast and frantic. | 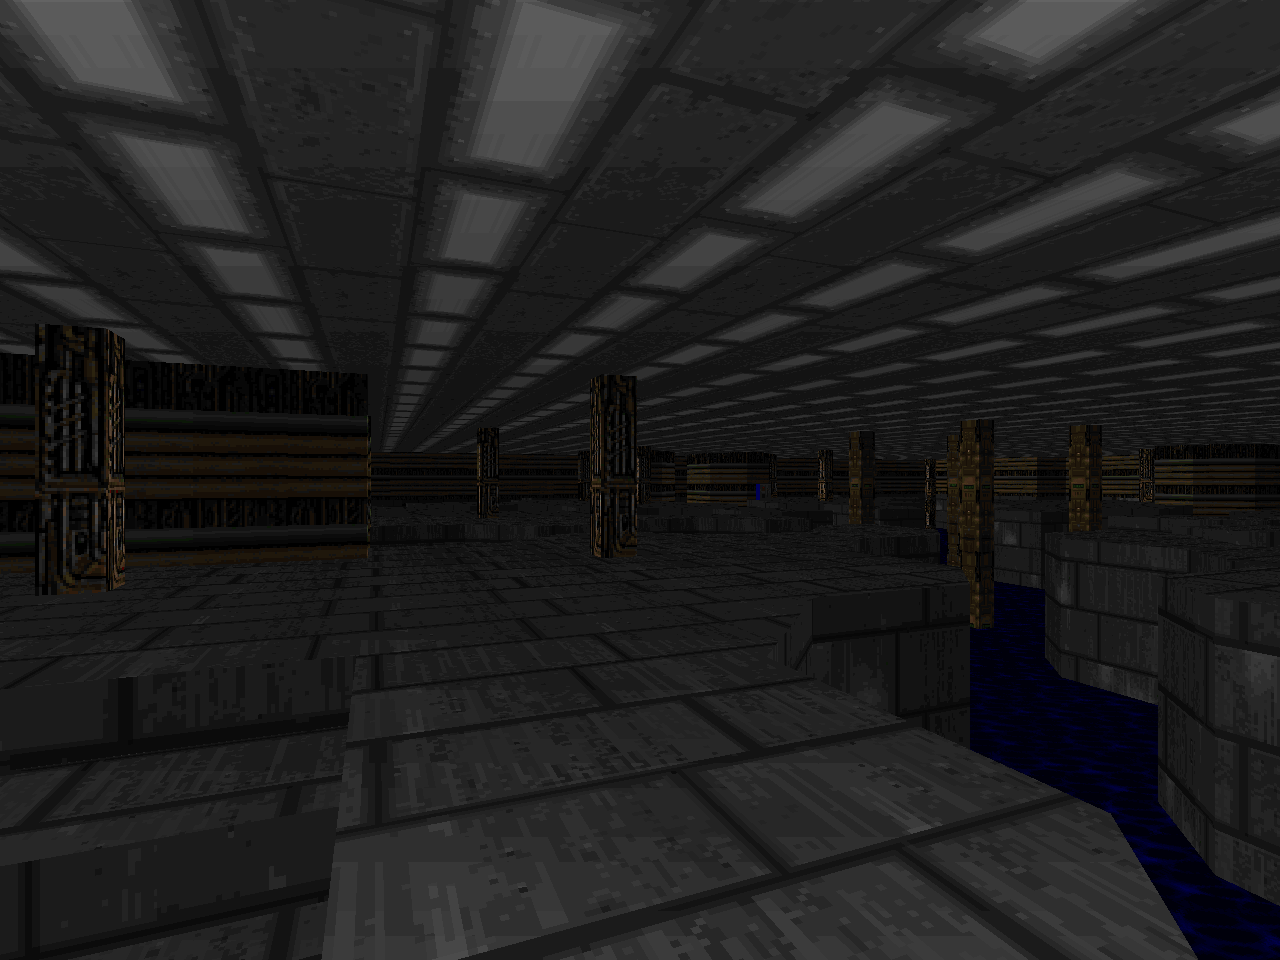 |
| MAP26 | Arena: 16 |
|---|
 | Second verse. This time, the cramped STARTAN tunnels you'll be navigating prompts Clark to offer you the plasma gun instead of the rocket launcher. Much appreciated! This one is over quick though there is a bit of overlapping path trickery required to navigate the corridors. The solo revenants, Barons, and mancubi make for easy prey, however, and the spare cells can be found near the #1 start. A fun, fast play. |
| Arena: 18 | MAP27 |
|---|
| This dirty, concrete arena is titled "The Labyrinth" and offers, among other things, the BFG. At a scant, ten monsters, your opposition consists of eight arch-viles (who are present in pairs, more or less), a Spiderdemon, and a Cyberdemon. There's really no reason for you to eat a death with the weapons provided unless you just get sloppy while juking fire blasts. If an angle of approach looks disadvantageous to you, then look for another! I think that locating the keys and switches is more challenging due to Stephen's usage of three-dimensional space. None of the buttons are truly hidden but a few are tucked away such that they're easy to walk past. | 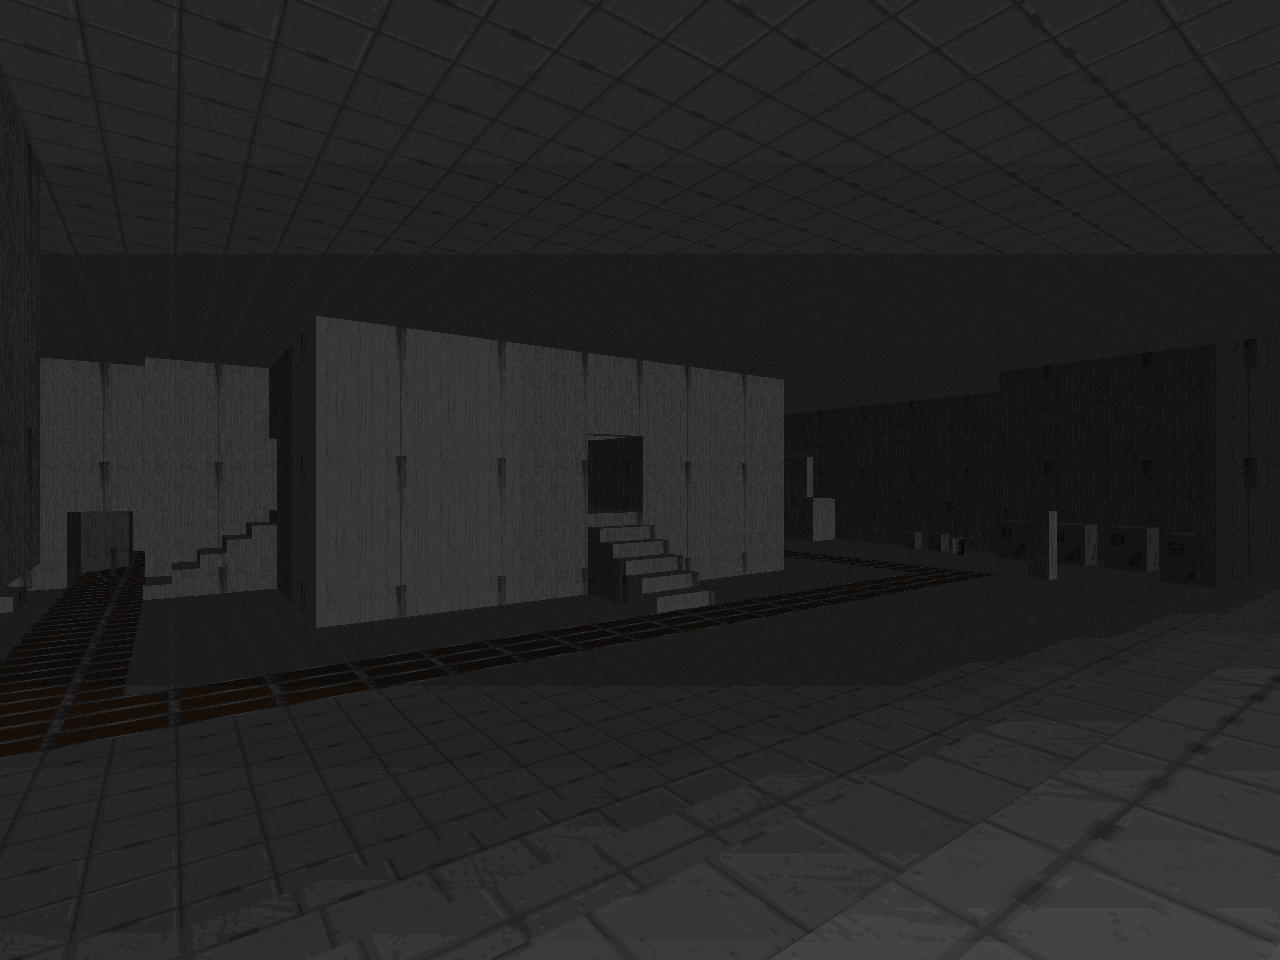 |
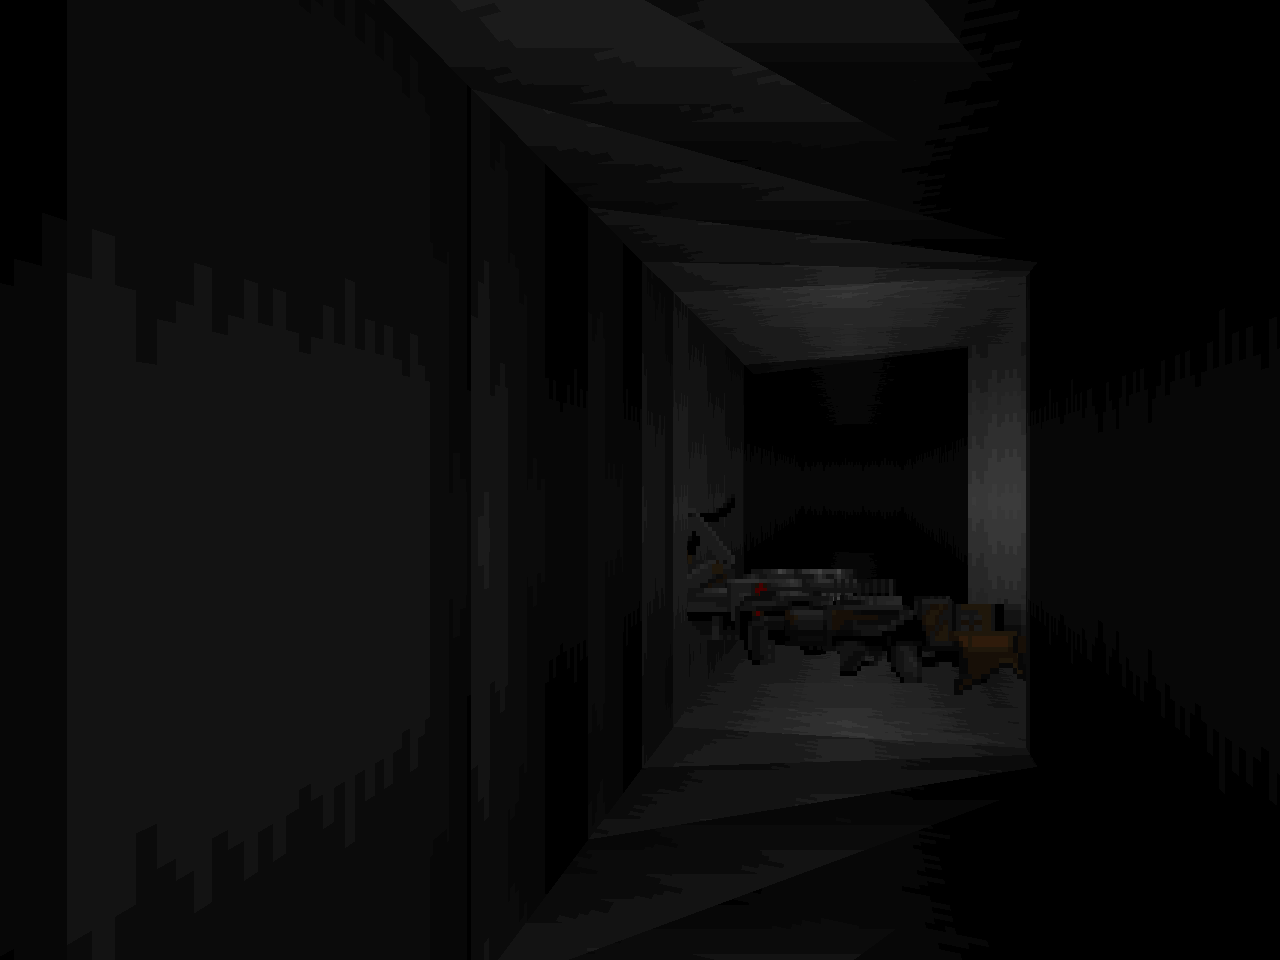
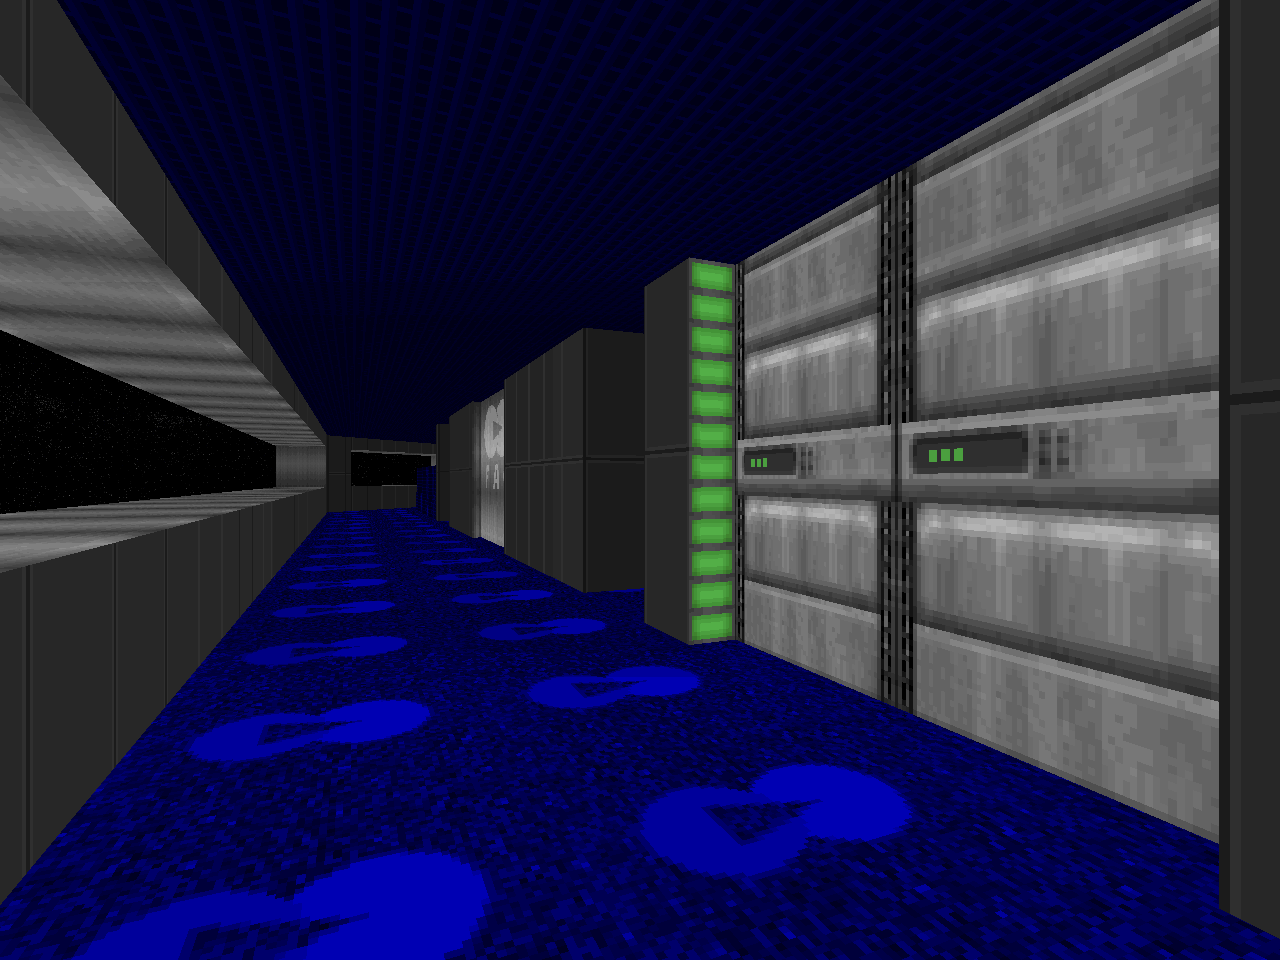
| MAP28 | Sub-Level 05 |
|---|
 | As you will quickly discover, the opening area has a lethal teleporter ambush waiting for the first gunshot. When combined with the ring hallway and nexus, well, you have your work cut out for you. Things are much simpler if you sneak through the sole unlocked door, which leads to a piping penetration room whose action is far more sedate. This is a minor hub to the "Sub-Level"'s major, with four offshoot courses. Three of them must be visited in order to acquire the red key. The blue tech maze is the most obnoxious with its strobe and specters. The spoke behind the red key door is fine enough, housing a trap that's so obvious that Clark himself has placed a "HMM..." prompt at the trigger. The server farm and warehouse are fairly sedate in their combat. The reactor control room is highly awkward due to the revenants up top. I had my best attempts rushing both ends with the plasma gun, taking advantage of the ladder-cases. Woe betide the player who blows too many cells before entering the southern service duct; the return trip from the blue key is lousy with arch-viles. The nearby secret supply room is essential. |
| Reactor Core | MAP29 |
|---|
| This level opens up with a mile-long trek through air ducts, at the end of which is a note that informs you that you will have ten minutes to escape after starting MAP30. I assume that, with the automap, this is an opportunity for the player to plan their route. The actual boss battle is yet another switch hunt with the reactor façade serving as a decent slab of macrotecture. You have to remove a hefty series of barriers before you can flip the shutdown switch. The only serious installed monsters are arch-viles. Between the megaspheres and the BFG you shouldn't have much trouble as long as you find all the buttons quickly. Good luck! You may need it. | 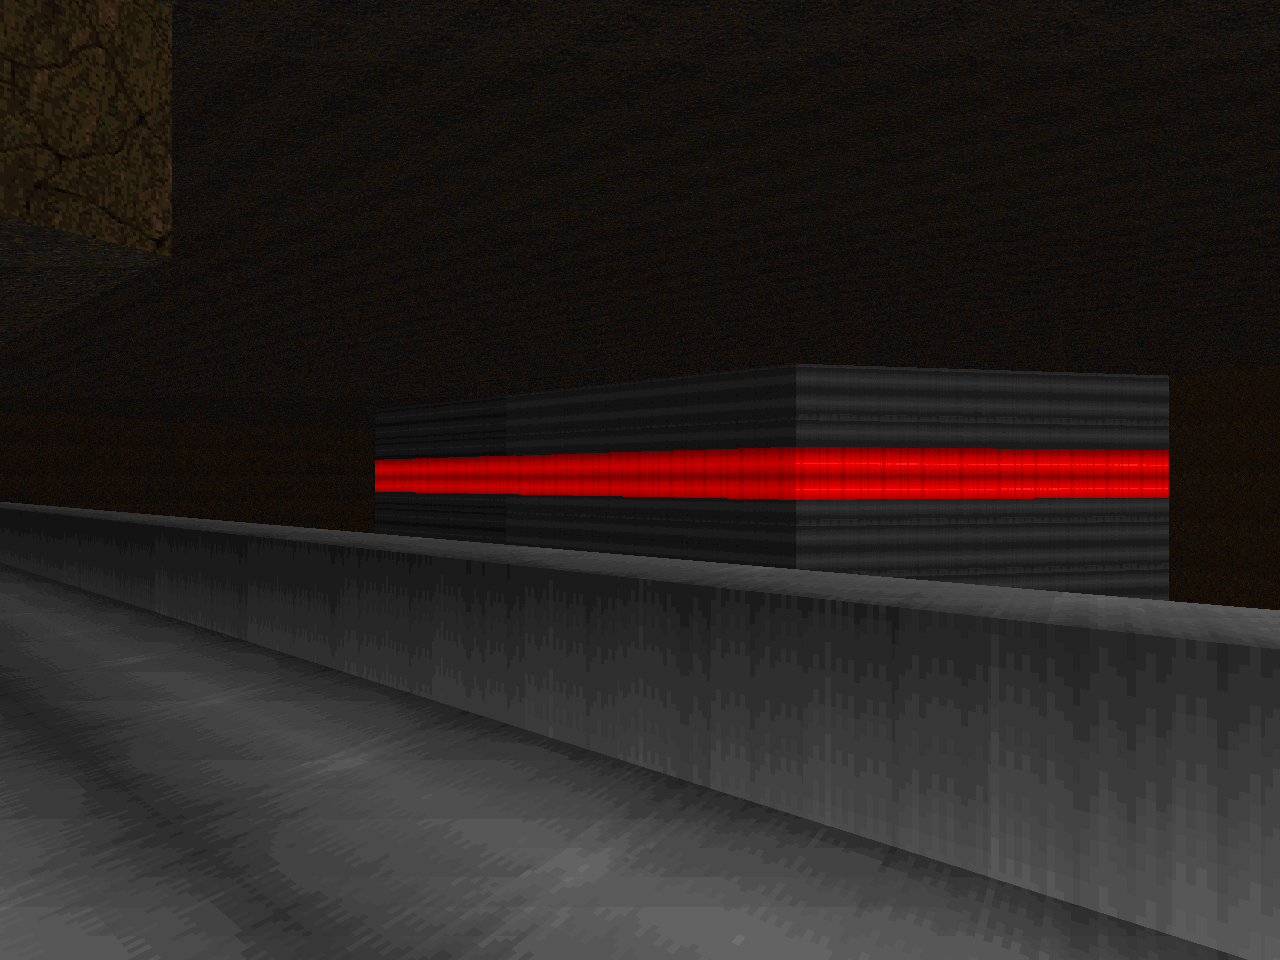 |
| MAP30 | Escape! |
|---|
 | The air duct escape isn't bad, actually, as long as you remember to move in a consistent direction. Your egress is hampered by tons o' beasties and the occasional key door. The cards are found in side rooms that are pretty easy to blaze past but you'll be doubling back to check them just as easily. Not all of them house required items, mind you, but none of the surprises are too unpleasant. There are two unwelcome issues, however. The first is the cavalcade of arch-viles and revenants guarding the final room. I've said this a few times, but woe betide the player who unnecessarily blows too many cells. Besides, you should mostly be blasting with the rocket launcher and cleaning up if necessary with the combat shotgun. The other poke at the player consists of a barred exitway. I took it for granted that there had to be a nearby switch I missed. This is one lock, however, that you are capable of brute forcing. |
MARE INGENII
I'm not sure what's 21st century about this megawad. There are some neat ideas like the flooded cave, but I'd say Hellbound is a lot more 21th century when it comes to detail and even combat choreography. Fragport is not bad, it's just... okay.
ReplyDeleteI think that it's hard to look at Fragport as a "21st century" WAD in retrospect, especially when so many projects in the interim have pushed the limits of vanilla so thoroughly. Clark tried really hard to fake a lot of things that were easier to do in Boom and then, not too long afterward, ZDoom, which is why he ultimately embraced the latter. The sheer mechanics involved in some of the vanilla "scripting" is still kind of impressive.
DeleteHah, I had planned to write a review for this on Doomworld, started playing it in January for that purpose, but frankly, your review is excellent and I have little more to add to it than you haven't already said. Worth noting though, I played the original version from 2001, not the 2011 re-release, and in that version, the yellow key is not replaced by the green one. What a strange change to make for a re-release...
ReplyDeleteIt's an odd change but I believe that it originates from him making a green key for his 007: License to Spell ZDoom since it's part of the same "universe".
Delete