SERENITY IV - MAP11
by Bjorn Hermans and Holger Nathrath
by Bjorn Hermans and Holger Nathrath
Back in the late 90s, Sam "Metabolist" Woodman was putting together a project called "Testament of Judgment". Looking on the archives, it was never completed, but during development he asked for and received a WAD from Bjorn Hermans to use in his megaWAD. The WAD itself was constructed by Holger Nathrath (and I assume playtested by Hermans) in the vein of the original Serenity trilogy. Woodman couldn't figure out a good way to work it into his mapset, however, and decided to release it on its own. The map has no official title, but it was indicated to be MAP11 of "Serenity III" (though shouldn't it be Serenity IV?). So, I'll refer to it as MAP11 from here on out.
It's a rather large map compared to Trydent, another release from the same project, but it's definitively in a later slot so the difference fits. It's also hard, much harder than any Nathrath map I've played before. This comes down to several factors. A) There are a lot of hitscanners. Some of them are ambushes (especially the opening) and some are dirty surprises (the false wall chaingunners). B) There's not a lot of ammo. This map is either overtuned or barely tuned at all in what I can only assume is the Serenity tradition. Take your time if you can; there's neither a rocket launcher nor a plasma rifle found here, despite evidence to the contrary. C) There is next to no health in this map. There's a well hidden megasphere about halfway through, but good luck getting to it.
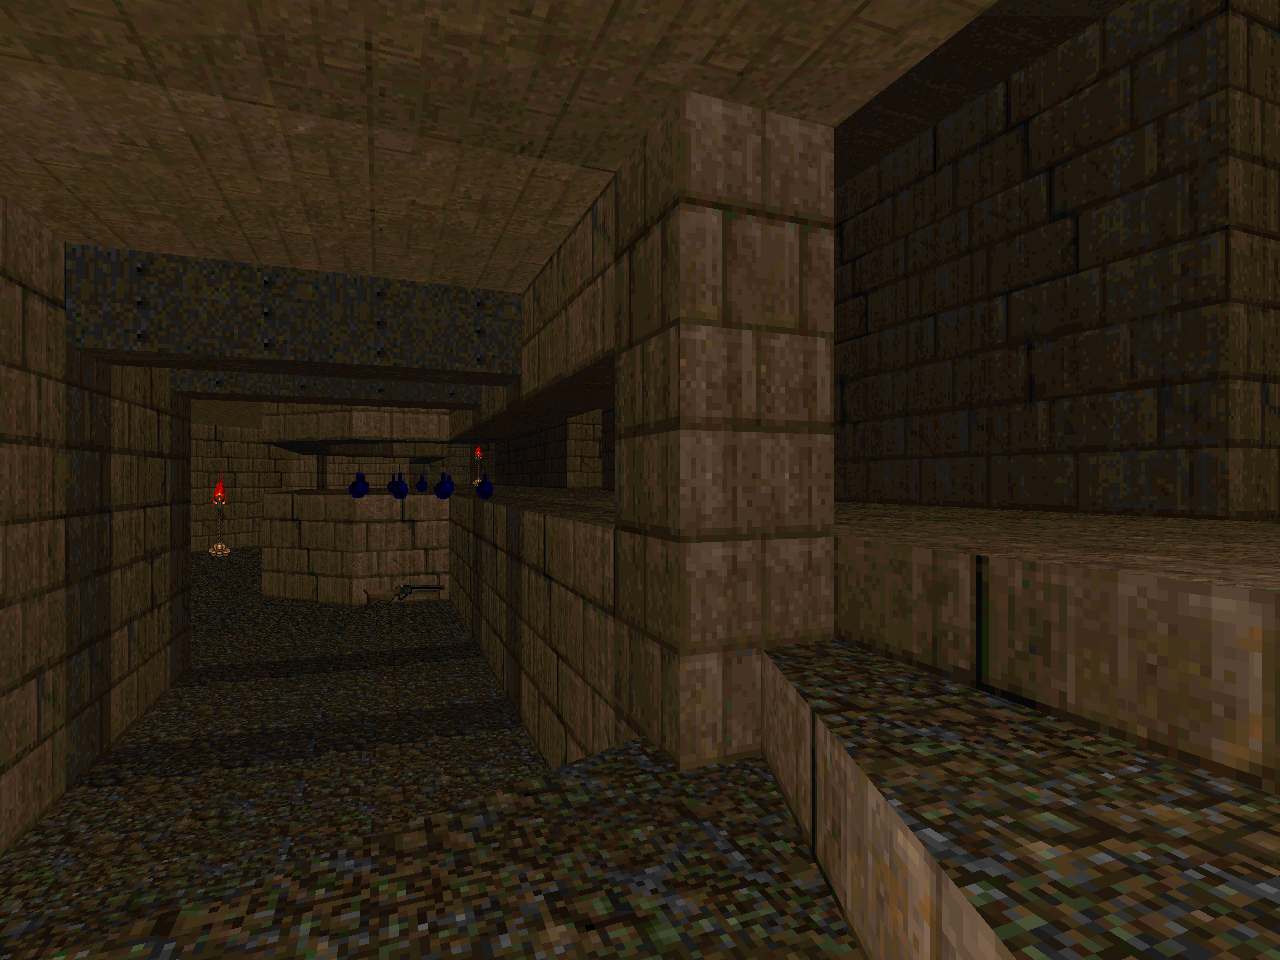
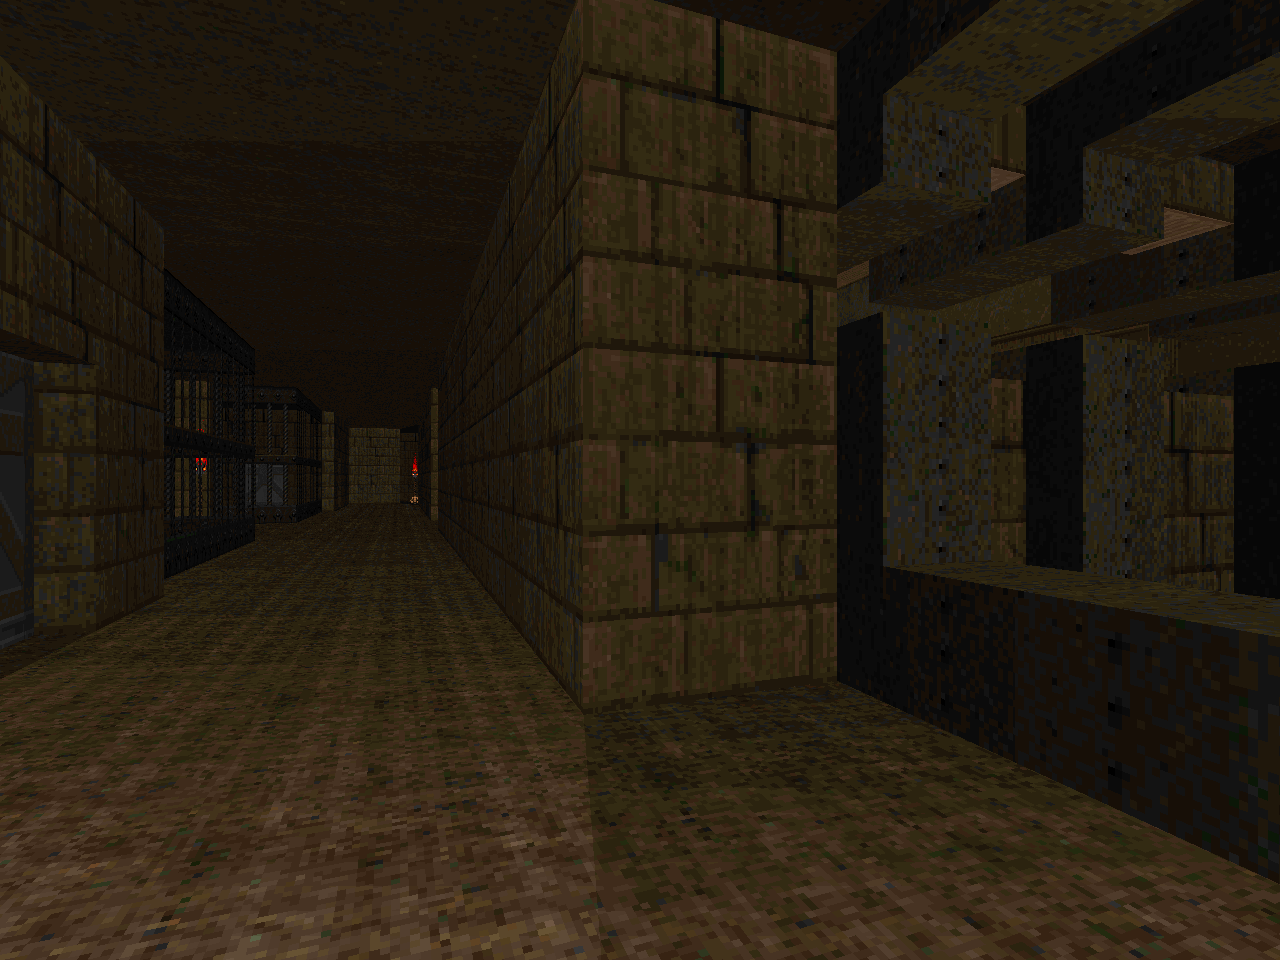
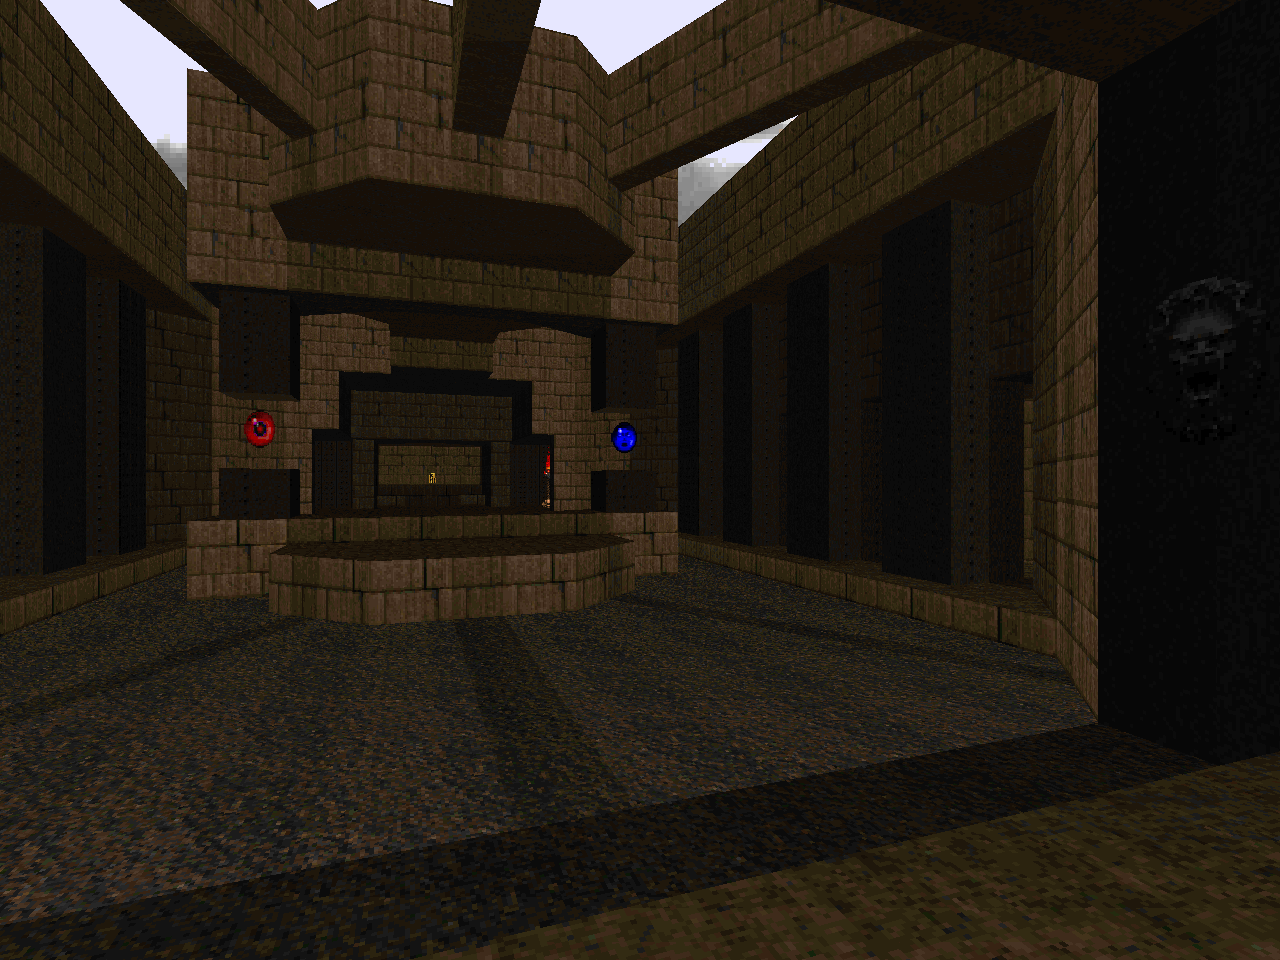
The architecture is distinctly unlike anything from Serenity. It's mostly beige brick with dark brown metal columns and an intricate layout with great lighting in places. It even opens up with a deadly ambush that isn't that much easier for having the SSG, setting the tone for the WAD. The first large structure has a neat, almost Quake-ish layout, after which you enter an elevated walkway into a crossfire. Both yards you descend to lead to the next major section of the map, a tower overlooking a winding wall. It's a sectioned-off ambush which when conquered takes you to some blood sewers.
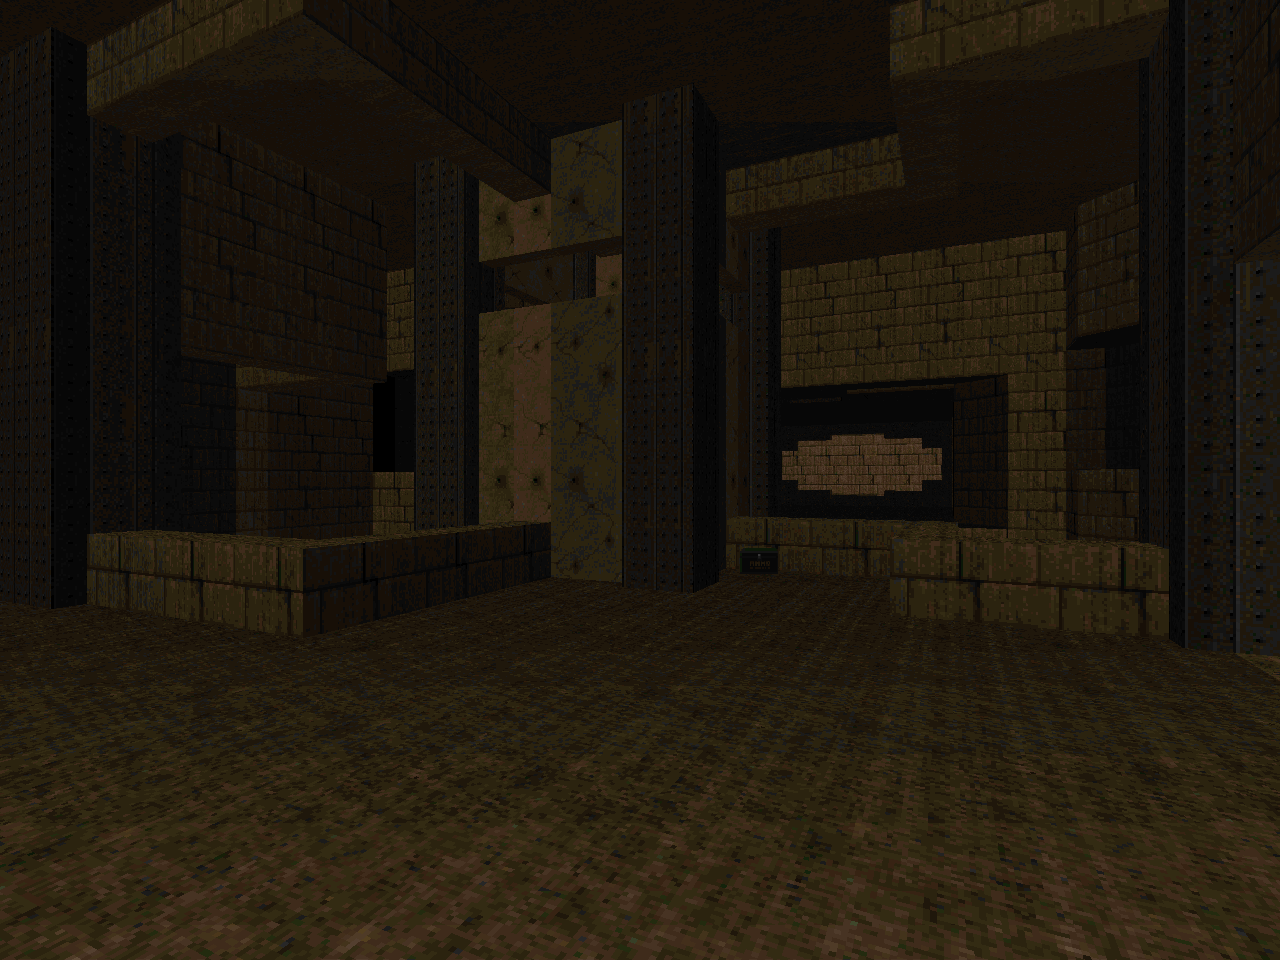
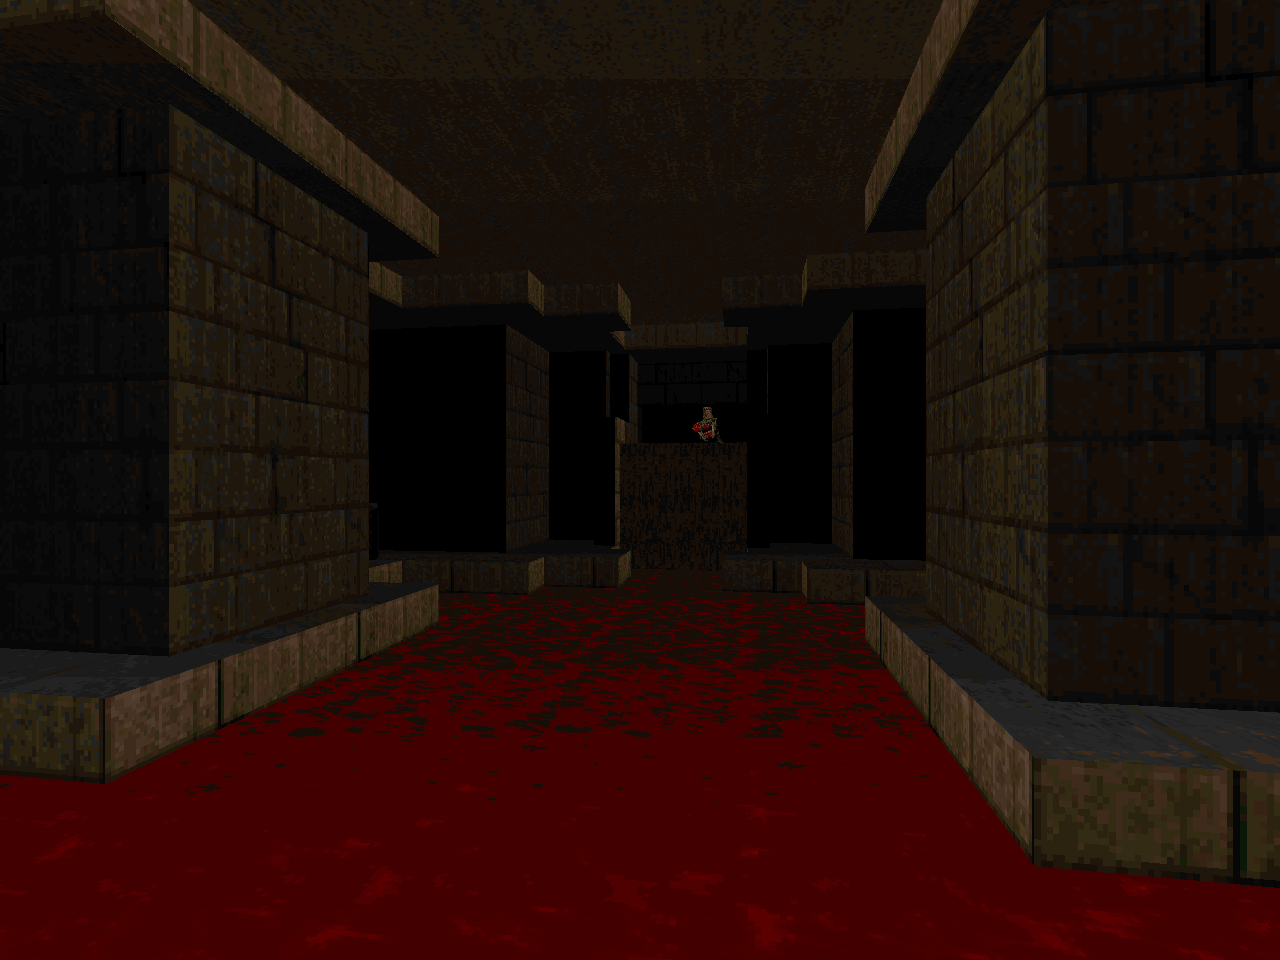
The blood sewers are suitably ominous with poor lighting and very little walking room (sadly, no envirosuit). There's a very nice nested secret area that's well worth visiting and should leave you in a good state to tackle the rest of the eastern section. It's a gauntlet with a few nasty traps, some great architecture, and a yellow key. The room beyond the yellow key is one of the more daunting areas depending on how much ammo you have left. You're immediately put in a pressing ambush with a pain elemental involved. If you want to 100% and find yourself low on bullets after hitting the switch, I suggest you dodge past, clear the exit room, and then head back to finish it out.
MAP11 is a map that wouldn't be out of place in, say, Memento Mori II or any of the quality megaWADs associated with 1996. It's tough as nails without throwing hordes of monsters at the player and as a very pleasing aesthetic quality with excellent architecture and atmosphere. I can only wonder what Serenity IV would have looked like; I'm sure we'd still be talking about it today had it been released. Thankfully some bit of Nathrath's Doom II work survives, and I believe three more of the Serenity IV maps were submitted to STRAIN and converted for their use. Are there any more Nathrath gems to be uncovered? Time will tell.


SERENITY FOREVER
This post is part of a series on
the Serenity series
the Serenity series
| Serenity | Eternity | Infinity |
| Arachna | Trydent | SER3LV11 |
| STRAIN |
I cannot reach the yellow key :-(
ReplyDeleteProbably a little bit late reply but if anyone else is stuck at the same "puzzle", you can lower pillars around the key platform as lifts.
Delete