Doomworld forum superstar Vordakk, aka Stormwalker, gives us another opportunity to play the only elf worth playing with
Heretic: Call of the Apostate. It's a sequel to
Heretic and replaces its third episode in DECORATE-abled ports (specifically (G)ZDoom and Vavoom, though Vordakk recommends the former). The story picks up after Corvus returns to his homeworld, which still lingers under some shadow of evil. There he catches rumor of the existence of a necromantic abomination capable of resurrecting the Serpent Riders should they perish at the hands of a mortal – the Apostate. Gripping his elven wand, he prepares to hunt down the undoubtedly resurrected D'Sparil, and afterward, his previously silent partner.
Why DECORATE? It's a question you may find yourself asking while you play through these very classic-looking maps. Vordakk's intent was to recreate in part the feel of the first three episodes in the first nine maps, in part due to the storyline and perhaps in part as tribute. They're not really carbon copies, though. The level layouts are generally less intricate and more wide-open, with grand architecture abounding. Rather than clearing sets of enemies from smaller rooms, most of your work will be done against armies of D'Sparil's returned minions. I don't think I could call any of these maps anything less than straight-forward, excepting maybe E3M7 and a minor portion of E3M9.
They're also quite challenging, especially from p- er, wand start. I would say that Vordakk succeeded in tuning these maps appropriately. As mentioned, you'll be facing many large groups of monsters, with the stakes rising as you proceed, until it feels a bit like a
Hell Revealed-lite, but with
Heretic's bestiary. The final normal level packs in over 400 enemies, all tough customers; quite a ways away from the relatively sedate opening. Do not expect to be coddled. I will say that his first two boss fights aren't all that challenging, but the rest of the maps pack quite a punch, and the layouts of the latter two showdowns make them appropriately threatening.
The DECORATE, I believe, is for your final opponent, but if having to use either source port (possibly Eternity in the near future) is a dealbreaker, don't let it be. APOSTATE is a very nice addition for Heretic, and we get so few of them that I think it's best we appreciate what we have. If you'd like a nice set of maps where you can tackle tons of magical horrors head-on, you should play this WAD. Just be on the lookout; some of these secrets are a bitch to find.

HERETIC:
CALL OF THE APOSTATE
by "Vordakk" aka "Stormwalker"
| E3M1 | Reliquary |
|---|
 | Short and sweet E1 style map with a river and a nice little palace. Combat is pretty standard, and while taking down a pack of four golems with the elven wand isn't very exciting, Heretics have to start somewhere. My favorite encounter involves the crossbow grab, which presents you with an immediate opportunity to make good use of it. |
| Village Outskirts | E3M2 |
|---|
| More of a medium-size map with two classic-style Heretic buildings separated by a river with a nice bridge. The first half is all elven wand, aided along by some handy gauntlets. You won't get to play with the crossbow until you lower the roadblock, but from then on it's smooth sailing. There's a few cool moments, like when a cadre of evil pops out of the lake. Really, all of the memorable action occurs in the north side, particularly the gargoyle reveal in the main chamber (which has some really nice lighting) or the corridor fight in the final approach. | 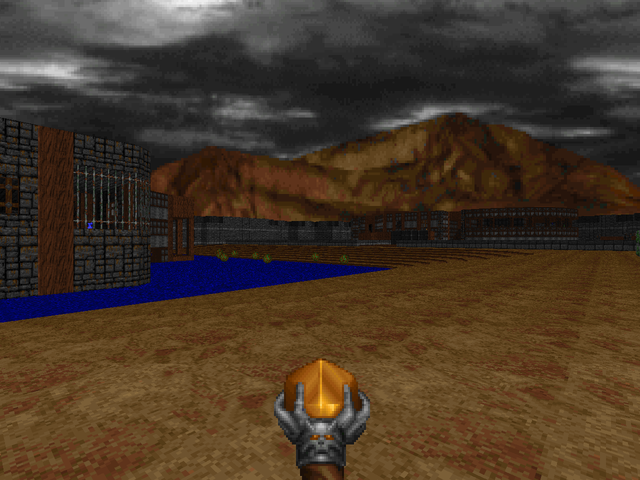 |
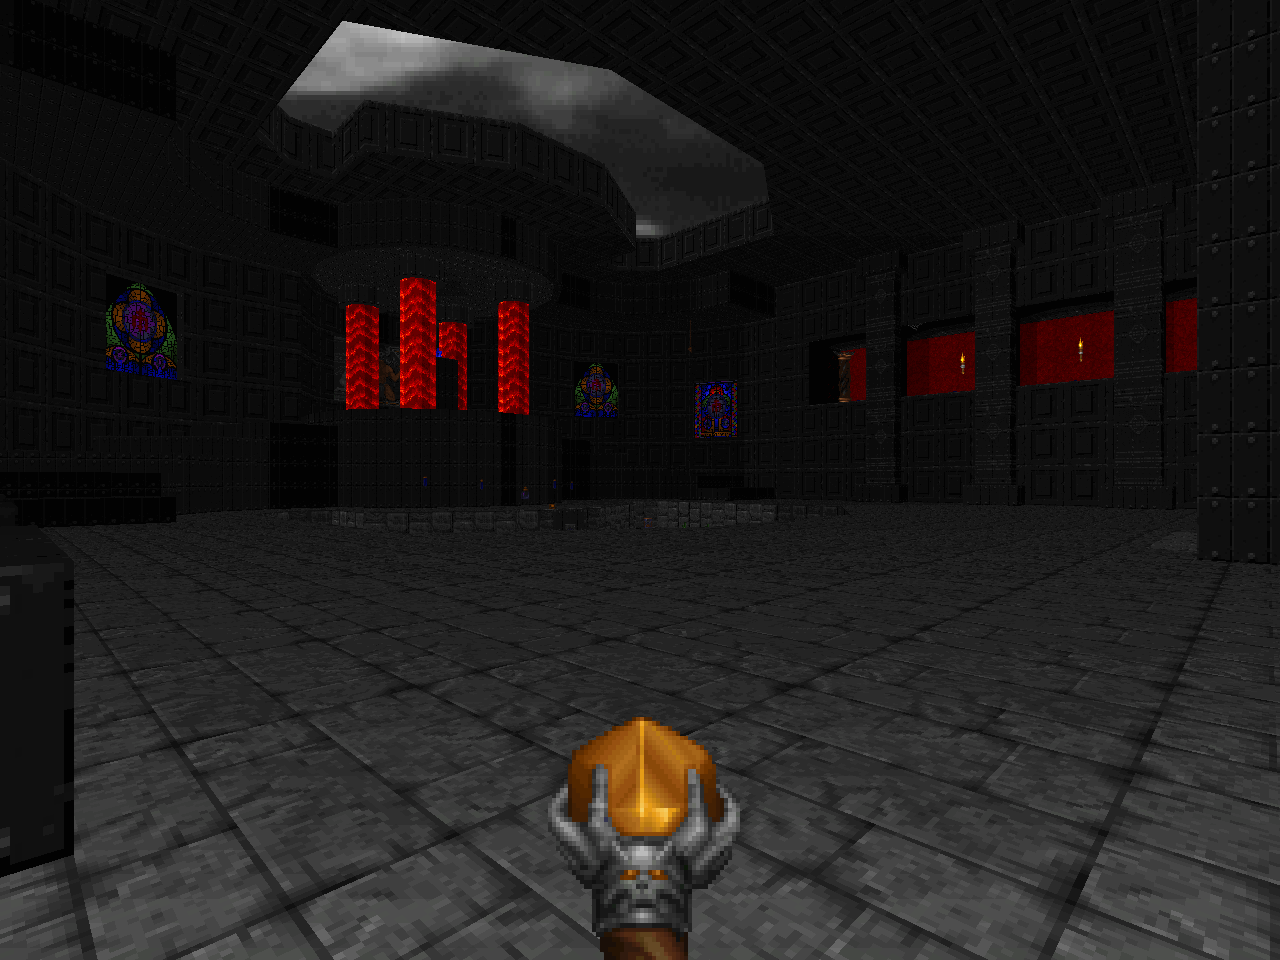
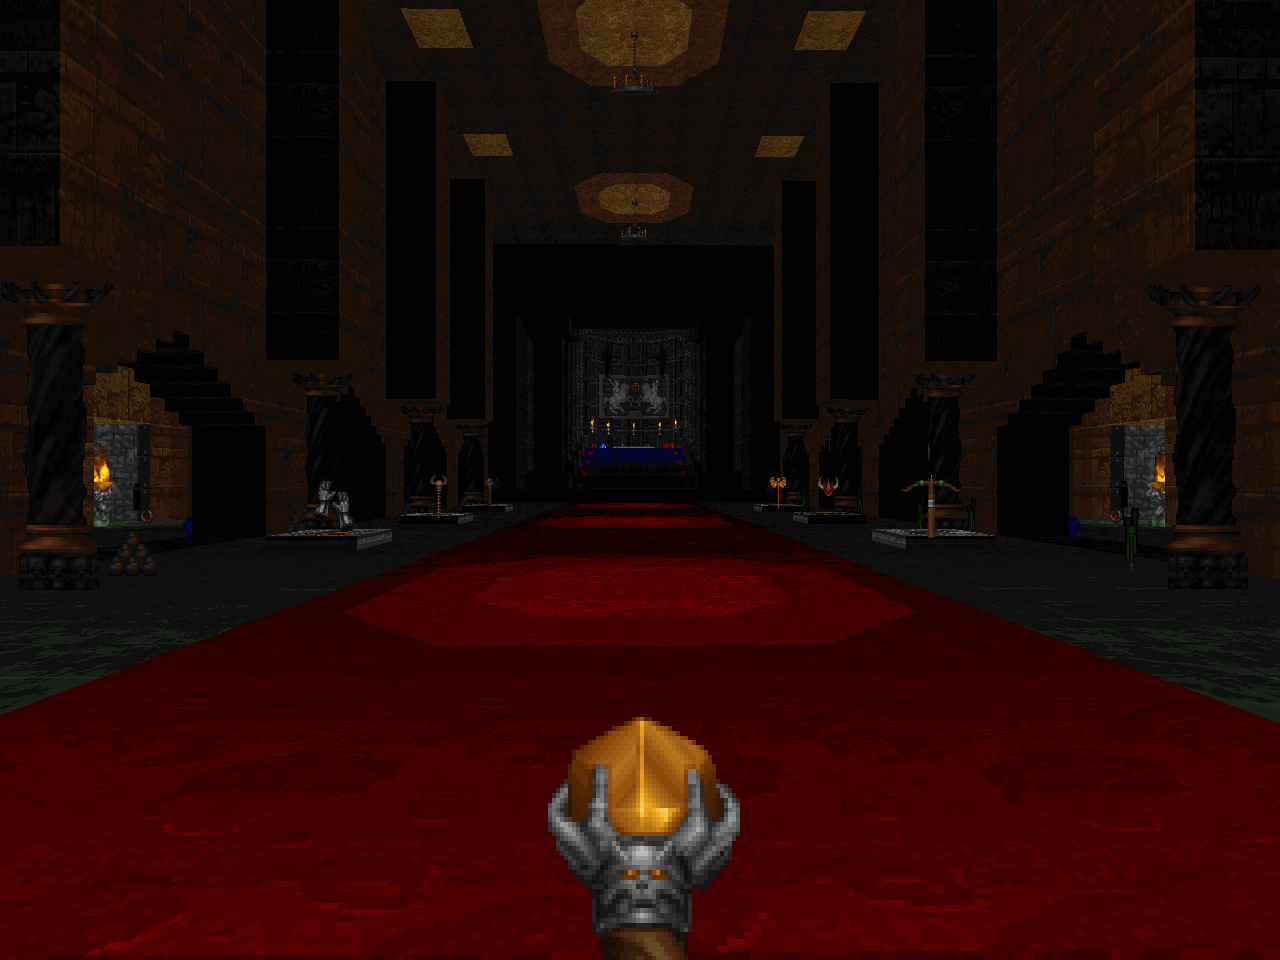
| E3M3 | Temple of the Arcane |
|---|
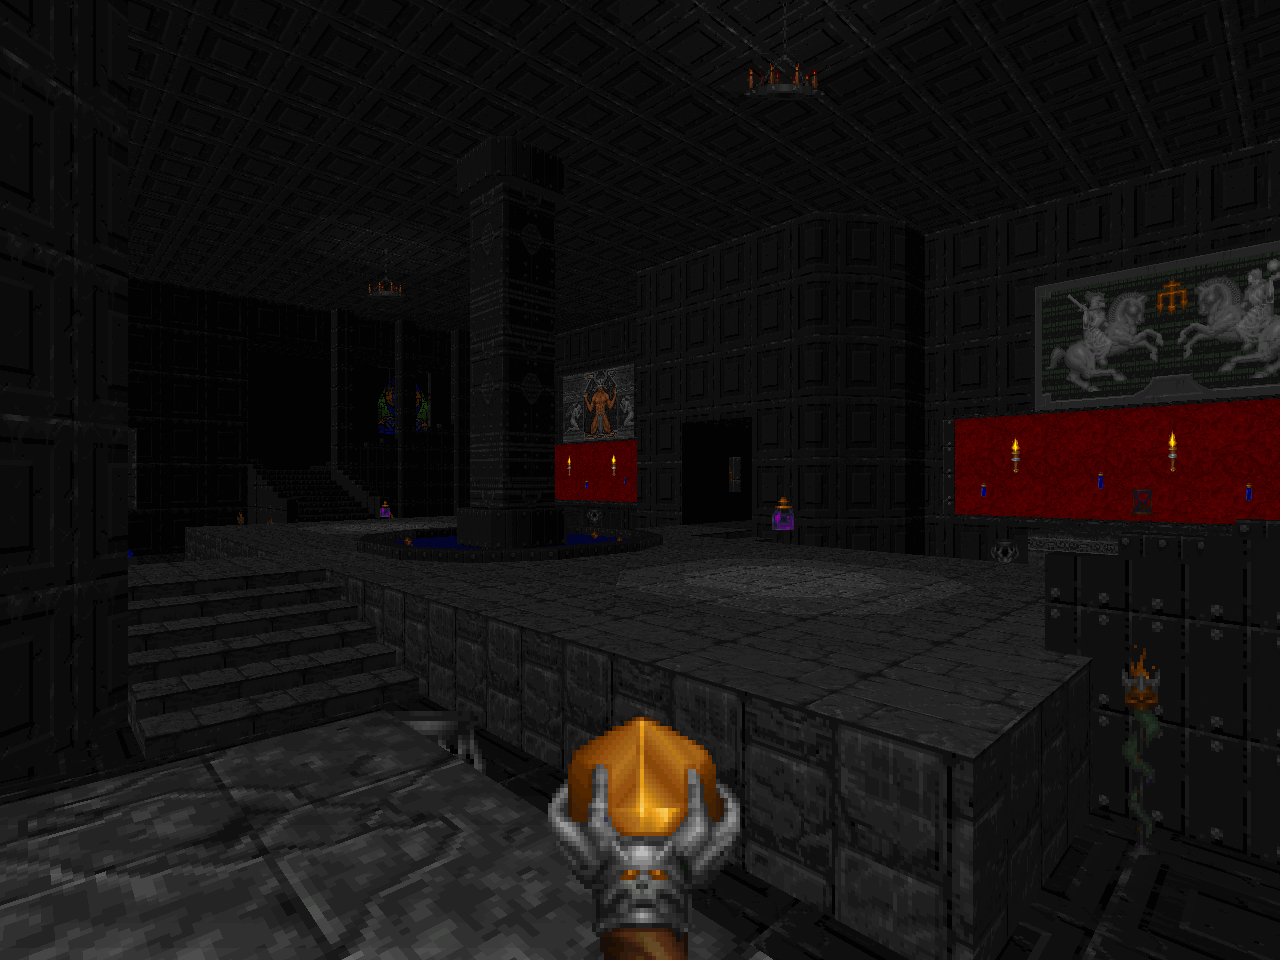 | Tough gauntlet-style map (not literally a gauntlet) in a temple (duh) with nice, grand architecture. There are two instances where you're bombed by waves of disciples. The first isn't too hard as you're given plenty of cover to work around, but the second is a bit tricky as it's in a mostly open area, which also has a good crossfire going when you first arrive. The room with four altars has a nice mix of enemies, on top of looking very nice, but as dense as it's packed you really have to stir shit up, duck outside, and take them as they come until it clears out a bit. The final battle is against a horde of iron liches. It's not very interesting, though, just circle-strafing through the columns and hoping you don't get caught up on any lurking tornadoes. |
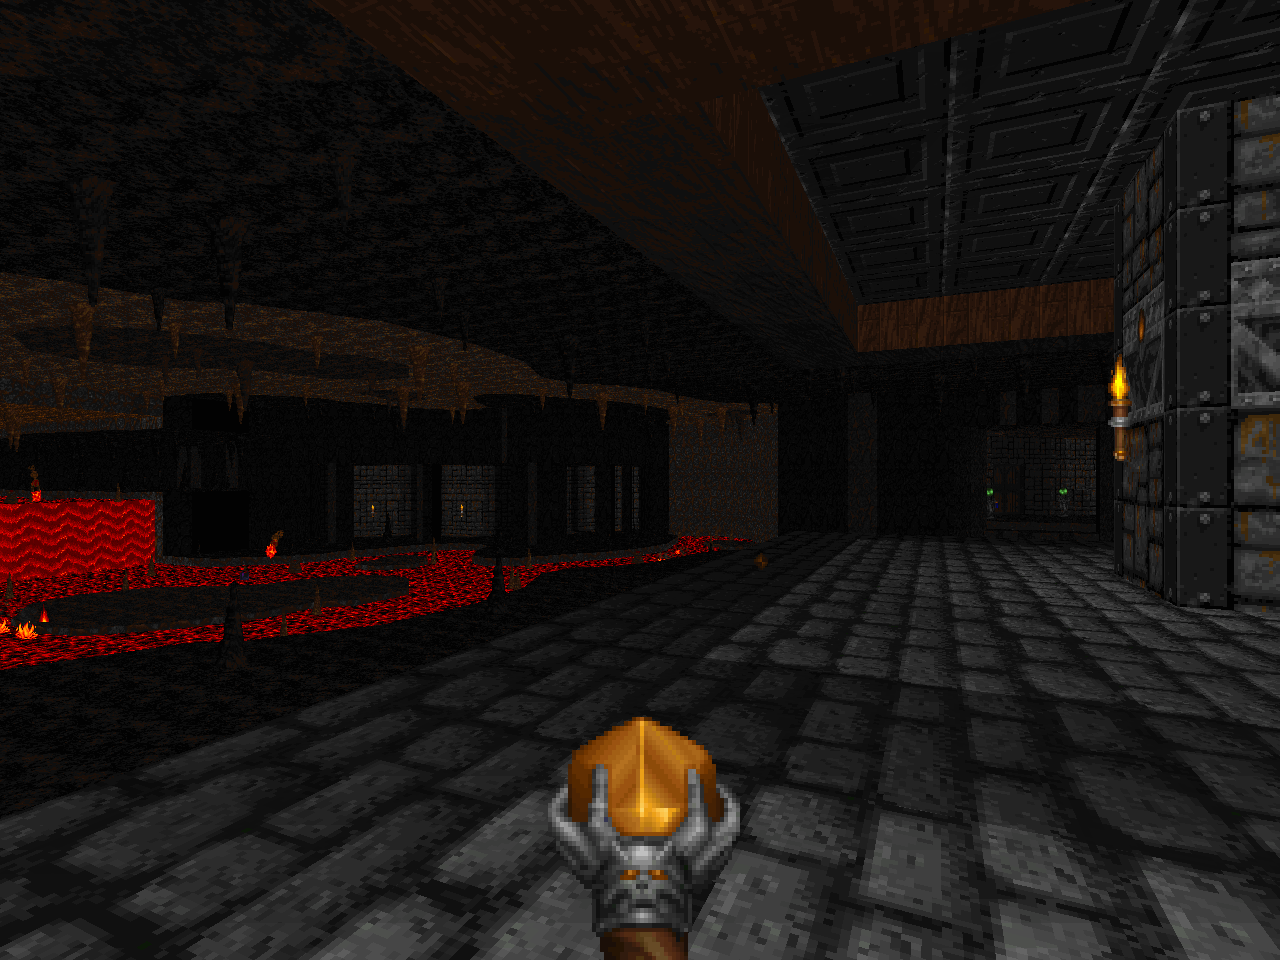
| Wizard's Stronghold | E3M4 |
|---|
| A nice, large introduction to the Hell's Maw chapter. It's a fortress located between two channels of lava with a glacial area to the north with toxic runoff. Architecture is again focused more on scope than minute details. Combat has some nice changes, like the fight down the lava river or the battle between two liches at the map's end. This also marks the first appearance of the Hellstaff, a welcome addition to the arsenal. It's not terribly helpful against one of the more tense situations, though, where grabbing the blue key subjects you to two hordes of disciples. You'll have to prioritize one of the two masses or, failing that, find a chokepoint somewhere else and take them on Diablo-style. | 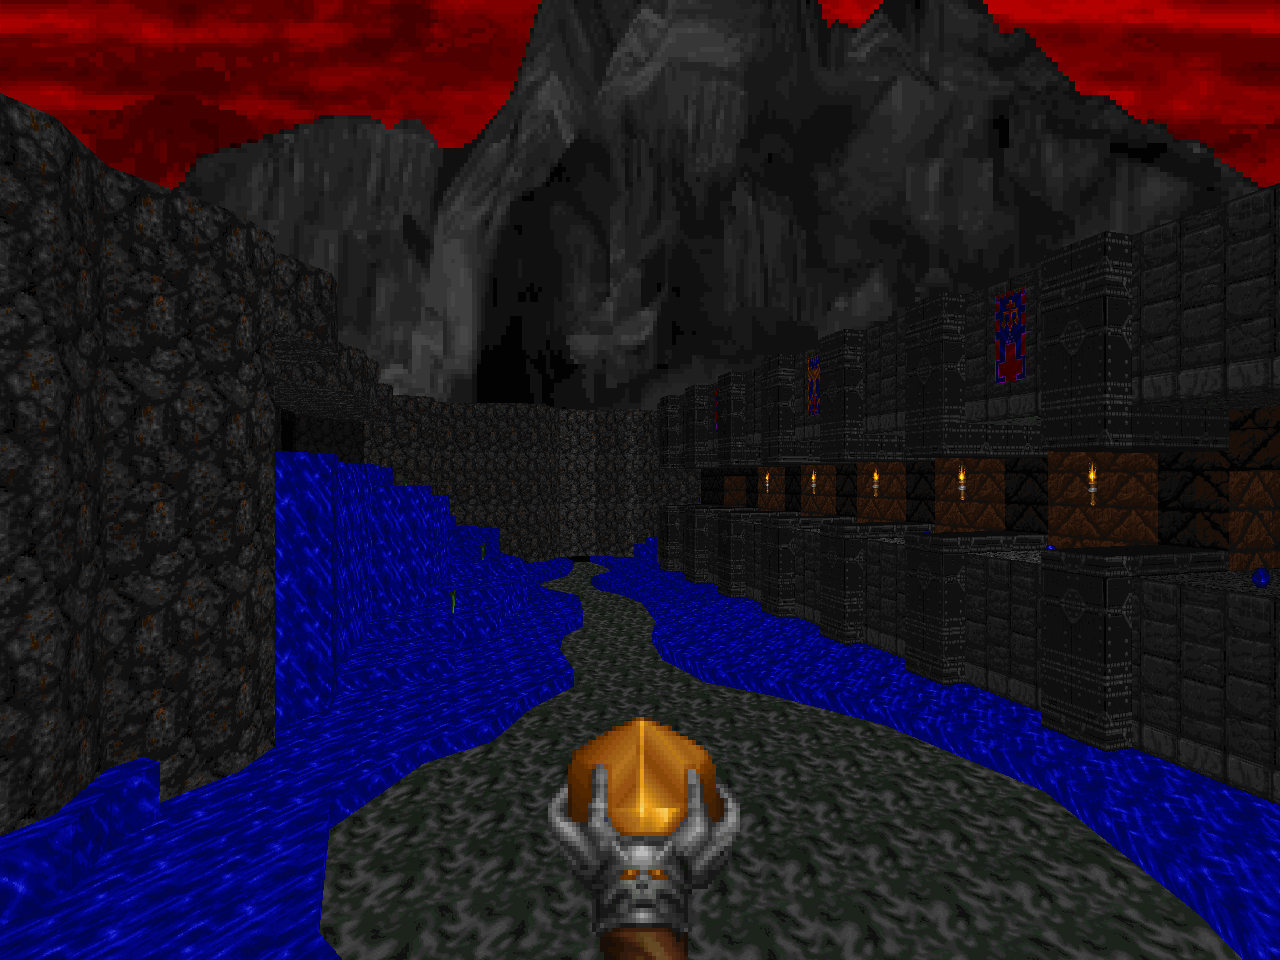 |
| E3M9 | Forgotten Chapel |
|---|
 | This one is based in a large canyon that leads to the eponymous chapel. It's got a cool opening where monsters spring out of some nearby graves as you find yourself in quite the melee. Things only get more ridiculous when you grab the yellow key as an army of sabreclaws appears to swarm your position. I especially like the battlements / lava pits to the northeast, which has among other things a dangerous fight with an iron lich due to lack of mobility followed up by a hectic shootout in a chamber with a nasty (but obvious) trap. Actually, the iron liches seem particularly ubiquitous in hairy situations, like the pair in the blue key room or by that staircase leading up to the mystic urn ledge. Great fights and great architecture. |
| Castle of Sorrow | E3M5 |
|---|
| You begin in a lava tube which dumps out into a gargantuan outdoor chasm with several tiers. The ruins prior to the exit have a pretty nice fight, with an army of disciples, warriors and an iron lich, but most of the action takes place in the chasm climb. There's a healthy number of monsters on each level who pepper you with projectiles as you fight your way to each teleporter, making your way jaunt by jaunt until you arrive at the gates of the castle itself. It's no picnic, with sneaky weredragon fireballs coming from seemingly every angle and nitrogolem blasts arriving at a constant stream. The end of minisode battle pits you against three maulotaurs at a time. It's not that hard as you're given plenty of room and both the Hellstaff and Phoenix Rod, but it's a neat finale. | 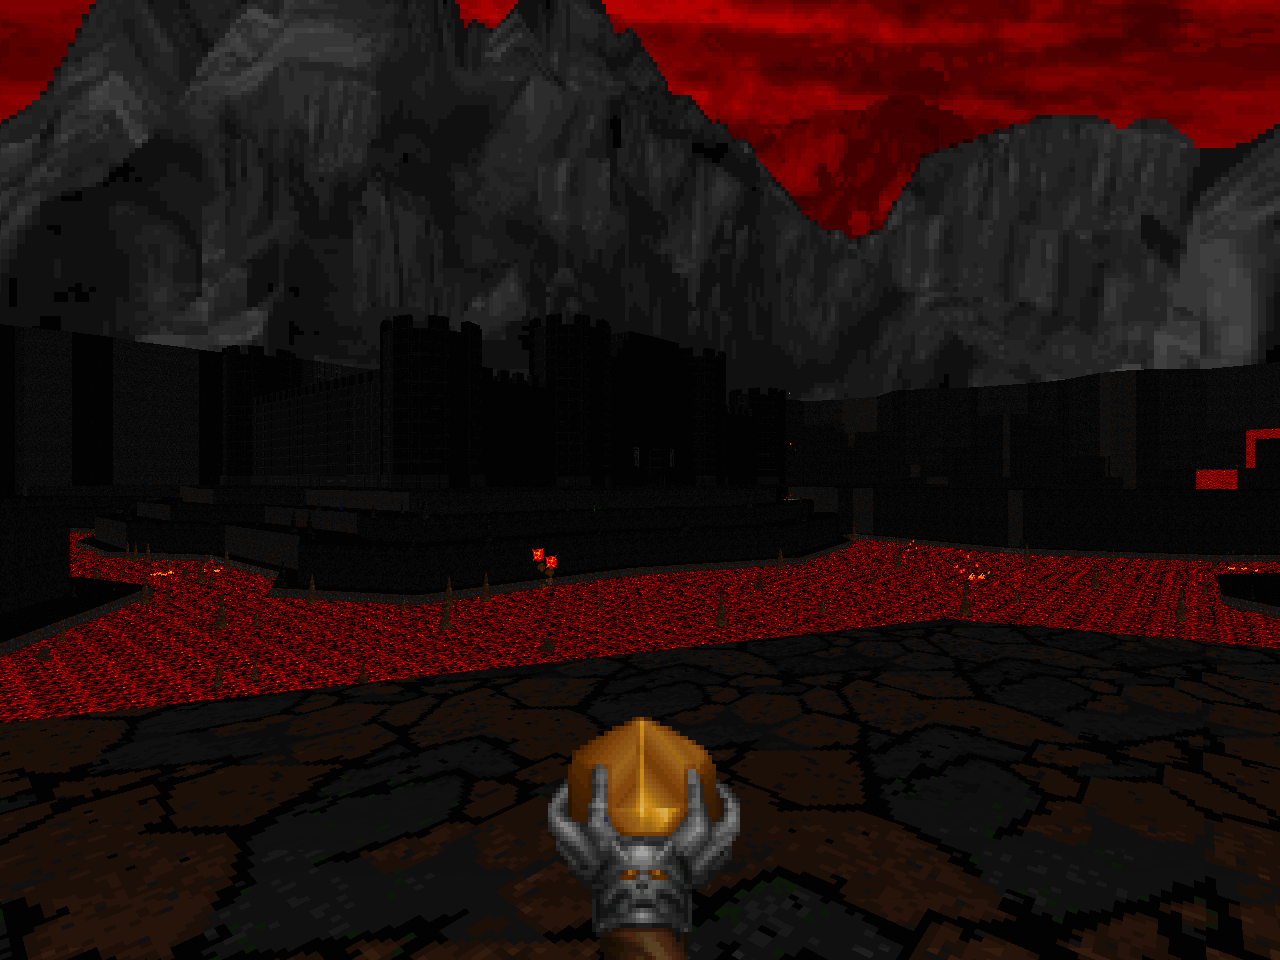 |
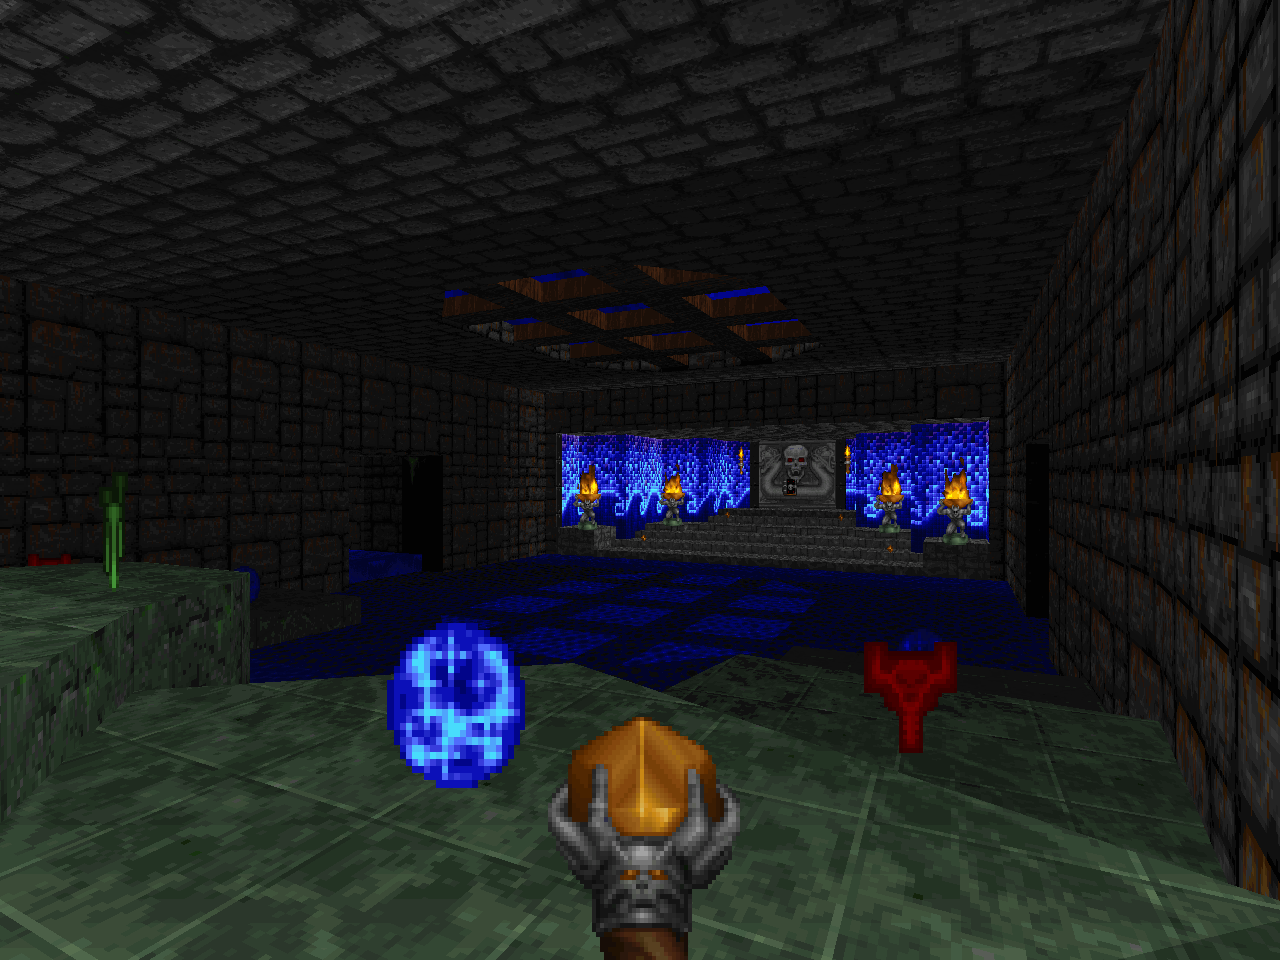
| E3M6 | The Unholy Font |
|---|
 | Kicking off the Dome of D'Sparil section with a compact but difficult adventure. Your first challenge comes at the onset, where an already taxing crossfire turns into a complete brawl when you snag the Hellstaff (which I admit I missed my first time in the area). Things get tricky as Vordakk starts to make use of push sectors, with the green key climb being quite slippery, while undead warriors chuck axes at you. Mucking around in the sewers is comparatively sedate, excepting the main cistern firefight. My biggest challenge was the return to the huge staircase on the map's eastern side. There's about twenty disciples let loose into a huge, now darkened hallway. If you vault past them like me, the absence of light doesn't make confronting them at the chokepoint that much easier. After that, the maulotaur fight is kind of anticlimactic. |
| Raedamon's Gorge | E3M7 |
|---|
| Dumps the previous level styles for a sprawling caldera flooded with water. The opening area is bullet Hell as monsters on the ground and from various sides of the gorge fire upon you. It kind of reminds me of Hell Revealed's "City in the Clouds"; all of the weapons are tucked away behind enemy lines and you have to wrest them from the opposition. As if the crossfire wasn't enough, you'll return to find it seeded with some more monsters on a few occasions, like a maulotaur, or a swarm of ophidians. When you've caught your breath, you can begin exploring the side-areas, also filled with dangerous encounters, like the yellow key wing's firing lines or a very memorable cloud of gargoyles. Pretty tough, but very cool (and a little exhausting). |  |
| E3M8 | Shrine of the Serpent Rider |
|---|
 | It's basically just a boss map with a nice lead-in, but the limited real estate makes D'Sparil a tough foe. Summoned disciples can crowd things up pretty good, especially when you have to dodge those lethal lighting bolts. |
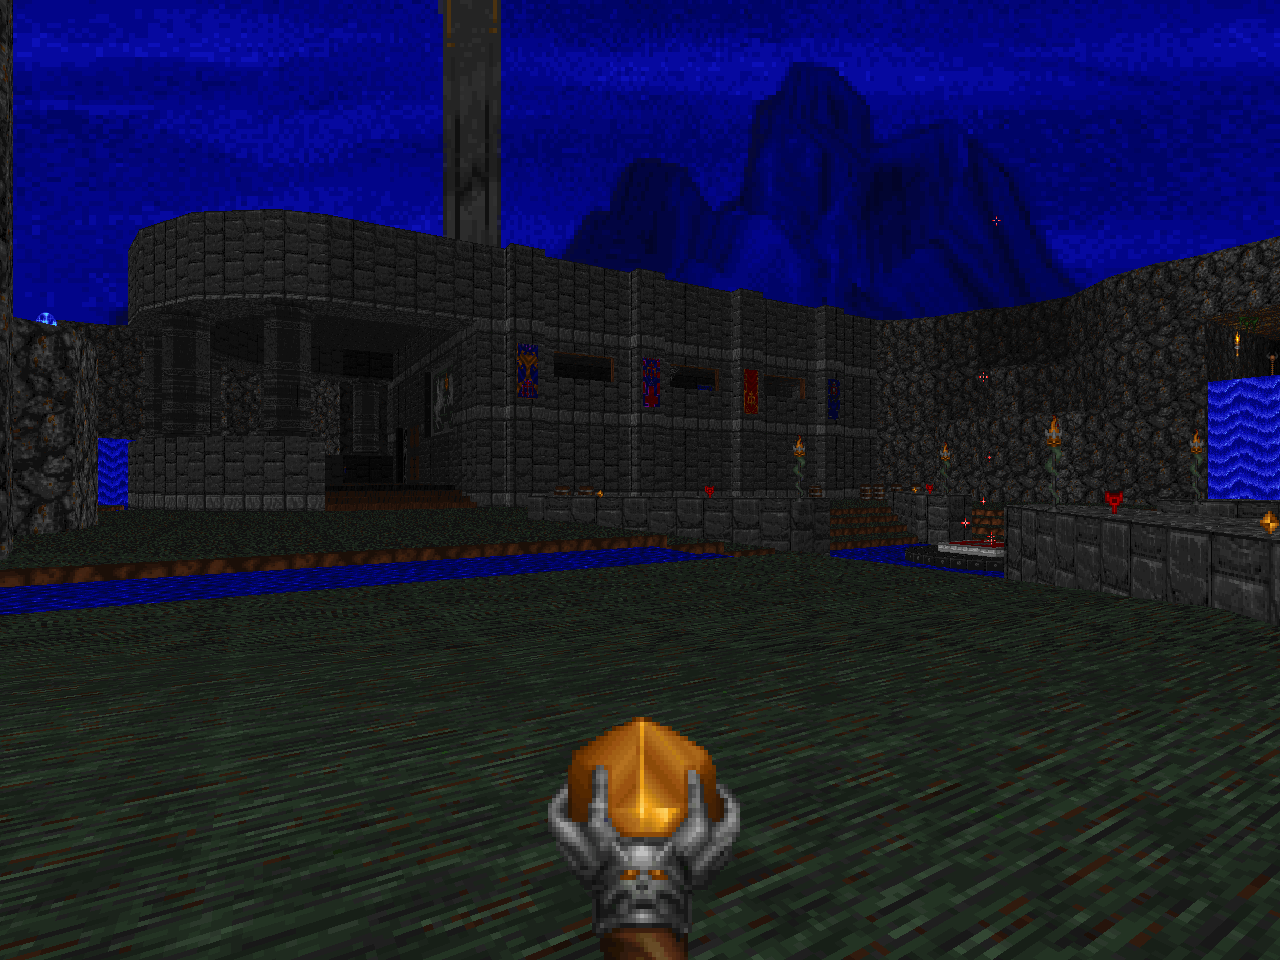
| The Apostate's Lair | E2M1 |
|---|
| Same as E3M8. The Apostate hails from Realm 667, otherwise known as the Avatar. He's a completely different beast than the Heresiarch. Take careful note of the crenelations housing health vials along the walls; they are vital to your survival. The room layout in combination with the Apostate's abilities create a fantastic boss fight and a great way to end the episode. | 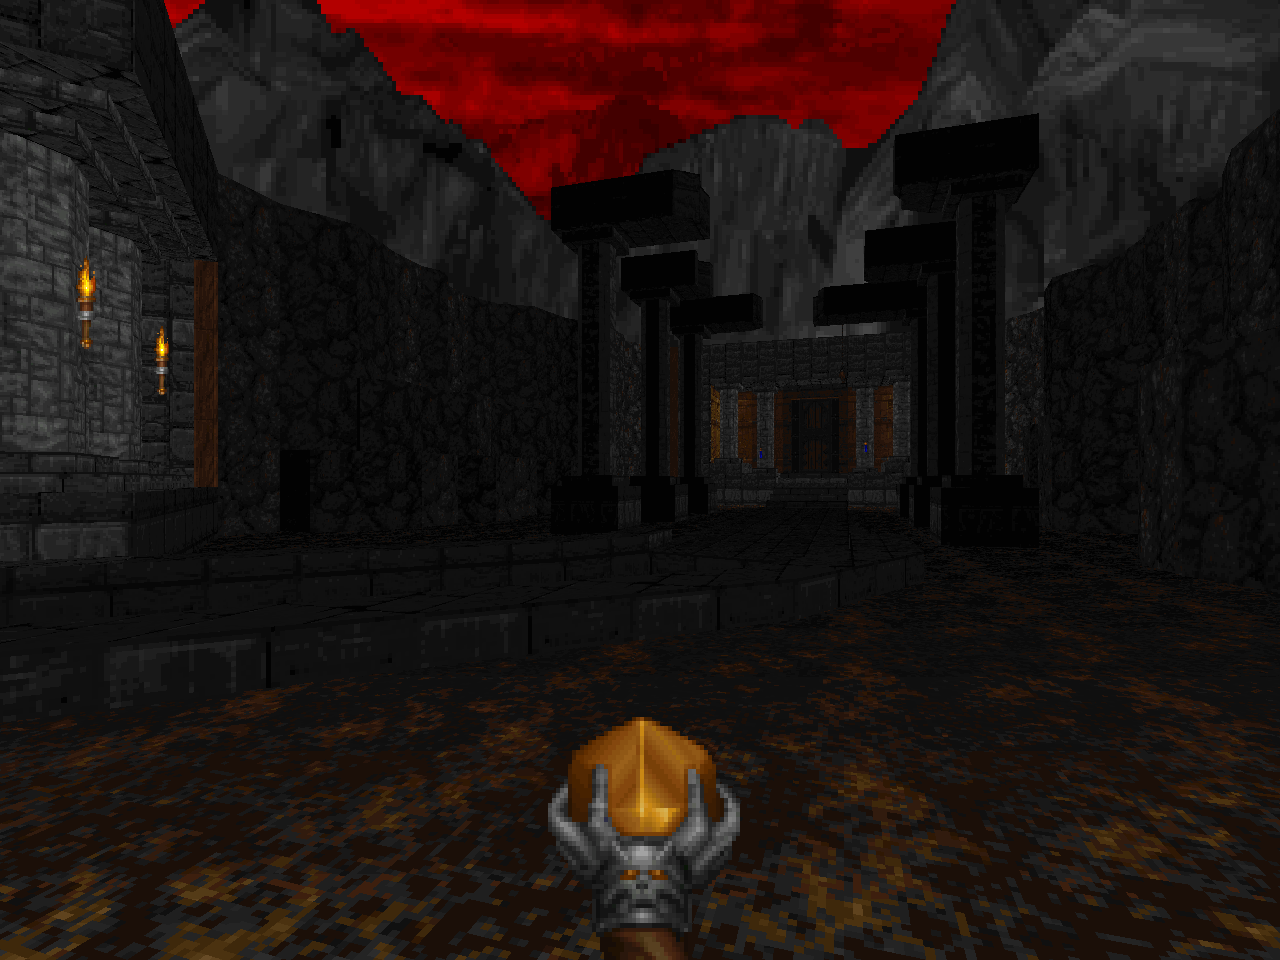 |
THE APOSTATE IS CALLING
BUT CORVUS ISN'T HOME
I really loved playing through this mapset, it had some beautiful locations. I loved E3M6 & E3M7. :)
ReplyDelete- Deathevokation
Thanks for taking the time to do such an in-depth review. Your site is awesome!
ReplyDelete-Stormwalker
Thank you, and you're welcome. Looking forward to playing Dark Deity's Bastion!
ReplyDeletei didn't liked the boss! was too easy, especially it could be turned into chicken using morph ovum! they forgot to add +DONTMORPH flag on him, making the battle far too easy!
ReplyDeleteIt's a nonissue if you're playing from scratch, though it would be nice if the ovum didn't trivialize the fight.
Delete