Apparently this little work began as
LilWhiteMouse's first ZDoom project. Considering the version of
Chosen I reviewed is circa 2003, that makes
Chibi Rebellion's foundation quite old indeed. It saw several phases of development, with the most recent leading to a 5.0 idgames release. And yet, it moves... This article covers the 5.9 release of
Star Wars: Chibi Rebellion. Yeah, some stuff's been added since. CR was released to little fanfare, which is a shame. This is a quality game on the level of some of Doom's most ambitious total conversions. Though it may lack the polish of works like
Action Doom II, it's worth a play. It'll be a long one, and my only hope is that LWM continues to preen this product.
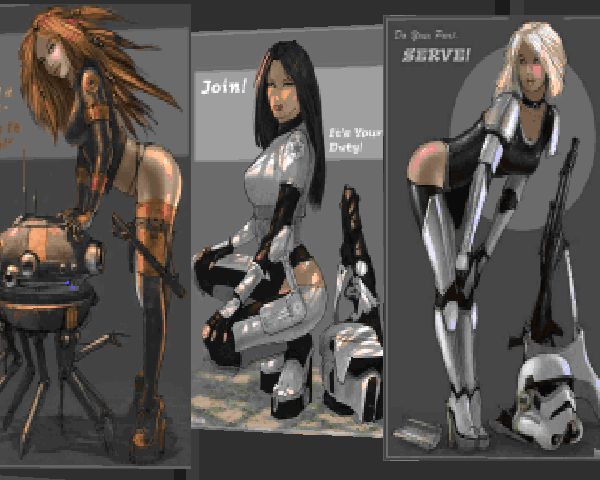
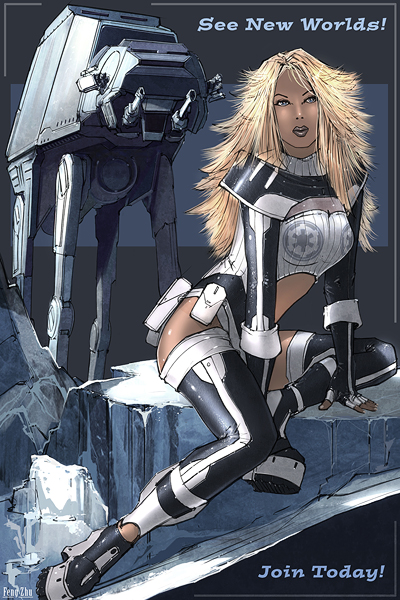
The star of Chibi Rebellion is the spunky Jaiyl, an engineer and resident of the planet Nothoth, where the campaign takes place. She's a redhead, but unlike EU superstar Mara Jade, she's got no Force, and thank goodness; there are plenty of Jedi hanging around as is. When occupying Nothoth, the Empire wrecked her repair shop, so she's out for revenge. First order of business – join the Rebellion. Second order of business – defeat scores of wildlife, imperials, smugglers, jawas and droids in her quest to stick it to the jerks that totaled her business. It's a tough job, but someone's gotta do it. No, really; I can count the times you're explicitly aided by the Rebel Alliance on one hand. You'll be getting way more health and ammo from the better-funded Imperial army, not to mention their very compelling recruitment posters.
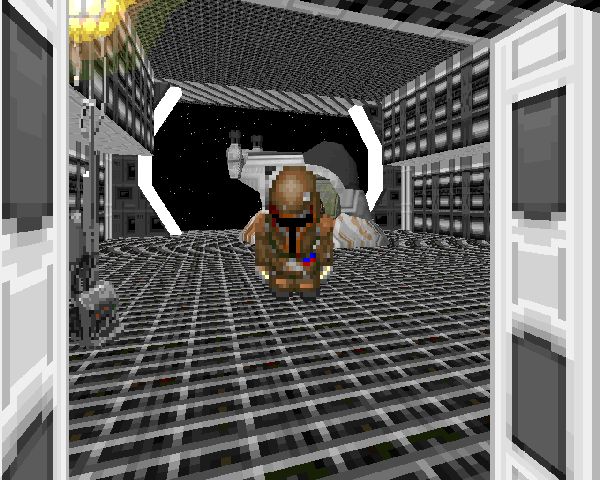
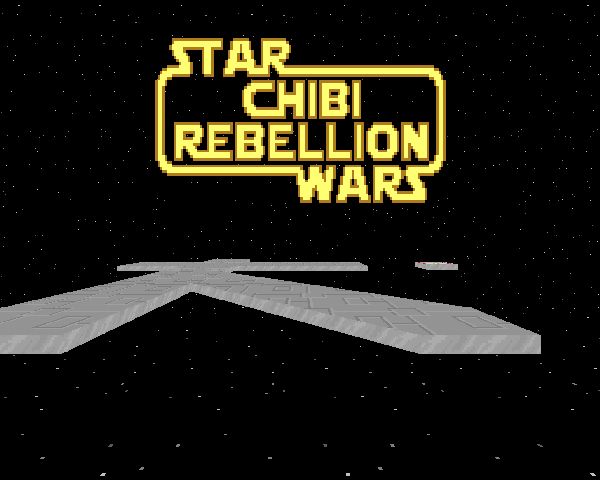
So, yeah. It's Star Wars. More than that, it's super-deformed Star Wars. LWM compares it to a cross between Yoda Stories and Lego Star Wars. I haven't played either game, but I'm familiar with the concepts. I know there's a generally jovial tone that pervades both, which definitely carries through CR, down to the enemy death – er, I'm sorry, KO – animations. Most opponents vanish, leaving a bouncing helmet that fades away. Others, like wampas, leave a single flopping arm, and the rodians explode into two wiggling antennae. It's adorable when they're not firing at you. You'll see plenty of references to characters, though not being the biggest buff I bet some of the cameos were lost on me. One thing that's a little off-putting... I really could have used as little as some throw-away dialogue for most of the chibi NPCs, especially at the base. The gawking Rebels kind of weird me out. Admittedly, this is a ton of busy work that most people would likely skip over.
Chibi Rebellion has a very simple formula. Small, modular maps are plugged into a rigid scenario skeleton at random when you begin your mission. When I say the scenario skeleton is rigid, I mean it. Hit “P” during play to access the scenario map and you'll see. Each slot in the map draws from a pool of levels dedicated to that position. CR is structured in such a way that it exhausts all unplayed maps before repeating any element. In practicality, there is enough material for nine complete episodes of novel gameplay. There are a few leftover “end” missions so you'll have to replay a bit of old content if you want to see everything 5.9 has to offer.
Though some of these areas are pretty simple, there's actually a ton of maps featuring clever puzzles, like tower of Hanoi mechanics or one involving gas pressure that may take a second or two to reason out. Others present the player with unique exploration experiences, like a series of tunnels with constant cave-ins, using tauntauns for greater mobility, or exploring the exterior of a station in the middle of a blizzard. Throw in combat scenarios with imperial machinery, vendetta-packing bounty-hunters, and force-sensitive jawas (to name a few) and you'll find plenty to liven up what can sometimes be fairly rote room clearing, not that your regular opponents don't have plenty of unique attributes.
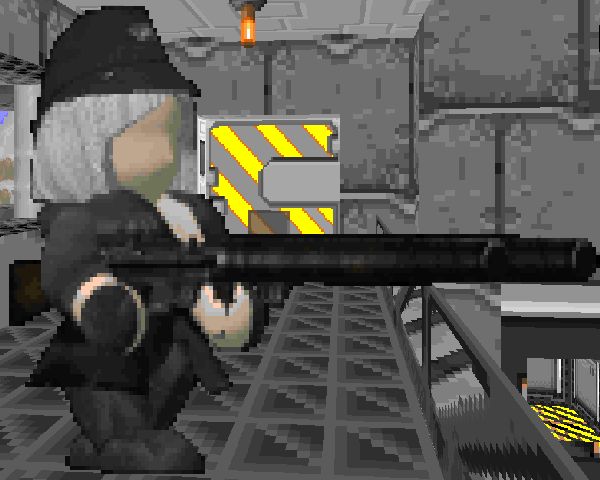
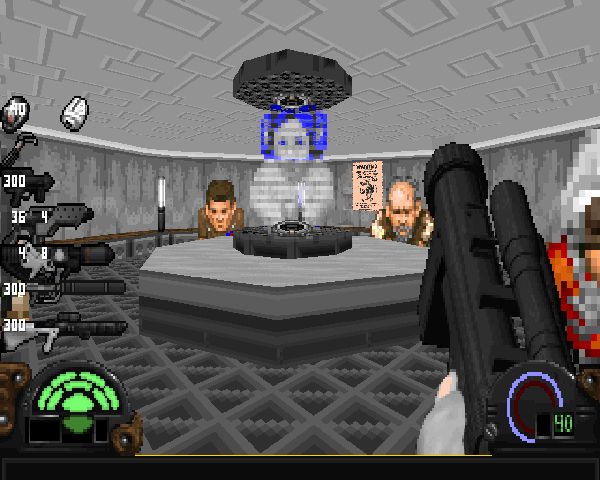
Jaiyl has quite an arsenal at her disposal. Her cutter can booby-trap machinery (including droids) and can do plenty of damage when fully charged. The blaster pistols are decent, but my go-to weapon was the blaster rifle. Don't leave home without it, except for that first time when you don't have one. The flash cannon is the SSG of CR, great for skirmishing with tough opponents. The repeater is more suited to taking down the ATs, otherwise impractical vs. packs of enemies that are easily handled with the combat rifle. The Dawnsorrow is indispensable for taking out most enemies at long range. Together, LilWhiteMouse excels at establishing a niche for every weapon you'll be using, including the thermal detonator, which is often unwieldy but potent once you get the hang of throwing it.
CR has shops and two main forms of currency. There's a whole host of disposable items available via credits, which either drop direct from humanoids or can be earned by selling junk dropped and found. Most of your upgrades, however, come from Holocrons, which you use to build “ultimate” versions of several weapons, upgrade technology for preexisting equipment, and some otherwise unavailable armaments (most notably the sniper rifle). All of the cool one-time credit purchases are available as rewards (or secrets) later on, though the utility belt is probably worth an early purchase.
The difficulty in Chibi Rebellion's combat comes from two sources. The first is simply being outgunned, which quickly fades away as you play further into the game. A few early maps may prove pretty difficult, though, especially if you're just getting used to the gameplay. The second is Jaiyl's frailty and speed, both of which may provide challenge for players used to Doomguy's lightning speed and proliferation of health and armor pickups. CR doesn't leave them laying around for you to walk over; you'll have to buy your resources. Or, just do what I did, and raid cubbyholes in bases / smash all the boxes. Eventually you'll get used to Jaiyl's physical attributes and stop soaking up damage like a pile of bantha poodoo. It's really not that hard.

What I find most endearing in Chibi Rebellion are the little things, like its ubiquitous cheeriness, the unique elements of each scenario, and the jokes and references you can find everywhere, like in the Chibi Death Star. A lot of the physical comedy that plays out in the animations is just as important, be it the bouncing helmets (or other), the flying rebel troopers plucked from their tauntauns, or the speeder bikes gone wild. You'll also find encounters while trudging back through scenario branches, where some thought has gone into setting them up, like one point where I returned to see jawas salvaging an AT-AT I'd previously dispatched. A lot of care has gone in to making this Rebellion as Chibi as possible, and I appreciate that. There's also the final map, a great level where access can only be secured by filling out the Chibi Base hangar, which are found randomly in secrets in the maps.
Like some of the other works released in 2011, Chibi Rebellion isn't much like Doom, carrying very niche appeal. The actual action of the maps can get samey at times when not broken up by gags and puzzles and the limited palette of environments can wear thin if you're marathoning the whole shebang. It's a phenomenal game, though. I would recommend CR to anyone looking for a new experience using the ZDoom engine that doesn't mind the lighter side of gaming. I'd say it's a must for Star Wars fans. Also, it's 100% Jar-Jar free! What more could you ask for? Well, I'd like to see more maps to flesh out the final few episodes, but wouldn't we all. Download Chibi Rebellion today and may the Schwartz be with you.
NOTE: Chibi Rebellion has a ton of short maps. I'll still be reviewing them all with screenshots, but I've opted to organize them by category as LilWhiteMouse has and initially hide the sections to facilitate easier browsing.

STAR WARS:
CHIBI REBELLION
by "LilWhiteMouse"
BEGINNING MAPS
| Home | MAP05 |
|---|
| Small map with Jaiyl's house. It's got some handy starting supplies, like the grenade belt and the personal shield generator. The different versions of her home don't vary much, but they're a nice way to get the player's feet wet. | 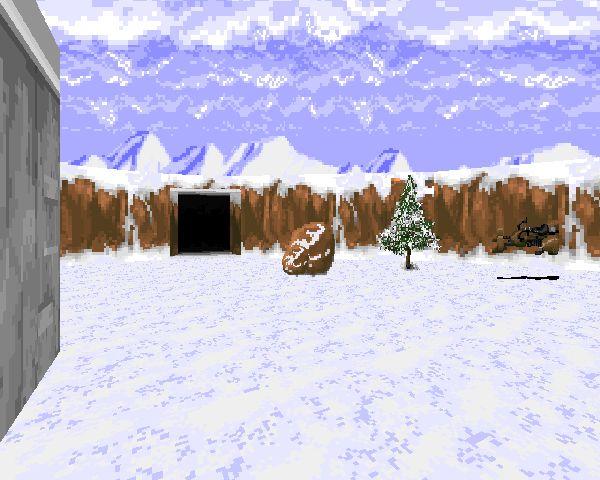 |
| MAP06 | Home |
|---|
 | Mostly the same as MAP05, but there's no (official) secret. |
| Home | MAP07 |
|---|
| Biggest difference is a large blue crate outside which has some extra pistol ammo. | 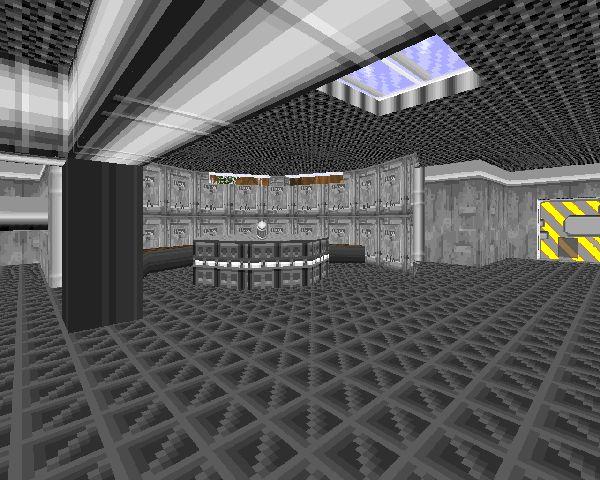 |
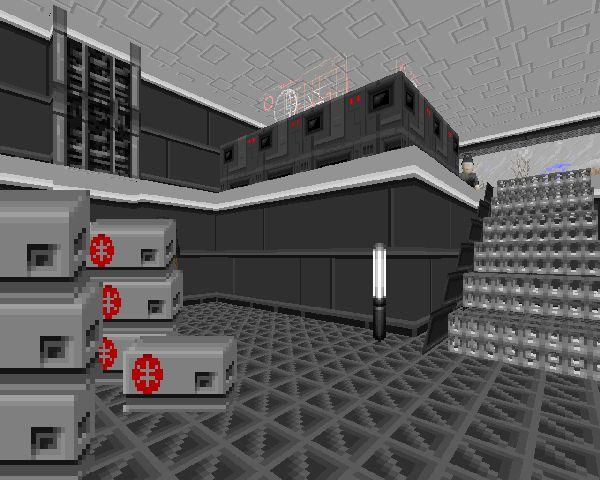
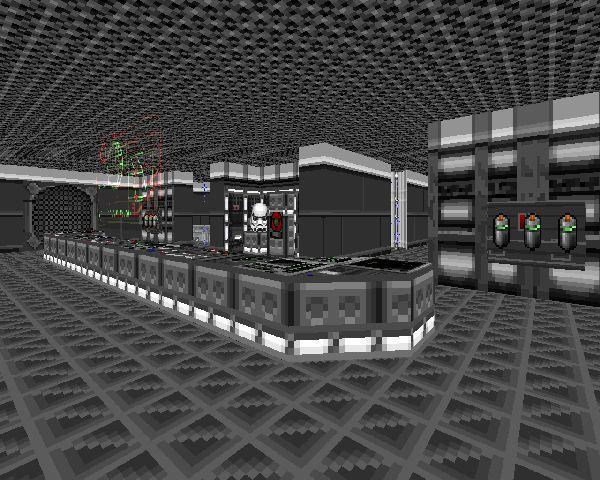
| MAP08 | Detention Center |
|---|
 | This is a tough little map that references (of course) the Death Star Detention Block. You start out with all your gear missing. After you bust out of your cell you have to dodge fire from the invincible central guard while ducking in between alcoves, trying to find a way to take care of her. It's an intense little map. |
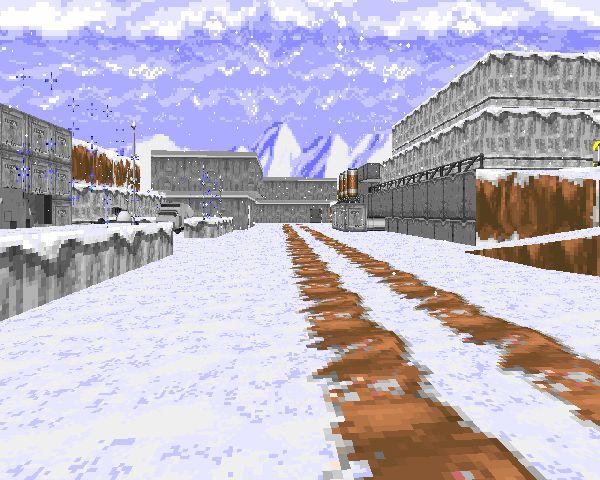
| Cantina | MAP09 |
|---|
| Opens up with an amusing reference to one of the most hotly contested issues in Star Wars and then turns into a bar fight, spilling out into a small locale that feels appropriately like Mos Eisley on ice. | 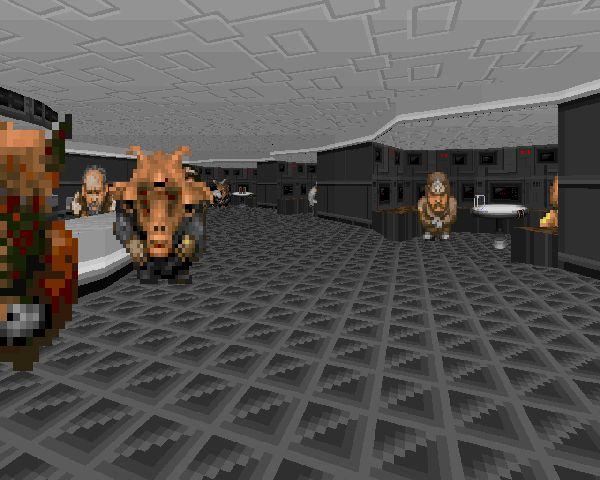 |
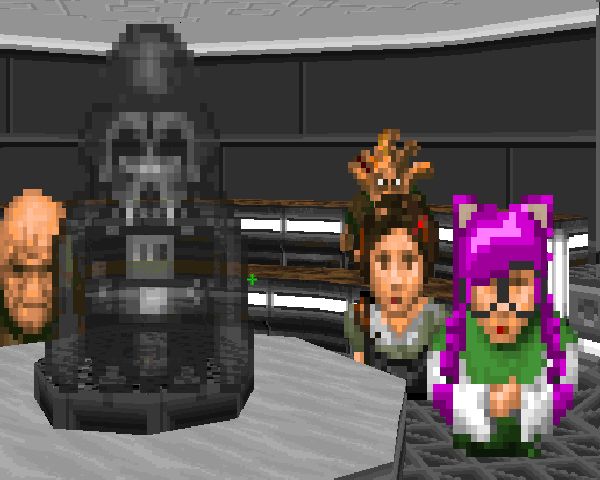
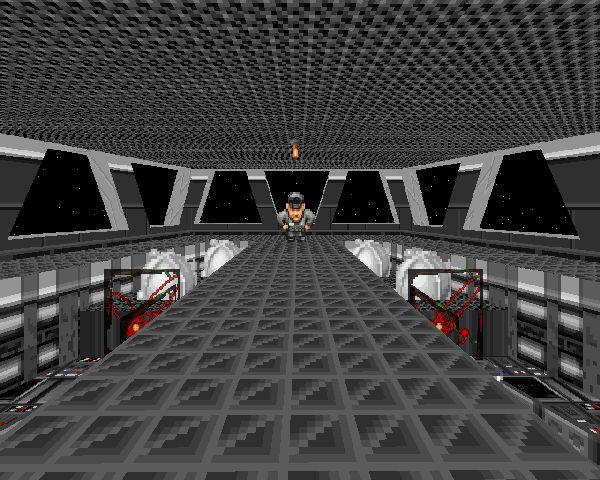
| MAP12 | Leia |
|---|
 | Reference to the award ceremony from A New Hope, except you get a shield regenerator instead of a medal. Try not to get creeped out by the staring crowds of Rebels. Haven't they seen a redhead before? |
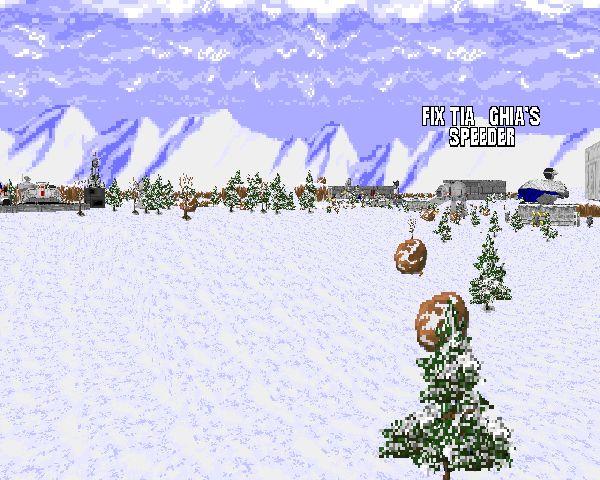
| Rebel Defense Point | MAP14 |
|---|
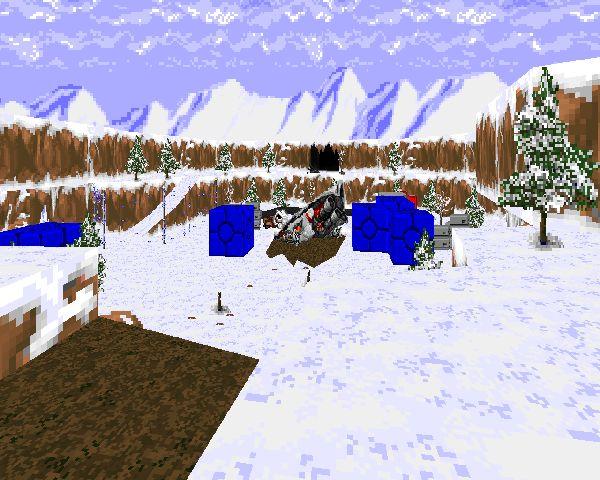
| Some guys are having trouble with their speeder bike, but when you go to check it out, you have to face several waves of Imperial soldiers before it's safe enough to repair the system. The first time I played this, it seemed to go on forever. The second didn't feel nearly as bad. | 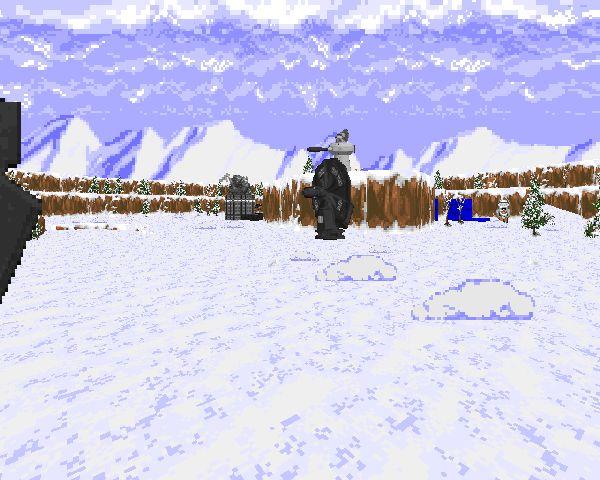 |
| MAP16 | Bike Rescue |
|---|
 | There isn't a whole lot of context given for this mission, so I'm guessing that Jaiyl's speeder bike was stolen by scum, and she's elected to set it free. Basically a hunt for power generators with a few roughnecks showing up to hassle you. |
SPECIAL MAPS
| Giant Wampa | MAP10 |
|---|
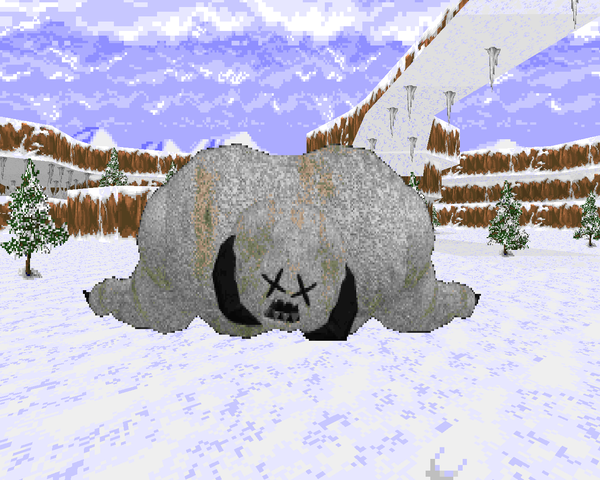
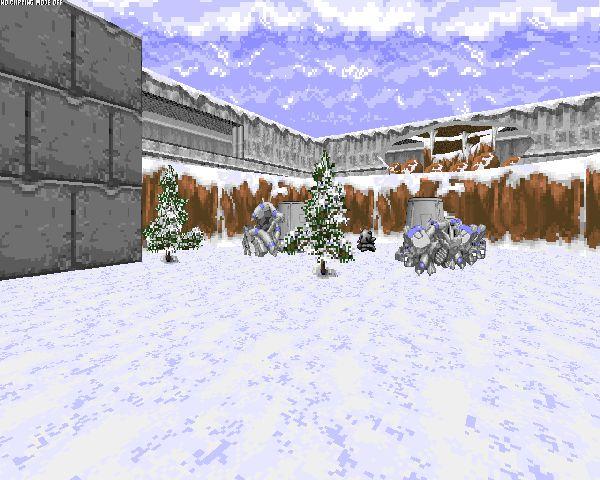
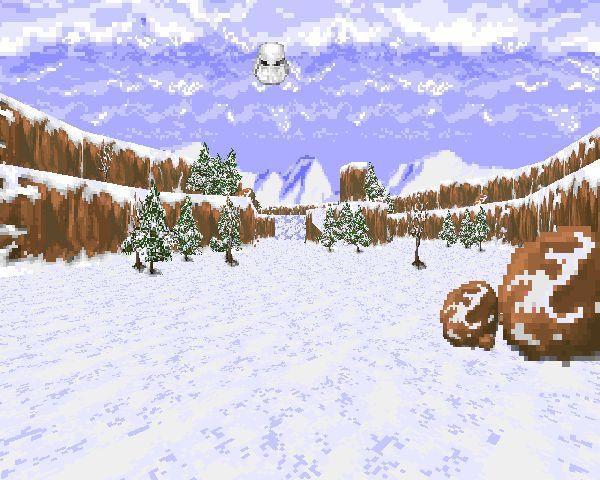
| Accessible in the back of the base via the Wampa Bonus, this pits you against a giant wampa in a cavernous outdoor area. The wampa has some friends but his only attack involves grabbing rebels off their tauntauns and throwing them at you. You'll need to shoot down giant icicles to kill him, which can be easy or hard depending on where he decides to wander. Your reward, if you choose to accept it, is a bacta tank. | 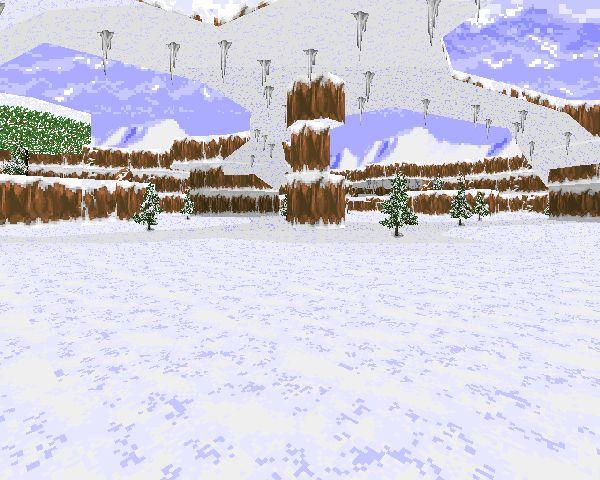 |
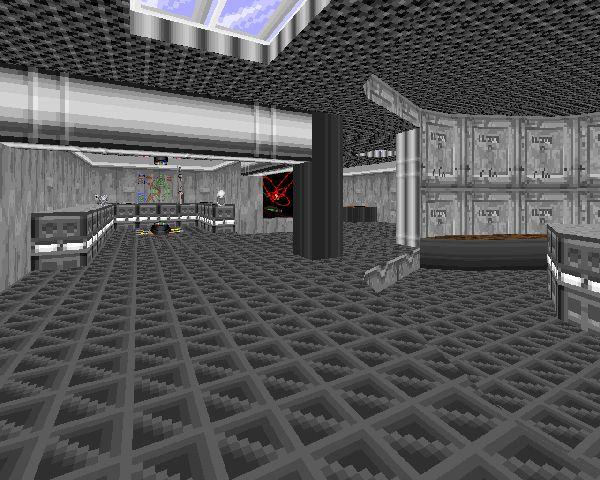
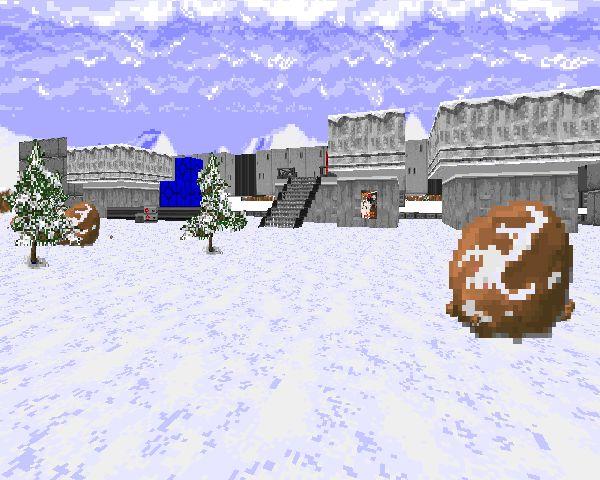
| MAP11 | Chibi Base |
|---|
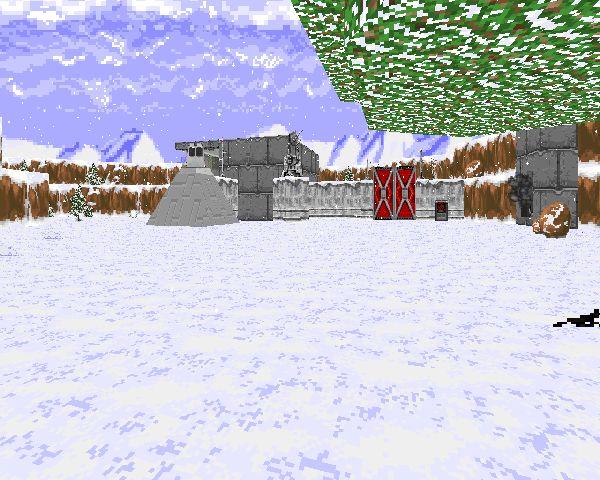
 | A small version of the Rebel Base on Hoth, down to the huge doors and shield generator. The hangar looks empty at first, but you'll fill it up with ZDoom cameos. Handy features include a medical droid (very good!) and a shield recharger (sadly limited). There's also a shop with an assembly table. I actually think that Leia just shrieks missions at the first person to walk into the command room. |
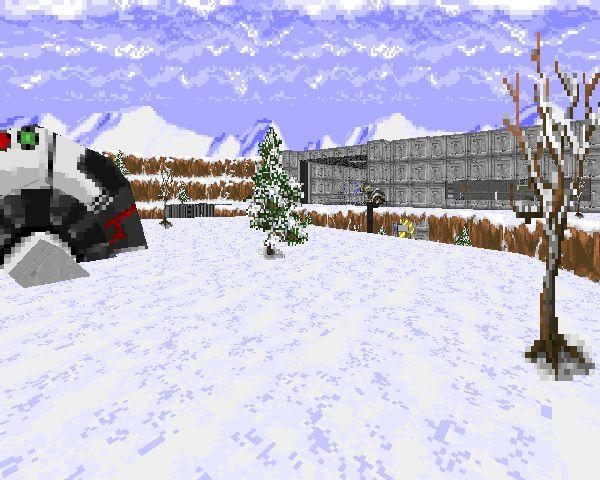
| Black Market Jawa | MAP15 |
|---|
| Only available with the Jawa bonus, I believe. The black market jawa sits outside the snowcrawler and peddles otherwise unavailable items for credits. Most of this you can just find elsewhere, but it's nice to have the option to buy it direct (including Holocrons for the impatient). Even if you don't need this stuff, make sure you visit to bust open any crates. | 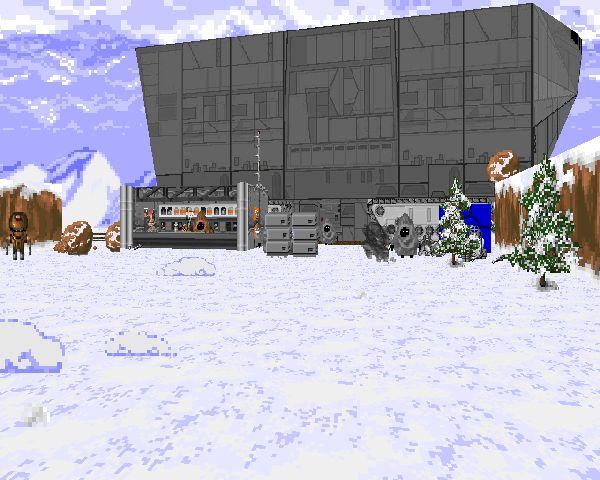 |
FIRST BRANCH MAPS
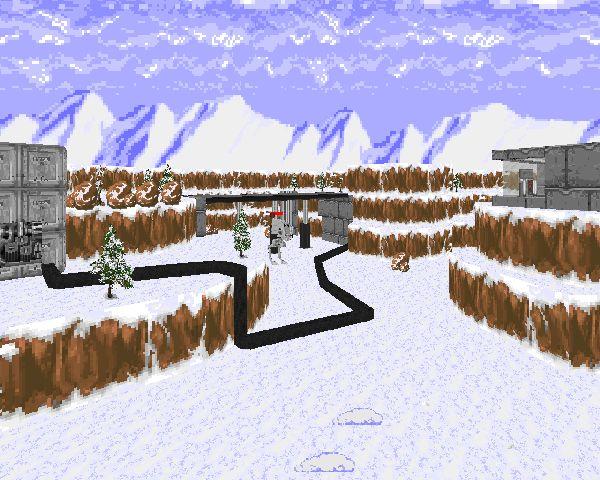
| MAP20 | Forest Canyon |
|---|
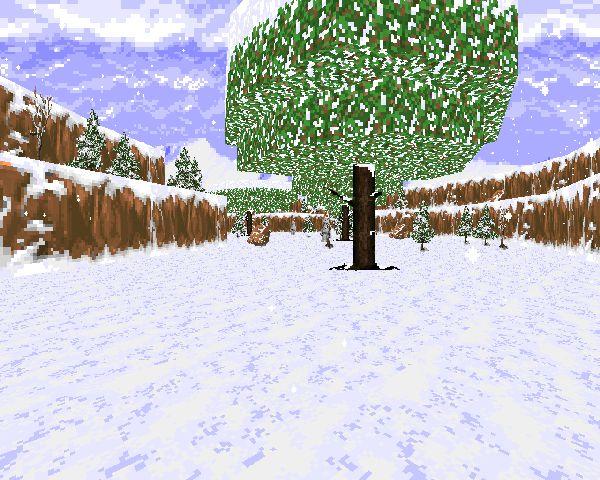 | Pretty straightforward map; it's a canyon filled with trees that forks in two directions to the north. |
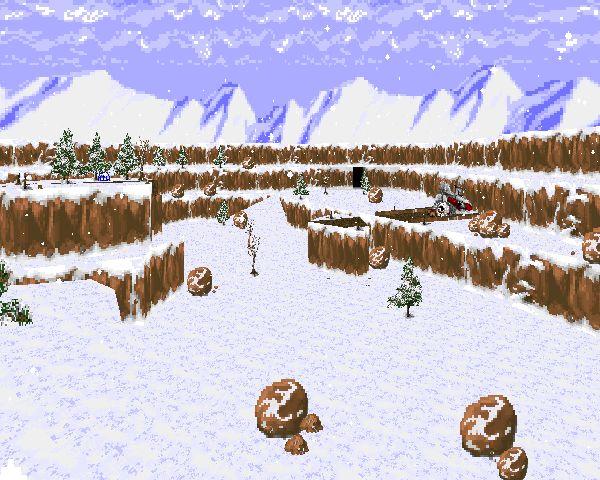
| Wampa Crater | MAP21 |
|---|
| Pretty complex layout that kind of confused me at first with several caves and tiers to explore. The wampas are tough, but there are plenty of grenades lying around if you lack the ammo. And if you run out, bust out the fusion cutter! | 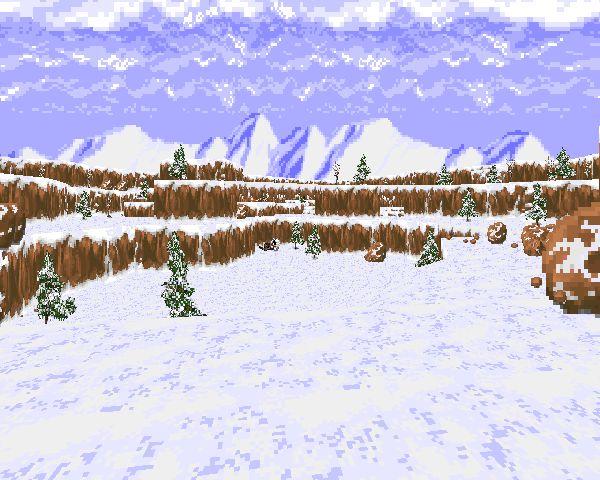 |
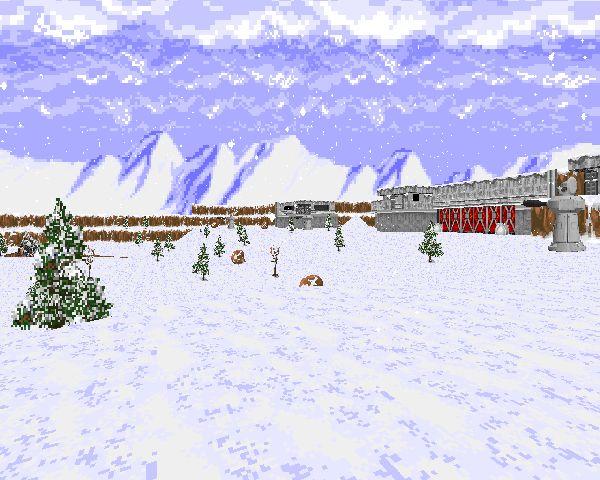
| MAP22 | Snow Jawa Crawler |
|---|
 | Dominated by one of those snow crawlers. One of the exits must be reached by entering the crawler itself and raising a lift on the opposite side. The crawler interior is tight but works pretty well. |
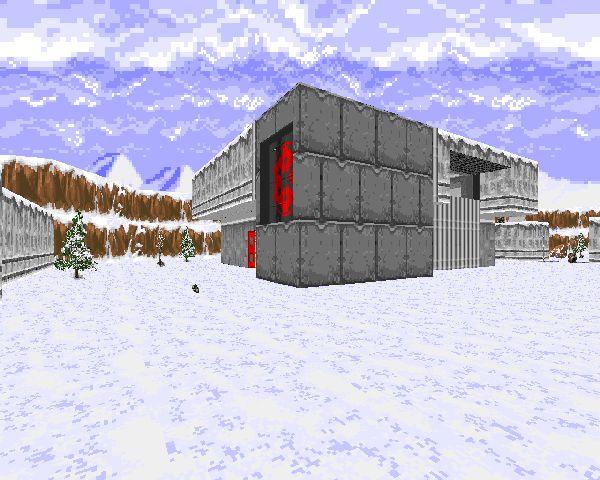
| Outpost | MAP23 |
|---|
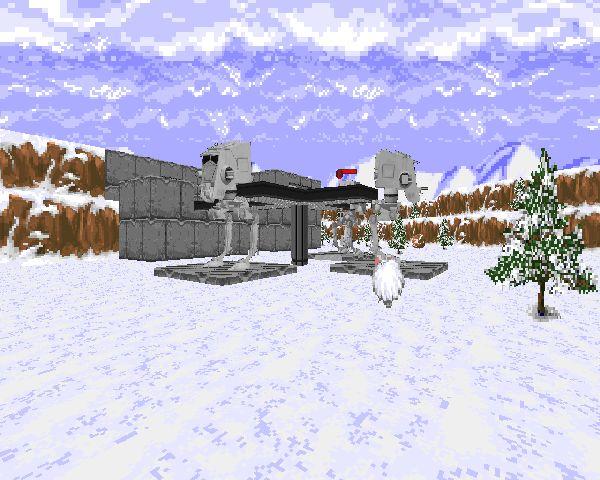
| Just a small Imperial outpost guarded by forcefields and housing an AT-ST dock. Getting past the outer wall requires about a second of lateral thinking, after which it's standard room clearing. | 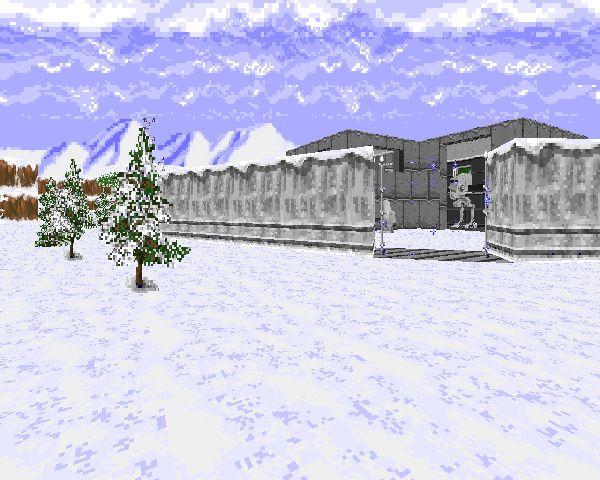 |
| MAP24 | TIE Refueling Pad |
|---|
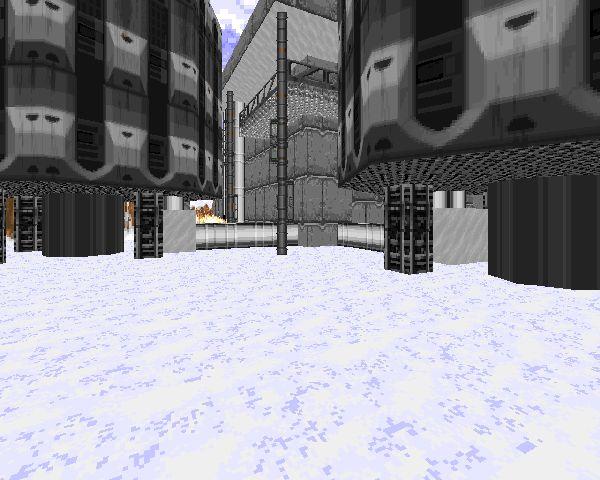
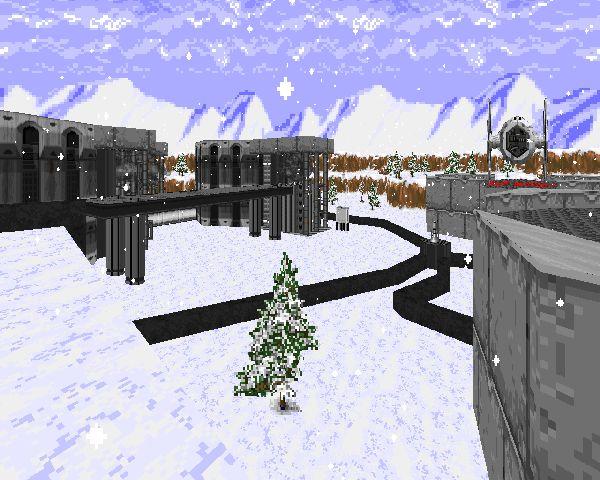 | Some very large fuel tanks and a couple of landing pads for the TIE fighters. The highlight is the fuel puzzle, which must be solved in order to access the upper tier. You use the first screen to dictate which tank fuel is coming from and use the second to determine where the fuel is going to. Each tank has a different fuel capacity, and all must be below safety levels before you can proceed. |
| Spaceport | MAP25 |
|---|
| Cameos here from Han and Chewie in a map that evokes the largest deleted scene from A New Hope. It's a pretty dense map as you have to clear the area of scum, then board the Falcon for repairs after securing replacement parts. Be careful when you're done as Han takes off when you exit (the secret is inside the ship!). | 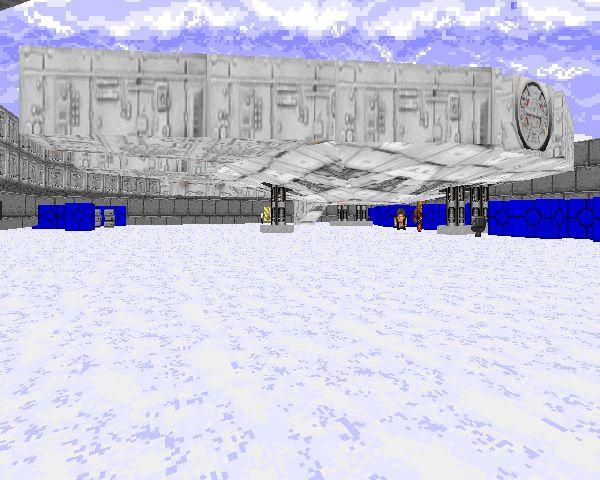 |
| MAP26 | TIE Maintenance Hanger |
|---|
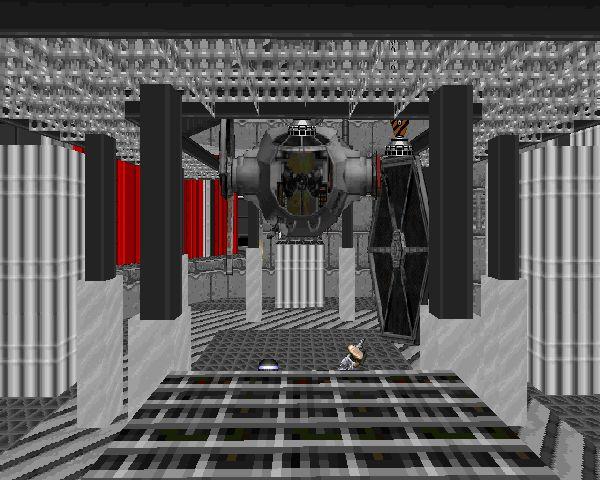 | This level's highlight is the multi-tiered hanger in the map's center which has an elevatory platform (and a cool TIE fighter in disrepair, staged with multiple sprites, each with its own rotation angles). As such, the main challenge is the rudimentary elevator puzzle, which may trip people up if they jump to the bottom at any point. One big snag – if you hit the canyon exit before opening the hangar doors, you'll be stuck when you return. |
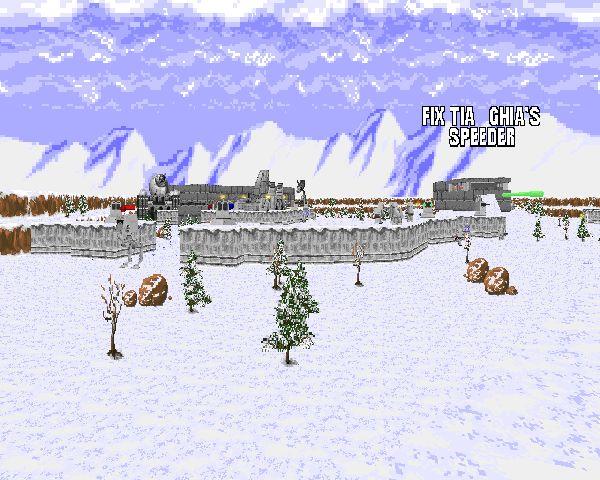
| Impound | MAP27 |
|---|
| This is a fairly large map featuring an Imperial base with several impounded vehicles as well as a detention center. The main story concerns a set of Rebel twins, Tia and Ghia, who need your help to bust out of the prison, culminating in a hanger fight with an AT-ST. |  |
| MAP28 | Scumm Town |
|---|
 | Another dense level. It's a city type like the Cantina, but with more points of interest, including a used speeder dealership, a bar, and a repair shop. The main puzzle is a series of short quests that lead up to the elimination of a recent cave-in. Very cool (and humorous) outing. |
FIRST LINK MAPS
| Supply Depot | MAP30 |
|---|
| Large map that's mostly an Imperial warehouse. Nothing special but ends in a fight with the Imperial loader, one of the specially-scripted boss battles. The loader is impervious to all weapons fire...but those crates it chucks at you aren't. The battle area is nice and clear; my first actual encounter with the loader wasn't nearly as straightforward. Still, it's a neat fight. | 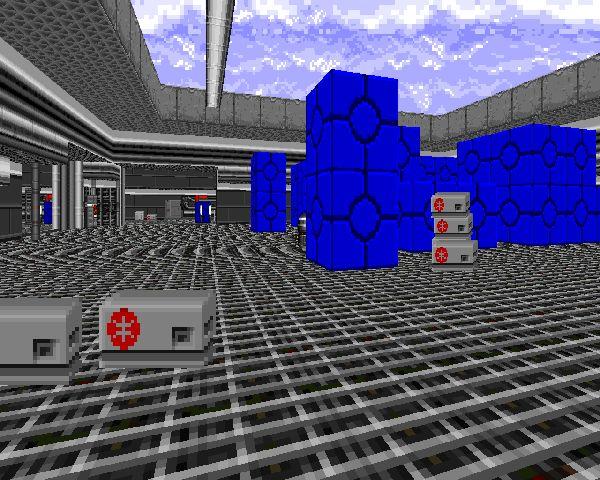 |
| MAP31 | Outpost |
|---|
 | Another fairly unremarkable Imperial outpost. There are a ton of goodies laying around, though, including a freebie utility belt squirreled away in a secret. Also the location of one of a few Imperial dealers. |
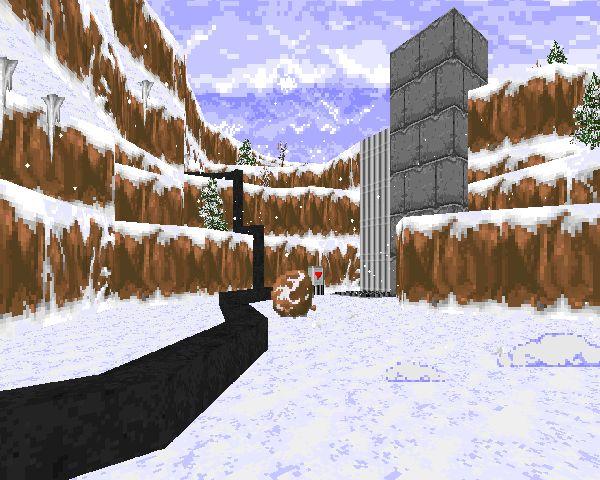
| Defense Turret | MAP32 |
|---|
| This is a long canyon walk that ends at an Imperial barricade, fronted with two defense turrets. The inclusion of the speeder wreck gives it a very organic quality. |  |
| MAP33 | A-Wing Crash |
|---|
 | Short canyon map whose sole defining feature is a wrecked A-Wing, though the construction of the area and the ravine that crosses it is pretty nice. |
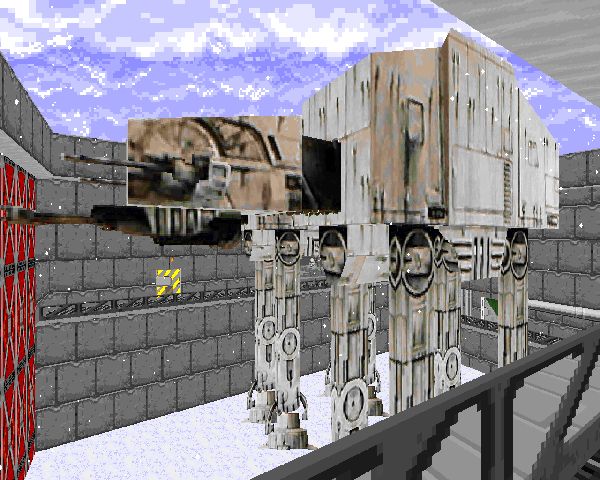
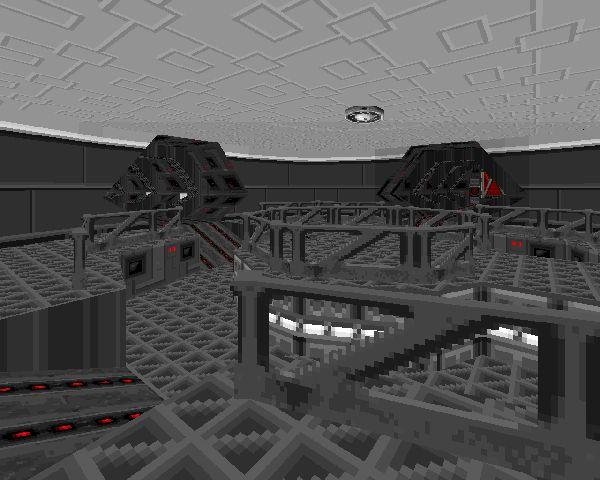
| AT-AT Hanger | MAP34 |
|---|
| Another imperial stronghold with some neat features like what appears to be some kind of ready room and most importantly two huge AT-ATs constructed with map geometry. The effect is pretty neat, though careful observers will note the software renderer's limitation around the cockpits. Still, a really cool effect. | 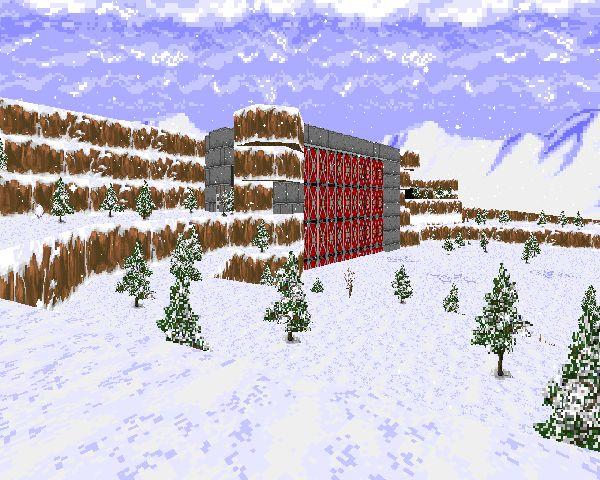 |
| MAP35 | Base Ruins |
|---|
 | A desiccated Rebel base flush with mynocks. There's also a really spooky cave you'll have to visit in order to return to the preceding branch segment. The instrument of its fate is never really explained within this map but if it's anything like one of the final scenarios, you can assume a similar reason given the similar circumstances. |
| Dark Cave | MAP36 |
|---|
| This map's main feature is a pitch black cave that can only be navigated by obtaining a glow rod from elsewhere in the level. Investigating the cave is a unique experience as the sectors light up in neon green as you proceed. There's a dangerous bit near the end; hopefully you're savvy enough to avoid death (or at least entrapment with no chance of escape). Very unique. | 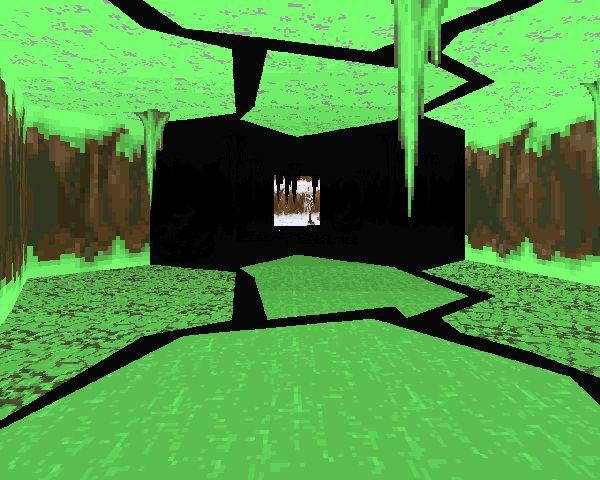 |
| MAP37 | Tiabana Gas Refinery |
|---|
 | Another short depot-style level, this one built around a gas refinery. The exit is blocked by purging flames; you'll need to infiltrate the compound, doing combat with a fairly harmless burning column, before you can make the exit more accessible. |
| TIE Munitions Dump | MAP38 |
|---|
| Very short factory-style level. Most of the action revolves around the main chamber and an Imperial Loader. It's a tricky fight given how cramped the area is but it's strictly optional. | 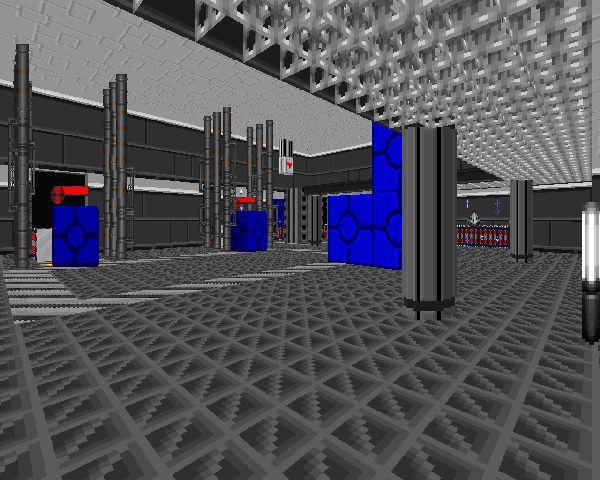 |
BLUE KEY MAPS
| MAP40 | Comm Station |
|---|
 | Standard Imperial outpost, except there's an exposed power core for some eye candy and a cute switch puzzle guarding the blue key. You can either brute force it or look elsewhere for the solution. Nice layout. |
| Ion Cannon Control Station | MAP41 |
|---|
| This more unique scenario occurs in a Rebel facility attached to an Ion Cannon. On entering the map, you're alerted that Imperial Troops have entered the base. You'll have to wipe out the aggressors before the survivors allow you in to the protected area. | 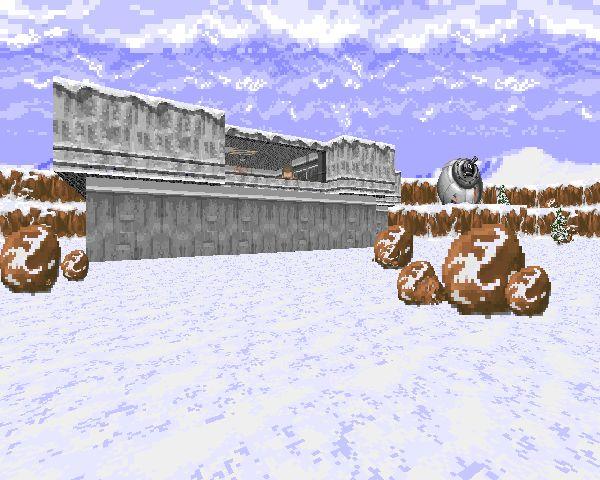 |
| MAP42 | TIE Fighter Hanger |
|---|
 | This is a "shuttle" map, where part of the level takes place in a different area accessed by an Imperial shuttle. The Hanger has a pretty cool layout and the bay door is cool to watch open. The shuttle takes you to a tiny orbital outpost with some neat elevators and details like TIE fighters zooming around in the background. |
| Space Bar | MAP43 |
|---|
| Well, not really in space, but I assume when your mode of travel is interstellar, pretty much everything exists "in space". It's got a nice design that reminds me of Space Quest III's Monolith Burger with the docking areas and a small standing bar. The goal, bringing down the shield surrounding the Imperial shuttle, is quite simple. | 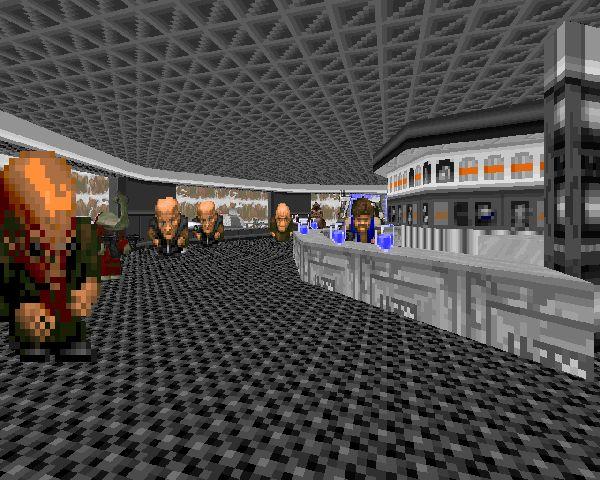 |
| MAP44 | Smuggler Outpost |
|---|
 | Large, fairly involved map chock full of scum. The wrinkle is that the front door is locked by the blue key...which is inside the base! You'll have to break in by bringing down the hanger doors, which may involve some snooping around. |
| Armory | MAP45 |
|---|
| This is a heavily-defended Imperial outpost whose major feature is, you guessed it, an armory loaded with tons of goodies. It's not strictly that difficult to get into but the turrets at the gate make it one of the better-guarded outposts in the game. | 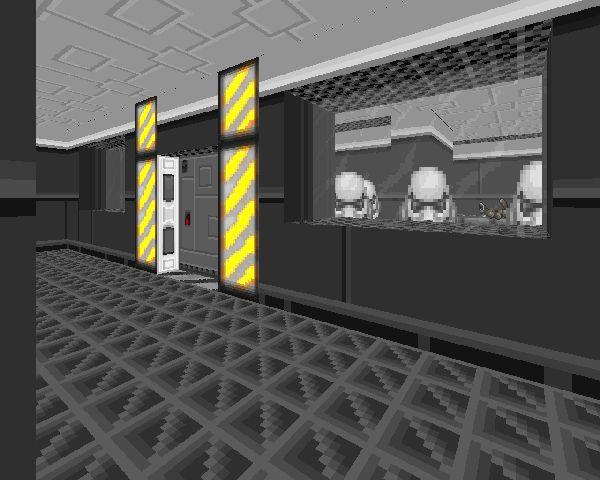 |
| MAP46 | Jawa Shamaness |
|---|
 | This is another map featuring the crawler, but it's functionally just a giant obstacle to control map movement. The true highlight is a fight with the spunky force-sensitive jawa in the outer debris yard. Taking her down is a bit more straightforward when she's actually toting a health bar. Otherwise, you might wonder if you're actually having any effect. |
| TIE Command Center | MAP47 |
|---|
| Small Imperial base with a nice symmetric layout for landing pads. Those TIE bombers that keep buzzing you have to come from somewhere, I guess. The big feature is a really simple weight-based puzzle. Even if you're incapable of ruling out potential wrong answers via name, you should be able to brute force it. If not, I don't know what to say. Except, you're dumb. | 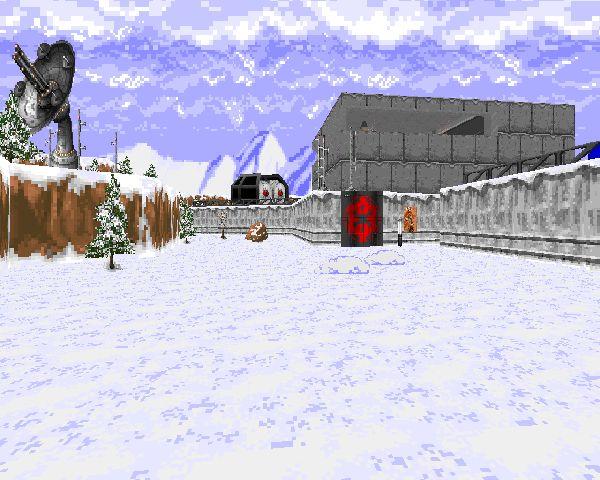 |
| MAP48 | Gas Research Lab |
|---|
 | This is a pretty tricky outing. First things first, you have to contend with the central chamber, which is puzzlingly choked with gas through an interlock system. You'll have to find the exit switch quick and grab the gas mask in the next room, which allows you to safely tackle the boss fight. It's the gas-burning column from MAP37, except you have nowhere to run, so you'll have to be careful trying to destroy it, especially if you're using grenades. |
SECOND BRANCH MAPS
| Checkpoint | MAP50 |
|---|
| Yet another Imperial outpost in the Nothoth wilderness. The only real surprise is an AT-ST in the courtyard. Though I do like how out of the way the secret is. | 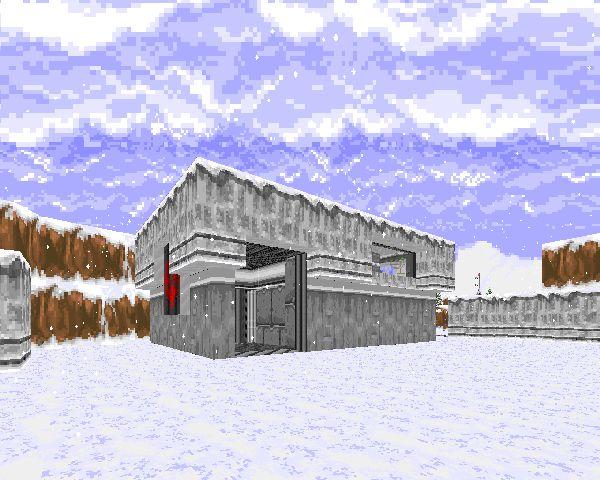 |
| MAP51 | TIE Crash Site |
|---|
 | The Imperial analogue to the A-Wing crash. It's got a similar layout, except here, the central butte is integral to navigating the points of egress. You start out fairly exposed but it's easy to find adequate cover. |
| Snow Speeder Hanger | MAP52 |
|---|
| Same idea as MAP41, with Imperials attacking a Rebel base, except this time it's a hanger. This is a nice breather map after the fighting as there's a med droid and shield node in the building proper. You also get a nice look at all the Rebels in hiding you saved. | 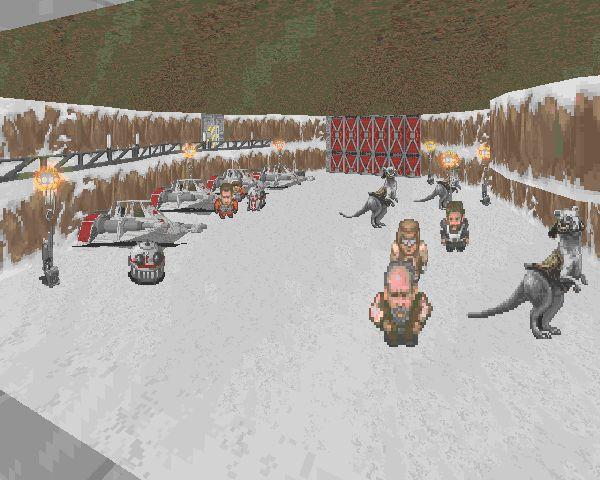 |
| MAP53 | TIE Interceptor Hanger |
|---|
 | This is a large, forked canyon with an Imperial hanger built into the mountainside. Pretty rudimentary, but I like the look of the runway, and Nothoth's wilderness is always appreciated. |
| Ice Pack | MAP54 |
|---|
| Now here's a neat concept. It's a frozen lake or something, so most of the ground is low friction ice, except a few snowy islands which are invaluable when fighting the Taun-Tauns. One of the exits can be reached off the bat. The other requires a trudge through a mynock infested cave in order to find some ice cleats, which will let you walk up the icy slope that leads to the other way out. | 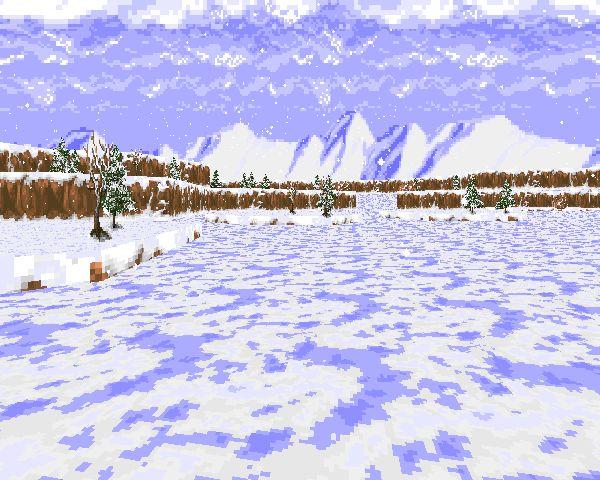 |
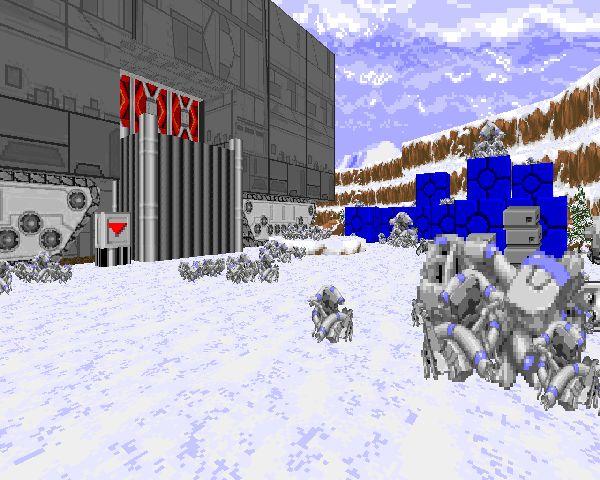
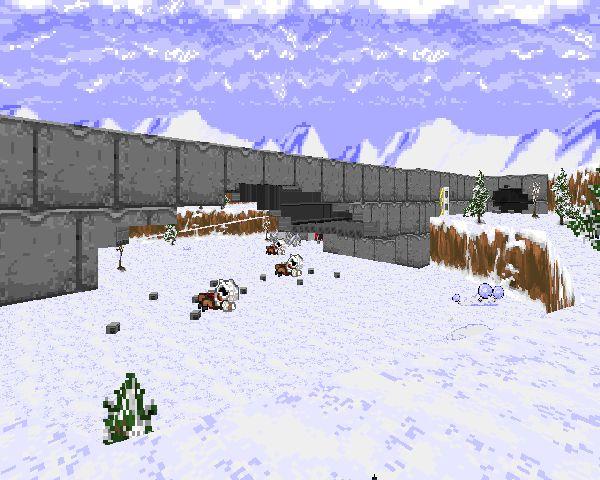
| MAP55 | Battlefield |
|---|
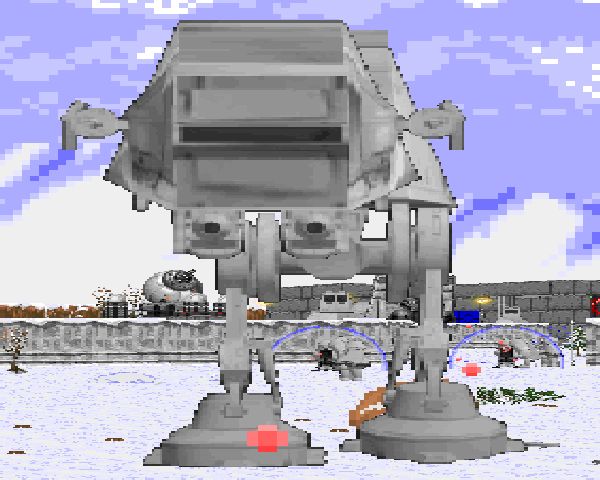
 | This is a full on war between a Rebel base and an AT-ST, AT-AT, and bunch of Imperial troops. They'll keep pouring in until you dispatch the big guns. Thankfully, there's a shield recharger near the compound in case you soak up too much damage. Pretty cool fight. |
| Taun-Taun Pen | MAP56 |
|---|
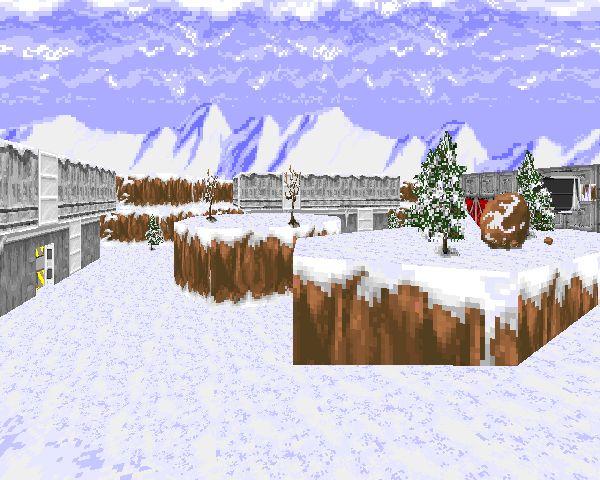
| Another rocky wilderness map that requires you to clear some Imperials before the main event. It might be a bit of a pain unless you're packing the Dawnsorrow, what with the guys on top of the buttes. Afterward you have to use Taun-Tauns in the pen to jump to the map's two exits, requiring some ledge leaping. Taun-Tauns can't jump that much higher than Jaiyl, but they can get on top of those boulders, which is enough. | 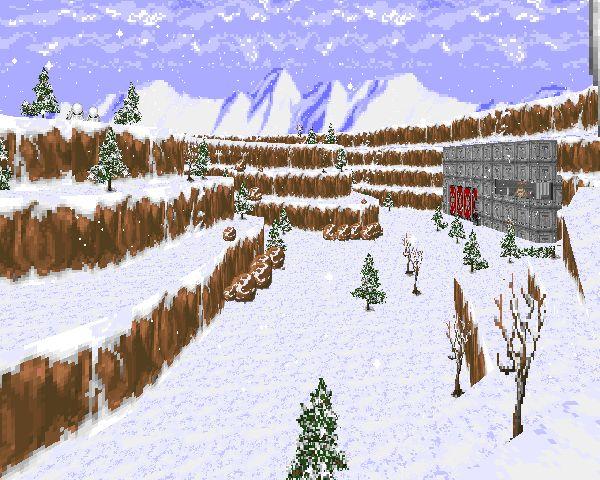 |
| MAP57 | Cargo Train |
|---|
 | This map consists of the train itself and three separate stations. After you clear the beginning area you can board the train and enable the ability to stop at the other two via an uncomplicated switch scheme. I liked the train effect, a nice refreshing graphical feature. |
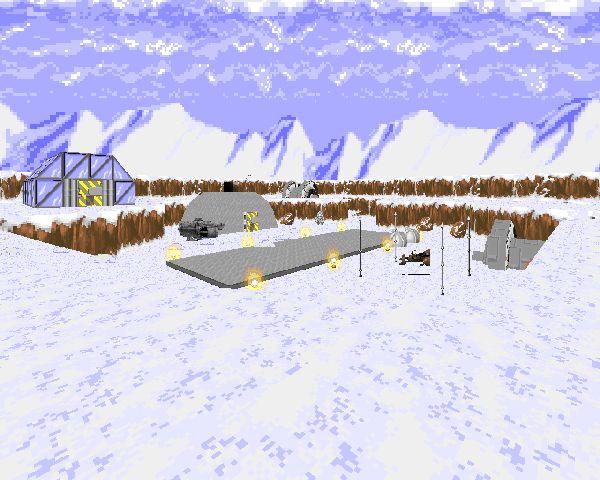
| Hydroponics | MAP58 |
|---|
| Fairly standard room clearing in a rarely explored environment, the Hydroponic greenhouses of Nothoth. The main hang-up is in navigation between the four tiers of buildings, made slightly complicated by the switches that control the positioning of the stairs, a neat feature. | 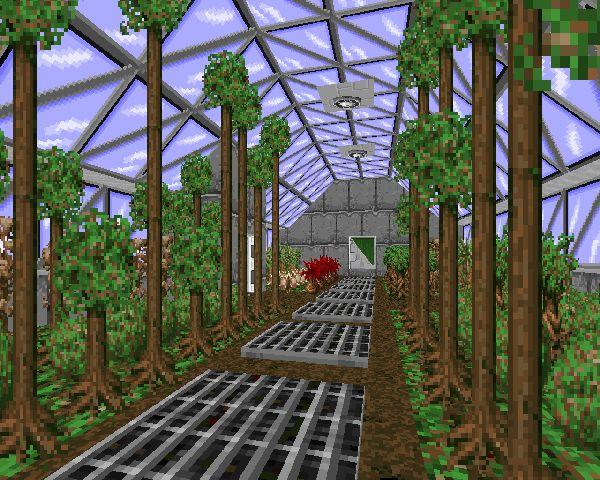 |
BLUE GATE MAPS
| MAP60 | Settlement |
|---|
 | Another town-style map in the vein of Scumm Town or Cantina. You need the keycard to get in; from then on progression is a little weird. You're clearly intended to leap across a series of awnings in order to reach the exit, but the hangar which grants access to the upper tier is initially occupied. I solved this "puzzle" purely by accident my first time playing, not realizing that a triggered event was crucial to the solution. |
| Security Inspection | MAP61 |
|---|
| Just a short bump in the road. This canyon has a small Imperial blockade that's pretty straightforward to circumvent. | 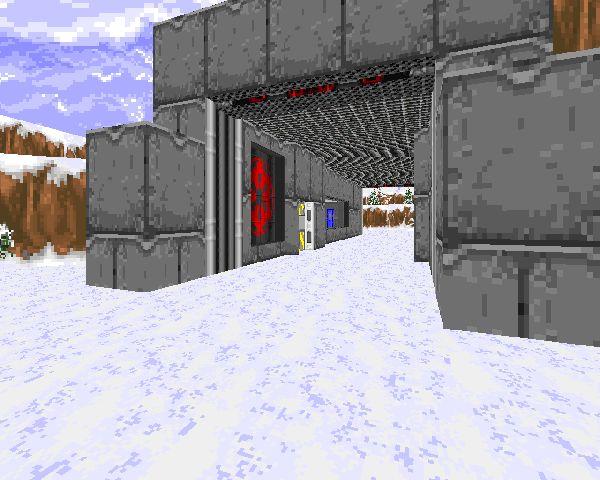 |
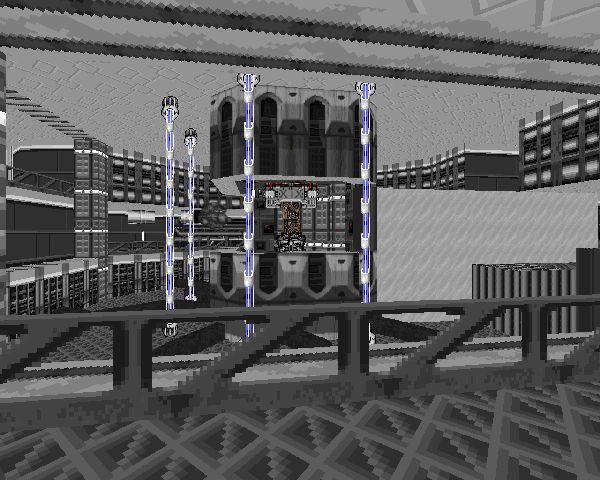
| MAP62 | Pit |
|---|
 | Elevator repair time! You'll get to put your fusion cutter to good use as you gradually restore functionality to the power lift. Very short map. |
| Gate Station | MAP63 |
|---|
| Functionally the same thing as Security Inspection, except it's a bit better guarded. It's also a different map, organically, as MAP61 was built in a tunnel where in 63 the frame surrounding the gate is artificially constructed. | 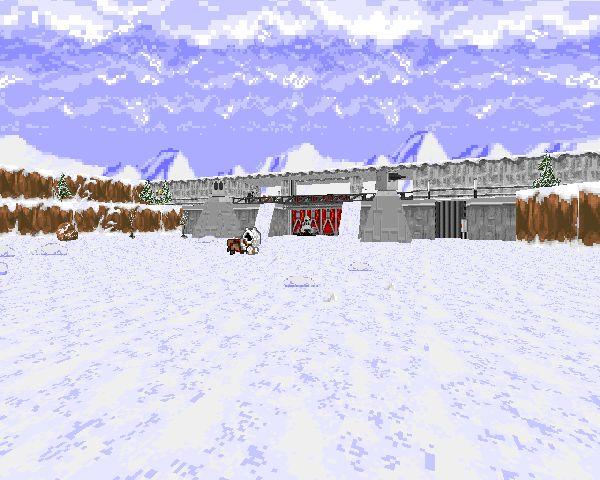 |
| MAP64 | Sentry Turret |
|---|
 | Basically the past three maps combined. There's an open area approach to a moderately-defended Imperial gate that requires repair to the controls before you can take the elevator in the little waystation to the upper tier. |
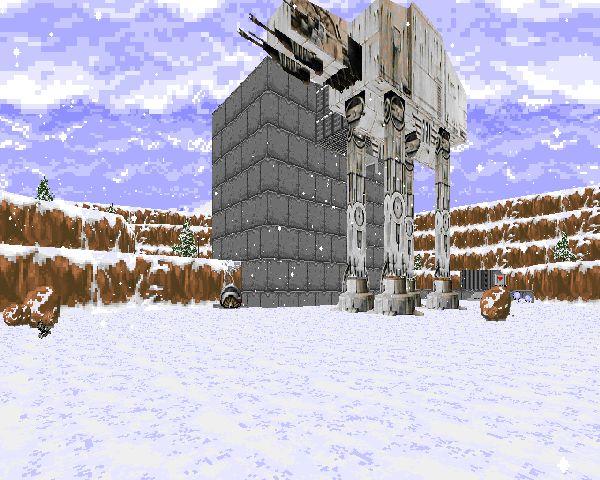
| AT-AT Derelict | MAP65 |
|---|
| This time the gate is the hulking wreck of an AT-AT, sprawled across a vast, shallow Nothoth canyon. It's a pretty cool sight, though the combat isn't that interesting. | 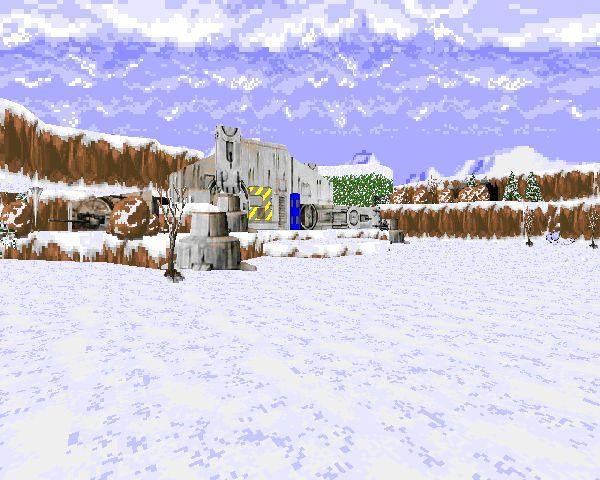 |
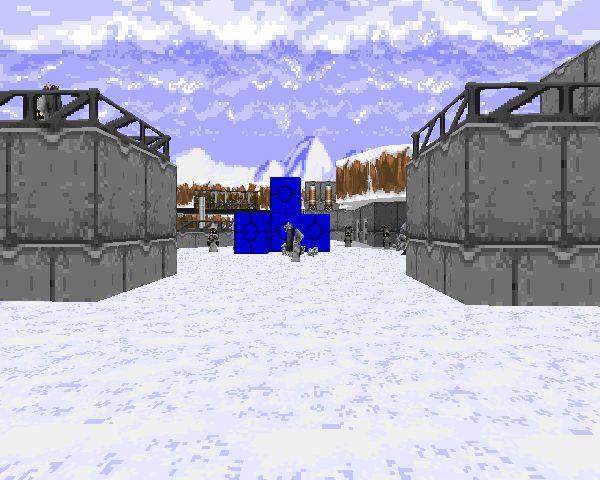
| MAP66 | Smuggler Cache |
|---|
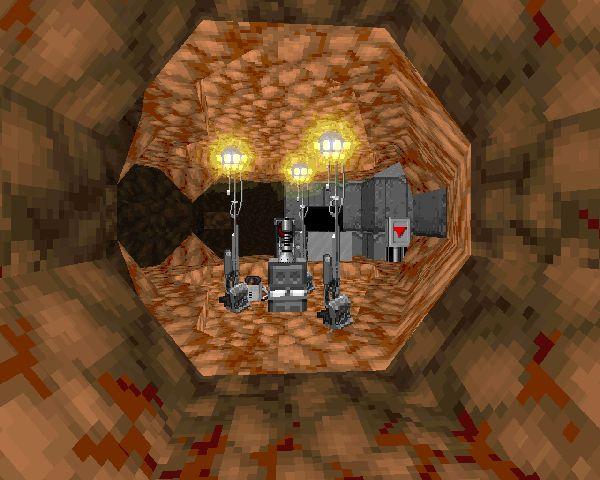
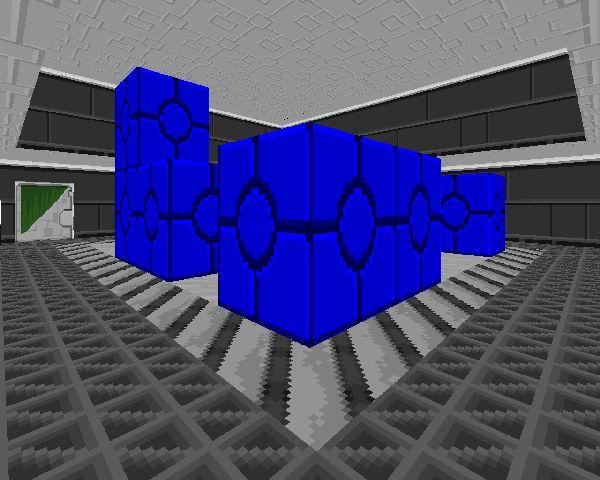 | This is a scum-themed hideout built into a tiny cave. You need to use their elevator to get to the upper level, but the controls on your side are busted, so you'll have to trek through their cache / warehouse and navigate a crate, er, pillar puzzle with some liberal pushing / pulling. |
| Thermal Energy Plant | MAP67 |
|---|
| Well, it's a geothermal energy plant! Both sources of power are offline, though, restricting elevator access. Turning on secondary power activates the big ass fan in the facility's west side (it's pretty cool, check it out before you flip the switch). The powerful updraft lets you check out the facility air ducts, one of which leads to the primary power switch, and thus the exit. Some nice effects in here. | 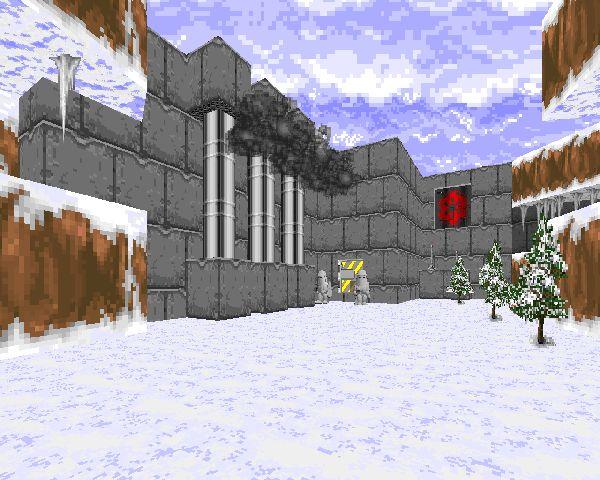 |
| MAP68 | Crystal Mine |
|---|
 | Now here's a unique setting. The exterior is another Imperial base, but there's an elevator leading to some kind of crystal mine. You need to investigate the mine and collect all the crystals in order to deactivate the forcefield guarding the shuttle navigation card, taking you to an unrelated landing site that houses the exit. |
RED KEY MAPS
| Power Sub Station | MAP70 |
|---|
| This is a pretty large Imperial fortification with a few nice puzzles on your way to the red key. The first is a very simple flip puzzle, especially since you're only dealing with a single row of states to reverse. The other is pure timing as you leap through momentarily deactivated forcefields (provided you made sure to mess with their associated conduits!). | 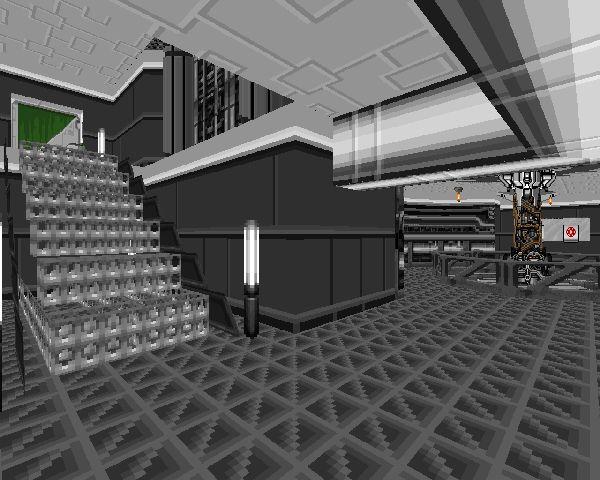 |
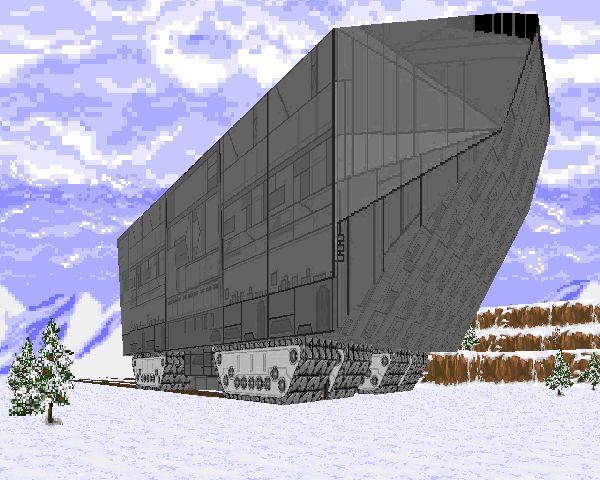
| MAP71 | AT-AT Dock |
|---|
 | A fairly secure AT-AT dock in the middle of nowhere. It's a quick play, with the only wrinkle requiring you to hit the lower level to wreck the generators powering the force field. The AT-AT is an impressive construction and the map's boundaries do a good job of concealing ZDoom's rendering limitations, reinforcing the magic. |
| Data Storage Facility | MAP72 |
|---|
| Basically another medium-size Imperial base. There are a number of constructs that resemble data banks of some kind but the major defining feature is the huge central core, which houses the red key. Getting to it is pretty straightforward. This is also one of the few maps with two secrets, though I guess one of them depends on players being pretty superficial. | 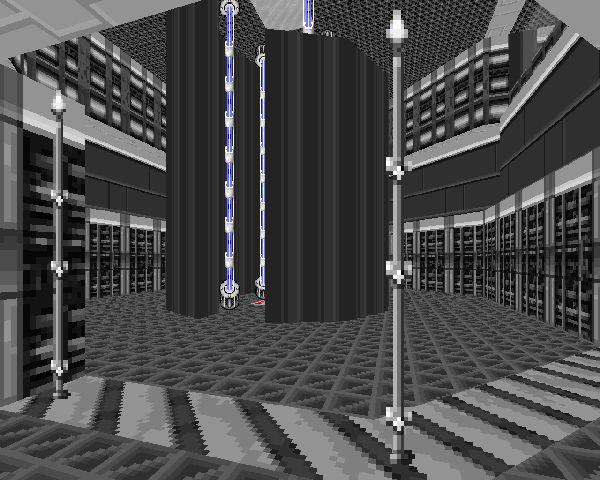 |
| MAP73 | Cargo Transfer Station |
|---|
 | This is a fairly large Imperial warehouse complete with several ships, including a shuttle made out of map geometry. The red key is pretty easy to get to as long as you remember you have the ability to jump. |
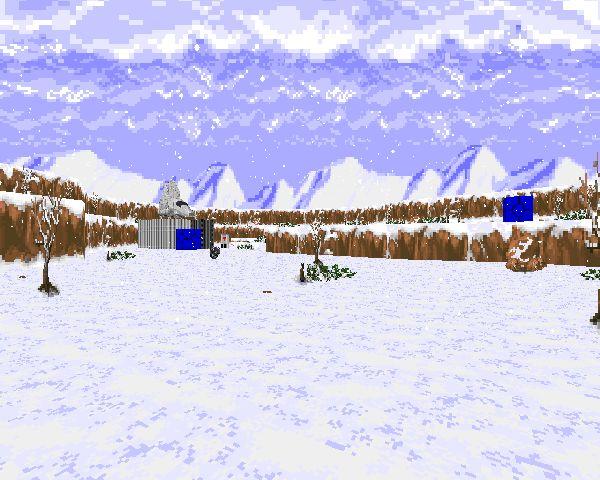
| Smuggler Encampment | MAP74 |
|---|
| This dense map includes a smuggler settlement with several buildings, one of which is explorable, and a traversable snowcrawler. The smugglers are quite entrenched and you may find them sneaking up on you as you hunt for the red key. You may have to fight some reinforcements once you've found it. | 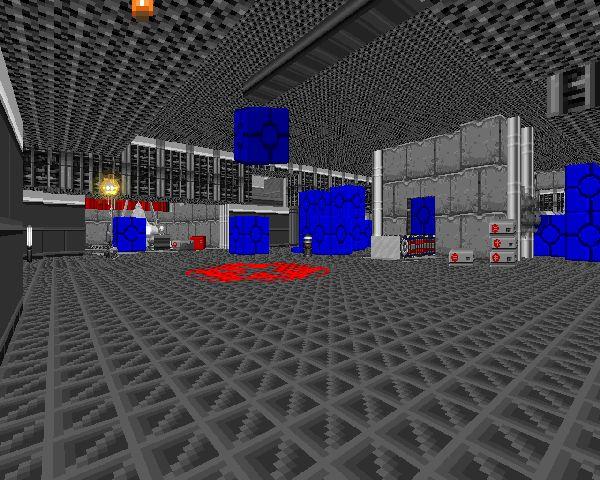 |
| MAP75 | Warehouse |
|---|
 | Another Imperial warehouse, but with a few notable features like the sloped travelway to the east and for encounters an Imperial Loader boss fight. Also, it's got more of those cool red-ringed doors. |
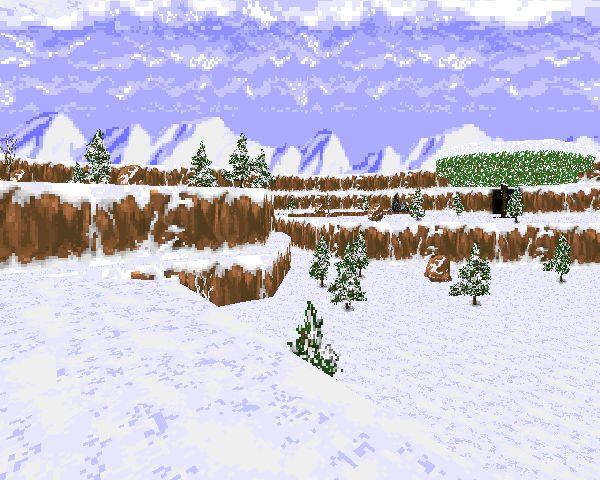
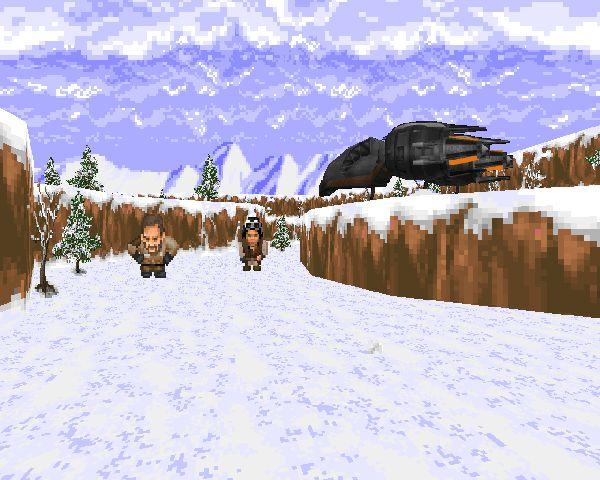
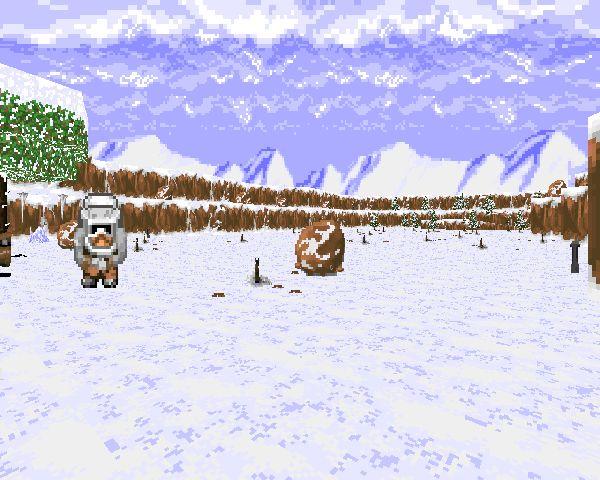
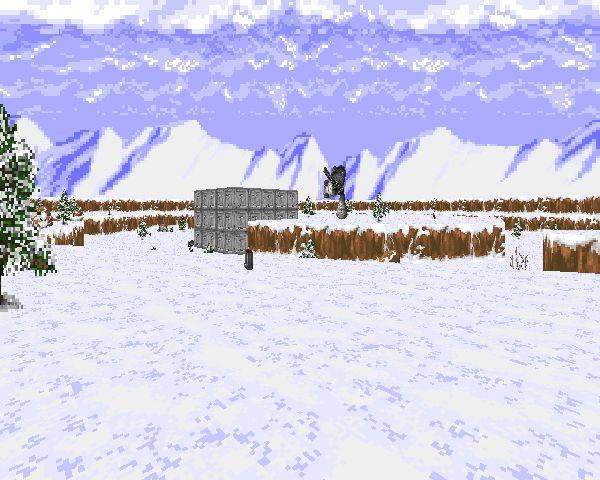
| Blizzard | MAP76 |
|---|
| Very unique outing where you flounder your way to a Rebel outpost where a guy hands you a locator. The item in question displays the location of six sites of interest in relation to your location. In conjunction with the viewfinder, you traverse the snowstorm, taking care to look out for hostiles (and cameos). | 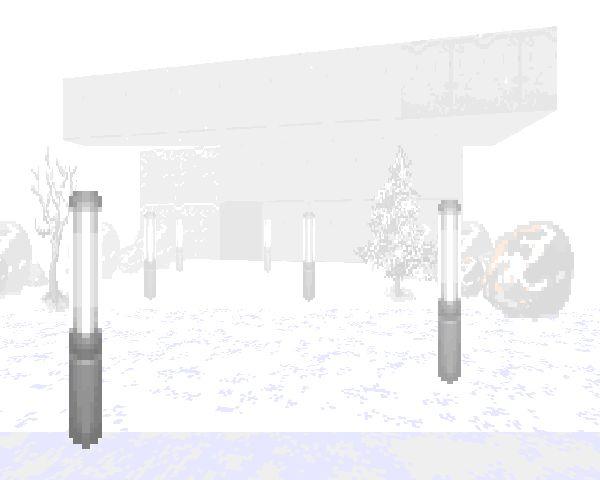 |
| MAP77 | Air Defense Tracking Station |
|---|
 | This base, housing an Ion Cannon, is under Imperial control. Also, it just shot down the Raven's Claw, and Kyle wants you to take out the cannon so that he can fly away once repairs are made. It's a pretty straightforward base clear, even with the final puzzle, where the blast doors shielding the generators are controlled by separate timed switches. It would be more problematic if the switches for each generator's door shut the other's. |
| Storm Trooper Training Facility | MAP78 |
|---|
| The highlight of this map is a pretty cool gag where you have to go through an Imperial shooting gallery, shooting at chibi cutouts of Star Wars characters. Of course, to gain access to the oversight base, you have to score pretty well. Shoot too many Imperials and you'll be directed to report for discipline... Very neat. | 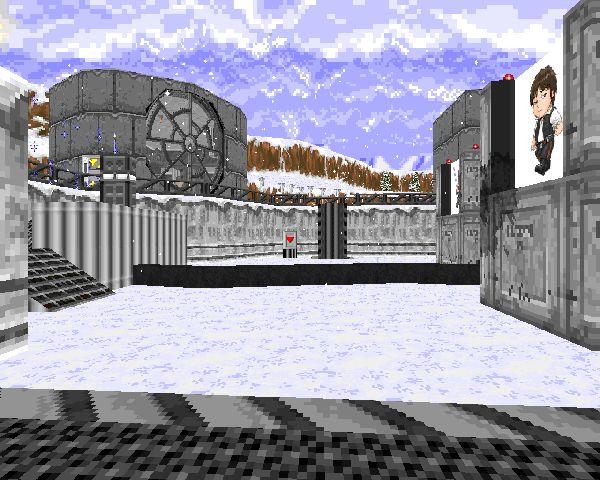 |
SECOND LINK MAPS
| MAP80 | Canyon |
|---|
 | This is one long gauntlet with the stages sectioned off by canyon-spanning ice walls that crumble when you destroy the incumbent Imperials. Expect to fight a few AT-STs on your way to the exit. |
| Wampa Cave | MAP81 |
|---|
| This is a spooky, wampa-infested cavern that's quite unstable. A series of cave-ins will corral you toward the map's exit. None of them are lethal, but they could leave some players quite frustrated to find their exploration thwarted by falling rocks at every turn. | 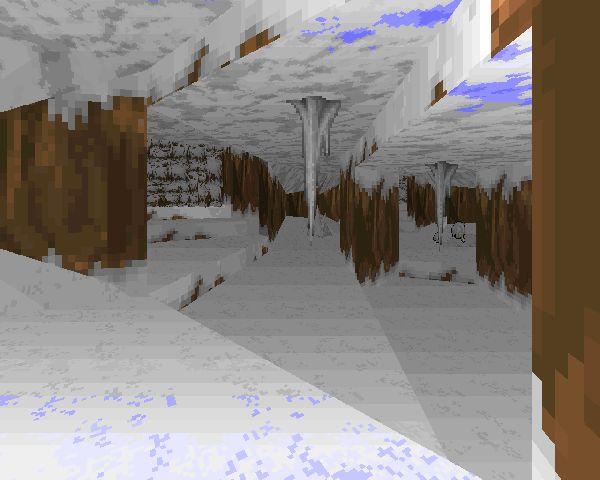 |
| MAP82 | Checkpoint |
|---|
 | Just a forcefield wall blocking off a canyon. It's attached to two generators. Neither are that difficult to find, though the ice cavern housing the less obvious one looks kind of cool. |
| Forest Gate | MAP83 |
|---|
| One of the more complex fights, this takes place in front of a massive Imperial gate staged in a forest. There are several large packs of soldiers on either side, a few minefields, and an AT-AT galumphing about. As you can imagine, you're in quite a predicament; situational awareness is paramount, especially as you chip away at the Imperial death machine. You can have some fun with the mine fields, though they don't seem to do too terribly much damage. | 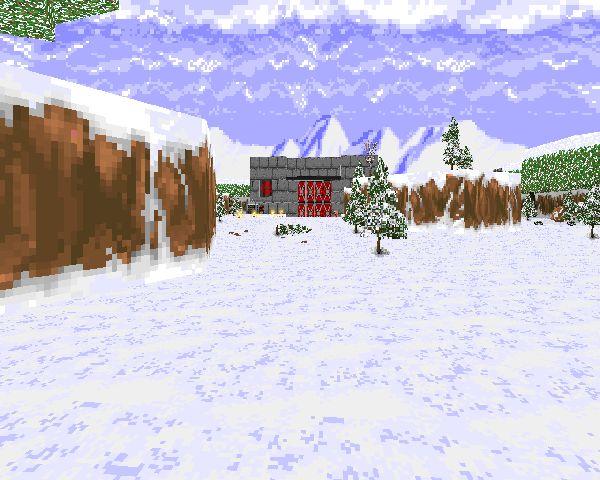 |
| MAP84 | AT-ST Docks |
|---|
 | Kind of like the AT-AT dock, this is an AT-ST dock smack in the middle of a canyon dead-end. You don't have to fight that many walkers, actually. Just watch out for booby-traps on the more or less straightforward path to the exit. |
| AT-AT Ambush | MAP85 |
|---|
| Another unique scenario which nonetheless proves my theory that the rebels are lazy little shits. There's an AT-AT stomping around (and some other stuff) and a rebel holed up in a little cave. He wants you to bring the natural arch in the canyon down on the AT-AT, but you have to find the two explosives and the detonator scattered around the area (on other rebels that undoubtedly tried to do his dirty work). The end effect is pretty cool. | 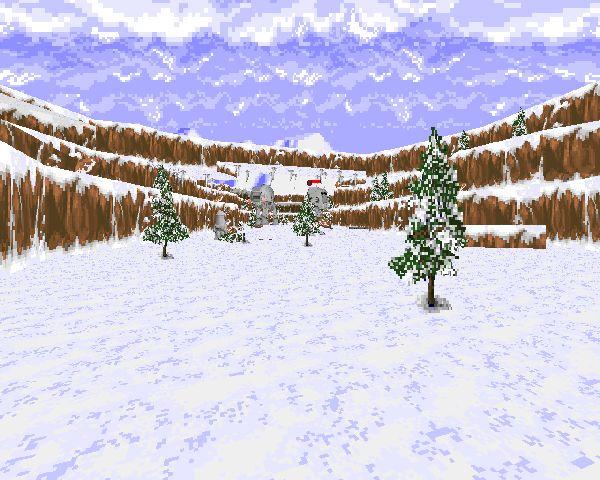 |
| MAP86 | Jawa Enclave |
|---|
 | This may be one of the biggest bottlenecks in your play experience. It's a fortified Jawa city; you have to blow up a generator in order to get inside. It's definitely not impossible, it just requires some problem-solving you may rarely be used to exercising. Once you're inside you'll have to deal with the force-sensitive Jawa shamaness and eventually a trash compactor with...is that another Lucasarts cameo I see? Nice little map. |
| Mercenary Base | MAP87 |
|---|
| Lethal Alliance? What's that? Rianna and Zeeo are working for the rebels to download some info from the mercenary computer banks but they need you to help clear scum out for them. Most of it's generic room clearing but there's a very simple Tower of Hanoi puzzle when you hit the data core. It took me a minute to catch on but it should be no trouble for veterans of the Island of Dr. Brain (or, uh, Ass Effect from what I hear). | 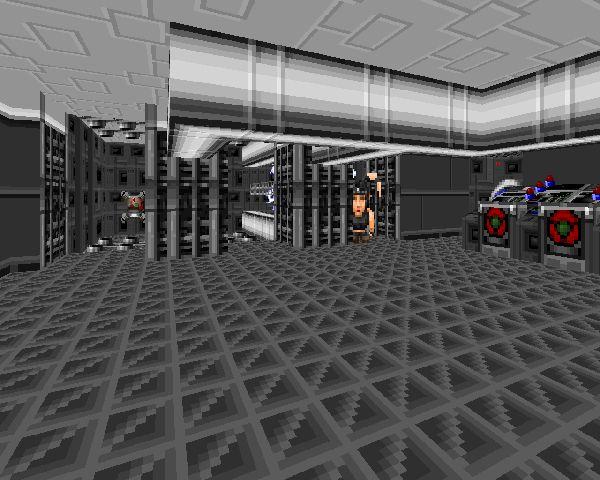 |
| MAP88 | Minefield |
|---|
 | This is a fun little diversion. The rebels laid down a minefield but the controls are borked so they need to find a way to shut it down. There's a not too subtle hint that the little white snow mice nearby are the solution. When their work is done, you can blow away the incompetent rebel handiwork at your leisure. |
RED GATE MAPS
| Bridge | MAP90 |
|---|
| Here's something we haven't seen much of. Bridges over canyons! There's a really neat effect with the bridge posts here, achieved by the use of sprites to simulate short, round columns. It doesn't exactly hold up at close range, but whatever. There's some amusing dialogue in the Imperial base proper, but nothing that exciting. | 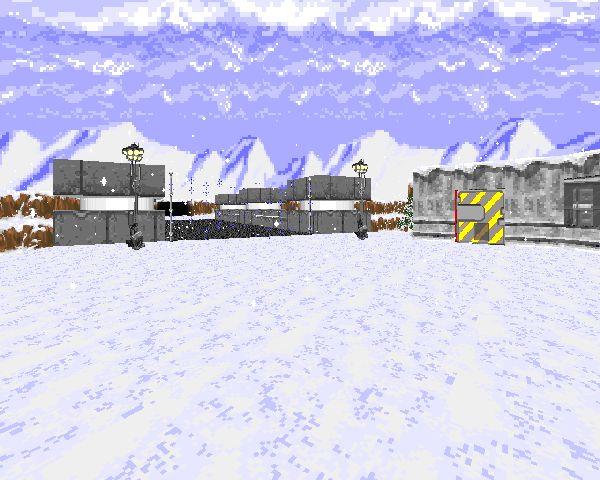 |
| MAP91 | Lift Bridge |
|---|
 | Another bridge, funnily enough, except this one starts on the canyon floor. It's basically MAP62 (Pit) on a much larger scale; the bridge won't fully rise when you hit the switch, though it will raise high enough to access the machinery you need to repair. |
| Landing Platform | MAP92 |
|---|
| A visually impressive platform made out of midtextures. It's actually a shuttle map; you'll need to grab the navigation card from elsewhere before ascending the stairs. You're dropped off at a similar but less well defended location. | 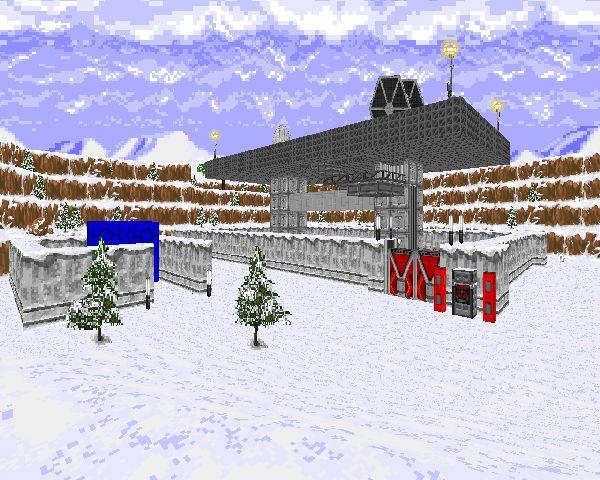 |
| MAP93 | Sub-Command Post |
|---|
 | This is a heavily-fortified Imperial base whose major defining feature is a neat underground tunnel that leads to the outer rim, where the switch to shut down the forcefield is located. It's pretty dangerous above and below, particularly if you're not watching out for hallway bombs... |
| Droid Factory | MAP94 |
|---|
| Was anyone else bothered by the fact that you're crashing a factory producing medical droids? Whatever. It's loaded with machinery and has some nice use of three-dimensional space near the end. Also, due to its aforementioned product, it's pretty hard to get killed without falling asleep at the keyboard. | 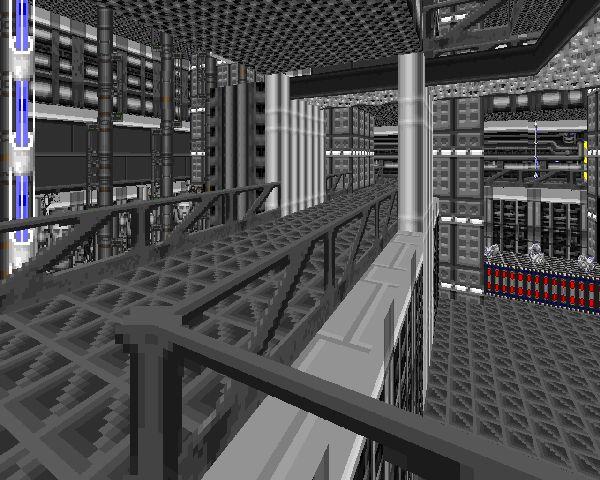 |
| MAP95 | Frozen Camp |
|---|
 | Ostensibly this is a settlement rendered derelict by a bout of super-freezing weather. Currently, a group of scum is picking it over. The "hook" lies in finding a portable heater to melt a wall of ice. |
| Corellion CR-90 | MAP96 |
|---|
| Here's another unique scenario. The Corellion frigate is under assault by Imperial forces while it lays in disrepair with rebels holed up inside. Ever the intrepid engineer, you have to fix its issues both inside and out, then dispatch the Imperials outside to assist in a safe takeoff. | 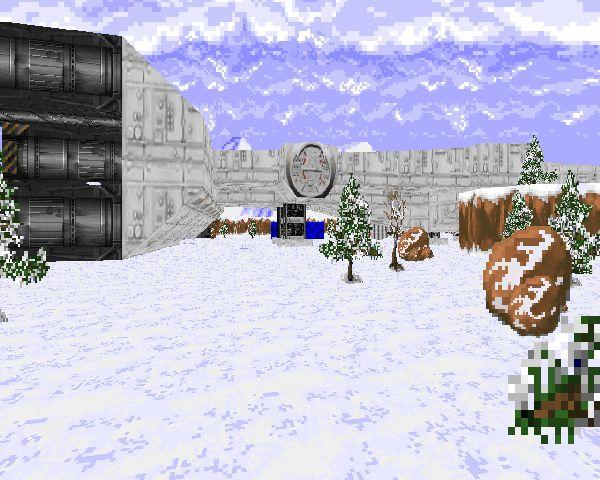 |
| MAP97 | Freighter Wreckage |
|---|
 | Pretty straightforward. There's a crashed freighter and a bunch of scum picking over the remnants. The red key shuts the forcefield down. |
| Ice Cave | MAP98 |
|---|
| This is another Taun-Taun jumping map, though it's pretty much all platforming as opposed to MAP56. You have to jump through a pretty dense cavern filled with pillars and ice. It's pretty easy to get through unless you grew up with two left thumbs. | 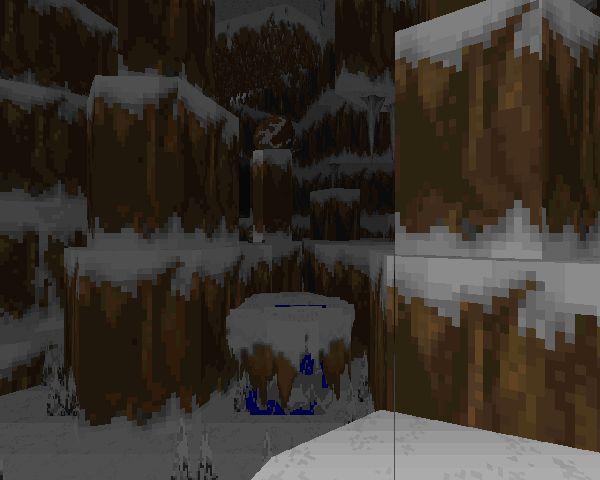 |
FINAL SCENARIO MAPS
| MAP100 | Secret Landing Pad |
|---|
 | This map concludes the "rescue" scenario. It starts out at the shuttle landing pad and quickly moves to the orbital prison where the Imperials hold your target. You've got to find a security ID card before you can shut down the stations that lock the prison block. Watch out for one particular cameo! |
| Shuttle Hanger | MAP101 |
|---|
| Your target here is a new Imperial officer who's been sent to Nothoth to whip the floundering Troopers into shape. It's basically another Imperial warehouse complete with a column-moving segment. There's a memorable boss segment though, vs. two Imperial Royal Guards. They get some juking abilities and that super-powered lightning attack that can be devastating at close range. | 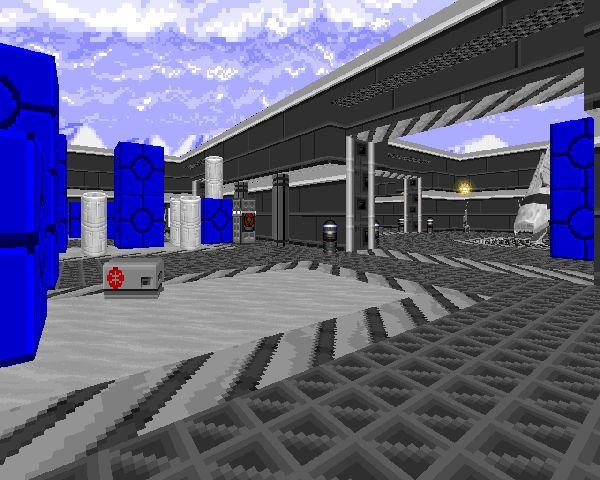 |
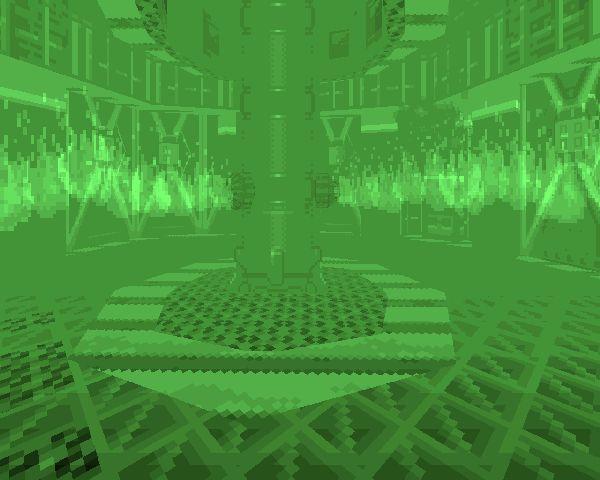
| MAP102 | Power Plant |
|---|
 | One of a great many final missions involving sabotage. You don't have to find the charges, but you do have to find all the spots where to set them (that's rarely difficult). The power plant has a neat layout, particularly the main room with the huge core and all the cables. This particular one actually requires you to escape before the charges detonate, giving you an avenue of escape that you must nonetheless clear of enemy detritus. |
| Light Weapons Facility | MAP103 |
|---|
| Another map involving a ton of Boom. This one's producing light blasters. Some of the machinery in the latter portion of the level stands out in my mind, particularly the giant press and the tanks of unknown purpose. | 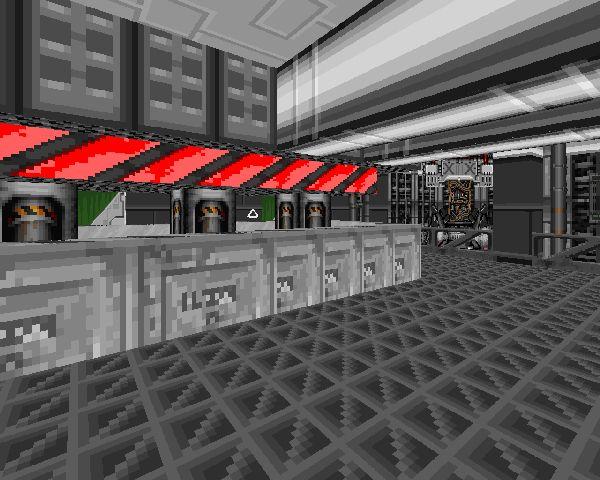 |
| MAP104 | Surveillance Station |
|---|
 | Sure, it's another mission involving sabotage, but it's got some neat features. You start out in an outdoor area with no visible means of accessing the station proper. You've got to clear the troopers out and secure an ID card to get into a shed with underground access. There's a cool bit with an electrified tunnel that requires you to be quick or be dead, and the rest of the base has some nice details like the reactor room, the whole thing being stuffed with data banks. |
| AT-ST Assembly Yard | MAP105 |
|---|
| Another Imperial factory to decimate. This one's constructing AT-STs and has quite the assembly line going if you bother to stand still long enough to watch. The biggest challenge has you darting through a crusher on the conveyor belt while scrap metal clutters your way, though you do run quite a crossfire running around in the actual building. |  |
| MAP106 | Lambda Class Shuttle |
|---|
 | Pretty short approach to a shuttle that takes you to the meeting ground where the Imperials meet with the Mercenaries. The enemy agent may or may not be familiar to you, depending on how the final missions have played out... |
| AT-AT Assault | MAP107 |
|---|
| Pretty short defense-style map. There's a ton of Imperials, including the AT-AT, but you just need to take everything else out so that the snow speeders can do their business. Part of this is aided along by the defense turrets you can bring back online which should do a fair bit of damage. | 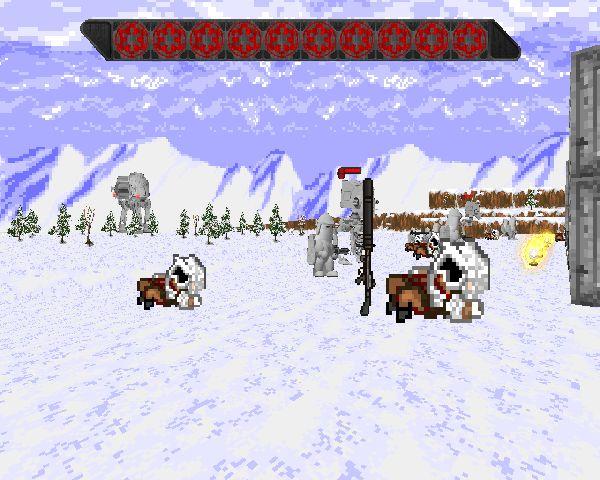 |
| MAP108 | Landing Platform |
|---|
 | Here's a unique scenario! You're supposed to infiltrate an Imperial Star Destroyer and escape with a turncoat. You start out at the landing platform with the shuttle in dock, then grab a Stormtrooper uniform. Once you get on board, it begins somewhat of a stealth section, where you must avoid bumping into Imperial Officers on your way to the bridge. If you're playing with the HUD, the obnoxious helmet blocks most of your vision. When you find your mark, you'll have to fight your way back to the exit. Pretty neat mission. |
| Abandoned Spaceport | MAP109 |
|---|
| A spaceport being used by scum. More importantly, it's where Jaiyl's rival, the Twi'lek Mydia is located. She's a pistol that compulsively dodges and sprays blaster fire in your general direction. There's some neat usage of room-over-room in the hallways underneath the control tower. | 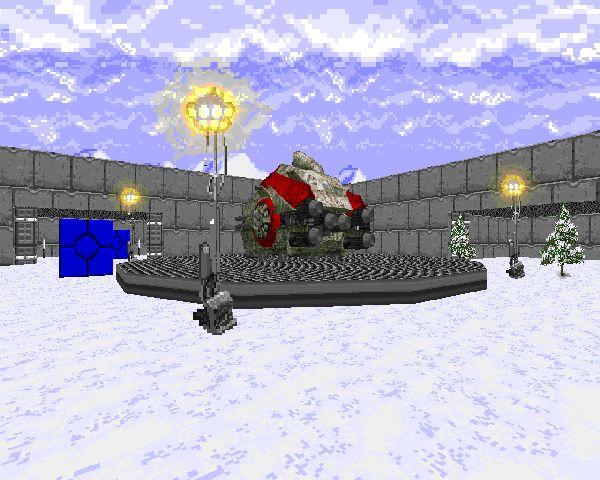 |
| MAP110 | Base |
|---|
 | A derelict Rebel base you're investigating for the cause of destruction. It's pretty creepy with most of the story dictated as you step on the Rebel bonus tokens that mark points of interest. There's not a lot of combat to be had and just a shade of puzzle-solving. The boss is some kind of Imperial super trooper, some uber-jerk that shoots homing rockets and leaps all over the place. |
| Sentinel Shuttle | MAP111 |
|---|
| Very cool map. Starts out with you jumping inside an Imperial shuttle, sneaking into the Chibi Death Star, and then causing all sorts of mayhem as you deposit charges all over the place. There are several great gags to be found, like the superlaser or the hangar full of Imperial soldiers. All this and a boss fight involving two Royal Guards help to liven up what would otherwise be a rote mission of sabotage. | 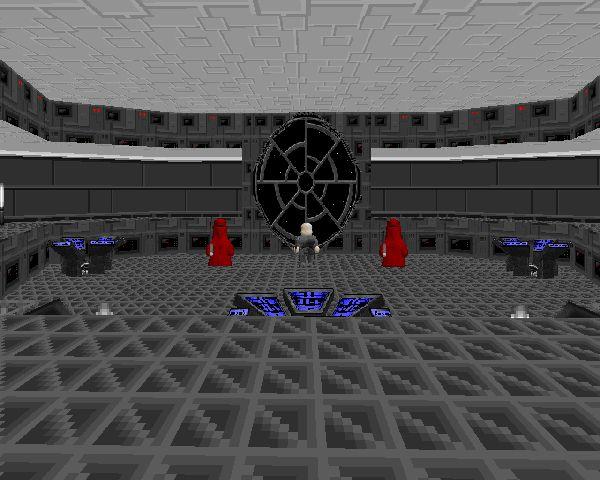 |
THE BIG FINISH
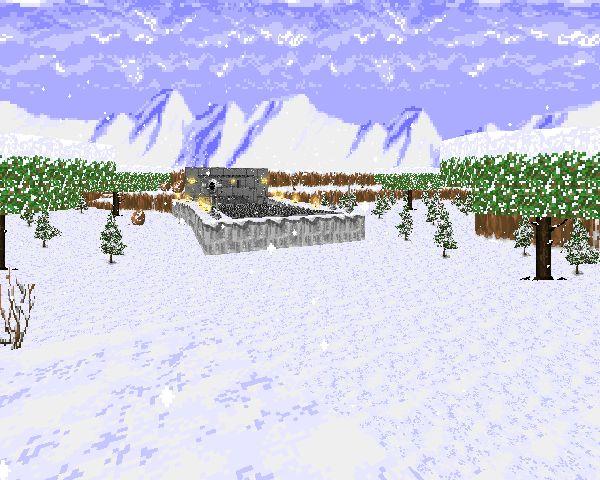
| MAP120 | Nothoth Plains |
|---|
 | The largest and most complex map of the TC, this is an actual assault in several parts attempting to take control of an Imperial Ion Cannon so that you can take down the Star Destroyer Kawai. You get to help out by performing essential attacks which help the Rebels stem the tide of Imperials and eventually muster enough force to eliminate them entirely. There are two different compounds you'll have to fight through and several layers of forcefields to penetrate and pretty much every soldier of the Empire you've fought reappears. It's an excellent scenario, and a great topper. |
 |
STAR WARS: CHIBI FORCES
THE SEARCH FOR MORE FUNNY
Didn't realize you reviewed this one. I was shocked when I first found the wad file in some obscure corner of the 'net, and loved the fact that I finally got to explore a sandcrawler.
ReplyDelete