
Phobos-themed episodes are a dime-a-dozen, and everyone loves the E4 theme, whether it's in its natural setting or being expounded upon in Doom II format. Deimos and Inferno... not so much. We treasure these niceties when we may, so here's Dark Side of Deimos, an Episode Two replacement released late in 2013. I believe that it's targeted for Boom-compatible ports, so take that as you may. It also has pretty much zero story, though you may be able to infer some similarities between the original names and the maps that are now in their slots, especially in cases like E2M8 and E2M9.
Dark Side's differences from typical Doom levels are largely due to Serious_MOod's breaks with the "efficiency" of modern level design. Load up just about any Doom level, and you'll find that there's something in every room you visit, whether it's a pickup or a monster or an ambush just waiting to be sprung. MOod leaves some sections of the map feeling extrinsic to the gameplay - these are purely sights you are free to explore or not, as the case may be. Sometimes the pacing just feels off as the final third of the level is a lot of backtracking back and forth with little combat to show for it - "dead air", perhaps.

Except, I can't help but feel that there is nothing accidental about a walk to the exit that has no friendly demons waiting to say hello. I'm spoiled by playing ZDoom, as I know when every monster is dead, and most of a level's tension evaporates. Without such a counter, though, the author is left free to keep the player hanging until they see the exit switch. I'm reminded of the first level of the Aliens TC, or MAP05 of Cygnus IV, where there are NO enemies to encounter. Immersion immediately evaporates in any source port where you can see this total, but it must have been pretty tense when playing through in vanilla Doom back in the day. I am guessing that this is the atmosphere that the author was aiming for.
When it's on, though, it's on. MOod features a healthy mix of traditional Doom room clearing and massive teleport ambushes that leave you feeling like you are diligently beating back a tide of Hell. The only thing that I found to be slightly off-putting was the overwhelming linearity of the layouts. At the very least, the author sort of avoids the feeling of "room-hallway-room" stringiness with some interesting connecting architecture. I sort of saw stuff improving in that final stretch; E2M6 has perhaps the most connective layout of the set and is easily my favorite, but I see some neat set pieces in E2M7 and other places that seem to be pointing toward a quickly maturing designer.
Dark Side of Deimos makes strides toward building atmosphere and is far from being ugly and / or unplayable. The ammo balance is a little tight at times, but it's nothing the canny Doomer can't handle. It's not my favorite Ultimate Doom mapset, but it does the job pretty well. If you're looking for just a tad more action on Deimos, load this one up.

DARK SIDE OF DEIMOS
by "Serious_MOod"
by "Serious_MOod"
| E2M1 | |
|---|---|
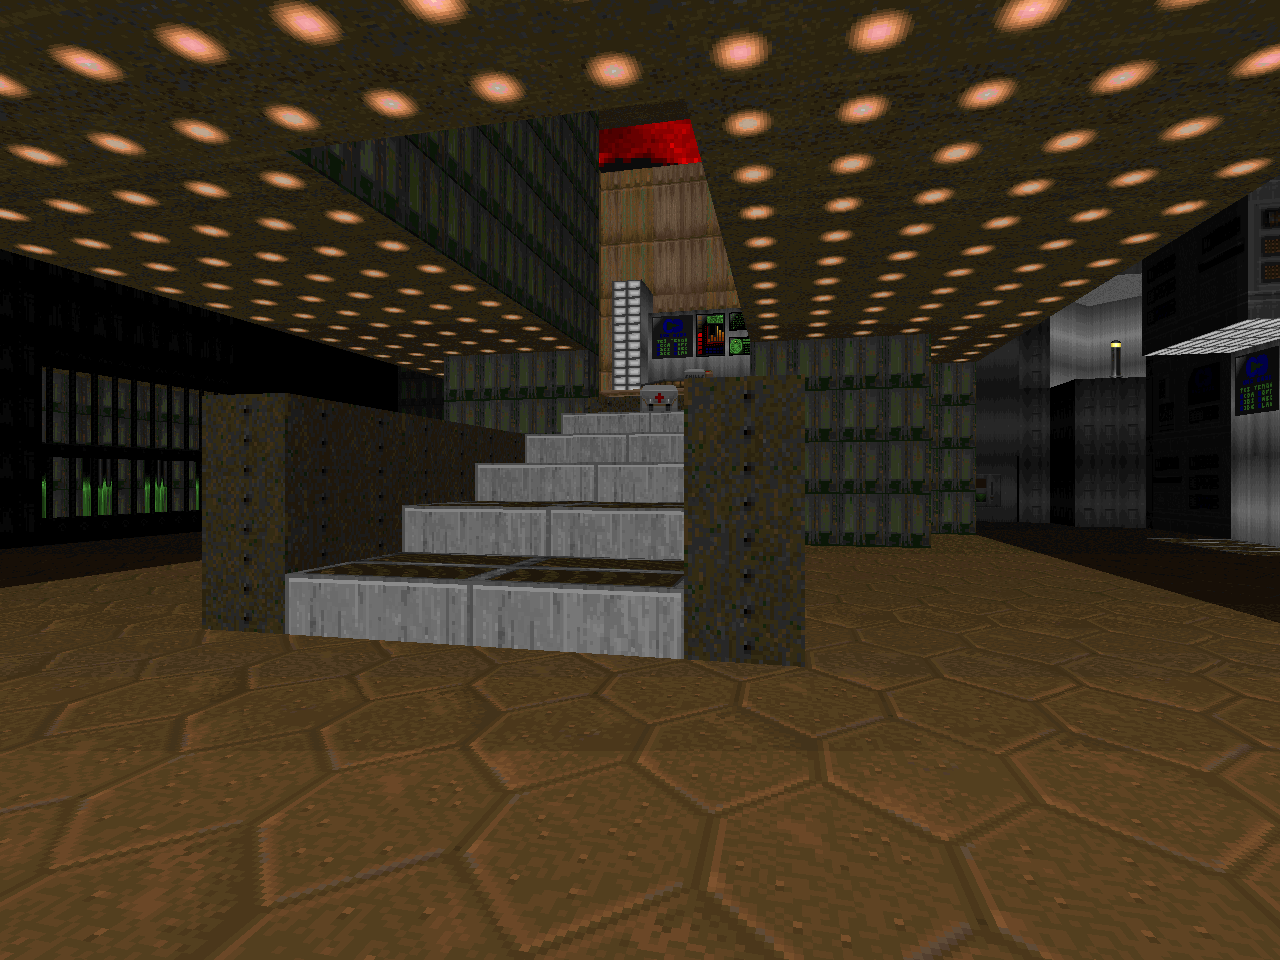
| MOod already distinguishes himself from other IWAD faithfuls with an attempt at building atmosphere through a healthy delay before seeing any monsters. Tucking the door to the red key behind those crates lends more of an adventure feel. You get a decent set piece encounter with a bunch of demons to chainsaw through, but the hole they have to squeeze through puts you in complete control. I also like the exit room, which defies my expectations on several fronts. Very short. Hope it's a good preview of things to come. | 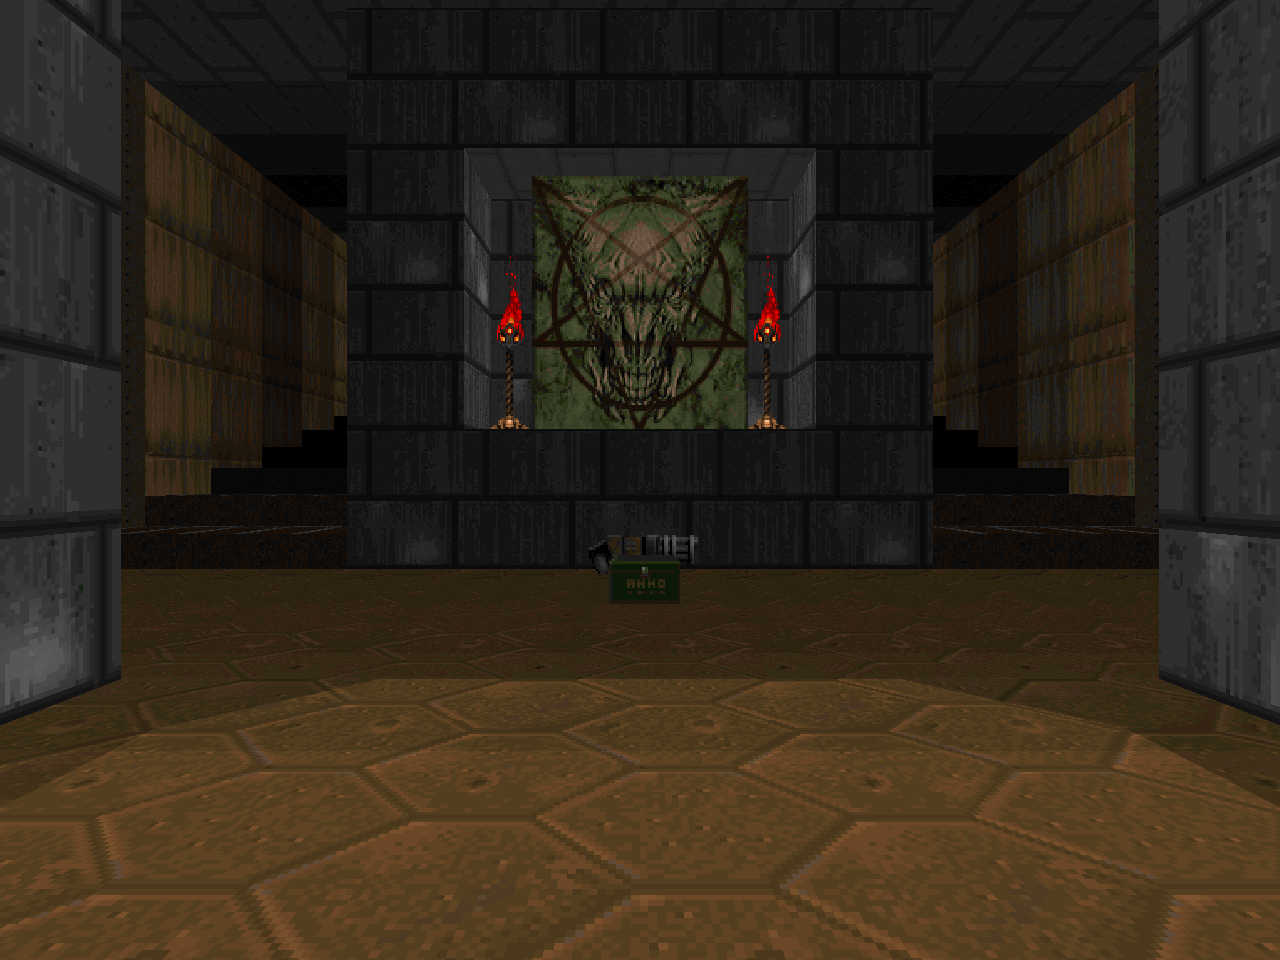 |
| E2M2 | |
|---|---|
 | A pretty straightforward level, up until the lava maze in Hell. Which is still pretty straightforward - just move forward with the chainsaw and hope that you don't get turned around too much before you make it to the second rad suit. This level has two main encounters. I kind of like the teleporter ambush near the beginning because it's a bunch of monsters that attack on two different fronts, so you can't exactly hang around either tier of play and be absolutely safe. There's also a battle with two barons which might seem like a huge timesink, but there's a crusher trap you can easily turn to your advantage. |
| E2M3 | |
|---|---|
| A few more obvious homages, here, namely the cacodemon cage and the fake exit. It's another garden-variety techbase level that swings into Hell Again, some of MOod's tradition-breaking tendencies crop up in here. Some branches of the level are completely without any enemies, which adds some suspense, as you're always on the lookout for ambushes that rarely come. It's an odd feeling, running counter to a popular design mantra where every aspect of the level must serve the gameplay in some fashion. It's not as effective when it's doled out in areas like the linear run of rooms that dominates the level's eastern side, though. | 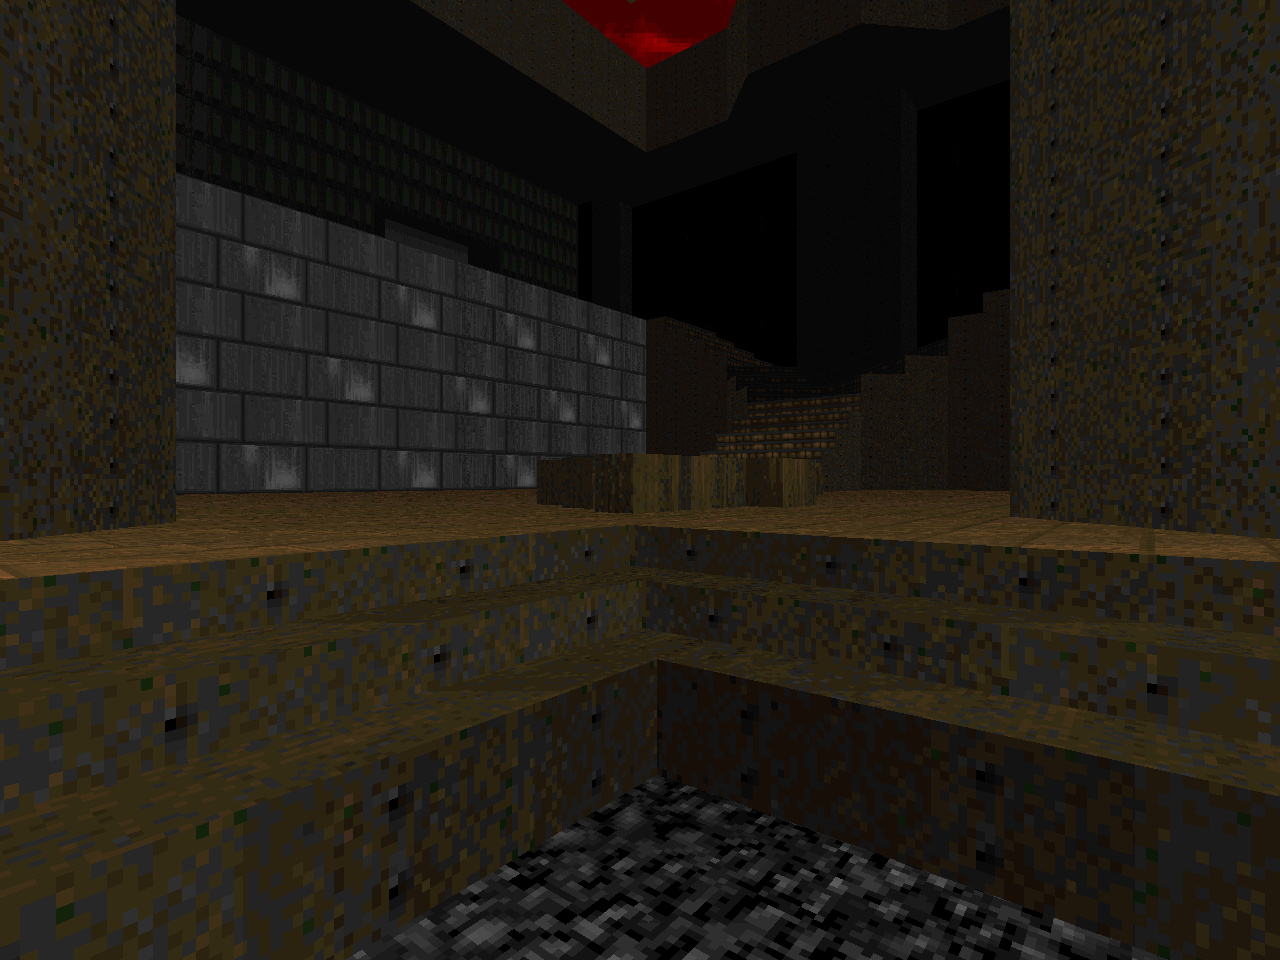 |
| E2M4 | |
|---|---|
 | The creepy songstylings of "They're Going to Get You" serve MOod's design better than the action-packed faux-metal of E2M1 and E2M3. E2M4's pace is more predictable, echoing the stop-start antics of something more like "Tricks and Traps" and while teleporters aren't the main method of navigation, they take you to brand new areas which eventually link back to the main map. There are some tough fights to be had, here, especially if you can't find the switch to open the door during the baron brawl near the level's end (sploops). Dealing with all those lost souls is potentially tricky, too. I like the bit of topography that serves as the red key area. |
| E2M5 | |
|---|---|
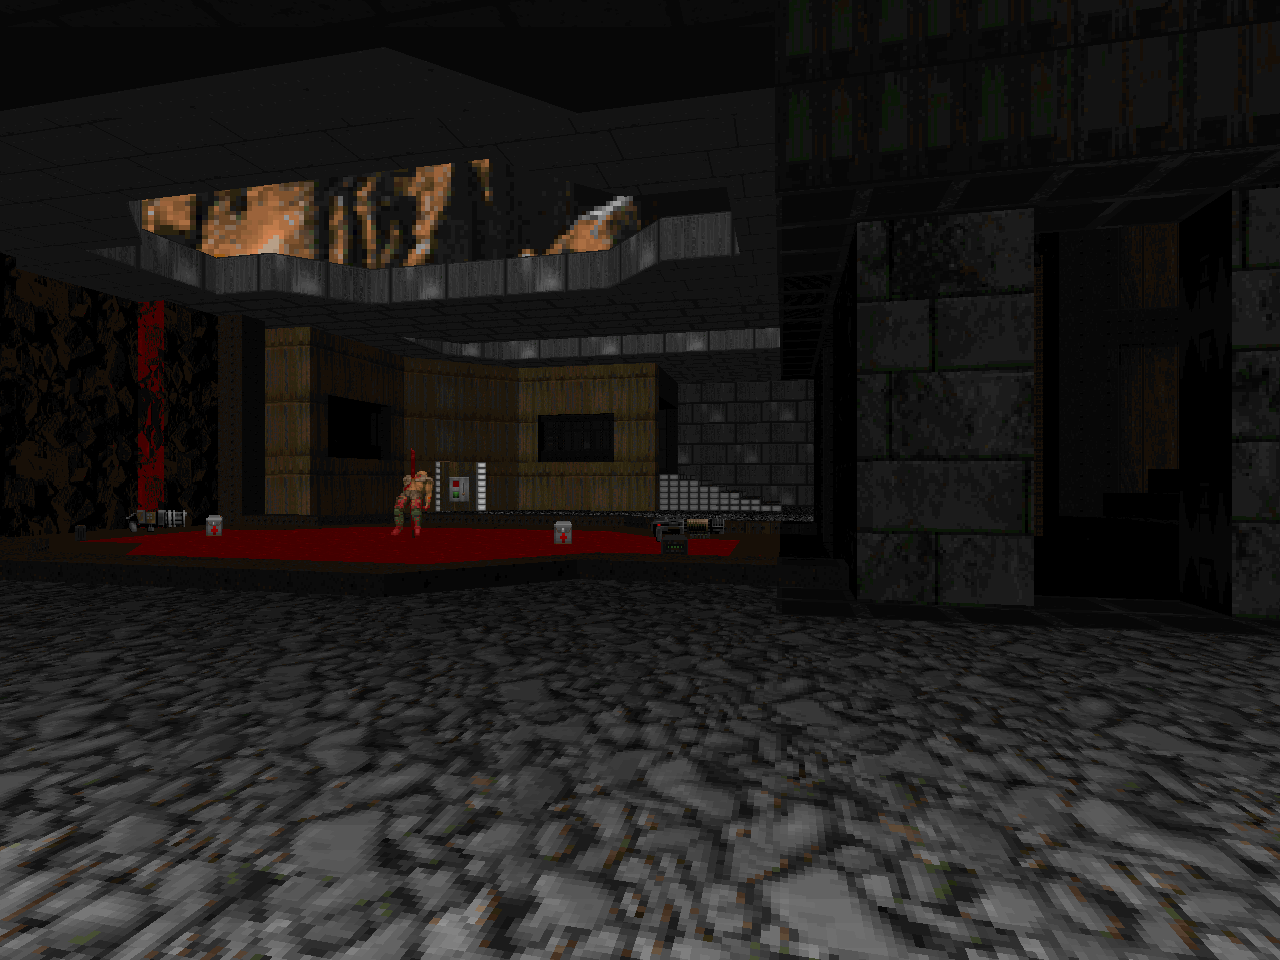
| This level fields a scanty 52 enemies. I'm somewhat spoiling the experience by using ZDoom's monster tally, because the entirety of the endgame is devoid of opposition, which will lead to a very spooky bit of backtracking for some players. I assume that, because of the (relatively) light resistance, it's also light on health, so watch out for those zombies. The dual cacodemons are a surprisingly tense battle and the cavern directly after them features an ominous door... | 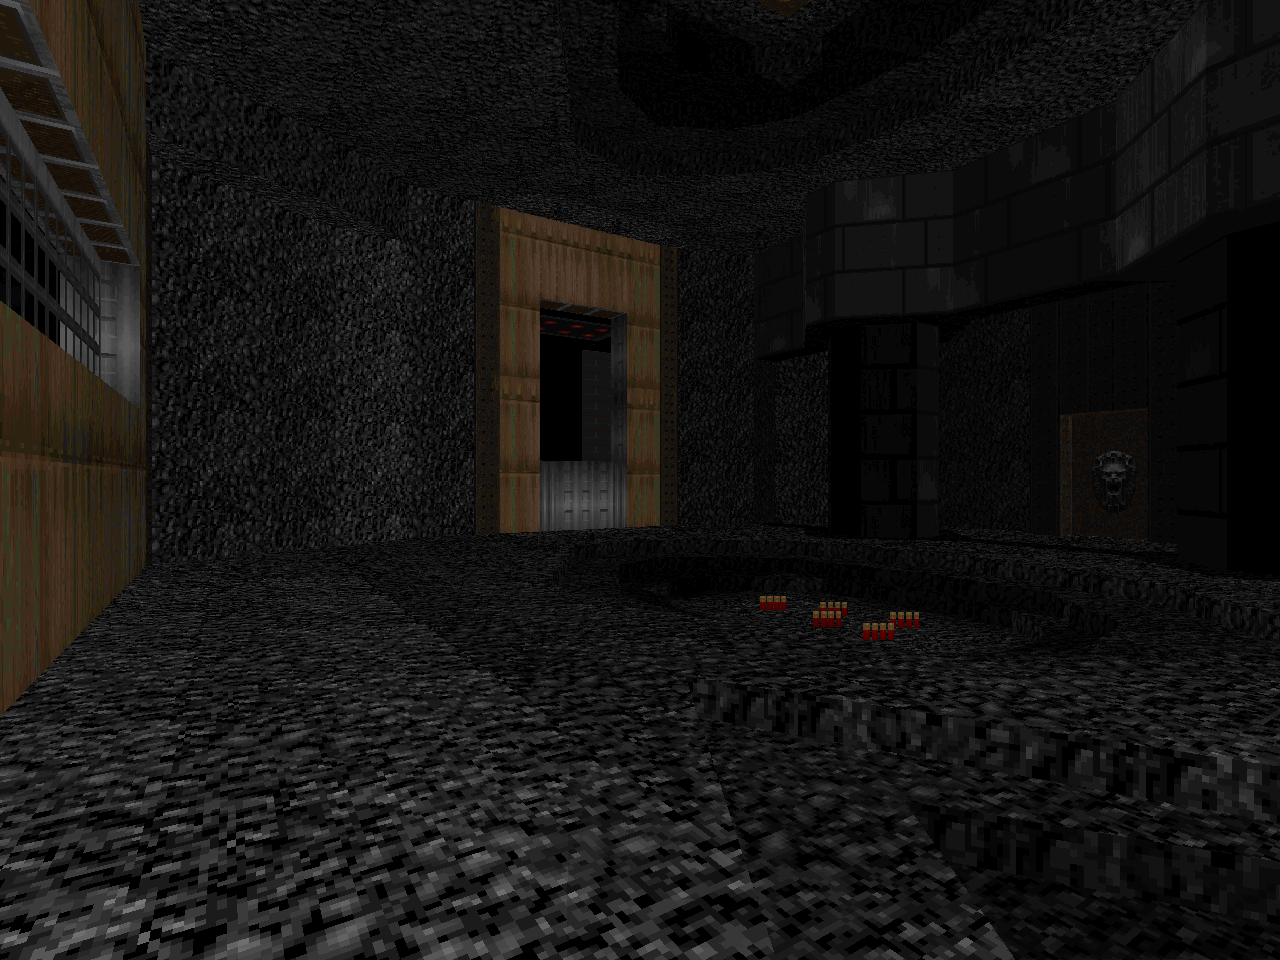 |
| E2M9 | |
|---|---|
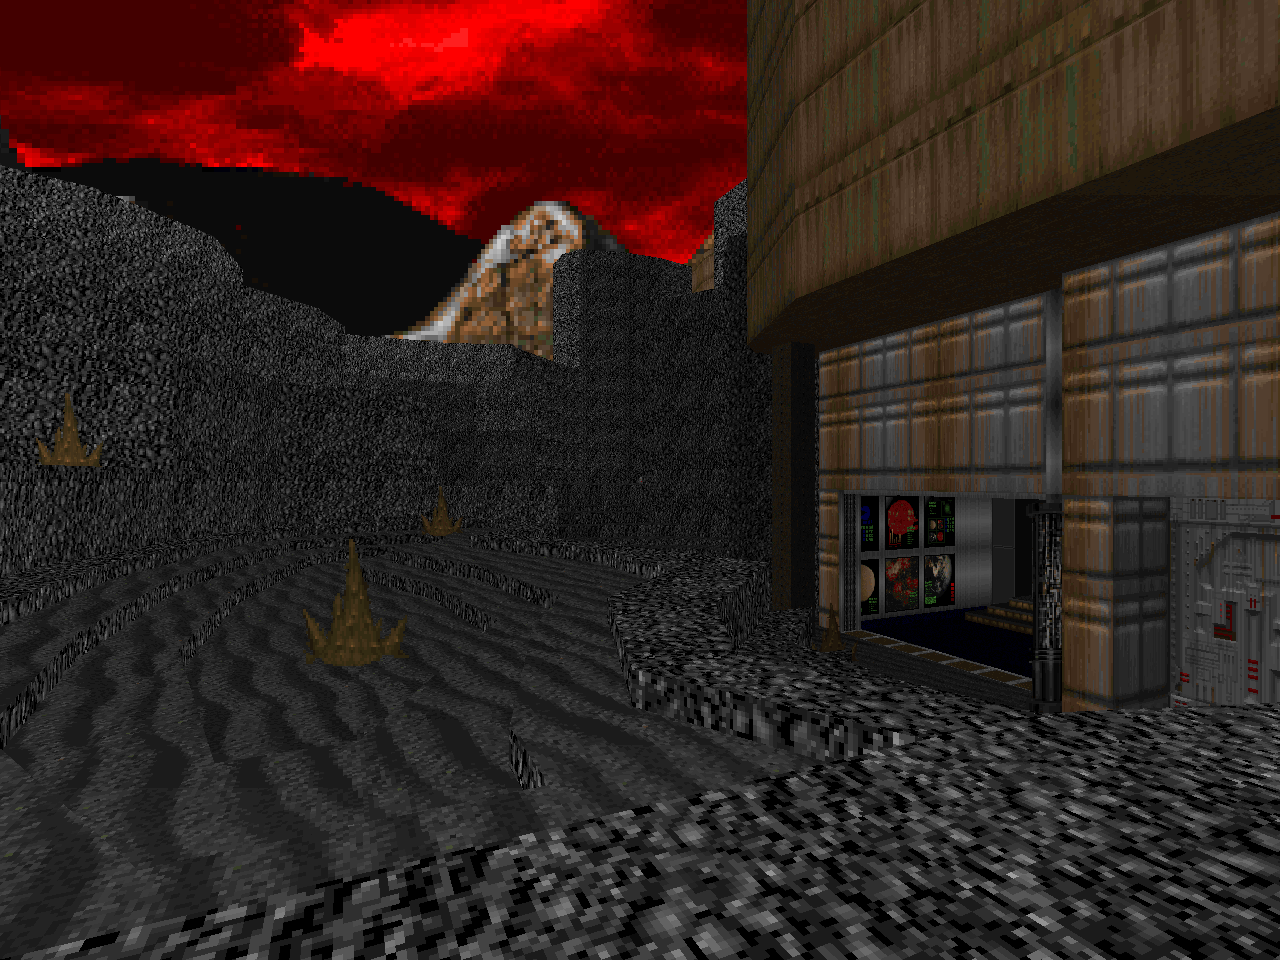
 | This level has some neat visuals, starting off in a blood-filled cavern with FIREBLU cracks in the wall and ending at a fortress surrounded by a sea of blood. It's a differently-organized "Fortress of Mystery" scenario which starts with a pack of cacodemons, followed by a horde of barons. If you don't want to blow all your shotgun ammo, you ought to set these two up for a clash of the titans. The twisted hallway that connects the two just makes it kind of difficult. The outdoor area is very easy and affords you a much-needed rocket launcher. If you really want, you can take it back to the Hall of Meat, but you'll still be outgunned if you don't instigate some unrest. |
| E2M6 | |
|---|---|
| This base level has something like a more typical layout, but with MOod's gameplay quirks. It's mostly E2-style room clearing, but all Hell breaks loose when you grab the red key. A bunch of monsters floods the layout, and with the relatively tight ammo supply, it's a very dangerous endeavor. I had a crowd of shotgun guys backed up behind the southwest key door and had to desperately punch through them so that I had enough ammo to slay the demons coming from the other direction. I think that the mess of them is supposed to last for the rest of the level, but in practice, you're just going to clear them out and then move from key to key door with barely anything in between. There's a pretty good lost soul swarm guarding the yellow key, though. | 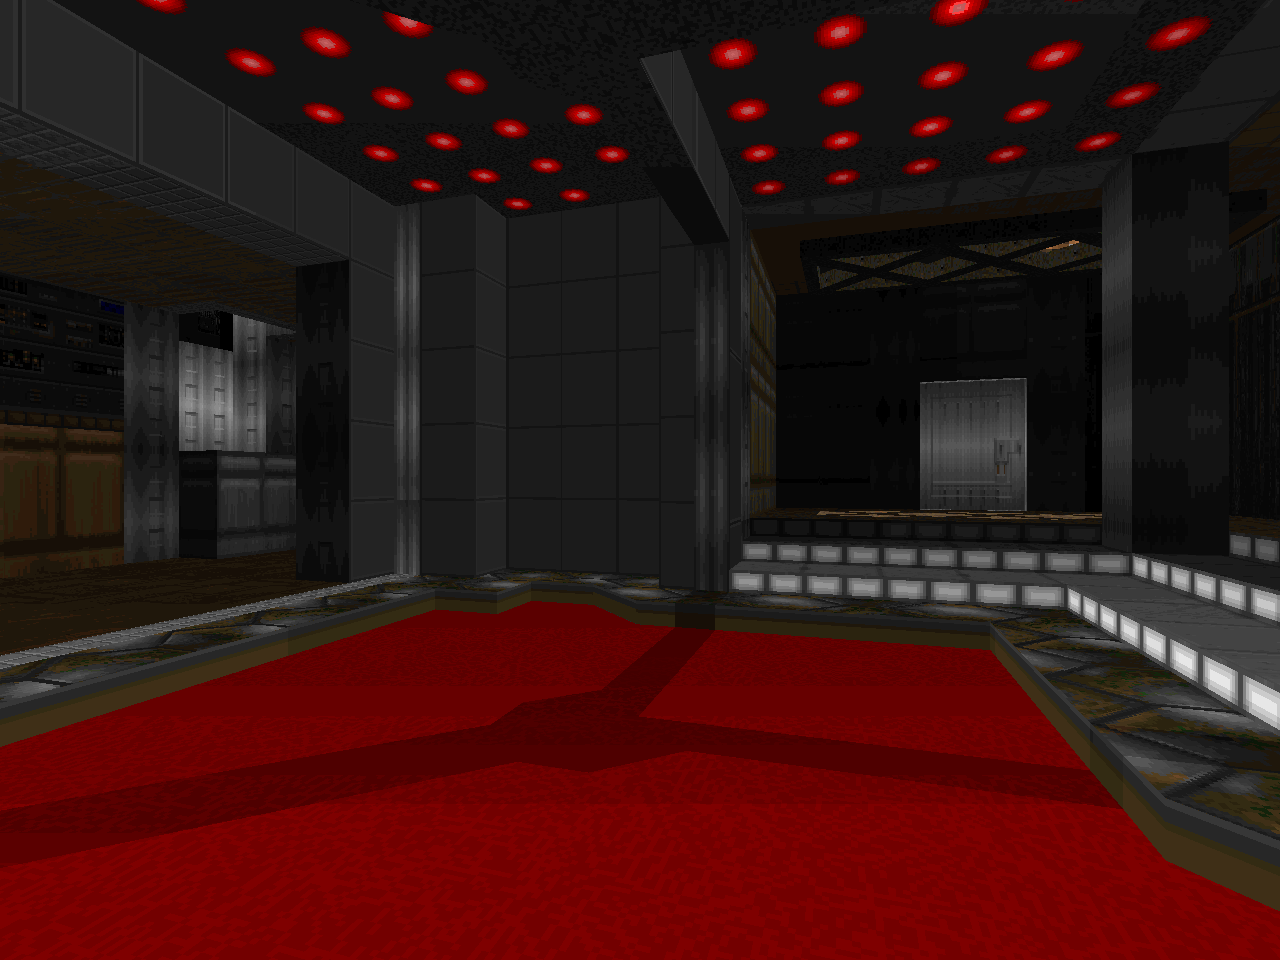 |
| E2M7 | |
|---|---|
 | Another interesting E2 semi-labyrinth. Well, the actual shape of the progression is a big spiral, but it's been obfuscated well enough. The two major halves of the level are separated by a pit of lava with a pair of teleporters hidden in the drink. Navigation is one challenge, and weathering the invasion in the latter half is another. Figuring out that the switch that raises the floor in the little pit to the southwest is in a room that you essentially just came from... That might be a true test of patience. I like the raising of the blood pit to grab some much needed weapons. |
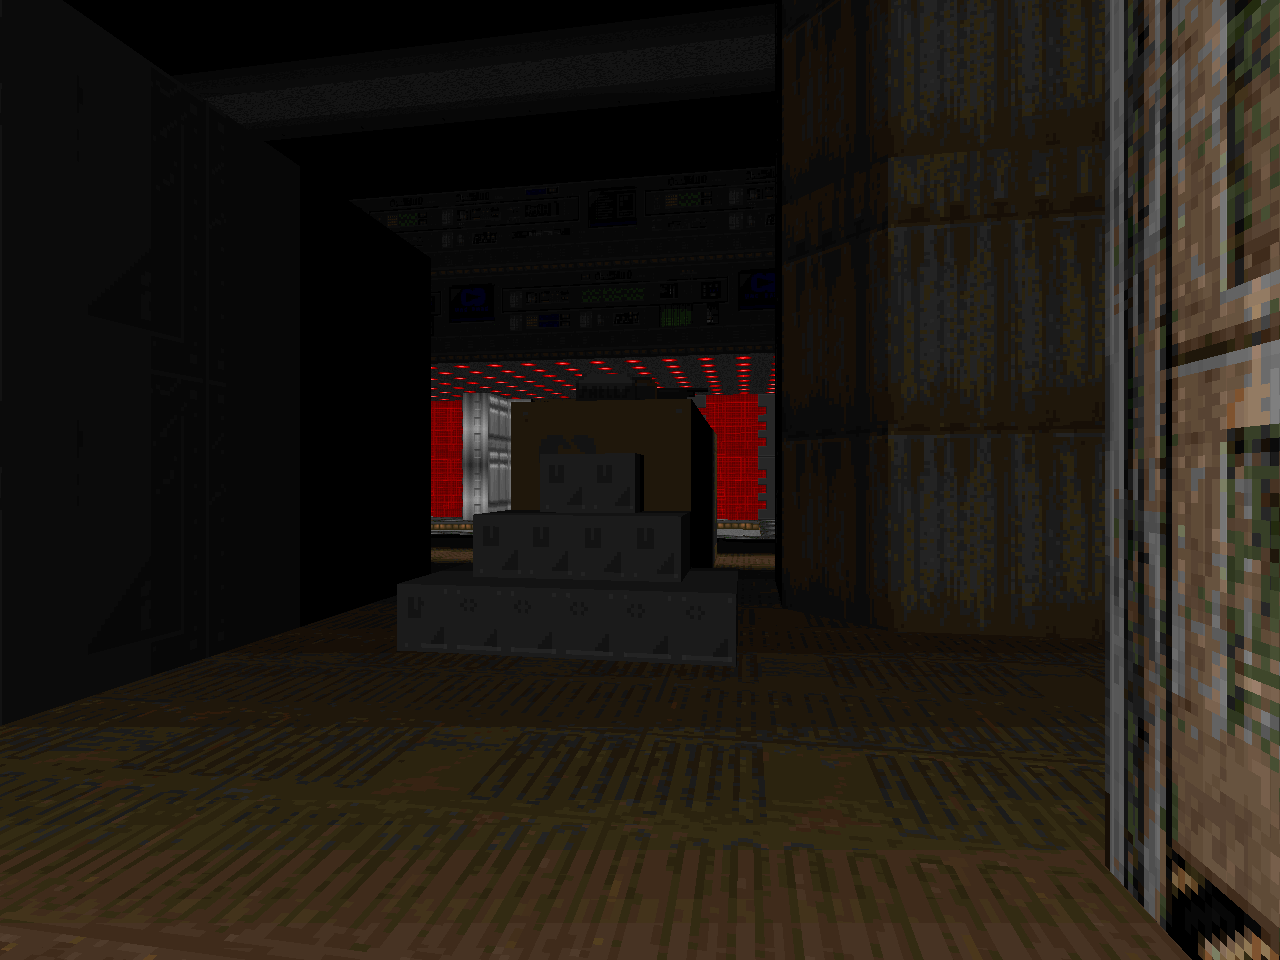
| E2M8 | |
|---|---|
| The tower looks pretty cool, I'll admit. There's a nice buildup, with some light fighting against first two cacodemons and a baron, then a handful of imps... except there's a huge surprise when you step forward. Some players won't be able to take on the Cyberdemon in such claustrophobic quarters, but I found myself with enough room and cover to take him down on my first attempt. The ammo's pretty tight, though, so stay on target. | 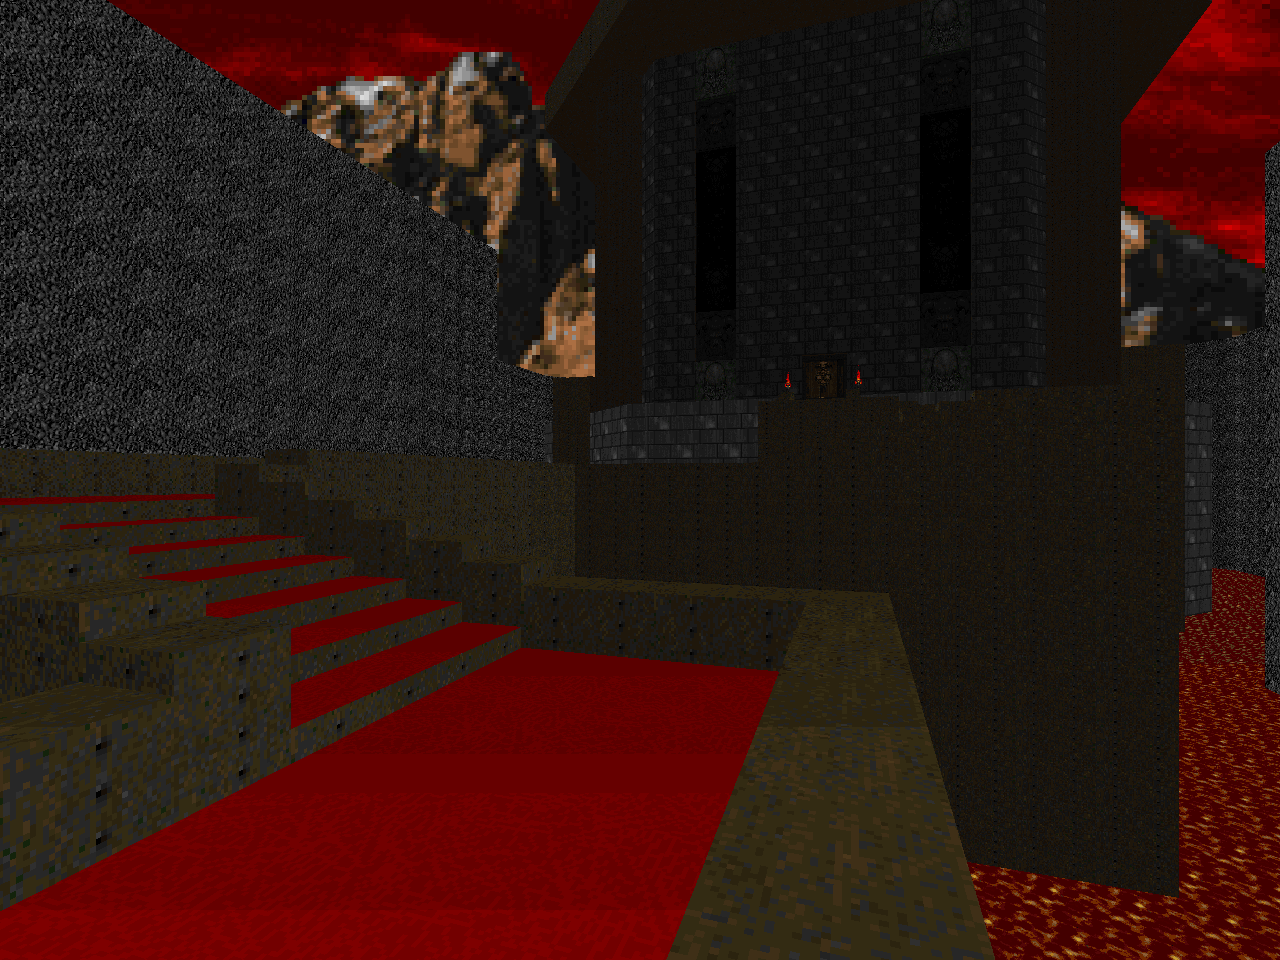 |
THERE IS NO DARK SIDE OF DEIMOS, ACTUALLY
AS A MATTER OF FACT, IT'S ALL DARK
AS A MATTER OF FACT, IT'S ALL DARK
Thank you for your review.
ReplyDeletethanks for the levels!
DeleteMy main problem here is the same as Beta Labs - switch hunting. Otherwise, decent episode.
ReplyDeletethere are a couple of pretty bad bits which i think is a byproduct of Serios_MOod's emphasis on atmosphere. he isn't very good at drawing your attention back to the places your actions have affected. however, since you're not under any actual danger, the worst thing that can happen is player boredom, though i guess some people hate that more than they hate being frustrated by repeated combat deaths.
Delete