Rex Claussen released Phobos Revisited in 2004. Yet another E1 remake, it was praised for its fidelity to the source material. The 2004 Cacowards singled the episode out for its vanilla compatibility, which I find funny, because in 2011 Claussen and the rest of The Persecution Complex put their heads together and released The Phobos Directive, an E1-styled episode for GZDoom. It's not exactly a remastering of PR; while it's clear Claussen did a GL pass over his original maps, adding lots of eye candy, he's added vast new areas with heavy 3D geometry (usually secret annexes). Remodeling seems more like the word I want to use.
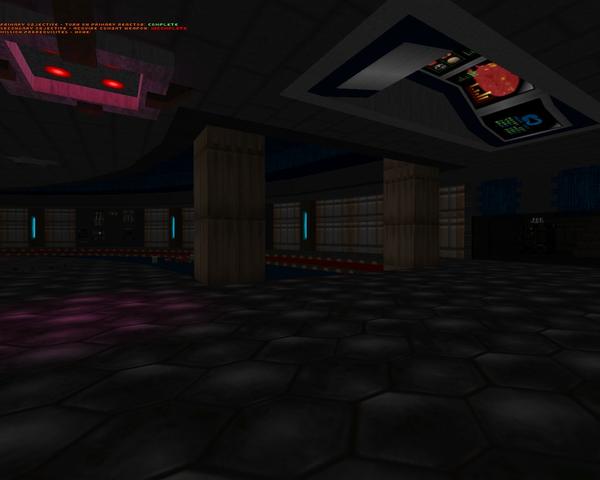
The Directive has nine maps, but they're situated in a hub system. Three of these levels are technically optional, but given that one of them houses the only plasma rifle to be found, you'd be a fool to pass up the chance to explore, even more so given that Claussen's newer additions are typically secret areas. When you arrive in a map, the HUD displays the most important goals to accomplish (usually locating a key of some kind) as well as any prerequisites that must be fulfilled in other sectors. In this way, the hub system is pretty transparent. The HUD flat out tells you if you can fully complete a map the moment you arrive, and if you can't, it displays exactly where you need to go. Pretty snazzy.
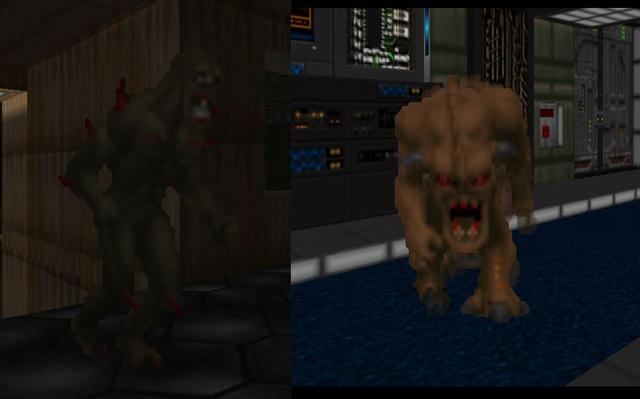
Of course, it wouldn't be a GZDoom mod without some gameplay changes. The Directive is dangerous, primarily due to a revamped bestiary. Both zombiemen now attack in rapid-fire bursts, making them even more dangerous up close and an actual threat at long range. Then there's a host of new beasts to make your skin crawl, like the durable undead imp with a fast-moving spread and superball, or the sand demon, which has both blazing speed and supernatural toughness, making you fear pinkies like you're playing Doom again for the first time. Dare I mention the Inferno Viscount, who fills a niche not unlike STRAIN's Demon Lord?
Concessions have been made. For all the advantages Hell has, a wealth of resources are available to the player. Owing to the hub system, there are immediate and inventory versions of most of the powerups, so good players can carry medikits and soul spheres and other goodies from one map to the next. There are also upgrades to be found for every weapon besides the pistol, granting them powerful secondary fires. I'd say the shotgun's goes so far as to supersede the primary entirely, while the rest have some good niche uses, like the mini-BFG plasma rifle. Not quite sold on the rocket launcher clusters, though.
Some problems... Several times I got stuck in the polyobject sliding doors. The maps are also mostly silent except for ambient noises and the occasional scripted burst of music, which plays through once before falling back into eerie quiescence. Some more Eno-minimalistic backing tracks would have gotten some good mileage here. It's also absurdly dark at times. Starting out is pretty tough, but once you visit your second level and start grabbing powerups and other weapons, you'll be much better suited to taking down the big bads.
All in all, I had a lot of fun with this GZDoom hub and am looking forward to visiting the original. It's certainly nice to play a set explicitly designed around carrying items from one area to the next. Between the 3D geometry and bare-bones mission objectives, I get a strong feeling of Quake 2 influence here, which is a fun departure from the usual rigmarole. Then again, I'm one of those people that fondly remembers Quake 2. Your mileage may vary. If none of these aspects bother you, then you should really download The Phobos Directive.

THE PHOBOS DIRECTIVE
by The Persecution Complex
by The Persecution Complex
| E1M1 | Sector I: UAC Control Center, Phobos |
|---|---|
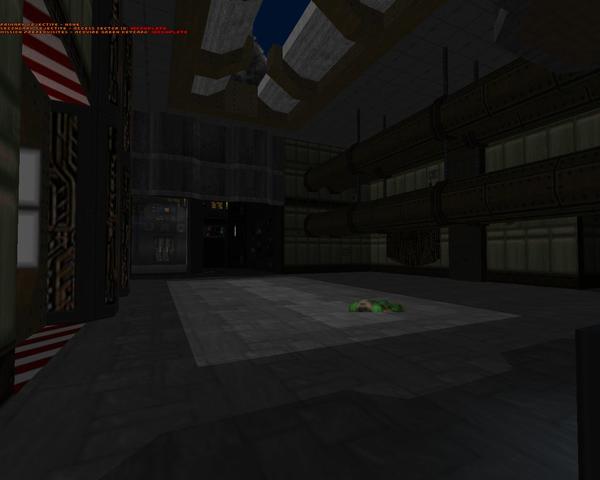
 | The episode opening is a pleasant, round techbase with shades of Knee Deep in the Dead (especially the wing that houses the portable armor). It's eerily silent at first, with wildly inappropriate space crickets at times, but once you find the shotgun all Hell breaks loose and you can situate yourselves with the new bestiary, which is pretty lethal. Standout encounters are the reactor room (oh holy God) and the optional area housing the backpack, which throws some deadly twists, including that super demon thing. I like the little "Hangar" homages and the timed puzzles, which quickly enforce jumping and crawling as means of locomotion. Could use some more health, though. |
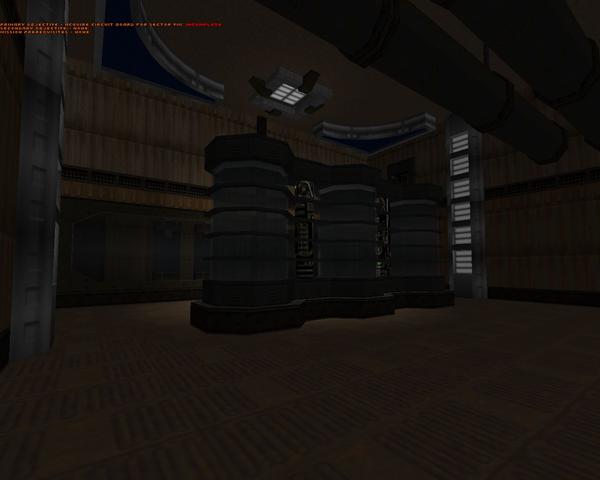
| Sector II: Primary Reactor | E1M2 |
|---|---|
| You actually won't be hanging out here very long at first unless you bring the red key. Most of the level is shut off behind a red key door, though the secondary objective is pretty easy to fulfill, shuttling you off to Sector V once you're done (how nice!). The rest of the main area doesn't have many thrills, though the darkened computer halls are a bit more dangerous given the powered-up enemies. And I guess the ambush waiting for you once you grab the blue key. Most of the cool stuff is hidden behind a timed switch door whose location should be pretty familiar to veterans of E1M2. Lots of futuristic machinery that vaguely resembles power paraphernalia and a decent cacodemon slugfest. | 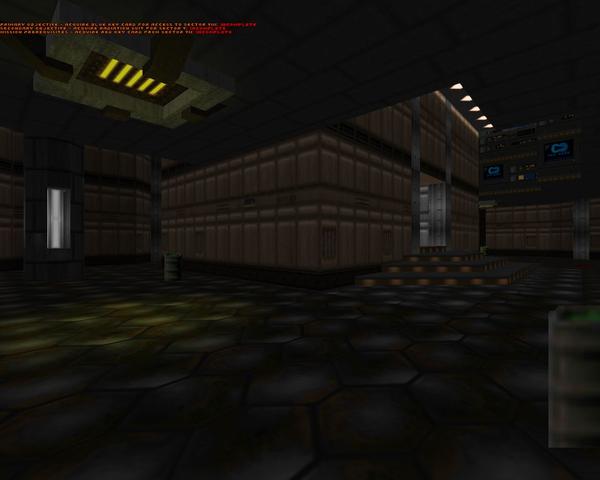 |
| E1M3 | Sector III: Hazardous Waste Treatment |
|---|---|
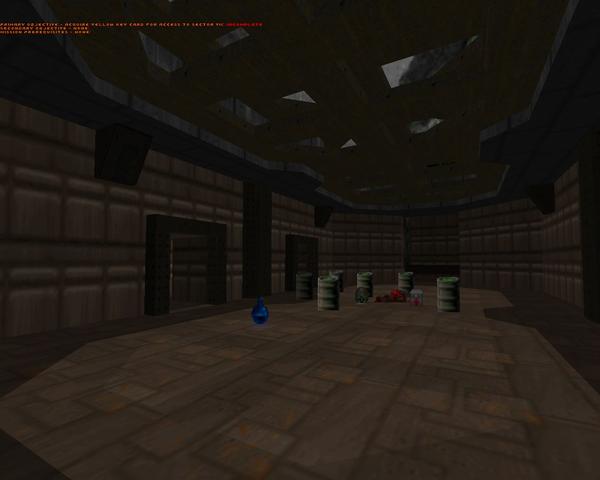 | The "Toxin Refinery"'s layout is pretty similar, but Claussen has joined the northwestern / eastern sections of the map to complete a loop with the main goal through the traditionally secret area. Standout encounters are the first jaunt to the yellow key room, which puts you on the circular walkway pincered between two barons and a pack of lost souls in your face, and the final battle, which is a pretty big slaughter (though pretty easily managed, especially if you have any of the higher-tier weapons). The best parts of the level are located behind a forcefield to the east. There's some neat architecture, including a huge crater (with an army of lost souls) and a showdown with a Cyberdemon, as well as a plasma rifle upgrade for the terminally curious. |
| Sector IV: Command Post Omega | E1M4 |
|---|---|
| Some cool stuff here like the opening pool, which brings to mind the kind of ostentatious features found in a high-end office complex. Also dig the grating over the nuke pits just northeast of the round room. He also tightened up the maze, which is welcome. The western section, the big "secret" area, has my standout encounter. It's the most lethal fight I've seen so far, throwing a ton of meat in front of you and behind you. Try to bolt out in the open and you're countered by a sand demon that gets up in your face. Having a plasma rifle is a necessity if you want to make it out alive. Once you're clear you can rustle up a well-deserved rocket launcher upgrade. Just watch out for those viscounts. Finding the "secret" exit is pretty easy, since the hard part was finding the green key in the first place. | 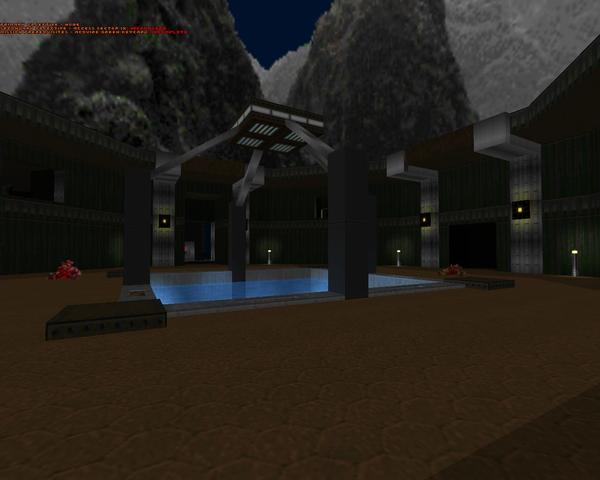 |
| E1M5 | Sector V: Fissile Materials Laboratory |
|---|---|
 | A lot of ground to cover, here, and the introduction of the Duke of Mayhem (aka Hell Knight) monster. Up until you start investigating the northern section, it should look pretty familiar. I like that the central room, which you usually find pretty early in "Phobos Lab", is the main objective. I also like the fact that, if you figure out the rocket launcher, a bunch of Dukes get seeded in the adjacent area along with rocket launcher ammo. The northern section, branching off the pitch black room, contains most of the new geometry and is nice to explore, though it's completely optional. No real standout encounters aside from the Duke teleport wave. Mainly I like this map for forking over most of the weapons, along with the CS upgrade. |
| Sector VI: Material Processing | E1M6 |
|---|---|
| Very similar to "Central Processing" except for that nice northwestern annex. There's a long walk outside to a rocket launcher defense point and a chaingun upgrade. Grabbing the RL spawns in a huge wave of barons and cacodemons, as well as a bunch of monsters in the previously eerily deserted equipment rooms on the way. It's probably my standout encounter, though the southeast tunnels are creepy as always. I'm not too sure about the final bit with the circuit board. The room is pretty cool, with two computer arrangements stacked over each other with some glass, but grabbing the circuit spawns in a few dukes, one after another. It's pretty cramped, though I guess if you're packing the plasma rifle, you've nothing to fear. |  |
| E1M7 | Sector VII: Data Central |
|---|---|
 | This time Claussen's added some nice areas to the east and west. Your primary objective involves grabbing the red key, which requires the yellow key found in Sector III. You'll have to explore a bit to get there, but nothing serious. The main challenge is finding the green key, which is the result of a long journey through the additional funstuff, the highlight of which (or lowlight, heh) is crawling into a pitch-black pipe, very reminiscent of Quake II, though it's kind of hard to cram in there. My other favorite fights are the outdoor catwalk ambush (preceded by a horde of spectres) and the highly telegraphed fight at the rocket launcher. Also, the Inferno Viscount is a pain in the ass. |
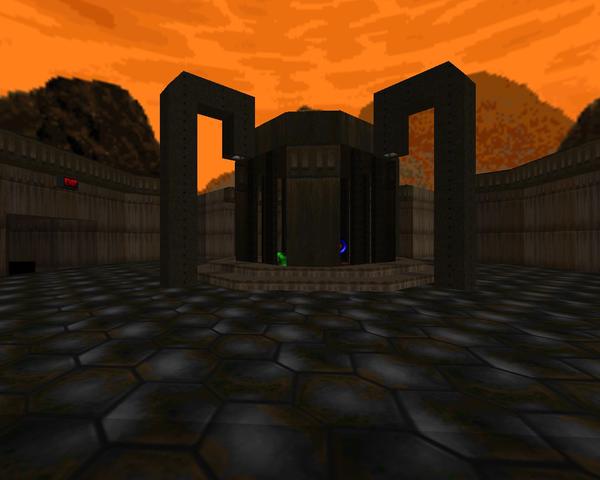
| Sector VIII: Phobos Anomaly | E1M8 |
|---|---|
| Ever so slightly expanded. You'll have to submit to a few tricky encounters centered around the two progression gates whose solutions were in Sectors II and VII. After a huge spectre clusterfuck, you can move on to the boss fight proper, which takes place in the star before moving into a huge outdoor battlefield that gets progressively choked with Hellspawn before the three big bads join in the fray. If you snagged a plasma rifle upgrade and found the invul sphere, now's the time to use it, because the upgraded Cyberdemons are very dangerous. I wouldn't expect to get out alive... | 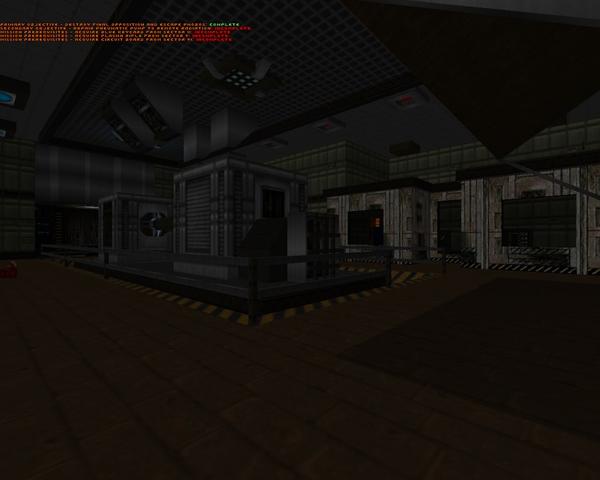 |
| E1M9 | Sector IX: Munitions Depot |
|---|---|
 | A rambunctious obstacle course. The main gimmick here is that you have to collect the skull keys to "solve" the map, gaining access to the tasty powerups at the center. Most of the quirks of the original remain intact, though Claussen has unified the playing area by turning it into a complete octagon. There's a surprise finish to the main area, but the encounter is pretty awkward in the small space provided. The eastern annex is a bit of a dive, but the encounter you emerge in is simple yet tricky. Shotgun guys on the roof obscured by darkness, not so much. Coolest moment: hitting the switch by the yellow key and blowing a path to the imps on the other side, heralded by "At Doom's Gate". |
RUN.
Another thorough and well-written review. Keep up the good work.
ReplyDeleteI think this is the only hub that has ever been made with a Doom I or UDoom base? It's not a bad one either, even if the standard Phobos Revisited is probably preferable to those looking for a classic experience.
ReplyDelete