Khorus took his
Speedy Shit on Doomworld near the tail end of 2011. He didn't win man of the ure, but he clenched his Cacoward in little more than a month.
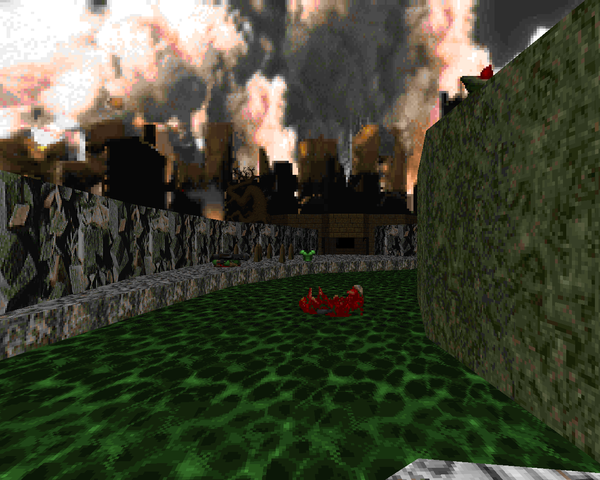
KSSHT is a megaWAD for
Doom II, composed of 32 small, tough nuggets. Don't let Khorus's diarrhetic stream of maps fool you – there's an assload of solid material here, full compatible with Chocolate Doom. These levels cover a broad variety of themes, like sewers, ruins, and cityscapes, before dumping the player into the hot, steaming bowels of Hell in the last turd.
Astute forumgoers smelled another WAD of
Scythe's scope when Khorus failed to pinch the mapset off early on. I haven't played
Scythe or its sequels, butt the dirt is that it's loaded with short, challenging maps. Such is the kernel of Khorus's offering. There's not a lot of room for shitty play; relax and Adam will send you scatting back to the dungheap faster than you can say fudge. Sometimes the traps are devious; others you'll be attacked from all sides by a stew of Hellspawn. Khorus isn't one toilet you off easy - I hope you're in the merde to be tested.
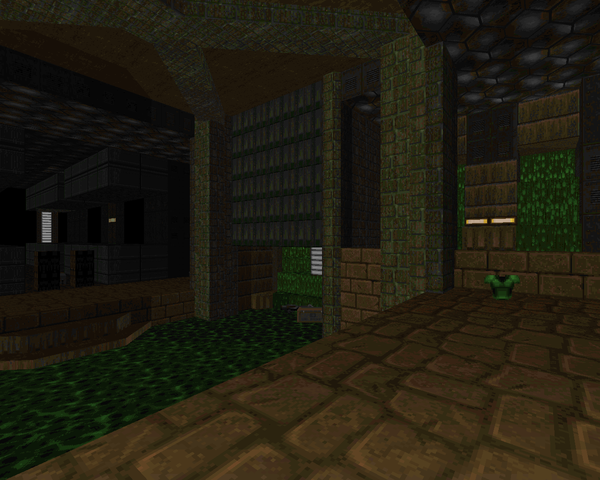
In a speedmapped WAD like this, aesthetics are typically the number two concern. While that's certainly true, KSSHT has nothing of the air of filth around it. Khorus wasted no effort on details like lighting and providing instances of interesting architecture to complement his tiny battlefields. Not that you'll be able to tell when you're mucking around with the armies of Hell that appear to clog every hole you want to use to evacuate.
I'd be ejected if you didn't download and play Khorus's Speedy Shit – so consider this an ordure. It's anus WAD, the opposite of offal; you can blast away in a single sitting without feeling pooped and the constant stream of action should throw some colon your fire. Fans of longer Doom maps may pass this by, making it for rubbish, but there's plenty of shit to do here. Take a gamble on KSSHT – you won't crap out.

KHORUS'S SPEEDY SHIT
by Adam "Khorus" Woodmansey
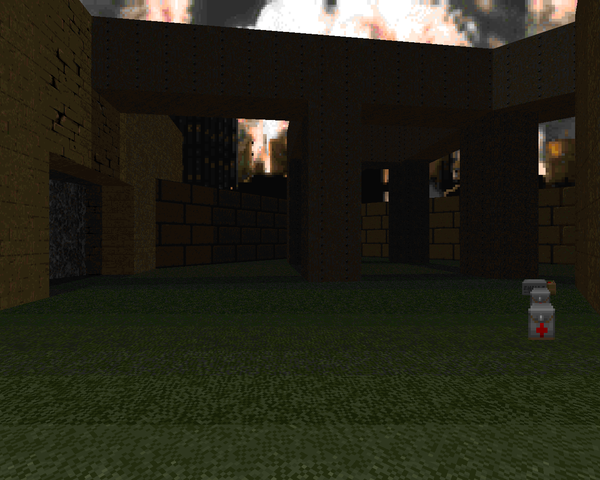
| MAP01 |
|---|
| There is some very nice lighting here, especially in the middle tier. I liked the yellow key trap (put a lot of pressure on the player to be careful) and the tricky toxic outdoor area with some flying enemies to mix things up with a revenant you'll have to work to get near. | 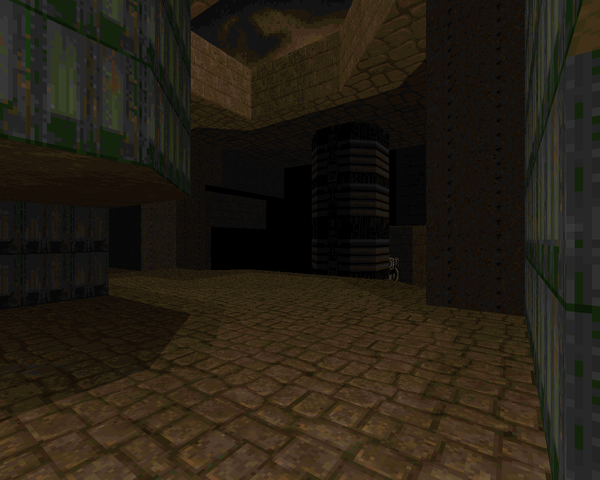 |
| MAP02 |
|---|
 | Small outdoor area based around a cistern that leaves the player pretty exposed, especially to that group of revenants and mancubi on the upper ledge. When paired with fixtures like the hell knights or arch-vile, you'll find yourself looking for attacks from every direction. |
| MAP03 |
|---|
| Starts off with a devil of a pistol start where you're under assault from imps, cacodemons and arachnotrons and moves into a techbase where the highlight is dumping a ton of rockets into a pack of demons and hell knights. Very cool with very tight health. |  |
| MAP04 |
|---|
 | Desolate techbase with a nice opener that forces you to do some pillar humping (arch-vile). Afterward the main attraction is the outdoor walkway where you can get a good mancubus / arachnotron crossfire going. Not much else to thrill, though the yellow key trap is good for some mindless carnage. |
| MAP05 |
|---|
| A couple tricky fights here. The opening crossfire forces you down into the drink where you'll have to be on your guard or suffer some errant fireballs. The tricky part for me was the yellow key room, which is supremely dangerous, especially with what little health you have to go around. Just make sure to take cover and prioritize your targets. | 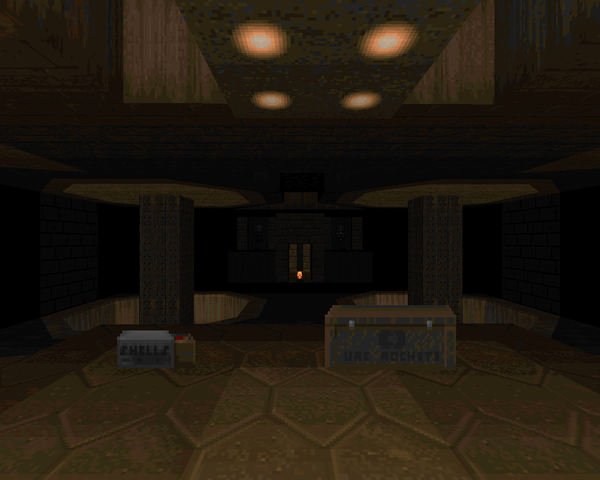 |
| MAP06 |
|---|
 | Underground sewer map where the challenge is on navigating the ledges while an assortment of monsters fire upon you, like the central arch-vile or other nasties waiting in the wings. The side areas are a bit tricky as well, with an imp-choked corridor being particularly disagreeable. Great action. |
| MAP07 |
|---|
| Still pretty simple, but no arachnotrons to be found! Instead you get a rockin' start that involves a daring plasma rifle grab followed by a round arena layout where the outer ring is clogged with demons, the inner ring housing four mancubi and a Cyberdemon. | 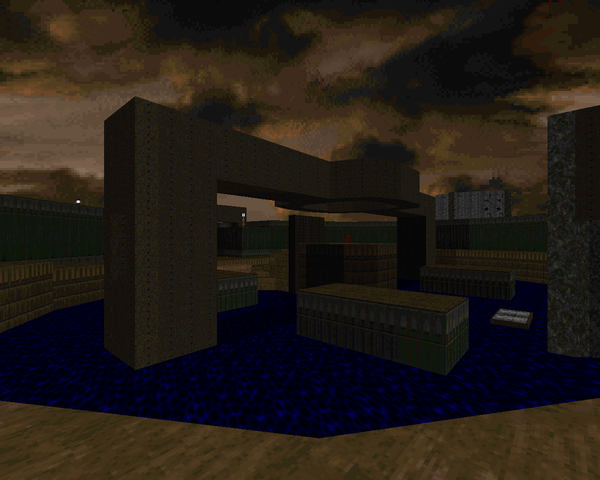 |
| MAP08 |
|---|
 | Cool ruins-style map with some entrenched opposition. You'll have to clear the ledge behind you if you want a fighting chance at the rest, which has one big hangup, that being a pair of arch-viles that rush at you from the end of a hallway, you with naught but a combat shotgun. Oh, and some revenants on an upper ledge you may or may no have dealt with. The final fight is a nice little trap, too. |
| MAP09 |
|---|
| Some more ruins filled with beasties. My standout encounter is either the blue key fight, which gives you a lot to handle, or the red key battle which gives you the opportunity to use a Cyberdemon to your advantage. Crossing the main courtyard is pretty painful, though. At least, trying to take the hell knights out without getting smoked by flamethrowers. | 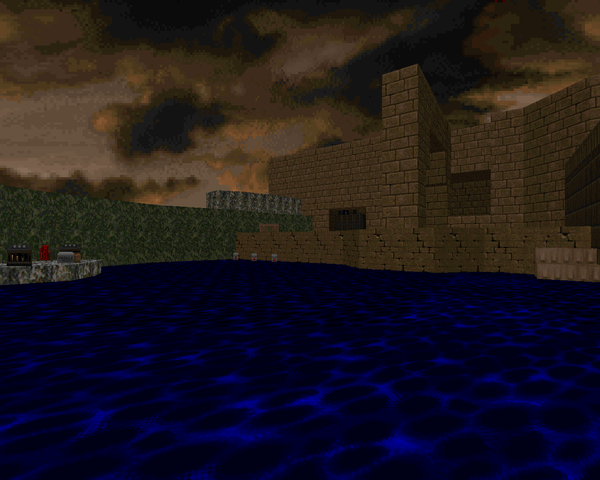 |
| MAP10 |
|---|
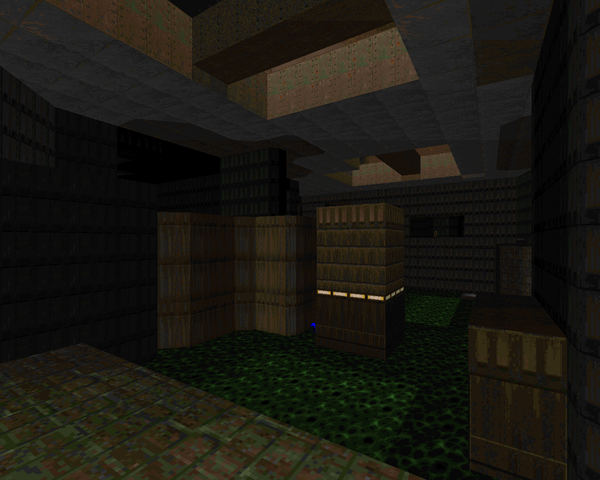
 | Another sewer map, but even more compact. Khorus throws a lot of curve-balls in the arachnotrons and especially the mancubus / revenant death alley. That arch-vile is a bit of a shock, too. I like the detailing of the toxin falls, here. |
| MAP11 |
|---|
| Two major parts to this one. Standard ruins in the first bit, where you end up backed by a veritable horde of revenants (don't worry, you get a rocket launcher to take them out quite handily). The second part is a Spider fight in a sea of blood – two masterminds and six babies as overwatch. One of them is pretty easy to take out; the other isn't quite as ripe for infighting. Very fast and very furious. |  |
| MAP12 |
|---|
 | More of an outskirts style map with some building ruins, plainly visible in several locations. It's another tricky map with stuff like the SSG arch-vile and the outdoor area housing the blue key, whose two pain elementals demand caution. I had to take several stabs at clearing the pack of revenants that escapes near the end; you have the plasma rifle, but you've got to lay down quite the stream of suppression. |
| MAP13 |
|---|
| Continuing on in the ruined city theme, here's a slightly less small map featuring the highest monster count yet. Some neat opening visuals give way to a tough courtyard outside a small library. It's just dense with enemy threats, including two pain elementals. The standout encounter is the finale, which places you between a pack of mixed lower-tier enemies and a sole Cyberdemon. You can get some pretty good infighting on as long as you're careful, but sooner or later it's small arms fire. |  |
| MAP14 |
|---|
 | A denser city map that's a short and sweet key hunt with a couple of tricky spots to clear, namely the courtyard outside the exit. The patented TiC zombie slaughter room has a neat twist at the end. I rather liked the claustrophobic revenant encounter at the red key. |
| MAP15 |
|---|
| Short nukage level. Standout encounter is the eastern room, a slightly tiered battle where you'll likely bait a pain elemental. Grabbing the yellow key attracts some unwanted attention; good thing there's a plasma rifle nearby. Two of the switches needed to access the secret exit are pretty obvious. The third one, not so much. | 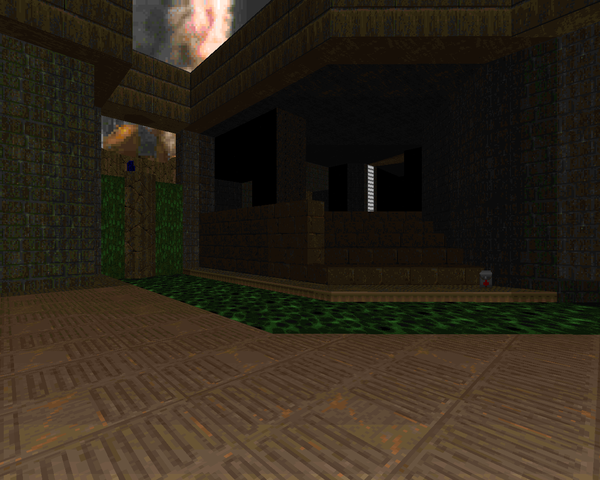 |
| MAP31 |
|---|
| by Brian "Snakes" Knox |
|---|
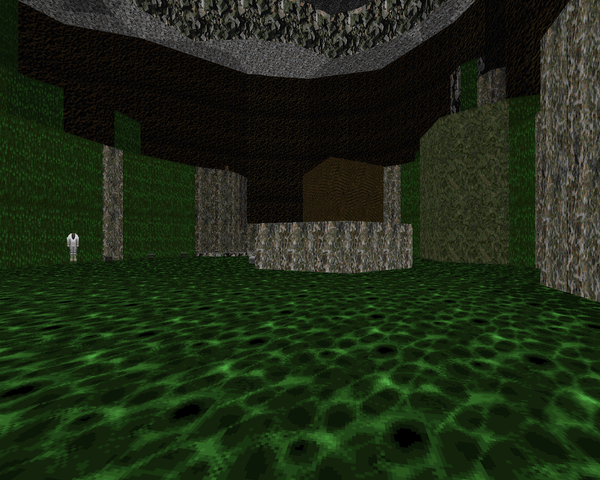
 | Snakes slaughterbombs with this mapset that's thick with Hellspawn. It's got a fairly light beginning while you grab up your ammo and take out the trash, but the descent into the Hell cave is an eye opener having to deal with the enemy crossfire while avoiding spectres stomping around in the blood, as well as your initial return to the main square. The outdoor canyon is another great battle, but the peak of the map is your final visit to the central hub, where several arch-viles and hell knights, among other things, storm the courtyard, not to mention the exit switch guardians. Love the visuals in the underground cave. |
| MAP32 |
|---|
| by John "Tango" Oksasoglu |
|---|
| And here's Tango's contribution, the ultra-secret level. It's a pretty cool techbase with lots of soft corners that has a ton of monsters to kill. It's all about the opening rush to the SSG and making a safe spot to tackle the rest of the map, with fun moments like indiscriminate imp slaughter via plasma rifle. The return trip after grabbing red key is when things heat up as a cadre of arch-viles appear here and there to give you a reason to burn all that rocket ammo. Very fun map. |  |
| MAP16 |
|---|
 | Starts in a gorgeous sewer-ish base overlooking a toxic cistern and then ends up IN the cistern. The upper tier is great fun, taking down a crowd of knights, revenants, and mancubi with a plasma rifle while the rear infight themselves. The cave portion is a little tricky with the initial Mastermind encounter, but it shouldn't be any worry for experienced Doomers. |
| MAP17 |
|---|
| Now here's a brutal level. Starts out in an outer yard with some wicked crossfire going on, having to take out the immediate commando threat while revenants, mancubi, and arachnotrons harry you. When you finally get a breather you can go for the plasma rifle, instigating a nasty ambush. And, of course, a nice Cyberdemon fight with enough room to move around in but not enough to feel comfortable. I really like the northern and southern building structures. |  |
| MAP18 |
|---|
 | A short, violent affair that's mostly fighting on a rocky outdoor trail. Some gorgeous lighting in the interior to contrast to the exterior fights which are utter brawls, particularly when you initiate the main mountain ambush, which becomes very congested in no time at all. Also a prime opportunity for rocket suppression fire, beating back the first big horde. |
| MAP19 |
|---|
| The sudden introduction of gray stone comes as a shock. It's a techbase with several tiers of play. The opening's a little crazy but muted. You'll get heavier weaponry in no time and start killing monsters. The lowest level is bound to be a big bottleneck as shooting down stairs at revenants and such isn't exactly easy. | 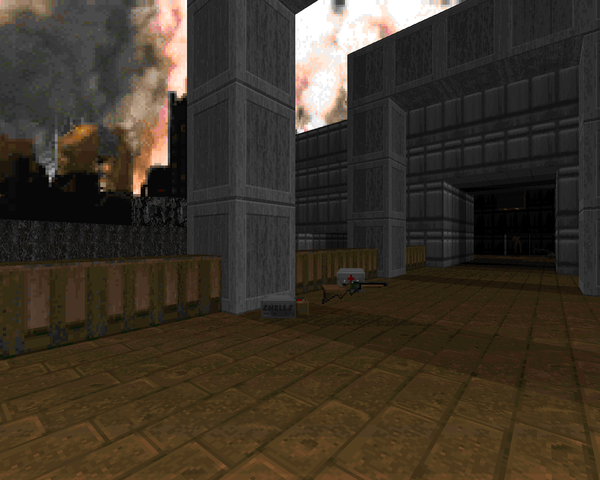 |
| MAP20 |
|---|
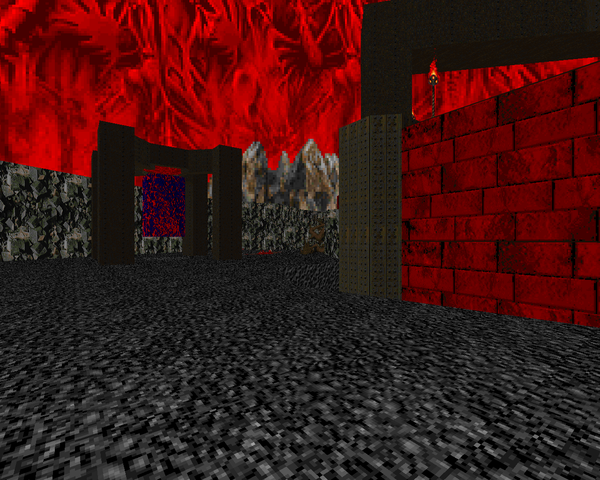
 | VERY intense opening shootout in some Stygian topography. Good luck sorting this one; there's an arch-vile and a pain elemental in a wide open area you'll want to keep tabs on in addition to all the other hardbodies (and those revenants at your back), on top of ducking into the side cavern to locate a rocket launcher and the switch to the exit, which has its very own Cyberdemon guardian. Thus begins Hell? |
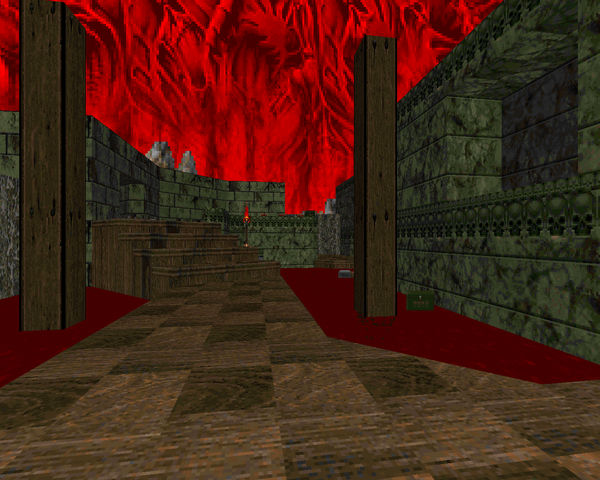
| MAP21 |
|---|
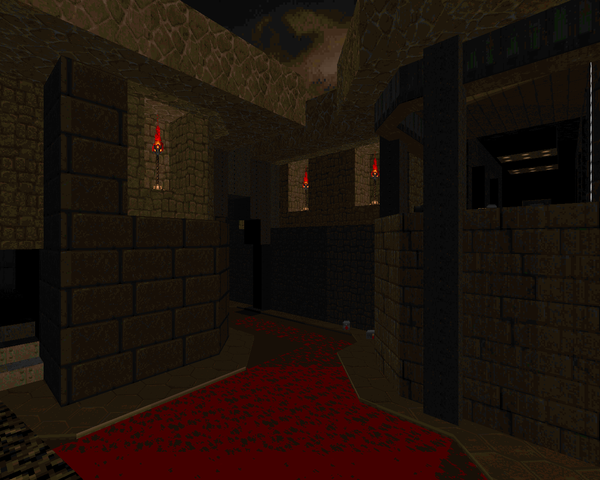
| Haha, here we go. It's a Hellish marble palace that doesn't seem too intimidating at first, Cyberdemon or not. Then you grab the SSG and a ton of revenants pour in. It's a good time to make use of your eye in the sky. The red key room's not that dangerous a clear, as long as you take out Cybie before you try. Love the lighting here. |  |
| MAP22 |
|---|
 | Red Hellish keep with a few monsters to tackle outside. Most of the threat comes from the imps waiting in the wings. Then it's down the chute to a trickier segment, like handling the three revenants on the switch platform. My highlight is the teleportation wave that appears in the opening area once you return, warping in a handful of tougher monsters, including an arch-vile, requiring the utmost attention from the player. |
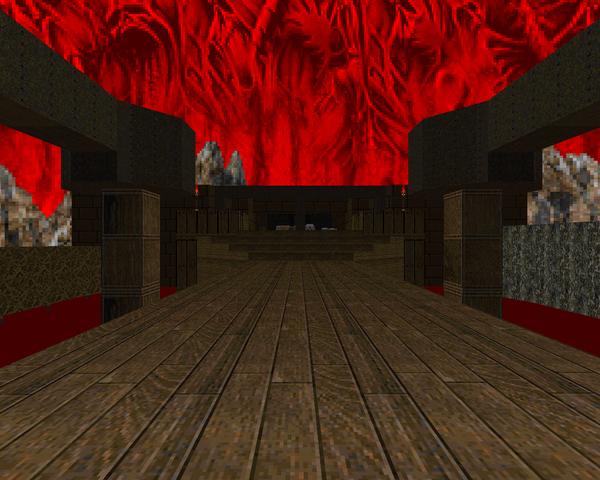
| MAP23 |
|---|
| This unholy fusion of wood and marble begins with quite a shock, but you're quickly whisked away to a slightly less dangerous area. My personal favorite is the running of the bulls, forcing you through the gauntlet surrounding the arch-vile pillar. I also felt pretty smug leaving the mancubus alive, who did some good work on the archies. That outdoor area is a killer, though. Pretty fun stuff. | 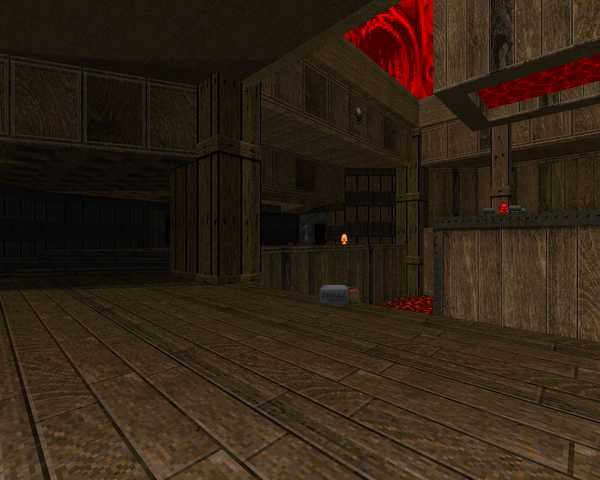 |
| MAP24 |
|---|
 | Very short and very brutal map that's inundated with blood (non-toxic). The main snag is the outdoor area which is loaded down with troublemakers, particularly two pain elementals and an arch-vile, but don't let them distract you from the other projectile-throwers. |
| MAP25 |
|---|
| Did I say 24 was brutal? Boy howdy I was wrong. This is a slightly larger Hellish cavern with very little real cover; you'll have to move fast and smart if you want to clear a space that isn't in demonic crossfire. The margin for error is pretty small, especially with the yellow key on an island in a 20% damage floor and no rad suit around. The red key trap is my standout encounter, trapping the player with a ledge of Hellspawn (pretty obvious) while a select few strike from the shadows. |  |
| MAP26 |
|---|
 | Well, uh, here's another nasty, Hellish map featuring marble, wood and cavern. The imp cave is a pleasant, relaxing foray compared to the other two areas. The yellow key is a nice surprise that puts you in a very compromising position, requiring you to work fast or suck dust. The ending room is a savage gauntlet with rows of chaingunners on each side and a pair of mancubi at the end, plus a predictable but still nasty final trap that gave me quite a start. |
| MAP27 |
|---|
| Shorter style battle in an underground cave filled with lava, kind of like a mini "Living End". Rad suits are your most precious resource and even they don't offer 100% protection. A few nice traps here like the SSG ambush or even just handling the contents of the room your first time around, which requires a bit of speed before you've really had time to confront the mobile horde of cacodemons in the main playing area. Cool stuff. | 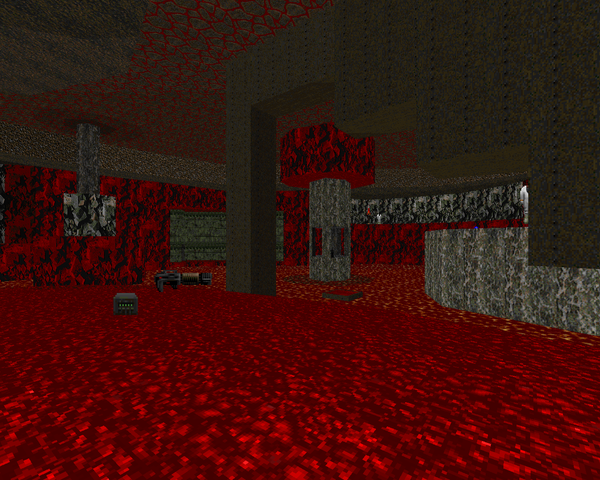 |
| MAP28 |
|---|
 | After a close marble encounter with precision crusher dodging, you're thrust into a vast cavern with two Cyberdemons at your back and an island of revenants in the foreground. But that's not all! Safely clearing this cavern while avoiding the periodic rocket fire is a worthy feat; you'll want to make wise use of your BFG or be stuck tangoing with the terrible two for some time. I'm sure the invulnerability is a great help, if you can figure out how to get it. Otherwise you might get a lot of fun turning the Cybies toward your own nefarious schemes. |
| MAP29 |
|---|
| Khorus's penultimate challenge is appropriately enough a Hellish gauntlet whose ammo concentration leaves the player unable to make each area safe before moving on to the next, so you're always on your toes looking out for danger from every direction. The atrium centered around the arch-vile pillar is my favorite section; going one way triggers a pain elemental assault while the other wakes up several pockets of demons and revenants before you arrive at the main cluster of pain at the tip top. Fiendish fun. |  |
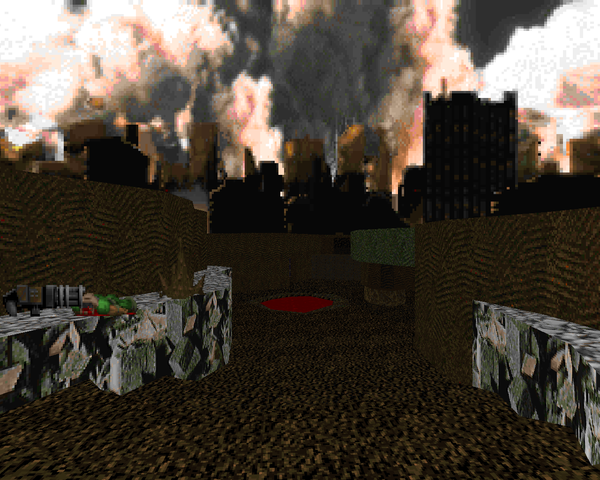
| MAP30 |
|---|
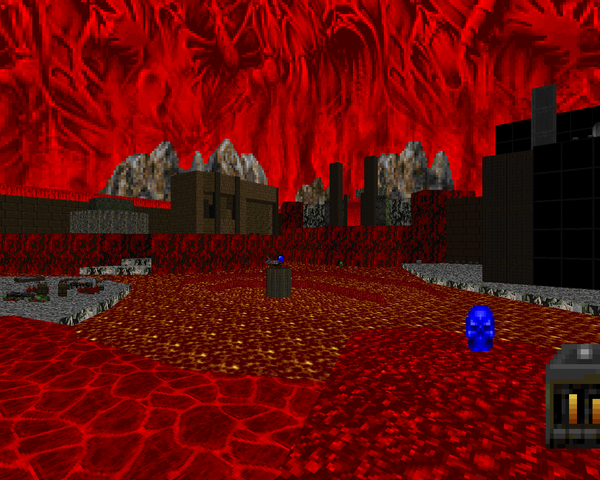 | The boss shooter map takes place in the decaying ruins of some cityscape in Hell. With the presence of an invul sphere, it's actually pretty easy to finish without straining yourself, though you'll have to be mindful of the eye in the sky. Very nice after the difficulty of the last few maps. |
GIVING DOOMERS
THE SPEEDRUNS

Being invited to make a map for this wad was a genuinely pleasant surprise :)
ReplyDeleteNice review.
It's a nice map, too! Looking forward to Unholy Realms.
ReplyDeleteall the puns...kmx stop...kmx PLS
ReplyDeleteIf anything, I'll silently add more puns as I discover them.
DeleteOh mate, this is one of the best reviews ever. I was nearly crying at work and I read some of it out to my colleagues (all female) who also found it funny, although they didn't giggle as immaturely for as long as I did.
ReplyDeleteKhorus really burns my arse - he can pass so many solid maps in the same time it takes me to strain out a single one. I can only give vent to my frustration, and know that Khorus takes his seat on the throne of speedmapping, a throne he ASSuredly deserves for his high work rate, high quality and (presumably) high fibre diet.
-MajorRawne
I hope he discharges a number two; I wouldn't mind seeing Khorus's Speedy Shit Deuce.
DeleteA very nice 'short maps megawad' that's also harder than most.
ReplyDeletekhorus does some nice work. it feels like strife is his true passion, tho.
DeleteWell he is one of arguably only two authors who have released good Strife PWADs to date (Kaiser the other; two of his kaiser_xx maps are Strife levels)
Delete