ALOHA999 is an 8-map replacement for the second episode of the original
Doom. Alamain, its creator, promises violence, danger, and no secrets, excising E2M9 entirely. What he delivers is, eh, competent in terms of geometric layout, but he generally fails to keep me excited. First and foremost, you will rarely encounter more than one monster type at a time. With a few exceptions, each room / area houses an enemy selection as bland as the accompanying detailing, which really drags down the overall excitement.
The lack of secrets isn't really an issue except for the fact that this "feature" appears to be Alamain's way of making secret doors a solution to several of the map's puzzles. Some of the other non-enemy obstacles are a little obscure, but they're okay, excepting a few that put you in irretrievable scenarios. The architecture is okay, but it's fairly basic stuff, not to mention the texture alignment errors. More interesting than some maps I've played, but ultimately lacking in distinguishing features except for say E2M6 and E2M7. If you're absolutely dying for episode replacements for Doom, go ahead and give ALOHA999 a try. At the very least, I'd say E2M7 is absolutely worth a shot.


ALOHA999
by Alamain
| E2M1 |
|---|
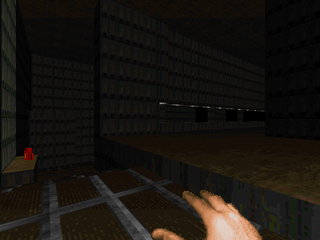 | Very flat and bland map using techbase textures but with some decent lighting. A little puzzle-solving involved with timed switches. Monster encounters are separated by type and by room, involving sergeants, imps and demons, but never any two at the same time. The sergeants are a little dangerous given how numerous they are but the demons are mostly harmless and there's plenty of health. Standout encounter is the imp crossfire between the blue and red doors. |
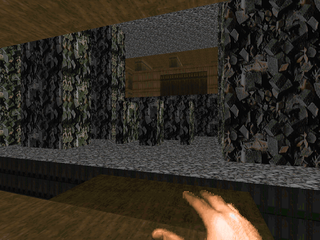
| E2M2 |
|---|
| Some of the previous map's foibles, including bland detailing and monotype monster packs, but Alamain throws a few peppers into the gumbo, with a rather predictable ankle-high shotgun guy ambush at the beginning and several teleport traps. He also busts out the cacodemon at the end, but they're easy to dispatch with your advanced weaponry. The nicest bit is the architectural highlight, the blue key building located in the center of the map's toxic pit. | 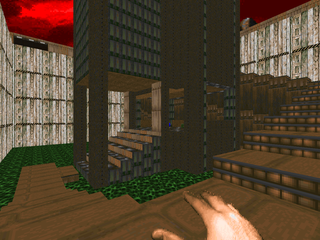 |
| E2M3 |
|---|
 | The level is a bit larger but overall it's more of the same. Take care – if you fall into the western pit, you're probably never getting out. There's also quite a few jumps down into demon packs, which is kind of annoying when Alamain's intent is for you to chainsaw your way out. I do like the berserk / imp fight in the northwest, though. |
| E2M4 |
|---|
| A departure from previous encounters, resting on the concept of dodging Cyberdemon rocket fire. The first segment has you running from cover to cover while a later portion has you ducking into nooks and crannies in a corridor as rockets race down the hallway. Otherwise, nothing particularly memorable outside of the northeastern lift room, which really drags things down. The downside to this level's gameplay is that Alamain has taken no pains to make sure that all of the offending Cyberdemons are killable. | 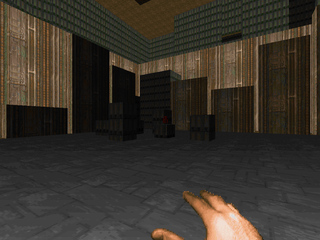 |
| E2M5 |
|---|
 | Starts out with a deadly dull maze section with an obtuse walkover line puzzle which segues into a semi-clever teleporter puzzle, excepting the fact that you'll have to warp back into the maze and walk out twice again. At least Alamain is starting to mix up monster groups. The post-maze section has the best gameplay of the map, though it isn't much better. |
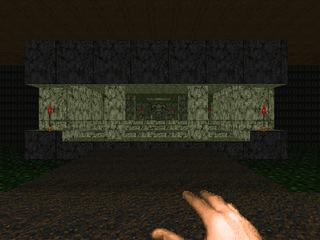
| E2M6 |
|---|
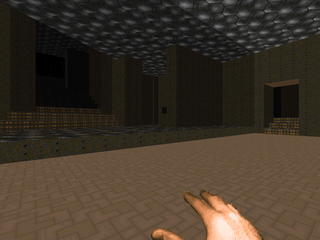
| A larger level with some decent encounters but it feels empty and has some true "What were they thinking?" moments like the five teleporter ledges in the largest open area, or the incredibly annoying blinking baron fight near the map's climax. The red key, hidden behind an unmarked secret wall, is particularly egregious, but I like the yellow key battle and it sets up a simple but nice trap. | 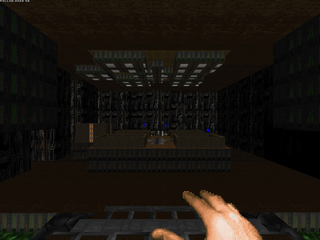 |
| E2M7 |
|---|
 | Primarily marble-themed map with some actually interesting construction. I like the temple facade and the way the tech transitions to Hell with lighted walls at the very beginning. Monster count is pretty much imps, with a few upper-class demons poking around, so gameplay is kind of boring. Also a lot of false walls, which manage to add some suspense as monsters are fond of crawling out of them, including barons. Alamain pads the level, however, by teleporting you back to the beginning, forcing you to fight through some light resistance before finding the true exit about halfway through the map. |
| E2M8 |
|---|
| After the promising bit of level design in E2M7, we get this, a spiral-shaped gauntlet through most of Doom's bestiary and weaponry. The Cyberdemon segment of course looks the most interesting, with raising and lowering cover, and plenty of powerups to help you tackle Doom's most powerful demon. The map otherwise fails to thrill, much in the vein of the rest of this episode. | 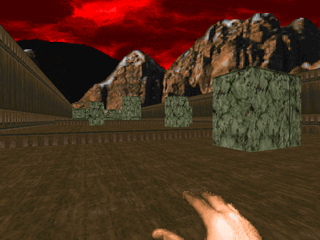 |
A HUI HOU
This isn't one of the best '94 Wads I've played, but far from the worst. Level layout and monster placement is not very inspired and there weren't many stand out moments that would bring me back either.
ReplyDeleteAlamain succeeds at the pure guts of Doom maps but he doesn't stand out much as a '94 author. His more recent works are more notable for showing virtually no influence from PWAD development over the past twenty or so years.
Delete