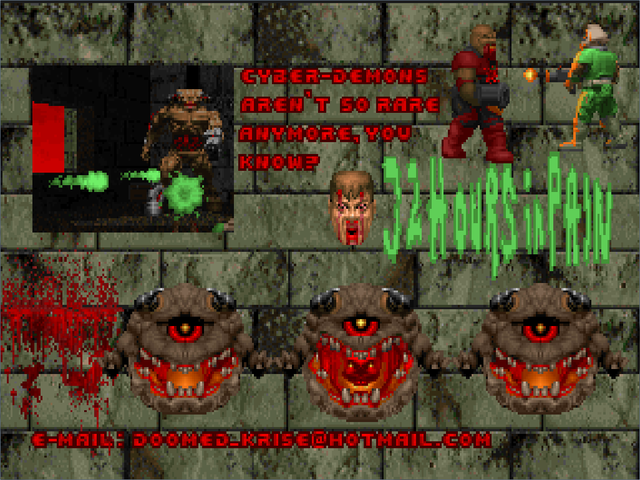
32 Hours in Pain is the second installment in
Kristian Aro's "20 Days in Hell" trilogy, published back in 1998. The first WAD,
20 Days in Hell, began after the Doom marine was slain by a mugger while trying to protect his wife, Serena. Hell promised Doomguy that he could leave if he managed to survive for twenty days in the abyss. Of course, they reneged, and in
32 Hours in Pain, Serena decides to go to Hell and get her husband back (courtesy of the now venerable
FEMDOOM.WAD). Her journey takes her to an Earth space port to the moons of Jupiter and through the very gates of Hell. Of course, the demons won't give up their torture victim so easily, and you have to fight tooth and nail.

Where
20DNHELL used
The Plutonia Experiment as its IWAD,
32HNPAIN uses Team TNT's
Evilution. Aro also loosely follows the naming scheme of the map slots, some more than others (and others not at all). I assume that he's co-opted the existing slot names as a few have been explicitly changed.
PAIN compares more favorably to its older sibling in plenty of other categories. Kristian's developing experience makes this selection more palatable; the levels both look and play better in general, though there are still some troublesome pistol starts for those intrepid demo runners, and he maintains the modified soundpack, with the primary distinction being Serena's (sparing) vocals.
PAIN essentially has the same playstyle as HELL, being a series of small to medium-size levels with a monster count somewhere between 50 and 100 monsters, usually leaning toward the former. They can be hard at times, but they're rarely impossible as long as you know where all the secrets are. Of course, in a few spots, the secrets hardly help, and these are the most frustrating levels of all. Still, I had more fun playing PAIN than its progenitor, and would even hold this mapset up as an example of if not stellar than the kind of workmanlike craftsmanship that typifies one-man megaWADs.

Aro doesn't play around with much of the Evilution textures, at least not that I noticed. You'll see some of the custom bits more, including a one-time cameo of a Strogg crate as an homage to the section of Quake 2 that inspired MAP08, "The Sewers". The amount of homages aren't quite as blatant as 20 Days in Hell, but they're there, with some Thy Flesh Consumed bits (most notably MAP23) and definite cues from TNT's original work. He's much better at creating interesting layouts and fights, no doubt a product of experience. Like contemporary turned best bud Paul Corfiatis, Kristian draws from the glut of id-sanctioned music, featuring cuts from Doom, Doom II, Evilution, Heretic, and even Hexen.
If you've played all the super cool megaWADs and are looking for an old fix that's new to you, you might want to give 32 Hours in Pain a try, especially if you're fond of challenging gameplay and Team TNT's Evilution. And then, if you have a really high threshold of pain, go check out the previous WAD in the series, 20 Days in Hell. I'm pretty happy with it, though if you're not one of those people that love gritting their teeth through mandatory Tyson maps, I strongly suggest you use carryovers.

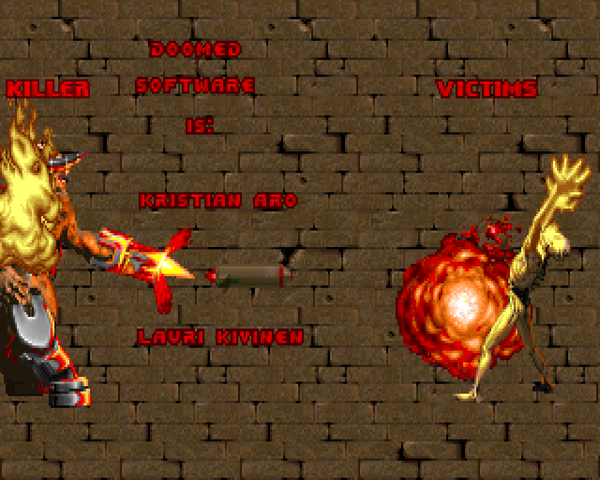
32 HOURS IN PAIN
by Kristian Aro
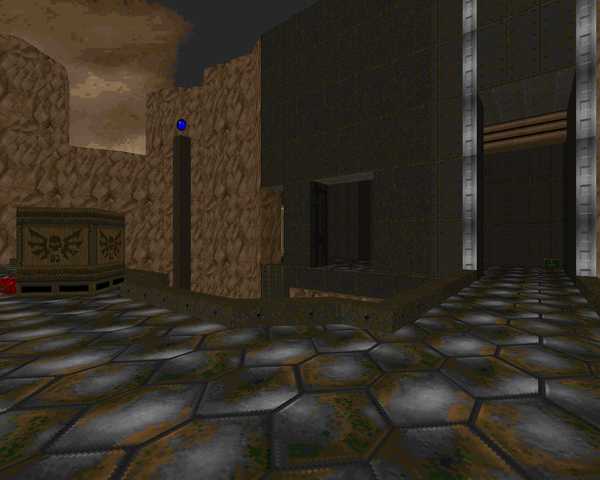
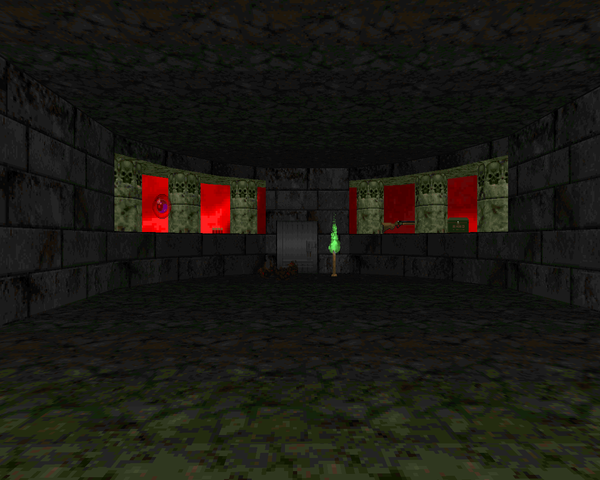
| "System Control" | MAP01 |
|---|
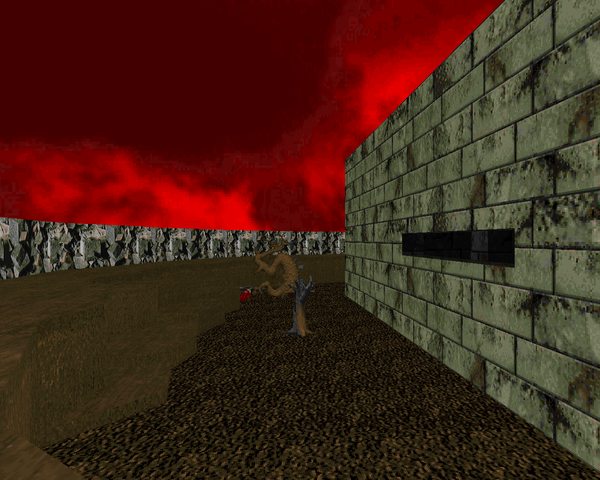
| Short but violent level with an approach to an admittedly bland cliffside base entrance. The main control looks decent enough, with most of the enemies crammed into the red key area, especially the very deadly hitscanner-laden trap. Fighting the monsters at the top of the entrance is a pretty good combat moment, but the standout encounter is definitely the mass of monsters to the north. | 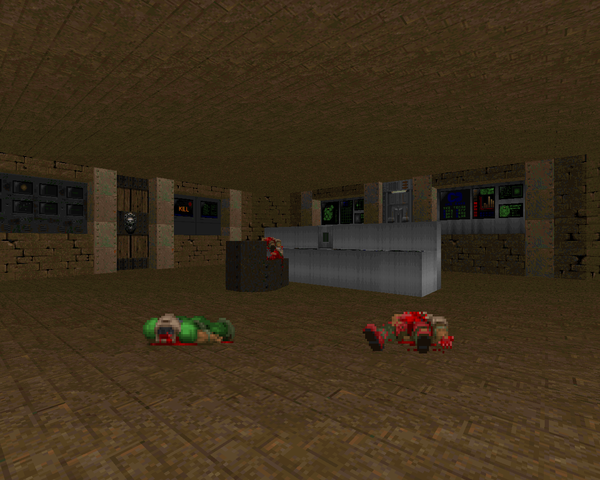 |
| MAP02 | "Human BBQ" |
|---|
 | A beige brick teleporter-type hub level. It has a few really tricky bits, primarily clearing the southern area with enough ammo to safely take down the arch-vile behind the yellow key door, and the bizarre Cyberdemon trapped in the northeastern ravine. There's no real way to kill him, unfortunately. The architecture and detail are definitely a cut above Aro's first megaWAD, with some nice lighting to boot. I especially like the staircase area leading to the nukage room. |
| "Power Control" | MAP03 |
|---|
| A pretty cool little level based around a canyon and cavern complex. The opening is a dangerous crossfire where you really just want to grab the RL, some ammo, and duck inside, battling the monsters in the dark where it's difficult to see. The outer area doesn't have many enemies, but there is a pair of Spiderdemons that you can provoke into some delicious infighting. I would say the second underground cavern is my favorite encounter, though. | 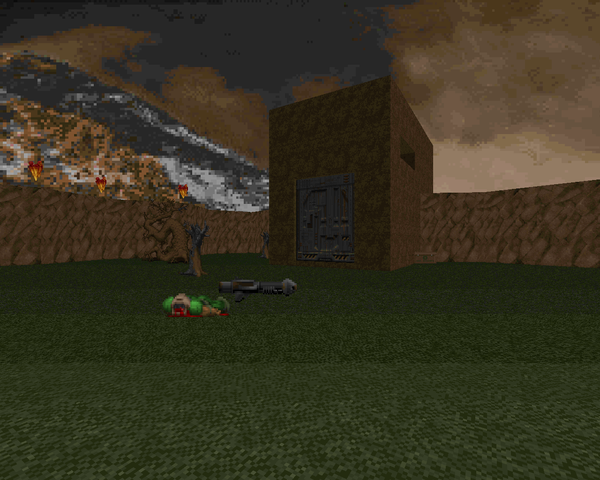 |
| MAP04 | "Wormhole" |
|---|
 | It's got kind of a cool layout but the map is square and symmetrical. Each corner area behind the vines is loaded with imps, and you have to open up the corner balconies in a specific sequence, each loaded with the same enemy composition (chaingunners, imps, demons, and some other zombies). The only good part comes when you unleash an army of Hellspawn into the central yard, which is a varied bunch. Getting the arch-vile to teleport seems to be a little touchy. Note that there's a super special secret you can't miss, as it considerably lowers your ammo concerns... |
| The Catacombs | MAP05 |
|---|
| A return to frustratingly difficult level design. Rockets compose the majority of your ammo, yet the action is almost entirely in splash-damage range. The blue key room is probably the least dangerous place to use them, and yet it's still quite a gamble. Enjoy the super narrow marble hallways to the west and, more importantly, the two tag teams by barons and pain elementals near the beginning. |  |
| MAP06 | The Abandoned Barons |
|---|
 | This map isn't too rough except for a relative lack of ammo. Infighting helps but the berserk pack isn't available until you've already triggered a massive demon invasion, which you'd have to fight back through in order to get to it. While I like the monster layout there's way too much time spent killing hell knights with the single barrel shotgun. The demon / arch-vile ambush is my standout moment but there are some neat visuals, like the hanging barons (which could have used a new sprite). |
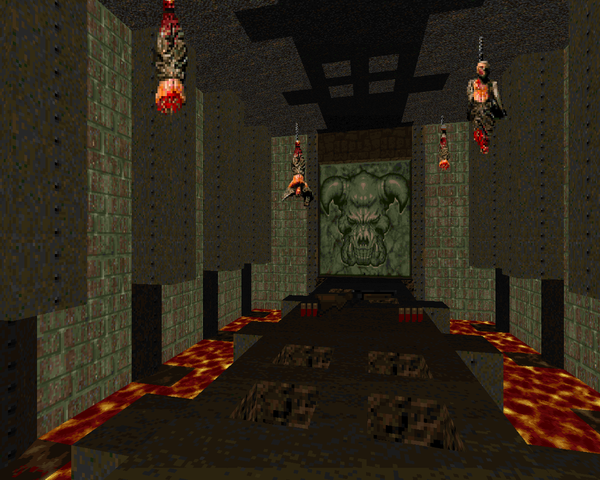
| "Prison" | MAP07 |
|---|
| A series of simple encounters that are just slightly across the edge of being annoying. It uses the "Dead Simple" tags, but the organization is slightly different. You start out fighting arachnotrons on an island while they're down in the muck (a 20% damage floor you don't want to step in). Firing down on the spiders is irritating once they get close to the platform. The mancubus tag comes in the second area, a dark stone crypt with a nice, claustrophobic imp fight. Unfortunately the mancubuses arrive via a teleporter trap that's just too slow. At least you're swimming in ammo. |  |
| MAP08 | The Sewers |
|---|
 | Borrows the look of its opening area from Quake 2's "Supply Station". Thankfully it's a bit more exciting. Most of the monsters are crammed into that first initial gorge section, with enemies hanging in the rafters and a ton waiting on both sides of the bridge. You'll have to be deft and handy with the chaingun / shotgun before you have enough room to go back and get the real weapons and ammo so you can return and re-clear, a move Kristian no doubt anticipated as there are some cacodemons that only pop up afterward. That first courtyard fight can be pretty nasty, too, even with the freebie rocket launcher. Very fun, if a little tricky. |
| "Stronghold" | MAP09 |
|---|
| This beige brick fortress isn't impossible, but it requires the utmost frugality, particularly saving almost all of your shells and doing some dangerous dancing with barons until you can grab the SSG located behind the blue key door. Even then, you pretty much have to avoid an entire army of hitscanners and imps backed by an arch-vile with cacodemons lurking around and run to hit a switch that allows you to get one hundred cells and a blessed megasphere. Then and only then can you finally take a deep breath and get ready to clear all the shit out that you skipped. I would love to see this level demoed from pistol start. |  |
| MAP10 | "Redemption" |
|---|
 | Now, this jail-type map seems maddening, but your ammo situation can be easily mitigated by digging a hole through to an ammo cache near the level's beginning. It should make your life a lot easier, though you're still wanting for a super shotgun. The row of cells is kind of annoying to clear. There's also a Spiderdemon lurking somewhere and you can have a lot of fun rounding up the hell knights and getting them to infight him, which they can do a good job of. Simple enough, but pretty fun. |
| "Storage Facility" | MAP11 |
|---|
| Really tricky beginning that involves dodging Cyberdemon rockets in an enclosed space (odd use of silent crushers here) so that you can dart in and grab the plasma rifle and the switch he guards. Once you sort him out, it's pretty standard room clearing with some high-HP enemies (you'll love saving rockets for this). If you're anything like me, you'll get a little overzealous and a little scorched. The end sequence has a view to a pretty cool rocket ship which has just a little trash on the way. |  |
| MAP12 | "Crater" |
|---|
 | So nice to be treated to a more sensible level. The initial rocket grab is a little risky but the fights, like the hitscanner guards at the blue key, are mitigated by plenty of health and ammo. If you line one of the battles up right, you get to pump rockets down a corridor into a pack of eight barons. Joy! The exit, located in the center of the "crater", has a few mancubuses and arachnotron guardians, but as none of them are in your way, you don't have much to fear. I like the molten Quake-ish bridge that leads to the western area. |
| "Nukage Processing" | MAP13 |
|---|
| Carries some similarities with its original slot, like the Cyberdemon stuck on the inside while you're out in a large, outdoor area. Its most distinctive feature, though, is a series of planetary tunnels you take in order to get to said outdoor area, which in all honesty could have used a few more monsters to liven things up. As it stands, things are pretty barren outside of the monsters clustered into the access tubes, which are fun to mow down though not that challenging to fight, except for maybe the two revenants on the outside. Also a prime opportunity for a speedrun trick if the arch-vile can jump you through the Cyberdemon window... |  |
| MAP14 | "Steel Works" |
|---|
 | A simple mix of beige brick and techbase with a few notable quirks. Most of the monsters are limited to two packs of hitscanners and imps, one of which harries you at the beginning, the other lurking around the corner. The one major hangup will be the collapsing bridge, where two barons attempt to cut you off. Taking down both barons is a little tedious (if you can field the ammo). It's possible to get stuck if you exploit the teleporter and don't cross the bridge until after you've visited the baron cubby and hit its switch, which is supposed to reset the crossing. The rest of the map plays well, otherwise, with a nice Spiderdemon showdown in the opening room. |
| "Dead Zone" | MAP15 |
|---|
| A marble and mortar map that draws a lot of its inspiration from "The Courtyard", from the opening facade to the massive teleporter fight in the building itself (albeit triggered by a secret). There's a lot of opportunity for infighting, so use it while you can, because there isn't a whole lot of ammo to be found. Some excellent lighting helps to liven up an otherwise plain map. The secret exit isn't too bad, you just have to find the level's secrets, which are unlocked more or less in succession. |  |
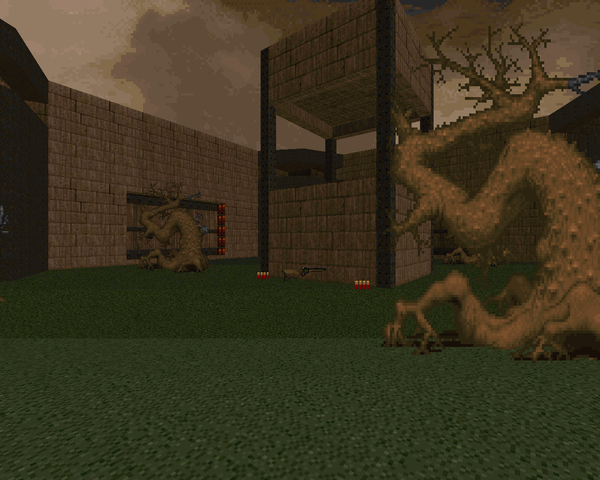
| MAP31 | "Pharaoh" |
|---|
 | Some nondescript beige brown ruins that start out in a castle and move on to a more marble section. There's an organic maze a la "Pandemonium" that branches off a very plain rectangular area that houses a Spiderdemon and two baron guardians. Sixteen of the map's monsters are tied to revenants who as far as I can tell never teleport into the map. There are also some lost souls that fail to manifest, which may just be a fault of the ZDoom engine. The secret exit requires a lot of backtracking to various places which should have aroused suspicion on the automap if you were at all observant. Pretty fun, even if the visuals are a little bland. |
| Demons | MAP32 |
|---|
| Aro delivers a lighthearted and mostly easy slaughtermap, all things considered. You start out overlooking a courtyard with a horde of revenants facing away...and toward a pair of Cyberdemons. Of course, expect infighting. The hardest part is probably speeding past the four arch-viles on the platforms. I guess the ring of death could be tricky, if you didn't grab one of the leftover invul artifacts and deal with most of the trash before you got to cleaning. I love the absolute madness of the final teleporter wave – likely two Cyberdemons stomping around, a handful of pain elementals teleporting in, and then the imp army backed by a Spiderdemon way in the rear. |  |
| MAP16 | "Deepest Reaches" |
|---|
 | Another small, simple map that starts out with a descent into a gorge before uncovering a base infested with Hellspawn with a dip into the infernal regions. Except for the mancubuses at the bottom of the stairwell and the red key (which you'll probably have to steal before you go back and finish its guardian), it's a straightforward map which could really use a rocket launcher, especially to help speed along that arch-vile that teleports to the top of the ridge that has all the imps on it. I liked it. |
| "Processing Area" | MAP17 |
|---|
| Uses the same color scheme as Mustaine's for the tech areas. It's one of those maps where you're basically fucked if you don't know where the secrets are, i.e. the shotgun hidden at the beginning (a nice “easter egg”), the SSG hidden in the pain elemental closet, and I guess the tunnel leading to the red key is flagged as a secret, but that's too obvious to count. Might as well throw in the plasma rifle secret, too. Action is packed into discrete bits, like the fight up the main staircase and then back down again, with a nasty arch-vile backing your opponents, probably the standout with the way the pain elemental delays you. | 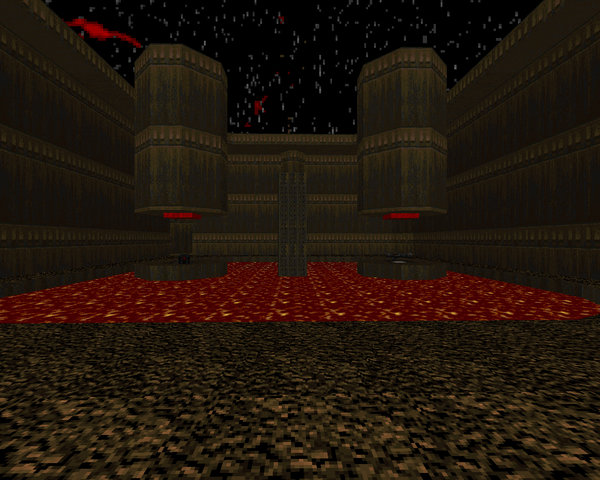 |
| MAP18 | "Mill" |
|---|
 | A fusion of beige brick and dark metal in the form of a series of mostly symmetrical rooms from south to north. You head south, through a bunch of uglies (your first weapon being the rocket launcher), and then once you've outsmarted the Cyberdemon, teleport back to the beginning and head north, to the button that reveals the exit switch back at your origin. The Cyberdemon cat and mouse game is my standout encounter, though there are plenty of other surprises for you, including a teleporter trap and that first foray into the damage floor area. Good stuff. |
| "Shipping/Respawning" | MAP19 |
|---|
| Unusual level with an intro reminiscent of "Open Season". After a crate area shootout where you'll be ducking hell knight plasma balls, there's an outdoor shootout with an annoying blind drop where misjudged distance drops you into an inescapable pit, which sucks. Also a few death traps, one of which you can disarm via a secret, the other of which is basically a case of picking the right teleporter. The best bit is kind of a Hell Revealed "defanged", the blue key trap which plays like a budget version of the cage trap from "Last Look at Eden". The look at the cargo bay is pretty neat, if plain. | 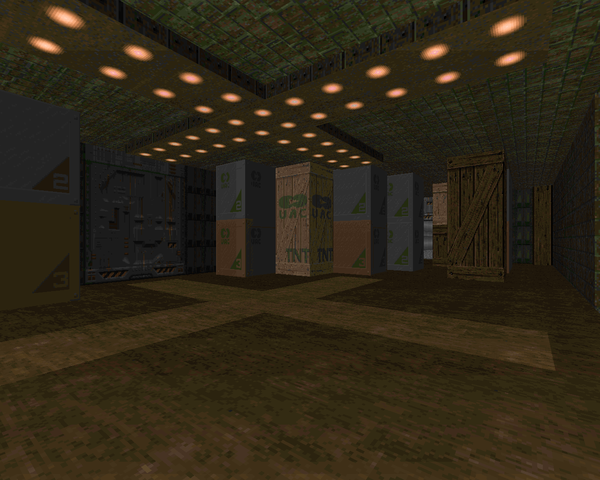 |
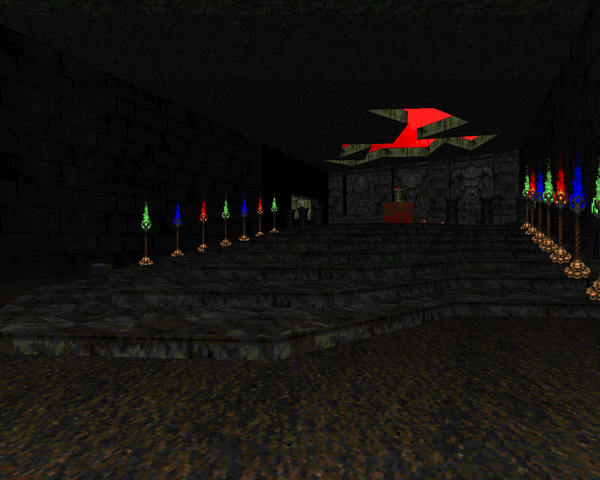
| MAP20 | The Gateway to Hell |
|---|
 | Short map that plays out as an homage to the end of 20 Days in Hell (itself an homage to Plutonia's own MAP30), as Serena follows the footsteps of her husband, the gateway in shambles. After some sightseeing it's off to the meat of the map, a series of highly-staged encounters you can't hope to survive without grabbing some secrets, mainly the rad suit / plasma rifle chamber off the fortress's exterior. The trickiest bit is the Cyberdemon that guards the red key. You can't really kill him at first, so you have to lure him away and spirit off with your treasure and then come back when you have the blue to end the level at a nice-looking ziggurat. |
| "Administration Center" | MAP21 |
|---|
| Aro starts the third episode with something a little larger, but the map feels empty at times. The opening fight starts out with a bunch of imps and a baron but quickly gives way to more complexity with the introduction of eight cacodemons. The most striking section to me is an series of underground tunnels that reveals itself as one of those trident monuments seen throughout the megaWAD; the fights on the topside are pretty heavy and help to fill things out. The only real problem is the conspicuous absence of the rocket launcher, which would help keep the level from feeling quite so desperate ammo-wise. | 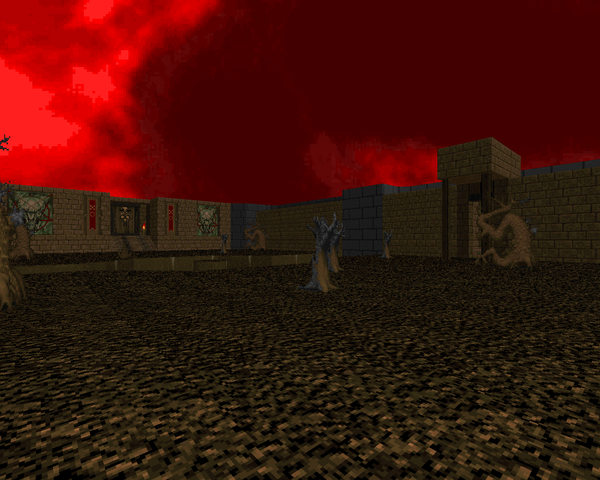 |
| MAP22 | "Habitat" |
|---|
 | A tight section of Hellish ruins with a somewhat complex layout. The initial look is pretty good, a higher platform with two gargoyles which drip blood into the lower channel, which has two hell knights in tight corridors and requires some quick action to make the area safe. Combat is tight with some potential for intelligent BFG use and some cool lighting. The only bit that threw me was the little red key closet. I swear I tried using the elevator / pole several times, but abandoned it as it wasn't working, only to get it on a return trip. Good fun. |
| "Lunar Mining Project" | MAP23 |
|---|
| This is a "Perfect Hatred" knockoff in red brick that quickly delves into the absurd, as all the safeties put into place to keep the player alive in Romero's version are absent in this pistol start. You'll want to avoid killing as many monsters as possible if you want to make it through the granite cavern alive, which houses a plasma rifle and the necessary ammo to finally give yourself some breathing room. There's also a Cyberdemon hazard in a really small, circular room, though you can avoid it with foreknowledge. The few arch-viles that appear are mere curiosities in the face of the other difficulties. |  |
| MAP24 | "Quarry" |
|---|
 | A bloody, tricky map composed mostly of marble. There's a less obvious homage to "They Will Repent" with the plasma rifle secret. The architecture is pretty good (excepting the very plain pain elemental area), a nice house for all the brutal action Aro levels at you. You'll be lurching around all manner of monsters in tight corridors. The nastiest bit is a toss-up between the grueling outdoor segment, where you have to spend some time making the immediate exterior safe, or the pain elemental mashup outside the exit chamber, which promises to get out of hand ridiculously fast. As always, the secrets make things bearable. |
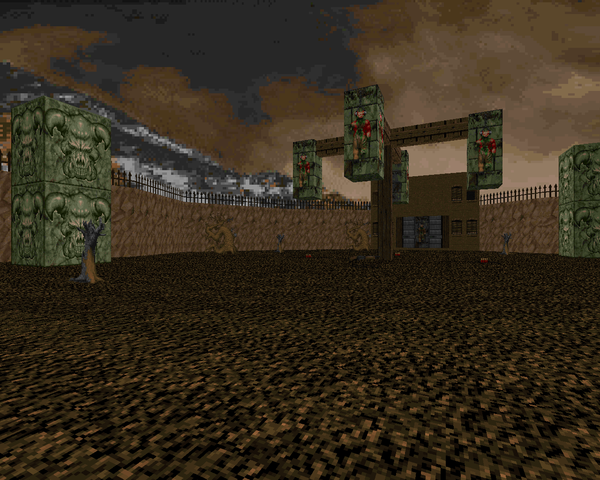
| "Baron's Den" | MAP25 |
|---|
| Those thin, earthy hallways evoke something of TNT level, but Aro's take is much smaller and to the point. Keep your eyes peeled for numerous, precious secrets. The lion's share of the action is a nest of barons in a marble hall to the northeast, an excellent way to soak most of your ammo. More disturbingly, some of these guys are sent downstairs with an arch-vile, potentially, so whatever Tysoning you can do, do it. There isn't a berserk pack at the beginning for nothing. More importantly, frugality will give you plenty of leeway to oust the Cyberdemon that guards the exit reveal switch. Otherwise, you'll be sticking your neck out quite a ways. |  |
| MAP26 | "Ballistyx" |
|---|
 | Not the most auspicious beginning. I guess the four Cyberdemons are just a scare? Anyways, it's divided into four main playing areas. The first is a painful series of thin, doubled hallways that requires some deft maneuvering when it comes to the hell knights. Then a little bunker with hardly anything inside, finishing with a castle front that's not all that dangerous unless you stick around for the blue key ambush. Some okay visuals, but a pretty grueling map for what little content there is. Bleh. |
| "Mount Pain" | MAP27 |
|---|
| Very short map that's crammed full of action originating from three teleporter ambushes and borrows the infamous backdrop of the TNT original. Each ambush has its share of complications. The first has spectres, which makes maneuvering a bit tricky in the texture / lighting combination. The second is a more enclosed space with less dodging (unless you bolt outside). The last has an arch-vile, trouble enough (unless you walk in with the handy invul, unlike me). Once you get outside, the action's pretty much over. Fun while it lasts. |  |
| MAP28 | "Heck" |
|---|
 | Short, cool map with a lot of violence. You descend into a densely-populated yard with shotgun guys manning little towers. About the safest route is to just duck inside after luring the temple guardians and then get the Cyberdemon occupied so you can grab the BFG (and invul) that he's guarding. After that, the rest is gravy. The Spiderdemon arena is a neat set piece that resembles something I'd expect from a boss shooter map. |
| "River Styx" | MAP29 |
|---|
| Aro's "Styx" is much more earthy, with a small marble temple dumping you into an enormous canyon through which the river runs. It's full of all kinds of nasties, including several imp packs and a ball of flying monsters to the northwest. The worst part is handling yourself with your meager ammo stores, particularly the revenant followed by the hell knight and then the arch-vile in the narrow interior of the western butte. You don't get a plasma rifle, which would be indispensable, until after waking up the Cyberdemon. The butte segment just drags things down for me. | 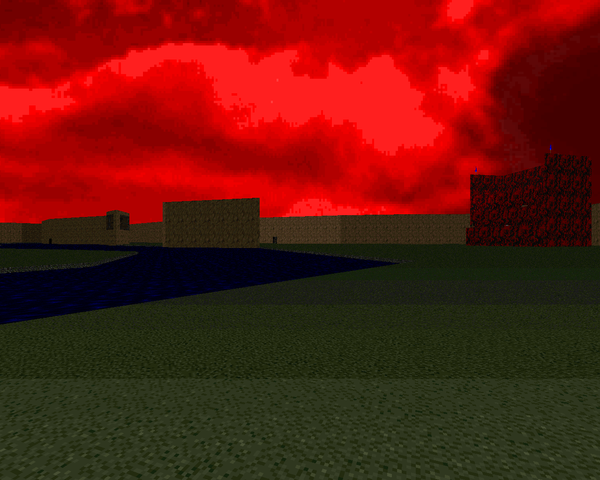 |
| MAP30 | "Last Call" |
|---|
 | Not quite as inventive as Sieben's finale but it's a decent shot with some plain but serviceable arenas. The opening mancubus mob is amusing and dodging the rockets from the three Cyberdemons in the backdrop should be at least slightly interesting, more so when you have to fight your way back to the beginning of the level. The true final encounter is pretty underwhelming, but after all the shit Serena's been through, it's nice to give her a break. |
32 HOURS
SEVEN WEAPONS
THE CANNONBALL FUN

Cool review. I played some of these maps before blasting my way through Whispers of Satan, and I remember being kind of blown away by the leaps he made in the years between. Good, mild fun to be had, and I'm quite thankful this was before I became a dedicated pistol-starter :)
ReplyDeleteThanks! It will be fun getting to his more recent / acclaimed material, especially with his CC4 level coming up soon.
Delete