When
3 Heures d'Agonie was released, there were a few authors who formed the backbone of the megaWAD. One of them was franckFRAG, who had six levels of a construction type I'd never seen before. They weren't ornate, but they were heavy in height variation and tricky monster positioning, making them short, sharp shocks full of riotous gameplay.
Swift Death takes this aesthetic and drives it to its logical end. Released more or less in 2014, the lower difficulty levels play like the
3 Heures d'Agonie maps, but UV is a collection of death traps you will be hard-pressed to navigate, perhaps the closest confluence I've seen of a game like
Super Meat Boy and
Doom.
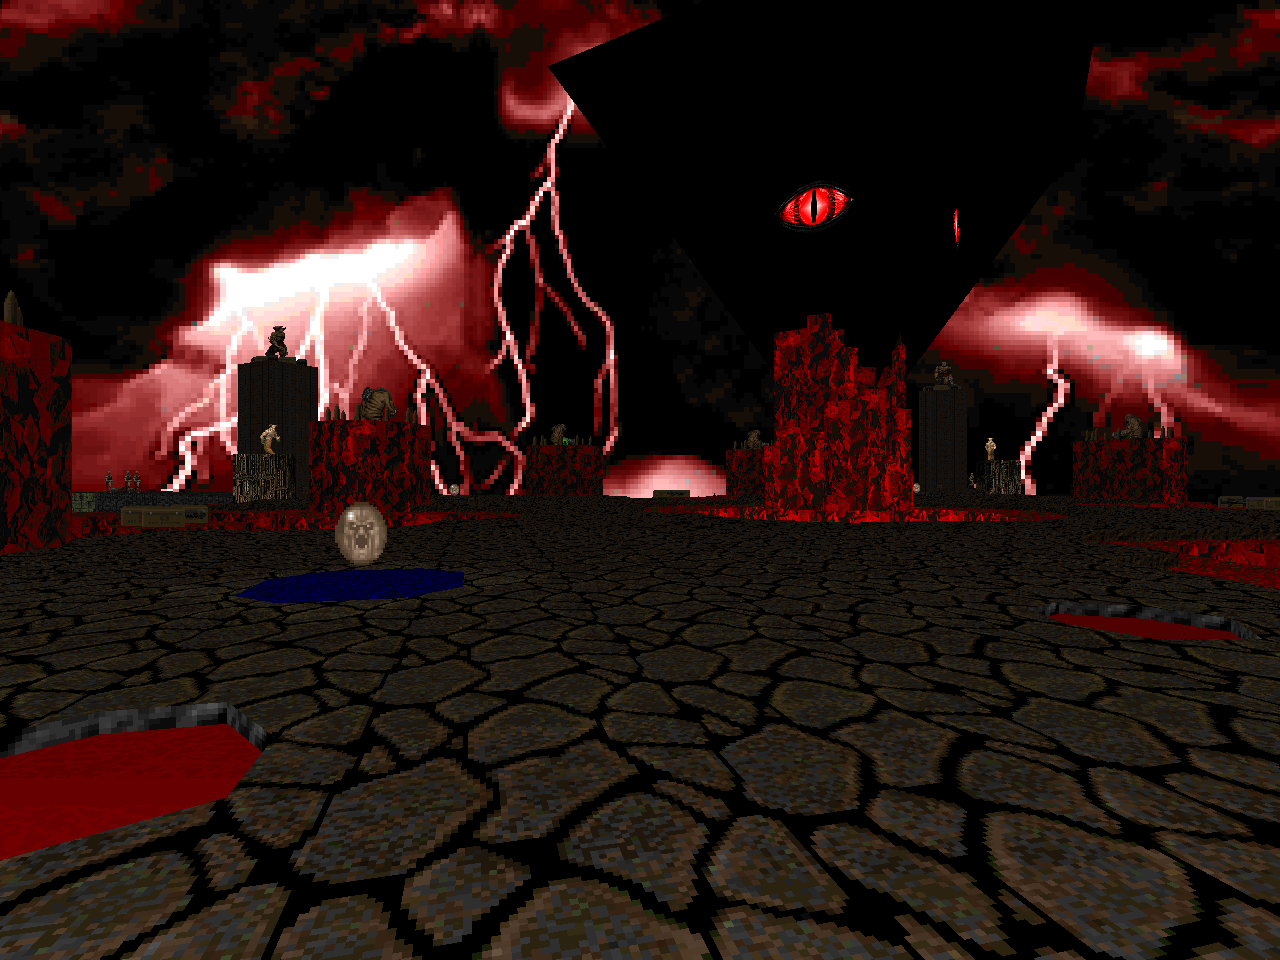
Swift Death actually has a framing story, and it isn't half-bad. I mean, it's really basic, but what else would you expect when the basic concept is throwing yourself on the rock of a bunch of super-lethal death traps? You could fit it in right after any one of those downer PWAD endings. You've been imprisoned under the thrall of a powerful, evil god, named Itanimulli, who subjects you to endless torture through an infinitude of worlds and dimensions that are populated with nightmarish beasts. Time and time again, you're torn apart, but every death grants forbidden knowledge which you use to eventually overcome your oppressors. The only thing that keeps you going is the hope that every conquered cell of agony brings your inscrutable jailer closer to confronting you himself.
When I say that Swift Death is hard, I ain't lyin'. The moment your eyes open you are surrounded by monsters on all fronts, with the author aware of how to exact the most pain from enemy placement. The thing plays like a Rubik's cube that is actively trying to kill you. New players will be lost, but they're not the target audience. Experienced players will be able to intuit routes and probe weak points during their failed attempts until they discover a place they can make safe and from there start to plan their next move. It would be tempting to describe the levels as being front-loaded, and that's sometimes the case, but the action never really lets up. The balance of health and ammo is too exact, the danger too real, for you to ever really rest your laurels.
One of these levels didn't really gel with the Swift Death concept. "Redhouse Effect" was a grueling Russian nesting doll that quickly wore out its welcome as you chew your way through the same enemy placement in four different directions. FranckFRAG eliminated this from the original lineup, replacing it with the much more standard "Central Chain". "Imperium" is a similarly-sized map, at least in terms of monster count, but the execution is more in line with the rest of the mapset; it's just stretched out over more than three hundred Hellspawn, so all the superior weapon pickups come that much slower. It only figures, seeing as how it's in the MAP29 slot. "Doppler Effect" is a really simple endeavor if you can time the opening to tether the arch-viles to your main aggressor. The rest, though, generally fits in with "monsters everywhere and you are already dead".
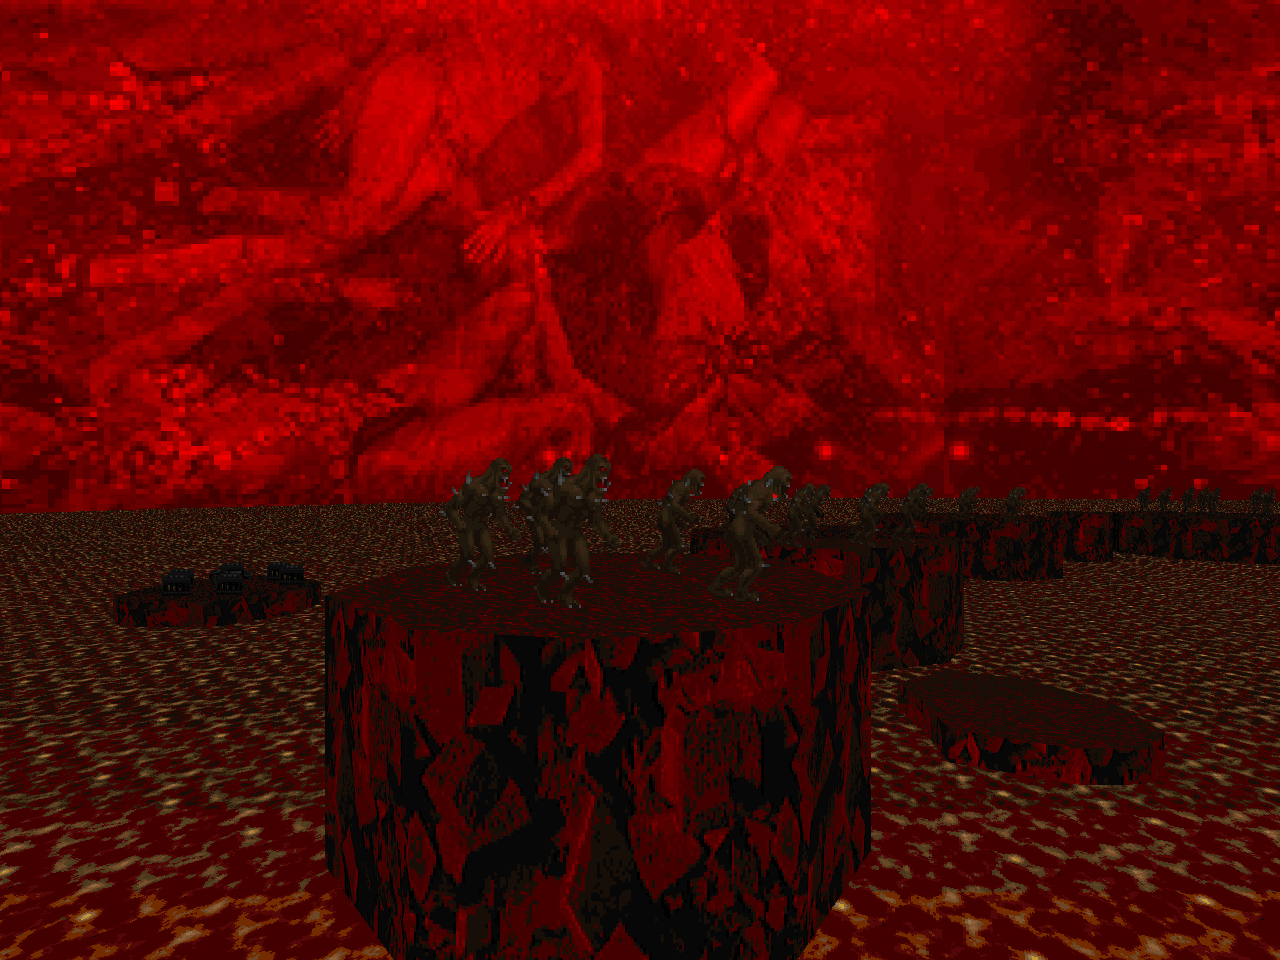
franckFRAG has made a mapset that is reserved mostly for people that are expert Doom players and don't mind dying over and over again in search of success. I don't know how well the difficulty settings translate. According to the author, "Toilet Break" and "Soft Event" are meant for more casual players, though the only difference between them will be half damage / double ammo. I imagine that you could always dip it down if you met a level that was too much of a roadblock. It's all designed to be played from pistol start, after all. I don't think that this will hold a lot of interest for people that look for a more coherent, immersive experience, but the only way you'll know is if you try it for yourself. There's only you, and the demons, and a nice collection of music tracks and skies. The one that looks like sleeping goddesses, featured throughout most of the third episode, stands out in my mind in particular.
I really appreciate that
Swift Death exists. It's a cool concept and feels like a more organic take on puzzle play, where the enemy placement itself must be figured out rather than switch A opening door B on the other side of the level. Heck, I wouldn't mind seeing a
Swift Death 2, either, exploring new texture themes and the magic of BEX. Thanks, franck (and memfis, and JCD).


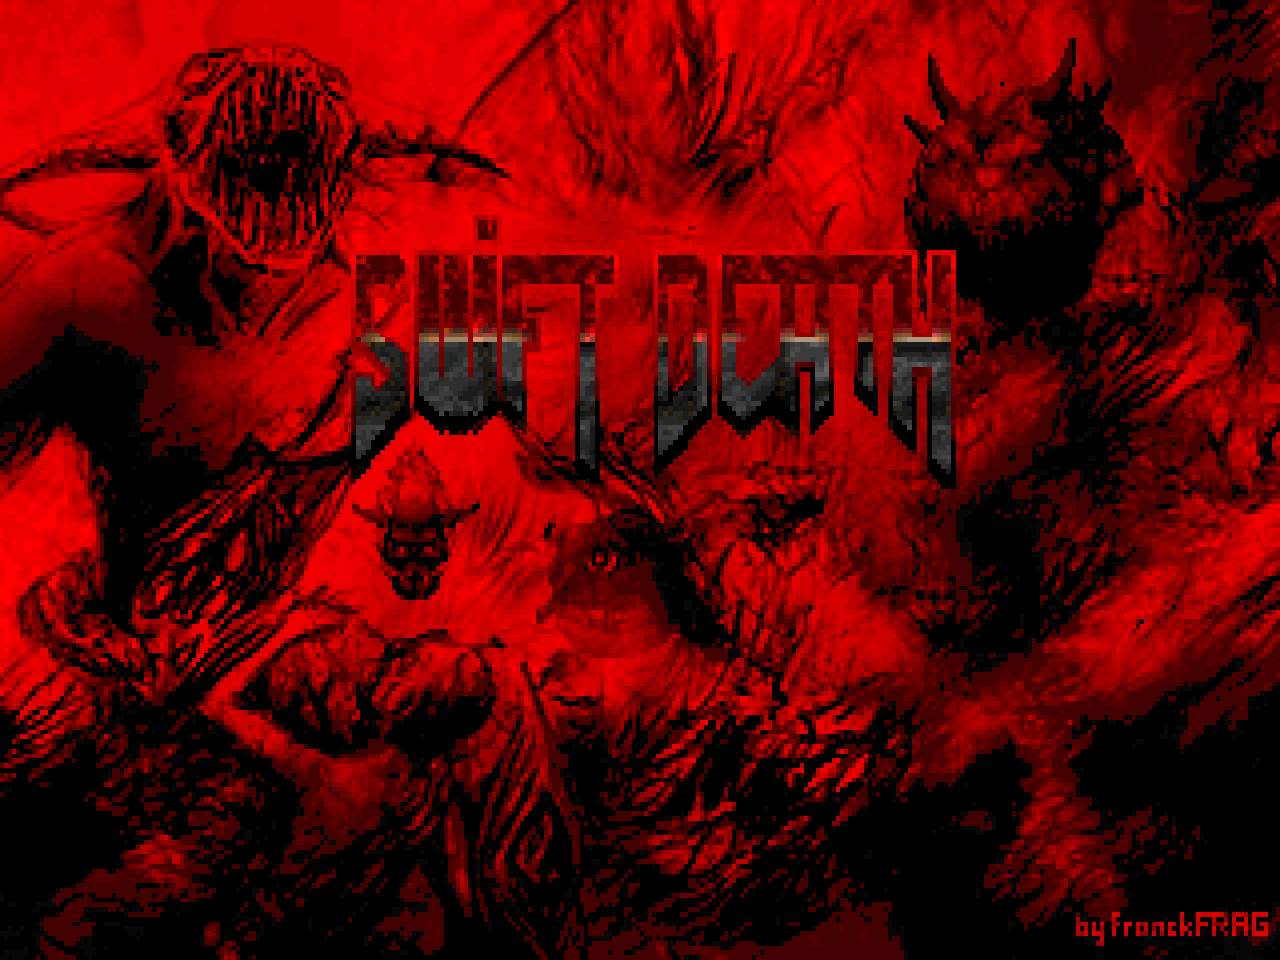
SWIFT DEATH
by Franck "franckFRAG" Livolant et al
| First Sequence | MAP01 |
|---|
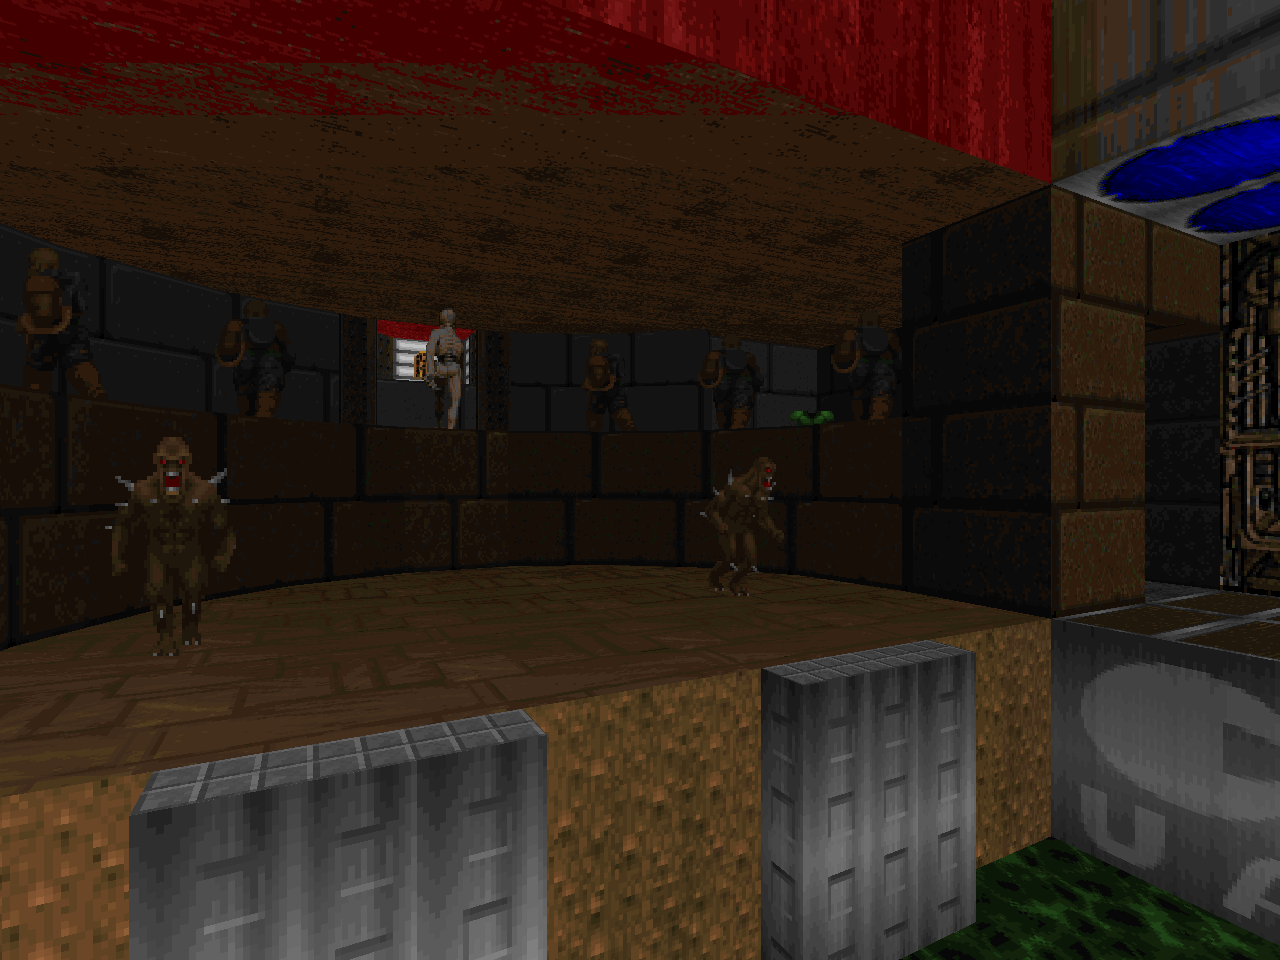
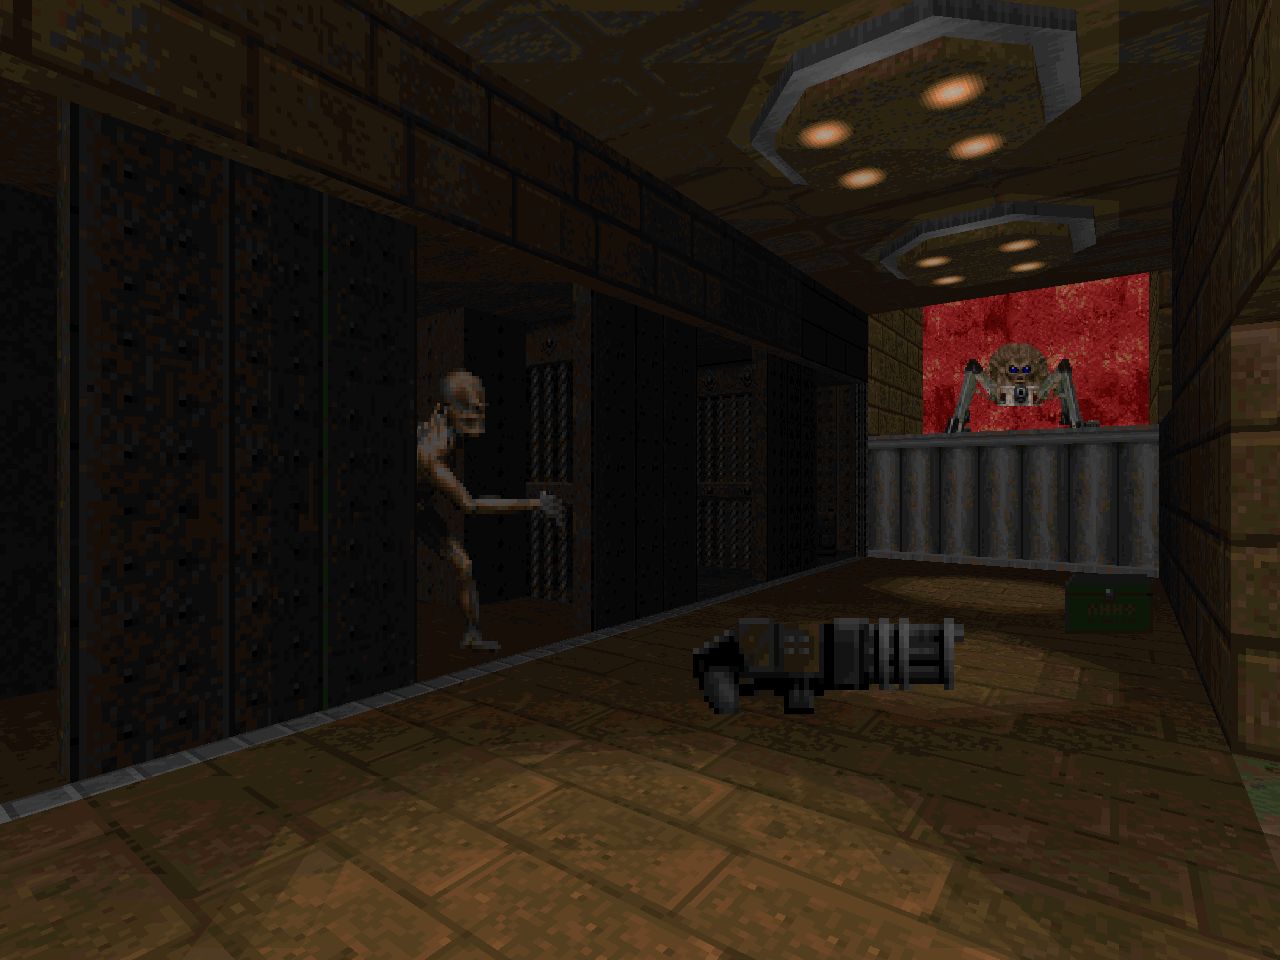
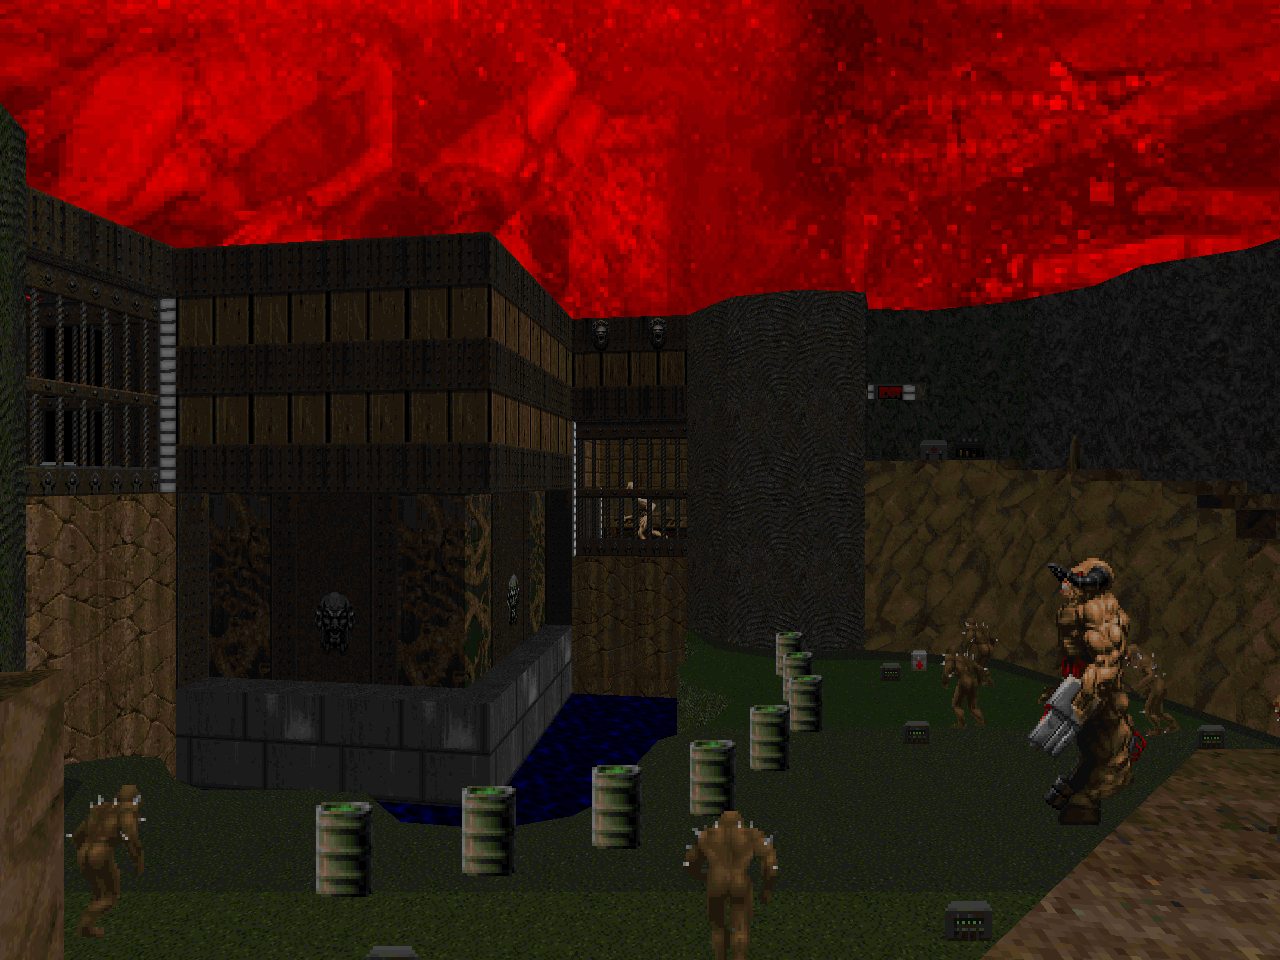
| Finishing this level is as absurdly easy as a death slide. Killing all the monsters, though - that's another thing entirely. The major threat is the mosh pit of demons and revenants that storms in from the crawlspace, but if you're up for some dancing you can tether some of the skeletons to the arachnotron while you do all the dirty work in the back corner of the underpass. Once you get that sorted out, you're home free. | 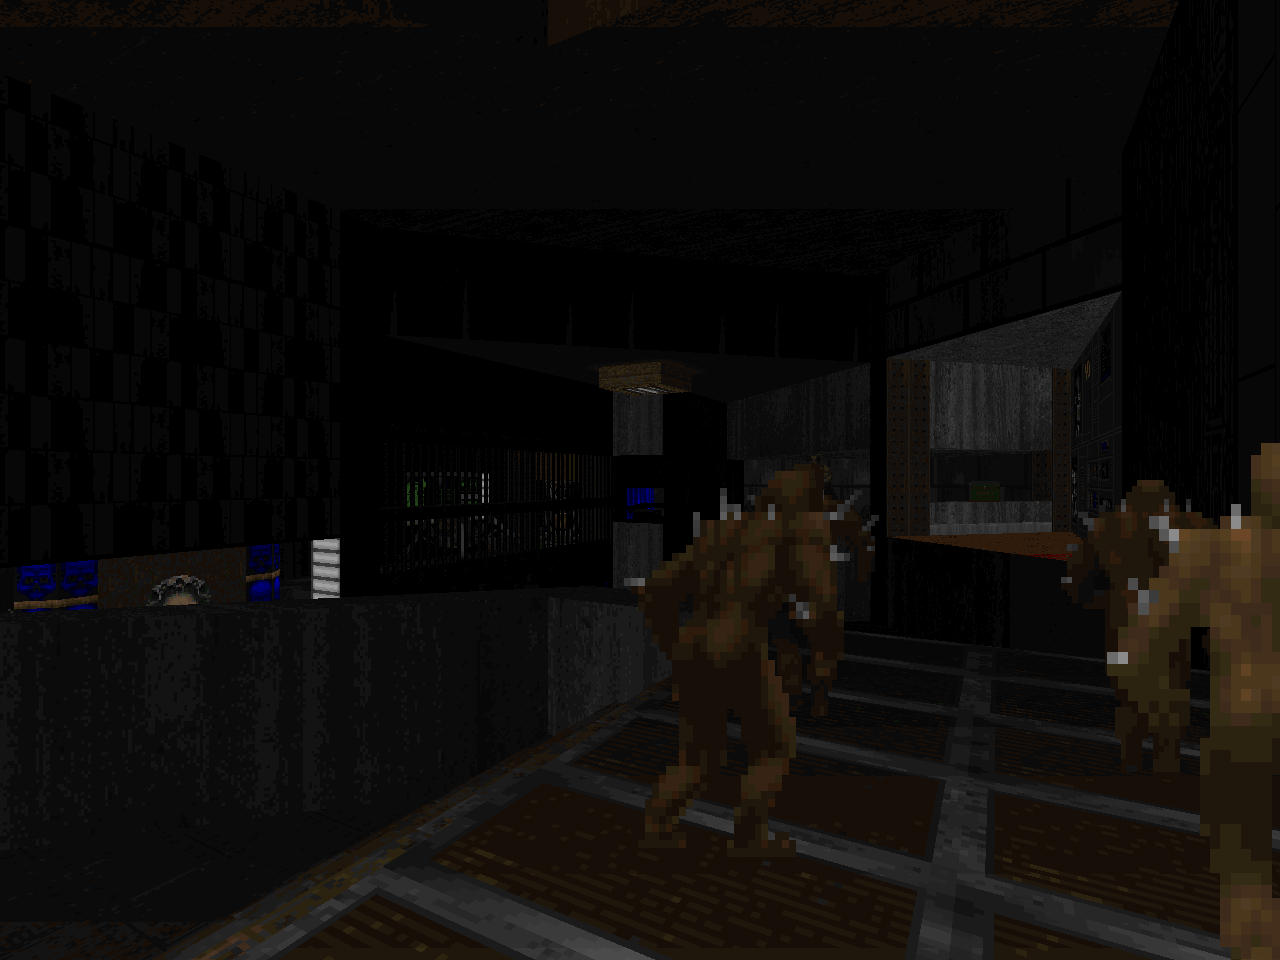 |
| MAP02 | Hyperia Alert |
|---|
 | Much easier than MAP01, for me at least. It's a quick shotgun grab and then deftly taking out the couple of revenants and cacodemons that come behind into the imp cage area, after which you can afford to take your time. There isn't exactly a whole lot of ammo so get that berserk fist pumpin' if you want a nice buffer of ammo so that you can kill the arch-vile without any trouble. |
| Punished Zone | MAP03 |
|---|
| Of course, a relatively free shotgun can only come at a price, and pretty soon you're running from the demons. It's a pretty light level, though. If you can lure the demons out and then run back where you came from you can gun them down, open up the revenant room without waking them up, and then surprise them with a telefrag that takes out a bunch of them, using the combat shotgun to wipe up the remnants. After that, it's just like shooting arch-viles in a barrel. |  |
| MAP04 | Devil Whisperer |
|---|
 | It's a quick blitz to grab the shotgun and kill the hitscanners while avoiding fireballs from the imps and mancubuses and dancing away from arch-vile fire. The real trick to getting the blue key for me was shoving one of the cacodemons away from the handy stairwell, after which you can deftly run down the wall to the SSG and then wreck house. It's still not the greatest weapon for fighting the archie, but it beats slow-ass shotgun sniping everything else. |
| Hyperia Meteor | MAP05 |
|---|
| This one will be tricky unless you figure out the secret to the rocket launcher on your own, which may very well come from blindly grasping at straws. You have to play it safe with the hitscanners while under revenant rocket fire, then (in my opinion) steal the box of rockets from fatso, and then carefully clear the imp ledge, hopefully by tying the mancubus up with one of his hated allies. Once the RL is in hand you can clear out the most dangerous monsters and take your sweet time with the area denial arch-vile. Oh, and don't forget to take out that commando. | 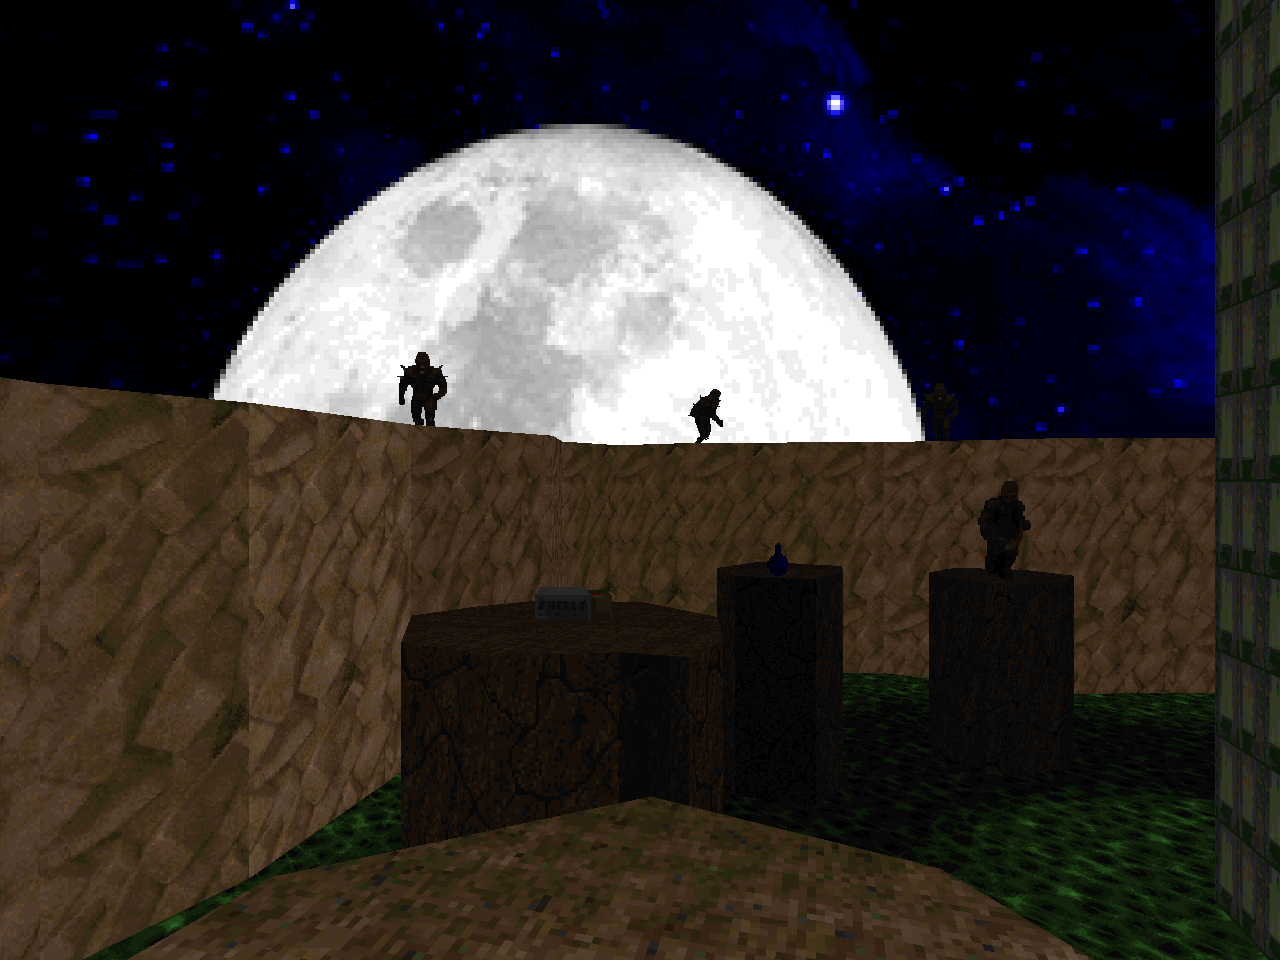 |
| MAP06 | Evil Mesa |
|---|
 | One of the easier levels, as long as you can handle the shock of the arch-vile teleporting down after you grab the combat shotgun. About the only tricky thing I had to do was punch-bait the revenant while killing him after the normal shotgun and then wait for the pain elemental. There are a couple of hitscanner closets that open up that might ruin your day, but that's about it. |
| Nevrose | MAP07 |
|---|
| You're going to need to leap the chasm for the combat shotgun, deftly avoiding the pain elementals, and then let infighting do as much work for you as possible. Doing anything else with those arachnotrons is going to be tough. You can use them to take out their fellows' mancubus replacements, though. The big reveal when the walls come down is actually a bit of a relief, though it takes longer than I'd like for the gear on the arachnotron platforms to become available. The leftover Hell knights will be the biggest threat during the Cyberdemon finale. |  |
| MAP08 | Deeper Eagle |
|---|
| by "Memfis" |
|---|
 | Memfis busts up in here with the most annoying level in the set so far, where everything seems to depend on a perfect confluence of enemies not looking at you long enough to carve out a tiny little space on the nukage-free islands where you can systematically remove the rest of your foes. Grabbing the SSG is a move that will come back to haunt you. Don't squander your rockets; you don't have that many to begin with. It took me a couple rounds to figure out why I couldn't reach the bamboo poles. Suffice it to say that there's a sneaky barrier in place that you'll have to disarm. |
| Arioch Domain | MAP09 |
|---|
| The Cyberdemon looks like a nasty spoiler, but if you're fleet of foot, you won't have any trouble. The main thing is to make it past the imps and commando to the east so that you can snag the combat shotgun and work in earnest on the Hell knights, which are the main roadblock. I think that the Cyberdemon tends to flatten most of the enemies that can hit it; I had him swatting at a cacodemon he couldn't even hit for the longest time. | 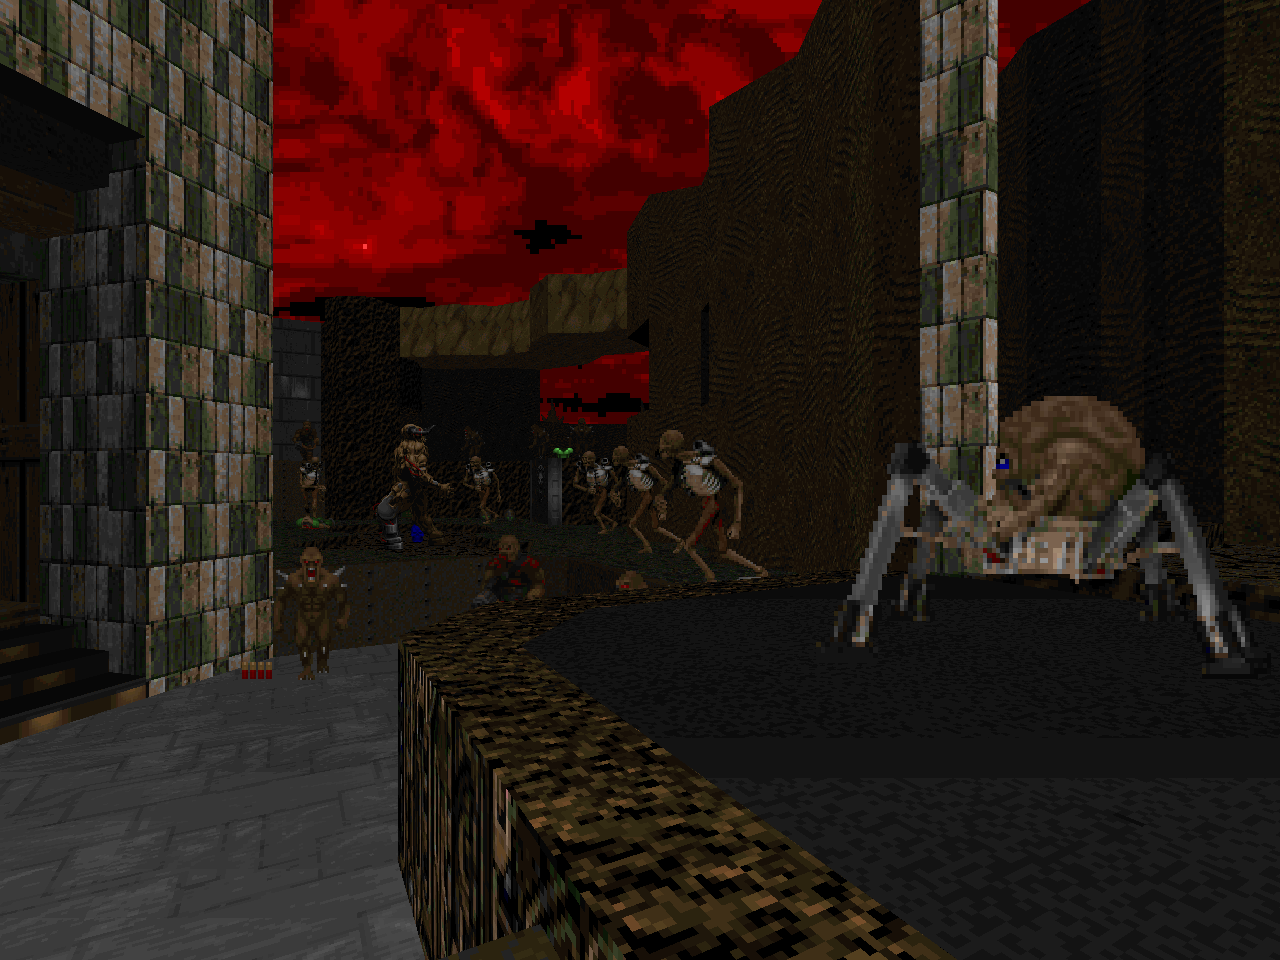 |
| MAP10 | Ruse |
|---|
 | Ahahaha, shit. You're backed in by a crowd of demons, a closer crowd of imps, and there's a Cyberdemon stomping around, plus a bunch of inconvenient commando snipers. If you can weave your way through the imps and hit the first skull switch, you're doing pretty well for yourself, at which point the cyberdemon will have killed almost everything, leaving you and the baron ilk free, more or less. You can grab the red key through a series of demanding strafejumps or take the easy way out with a Cyberdemon-assisted death slide. |
| Octave | MAP11 |
|---|
| Hitscanner Hell, fun-sized! It's all about mitigating as much shotgun guy damage as possible while you fight your way up to the shells and then take out the back row guarding the combat shotgun, after which you can basically relax. The arachnotron / commando pairs might trip you up, but this one is pretty front-loaded. |  |
| MAP12 | Central Chain |
|---|
 | A tight techbase-ish level with a rude opening trap. Stepping off the platform starts the time-delay release of some nasties, but sticking around for them will be the death of you. Instead, go hunting for the rocket launcher and combat shotgun as fast as you can and then come back to carve out a safe space in one of those cubbies that the demons were hiding in. After that you can move with surgical precision, taking out the ranks of skeletons and eventually triggering the big pack of arch-vile-backed madness. If you did your homework, you should have plenty of rockets for suppression fire. The last thing you have to endure is a highly claustrophobic brawl with revenants and zombies; my winning solution involved chaingun-locking the two guys closest to me while the others fought it out. |
| Calipso | MAP13 |
|---|
| A rough and tumble level that's gloaming with hitscanners, which combined with the few arch-vile snipers makes for a nasty concoction. Some of the bits are easy to hamstring, like the ledge filled with hitscanners that's meant to serve as the final fight. It helps to know about the berserk pack in the sewers on the way to the rocket launcher in the poison lake. Well, both of those are handy, but the berserk is a nice reset button. The bamboo poles are probably the most annoying part of the level, to be honest. |  |
| MAP14 | Vile Gear |
|---|
 | An obtuse Rubik's cube... And that's alright! At nineteen monsters, you aren't quite so miffed when your limited survival time disallows you of discovering the purpose of the four switches... one of which must be shot, and all of which are kind of guarded by the arch-vile. There's also that squad of revenants that forms the basis of the opening hook and which will be clamoring for your blood. Opening up the staircase, taking out the zombies, and then carefully grinding down the arch-vile was my go-to strat. From there you can kind of tease out the combat shotgun and then carefully take care of the rest. Nasty fun! |
| Multiplex | MAP15 |
|---|
| Another hornet's nest... but with a timed secret exit! It's all in dodging arch-vile fire while you exit the little pit, grabbing the backpack and some shells and snagging the combat shotgun without getting shot to death. The only other real hiccup will be the mess of zombies waiting behind the barrier by the poison pit, as you're liable to turn into Swiss cheese when unprepared. |  |
| MAP31 | Fleshopolis |
|---|
 | Another very tough level. You have pretty much zero free space and every major weapon is behind a bunch of fiends. The story of my success involves ducking through the imp pack, up the stairs in the building to the rocket launcher, killing the commandos, then surgically slaying the arch-vile, and then and only then focusing on the rest of the entrenched nasties. The next stumbling block was realizing how to get to the blue key, which involves leaping like a cat to the Cyberdemon's arena, a tricky battle that pits you against a crowd of revenants with an arch-vile overseer that will require a second visit if you want to clear it out in earnest (with the plasma rifle). The secret exit, unless I'm missing some kind of trick, requires an SR-50 jump you will be hard-pressed to make. |
| Violence Mechanix | MAP32 |
|---|
| by JC Dorne |
|---|
| A trappy level based in a lake of blood. There are some cool bits like the erupting columns to the plasma rifle island, not that you get to see it in action. The three major islands are all staffed with monsters to start off with, but grabbing each key activates a pell-mell scenario where your real estate becomes incredibly limited. I like the hedge maze / rocket launcher island the most for its simplicity, but you don't have to stick it out for any of the battles, provided you're okay with stuff like revenant colonnades left standing free to fire at you from afar. I'm not sure how you're supposed to UV-Max this level, but I'm sure I'll find out eventually. |  |
| MAP16 | Observatory |
|---|
 | This one isn't so bad. I mean, you start out right next to some revenants, and there are even more semi-guarding the rocket launcher, but if you sprint to the chaingun, kill the zombies under the overhang, and then wait out the imps before dashing to the rocket launcher, you should be well-prepared to clear the rest. The berserk pack helps things along slightly, but it's much more of a lynch pin if you're a Tyson-experienced player. The layout is more egalitarian than it appears with all those lifts, which should make grabbing the rockets behind the final encounter barons a cinch. |
| Turbulence | MAP17 |
|---|
| Less margin for error, here. The ammo balance is tighter and the enemy placement more exact, with more exposure to hitscanners, and nasty holdouts like the arachnotron. There's even a teleporter ambush with the key grab, which dumps a lot of meat that you'll have to tangle with. If you can get past all that, though, the ledge of imps plus revenant should be relatively simple to handle, especially if you can get some infighting going on with the mancubus. | 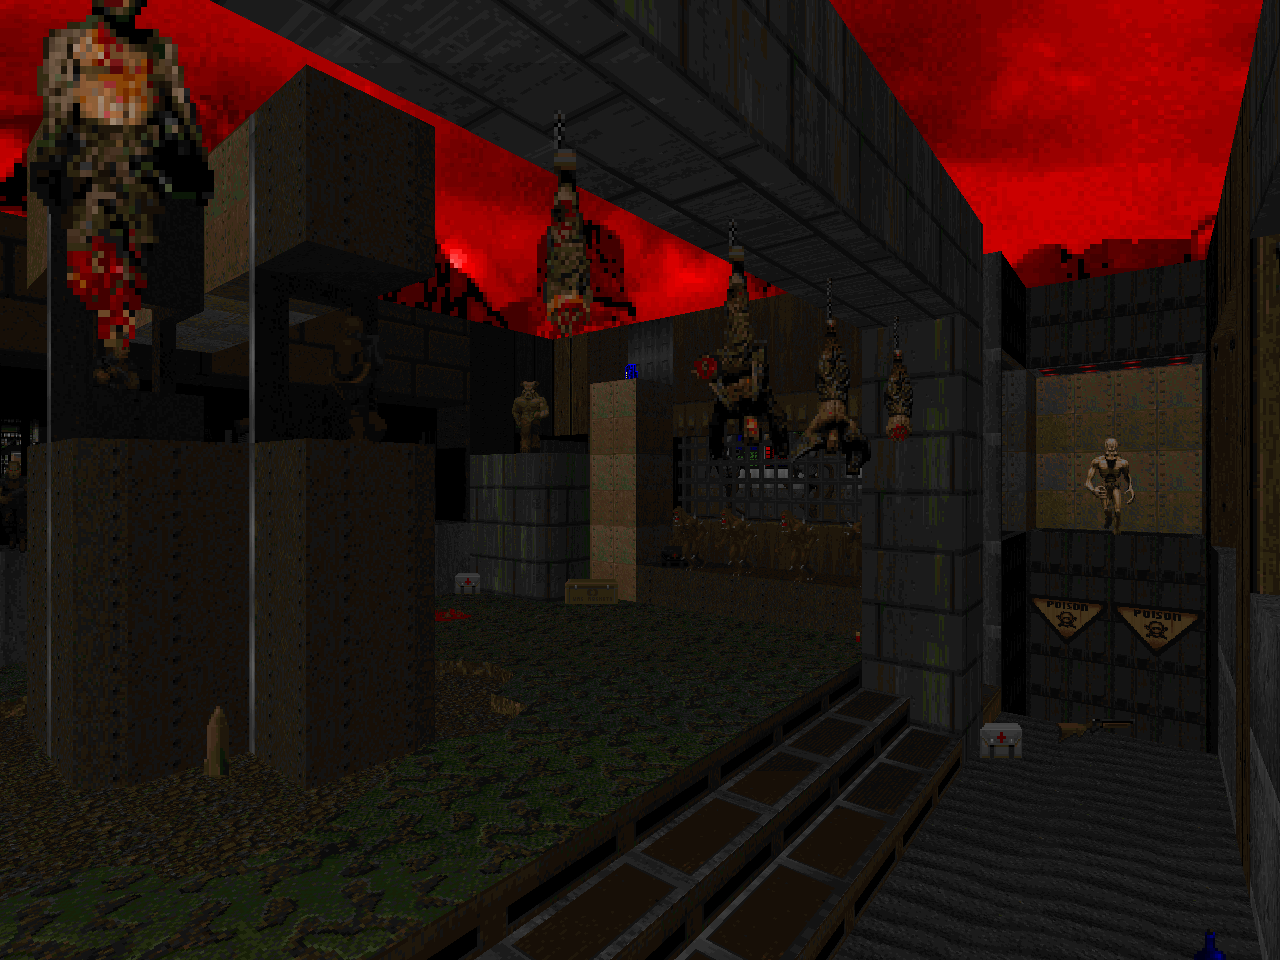 |
| MAP18 | Incarnavile |
|---|
 | Another murderfest. Interestingly, in this level the most effective strat I found was to stay on the ledge you start out on, clearing the two pillar-bound commandos before moving on to the hitscanners immediately below. You're still depending on a lot of monster cooperation, especially the imps next to the arch-vile keeping him pinned down and infighting between the lower zombies, but if you can clear all of those shits you're probably safe to run into the tunnel with the caged imps plus baron that demands some dodging skills. Once you make that safe, you're not exactly home free, but the worst is over. The arch-viles aren't tricky if you grab the rocket launcher by straferunning off the pillar, but you still have one big surprise before it's all over. |
| Rose Inferno | MAP19 |
|---|
| A test of patience. This level has the same problem as "Redhouse", just on a much smaller scale. There are two arch-viles pulling sniper duty, warping between the four ledges that house the exit switches, and each ledge requires you oust a baron. Below each ledge is a Hell knight on a narrow ledge, and below him a mancubus in a pit of (non-toxic) blood. The first thing you have to do is find the combat shotgun, which should make killing most of the monsters a matter of time. Once you make it to the rose stem, it's pretty straightforward, though you might get tripped up by the tiny revenant conga line. One great decision is the level's accessibility, at least until it comes down to strafe-jumping to the switches. |  |
| MAP20 | Xænos Rock |
|---|
 | Whoa, franckFRAG takes things to the next level with this map, which has a pair of Cyberdemons in one corner and a Spiderdemon in the other and a lot of damage floor you'll have to fight on, plus an arch-vile in dead center. All three weapons are in easy to access pillars but you're constantly under siege from stuff you can't easily wipe out. Surgical precision is a necessity and setting stuff up like the Cyberdemons vs. the Spiderdemon to save precious time and chances is a must. The two secrets won't even help that much when the penalty for getting splashed by a Cyb rocket is so severe. There's no easy way to ice the towering infernos, but you can grind them down with the combat shotgun if you didn't squander all the rad suits. Bring a fresh one, because the only way out of that pit is on their pillar. |
| Technophage | MAP21 |
|---|
| When the author claims that this next set is hard, he isn't kidding. "Technophage" is an abomination where your first attack unleashes Hell, and the only weapon lies in the hands of a slain shotgun guy past a wall of zombies and revenants. The first part is a delicate dance as you wait for the Hell knights and skeletons to slowly whittle down the numbers until you can rush forward and grab the shotgun. You're only partway there, though, as you'll have to fight a Hell knight for one of the foxholes and then let infighting take its course before you kill the stragglers and then peek out to off the arch-vile at your back. Then, and only then, could I maybe think about grabbing the combat shotgun and red key and moving on to the next phase, which unleashes a torrent of trash monsters as well as a Spiderdemon from another direction. You'll have to confront the latter for the rocket launcher, but beware. You're not truly done until the last Hellspawn corpse lies still... |  |
| MAP22 | Psychedevil |
|---|
 | Good luck with this one. franckFRAG puts you between a rock and a hard place with a pack of Hell knights slowly lowering in and a trap that unleashes an arch-vile on one end and a bunch of revenants on the other. You can kind of find an initial route that carries you to safety and perhaps a combat shotgun grab, but the rest of the level is a series of meticulous puzzles, including some invisible barriers that turn out to be monsters (d'oh!) and a teleporting Cyberdemon that requires some supreme close quarters plasma rifle skills. The secret megasphere seems hardly adequate considering its placement, but it might help if you decide to leave the Cyb as the final monster. Very tricky arch-vile placement. Almost infuriating. |
| Evil System | MAP23 |
|---|
| Something slightly less insane. It's still a tough level, don't get me wrong, but it's way more straightforward than MAP21 or MAP22 were. The blue key switch nook is an essential hidey hole, a great place to dodge Hell knight fireballs while you unload with the plasma rifle, after which you can make a run at the rocket launcher and then use it to snipe the two arch-viles. The elevated revenant bunker is the omnipresent threat, but there's plenty of cover. You just have to clear it out... |  |
| MAP24 | Apolyon Mons |
|---|
| by JC Dorne |
|---|
 | JCD's normal guest map has a bit more in common with MAP21. It's a little tricky, but if you slide between the demons on the bottom floor without waking up the imps, arch-vile, and revenants on the back staircase, you can grab the yellow key and wake up a pair of Cyberdemons, who - supposing you're willing to do some dancing - will happily take out the entrenched arch-vile / revenant pillars to the east and west, which should make the mop-up comparatively easy. If you do everything right, your first shot should be using the rocket launcher to oust the archie squatting on the teleporter. Gunfire will attract some cacodemons, but compared to what you started with, they're not at all scary. |
| Nevada Trash | MAP25 |
|---|
| This little toxic dump is a congested clusterfuck, but the Cyberdemon will do a lot of work for you if you can survive long enough to coax some infighting. That'll be tough, what with all the meat running around at first, that cave-bound arch-vile, and the sewers, which has a nasty pain elemental. At least the mancubus is squatting on a berserk pack... though pushing too far ahead will attract unwanted attention. When you've beat back all the major obstacles, I'd try and get the arch-vile to off the straggler nobles, if there are any, before confronting him. Ammo is very precious. |  |
| MAP26 | Doppler Effect |
|---|
 | A very simple level in what is essentially a wide, outdoor staircase. Realistically, if you can get the arch-viles tethered to the Cyberdemon within the first few seconds, the rest is all in the execution. The big ammo / armor cache opens up with a press of the blue skull switch, but you'll still have to combat the Cyberdemon in a sloped environment, which leads to some loss of control, but it'll be very easy with the plasma rifle in hand. |
| Ruins and Chains | MAP27 |
|---|
| Wow! This is a very obnoxious level. You are forever rained upon by revenant rockets, there are hitscanners interspersed just about everywhere, there's an arch-vile in the only available cover sitting on a ledge of zombies and shotgun guys, and the plasma rifle is behind three Hell nobles and a mancubus, with a slow-acting lowering platform. It's... really, really hard, and I still feel like I lucked out rather than figured out any kind of trick or something. If you CAN, ousting the den of zombies is a plus. Maybe there's something in hitting that switch and letting them all mosh on the ground floor, but I kind of doubt it. Yeesh. At least the final encounter is a pushover! |  |
| MAP28 | Roundabout |
|---|
 | Establishing a foothold is pretty rough, but it's just possible to squeeze in and grab that plasma rifle for some semi-sensible gunplay. Taking down that ledge of chaingunners is a top priority. After that, you can kind of take on the monsters at your own pace, making sure not to stray too far from cover. There are a few ambushes you'll have to deal with, two of which come with pairs of pain elementals, so try not to squander all your ammo, at least until you find the hidden red key switch and grab the rocket launcher. Fun and frantic. |
| Imperium | MAP29 |
|---|
| "Imperium" feels more like one of those Skepland nightmares. It's too long and intricate to fit in with the rest of the Swift Death crowd, but has all the exacting monster placement. Exposure hits peak madness, here, with a multi-purpose Spiderdemon and Cyberdemon teleporting back and forth between major lockdown areas alongside pesky arch-vile snipers that will dog your ass for a very long time. Tackling this level blind is insane; the rocket launcher and plasma rifle are critical pieces of gear that are stowed away in remote locations, especially considering all the cell packs sitting on PG island. As you poke and prod at the map, it slowly opens up, usually revealing more headaches. The end-of-level rush has a big wave of cacodemons and pain elementals that you'll have to slowly whittle down if you want some peace. You might have to re-visit the plasma gun location to restock your ammo. An incredibly exhausting journey; will you have what it takes? |  |
| MAP30 | Itanimulli |
|---|
 | franckFRAG has afforded you plenty of supplies to get the job done. The only mystery is the BFG, which is made available a few minutes after breaking the plane of the first Cyberdemon pillar you come across. If you should miss this peculiar detail like I did, all you need is one good ride on the FIREBLU platform, but at times it seems like such a perfect confluence of luck is required, especially when some of the early invuls will likely be eaten by the storm of arch-viles you have to root out at the beginning. I'll say this much: it's immensely satisfying pumping rockets into the eye of the bastard god. |
SWIFT CUTS
| Redhouse Effect | MAP12 |
|---|
| Bleurrrrrrgh. This is a nightmare of congestion control, and every time you think you've got a bead on it, there turn out to be more moving parts. The level is symmetric in fourths, and many of its enemies are introduced in packs in triangular sections, the only exceptions being the rectangles within which the zombies are stored. There's also some black magic going on with teleporters that spreads enemies out and makes things even more confusing, though in some ways it's to your advantage. The final two enemy surprises are pairs of arch-viles, which are thoroughly annoying if you happen to open them up while the central room is still hopping and bopping, and the pain elemental packs that guard the final switches. The most important bit is knowing that the corners have the plasma rifles / rockets, essential to revenant room clearing. Doing the whole thing isn't so bad, but dealing with the same fights four times in a row is exhausting. | 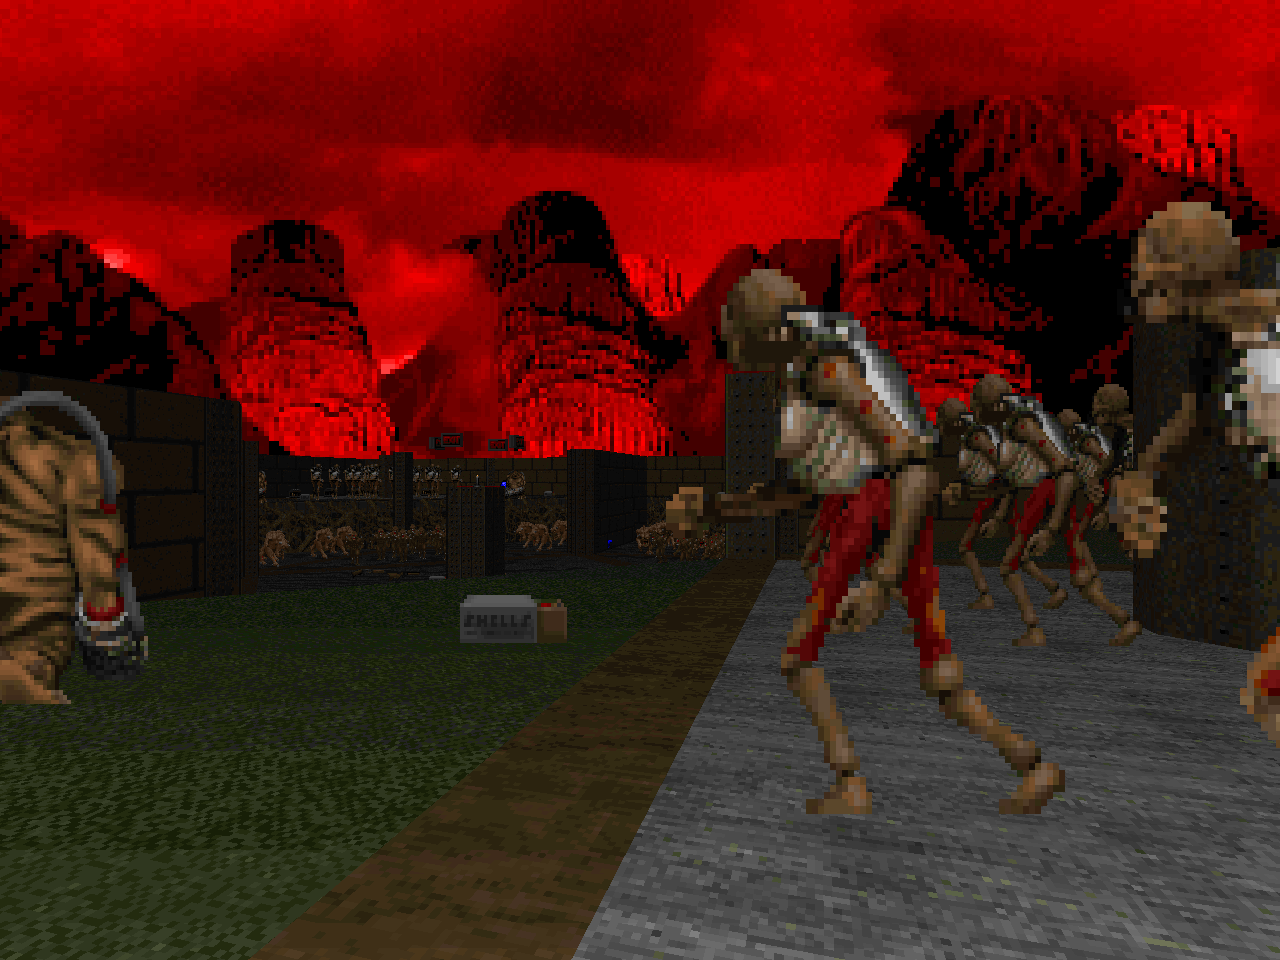 |

This is the first megawad where I felt even HMP was too much for me. Nice review.
ReplyDeleteI totally agree with you on Map12. That one was... urgh.
ReplyDelete- memfis
I kinda think map01 should've been put later in the megawad. Many of the levels after it are easier.
ReplyDeletemaybe, but it's nice to have a good swift kick that gives you a more honest idea of what you're up against
DeleteMap12 really is a tedious slog. I'm glad to hear the author is thinking of replacing it with something better and more in-line with SD gameplay.
ReplyDeleteQuestion: When the finished version comes up on /idgames this year, will it be eligible for 2015 cacowards?
i am also glad, but i hope that "Redhouse" stays along as some kind of bonus level for people that like to punch themselves in the face. as far as SD being eligible for a cacoward, just nominate it and see what happens.
DeleteSo there's a new beta of Swift Death... among other things, according to this post Map12 has been replaced: http://doomfrance.forumactif.com/t2487p30-boom-swift-death#128926
ReplyDeleteRegards
the review has been updated to reflect the new lineup. Redhouse Effect is now at the bottom of the ocean
DeleteWell that was swift (no pun intended, really). Anyways this megawad really is a nice unique concept - combining the very small/brief maps of wads like Scythe but with much, much harder gameplay. Overall quite an awesome wad IMO!
DeleteI wish franckFRAG would...actually release this thing. Make it official. The last beta was pretty much finished, what's the hold up?
ReplyDeletemultiplayer testing is what he said in the thread. I think that he is a college student and i would not begrudge him his education, much like joshy's hiatus
DeleteI'm not sure if Josh is on hiatus or if he just finished after Resurgence. Anyways, Swift Death final is out and there's also a bonus map (a larger - though still short - and more detailed version of Map01 to check out).
ReplyDeleteAs for Swift Death in terms pf megawads I sort of like to compare it to Scythe only the maps are even smaller but also much harder (on average). In terms of franckFRAG maps it's basically the natural evolution of his 3ha works IMO, though some are even smaller than those maps. Would remind me most of Map12 in 3ha1, that was a tiny yet brutal map, just like these.
It's interesting this got a true Caco from you when it's speedmaps so it left you 'feeling cold' - that said, it's quite a unique experience and executed pretty well.
ReplyDeletei did not effectively communicate my comments on 32in24-14. what i meant to acknowledge was the fact that swift death, as franckFRAG notes, is mostly made up of speedmaps, which usually leave me feeling cold. however, given that the entire pwad exploits a very specific style, as a whole it's very individualistic.
DeleteIt's interesting to note, Swift Death was *almost* finished in October 2014, yet it did not get an award until 2015. On the flipside, Skulldash and Breach weren't totally finished but still did get a Cacoward in 2015 for what they had already accomplished. I never played it, but I guess the implication is that the original 'Redhouse Effect' must have been really, REALLY off-putting.
ReplyDeletethe floaty realm of doomworld forums "beta" (aka not published to /idgames) gives us some much-needed leeway. if there is a ton of fun stuff in one year, but something is still in beta, we can kind of dog off on giving it an award and hope that the next year, or whenever it gets "finished", the playing ground is a bit thinner. which is why I did not pursue giving d2inordc an award. I really really liked it, but I see that the RDC is still workign on it given the positive feedback it got, so i am cool to let it sit on the stove. i think you are reading into this too much, though, since Skulldash is one of those highly mutable zandronum things and I wouldn't count the community expansion pack as it not being totally finished. there is an argument for breach, but there is no way of knowing when the second part is coming out, and it is still fantastic for being "incomplete." i think you are obsessing about cacowards, and i don't want to think about them again until the end of 2016.
DeleteFair enough, I agree it really doesn't matter what specific year the stuff in a long 'beta' ends up in. And no more Caco talk from me, I'll agree, wish granted. :)
DeleteBy the way just while I was reading the write up on Map01, I'll note Map26 (Doppler Effect) is also really easy to death slide.