Ribbiks, the star of 2013 with his
Stardate 20X6 and
Swim With the Whales, started dishing up
Crumpets back in 2014 as a relief valve while working on other projects. Now, in 2015, we've got a full plate. The final release is a ten-map episode to be played in Boom-compatible ports. The first and last levels are just a framework with just about no gameplay. The rest of it is packed to the gills, though. There isn't any story to be found, of course. Things just start with Doomguy at his observatory on the edge of time, his Earl Gray tea still warm. Except, uh, this batch of tea isn't quite kosher, and you're soon whisked away to a series of nightmares inside your teacup.
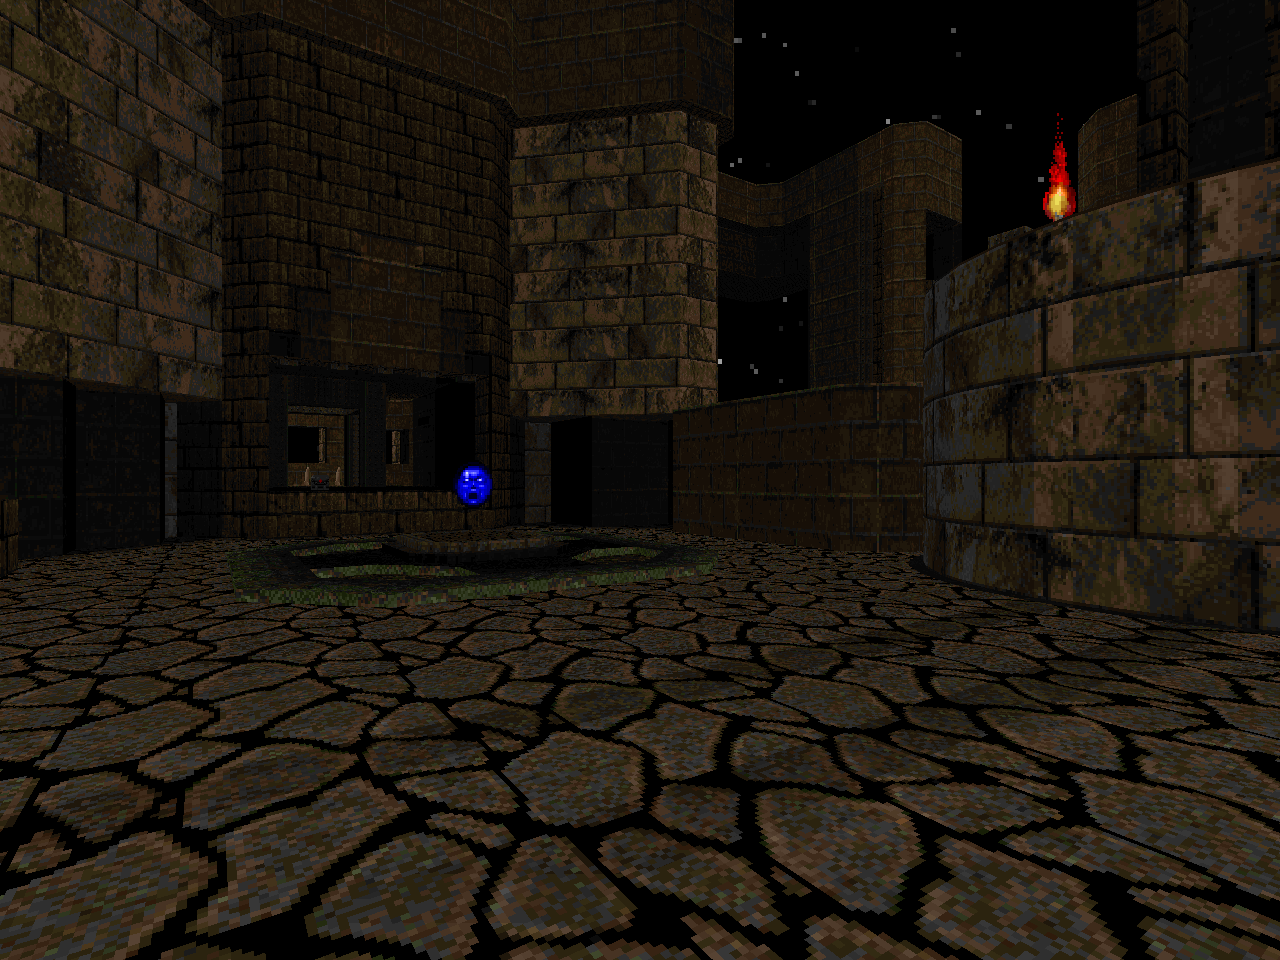
Ribbiks is known for fairly large and incredibly challenging slaughter maps.
Crumpets takes that same gameplay style, scales it down, and delivers it in bite-sized chunks. I could compare the end result to something like
Scythe, or the
CHORD series, but the gameplay is astoundingly and utterly Ribbiks's. The resource management is natural and though there are opportunities to be had for a lively fisting, you're usually better served with a weapon in hand. The slaughter proclivities appear through a variety of encounters that emphasize the player's ability to shape a small but dominant assortment of enemies through quick and careful movements so that he or she has space to move in as the fight continues. The other hallmark of Ribbiks is the placement of "snipers" that restricts the area that you can move around in and remain safe, exemplified in every level but none more so than the Spiderdemon towers of MAP09. It's dangerous to go alone; take a blur artifact.
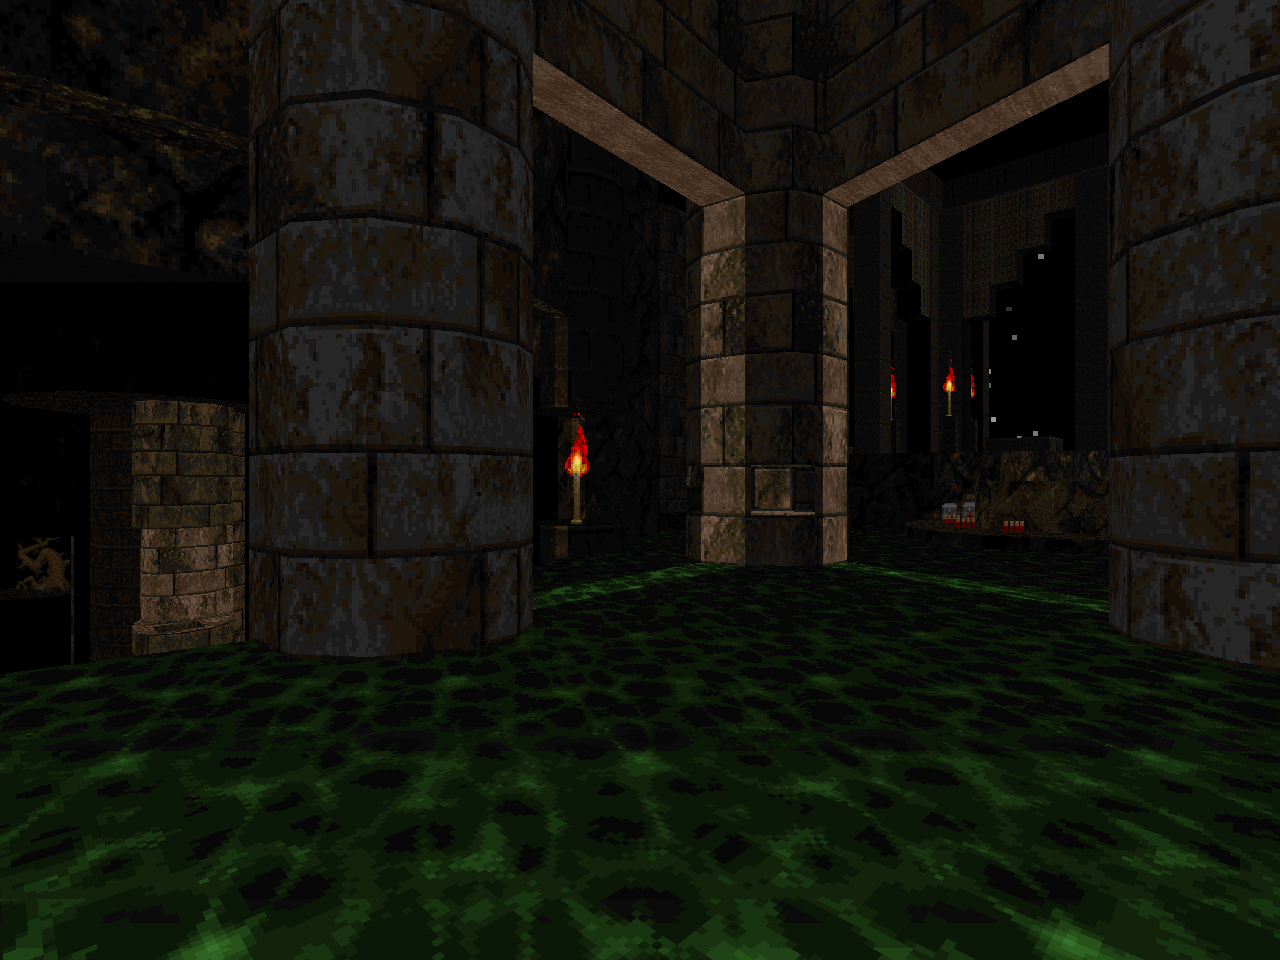
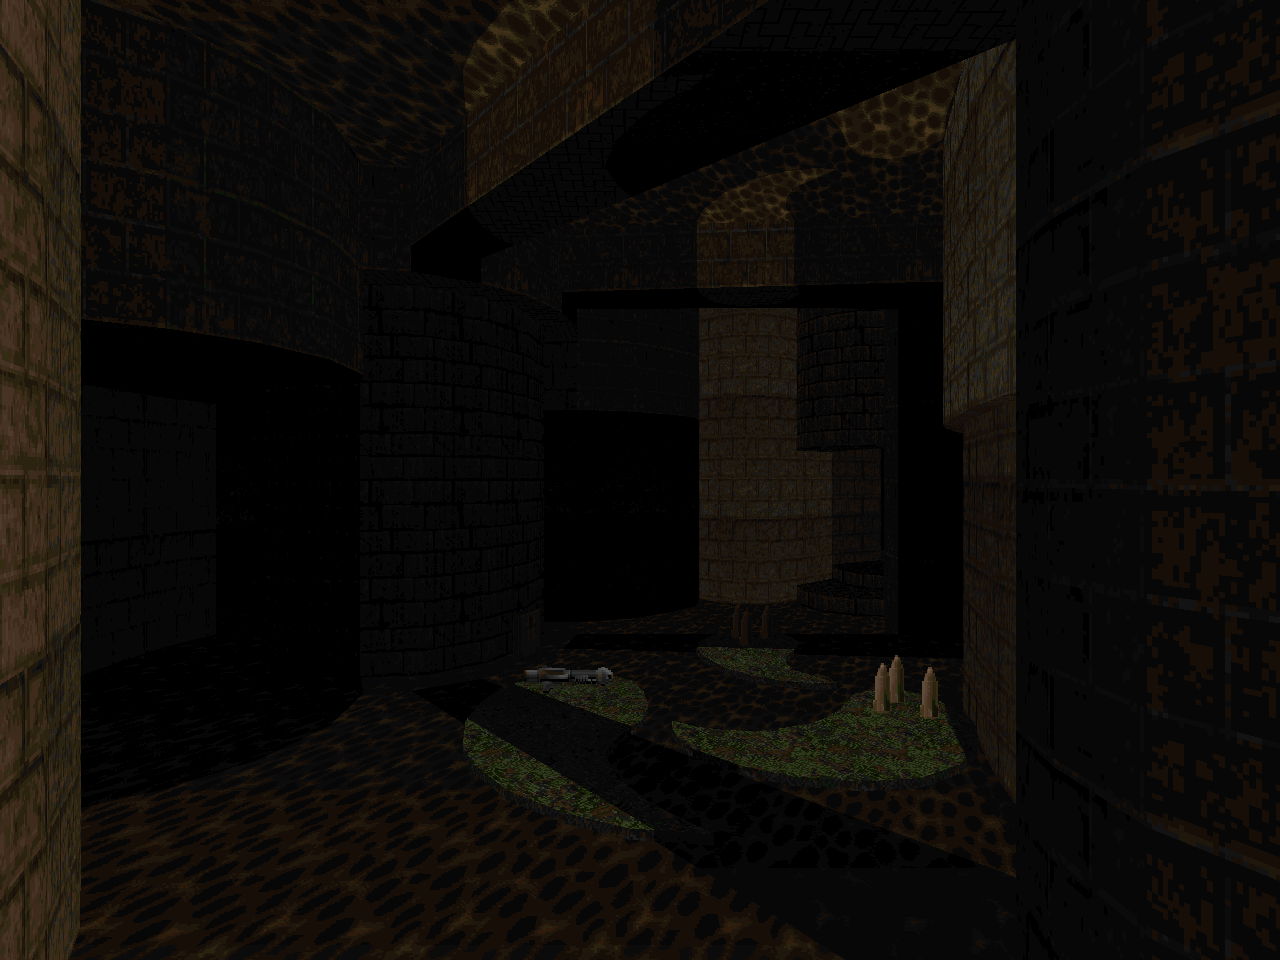
UV is meant for experienced masochists, but this isn't exclusively for Doom veterans. Ribbiks suggests that most people start on HMP or below, which should make for a friendlier experience. And you should! Crumpets doesn't have the vibrant color palette of Ribbiks's other works, eschewing them for colors more evocative of... tea and crumpets, but it shares the same artistic sensibilities, just rendered in earthen tones on a microscopic (as opposed to macroscopic) scale. If the difficulty starts to throttle you, and it certainly may, consider conquering it from a more approachable vector. The ancient ruins and dark majesty speak of things not yet seen.
Ribbiks shows again why he is a talent in the Doom community worth following, and in a format that may prompt less experienced players to finally cut their teeth on his exacting notions of challenge. Perhaps, some day, he'll consider giving us some Spoons to go with our tea?


CRUMPETS
by "Ribbiks"
| Earl Gray | MAP01 |
|---|
| A quiet little intro to the world of Crumpets. The object is to get to your tea, which should be easy enough. Enjoy this little slice of Doomguy's perch on the edge of infinity. | 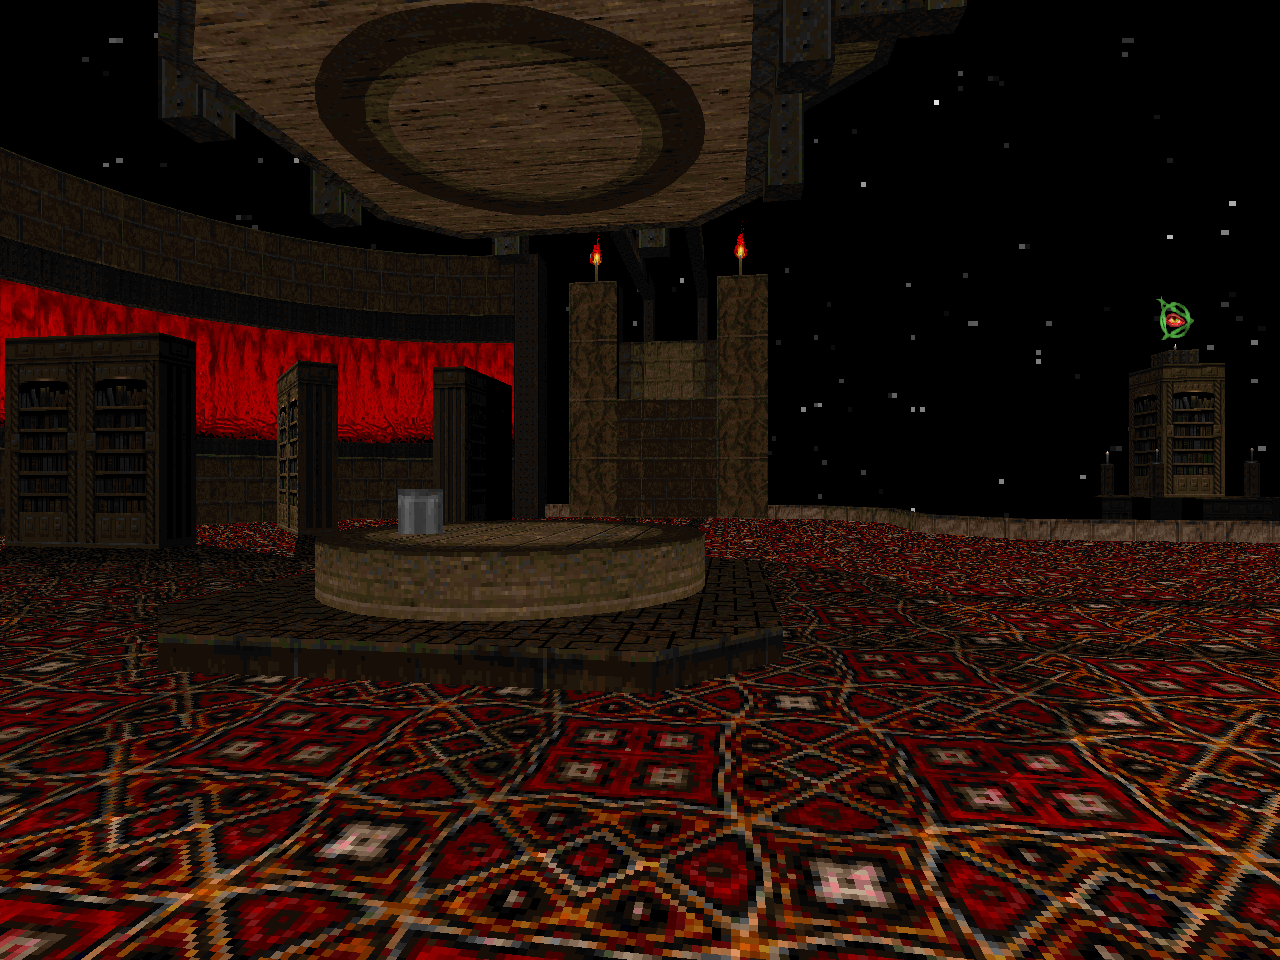 |
| MAP02 | Flutter |
|---|
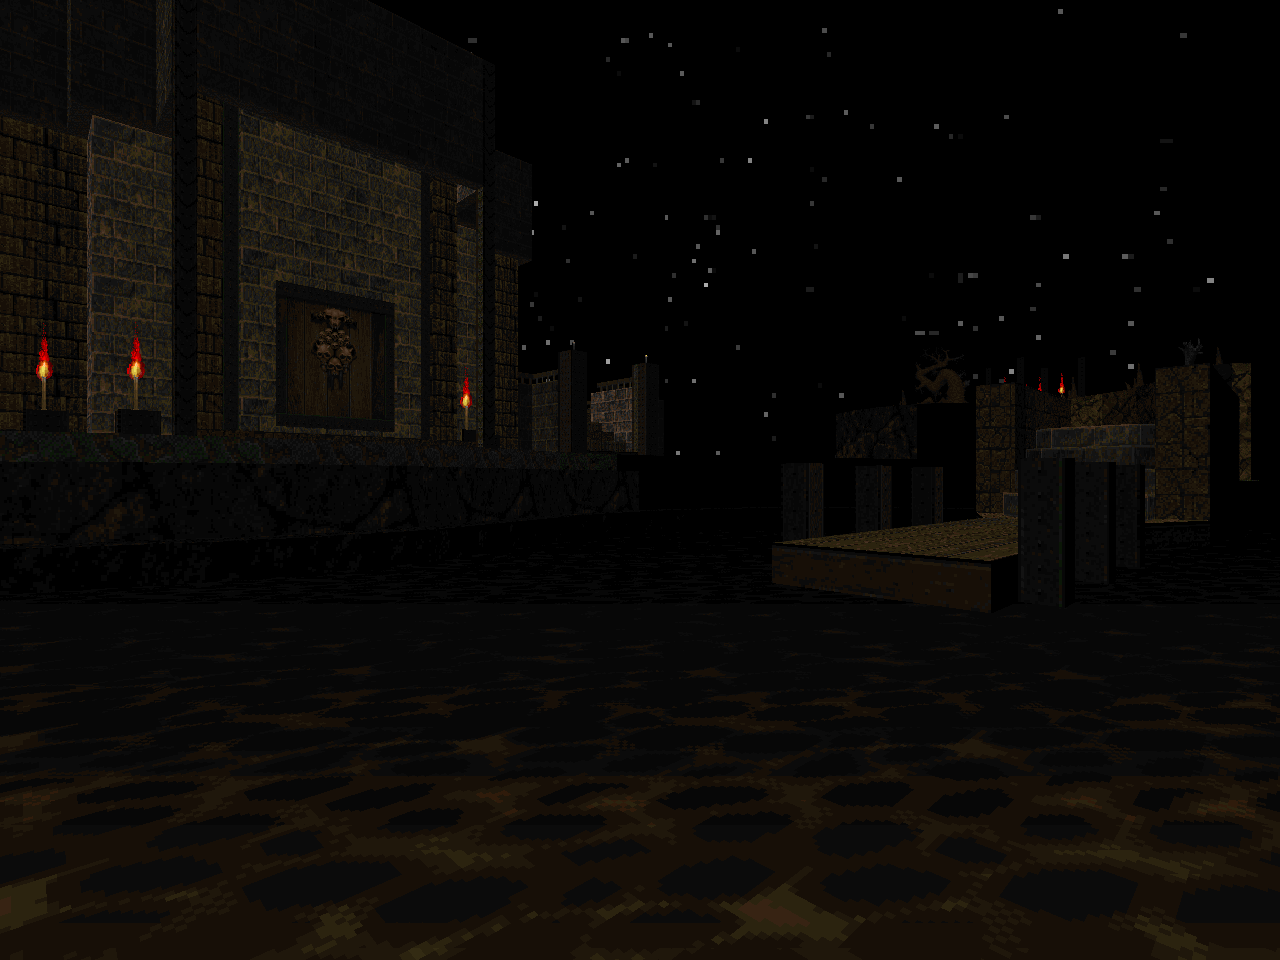 | A pleasant warm-up level that's got sort of a night-time island flavour. There are some hitscanners staged on the outer walls but none of the threats you can see are all that scary. Now, if you go into the cavern and snag the yellow key before securing the plasma rifle, you may not be able to live it down, since the flood of imps, revenants, and that one pain elemental will probably ruin your world unless you're a Tyson pro. The rest of the encounters more or less fall into place, though the demon / lost soul pack near the beginning hung me up for the arachnotron once. |
| Tiramisu | MAP03 |
|---|
| Things get harder. Ribbiks has left several angles of approach open, allowing you to snag the combat shotgun or dash straight toward the berserk, an action that is ill-advised unless you are a dandy at fisting. Whichever direction you pick is going to make things tough for you in the short term since there's a colonnade of chaingunners that become "enhanced" with an arch-vile and a couple of key snipers, plus Hell knights on the ground running interference. Having the rocket launcher in hand is the major turning point, and also grants access to a handy telefrag utility which makes killing some of the entrenched enemies incredibly easy. I like the pillar run to the exit door. | 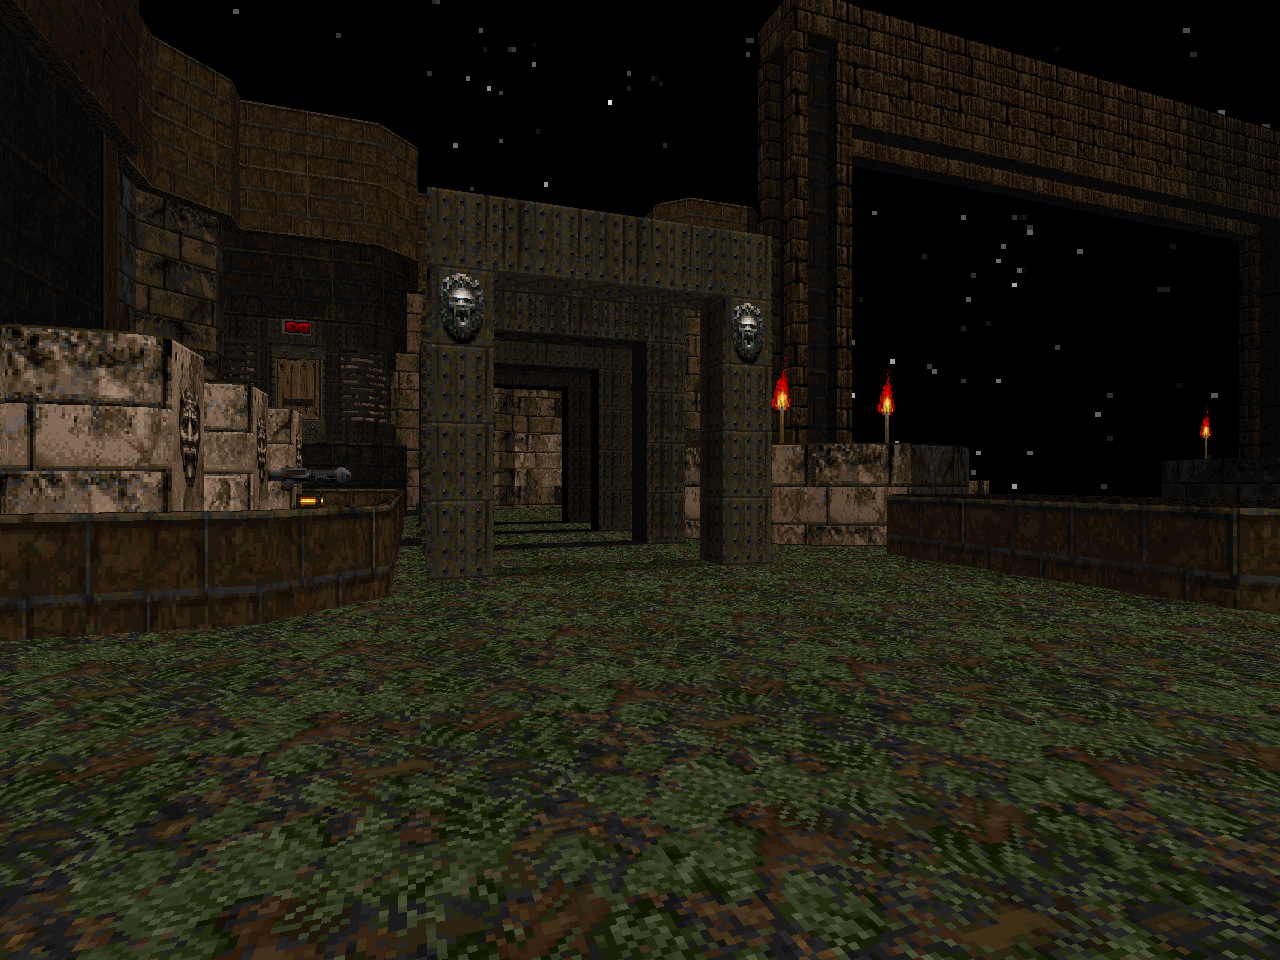 |
| MAP04 | Bocuma |
|---|
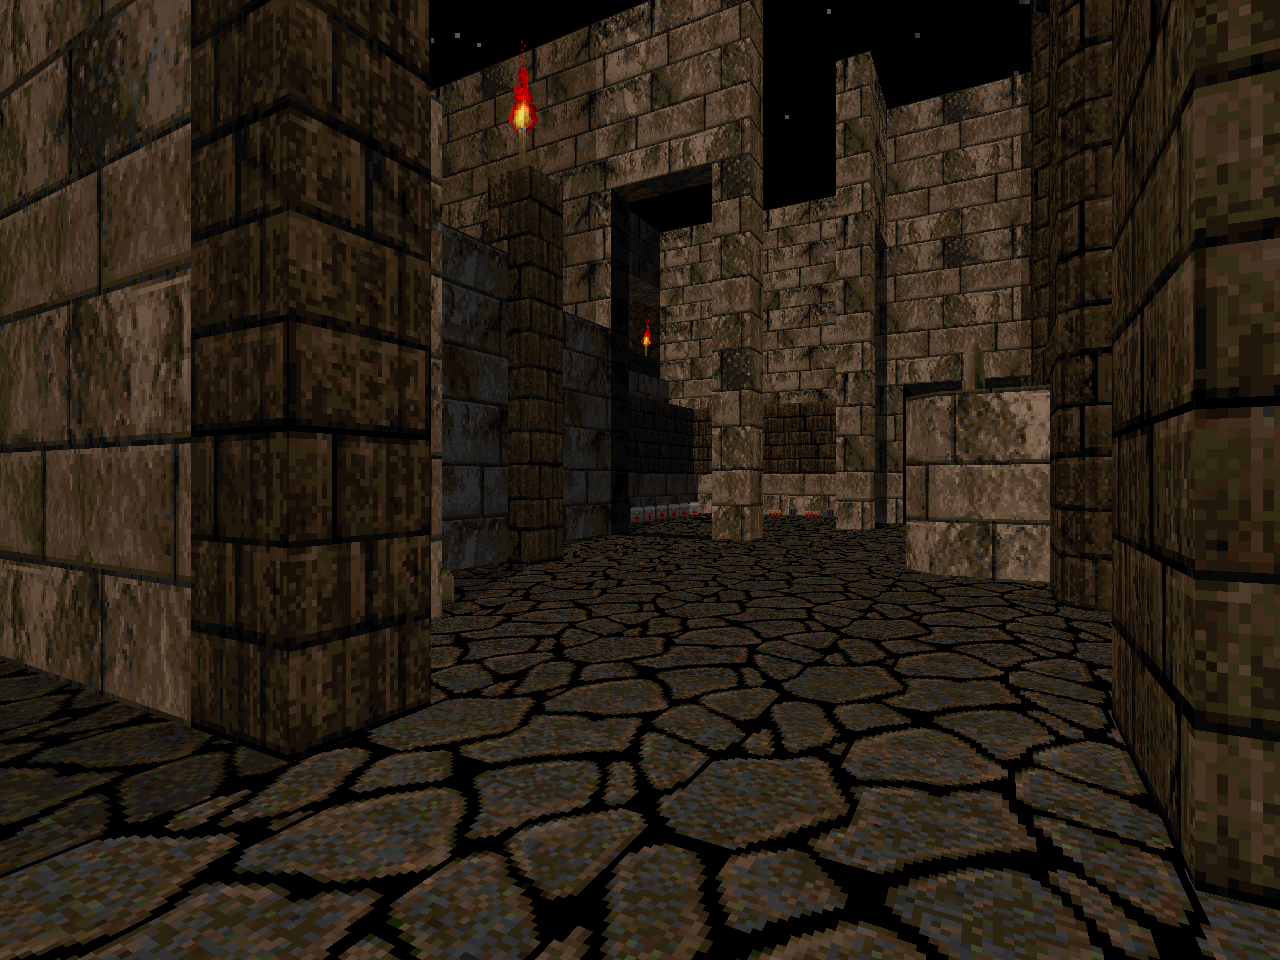 | More of a ruins / valley theme, but the switch has been flipped. Your first steps into this hive of scum and villainy involve a heavily congested firefight with imps, demons, lost souls, barons, and a mancubus. Make some free space and keep on moving or you'll be a gone ass. Once you leave the danger zone you'll have to deal with a plethora of sniping monsters, most of which aren't that bad, but you're back into the fire by about three arch-viles once you step into the second ruins segment, and when you're about to exit, three pain elementals. There's a secret BFG that will no doubt make some of the later fights a cakewalk, but I didn't find it until after I'd already cleared the map. |
| Mint Chocolate | MAP05 |
|---|
| Shadows and caverns abound in this very intense outing. The beginning isn't so rough but the major encounters all involve a heavy dose of claustrophobia. The upper tier isn't so bad, since you'll have the combat shotgun in hand to deal with those wascally wevenants, but getting it involves some delicate crowdshaping between a pack of Hell nobles / revenants and a pair of mancubuses. There's a BFG, too, but good fucking luck taking any spare shots to the big fights. It's guarded by a Cyberdemon / arch-vile duo and executing two perfect BFG bumps in the cramped trench is beyond my patience. If you can, though, it'll make the final battle much easier, since you have to face down a solid semicircle of barons, Hell knights, cacodemons, and pain elementals if you want to reach the exit. Again, crowdshaping - and contortion - are paramount. | 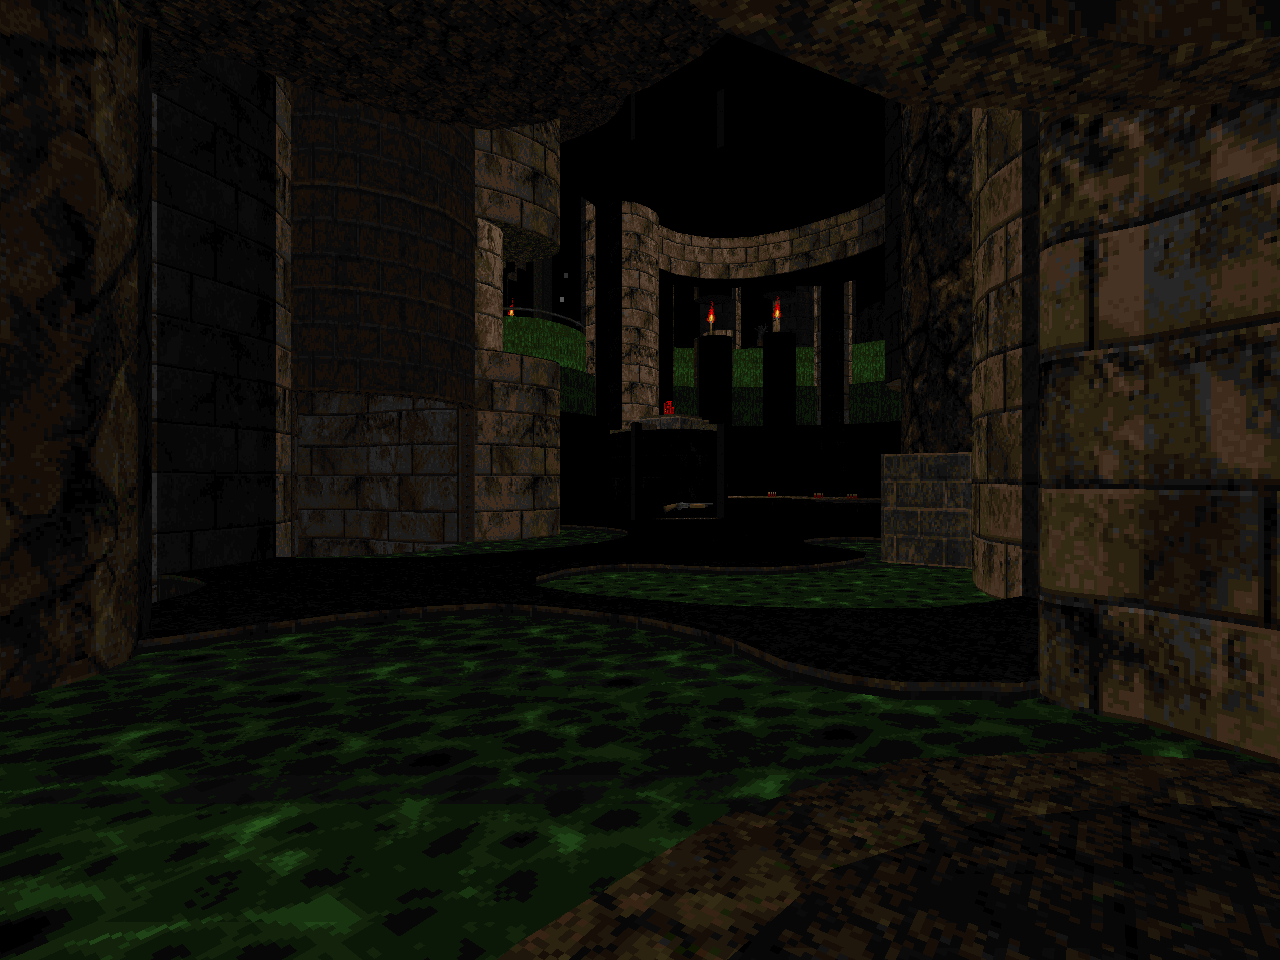 |
| MAP06 | Masquerade |
|---|
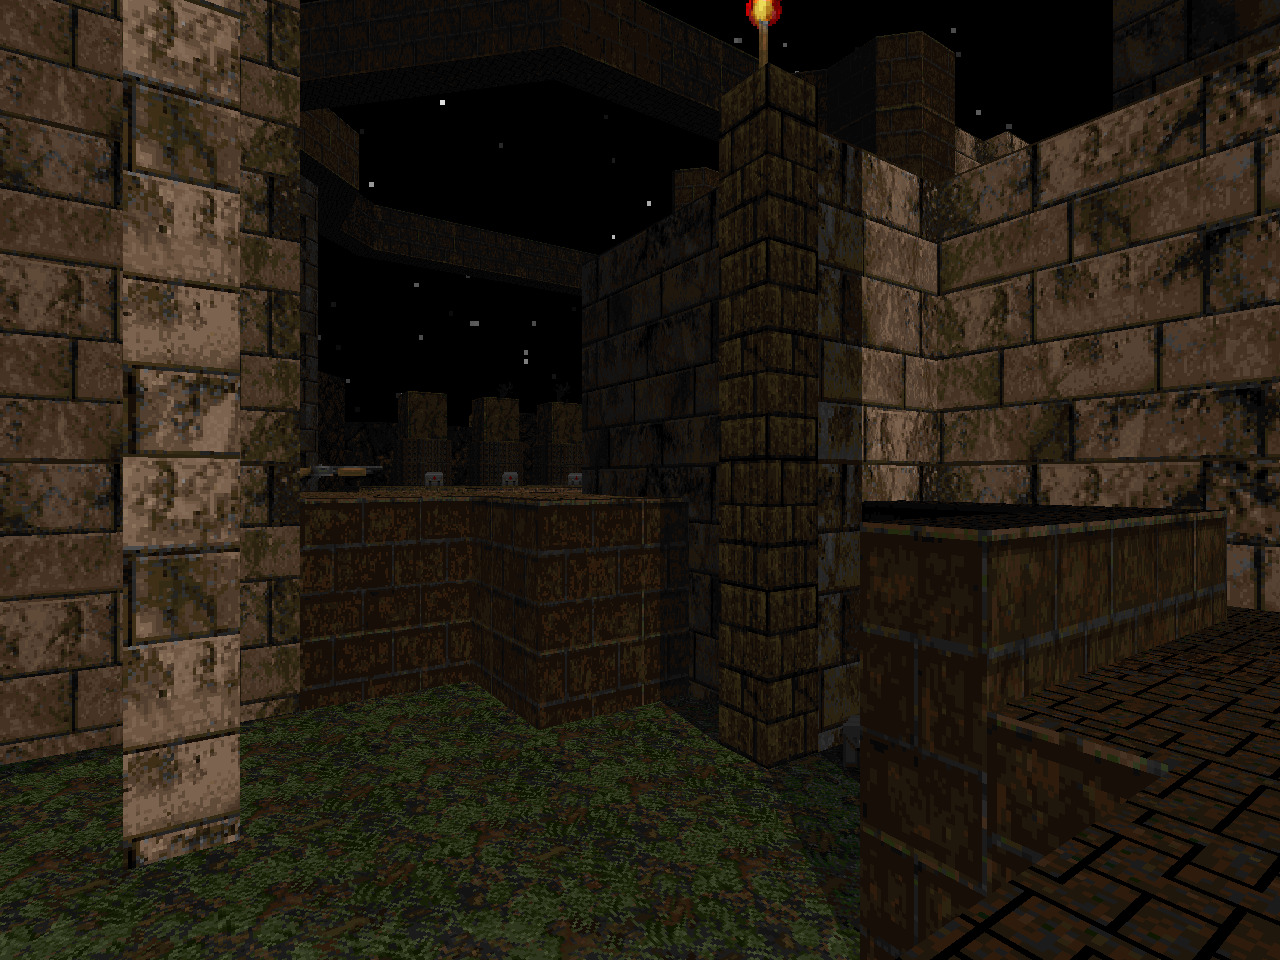 | A small but complex ruin level that is full of just general claustrophobia. Crowdshaping isn't as important as knowing which gun to have out and where you need to have it pointed at, and Ribbiks makes this pretty easy to discern with his weapon placement. The most complex encounter here, I think, is the southeastern yard, which has one arch-vile on the ground and one as a sniper, plus a mancubus on a platform surrounded by imps. On the plus side, the BFG and more than enough ammo to use it is offered up for the final battle vs. two Cyberdemons, one of which ain't even on the ground. You've just got to survive until you have both keys in hand. |
| Frog and Toad | MAP07 |
|---|
| This is more of an order of operations level, set in some dark, tan / brown ruins. The BFG is available from the get go, but you've got to make some educated decisions on when and where to use it. I burned it on the upper tier of the level, snagging a ton of plasma ammo in the process, thus setting me up for the revenant / arch-vile murderbrawl at the yellow key trap. You'll have to do a tricky battle that might involve coercing a mancubus into killing some of the imps so that you have slightly more room to work with your rocket launcher. Using the teleport pedestal for two different fights was pretty cool. | 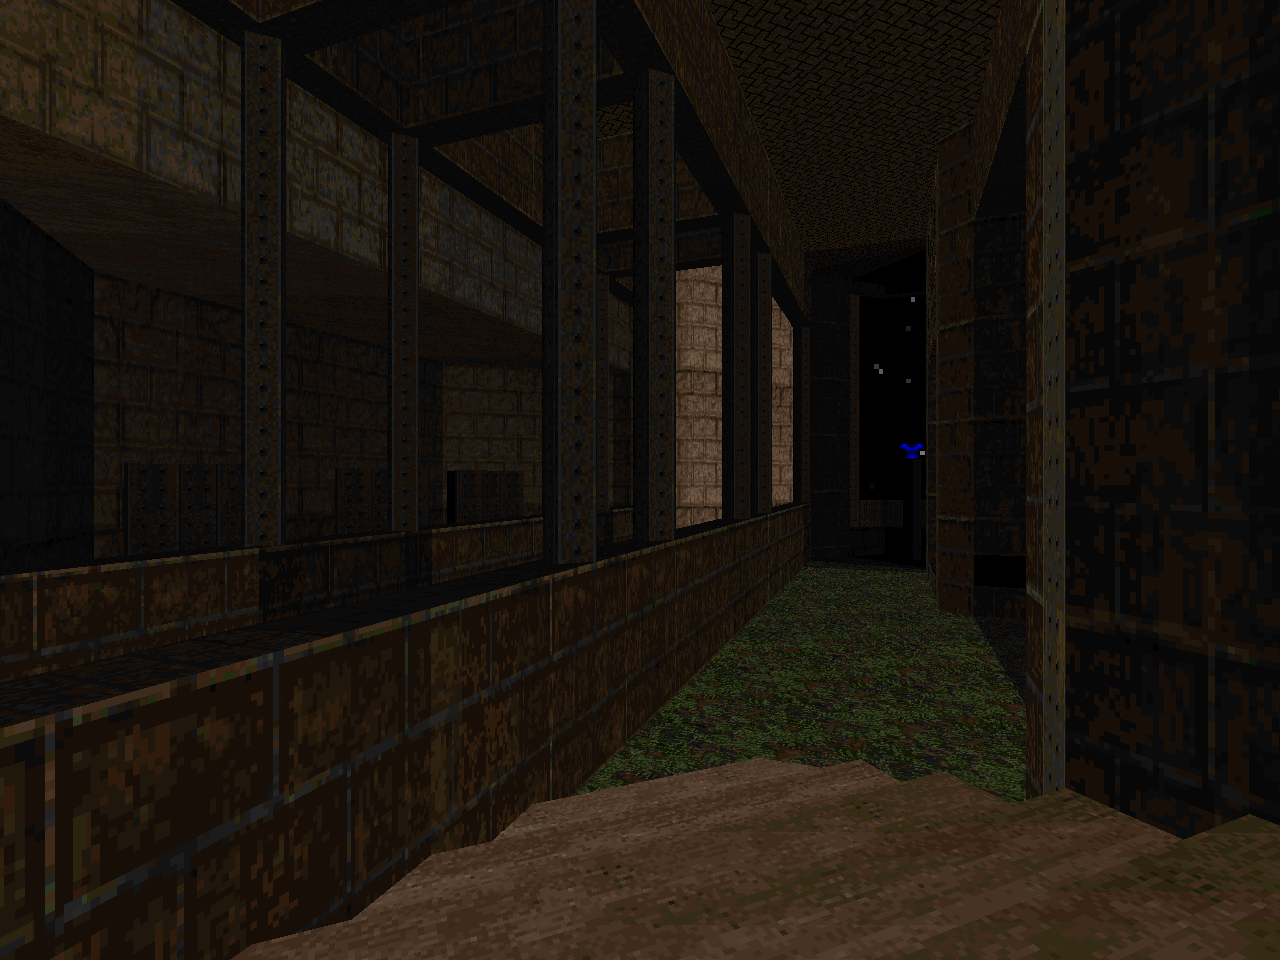 |
| MAP08 | Shamu |
|---|
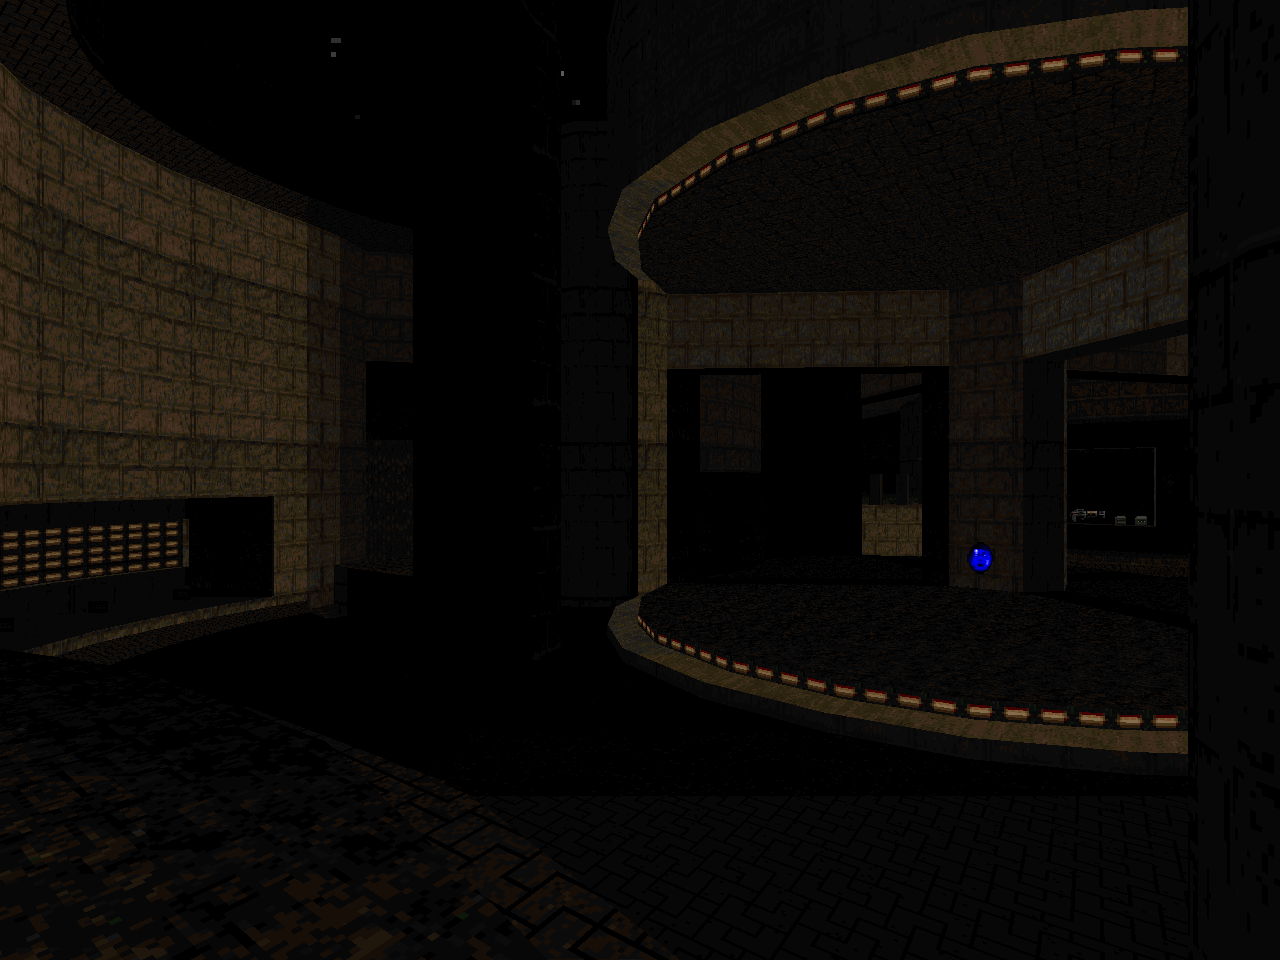 | A dark, forbidden fortress, the nexus of an unfathomable cascade. After a handful of exploratory deaths, I figured out where the good shit was at, the revenant / Cyberdemon hoedown. The route also nets you a secret rocket launcher; the problem is surviving all of the enemies that are now awake and baying for your blood, including a couple of pain elementals that drip feed in after navigating the Hell knight / arch-vile pack. Afterwards, you can work on systematically rooting out the opposition which has some neat moments like the crumbling walls and the imp / cacodemon / pain elemental free for all. The true final fight is a two-pronged assault, the worst of which is a pair of archies that squat on the former Cyberdemon pad. The rest isn't so bad except for the difficulty involved in shooting at the sinister silhouettes they cast. Picking stuff out of the shadows is a little tricky... |
| Crackerjack | MAP09 |
|---|
| More darkness, but with an even more oppressive atmosphere. There are no less than five Spiderdemons perched on various towers surrounding the level, two structures riddled with chaingunners, a finale that involves a troop of Cyberdemons backed by a cloud of pain elementals, and, uh, I'm not sure about the teleporter coffins to the south. I thought it was a ghost monster generator that broke in ZDoom but it also looks like an arch-vile disposal unit. Anyway, the central structure plays like most of the rest of these levels, but with a few less battles and more desperately dodging bullets. Knowing where the Spiderdemon telefrag pads are should make things go by a lot smoother, though there's still no easy way around the pain elementals. Still, a visually impressive beast and a dandy finale. | 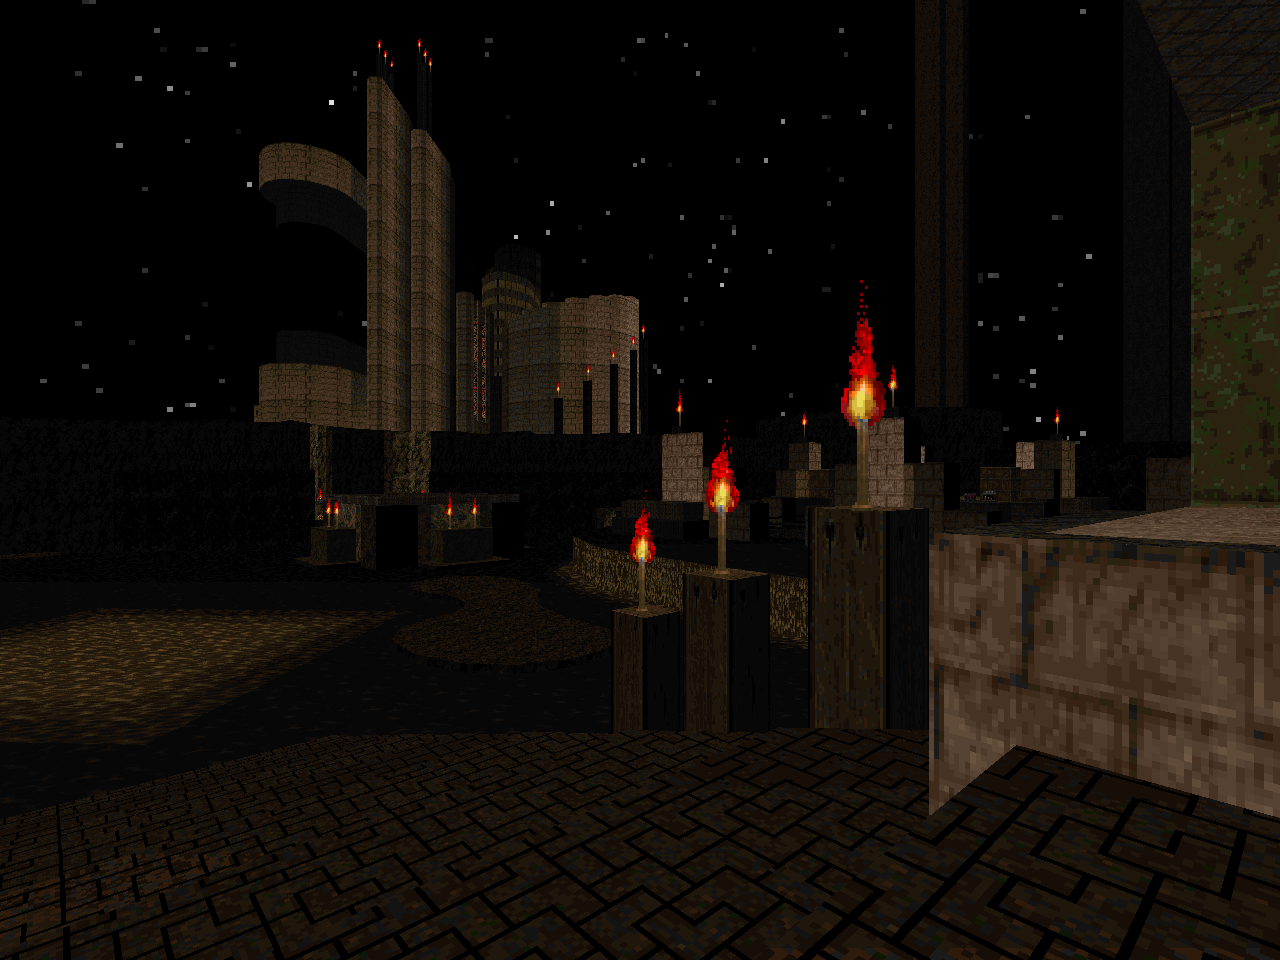 |
| MAP10 | [no name] |
|---|
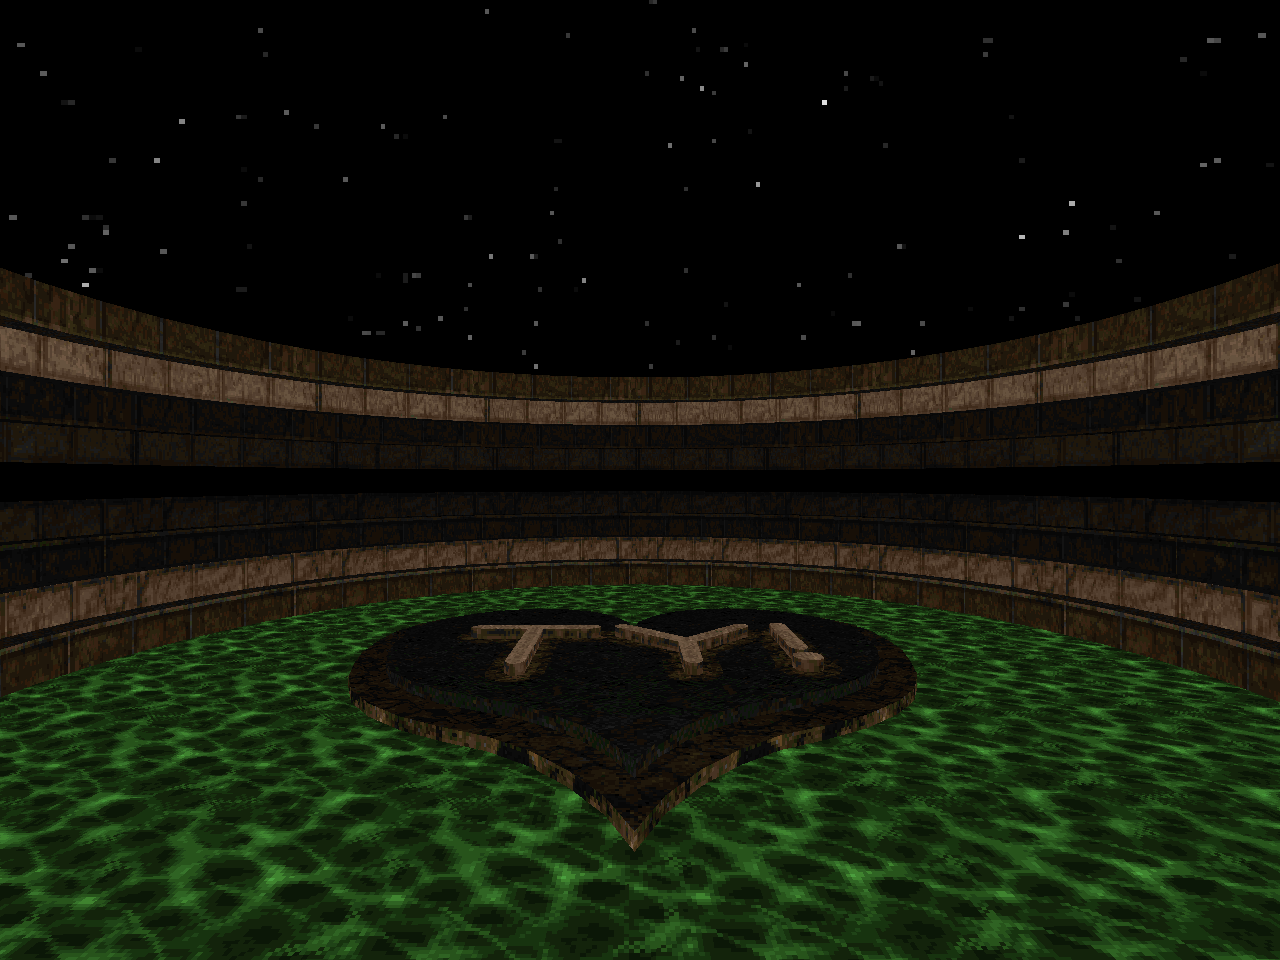 | Just a friendly thank you for enjoying some delicious crumpets. |




Gotta love Ribbiks maps.
ReplyDeleteyup
DeleteRibbiks is one of those guys that clearly are not for everyone, but there's no denying he's a master in what he does. Fans of focused texture themes and hardcore, more-often-than-not brutal gameplay will have a total field day with this guy. Here's hoping he makes some more episodic adventures (beyond Sunlust).
ReplyDeleteyeah, Ribbiks is one of the current masters of Things Not Yet Seen
DeleteMore wonderful work from Ribbiks, what else to say? This probably would have been just about shoe in for another Ribbiks Cacoward...but then came Sunlust!
ReplyDeletepretty much.
DeleteRibbiks may be known for tough maps, but I just want to point out that this and Sunlust are actually quite relaxing on HNTR. ;)
ReplyDeleteRibbiks has tried to be pretty good about this and while i write from a UV perspective i think extolling HNTR for chill-out adventures would be A Good Thing.
Delete