50 Shades of Graytall is partially a joke. It's also mostly serious. Doomworld Forum superstar Marcake took Gez on
his jest, creating a project with an unusual restriction, limiting the available textures to what are widely considered to be the three least attractive options - DOORTRAK, GRAYTALL, and FIREBLU. The end result is an eighteen-level megaWAD to be played in a Boom-compatible source port that attempts to deliver, again, on the promise of the
Monochromatic Mapping Project. That is, to create a mapset whose limited capacity for visuals forced the authors to focus on the aspects of level design related to gameplay.
The story is appropriately inappropriate, another multicolored yarn detailing an attempted invasion of our dimension. Their angle of attack is perverse to their usual modus operandi, eschewing killing and torture followed by killing for The Alternative Lifestyle, attempting to bend their victims to their will via bondage. Of course, Doomguy is a much more straightforward element, and he brings a fundamental form of retribution that the emissaries of Hell meet in kind. Your final adversary is the enigmatic Mr. Graytall, who holds your comrades captive.
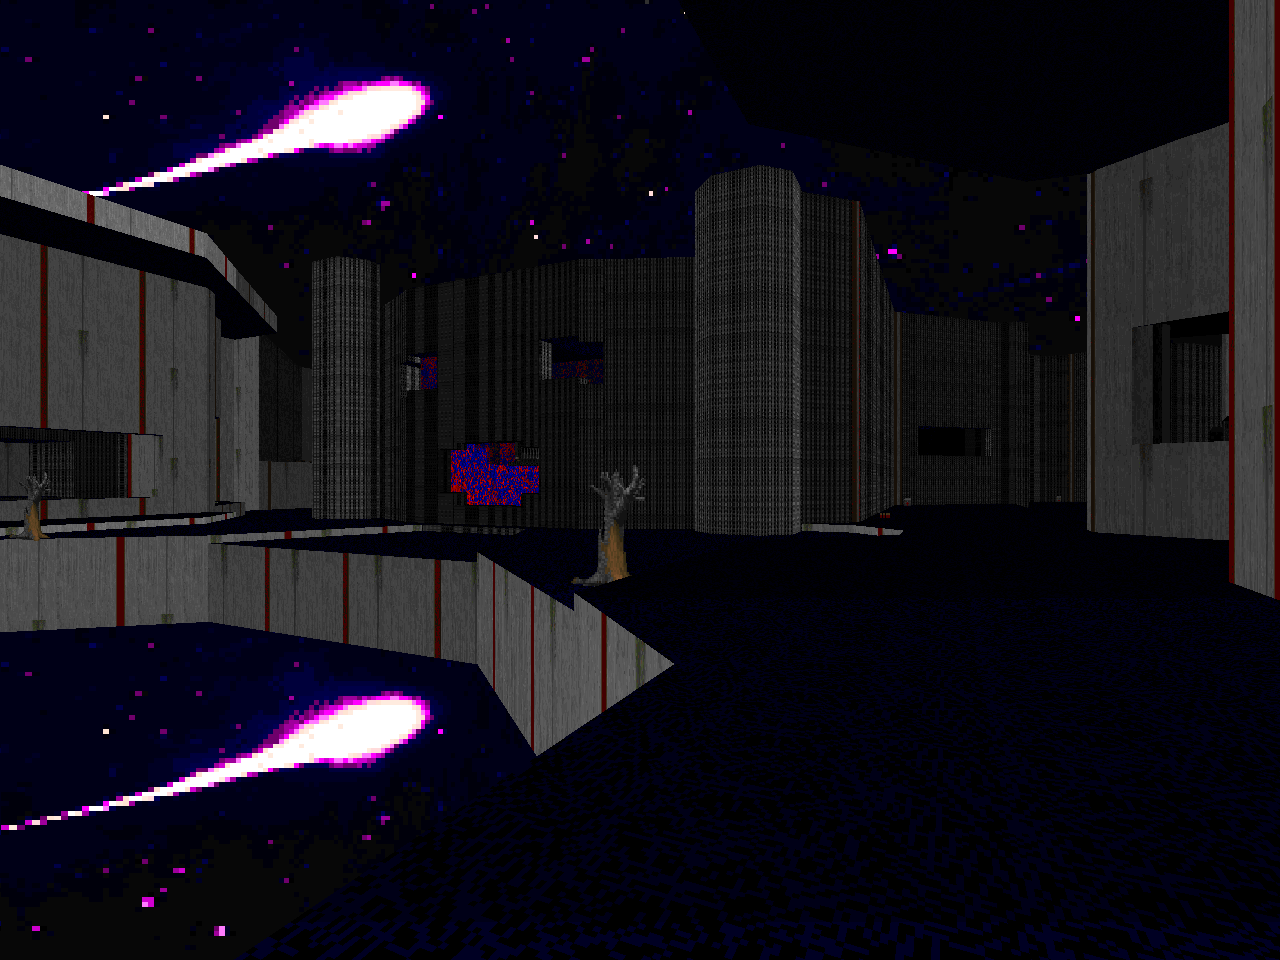
50 Shades has, as mentioned, a very limited texture set. DOORTRAK is the most garish of them from my viewpoint. It's used almost exclusively for - you guessed it - the tracks of doors. GRAYTALL's strangest element is its inexplicable red stripe, which is used either discriminately or not as the author so decides. Lastly, the psychedelic FIREBLU, whose dynamic visuals contrast against GRAYTALL and DOORTRAK to give this WAD much of its character. Participants could also pick one flat (floor / ceiling texture) to use, as well as the sky flat, which most of these levels made use of. The sky itself becomes a texture of sorts, resulting in some pretty trippy experiences. Others went a step beyond and used Boom's sky transfers to make more obvious switches or, in one case, add solid bands of color that you wouldn't see otherwise.
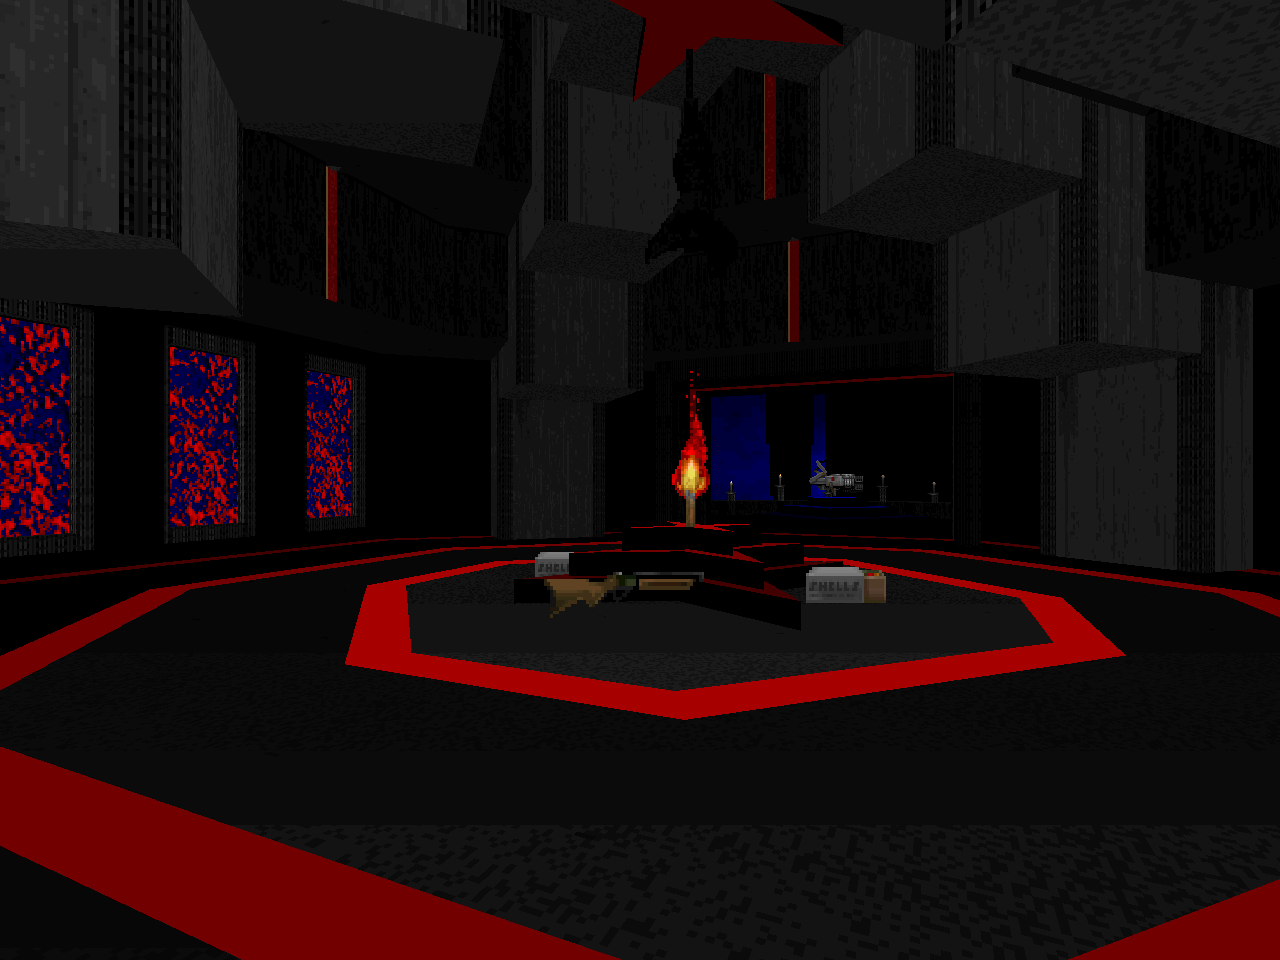
The most important aspect of creating a visually interesting Doom level within the parameters provided is the embrace of Doom's dynamic lighting. The contrast between light and shadow and its associated features go a long way toward establishing a mood, even if it's as simple as creating the illusion of a pitch black surface. Accordingly, most of these levels use or otherwise experiment with lighting to enhance the map's geometry. The most vibrant aspects cannot possibly be conveyed through static screenshots; you'll have to see them for yourself. Most interestingly, there are actually a few cheats that actually utilize the hall of mirrors effect, notably in the basement of Noisyvelvet's castle...
50 Shades is kind of all over the place as far as styles go, as befits a community project, but none of these levels ever dwell on the lighter side of things. You've got revenants straight away in MAP01 (which itself is a tribute to MAP01) and quickly move toward more advanced difficulty with a superhard stretch toward the end that relaxes with shockblast4's offering before punctuation with a Timeofdeath map, of all things. And what a thing! Argentum extends the glow with a level that does its best to channel
Hell Revealed, I think. In any case, it's a fun play, and there actually are difficulty settings if you find yourself dispossessed at any particular point in the adventure.
There's only one reason to not play 50 Shades of Graytall, and that's because you absolutely despise the textures used. It's a pretty solid play. Not the sort of thing that will be interred among the dusty, stodgy hall of Doom's "classics", but something worth its own experience, nonetheless. Enjoy it in all its psychedelic glory.


50 SHADES OF
GRAYTALL
by assorted authors
| Entrygray | MAP01 |
|---|
| by James Paddock aka "Jimmy" |
|---|
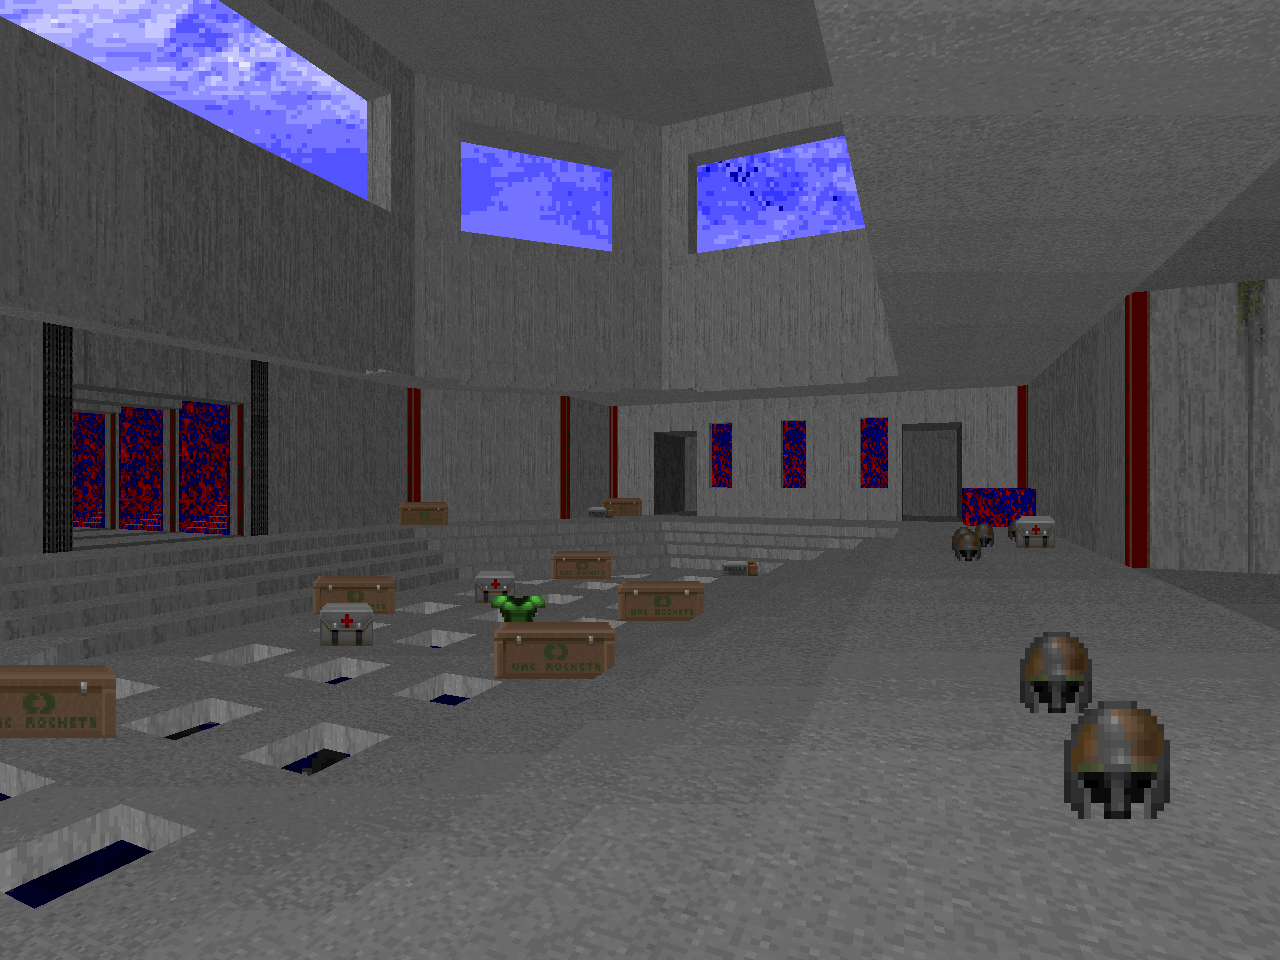
| Kicking things off with a remake of "Entryway" in the image of 50SHADES. It's a pretty easygoing level that's a bit tight on ammo, which is why there's a not-so-secret chainsaw available from the get-go. Lots of zombies, a few imps, a couple of chaingun snipers, and a handful of revenants as your supreme challenge monster. The last dudes will go down pretty quick if you find the secret super shotgun... which I didn't until I was already done. It does the "floating in the void" thing well enough; the contrast of the sky texture on the red-striped gray is more than enough. I think the MAP01 homage as executed is pretty cute. | 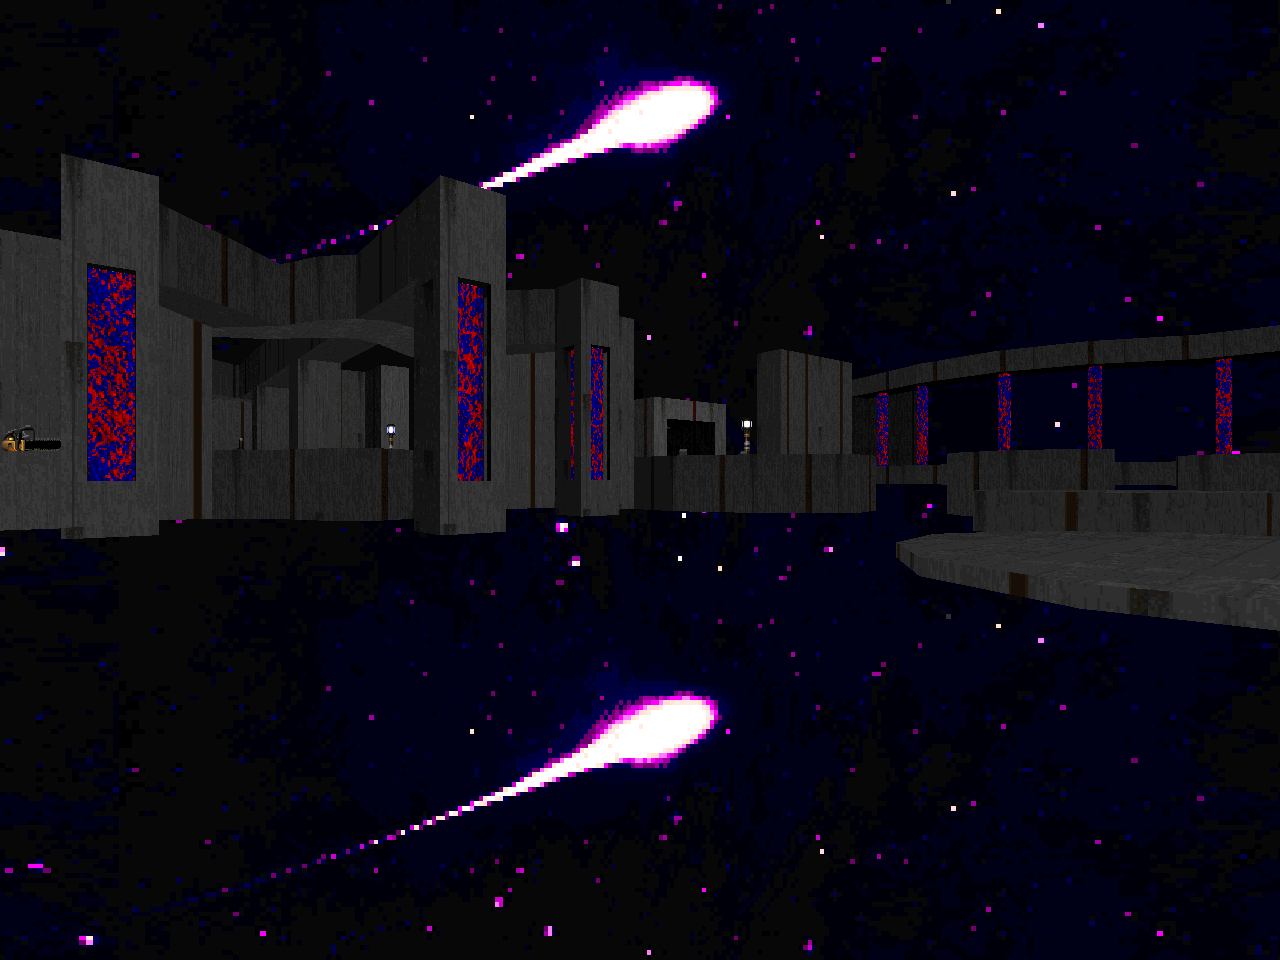 |
| MAP02 | Tall, Gray, and Handsome |
|---|
| by "ezormer" |
|---|
 | A nice romp through an intricate braid. We continue with the open-air layouts to distract from the limited floor. ezormer steps up the difficulty pretty quickly; revenants are, again, a big part of the action. There's one big teleport trap on your return to the first big hallway you come across, but the hallways are wide enough to compliment your mobility. I think the worst trap you'll run into is up the stairs past the blue key door, supposing you just rush into things and have to deal with Hell knights on your flanks and a pain elemental front and center. Teleporting across the gap was a nice touch. I like the recessed wall lights. |
| The Gray, the Blu, and the Trakly | MAP03 |
|---|
| by Brendt Pantley aka "Megalyth" |
|---|
| Another fun romp through GRAYHALL, though with a blue carpet this time. Megalyth wisely breaks up the GRAYTALL with areas clad entirely in FIREBLU, which may not be to everyone's taste, but comes as a bit of a relief. He also combines DOORTRAK with carefully placed red stripes as a border, which is a pretty canny decision. Combat is a step up from MAP02 with several arch-viles and a dual Cyberdemon showdown in the red key room, which is a pretty good setup for some Cyberdemon bumping. I really like the plasma rifle room, too, forcing you to pick a side quickly and cut the hose on. | 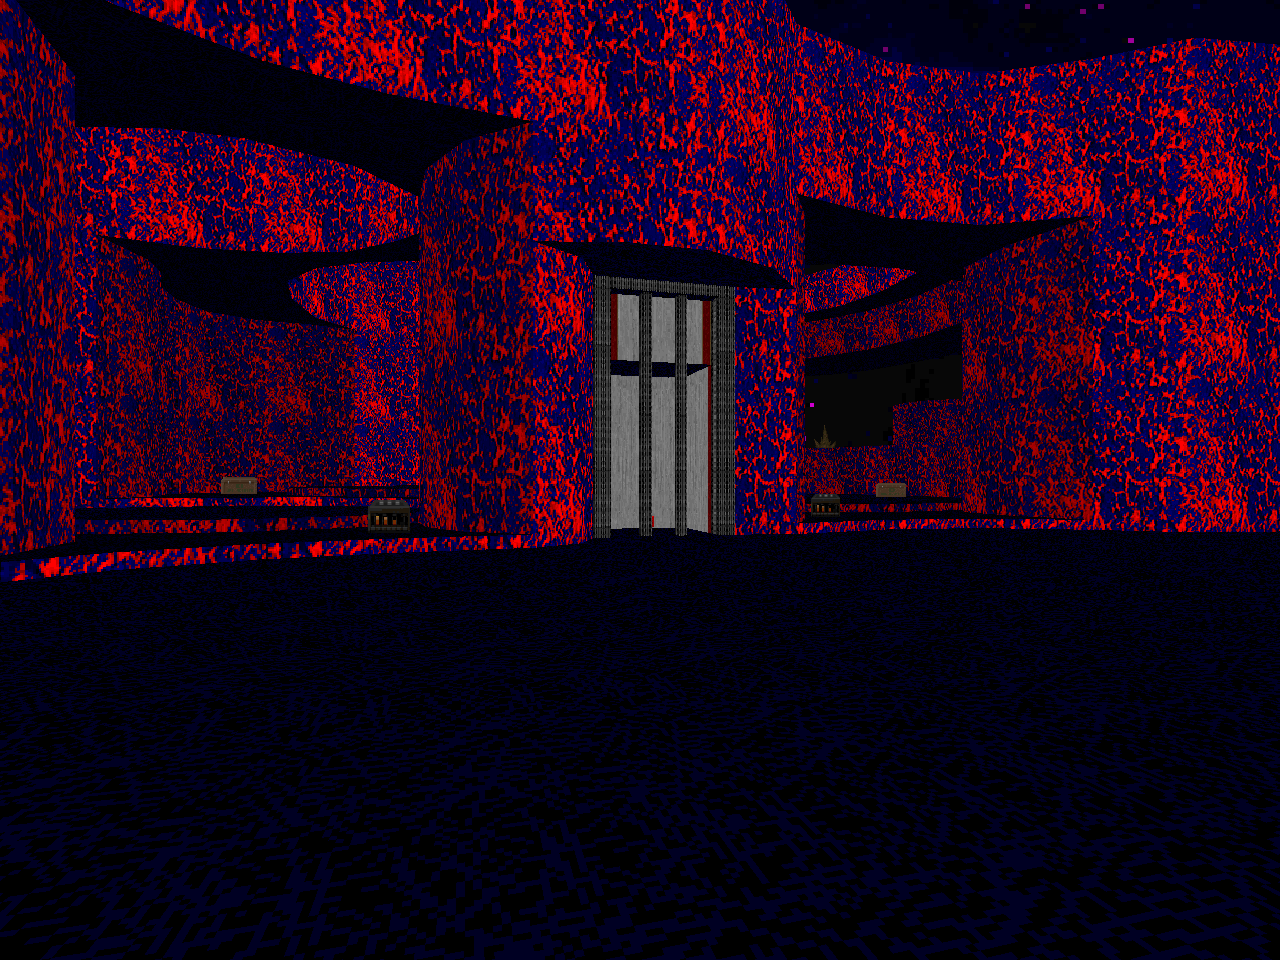 |
| MAP04 | The Alfonzone |
|---|
| by Augustus Knezevich aka "Alfonzo" |
|---|
 | Alfonzo classes things up with some lightcasting and an organic, open layout with a few dead drops to keep you from retreating ever onward. He also reuses the available space, with the player doing two full circuits around the map. Combat is pretty slow-going for its sixty monsters. You're confined to the shotgun and chaingun for most of the level, with the initial clear involving a sizable number of cacodemons in the western outdoor area. The action picks up once you have the rocket launcher, which you'll be tempted to use on the spontaneous arachnotrons that repopulate the road to the exit. You'd better save enough to slay the arch-viles who now occupy the ledge you just came from, and from the low ground as well. I really like the visual style. |
| Concrete Flagellation | MAP05 |
|---|
| by Ryan Rouse aka "Quakis" |
|---|
| Quakis's entry is a little more claustrophobic with some more understandable set pieces, like the central structure that turns into a gazebo for the finale. The layout creates some awkward dodging spaces when it comes to ducking revenant rockets; I ate more than I'd like to admit, particularly in the room with the ledge / elevator trigger to the northwest. It's also got a bit of hitscanner Hell, but not so much snipers as just getting peppered to death with bullets from zombies lurking just out of visibility. The "battlement" fight with the two cacodemons and pain elementals is really good. Nice use of demons to delay your escape. |  |
| MAP06 | Count Trakula's Castle |
|---|
| by "Noisyvelvet" |
|---|
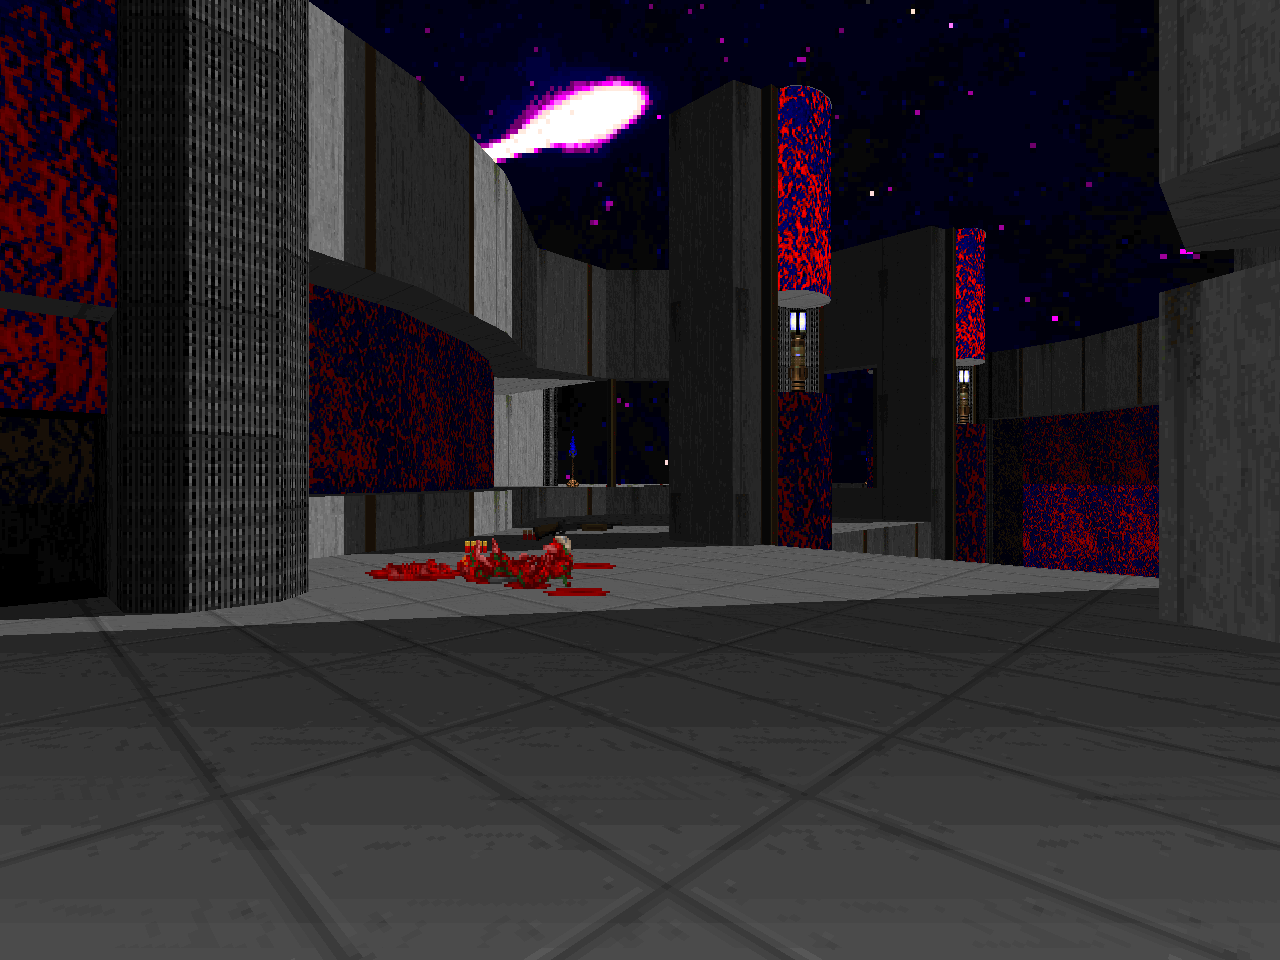
 | This is a big exploratory level with a giant GRAYTALL canyon with a DOORTRAK keep squatting in the center, its interior coated in FIREBLU. The action is quite treacherous at first, since there are snipers and roaming lost souls everywhere, and the ammo is not generous enough to let you pick away at your leisure. You'll eventually get access to the combat shotgun and rocket launcher... after dipping into the belly of the beast. Stepping into the castle activates at least one arch-vile and eliminates a lot of your maneuverability. It also has a kickin' rad encounter in the basement that bridges the east and west sides, a journey that actually exploits the hall of mirrors effect for a memorable arch-vile encounter... and some other stuff. It's disorienting, but cool. I guess Romero is the original Count Trakula...? |
| Address Unknown | MAP07 |
|---|
| by Michael Fraize aka "Marcaek" |
|---|
| Marcaek tackles floating islands in the void, but the beginning has a very race track-esque feel as you run in desperation from area to area, waking up more enemies and feeling quite underequipped. If you can get a bead on some of the secrets, like the rocket launcher, you'll be slightly better equipped. There's a real danger of getting sniped halfway across the map by projectiles that have been traveling a very long distance. There's also an extensive secret area to the north which has some really cool set piece fights, like the catwalk that runs round an arch-vile pillar to a cool staircase, plus a BFG battle where you'll have to sort of duck past a Cyberdemon and then fend off a bunch of stuff, including a few pain elementals and an arch-vile with a horde of demons. While there's a definite feeling of being hunted, it eventually lets up for some more generous action... especially if you can grab that megasphere. |  |
| MAP08 | At the Mountains of Madness |
|---|
| by Cyriak Harris aka "mouldy" |
|---|
 | mouldy does what he does best with this superb hornets' nest. This gentle ode to Lovecraft has several strong set pieces, the first being the pile of corpses watched over by a handful of zombies (why?), the second being the initial reveal of the alien architecture, and the third being its central chamber, with a dazzling, forbidden core. The outer area quickly becomes flush with enemies and rooting out ammo stores only brings more emissaries of Hell upon you, coming in teleport-induced waves and ranks of cacodemons. Oh, and plenty of entrenched revenants. I suggest plotting out a route to grab the combat shotgun and rocket launcher as quickly as possible, the latter being essential for crowd suppression and the former always handy for skirmishing. I'm not so sure about the plasma rifle given the sheer number of opponents, but you'll want it for the building's interior area, which is a sort of locked-in arena battle with quickly increasing stakes, coming to a head once you reach the top, which releases a couple of arch-viles into the lower area - who of course set about resurrecting shit - and opens up the reliquary, which contains a Cyberdemon. |
| The Killing Fields | MAP09 |
|---|
| by Josh Sealy aka "Joshy" |
|---|
| A good ol' slaughterfest with a few clever traps. The mancubus on the central pillar looks like an inviting kill, but he will be replaced by a far more dangerous element that commands your respect. After you jam the FIREBLU pillar into the ground, you can enter the outdoor area, which houses a major slaughter with a confounding layout. Two slopes are bisected by a river of void that runs down to a lake of nothingness. The only way to get back on the slope is up the river, which makes for some slightly awkward maneuverability. The outdoor fight is easy enough to game, though, with some degree of crowd-shaping. The other big fight comes after, once you have the BFG in hand, and it starts out with a large crowd of revenants. Teleporting mancubuses lock down the outdoor area and you also have three Cyberdemons and a bunch of pain elementals to contend with. Lucky for you, there's all that cell ammo and shit outside, right? Quick and fairly challenging. | 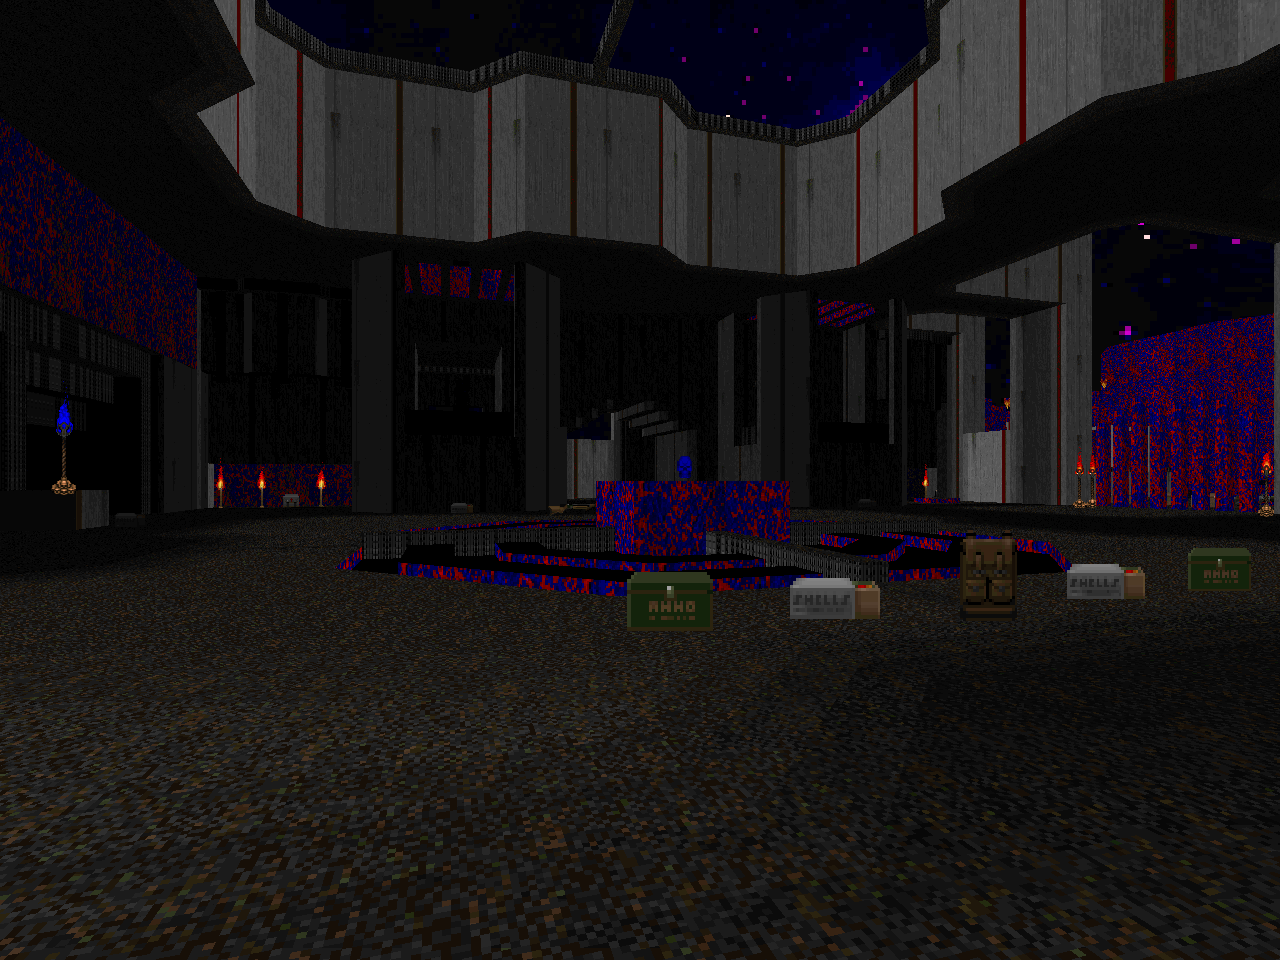 |
| MAP10 | Big Dwayne's Orbital Concrete and Propane Emporium |
|---|
| by Brett Harrell aka "Mechadon" |
|---|
 | A large adventure in Mechadon's inimitable style. As could be expected, it's visually busy and incredibly intricate, with the map slowly opening as you progress and flip the... unusual switches. "Emporium" is difficult from the very beginning; the author does not shy away from using higher-end enemies, and the early combat shotgun encounter where you're locked into a cramped room with teleporting imps and demons with an arch-vile on high sets the tone. The gameplay sort of blurs together as you unravel the floating citadel's secrets. I got stuck right before accessing the main slaughter area in the western half of the map as the effects of one of the switches wasn't immediately apparent to me (the one that raises the pillar that bridges the two towers) and did a fair bit of wandering around. Mechadon's intricate detailing does not translate as well to the GRAYTALL concept... Not because it's ugly, but because most of the connective tissue looks the same. I haven't felt lost in a long time, but this one managed to do it to me. The slaughter section is pretty straightforward, featuring a huge setup for Cyberdemon pro infighting plus a cool visual effect with those monster generators. Very cool. |
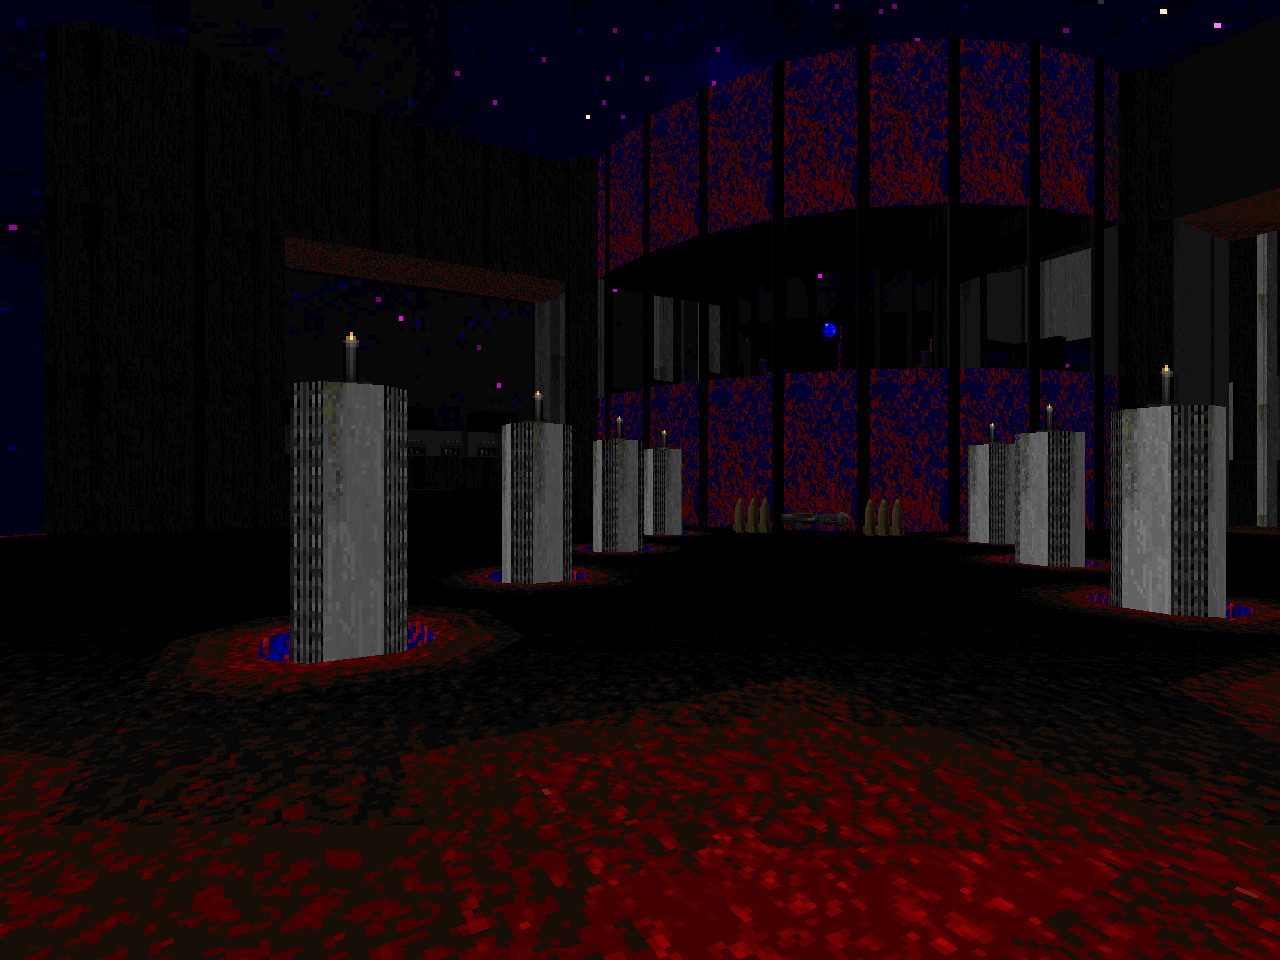
| Stardust Mayhem | MAP11 |
|---|
| by Justin Kelly aka "Breezep" and Cyriak Harris aka "mouldy" |
|---|
| A straight up slaughter of the BFG zerg variety. It's actually a lot easier than it looks at first glance; the abundance of cell ammo liberates you from most Doom decision making so that you only need to concentrate on your attack route. The big thing you need to know is that the arch-vile cubbies that open up right past the mancubus / arachnotron chambers house secret invul spheres which should make the rest of the clear pretty straightforward. Grabbing the blue key brings out a big wave of nasties, but you're still swimming in plasma, so no worries. I'd be more concerned about the red key ambush, where the enormous pack of guardian demons serves as a major distraction that allows a handful of arch-viles to do what they do best in the areas you've already cleared. The final wave of revenants is about the most dangerous of the encounters beyond the very beginning, at least if you're trying to kill them all as quickly as possible. |  |
| MAP12 | The Cake Way |
|---|
| by Zachary Stephens aka "Ribbiks" |
|---|
 | Something smaller but the threat level of these enemies have been amplified. "Cake Way" is a pretty dark level, but the only time the spooky opening is threatening is actually upon your return, when you'll have to deal with a Cyberdemon from one tower and a clown car teleporter in the other. It's not hard to strike up some infighting, just tricky maneuvering from side to side as you duck between poles and around monsters while you wait for the Cibberlord to mete out his peculiar brand of justice. Then it's time for another go 'round the bend, which may or may not be difficult depending on how much health you have left following the big brawl. You're almost assured to get clipped in the baron battle, which has some commandos overhead that will mince careless players into tiny kibble. Great use of light and shadow to distance much of the visuals from plain ol' red stripe. |
| Everlasting Fireblu | MAP13 |
|---|
| by Aleksey Kamenev aka "shockblast4" |
|---|
| After the last run of maps, this is a nice break. shockblast4's boxy architecture leaves plenty of room for maneuvering and the encounters are pretty straightforward. The return to the southern hall comes as a bit of a shock, but nothing you weren't expecting after your trip through the void. The northern area has a good brawl through the platforms with an arch-vile and a bunch of revenants and the final battle's dual Cyberdemons mixed with skeletons battle is a tried and true finisher (and pretty simple with the BFG in hand). Some nice bits of FIREBLU shrines and such. | 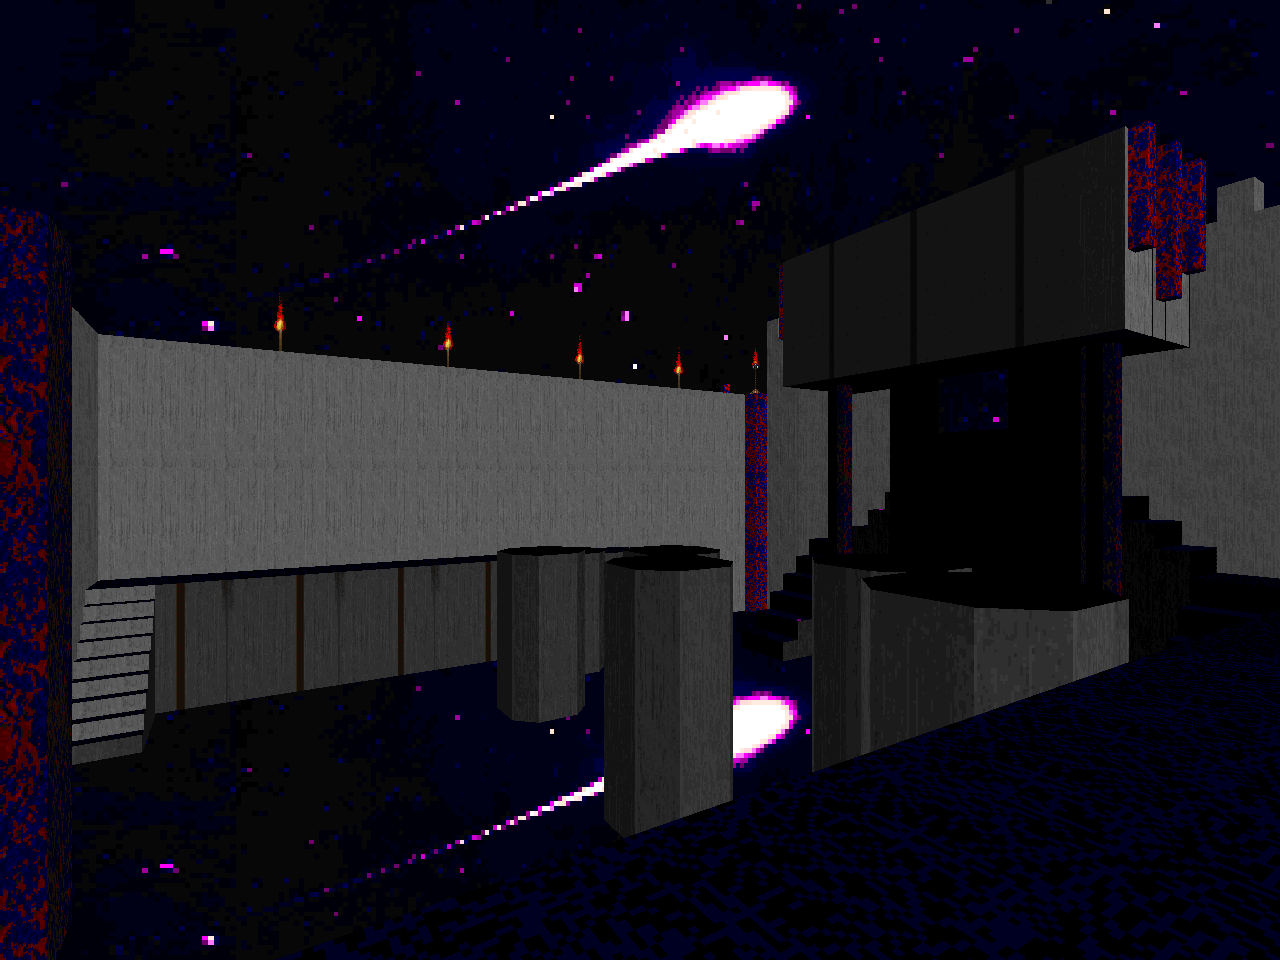 |
| MAP14 | Astral Nausea |
|---|
| by Darryl Steffen aka "dobu gabu maru" |
|---|
 | A very interesting level from DGM. There's only one real plane of action, but the author makes it work through several powerful gimmicks. Most startling is the fantastic contrast between shadowed bits of "real" architecture and the stuff built out of the void, creating intricate, spiraling patterns that you will be fighting across. There's also the startling transitions between marble pillars. Each encounter has its own peculiar challenge. Ammo starvation is a major component, but one way of rooting that out would be to balance the threat of the enemies wandering around the tiny labyrinth against luring them into chipping away at the baron blockade. The zombie / imp chamber is another tricky encounter that requires a mix of chaingun precision and rocket suppression while you wait out the eventual appearance of revenants and, more importantly, arch-viles while attempting to avoid getting chipped to death. The last battle has the same sort of frantic pacing but with enemies arranged in rings spreading outward from a Spiderdemon in the center of its web, with arachnotrons on the outside and mancubuses / chaingunners in the middle. Cool stuff. |
| The Serpentine Lemniscate | MAP15 |
|---|
| by Xaser Acheron |
|---|
| A real treat from Xaser, built around the motif of the infinity symbol which you will navigate, falling prey to sector machinery that seems rooted in the works of Jim Flynn but bent to Xaser's own particular specifications. The one thing I'm not sure about is how one gets back on the loop once the staircase turns in on itself, so... don't fall off! All of your outdoor maneuvers will be under the careful observance of an outer ring of cacodemons, so keep a move-on. If you're looking to kill every enemy, don't worry about the cacodemons, but make sure you slay the imps on the north and south tracks before stepping into either of the eastern / western portals in the loop chambers since you won't be coming back. The final leg of your journey isn't that much different from the first, but the direction is different. I guess I was expecting a running of the arch-viles at some point. Very cool level. | 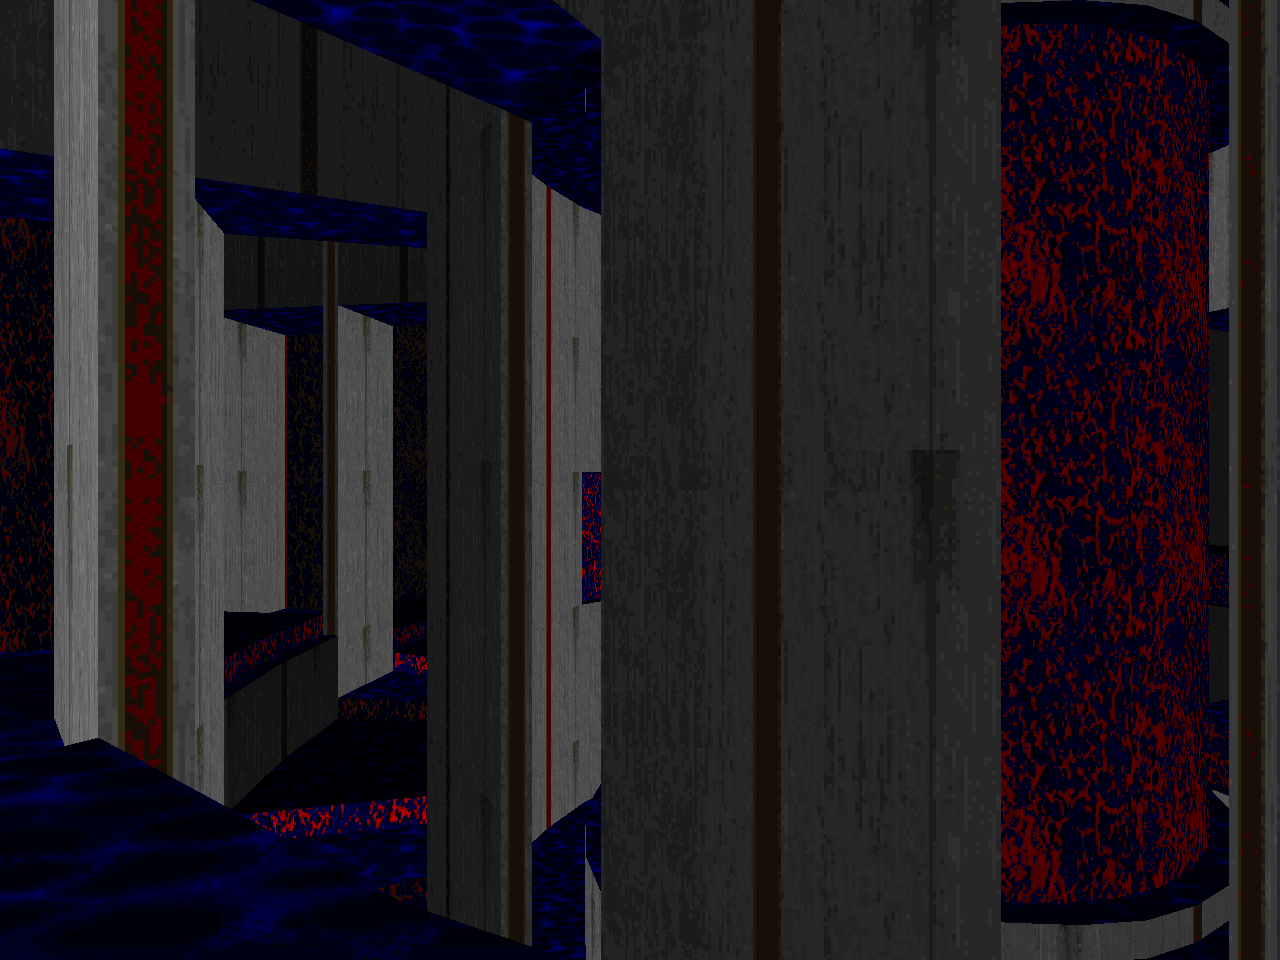 |
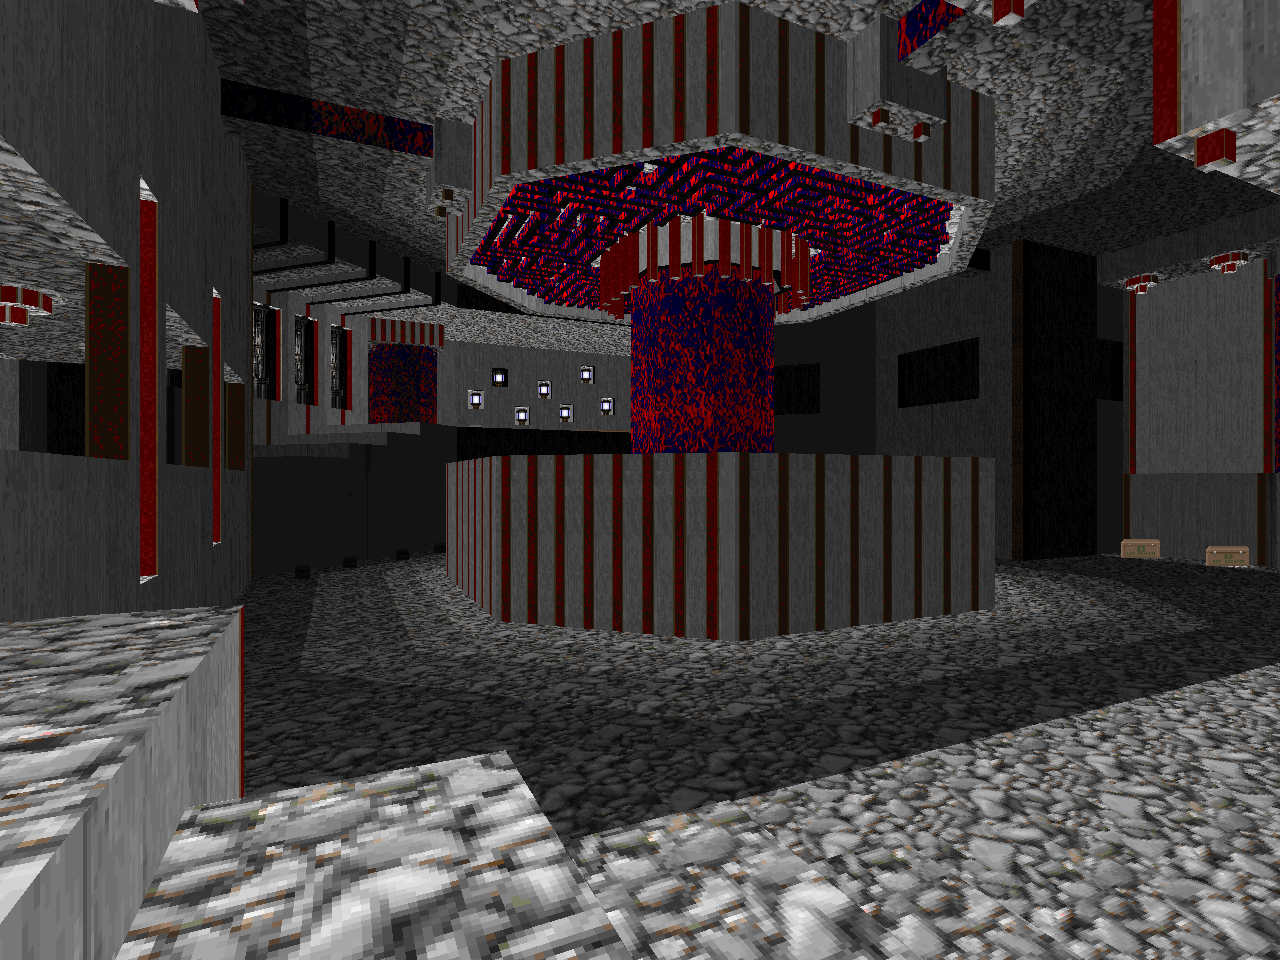
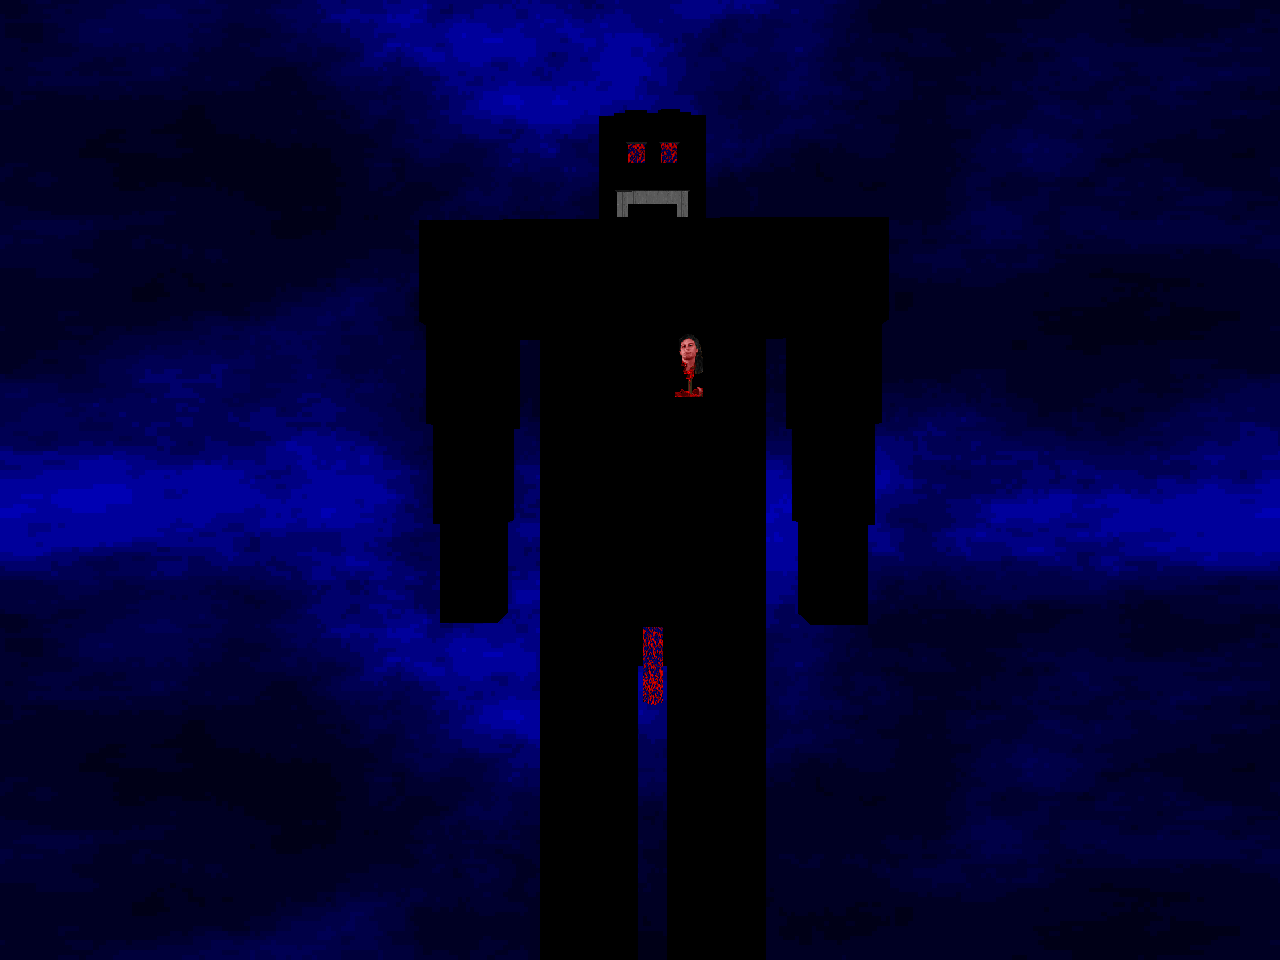
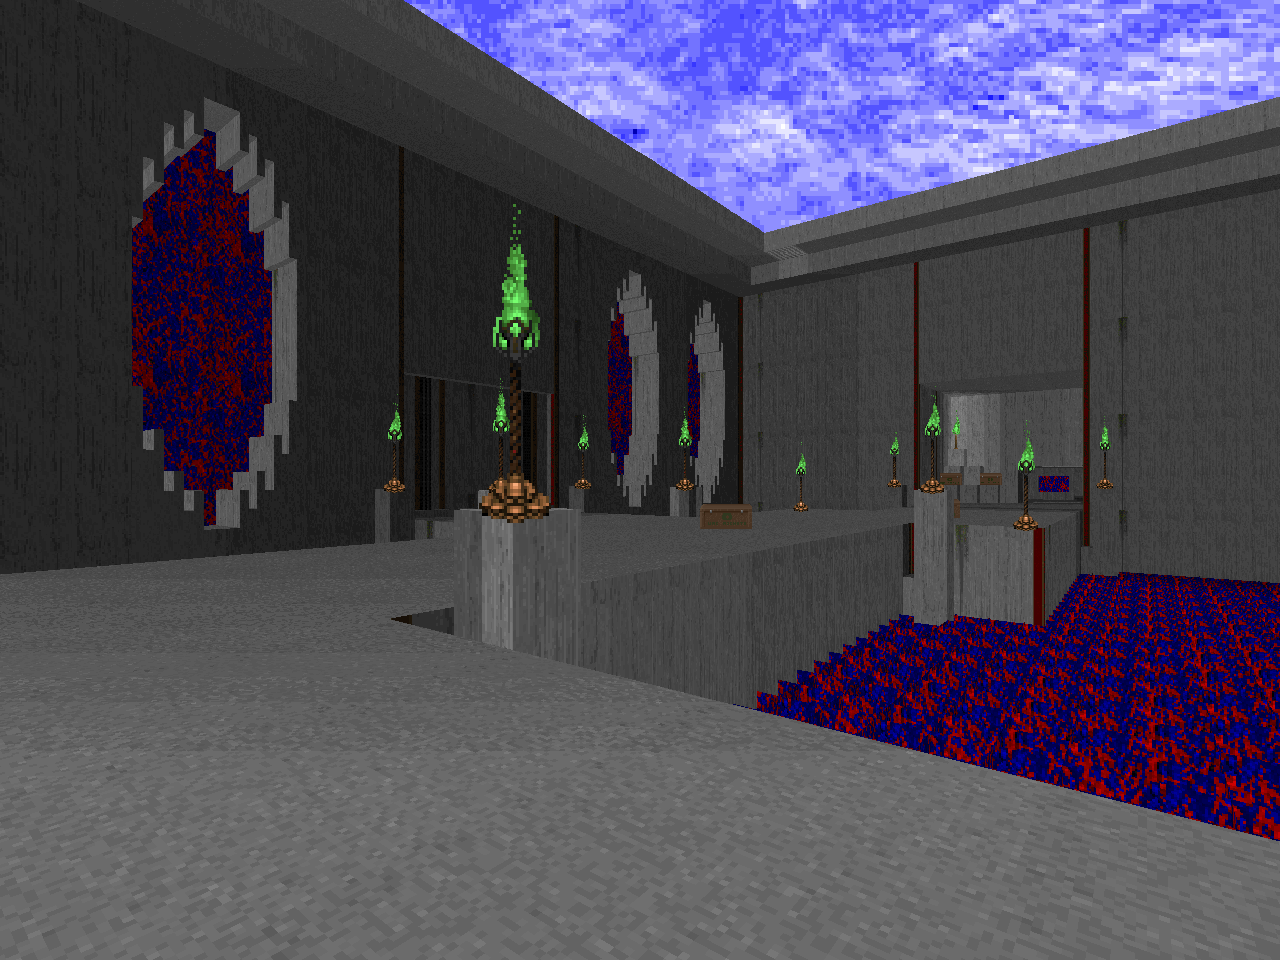
| MAP16 | Mr. Graytall |
|---|
| by "TimeOfDeath" |
|---|
 | A finale as only TOD could have envisaged, complete with FIREBLU dong. "Mr. Graytall" is one of the most aesthetically dynamic levels in the set. The author shows his mastery of light and shadow and other cheats with those solid red and blue lines. He also shows his penchant for ultra-hard gameplay, with what is perhaps the most punishing level in the whole set, with a bunch of surprise arch-viles and enough BFG vs. Cyberdemon encounters in a variety of rooms to turn you from chump to champion if you're willing to do the work. I find the placement of the BFGs interesting as it sort of suggests an alternate gameplay approach where forty cells aren't really forty cells at all but a single shot of the BFG powerup. What with all the Cyberdemons you're expected to more or less two-shot and all the arch-viles, ammo will be tight for all but the most practiced of experts. I believe that the western wing is my favorite series of fights; the eastern section is a frantic BFG zerg and the return to the north is a bit too much like pulling teeth. Still, a really cool level. |
| The End | MAP17 |
|---|
| by Michael Fraize aka "Marcaek" |
|---|
| A fun little gallery showcasing all the works you've played through with some really cool architecture. I especially dig the continuing arch opposite the Timeofdeath painting and the room in the void to the west. But... Who is Argentum? | 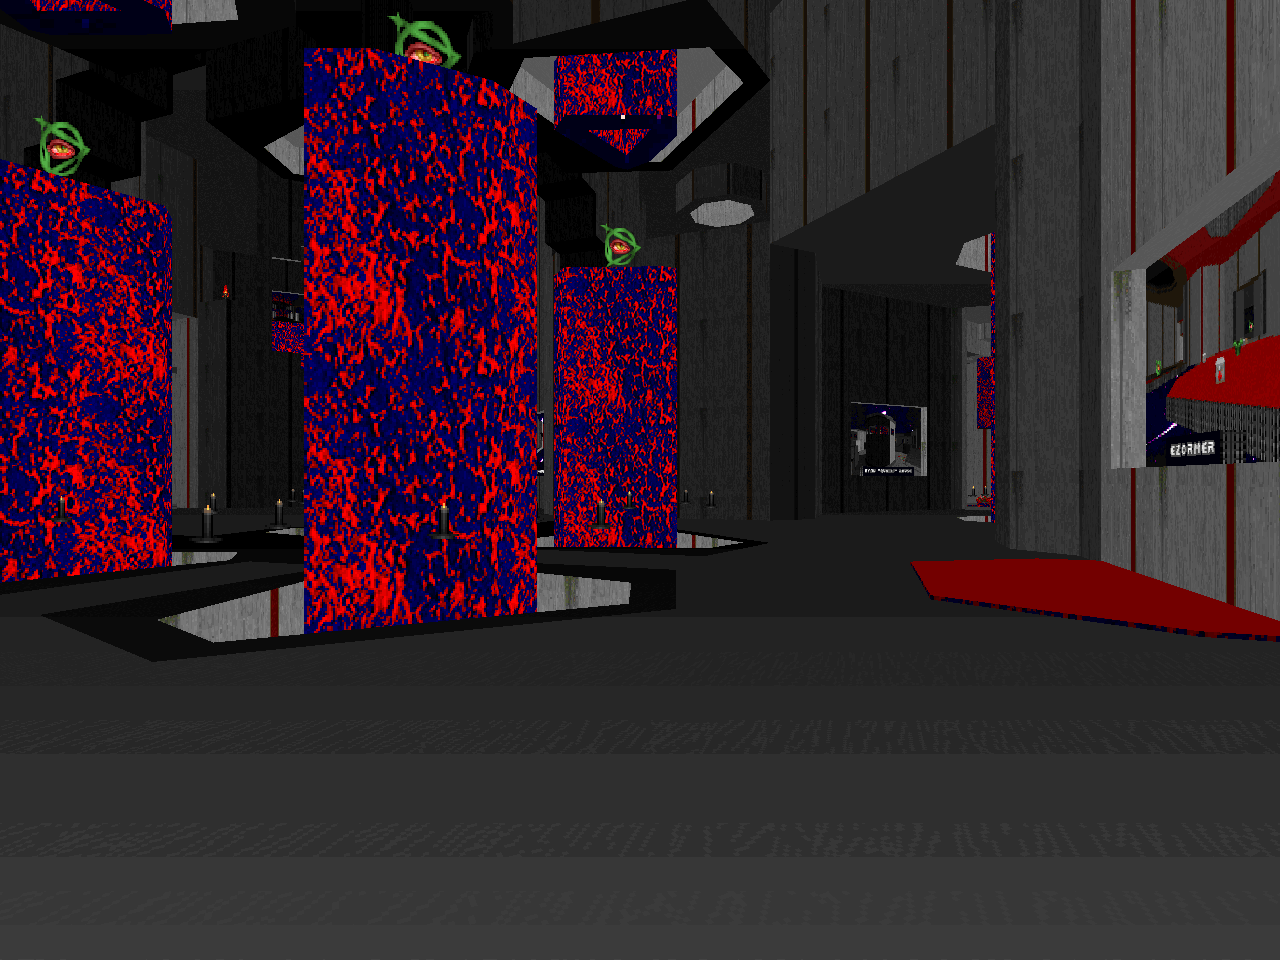 |
| MAP18 | Killer Color Blindness |
|---|
| by "Argentum" |
|---|
 | I started out liking this map but once I got into the later encounters I realized that I'd missed something essential - the secret BFG. Eventually, you're going to come to the hallway leading to the red key chamber. If you don't have the BFG, I would suggest grabbing the invul, grabbing the key, and then running to the teleporter and using the rest of your invul time to rocket punch the demon / mancubus / arachnotron clusterfuck to death. You could also fry 'em all with plasma. The key thing to remember is that there is no way you are going to kill the red key guardians, and wasting your cell ammo on them will only set you up for failure in the fight that follows. As for the rest, well, it's a pretty decent bunch of battles with a sort of Hell Revealed-lite vibe with some inventive use of midtextures to create stuff like a FIREBLU sea and windows in overhangs for some faux-3D cheats. I like the hard-hitting action and some of the set piece fights, like the descending / expanding series of fights in the western section. I wish I had been more prepared for the DMA room, though. |

Wow. Those look freakin' awesome. Sometimes less is more!
ReplyDeleteA fair number of nice levels here but I have to say Mechadon did the best one for sure! (Unless you can't stand huge maps, but it's a huge map done as well as you could ask for in the 50SHADES environment)
ReplyDeleteThe limitations for this project made it a fun mapping experience, whether it was trying to create something good looking despite these ugly textures, prioritising on designing good gameplay or checking out the results of other contributors. Liked Alfonzo's, Noisyvelvet's and mouldy's levels, especially the latter - just devilishly brutal but satisfying to beat. Thanks for the review!
ReplyDeleteYou need to play Mechadon's level it's just amazing.
DeleteIf you like Mouldy maps don't miss 'Going Down'.
Mechadon's level is also really good, yeah. At first you don't realise how large the level is. I love the free flow progression, it always feels like there's somewhere else you can branch off and everything begins to interconnect as more areas open out.
DeleteAs for Going Down, I actually only just recently played through and beat it. Enjoyed the heck out of it! Had to knock the difficulty down to HMP upon reaching MAP13 though, the congestion in general became too much to handle. Definitely a worthwhile wad and I hope to do a full UV replay one of these days.
you are welcome! it appears as though someone thought that not praising mechadon's level meant that you had not played it.
DeleteStupendous! A good use of minimalism all across the board. And that's a lovely fireblu tail Mr.Graytall has.
ReplyDelete...that is a tail right?
whatever helps you sleep at night
DeleteMap16 is really impressive visually (and yes, including Mr. Graytall himself) but man oh man, beating this thing on UV...(hint: I'm not one for repeated 2-shotting)...And ToD only included 2 difficulty settings, HNTR = HMP and at least for HMP it could actually have used to be a little harder.
DeleteWhile I think this wad is cool my only issue would be that most of the authors still put a ton of their effort into making these maps look decent after all, unlike the project goal which was mostly to focus on gameplay. That said, many maps do play well enough anyways.
(can't wait for the review...sorry it's kind of off the topic for here)
ReplyDeleteI saw your critique over on Doomworld - overall, did you enjoy playing Doomed Space Wars? I think if nothing else, the architecture is well passable and the gameplay is consistently at least good.
http://onemandoom.blogspot.com/2011/04/comments.html
Deletelike i said the last time you did this, there is a comments section for stuff not specific to any review. just deleting them seems capricious so im just gonna ignore them from here on out. or, you know, just wait for the review
Were you able to beat Map16 from a pistol start on Ultra-Violence?
ReplyDeleteyeah. i used saves tho. I leave the number of save points and reloads to your own imagination
DeleteStill, good job, regardless of save/reload :) I'm not sure I can or have the patience to 2-shot Cybers that well
DeleteBeen waiting for the next review. It's been a week. Will there be one soon?
ReplyDeletethere will never be another review, ever
DeletePlease don't kid around, I already miss AWAD too much
DeleteWell I can't say I was expecting a wad without 'proper' textures would get a legitimate Caco (I would have had to guess HM if I'd been forced to do so), but I can definitely see why it did, in spite of some negative /idgames comments. It's a pretty successful experiment overall, IMO. Most of the maps are good for different reasons, but just about anyone should find at least a few to like all-around (unless they just can't stand the premise). And Map10 is THE BOSS, no doubt about it.
ReplyDeleteyeah, i think alfonzo was a bit surprised when i suggested it for a full caco, but he was happy to go along with it. i could say that graytall works in spite of itself, but i think that the bare minimum of variation is all you need to make visually interesting doom maps, as these guys have proved, and some sector wizards like Chris Balch are capable of getting that much more out of it. it also helps that marcaek was willing to cut or bar levels entirely if he didn't like them (due to quality or taste) or were just too weird (like gggmork's epilepsy factory)
DeleteI agree quality control was done reasonably well here, though there's a few things I'd have probably suggested doing differently on:
ReplyDelete1) Map11 and Map13 are very borderline quality to have been accepted IMO.
2) Map order. I think Map10 is the pinnacle of excellence here (no surprise for a Mechadon map) and it's also the biggest level. I'd have suggested it to be the penultimate map (before Mr. Graytall, not counting the credits/bonus maps).
3) Difficulty settings were neglected on Map03, Map09, and Map12. The later two especially because their difficulty is pretty harsh.
4) Make an HMP on Mr. Graytall that's notably easier than UV but harder than the current HMP (which is identical to HNTR).
I simply can't just figure or get over this one - how in the world does MAP16 manage those blue/red floor stripes? I just can't figure this one out as even sky transfer, I don't understand how, the skies in 50shades do not look like that. It is beyond any doubt IMO one of the set's most gifted maps aesthetically even if I TBH cannot really warm up to ToD's insane UV gameplay.
ReplyDelete