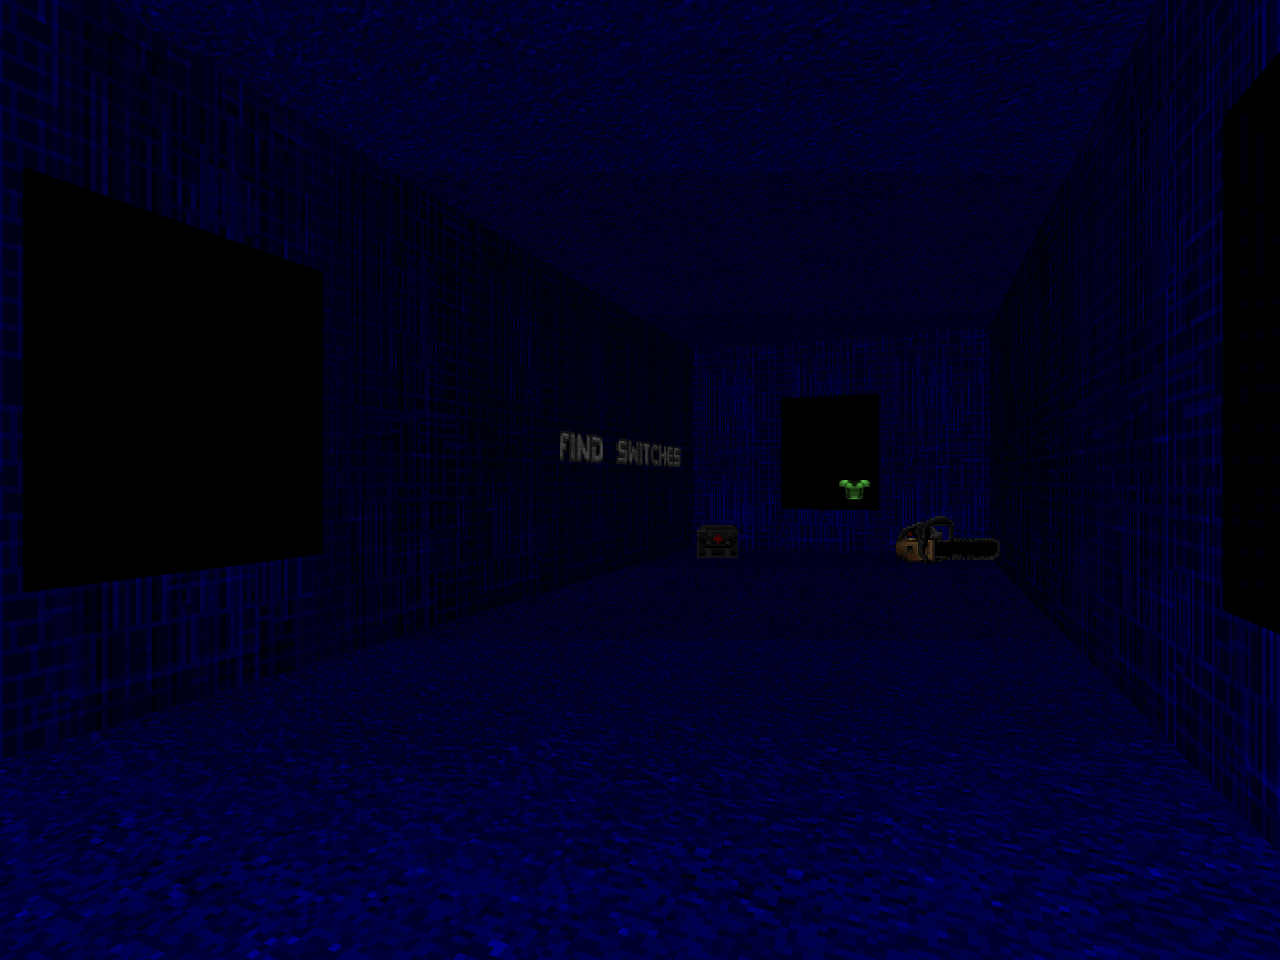
Stephen Clark, aka The Ultimate Doomer, made his debut splash in 2001 with his solo megaWAD, Fragport, but he had previously made an eight-map Doom episode called Operation: Lightning. Somewhere down the line he converted it to Doom II and added three more levels. While it was finished mid-2000, Clark didn't publish it until early 2002, once he saw some positive feedback for Fragport. OP-LITE2 replaces MAP01-MAP12 with the final map merely being an episode bumper to keep you from coasting into the regular Doom II campaign. It is as far as I know vanilla-compatible and should function correctly in the source port of your choice.
You are Jody Russell, Codename: KILLCRAZY, the ultimate space marine. In the year 2099 a planetary base - I have no idea which planet, but I doubt it's supposed to be Earth - has gone radio silent concurrent with an unusual increase in aberrant weather phenomenon. Namely, electrical storms are ravaging the planet's surface. You are part of a swift strike team sent in via discreet marine pods (a la Quake II) when the lightning starts to take out your fellow soldiers, one by one. A damaged transport clips yours and sends you spinning out of control. While you were knocked out, your erratic descent probably saved your life. It's only after you land that you realize what has claimed control of the base - the aliens from hell!
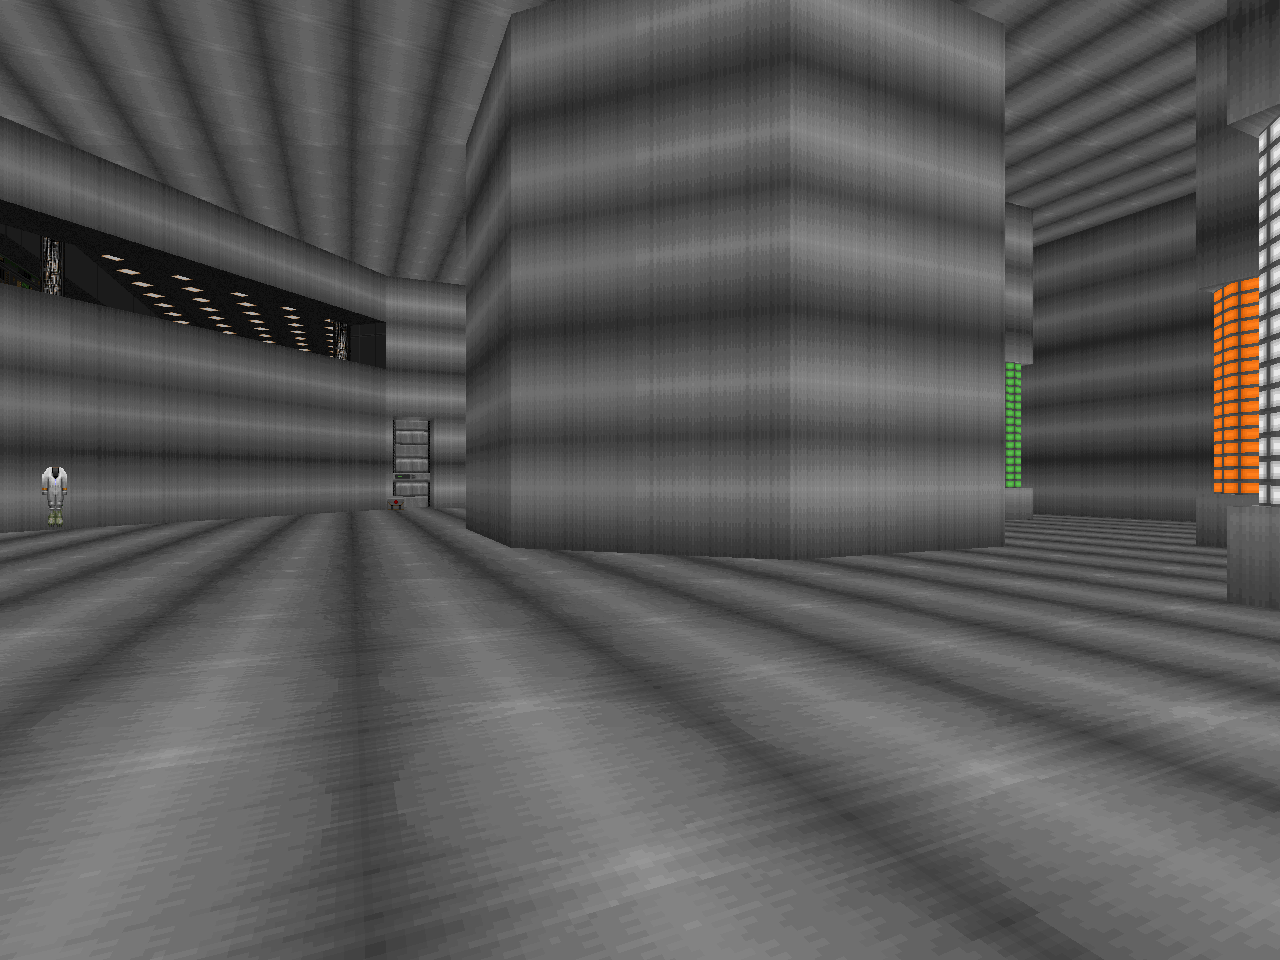
Operation: Lightning is in many ways more of the same sort of level design that Clark brought to the table for Fragport. The author aimed to tell a single, contiguous narrative and did so by ending each level with the beginning of the next. Your whirlwind tour will take you through a sprawling military base in search of the dreaded "lightning generator" weapon before taking the fight to space and the ship that the monsters arrived on. It's also pockmarked with bits of realism in Doom like an abundance of switch-activated doors, sector toilets, and computer kiosks. "The Great Outdoors" (MAP06) is an entire military base complete with dormitories, a mess hall, and even a recreational football field. "Habitation Decks" (MAP10) is half of the starship and has both crew and officer quarters as well as a bar, lounge, and bridge.
In my review of Fragport I wrote about how some authors during the source port boom borrowed elements from subsequent first-person shooters in an attempt to elevate or otherwise renew Doom. Clark's megaWAD had some crazy stuff but OP-LITE2 is more apparent in what it is trying to borrow from. The story isn't just shades of Quake II; the SMC Drop Pod devices figure in at the start of the set and then appear sporadically through the episode's first half. The attempt to physically link everything together is about as close as you can get to a vanillafied hub system without going the route that TUD did for his "Arena" levels. It's also clear that Clark was chuffed with his "Alphabet Texture", which allowed him to easily add words to structures with a direct comparison to Duke Nukem 3D.
The more mundane locales are representative of the sort of environments seen in Duke3D as well as Half-Life, the latter of which is specifically mentioned as a favorite by Stephen. I think that Freemen's adventures also influence Operation: Lightning in those places where the player must take an alternative route to a blocked path, like "Blackout!" (MAP07). There are a fair number of interactive bits beyond door buttons. In "Fear Factory" (MAP03), you methodically shut down an industrial poison production facility, including draining its storage vats. Later on, "Control Center" (MAP08) ends with you shutting down the station's data servers. During your adventures you are going to have to blow up two separate reactors which includes, among other things, opening up their protective shielding.

Fragport also had a crazy MAP32 called "The Crystal Maze" that crammed in something like twelve challenges that had to be solved under a time limit. Sometimes this was as mundane as a switch hunt under duress from monsters. At others you had to navigate mazes or obstacle courses requiring precise movement. These sorts of things were all evidenced in the main body of the megaWAD but in toned-down forms, giving Fragport a generally grounded execution of its gameplay. Operation: Lightning has them all mixed in with their full glory, however. At its absolute nadir this dovetails with another one of Clark's level design quirks, the switch scavenger hunt.
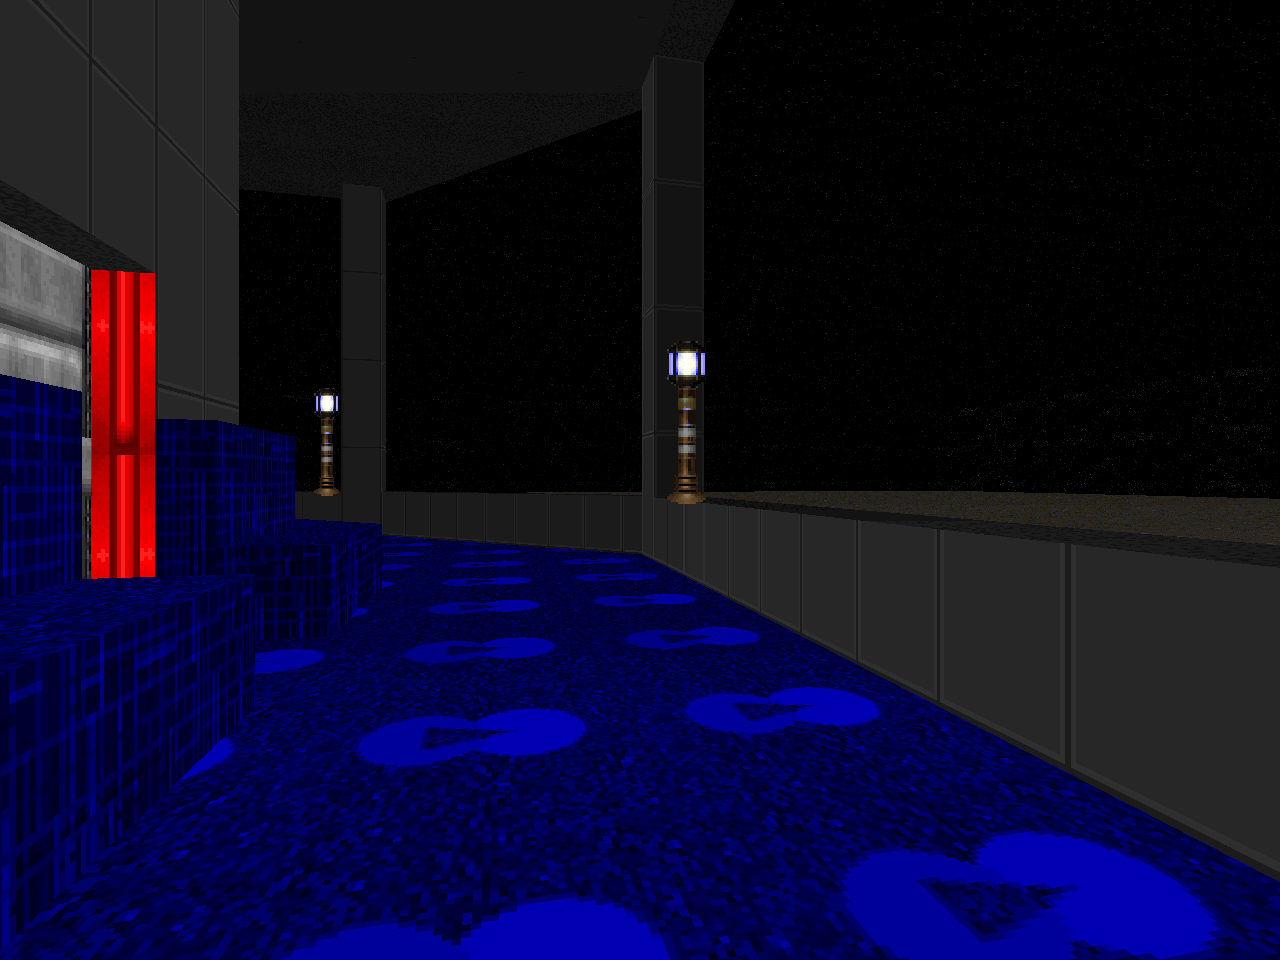
Progression in many of these levels is stymied by a single path with as many as eleven effective barriers across it. Each blockade is removed by a button that has been placed - though not necessarily buried - somewhere in the level. In the case of "Blackout!", you will likely encounter them while navigating the darkened layout, only to return after you've restored power to both the lights and them. Which, I guess, isn't that far removed from Sverre Kvernmo's "Darkdome" from Eternal Doom (MAP12). "Blue In the Maze" (MAP05) is a special level of Hell, however, as each button located in the maze grants access to one of a row of switches in the labyrinth's center. These in turn remove their color-coded barriers, allowing you to scour the maze anew in search of the next switch.
One of these levels - "Control Centre" - isn't that far removed from "Crystal Maze" insofar as it is mostly a hodgepodge of obstacle courses. Except, uh, the pattern-dependent labyrinth in Fragport's MAP32 didn't kill you if you messed up. "Disaster Area" (MAP04) features a similar level segment as an intermission; the immersion-breaking light bridge theme sort of clues you in to the fact that something weird is up. It's far less severe in comparison, however, in spite of featuring death-dealing illusio-pits. The invisible maze is fairly simple to grope your way through and the red key room is a classic case of adventure game principles applied to Doom.
I am more annoyed by MAP04's multiple save-or-die scenarios. The previously-mentioned pits are a part of it. The savvy marine can spot them on the automap but won't have any idea what they are unless stumbled into. The tunnel segments that collapse into lava are more obnoxious given how Clark's level design drives you to play more cautiously. I was also perturbed by the fact that the floor of the six-way intersection actually consists of razor-thin walkways, the nature of which - like the pits - isn't obvious from the automap. "Disaster Area" additionally features an escape sequence that carries a far more immediate threat than anything in Fragport as the entire ceiling of the current level segment caves in slow-crusher-style.
That's a neat narrative moment, though, and one that is similarly executed in "Lightning Reactor" (MAP09). Fragport's sole "evacuate" moment was reserved for its finale, "Escape!" (MAP30), and it did not have anything near as showy a murder mechanism as a torrent of crushing ceilings. As you play through Operation: Lightning's MAP11 you will see another storytelling bit that also appeared in Fragport. Here, the element occurs on a much smaller scale as one of the spaceship's water storage tanks springs a leak, slowly flooding the room as you explore until you can access the exit. In Fragport's MAP03 ("Durncrag Mines") Clark uses it to fill an entire cavern and tunnel system making for a memorable vanilla experience.
OP-LITE2 gives users three visible difficulty settings. Continuous players will have a ball but pistol starters will want to steer clear of "Suicidal Tendencies" unless you are looking for a survivalist challenge. Much like Fragport, you may have to do some scrapping for guns and ammo and conserve the latter through judicious chainsaw / Berserk usage. I don't think that there is anything quite so obnoxious as the arch-vile backed ambush in the megaWAD's MAP24 ("Balanced Chaos"). It is of great benefit to know where critical supplies both secret and not are and the sometimes open-ended layouts - like "Habitation Decks" (MAP10) - have little interest in guiding you to them.
The styles of encounters are similar to a lot of Fragport's incidental fighting but the megaWAD had a distinct flavor from the way in which its city encounters were paced. Operation: Lightning only has one really big outside level, "The Great Outdoors", and Clark doesn't bother to meter out hordes of monsters as you make progress. It all comes at the end in a massive, invasive assault with plenty of enemy variation such that it's nearly impossible to be sure of whether a chaingunner is about to round a corner while you aren't looking. OP-LITE2 does go big with a revenant horde on at least one occasion but if this set is weighted toward any one particular encounter style then it's running into single monsters in cramped mazes. MAP01, MAP02, MAP05, MAP09, and MAP11 are dominated by this but MAP07 gets an honorable mention for not being able to see more than a foot away for most of the action.
Between Fragport and Operation: Lightning, the former is much easier to recommend to the casual player. While visually plain, the greatest excesses of Clark's idiosyncrasies are reigned in or otherwise exiled to "Crystal Maze". If you're more interested in bearing witness to unrestrained author impulse, however, then OP-LITE2 is a great case study. Amongst all the mazes and military mundanities you will find some cool tricks that are nonetheless impractical or unwieldy for regular use. On two occasions that I know of, Stephen uses a barrel that is propelled by another exploding barrel to trigger a walkover linedef. He also uses little ladder / staircase features in MAP02 to simulate some kind of crate-hopping mantle action. The main premise of "Blackout!" sucks to fight through but I'm amazed at how TUD carefully sets things up so that the entire complex is lit back up - with switches enabled - upon exiting the power room. It's impressive when Clark's imagination overlaps seamlessly with the boundaries of the vanilla executable.

And, well, Operation: Lightning is clearly Stephen's brainchild. Whatever influences and homages that may exist are less apparent to me than in Fragport, the overall character of which clearly drew from Doom II's MAP13 ("Downtown"). The most obvious thing here would be Leo Martin Lim's UAC_DEAD since Clark cites the end-of-level shuttle as something he cribbed, both here in MAP10 and MAP11 as well as Fragport's MAP22 and MAP30. I feel that you can also read the cargo container exterior area of Lim's work in a similar location explored at the start of MAP02. I dunno whether a similar encounter setup in the Nathrath / Hermans Eternity episode is intentional but it would be appropriate since they're from the same general era. Rounding out things is an obvious supercharged take on "Tower of Babel" at the end of what would have presumably been E2M8 in the original lineup.

If you are up for mazes and monsters with the occasional deathtrap or two then you'll find all this and more in Operation: Lightning. I'd also recommend it if you loved Fragport and want more of the same. Given how hard Stephen tried to extend vanilla Doom's scripting capabilities, I'm interested to see where he takes ZDoom with 007: License to Spell Doom.

OPERATION: LIGHTNING
by Stephen Clark aka "The Ultimate Doomer"
| Chainstorm | MAP01 |
|---|---|
| Umm. This is a Berserk fist level. It starts out with a scene-setting pod crashed into a building and then sinks into the morass of a switch hunt in an enormous sewer network. For some reason, the naturalistic slope at the beginning and the massive tunnel system brings TNT Evilution's MAP22 ("Habitat") to my mind. I kind of like the way that the cacodemons are used as miniboss switch guardians. The labyrinth is deadly dull, though. Breaking through rewards you with a quick key sequence where an outer rim of imps rains fireballs from afar. One of the key wings leads to yet another maze, except it's extremely cramped. On the other side, you are given the opportunity to use a chaingun to take out the Baron boss. I like the look of the ravine area on the north end of the level and how you're routed around it. |  |
| MAP02 | Heat Storage |
|---|---|
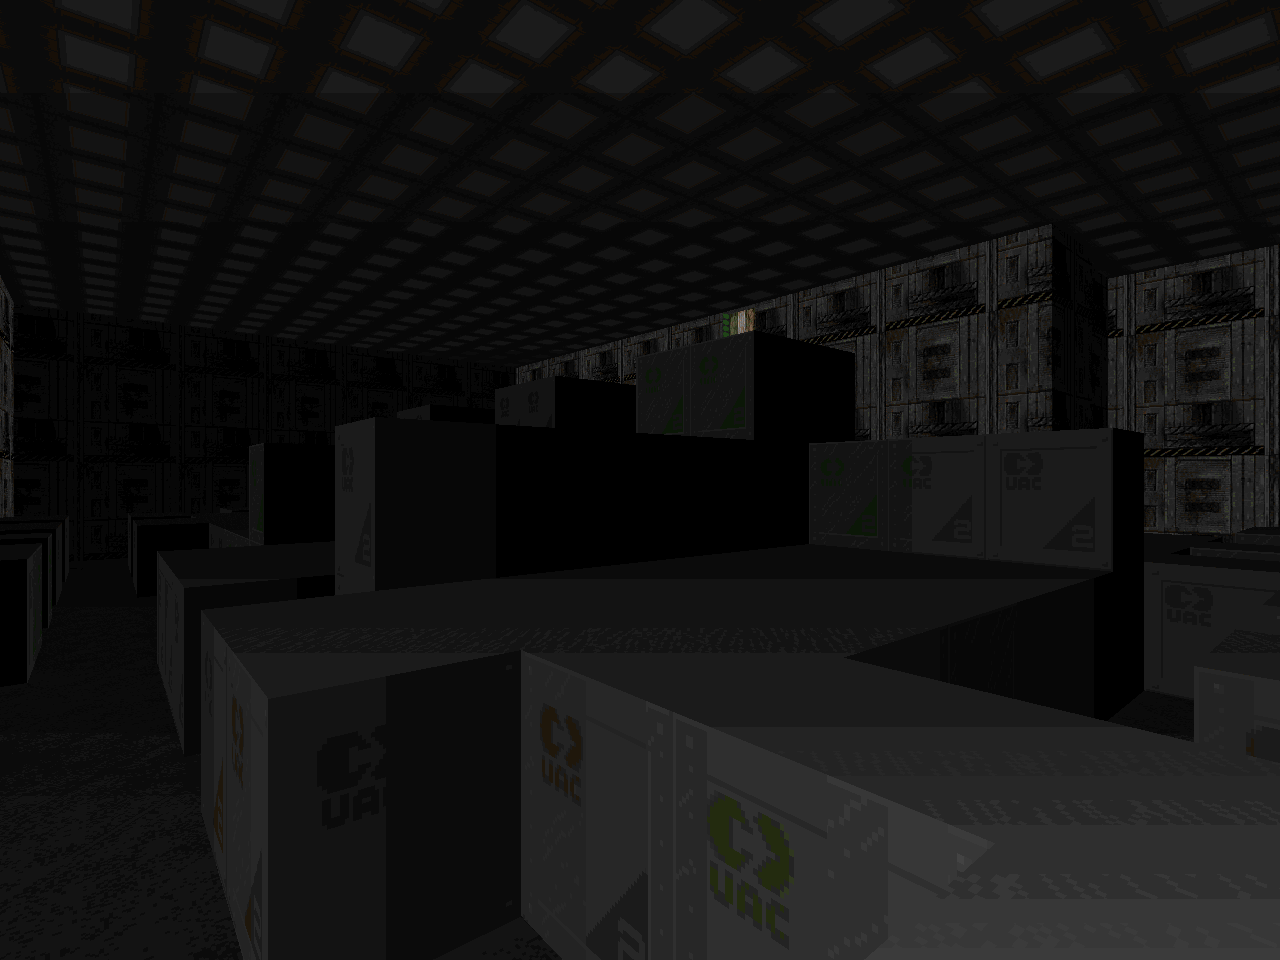
 | A switch / key hunt that takes place inside an enormous warehouse. The opening has strong UAC_DEAD vibes what with the wrecked semi-trailers. Pistol start players will be subjected to a hearty ambush that flushes them out into an outdoor yard that's full of beasties. There's plenty of room to let infighting do most of your work, however, giving you the ammo to make a confident foray into the storage facility. The warehouse is expansive and has multiple tiers for the player to run across so while it may take a good bit to fully explore it's generally engaging. The three keys open up annexes for the player to pick through, one of which - the red key jaunt - is barely a thought. The worst injustice is having to use the regular shotgun and / or chaingun in order to kill two arch-viles, the second of which is kind of tricky. It uses a similar gimmick to something Clark would do in Fragport's MAP14 ("Urban Wasteland"), however. Those monster closets aren't just there for hiding the imps! I really enjoy the novelty of the hanging stair / ladder constructions that you have to leap to, feeling a bit parkourish. |
| Fear Factory | MAP03 |
|---|---|
| An appreciably large complex, the most important detail perhaps being the appearance of the combat shotgun. This naturally signals a shift from the OG Doom combat that this set was built for, at least in terms of how the player's weapons pace encounters. Clark is in a more interactive mood, here, as your progression involves material objectives like shutting down the poison factory bit by bit. The most innovative thing I see done here is using the trajectory of barrels that are propelled by other exploding barrels to trigger a walkover line. There are a lot of monsters to take out with the chaingun and shotgun and includes more than a few arch-viles. The chainsaw and Berserk are available toward the beginning, however, and I'd make use of them when possible. The monster health / ammo ratio is actually rather tight, especially if you can't figure out / get locked out of the two machine room shell packs. Of all the fights here, the most satisfying to me was the eastern mancubus encounter. It will probably be deadly dull to many players as it's a horde to be killed with the regular shotty. The erratic firing patterns of the group when combined make for an engaging dodging exercise, however. The coolest battle - and I imagine more compelling for thrill-seekers - is the big reveal in the octagon chamber. I like how Clark more or less forces you to rush in for cover. The arch-vile guard booths were built here first, I suppose, but are almost identical to the ones seen in Fragport's MAP12 ("Pipe Factory"). | 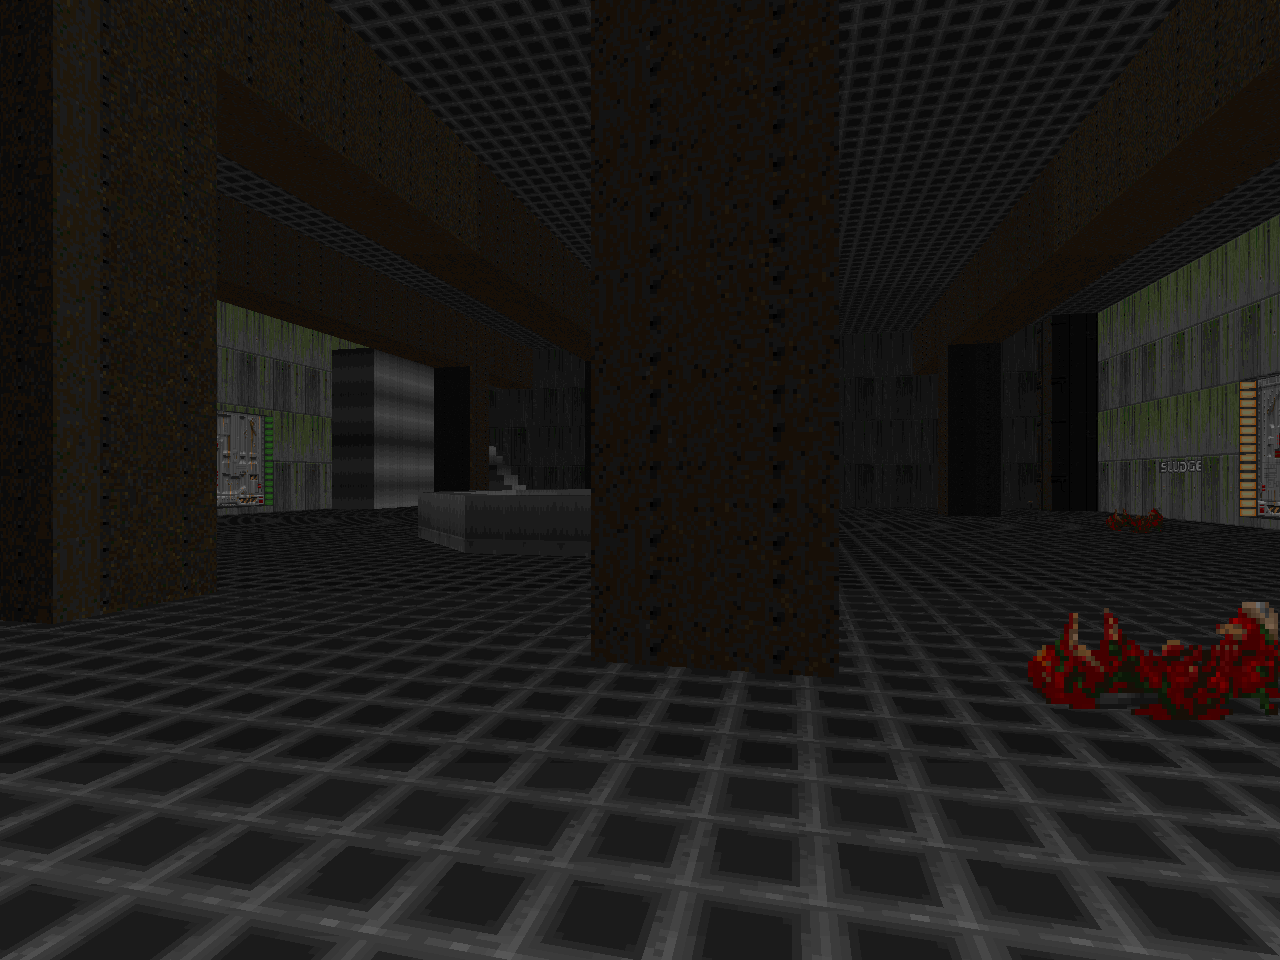 |
| MAP04 | Disaster Area |
|---|---|
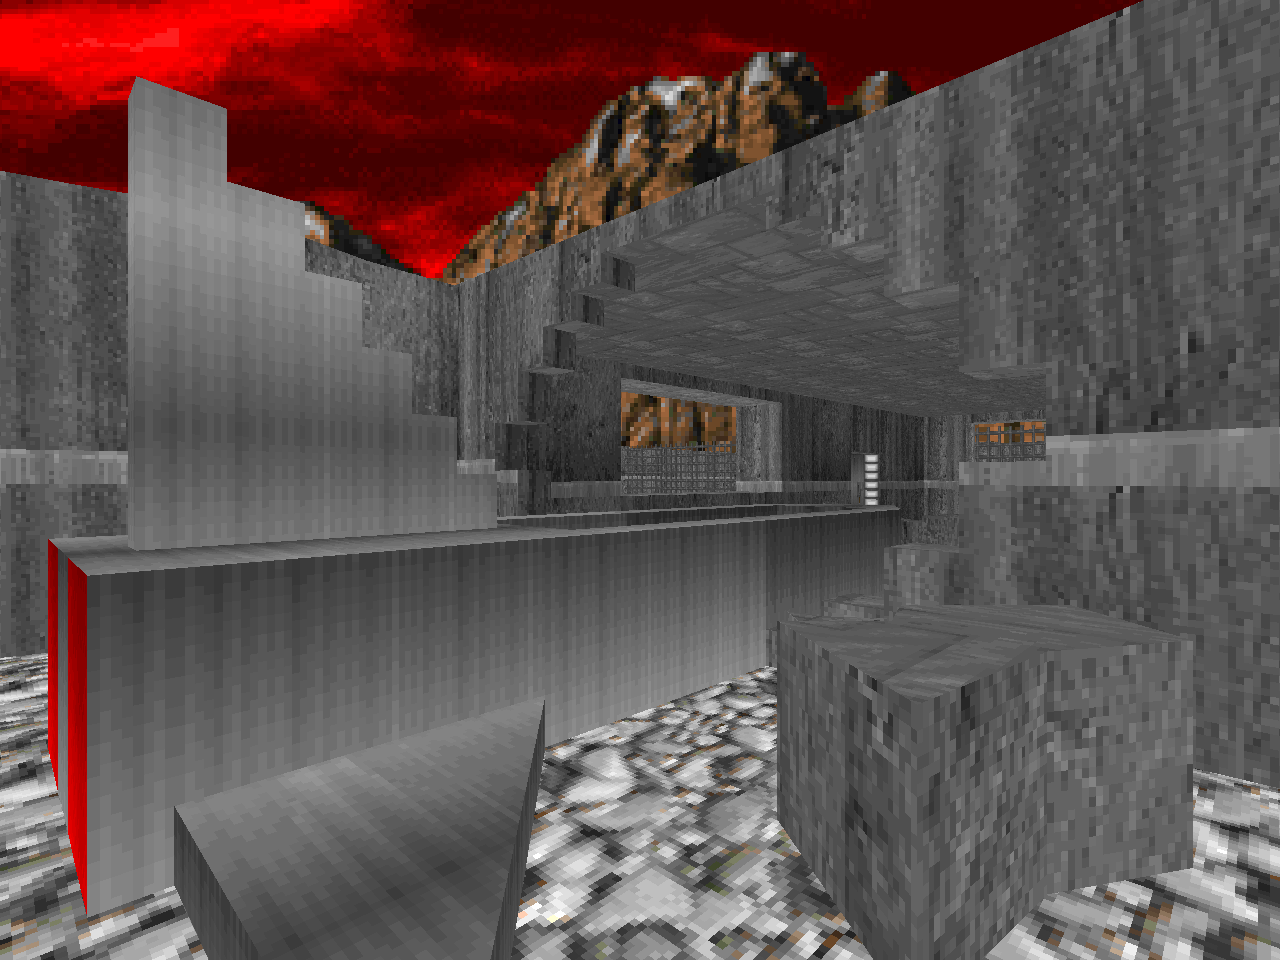
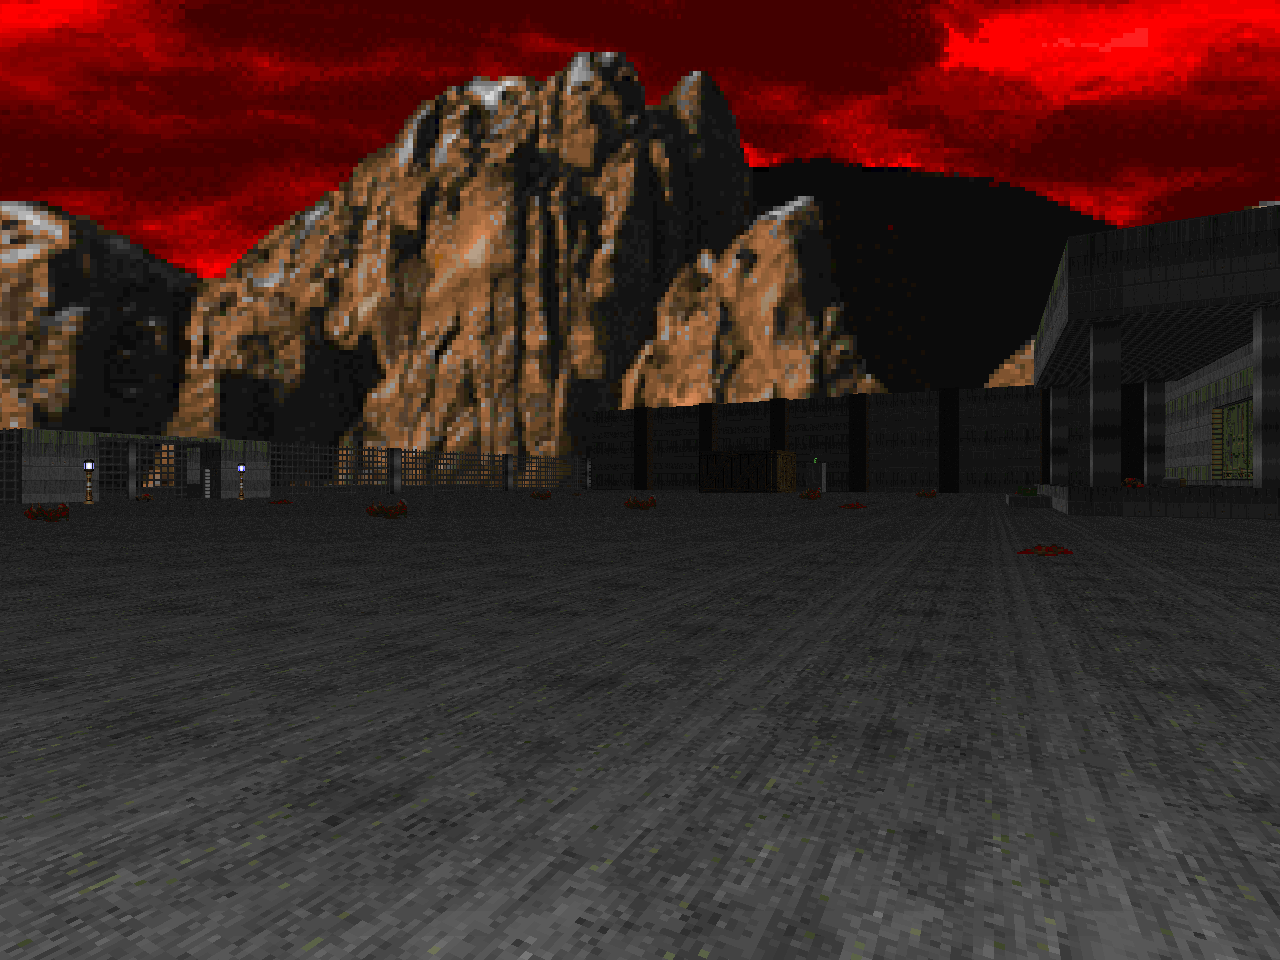
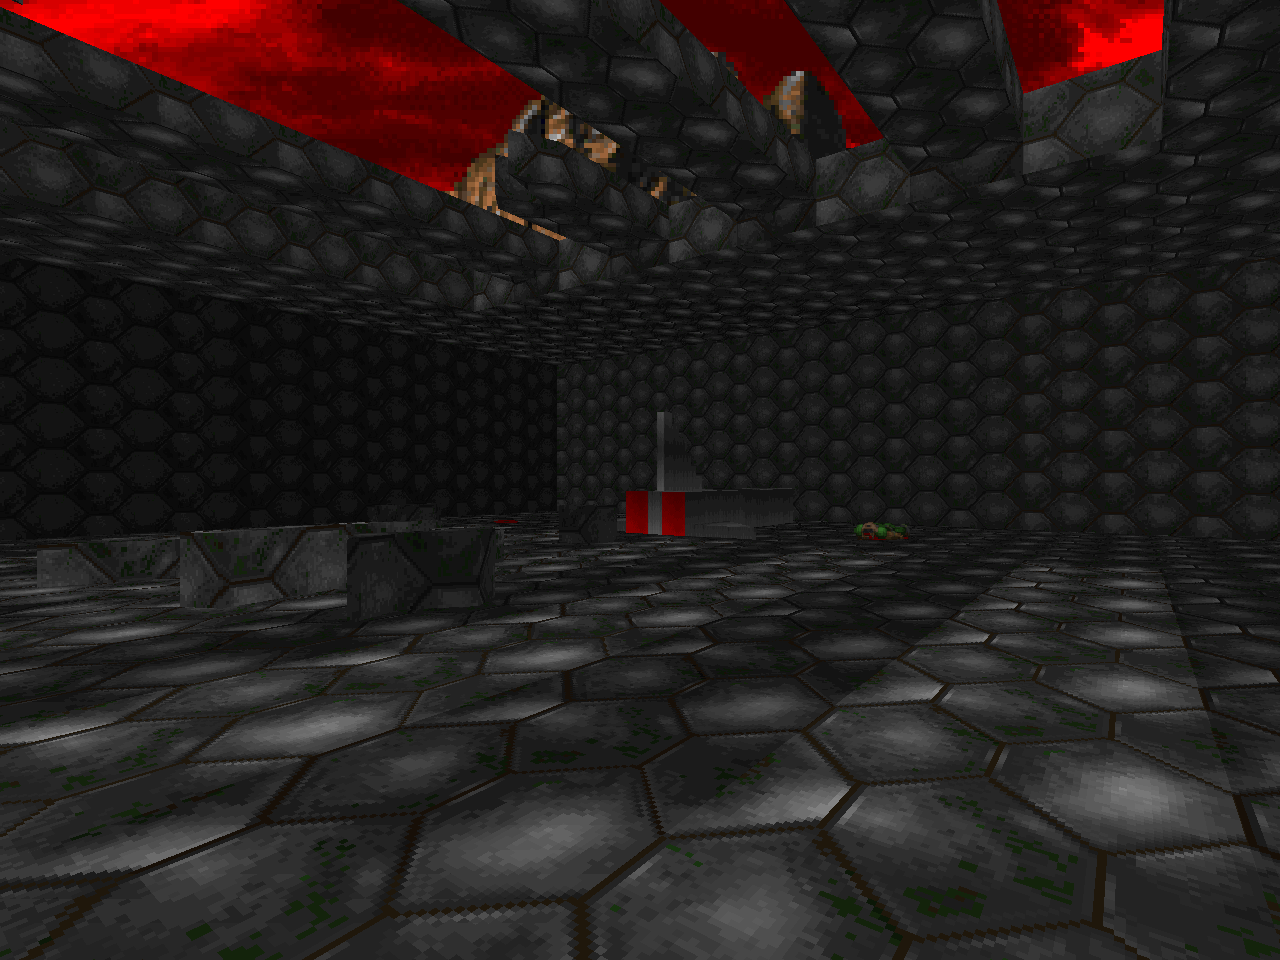
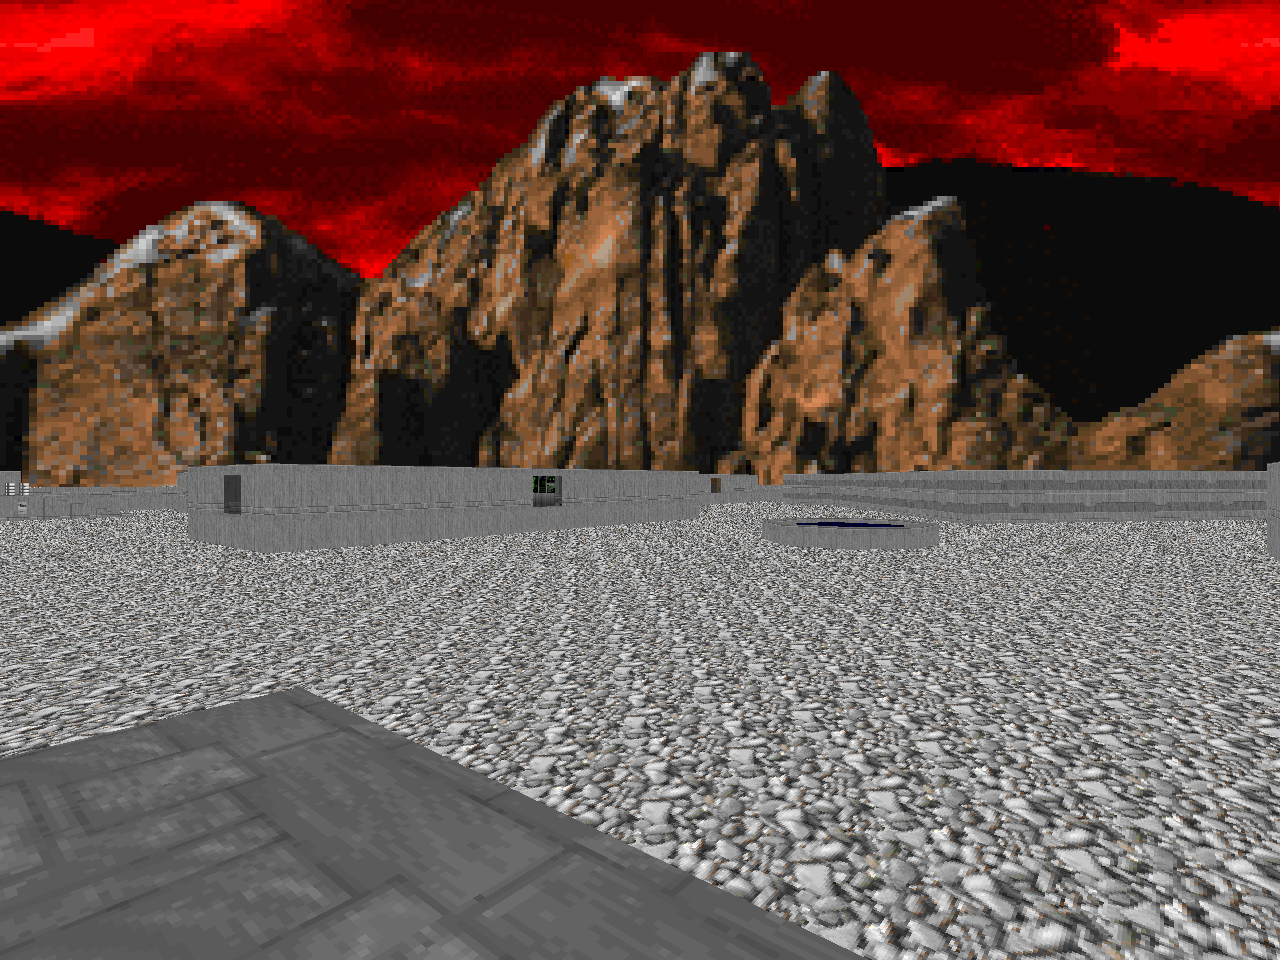
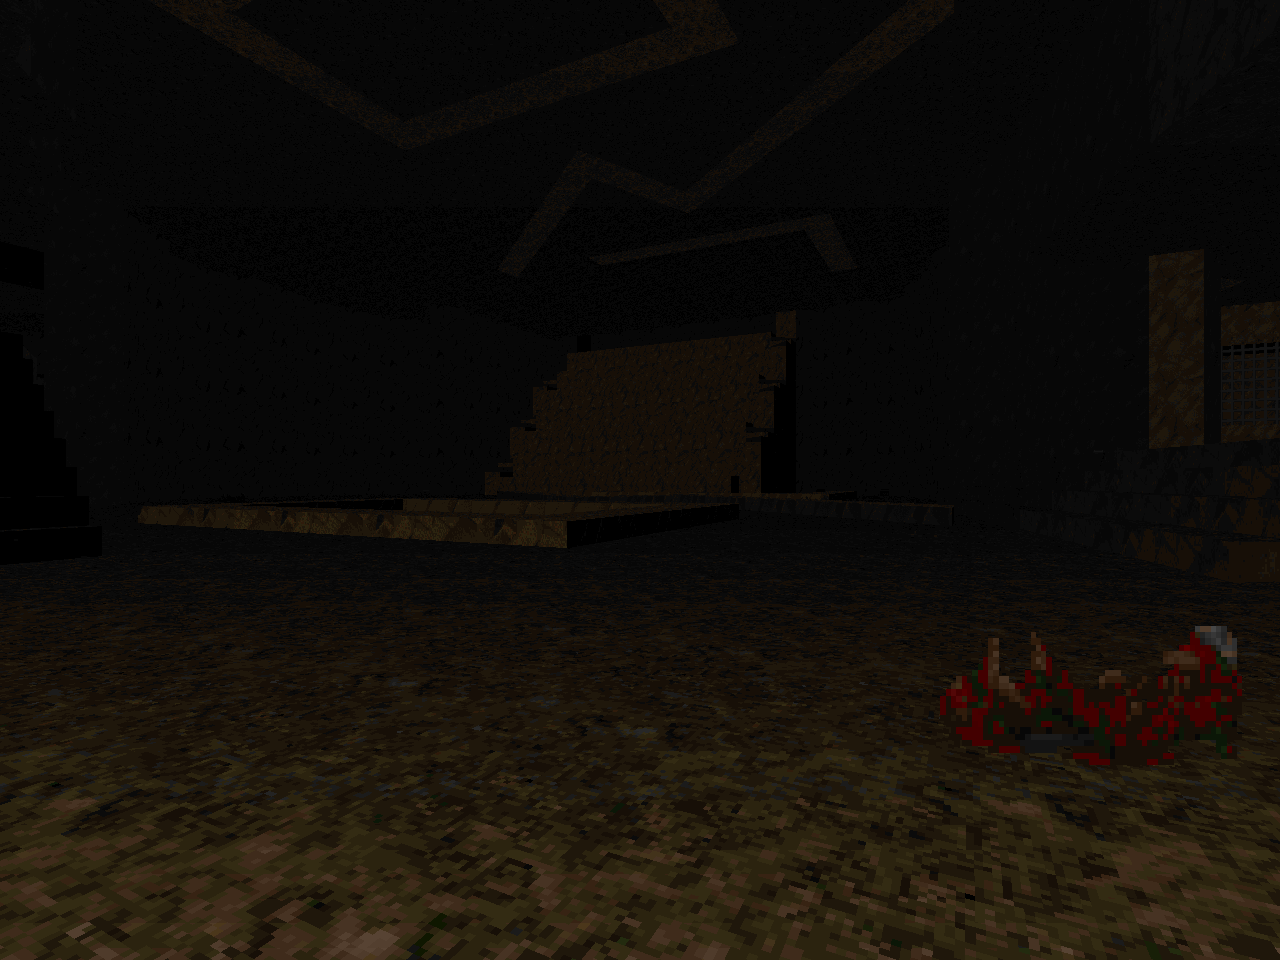 | Deathtraps abound in this grueling gauntlet. The opening battle feels just like any other TUD open-air firefight, but then you snag the rocket launcher and see a hole form about you. This level is falling apart, some bits more violently - and unexpectedly - than others. The entire ceiling of one hub becomes a morass of slow crushers, sure to kill first-time players. There are a few tunnels that collapse into certain death pits which will probably kill you as the only way to escape them is to rush forward. Less lethal obstructions include the sort of falling ceiling door actions that Clark used so prominently in Fragport's MAP30 ("Escape!"). There's a totally different side to the sort of pitfalls that you encounter here, however. The six-way nexus of corridors that follows the crusher hub is navigated by a very narrow catwalk, which you can't see at first because the lights are turned down low. It links together four different rooms, all of which involve the kind of problem-solving exemplified in "Crystal Maze" from Fragport (MAP32). There's an invisible maze as well as a sort of trial-and-error mire of illusio-pits, the latter handily navigated via the marine's automap. When it isn't trying to trick-fuck you then the combat is decent. There are some potentially nasty fights, though, particularly the lock-in catwalk battle that seems to be descended from Eternity's E1M2 ("The Fat Imp Sings Your Blues". The sheer number of monsters on both sides spells Doom for a player with little health. There's also an arch-vile lurking in an underground command center who is just plain awkward to fight given the low cubicle walls and his zombie underlings. The rocket launcher can ease the pain of both these fights... supposing that you didn't squander your ordnance. Most of the architecture consists of big, rectilinear humdrum realistic base stuff but the underground nexus has a neat VR look to it. I also like the big eastern cavern that sports the Operation: Lightning logo. The huge, bleacher-like staircase that kicks off the final sequence makes for a neat visual. |
| Blue In the Maze | MAP05 |
|---|---|
| The ultimate contest of wills. The entirety of this level consists of a blue techmaze rendered in glorious strobe-o-vision. The only monsters found within the maze are specters, to be safely dispatched with the offered chainsaw. The center of the maze contains a chamber with six color-coordinated pillars and switch alcoves. Each is linked to a network of blocking poles that restricts your movement through the maze. You must scour the labyrinth for a switch which then opens up one of the alcoves in the central hub. Using the now accessible secondary switch raises all of the corresponding poles in the maze. This is about as exciting as it sounds. The maze is so large and there are so many poles that you're just fumbling around for the first few steps. The hub has a couple of Barons prowling around but they're not too hard to run past and ignore until you unlock the big guns with the final button. One of the more baffling segments has a large room with a damage floor maze that's staffed with a ton of specters. I don't know of a more exciting (and not frustrating) solution than to park yourself at the door and turn yourself into a buzzsaw. If ever there was a map to skip in Operation: Lightning, then it's this one. | 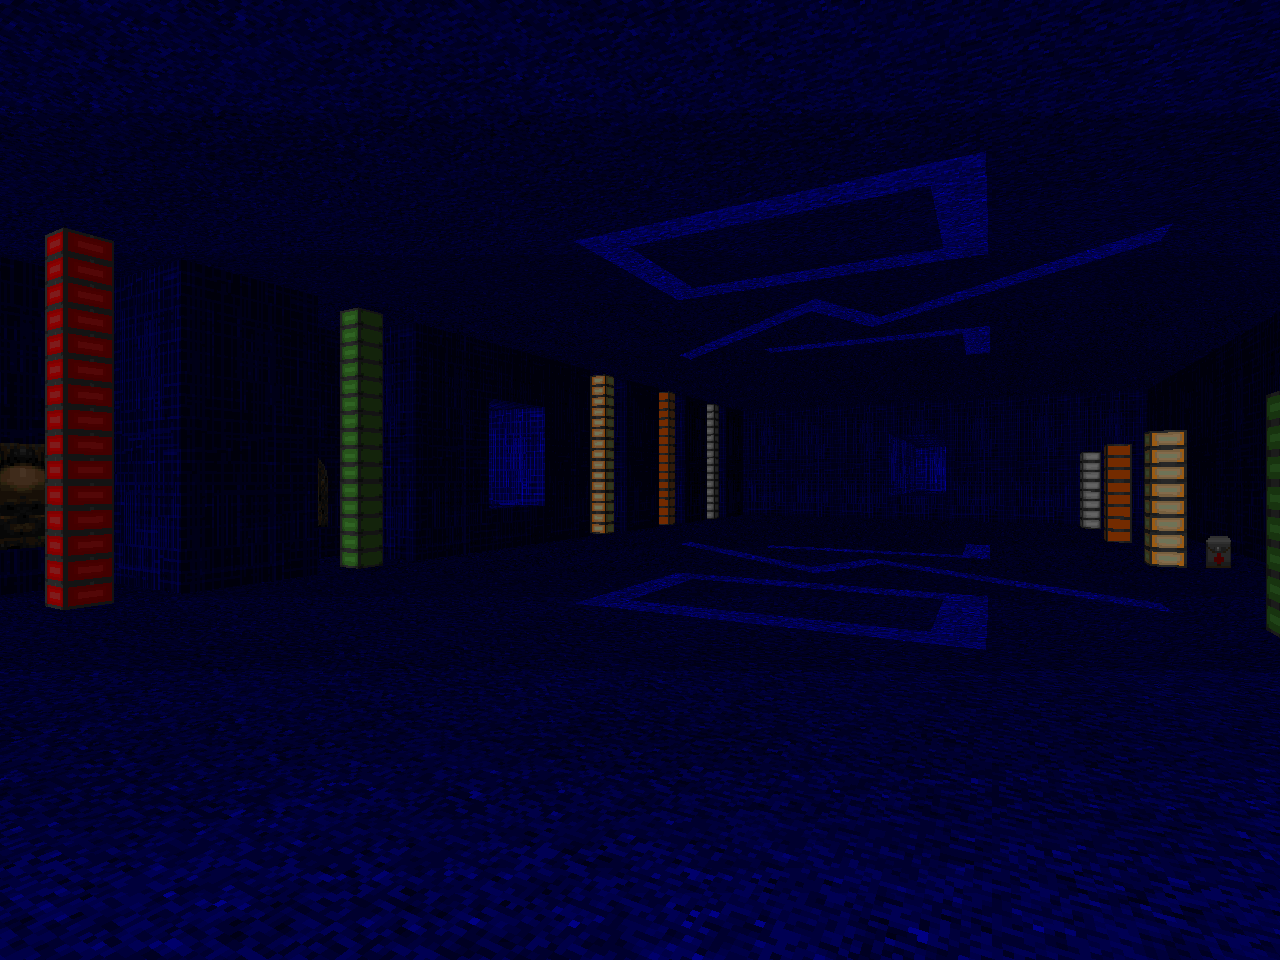 |
| MAP06 | The Great Outdoors |
|---|---|
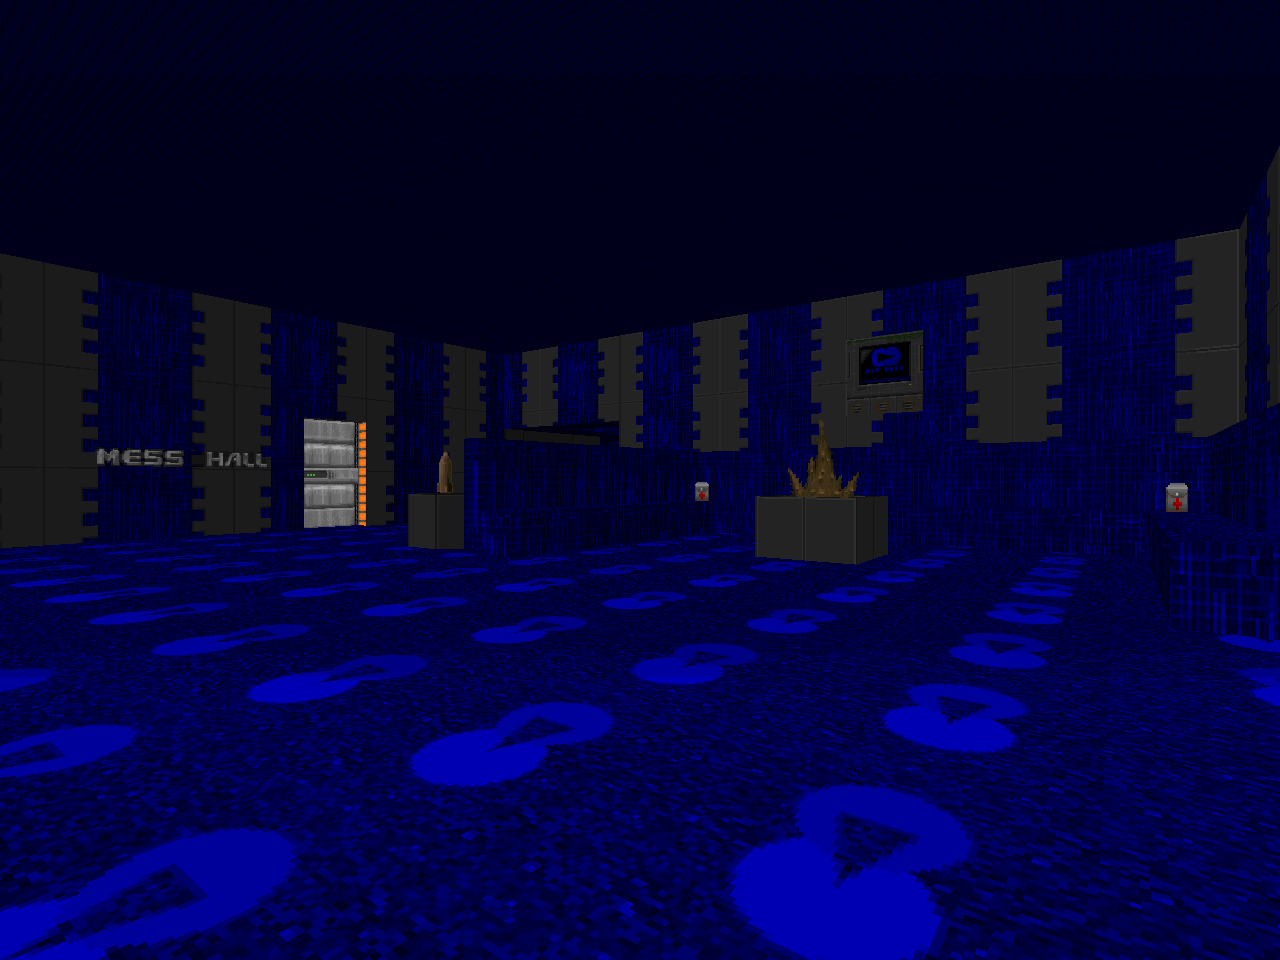
 | A sprawling level with a vast, plain, outdoor area that has a handful of moderately-sized buildings to explore. It's supposed to be some kind of military base and has facilities like a store, a data hub, and a bar. There are a few recreational areas as well, namely a football field and tennis court. There's a lot of ground to cover and a lot of distance for hitscanners to snipe you over. Weapons will be an additional point of confusion; while logically positioned, they're difficult to spot. The first part of the map is a big ol' Clark switch hunt that lowers the systematic barriers to the northwest tower. You'll have to visit all of the initially accessible buildings before moving between the locked ones. None of the incidental combat stands out but your exploratory forays will carry a slight air of panic due to the spread-out monsters. The most memorable "encounter" is highly telegraphed a la Fragport's MAP28 ("Sub-Level 05") where you can literally read the writing on the wall. It's a huge teleporter invasion and the mix of monsters does a great job of distracting you with panic-inducing pain elementals. The design of the central, hexagonal courtyard ensures that there is a sizable contingent lying in wait after you've fended off the first wave. |
| Blackout! | MAP07 |
|---|---|
| Here, you navigate your way through a vast techbase with the lights turned off. Some areas are slightly less difficult to navigate in the pitch black darkness but it's still an eyestrain-inducing exercise. This is the ultimate environment for specters, who are effectively invisible. Clark uses the majority of the bestiary, however, so be prepared to get sucker punched by everything not under the sun. The entire level is building up to the moment where you turn the power back on, of course. The arch-vile showdown is simple enough when you finally make it there. The fact that this has far-reaching mechanical implications is a feat of vanilla engineering. The lights really do come back on everywhere and all of the previously inert switches are energized. You know what that means - scavenger hunt! There are something like eleven numbered buttons littered throughout the map and each one raises a segment of the bridge to the exit. This is yet another one of Clark's feats of agility. The tightrope has a back-and-forth construction that is meant to enable you to dodge rockets from the Cyberdemon sitting across the other side. | 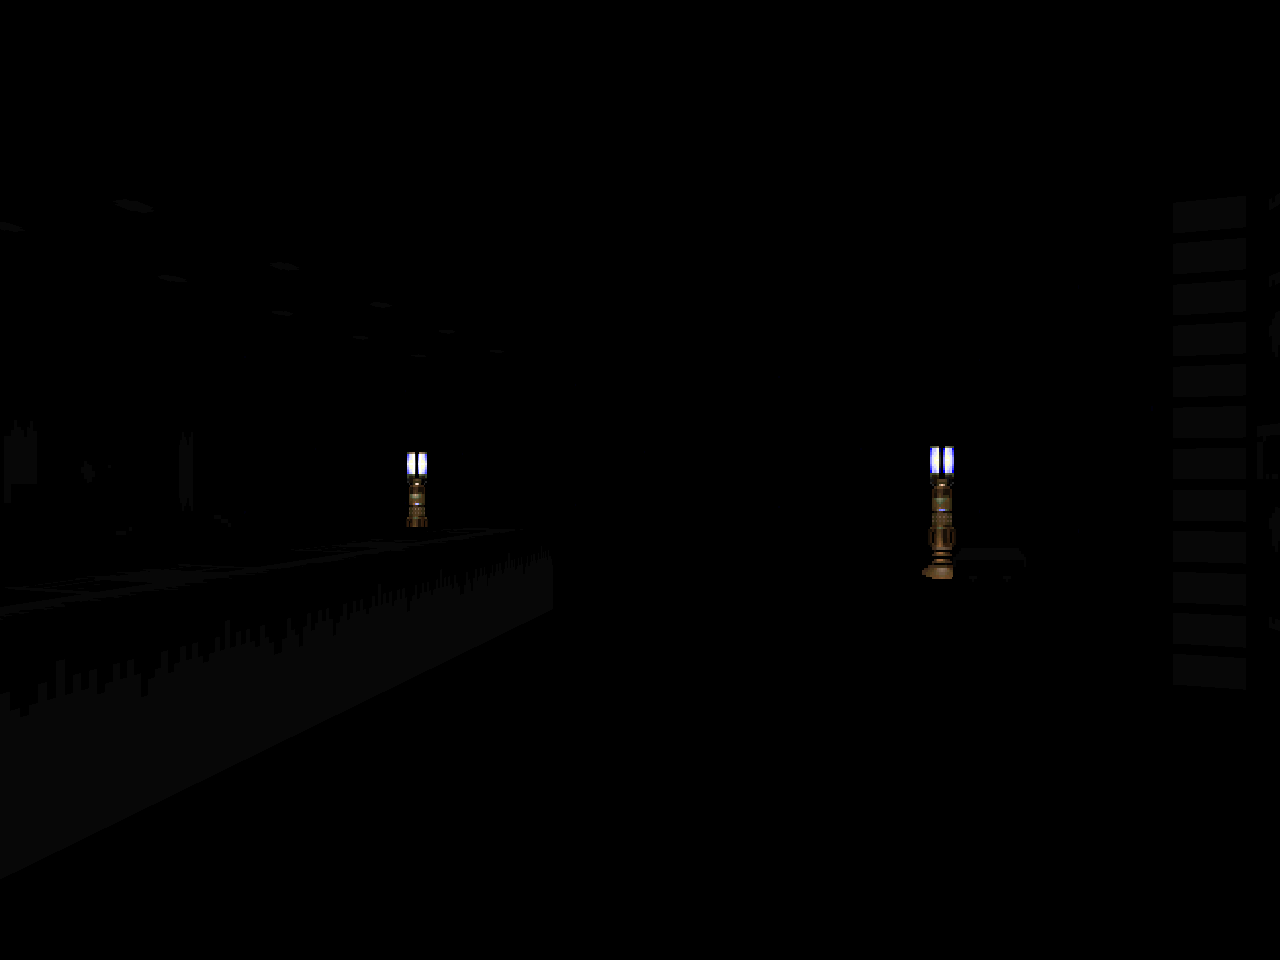 |
| MAP08 | Control Centre |
|---|---|
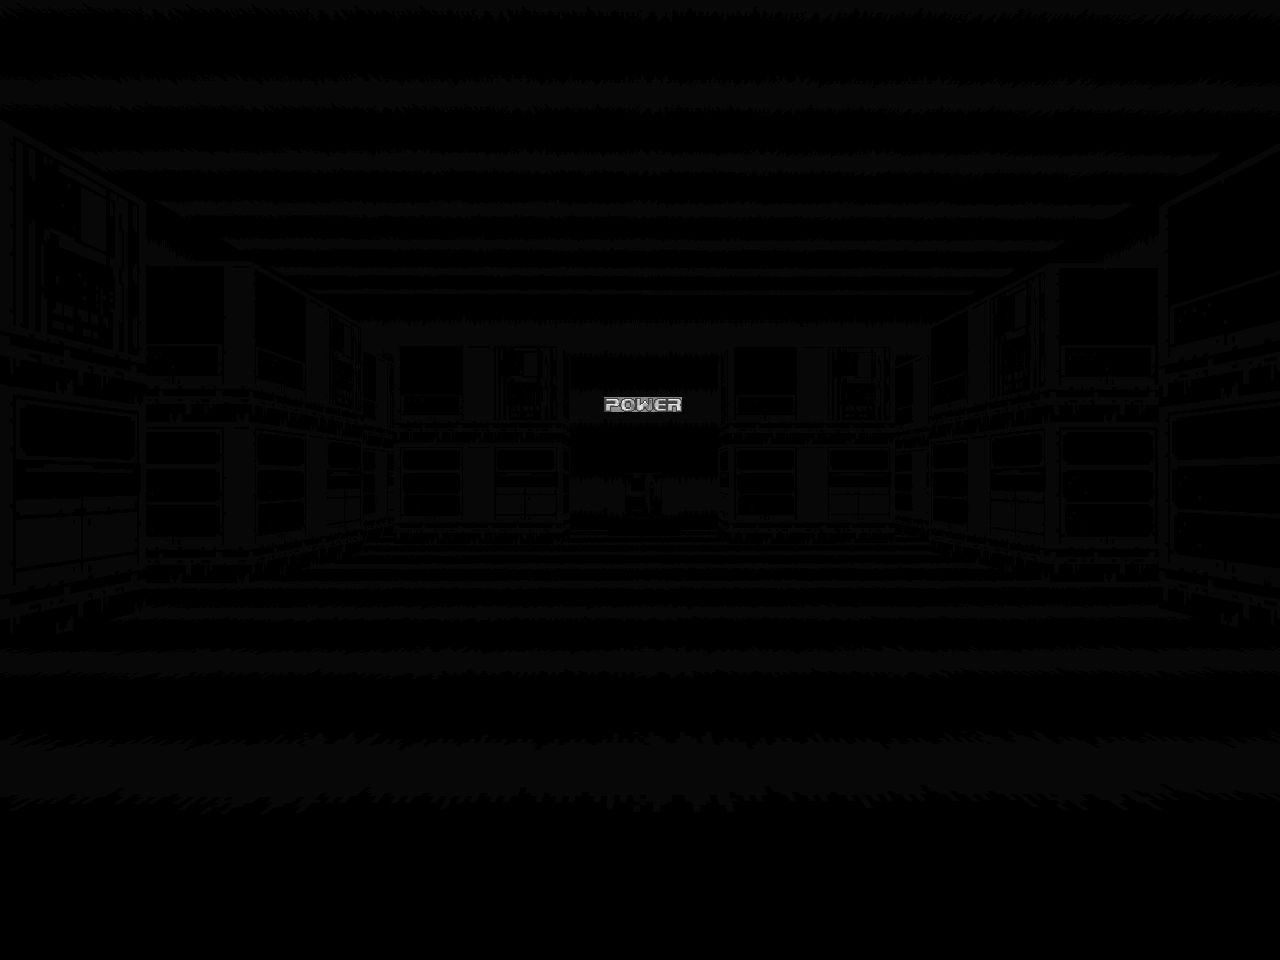
 | This has far more of an aura of "Tricks and Traps" and explores a lot of the same ground that Clark would go on to hone in Fragport's "Crystal Maze". It's mostly abstract and while you get glimpses of the "Control Centre" the level has more the air about it of some sadistic experiment. Twice you'll have to dodge Cyberdemon rockets using regularly-spaced alcoves. There is a color-coded telefrag maze with a relatively intuitive solution. At least, it's the first one that I thought of in the absence of any obvious clues. There's also a super-painful 20% damage floor maze, something we already saw in MAP05, just without as much backtracking through it. The combat is overtuned for chainsaw / Berserk fisting. If you aren't careful with your ammo then it's going to get you somewhere down the line during a full clear. Like, say, the pain elemental / cacodemon fountain room. There are a lot of great places for surgical BFG strikes, that being one of them. The pace is very slow and while the pushing mazes are a part of it, the overabundance of lost soul cavalcade ambushes is just as much to blame. |
| Lightning Reactor | MAP09 |
|---|---|
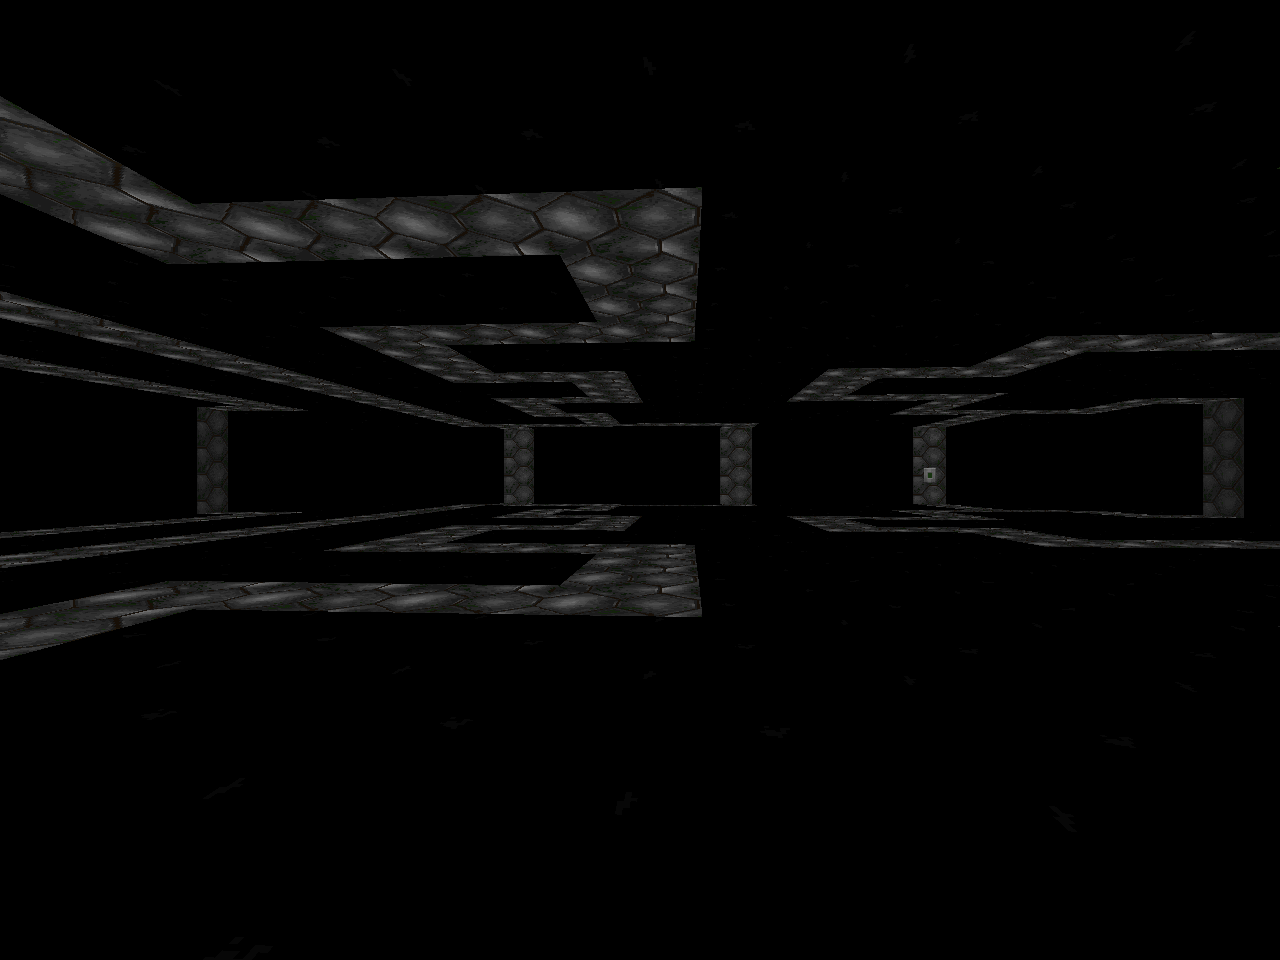
| The majority of this level is a relatively straightforward maze of flashing lights that's sort of like part of the 2001: A Space Odyssey light show. The key is that it's all 20% damage floor and is divided into color-coded areas. Moving onto the next shade is how you progress but each segment has its own rad suit. If you want to survive, then don't move on until you grab the current area's enviro powerup. The finale inside the reactor core itself is super straightforward with the BFG but has a bit of Clark's vanilla-scripting that can easily soft-lock you. Blasting the reactor uses the barrel-line trick from MAP03 to open up the viewing gallery window for your escape. It's a cycling lift action, however, and if you let the moment pass then you will be stuck as there's no way to activate it again. The finale is another collapsing building gimmick a la MAP04 that flushes you into a heavily-armed four-Cyberdemon "Tower of Babel" on steroids arrangement. | 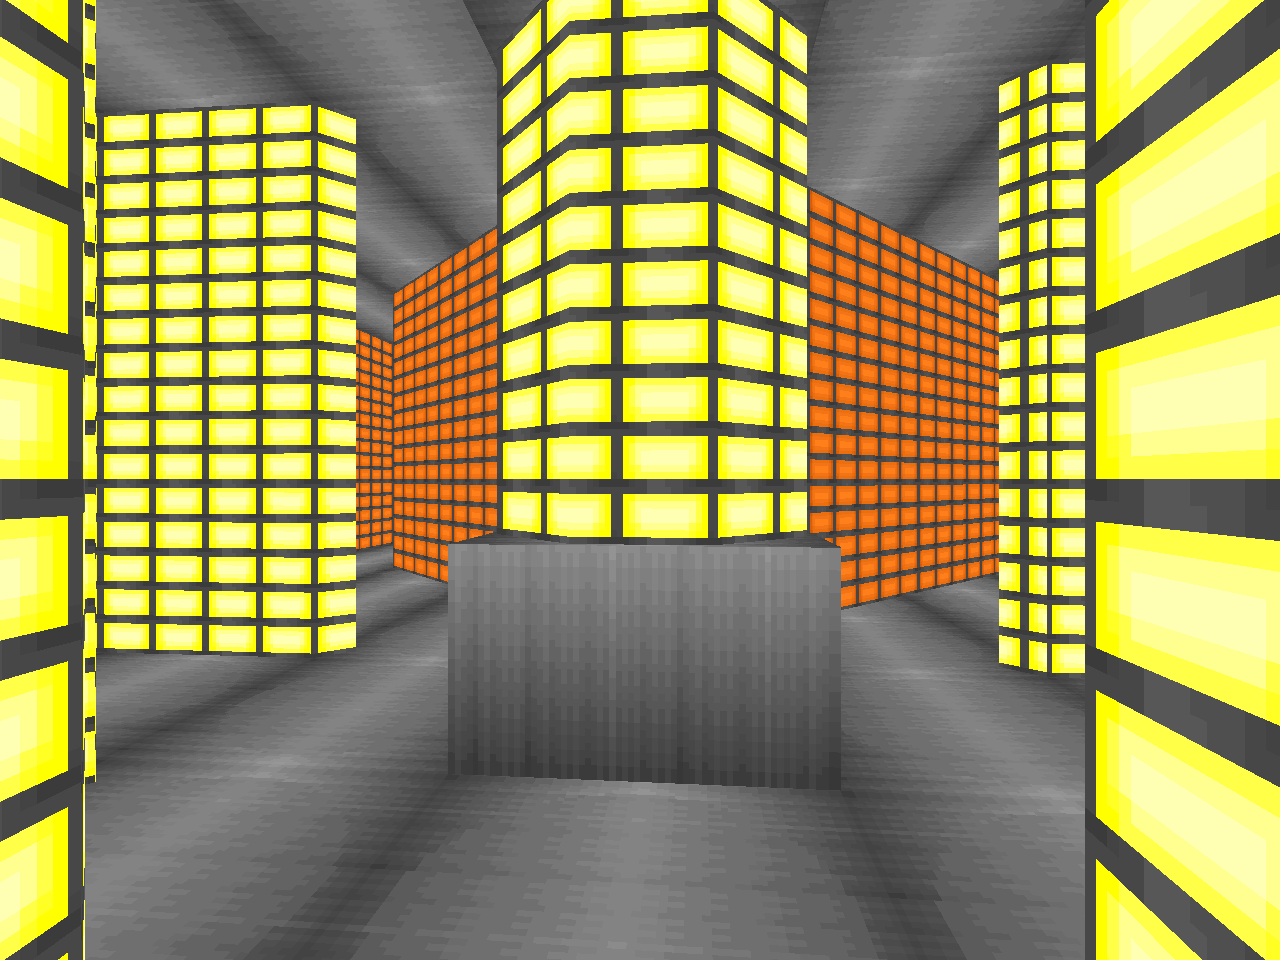 |
| MAP10 | Habitation Decks |
|---|---|
 | This is a spaceship level and roughly analogous to Clark's "Monad" from Fragport (MAP23). You have an expanse of wide hallways that are populated by bruiser monsters connecting some spread out starship facilities. Your end goal is the bridge but you have both the green key and a switch scavenger hunt in the way. You can't possibly know this from the start but it will be worth your while to make a beeline for the officer quarters. The ammo, cell weapons, and automap will help you pick your way through the rest of the damage sponges. There's nothing much new in the realistic accoutrements; I've seen Stephen do most of this stuff before, just in more cramped arrangements. The big exception is the observation deck which is, admittedly, cool. Also, if I never see another strobe maze again for the rest of my life, it'll be too soon. |
| Engineering Decks | MAP11 |
|---|---|
| A dingy, overstuffed network of cramped passageways that occasionally skirts a cavernous cavity within the ship. The opening is a messy, hornet's nest type start. You'll be sadly disappointed when you see the WEAPONS room and make a beeline only to discover that it's where they keep the ship's missiles. There's another nearby bait and switch, too, where the REST ROOM has all of the off-duty zombies packed inside. The combat is a methodical grind. The lack of maneuvering space - and ammo - prompts the player to move tactically, drawing out monsters one by one. This is particularly evident in three similarly-arranged rooms, one with water vats, the next bearing what I can only describe as fuel intake chutes, and the last a massive piston chamber. The vats at least has a gimmick that Clark would use more impressively in Fragport's MAP03 ("Durncrag Mines") where it gradually floods. The ponderous pacing also extends to the final maze of the set, the yellow-and-black CONDUIT, and its morass of imps, revenants, chaingunners, and specters. Hopefully you didn't blow all of your ammo on the control room full of pain elementals; the secret BFG and double packs of shells is a godsend. Somehow in all this Clark managed to squeeze in a boss shooter. We've seen most of the disparate gimmicks employed before, but this time they're stitched together in an impressive obstacle course. TUD has prepared you for pretty much every bit of these pitfalls, with the Cyberdemon zigzag tightrope walk appearing at the end of MAP07. Most of these perils are obvious, but I have to laugh at the subtlety of the Baron at the end of the crusher concourse. | 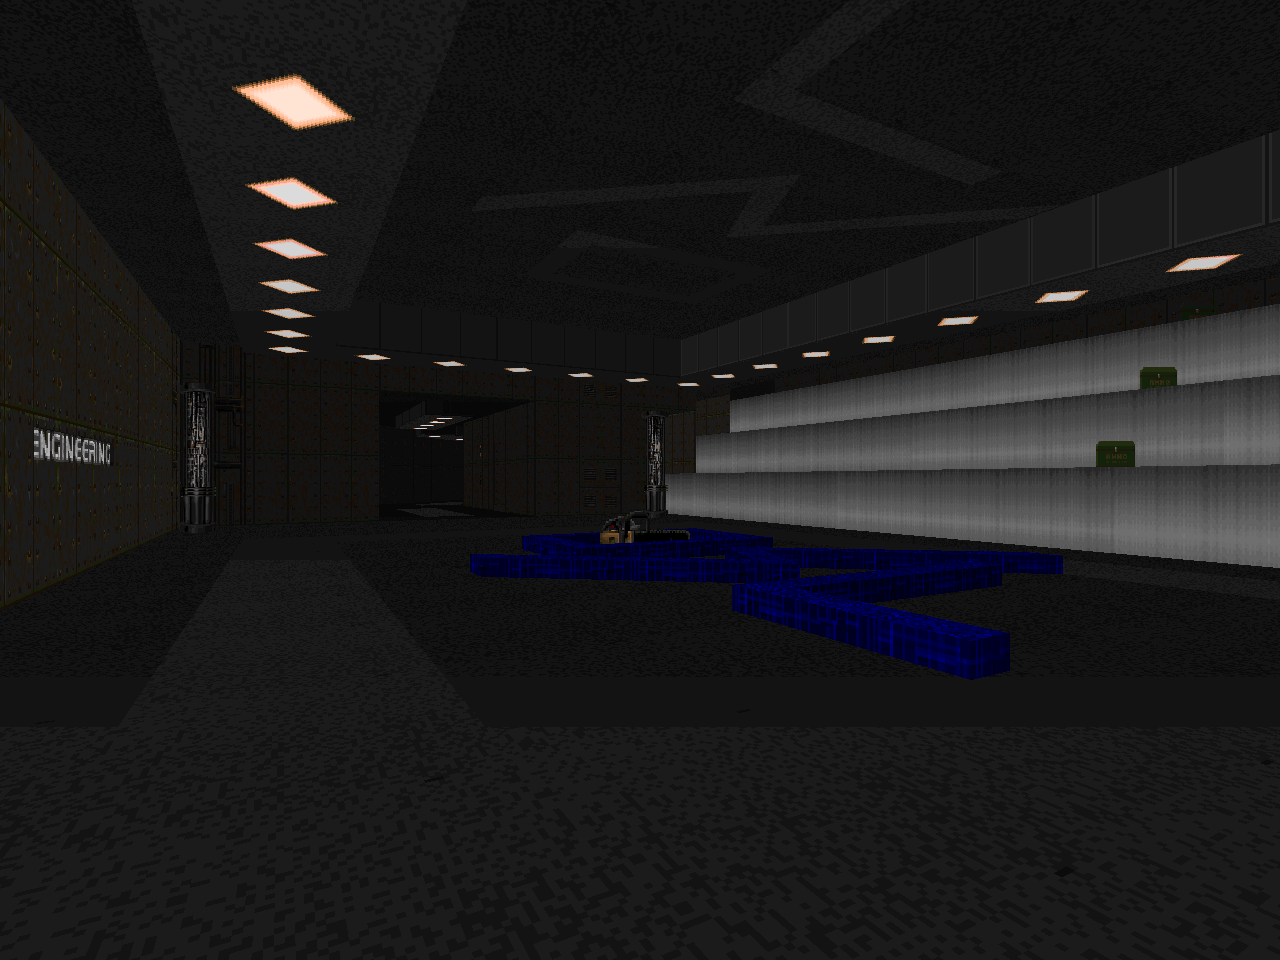 |
| MAP12 | Quit the Game! |
|---|---|
 | Just a friendly reminder that Operation: Lightning is officially over. |
HIGHWAY TO THE
"O" ZONE
Oh god the strobe reactor level made my eyes bleed.
ReplyDelete