Rand and Stephen Phares are probably one of Doom's better-known father / son teams. Back in '94, they released an episode replacement for
Doom, titled
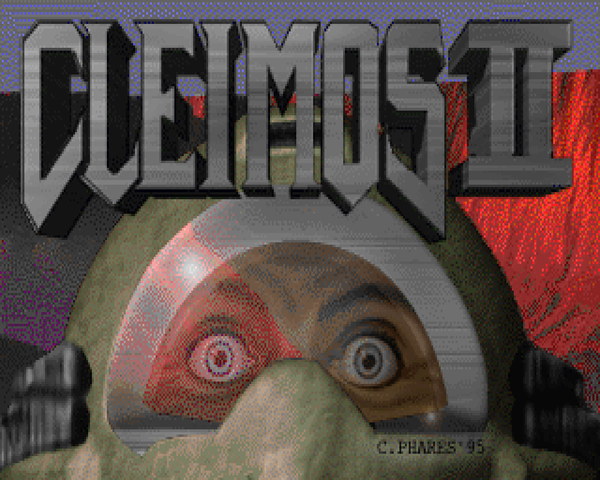
Cleimos. In '95, they followed it up with a full-blown megaWAD for
Doom II, with the original nine levels reused, inserted amongst the new running order. In the original installment, you played a mercenary in the year 2112 (hah), "Nuts" Kelton. Someone built an immaculate virtual reality environment on Cleimos Island, but the holodeck's safety routines fell apart while simulating Doom, of all things (the game of course). They'd rather retain the facilities, but if Nuts failed to shut them down, the powers that be were just going to nuke the site. In
Cleimos 2.0, it looks as though Kelton's efforts were in vain. You play the leader of the team sent after him into
Cleimos's virtual Hell.

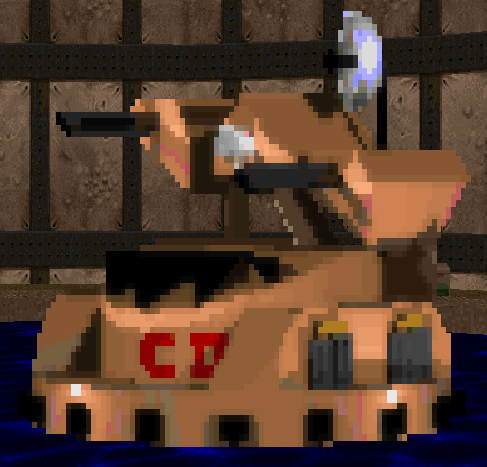
First of all, the new stuff. Cleimos comes with a snazzy new status bar and some unique textures that are used surprisingly sparingly. When they show up, though, they really help to liven up the WAD. There are two enemy replacements, though I don't know if I'd call anything that overwrites Romero's head a replacement per se. The other new enemy takes the place of the SS Nazi. It's some kind of robot-tank thing that appears pretty rarely on UV; I don't know if it shows up any more on lower difficulties. One gameplay change that's a bit weird... The Phares decided to make the nukage barrels deal damage if you're in close proximity to them. This was accomplished by making the area surrounding them damage floors, so if you're running around taking random damage, ask yourself whether you blew up a barrel where you're standing.
Cleimos covers a broad variety of themes without much consistency between the maps themselves, explained away by its very concept, which predates the VR missions of
Icarus. You're traipsing around in a digital playground. Really, there's no guarantee that you can even fight your way through the simulation before the site is wiped from the face of the earth. It also has the distinctive feature of each level flowing into the next by linking up the ending room with a copy of the next one's start, a practice recalled more recently in valkiriforce's magnum opus,
Reverie (inspired very much by
Cleimos).
The biggest issue I have with this megaWAD is how mazey it is. I cringe whenever someone uses the word mazey to describe a level or mapset, as I think he / she lacks a proper sense of proportion and / or navigation ability. With Cleimos, though, it's mazes all the way down. Looking at some of them on the automap, they're interesting in a strictly geometrical sense, but they usually drag the gameplay to a standstill. This is also one of those inscrutable WADs where secrets are required, but not because they are filled with tasty goodies. Rather, it looks as though hidden doors are just part of their puzzle concept, which will no doubt be a large source of frustration to players looking for more straightforward action.
Another problem that's more for demorunners... The Phareses meant for Cleimos to be played all the way through with carryovers. You'll see weapons and the like show up in some levels, but every now and then the truth comes out in full force with maps where the monster health to ammo ratio (as tallied by Andy Olivera) reaches laughable proportions, most notably 2.3:1 in the penultimate level, "Well of Fire". Given Stephen's notes on Doomwiki regarding his similarly notorious "Excavations" from Icarus, I'm inclined to believe that he was the prime mover behind this arrangement. When the end of each level flows into the beginning of the next, it's hard to find fault with this arrangement.
At the very least, puzzlers will enjoy Cleimos's more cryptic aspects. Really, throw it together with the mazes and you have one of those puzzle books I used to mess with as a kid, but rendered in Doom. Also, the cryptograms are trying to kill you. I wouldn't unreservedly recommend Cleimos, but there are some sights (and fights!) worth seeing. Thankfully, Rand and Stephen would channel all this nervous energy into some pretty cool maps when Icarus: Alien Vanguard rolled around. Enjoy these, their salad days.
NOTE: Cleimos has an ancient install process. This blog links to a more palatable distribution package, which is also available on /idgames.


CLEIMOS 2.0
by Rand and Stephen Phares
| Advent | MAP01 |
|---|
| The opening salvo starts in some kind of underground tunnel, looking pretty sharp, before the main facility, which is not quite as inspiring, though the entrance looks nice enough. Bits like the very tight maze are kind of a let down, but there's a really cool encounter where a bunch of lost souls rise out of the muck to charge you. |  |
| MAP02 | Holding Pens |
|---|
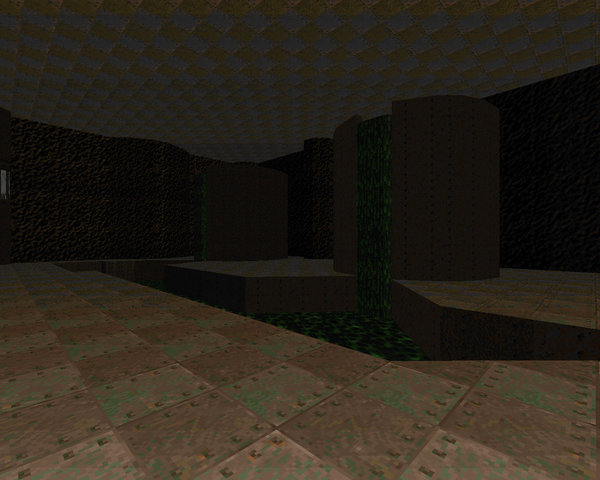
 | This is a small techbase rendered in dark metal, but it feels a lot longer, thanks due to the constant running back and forth over the nukage channel as you raise the various bridges. Activating them will require just a modicum of thought. Nothing too memorable about the fighting, though the opening crossfire might present just a few difficulties. I do like the look of the atrium to the south, though the slow elevators kind of bog things down. |
| No Quarter | MAP03 |
|---|
| Very simple level emphasizing symmetry. It's a bit tricky to get around in at first as the paired annexes to the north and south are navigated via similarly paired teleporters on the staircases, which is disorienting. Combat isn't that interesting as the monster layouts are identical except for the eastern and western areas. The east has a decent little hangman's yard while the west bears a platforming segment that may prove tricky if you don't just mow down the barons with rockets. | 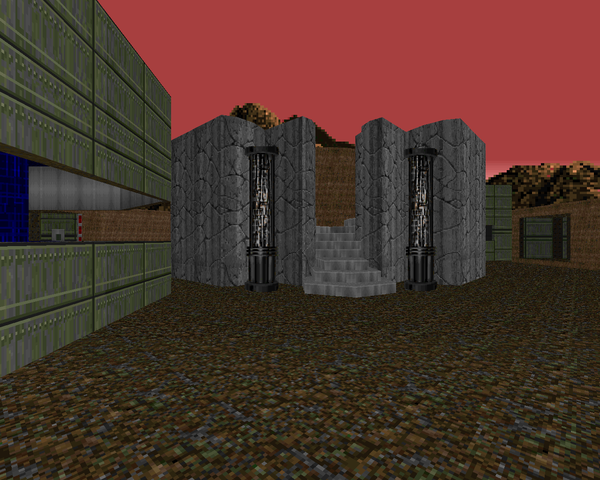 |
| MAP04 | Torment |
|---|
 | Easy and kind of straightforward gauntlet-style map where the most interesting encounter is probably the baron crossfire which is cut short by some crushers. I say kind of straightforward as hidden doors are required to make your way through a few of the spots. Perhaps the most imaginative section has walls descending from the ceiling, and progressing through a specific point raises some previously lowered sections back up. Not too fond of this outing. |
| The Cleansing | MAP05 |
|---|
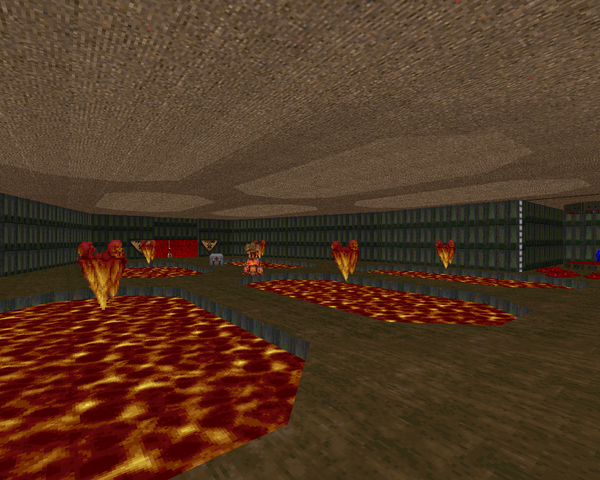
| Pretty cool medium-small level featuring a mix of techbase and Hell. It's infamous for containing inadequate ammo stores, as the Phares (specifically, probably Steve of Icarus MAP28 fame) intended it to "cleanse" everything the player had up until that point. My favorite section is the area with the paired nukage vats with the red rock are on the other side. There are some baron turrets you'll want to save rockets for and the trigger that reveals the yellow key unleashes a madcap encounter that keeps you busy with ground trash while the lost souls and cacodemons come into play. Not so fond of the dark neck-high maze which has a revenant on the upper tier. | 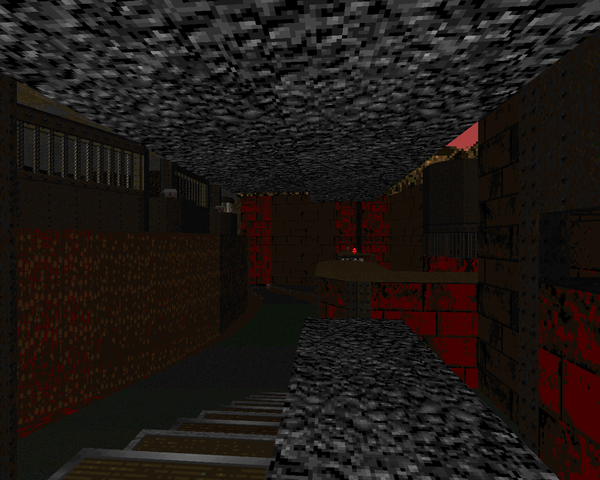 |
| MAP06 | Enclave |
|---|
 | You got your wooden sewer maze, your elevator maze, and your grid of use-activated triangular cells. It's really boring stuff, but there are a few really cool bits that balance out the tedium, like the power core, which when exposed turns the originally safe room into a radiation danger zone. This is immediately followed by a neat sequence where you battle out lost souls and demons on tiny safe spots in a pool of damaging blood. There is some nice architecture to the level's south east, and a two-tiered sewer that involves a lot of channel-jumping. The yellow key is quite visible, and the secrets hiding it are so obvious, that I can't even be mad that the whole red key area is one big red herring. |
| Bastion | MAP07 |
|---|
| Very short keep level located in a large crater. The outer area is ringed by sergeants, with the interior featuring scant few monsters, most of them lost souls pouring out of one of the towers. It's a level that requires lateral thinking, like finding the blue key, or getting to the blue key switch, but it's nothing that should distress those not familiar with secret-seeking. It's nice, but over far too quick. | 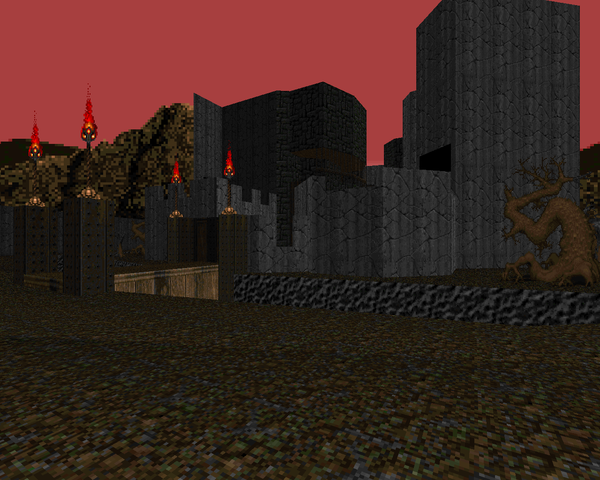 |
| MAP08 | Hazard Base |
|---|
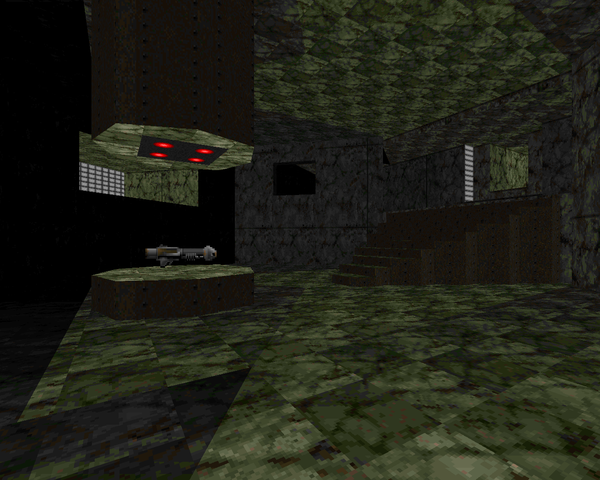
 | This medium-size techbase map comes in two parts. There's a very open western area (a nice look) and a subterranean basement which contains most of the intricacies. A lot of the monsters are tied up in secret areas, like a room thick with cacodemons or the zombie / nukage corridor. The most characteristically obtuse progression bit requires you to return to the starting area, where the pillars have lowered, revealing a bunch of powerups and the yellow key. The basement has a few decent bits of action, like the lost soul trap, and I like the look of the above-ground portion. |
| Cauldron | MAP09 |
|---|
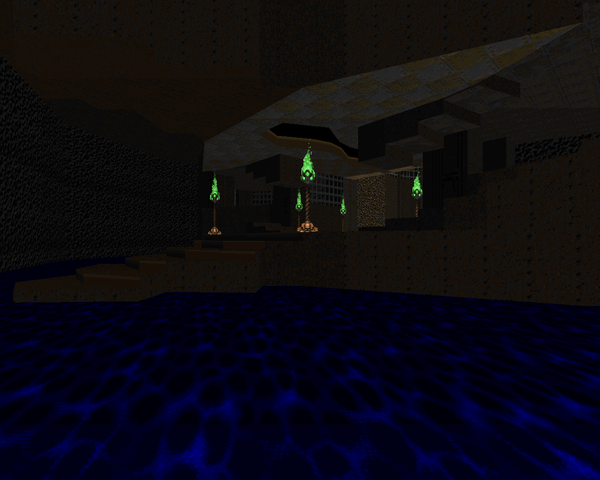
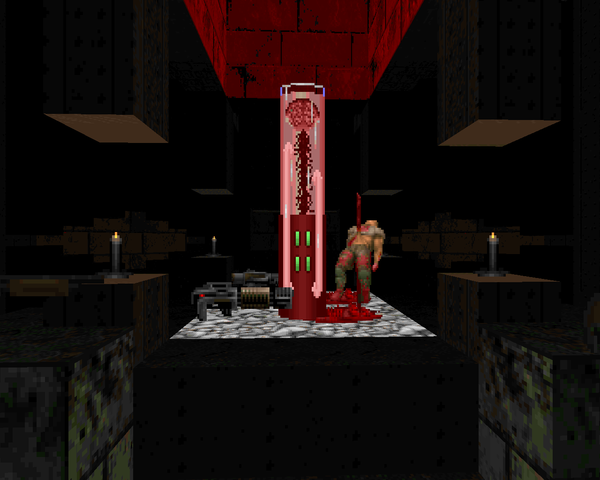
| Really attractive Hell-style map. The marble sections are quite eye-catching and the final room with its altar and dual-pentagrams looks very nice. The end incidentally has the only really memorable fight, with two hell knights front and center with an arch-vile darting around in the back, behind his bodyguards. As for puzzles, the blue key is hidden behind a secret, along with the switch that raises the walkway to the blue key door, but the latter is much more obvious. | 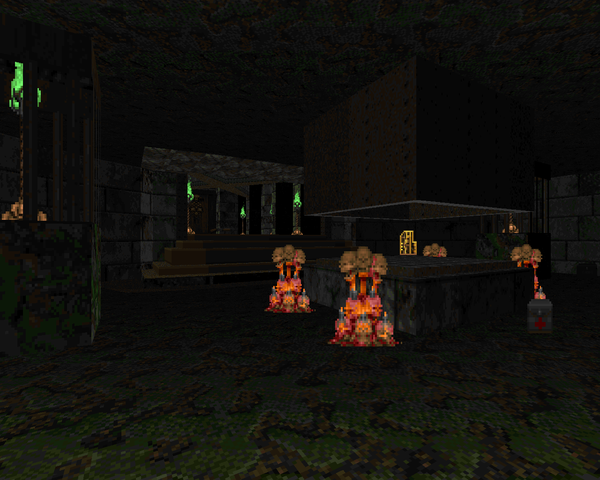 |
| MAP10 | Veil of Blood |
|---|
 | Mostly underground with nukage, lava, and a lot of deadly blood. A word of advice – don't squander the rad suit in the northwestern caves early on. You'll need it to explore some tunnels later. Some okay action, but nothing too thrilling. A pair of a revenant and baron is about the most exciting thing going on, besides maybe the pair of cacodemons lurking in an obvious secret near the beginning. Other quirks include the false blue skull key (death trap!) and imps lurking in the dark in a little oxbow. |
| Annihilation | MAP11 |
|---|
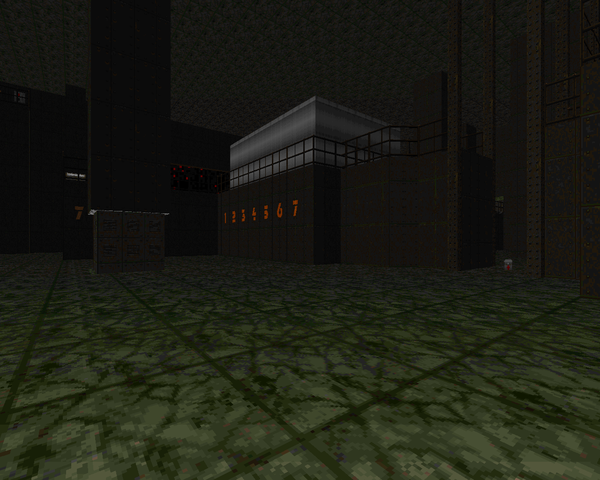
| Another level that feels as though it's designed to sap you of your ammo, especially if you perform the wings of this map out of order. After a short treat of the ending, you arrive at a crossroads. Each teleporter brings you to a different segment of the map, with its own aesthetic and challenges. Highlights include the large lake of blood ringed by barons and hell knights and, for me, the last seven monsters I went looking for, an influx of seven revenants that caught me by surprise, even though I knew something was coming. Also of note, those neat (but impractical) doors to the northwest. | 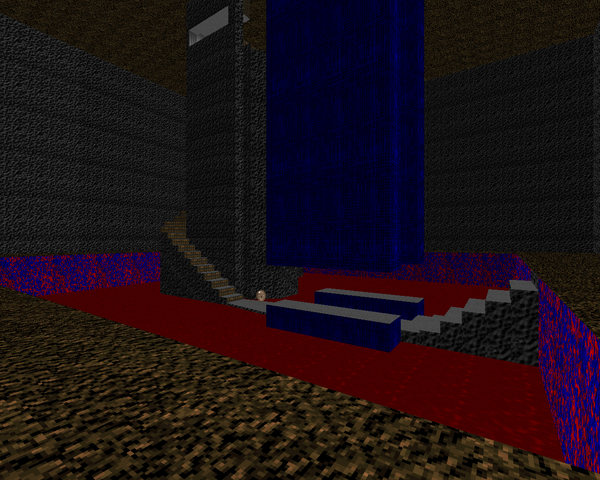 |
| MAP12 | Trapped |
|---|
 | Instills a sense of deja vu in the worst way as the same marble room with the same eight baron doors and six teleporters is repeated four times. You'll have to clear each one, or at least find the semi-hidden passageway, which at the end raises part of the four paths to the central teleporter. When you're done, there's a large, square red-rock room that's just a little threatening, but after the four nearly identical marble outlets, all the air has gone out. |
| Ground-Zero | MAP13 |
|---|
| Short but pleasant fortified outdoor area featuring some heavy hitters, like entrenched commandos, and plenty of hell knights / barons to soak up your ammo. Despite being a breeze, there are a few standout fights, like the (potentially) pincer attack of demons toward the end and the finale, three barons deep. Dig that deep water effect in the northwestern "sewer" section. | 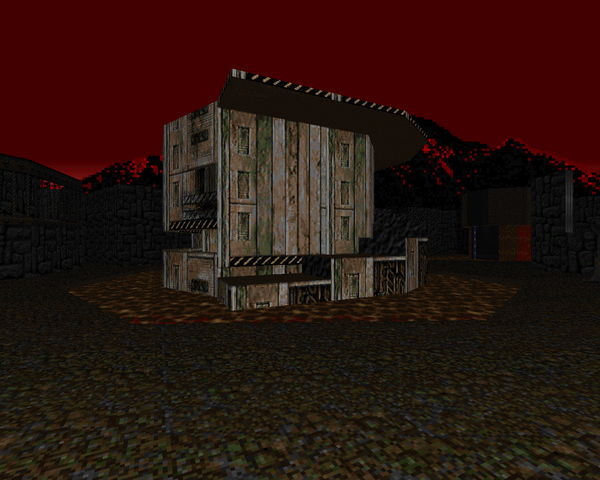 |
| MAP14 | The Five |
|---|
 | Short dark metal and mortar level with little side areas branching off the main room. You get to pick out your initial start point from the teleporters and start flipping switches. It's pretty dark so the spectres work better than usual, but the big standouts are the lava pit room, with various monsters rising out of the muck when you grab the blue key, and the secret annex in the opening room. The last jab at the player is the crusher / door trick, seen otherwhere in Return to Phobos's E1M5 and Memento Mori II's MAP07. |
| Stairway to Hell | MAP15 |
|---|
| An uncharacteristically large level from the Phareses, with four different areas accessed by the staircases going down from the central area. The western techbase has a very cool megasphere fight that involves clearing four infested towers before a bunch of baddies justify your handy present. The northern section is a not particularly engrossing tomb with cells of monsters revealed by tripwires. The east is a very open and very cool-looking sewer area, perhaps the best of the set so far, with a teleporter ambush and some desperate pain elemental fighting. The window effect in the southwestern section is about as cool and has a painstaking crossfire with tons of toughs surrounding a spiderdemon. Quite neat, except for that tomb part. | 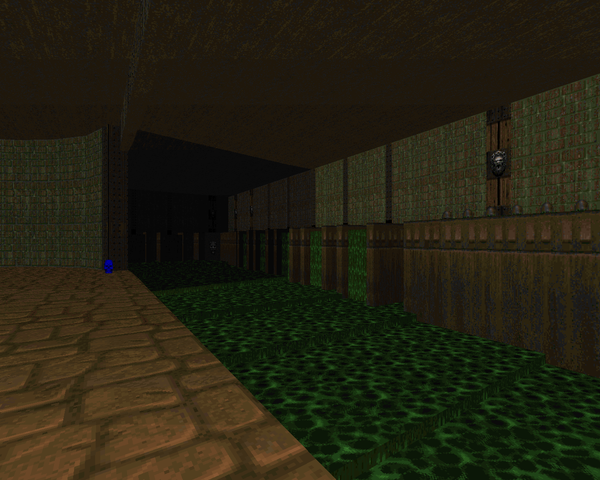 |
| MAP31 | Command + Control |
|---|
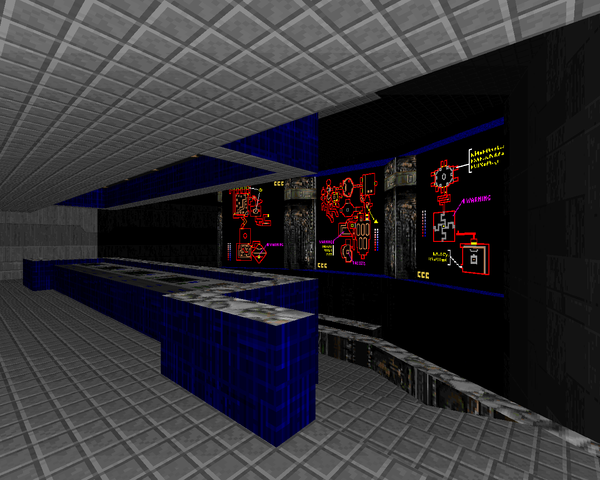 | A dense map whose opening echoes "Advent", presumably marking the emergence from the nightmare in the original finale. Most of the level is dominated by narrow tech tunnels you'll have to hunt through if you want to make it out alive. The authors liven things up by subjecting you to imp ambushes, hidden in alcoves where after spotting you they teleport into the crawlspace. The other cool spot comes after a boring zombiman slaughter – the demon manufacturing area. It's an ingenious arrangement of teleporters that really conjures up the image of a constant stream of demons blinking into existence, then being launched elsewhere. Also of note – this marks the first appearance of the "new" enemy, some kind of combat drone that replaces the SS Nazi. |
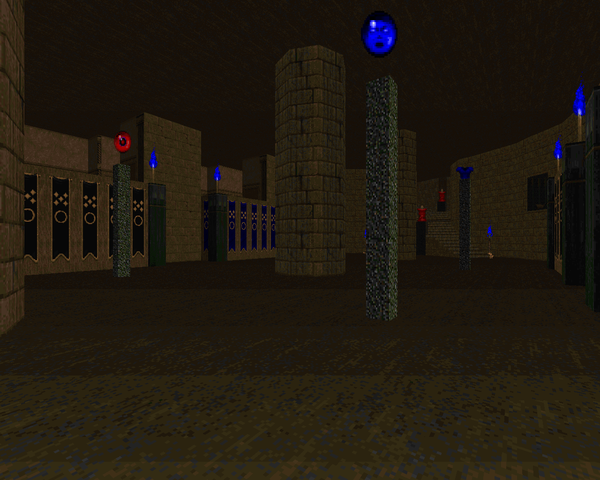
| Tomb of the Forsaken | MAP32 |
|---|
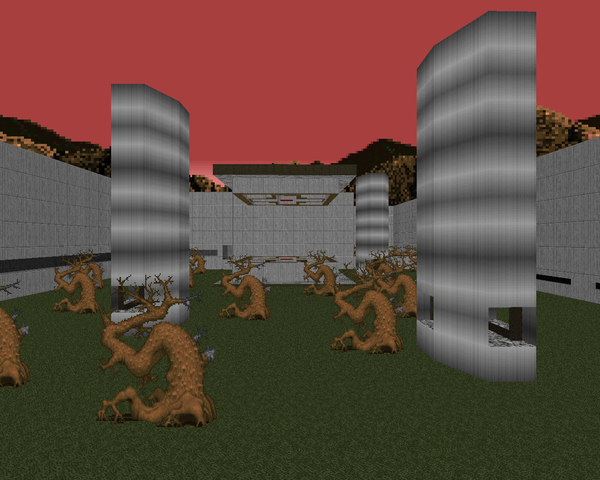
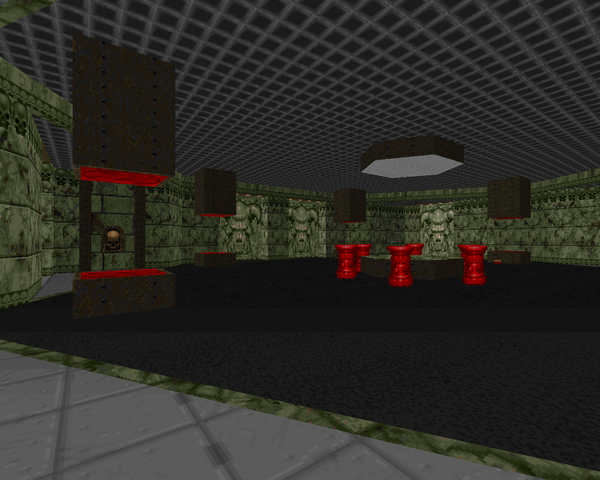
| A gimmick map that nonetheless looks pretty good with the custom quasi-Egyptian textures. It's a network of staircases that seem to go nowhere but the authors included a walkover trigger that reveals the secret – the twelve columns in between the stairways are hollowed out, holding both the keys to exit and troublesome monster ambushes, most of which will teleport into the grid of steps. The Egyptian mural that backs the finale is very sharp. | 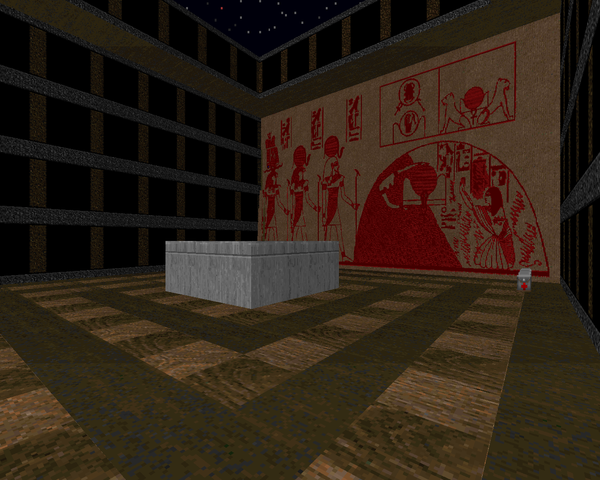 |
| MAP16 | Bulletproof |
|---|
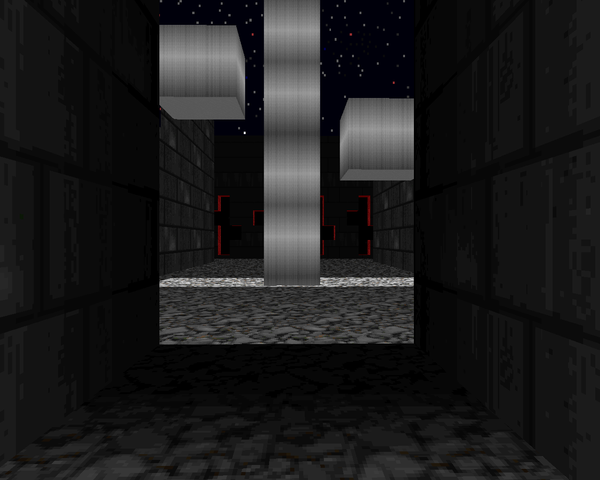
 | After a neat gimmick in the dark, from which the level's title no doubt derives its name, you're on a journey through mazes. So many mazes. The eastern wing has the best action of the whole set; the invisible-walled maze is pretty small and the monsters help you figure out where you can go and the cistern that ends things is a nice round shootout. The triangle maze and forcefield maze to the west are very unsatisfying, though. At the very least, the seven-switch Cyberdemon shooting gallery is a nice way to close, particularly with the bunch of pain elementals lurking around that demand your utmost attention. |
| Sole Survivor | MAP17 |
|---|
| Like "Bulletproof", but a bit more playable (and in the shape of a foot!). The opening hedge maze is a yawn (though I like the new texture). The rafter battle in the next area is pretty cool, though. It's not so much a maze, but if you don't take care, you'll misjudge the gaps and fall down. I dislike the elevator maze to the north. Then again, I'm not fond of elevator mazes in general. It's not all lifts, with some winding staircases, but the rising and lowering platforms just drag down the pacing, with the investigation of the toes providing the only really interesting moments. | 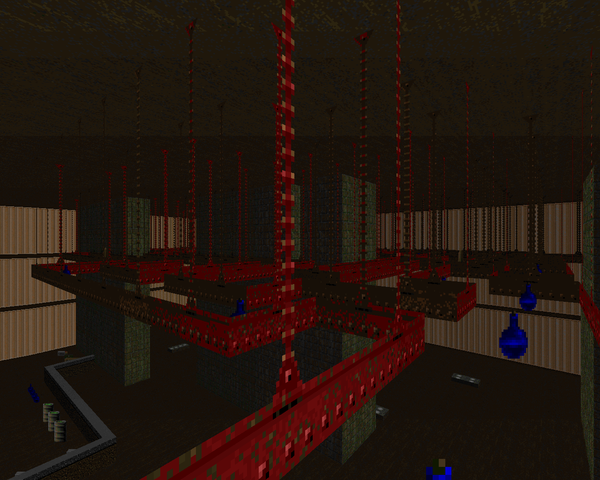 |
| MAP18 | Scent of Death |
|---|
 | This time, there's only one maze. Yet, it's the most loathsome construction possible, a 90 degree corridor with slow rising and lowering lifts. Thankfully, the northern library and southern fortress are a bit more fun to play through, especially the teleport waves you have to fight in the former if you grab the powerups. It also manages to look pretty nice. The southern segment is just room clearing but I'll take that over networks of skinny mazes just about any day. |
| Rise & Fall | MAP19 |
|---|
| A larger, complex map fielding a ton of enemies and a hub-like layout with various scenarios branching from the central, marble room. The central theme, as the title relays, involves vertical movement, whether it's the very cool daring leaps from the towers in the westernmost room or a maze cleverly disguised as a vertical climb up what is geometrically speaking a cone. They're both pretty cool, with the bronze going to the long, northern chasm where you creep down and then up opposing ledges, with monsters teleporting into the alcoves to surprise you on a semi-regular basis. Very nice level. |  |
| MAP20 | Hip Deep |
|---|
 | Hip Deep in the Dead, of course. This is a slideshow of architecture and scenarios clearly inspired from Doom's original episode, opening with "Military Base" and ending with "Phobos Anomaly". It's not at all difficult, featuring plenty of items you can use to combat the E1 monsters, but the body count gets so outrageous in sections like the "Phobos Lab" homage that you can't help but grin as you go to town on packs of lesser fare. Of all the encounters, I'd say the finale is the best, with a huge demon ambush followed up by six, not two, barons. |
| Full Metal Island | MAP21 |
|---|
| This is another hub map working by teleporters. You don't have to any work to finish it – the exit is available from the onset. You'll be remiss if you bypass all the bonus fights, though, like the outdoor slaughter that's laden with ammo. Even if the other areas, like the fogged up temple, don't play as well, there's some definite eye candy being slung around. The only area that falls flat to me is the northern segment, a series of collapsing walls letting monsters trickle in that isn't that threatening after your first experience and looks pretty banal to boot. | 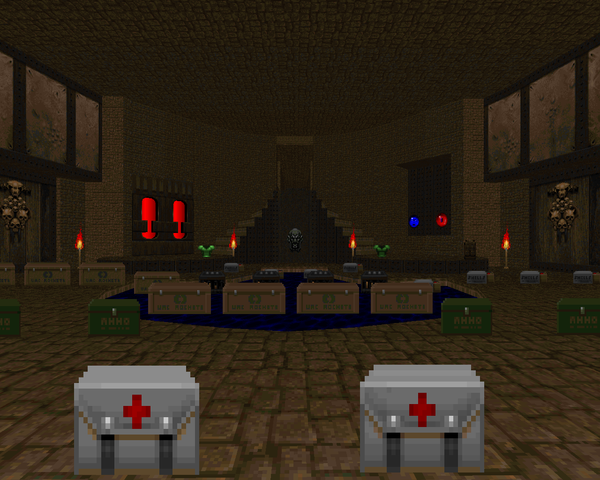 |
| MAP22 | Rosewood |
|---|
 | Certainly one of the best maps in the set; the authors put the custom textures to good use with the various tombstones and iron-wrought fences creating an excellent graveyard with plenty of surprises. The only part that really drags is the large, marble sewer maze to the west. The other bits, like the mausoleum with tons of imps and lost souls popping up on alternate sides of the room, is very nice, and I love the cross windows that give way to the lion gargoyle switches. A very neat effect. Plus, the dark lighting helps to hide just how midtextured those fine-looking tombstones are without there being much frustrating gameplay to go along with them (just a few scares). The huge enemy pack at the finale isn't quite so imposing, but two arch-viles force you to take it seriously. |
| Castle of the Ancients | MAP23 |
|---|
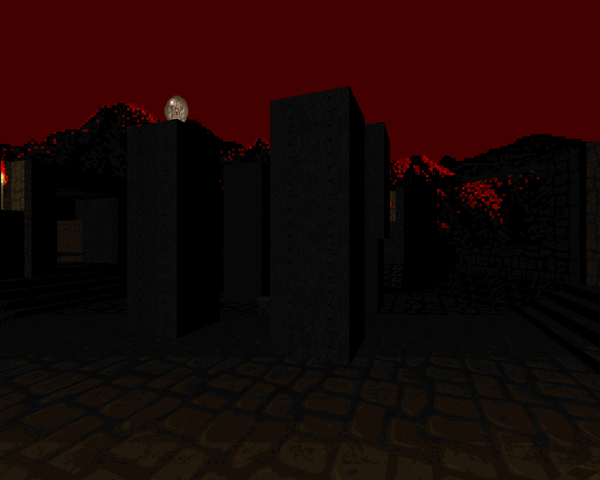
| This is another maze, cleverly disguised as a series of towers connected by wall-like walkways. The towers look good enough, but the style of gameplay is well-worn. Explore the towers, triggering enemy ambushes from two different directions, and then clean out the instigators. Combining some of the towers into larger buildings, or just using the corners for something more exciting, would have gone a long way toward giving this level some teeth. Like I said, though, the ambushes aren't that amazing except for the few fielding revenants. This is another potentially early exit level, as long as you can deal with the arch-vile and his cadre of guardians... |  |
| MAP24 | The Ungathered |
|---|
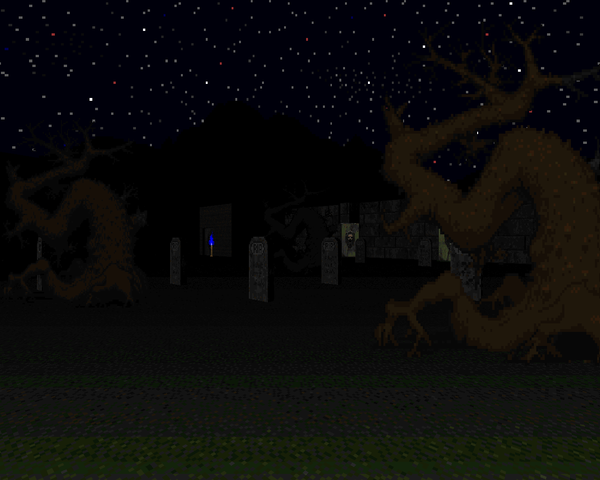
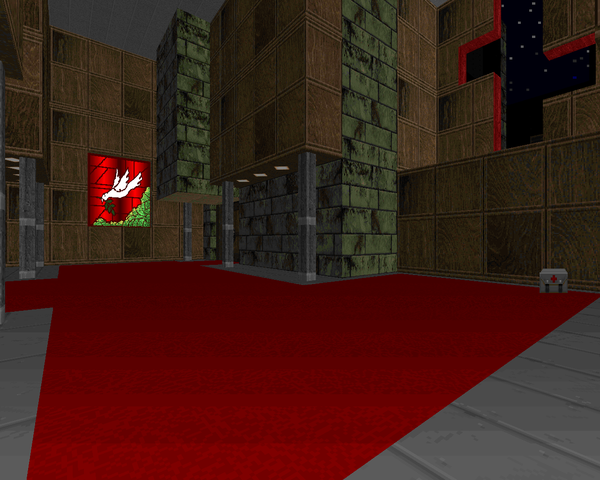 | Now this is more like it. A large hybrid of marble areas and wood with some cool iconography, like the cherry red windows at the opening and the stained glass bird in the eastern segment. One of the big highlights is an obvious trap near the beginning, but it looks very nice and has a trick to dispatching some of the insurgents. The eastern area is kind of fun to explore, but the finale is a bit better, with a totally optional Cyberdemon battle if you're so inclined. The room where you release him is a nice break with the rest of the level. |
| Well of Fire | MAP25 |
|---|
| A dark trudge and one of Cleimos's most notorious maps due to its comical ammo disparity, designed no doubt to drain you of your scratch prior to the finale. Most of the monsters are lost souls, especially in what must be the eponymous well of fire, located in the southwest. More importantly, there are two teleporter-based puzzles that draw things to a standstill, both of which are hidden on the automap, which without any obvious hints reduce both to trial and error, exacerbated by the lack of a clear progress indicator. I like the lift / timer puzzle that separates the east and west sides, though. | 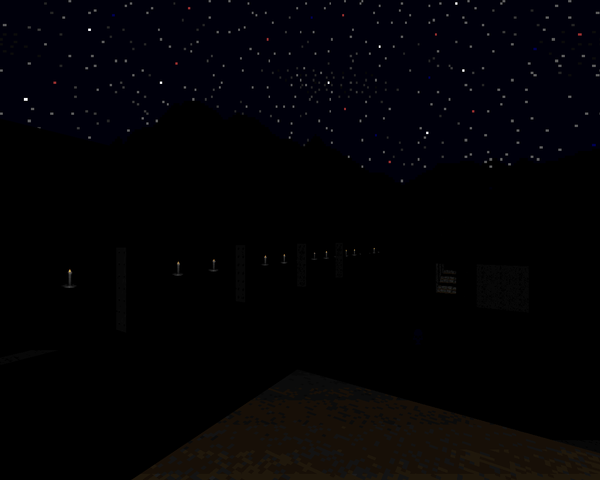 |
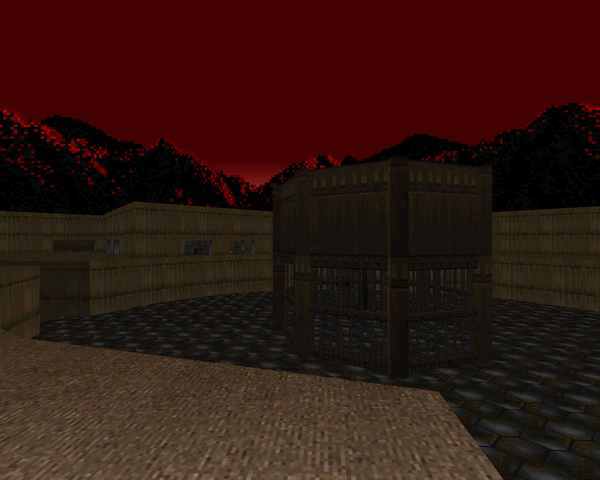
| MAP26 | Release Me |
|---|
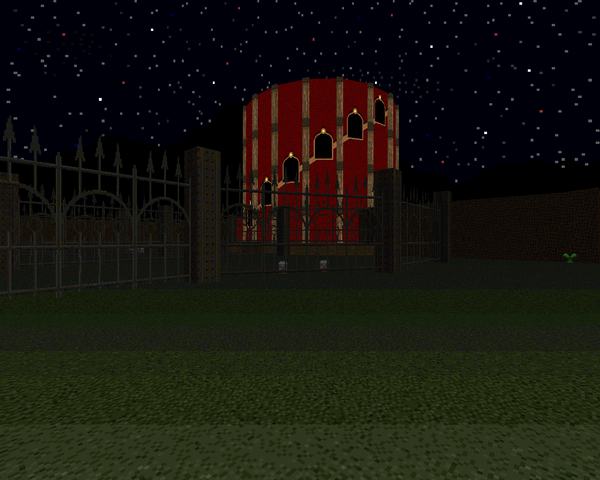 | Pretty cool looking, though incredibly easy. The tower has a very neat exterior and the delay fence on the way is a good touch, if ineffective. I do like the brain graphic and the sound bite. |
THE LAST FEW BRICKS
"Release Me" serves as the end to Cleimos's story and its normal maps. The last four levels in the WAD are marked (DM) in the .TXT's map list. The last three have little action to speak of, but I've described them all here.
| Entr'acte | MAP27 |
|---|
| Essentially a deathmatch level rendered in a hybrid of cavern and dark metal, but the authors saw fit to kit it out with a decent monster array, so it plays like a decent MAP01 replacement. The only tough part is grabbing the blue key, which requires just a little bit of thought. | 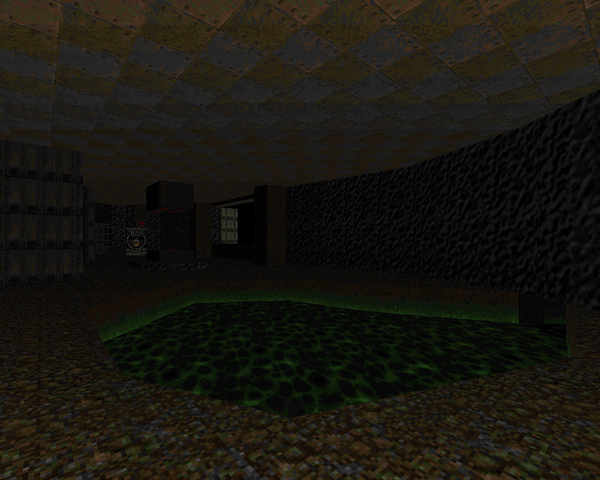 |
| MAP28 | Axis |
|---|
 | Brown tomb and marble textured deathmatch arena focused on lifts and switches. The four enemies are located in the center – waking them up teleports them to the far corners of the level. Once you've gotten to the center, though, you have to figure how to get out... |
| The Hive | MAP29 |
|---|
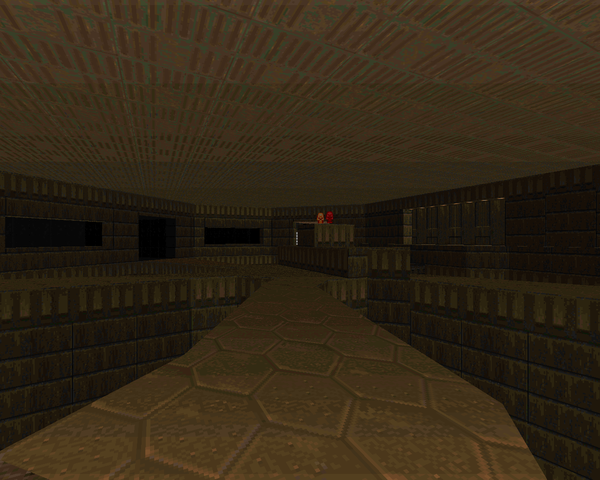
| The main area is a honeycomb of hexagonal rooms with a few monsters hidden inside, and I believe one roaming the outer area, a square-shaped hallway. I don't think more monsters could liven up what is essentially a maze crawl. | 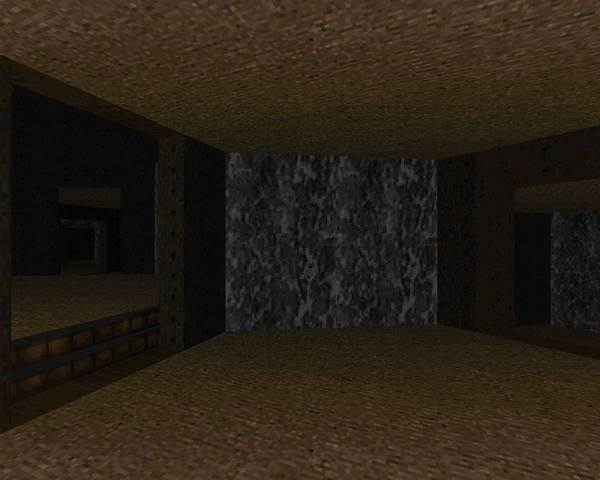 |
| MAP30 | Temple of Lost Souls |
|---|
 | It's a temple with eight lost souls. There's a circular outdoor corridor and an inner area. It looks pretty good with the new temple textures, I must admit. |
IT'S THINKING
It's refreshing to read a new review of Cleimos 2. If anything, the geometry of the maps (excluding the maze sections) really inspired me. I also really liked the sparing use of the Cyberdemon and Spider Mastermind.
ReplyDeleteCleimos is a perfect example of a puzzle-orientated wad done well, and it's done very well. I rarely feel as though I've flicked a switch and I don't know what to do next. There are clues peppered around the levels to make it easy enough to play through most levels but still have a sense of challenge and accomplishment. The focus isn't really on the action, although there are still some good moments. A definite must for anyone that enjoys mazes and lateral thinking.
ReplyDelete